How to Fix "Choose Where to Get Apps" Missing on Windows 11

Get Free Scanner and check your computer for errors
Fix It NowTo fix found issues, you have to purchase the full version of Combo Cleaner. Free trial available. Combo Cleaner is owned and operated by Rcs Lt, the parent company of PCRisk.com read more.
How to Fix “Choose where to get apps” Missing on Windows 11
Some Windows 11 users report an issue installing third-party apps since the “Choose where to get apps” option is missing in Windows Settings. This issue may occur if an administrator blocks the option or when it’s locked by Group Policy.

Microsoft allows Windows users to choose from where to install apps. They can choose between the Microsoft Store and third-party sources. However, the “Choose where to get apps” option may not show.
Why is “Choose where to get apps” Missing?
Our research has revealed several reasons why this option may not be available, which we have listed below.
- Your organization’s IT administrator blocked it. If you use a PC provided by your employer or school, the IT administrator may have disabled this option due to security concerns.
- Blocked by anti-virus software. An overly protective anti-virus program may block this feature, thinking it’s a security threat. Temporarily disable your anti-virus software and check if that fixes the issue.
- The “Choose where to get apps” feature is disabled. This feature may be disabled by Group Policy. However, you can enable it using the Group Policy Editor, as shown in Method 2.
- Corrupt Microsoft Store Cache. The “Choose where to get apps” feature may stop working due to a corrupted Microsoft Store app cache. However, repairing or resetting the app will fix the problem.
Before trying our fixes, do the following steps:
Update your Windows operating system. Before trying to fix the issue, ensure Windows is up to date, particularly the Microsoft Store app.
Video Tutorial on How to Fix "Choose Where to Get Apps" Missing
Table of Contents:
- Introduction
- Method 1. Repair/Reset the Microsoft Store App
- Method 2. Configure App Install Control in the Group Policy Editor
- Method 3. Delete App Install Control-Related Keys in the Windows Registry Editor
- Video Tutorial on How to Fix "Choose Where to Get Apps" Missing
Download Computer Malware Repair Tool
It is recommended to run a free scan with Combo Cleaner - a tool to detect viruses and malware on your device. You will need to purchase the full version to remove infections. Free trial available. Combo Cleaner is owned and operated by Rcs Lt, the parent company of PCRisk.com read more.
Method 1. Repair/Reset the Microsoft Store App
If your Microsoft Store app’s cache has been corrupted, the “Choose where to get apps” option may not show up. Repairing the app may fix the issue. If it does not, try resetting the app.
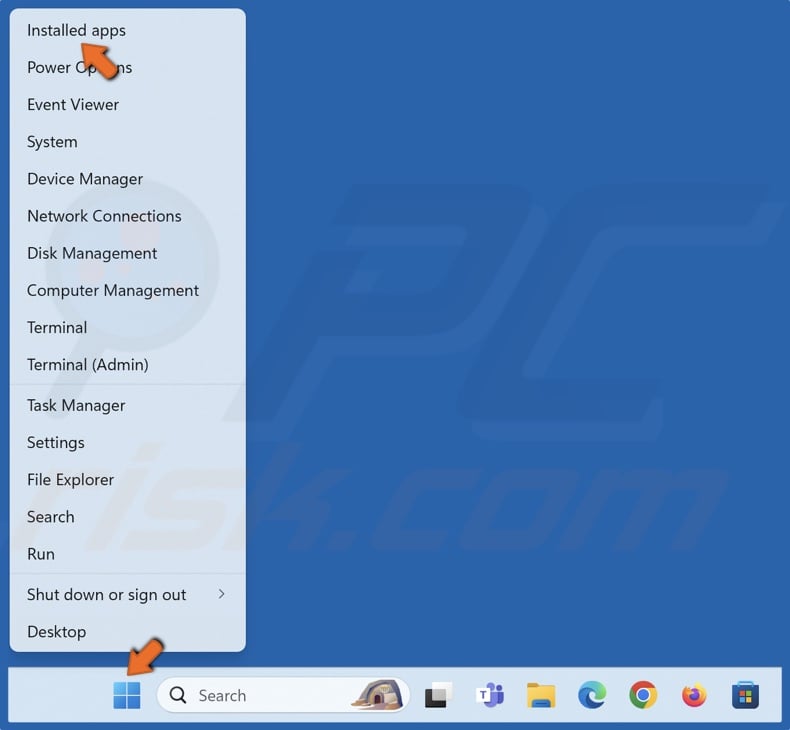
1. Right-click the Start menu button and select Installed apps.
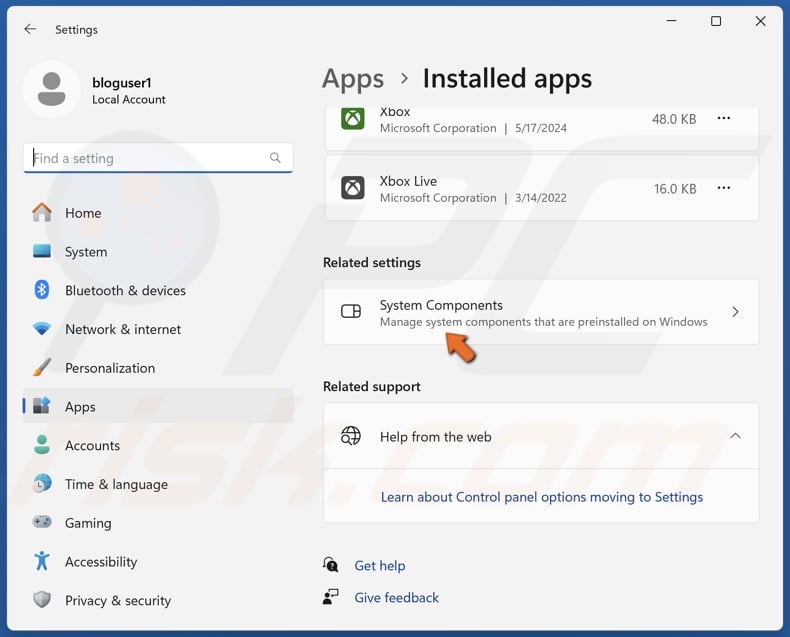
2. Scroll to the bottom and click System Components.
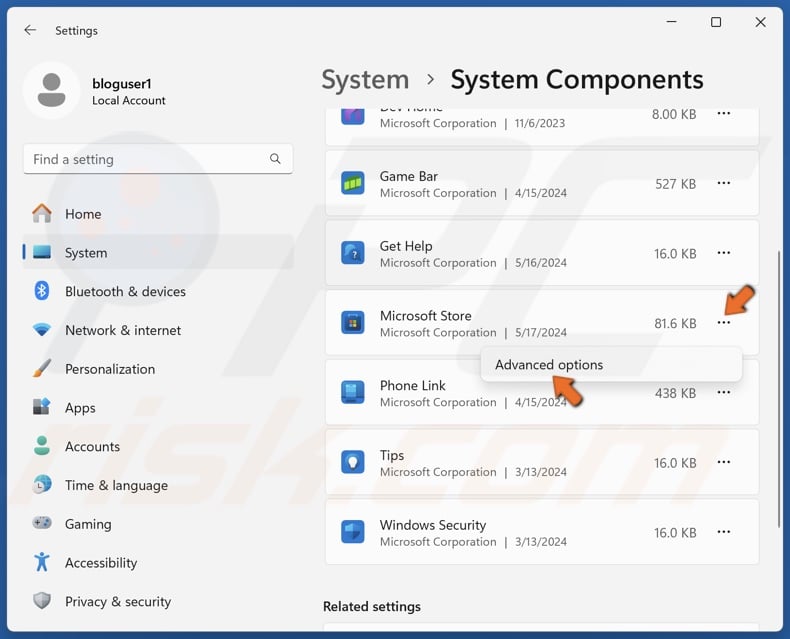
3. Click the three-dot button next to the Microsoft Store and click Advanced options.
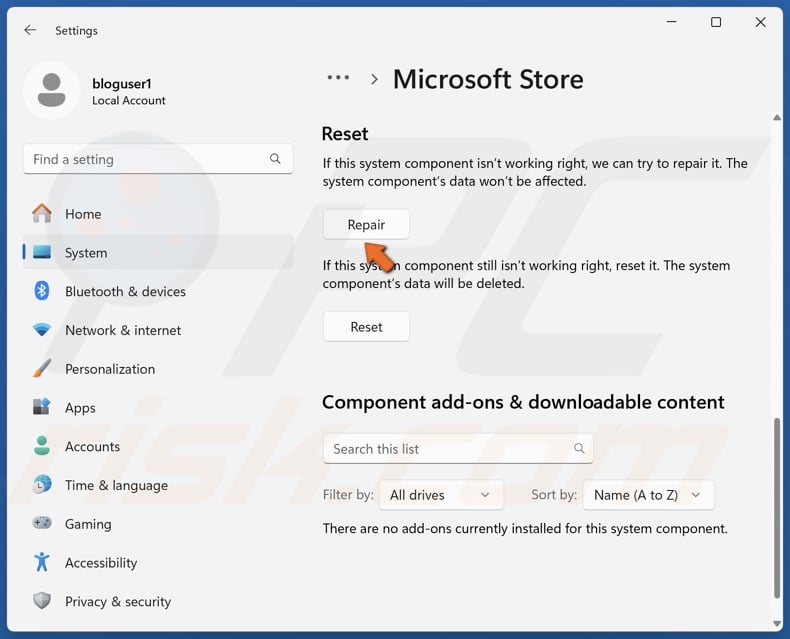
4. Scroll down to the Reset section. Click Repair.
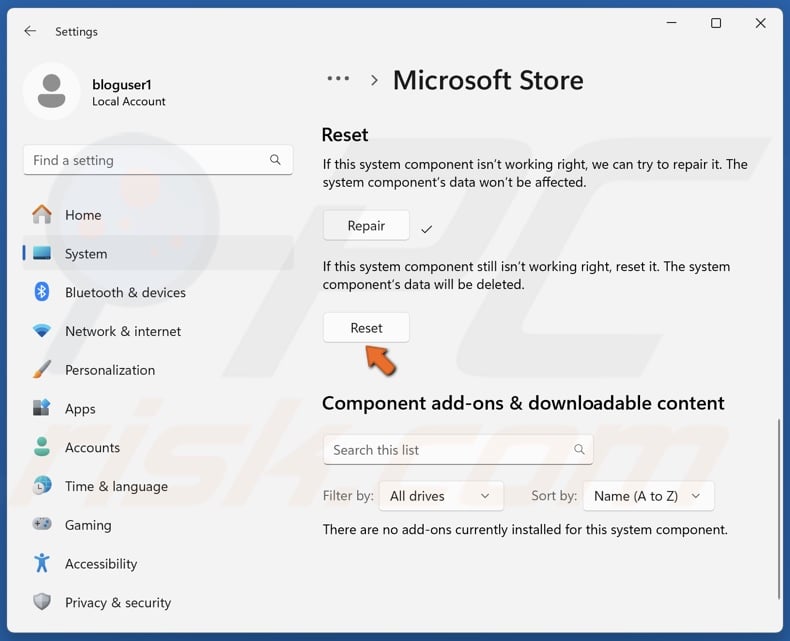
5. If repairing the app didn’t fix the issue, click Reset below.
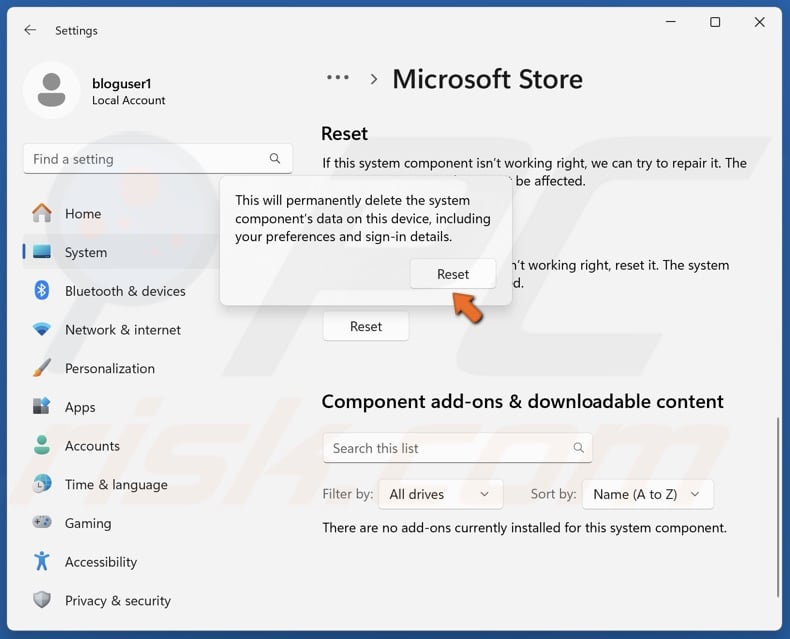
6. Click Reset in the dialog window to confirm the action.
Method 2. Configure App Install Control in the Group Policy Editor
It’s possible that the “Choose where to get apps” option is not showing because Group Policy disabled the option. Configuring the App Install Control can fix the problem. If you have Windows 11 Home, which doesn’t have a Group Policy Editor, you can install it by following the guide here.
1. Hold down Windows+R keys to open Run.
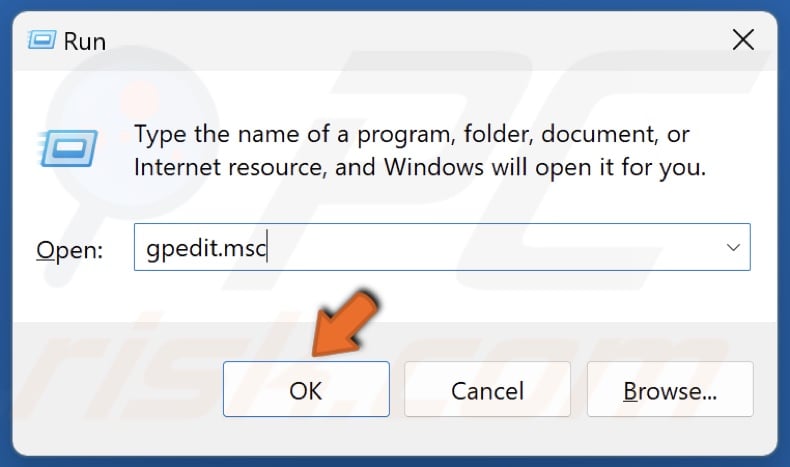
2. Type gpedit.msc in Run and click OK.
3. In the Group Policy Editor, navigate to:
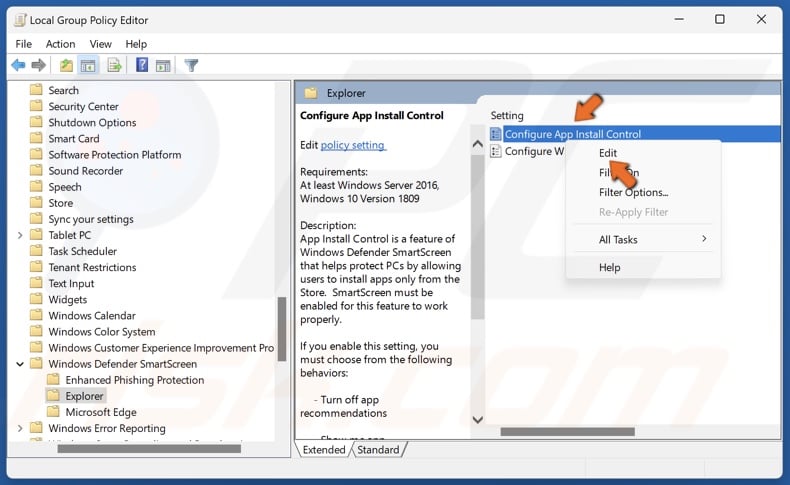
Computer Configuration > Administrative Templates > Windows Components > Windows Defender SmartScreen > Explorer
4. In the right pane, right-click Configure App Install Control and click Edit.
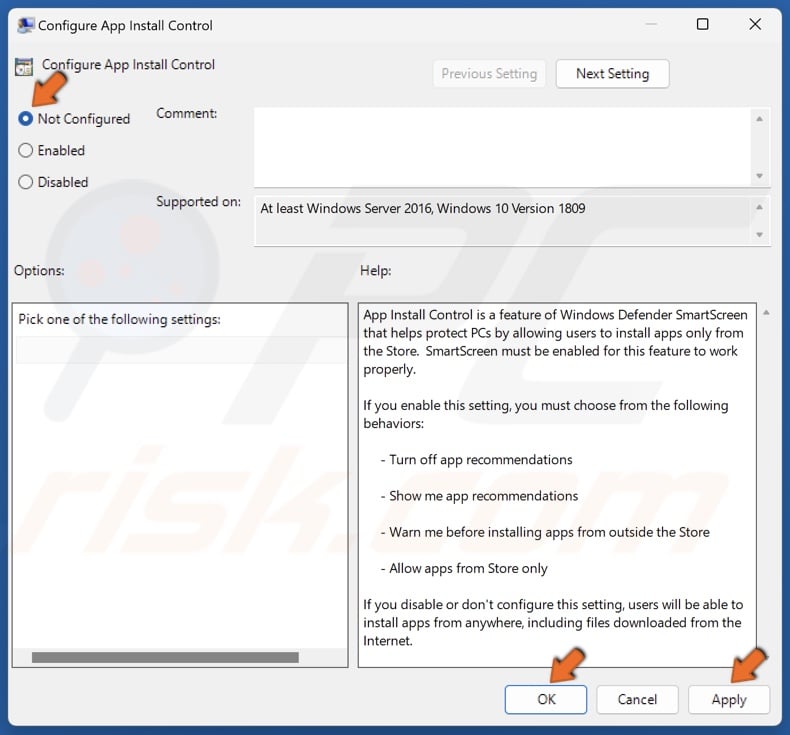
5. Tick the Not Configured option.
6. Click Apply and click OK.
Method 3. Delete App Install Control-Related Keys in the Windows Registry Editor
If you have Windows 11 Home edition and, thus, don’t have a Group Policy Editor, you can Configure App Install Control using the Windows Registry Editor.
1. Hold down Windows+R keys to open Run.
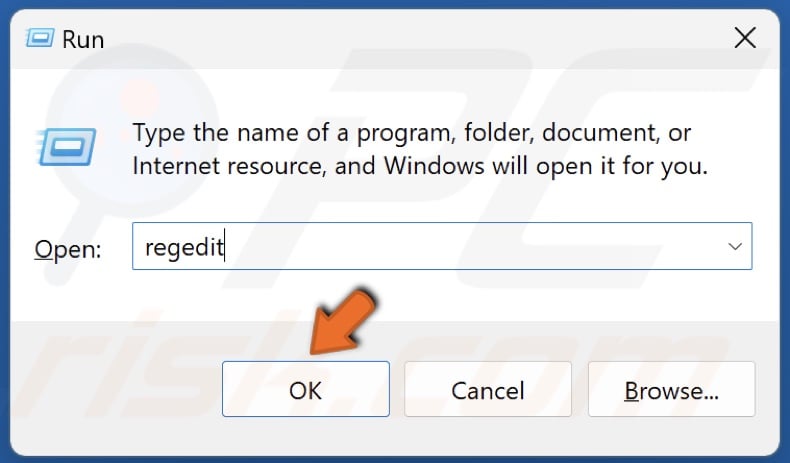
2. Type regedit in Run and click OK.
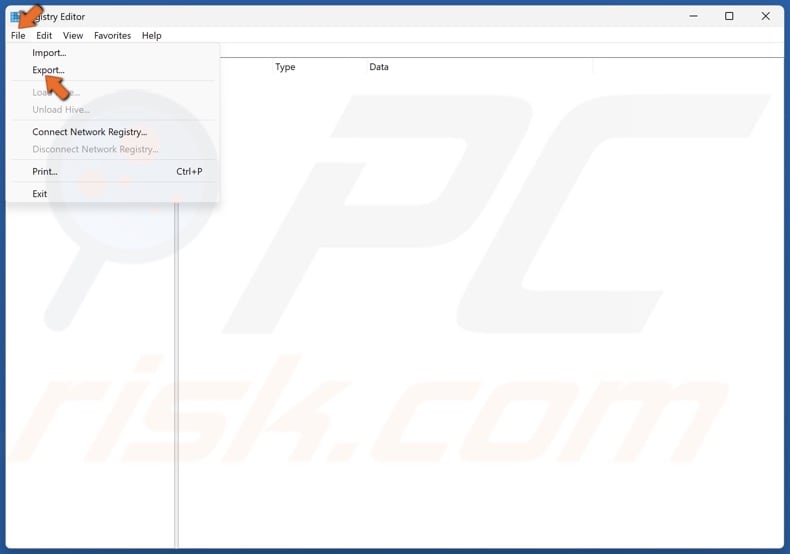
3. Before editing your Windows Registry, click File at the top-left of the window and click Export.
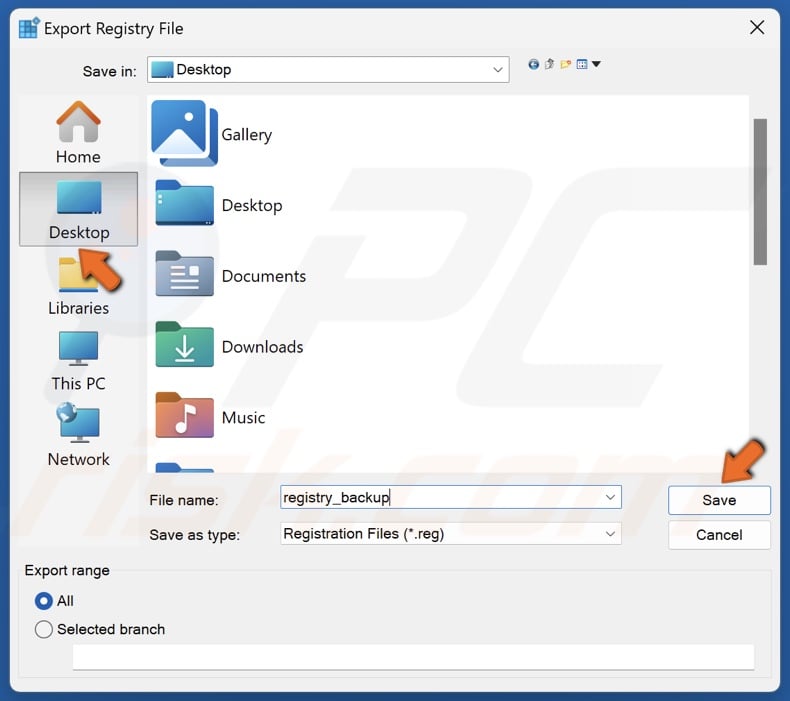
4. Choose where to save the file, name the file registry_backup, and click Save.
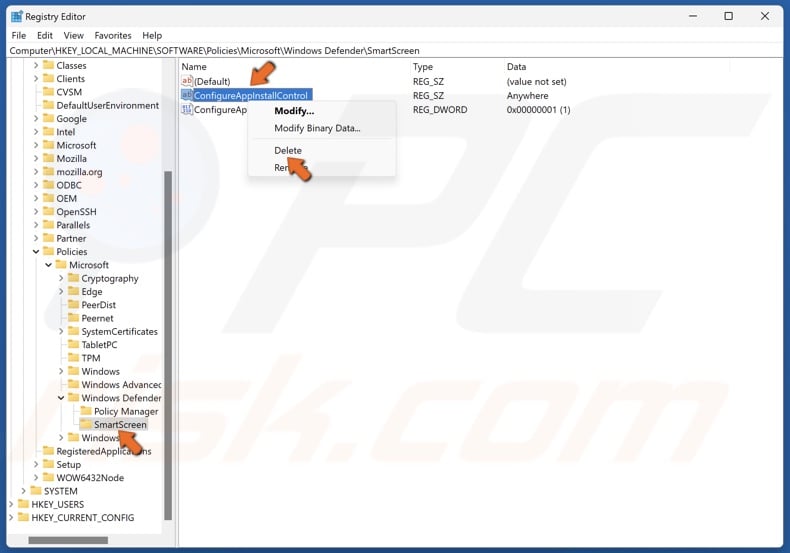
5. In the Registry Editor, navigate to:
HKEY_LOCAL_MACHINE\SOFTWARE\Policies\Microsoft\Windows Defender\SmartScreen
6. Select the SmartScreen key.
7. In the right pane, right-click the ConfigureAppInstallControl value and click Delete.
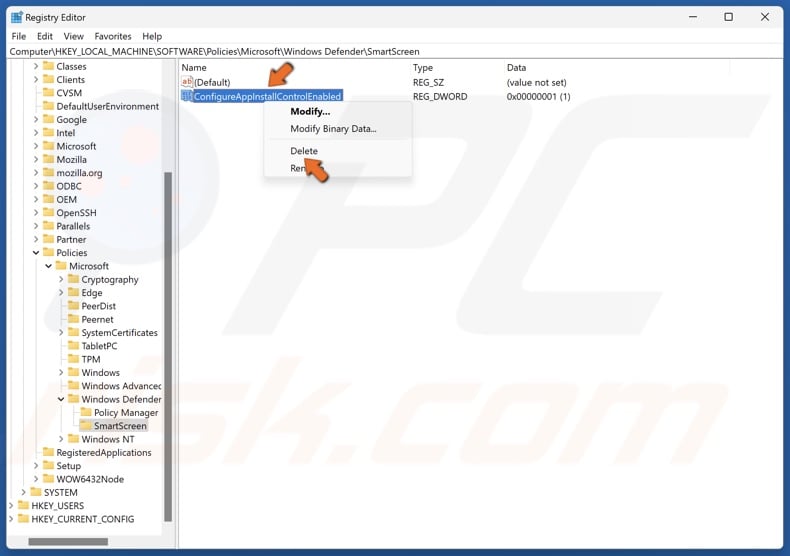
8. Then, right-click the ConfigureAppInstallControlEnabled value and click Delete.
9. Restart your PC.
Did this article help you fix the “Choose where to get apps” missing in Windows Settings? Let us know in the comments below.
Share:

Rimvydas Iliavicius
Researcher, author
Rimvydas is a researcher with over four years of experience in the cybersecurity industry. He attended Kaunas University of Technology and graduated with a Master's degree in Translation and Localization of Technical texts. His interests in computers and technology led him to become a versatile author in the IT industry. At PCrisk, he's responsible for writing in-depth how-to articles for Microsoft Windows.
▼ Show Discussion