How to Fix "Failed to load steamui.dll" Steam Error

Get Free Scanner and check your computer for errors
Fix It NowTo fix found issues, you have to purchase the full version of Combo Cleaner. Free trial available. Combo Cleaner is owned and operated by Rcs Lt, the parent company of PCRisk.com read more.
How to Fix “Failed to load steamui.dll” Steam Error on Windows 11
Steam “Fatal Error. Failed to load steamui.dll” error that appears when you try to start Steam or launch certain Steam games. This error usually occurs when Steam installation is corrupted.

Steam - Fatal Error. Failed to load steamui.dll
What Causes “Failed to load steamui.dll” Error in Steam?
The “Failed to load steamui.dll” error window appears if your Steam installation is corrupted somehow. The steam.dll failing to load indicates that essential Steam or Windows file(s) is missing, corrupted, or infected with malware, making Steam unable to load SteamUI.dll.
Here’s a list of the most common causes of this error:
- Corrupted Steam installation files. If your Steam installation files have been corrupted, try to Reinstall Steam. Try installing Steam on another hard drive. Some users reported fixing this error by reinstalling steam on another hard drive.
- Corrupted or missing SteamUI.dll file. If the SteamUI.dll file has been corrupted, you can delete it and then run Steam. It will detect the missing file and redownload it from its servers.
- Interrupted Steam client updates. An interrupted Steam update may result in corrupted files. Reinstalling Steam should fix the“Failed to load steamui.dll” error.
- Corrupted Windows system files. If your Windows files have been corrupted, run DISM and SFC scans to repair them.
- Malware infection. Malware on your PC may have infected your Steam or system files. In addition, malware may delete SteamUI.dll. Try scanning your PC with Combo Cleaner to remove it.
- Anti-virus software interference. Sometimes, this error occurs due to an anti-virus program interfering with Steam. Your anti-virus program may identify SteamUI.dll as malicious and delete it. Therefore, try to temporarily disable your anti-virus program and try to launch Steam.
Before trying any of our fixes, here are some tips:
- Update your Windows operating system to the latest version.
- Update your graphics card drivers.
Video Tutorial on How to Fix "Failed to load steamui.dll" Error
Table of Contents:
- Introduction
- Method 1. Delete SteamUI.dll and libswscale-3.dll
- Method 2. Delete Steam Cache Folder
- Method 3. Run the Deployment Image & Servicing Management (DISM) and System File Checker (SFC) Scans
- Method 4. Re-Register SteamUI.dll
- Method 5. Run the steam://flushconfig Command
- Video Tutorial on How to Fix "Failed to load steamui.dll" Error
Download Computer Malware Repair Tool
It is recommended to run a free scan with Combo Cleaner - a tool to detect viruses and malware on your device. You will need to purchase the full version to remove infections. Free trial available. Combo Cleaner is owned and operated by Rcs Lt, the parent company of PCRisk.com read more.
Method 1. Delete SteamUI.dll and libswscale-3.dll
Some users have found that deleting SteamUI.dll can fix the “Failed to load steamui.dll” error. In addition, others have found that deleting bin and package folders can fix it as well. Steam will download new versions of the deleted files when you launch it.
1. Hold down Ctrl+Shift+Esc keys to open Task Manager.

2. In the Processes tab, right-click each Steam-related process and click End task. Make sure that no Steam processes are running.
3. Hold down Windows+E keys to open File Explorer.
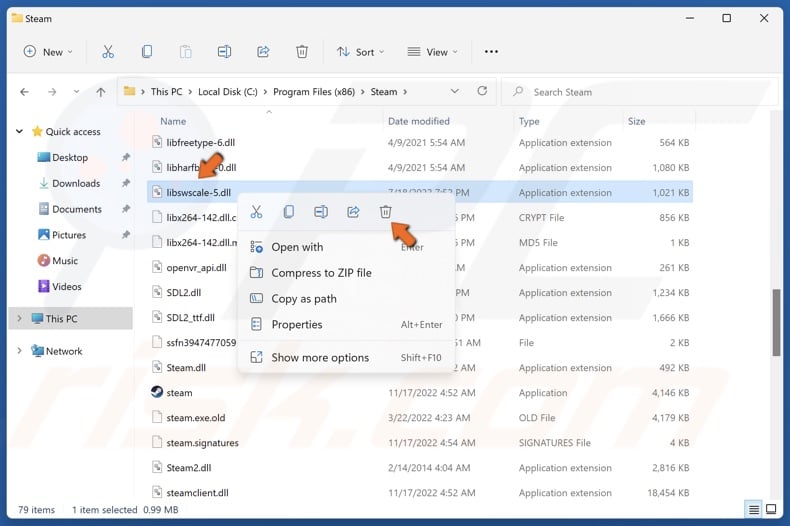
4. Navigate to C:\Program Files (x86)\Steam.
5. Right-click libswscale-3.dll (alternatively libswscale-4.dll, libswscale-5.dll) and click Delete.
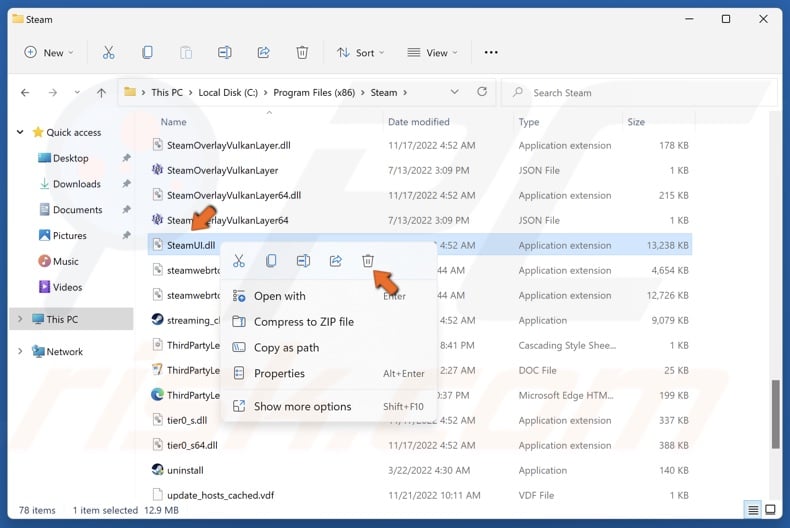
6. Then, right-click SteamUI.dll and click Delete.
7. Launch Steam and check if deleting SteamUI.dll and libswscale-3.dll fixed the issue.

8. If the issue was not fixed, right-click the bin folder and click Delete.
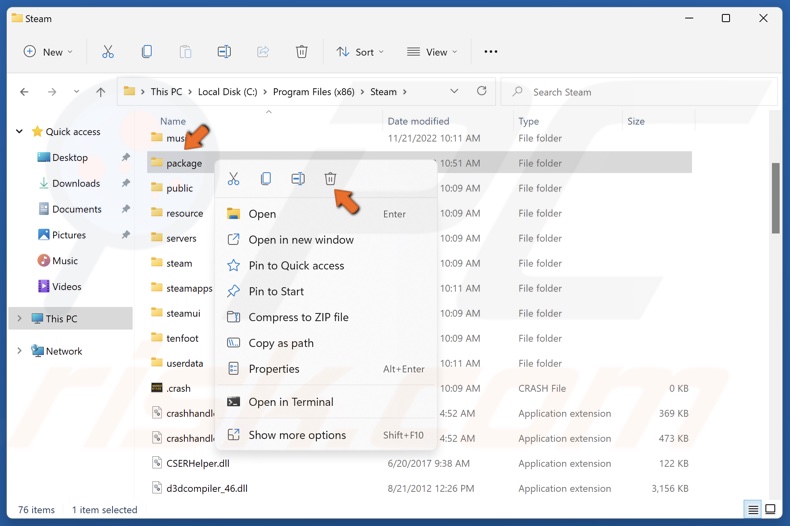
9. Right-click the package folder and click Delete.

10. Launch Steam, enter your password, and click Sign in. Check if deleting the bin and package folders fixed the error.
Method 2. Delete Steam Cache Folder
Deleting the Steam cache folder is a proven way to fix the “Failed to load steamui.dll” error. Deleting the folder is safe because Steam will create another chase folder when you launch it. Note that you will have to enter your username and password when you launch Steam.
1. Hold down Ctrl+Shift+Esc keys to open Task Manager.
2. In the Processes tab, right-click each Steam-related process and click End task. Make sure that no Steam processes are running.
3. Hold down Windows+R keys to open Run.
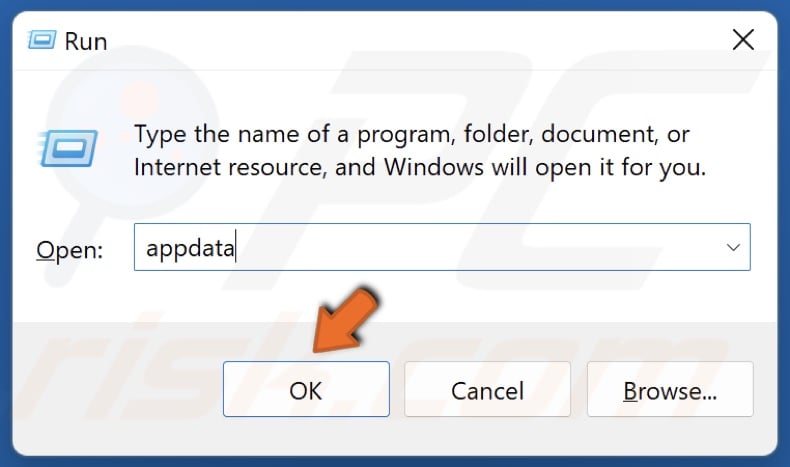
4. In the Run dialog box, type in appdata and click OK.
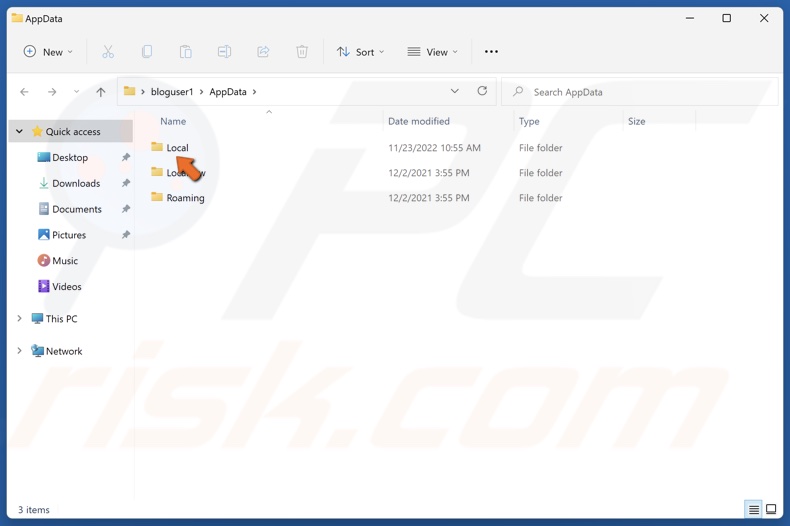
5. Access the Local folder.
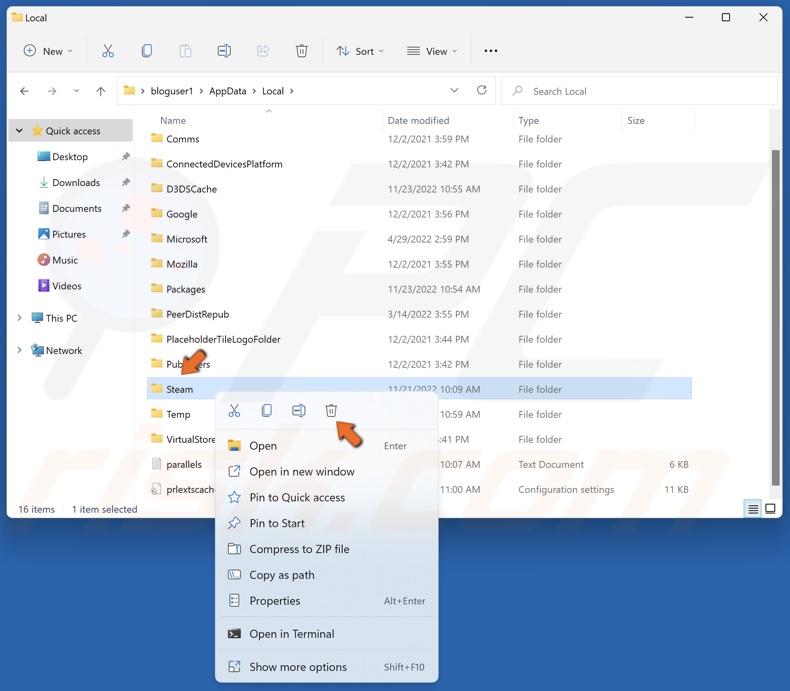
6. Find the Steam folder, right-click it and click Delete.
7. Launch Steam, enter your password, and click Sign in.
Method 3. Run the Deployment Image & Servicing Management (DISM) and System File Checker (SFC) Scans
Deployment Image Servicing and Management (DISM) is a command-line tool that can repair your Windows image if it has been corrupted. The System File Checker (SFC) is a utility that can repair corrupted Windows system files by downloading new files from Microsoft’s servers.
1. Hold down Windows+R keys to open Run.
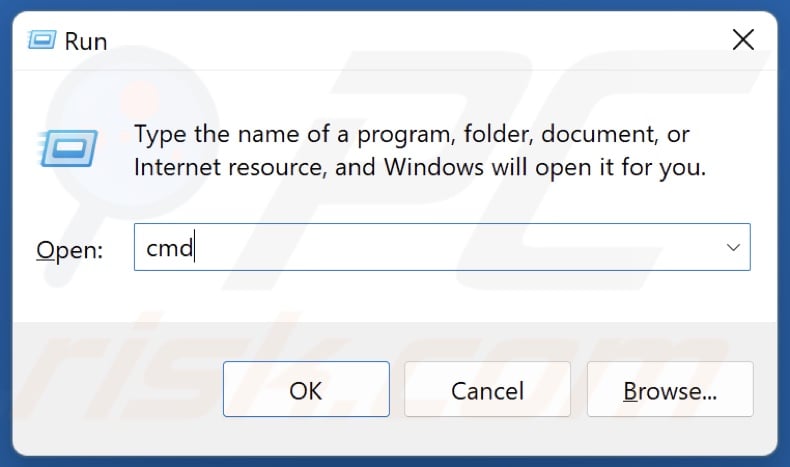
2. In the Run dialog box, type in CMD and hold down Ctrl+Shift+Enter keys to open the Command Prompt as an administrator.
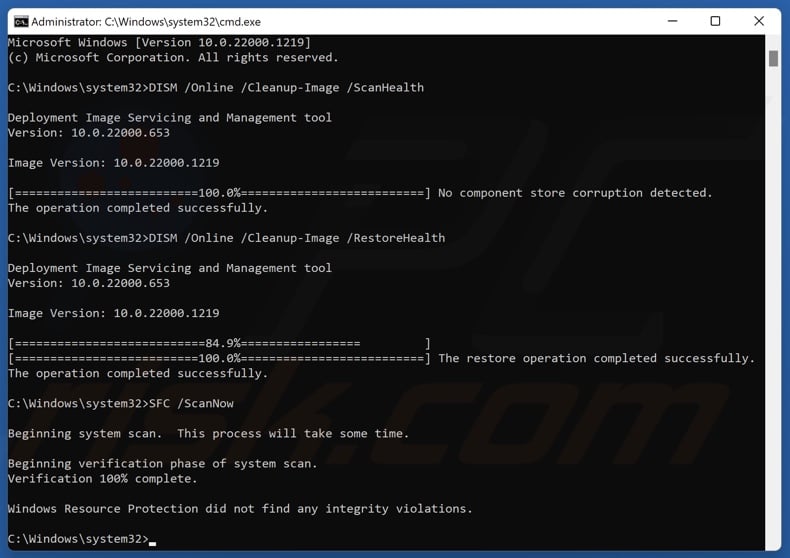
3. In the Command Prompt window, type in DISM /Online /Cleanup-Image /ScanHealth and press Enter.
4. Type in DISM /Online /Cleanup-Image /RestoreHealth and press Enter.
5. Then, type in SFC /ScanNow and press Enter.
6. Close the Command Prompt and restart your PC.
Method 4. Re-Register SteamUI.dll
1. Hold down Windows+R keys to open Run.
2. In the Run dialog box, type in CMD and hold down Ctrl+Shift+Enter keys to open the Command Prompt as an administrator.
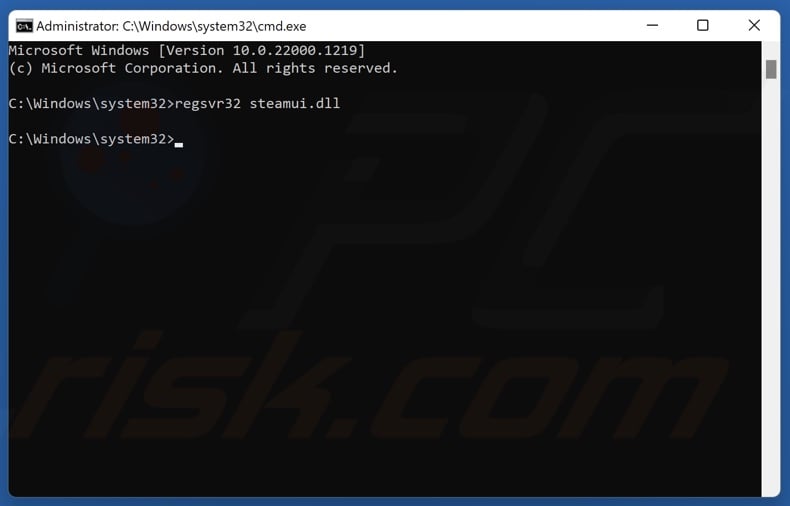
3. In the Comand Prompt window, type in regsvr32 steamui.dll and press Enter.
4. Close the Command Prompt and restart your PC.
Method 5. Run the steam://flushconfig Command
The purpose of this command is to refresh Steam’s installation. Before executing the steam://flushconfig command, make sure that Steam isn’t running.
1. Hold down Ctrl+Shift+Esc keys to open Task Manager.
2. In the Processes tab, right-click each Steam-related process and click End task.
3. Hold down Windows+R keys to open Run.
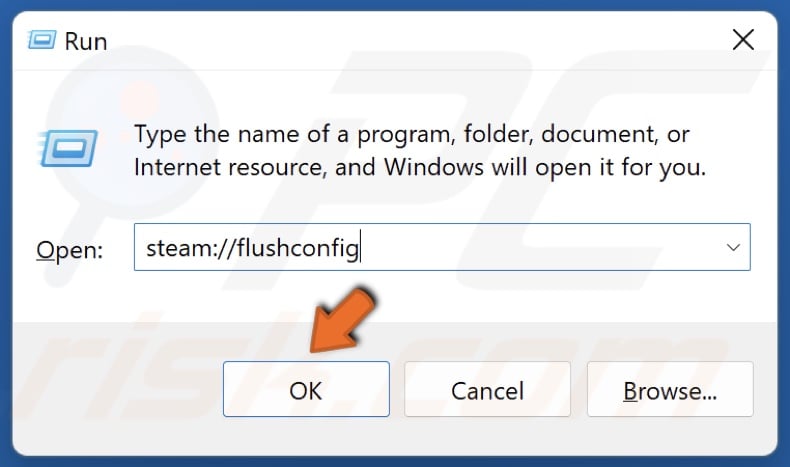
4. In the Run dialog box, type steam://flushconfig and click OK.
5. Enter your login credentials, and click Sign in.
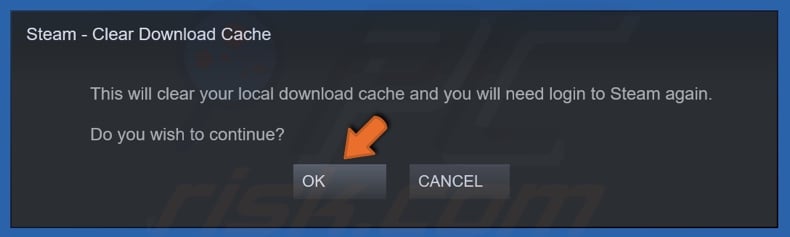
6. A “Clear Download Cache” dialog box will appear. Click OK. Wait a few seconds.
7. Steam will relaunch and will start with the Sign In window. Enter your login credentials and click Sign in.
Did this article help you fix “Steam - Fatal Error. Failed to load steamui.dll” on your PC? Let us know in the comments section below.
If none of the methods in this article helped you fix the error, try reinstalling Steam if you haven’t tried that already.
Share:

Rimvydas Iliavicius
Researcher, author
Rimvydas is a researcher with over four years of experience in the cybersecurity industry. He attended Kaunas University of Technology and graduated with a Master's degree in Translation and Localization of Technical texts. His interests in computers and technology led him to become a versatile author in the IT industry. At PCrisk, he's responsible for writing in-depth how-to articles for Microsoft Windows.
▼ Show Discussion