6 Ways to Fix Valorant "Invalid access to memory location" Error

Get Free Scanner and check your computer for errors
Fix It NowTo fix found issues, you have to purchase the full version of Combo Cleaner. Free trial available. Combo Cleaner is owned and operated by Rcs Lt, the parent company of PCRisk.com read more.
How to Fix “Invalid access to memory location” Error in Valorant on Windows 11
“Invalid access to memory location” error can occur when trying to launch or install Valorant. This article will outline what causes this error and provide step-by-step instructions to fix it.

The “Invalid access to memory location” error indicates that Valorant does not have the proper permissions to access the system’s memory (RAM), page file, and locally stored game data.
This error became common after a new patch (3.12 patch) was released for the game. However, Riot Games have since addressed this issue, but it’s not uncommon for users to still get this error.
How to Fix the “Invalid access to memory location” Error While Installing Valorant
Here are some valuable tips that may help you fix this error:
- If you’re having trouble installing Valorant after downloading the installer using Microsoft Edge, use another web browser such as Google Chrome or Mozilla Firefox.
- You may work around this error by downloading the Riot Client using the League of Legends installer and then downloading Valorant.
- Other things you can do to fix this error are disabling your VPN software, updating Windows, and updating as many device drivers as possible.
- Check that your system is running the 64-bit version of Windows with at least 4GB of memory. Also, try closing other memory-intensive background applications and test your RAM by running memory diagnostic tools.
If you’re still getting the “Invalid access to memory location” error, follow the instructions below, which should help you fix this error.
Video on How to Fix “Invalid access to memory location” in Valorant
Table of Contents:
- Introduction
- Method 1. Update the Graphics Card Driver
- Update Nvidia Graphics Driver
- Update AMD Graphics Driver
- Method 2. Clear the %TEMP% Folder in Windows
- Method 3. Run Disk Cleanup
- Method 4. Run a Check Disk (CHKDSK) Scan
- Method 5. Run the Deployment Image & Servicing Management (DISM) Scan
- Method 6. Run the System File Checker (SFC) Scan
- Video on How to Fix “Invalid access to memory location” in Valorant
Download Computer Malware Repair Tool
It is recommended to run a free scan with Combo Cleaner - a tool to detect viruses and malware on your device. You will need to purchase the full version to remove infections. Free trial available. Combo Cleaner is owned and operated by Rcs Lt, the parent company of PCRisk.com read more.
Method 1. Update the Graphics Card Driver
Update Nvidia Graphics Driver
1. Open your web browser, and go to Nvidia’s graphics drivers download page.
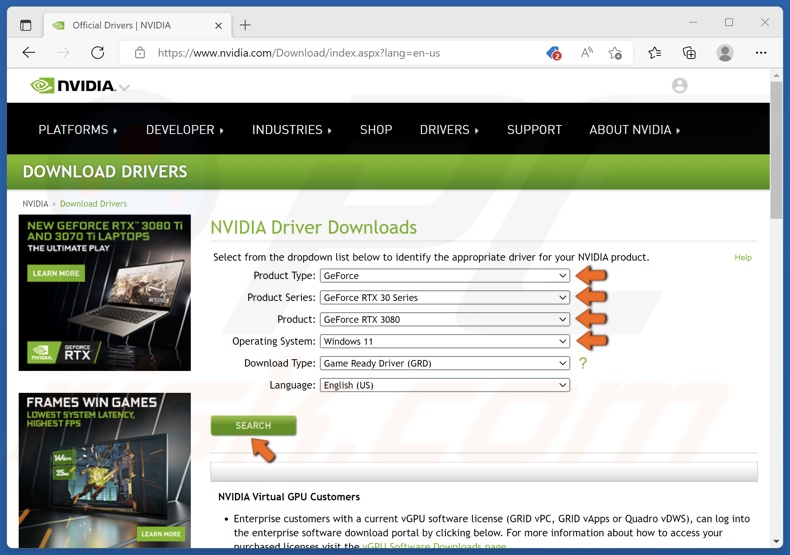
2. Manually select your GPU model and series, operating system type, and language.
3. Then, click the Search button.
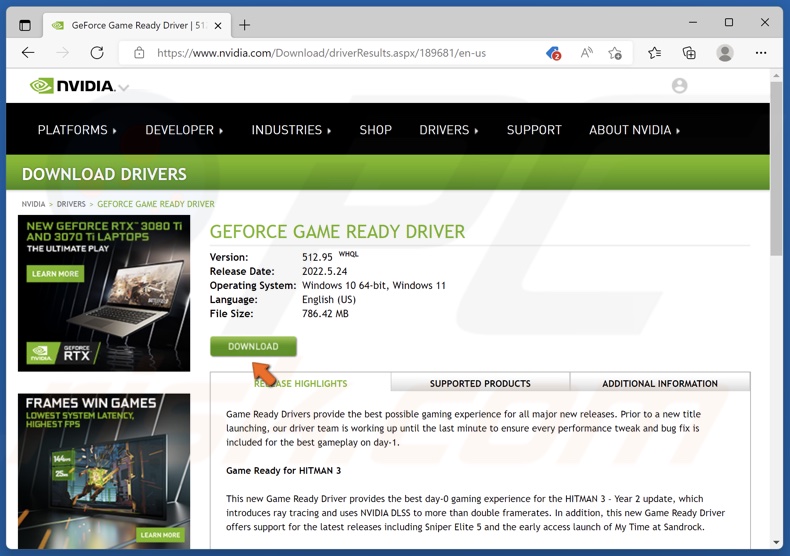
4. Click the Download button.
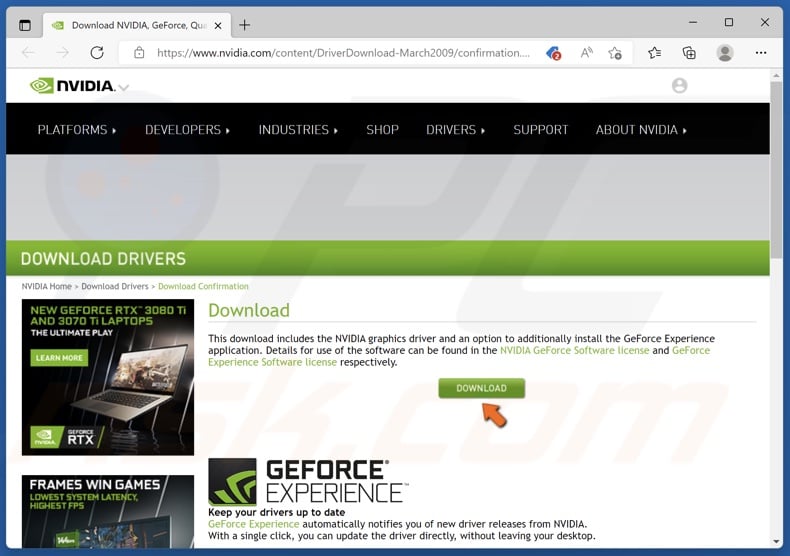
5. Once redirected to another page, click the Download button again.
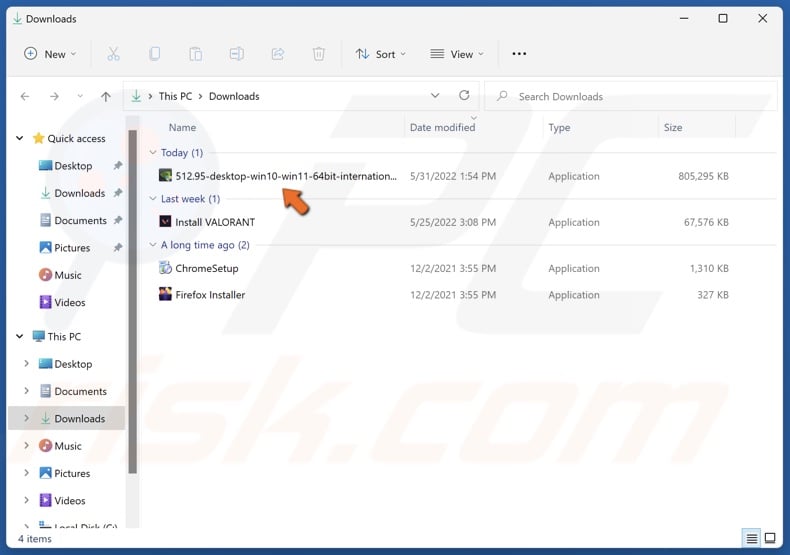
6. Once downloaded, run the graphics driver installation wizard.
Update AMD Graphics Driver
1. Open your web browser, and go to AMD’s graphics drivers download page.
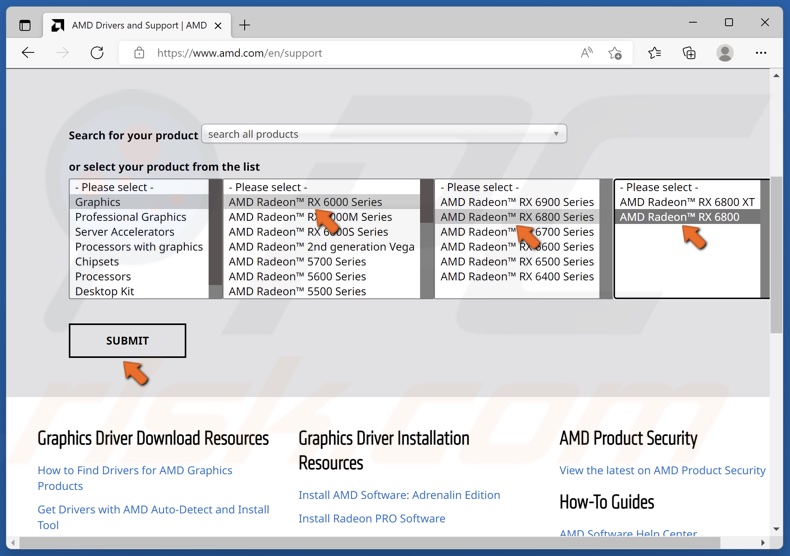
2. Manually select your GPU model and series and click Submit.
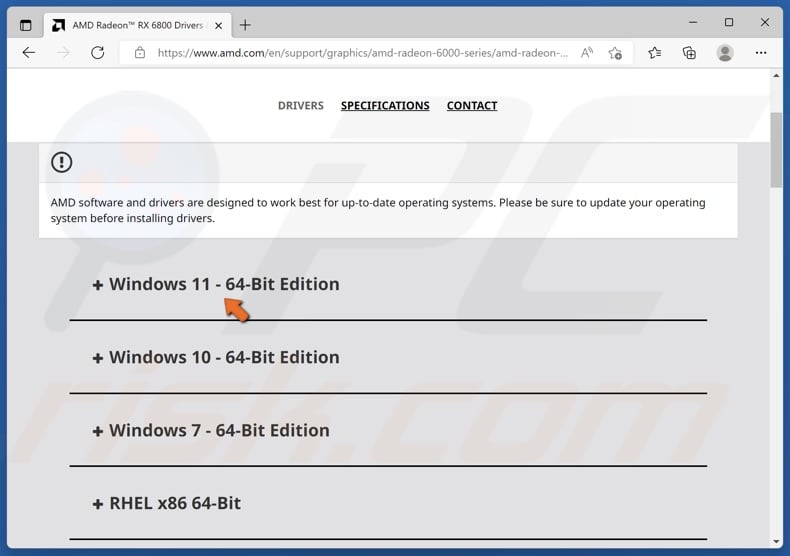
3. Then, select your operating system type.
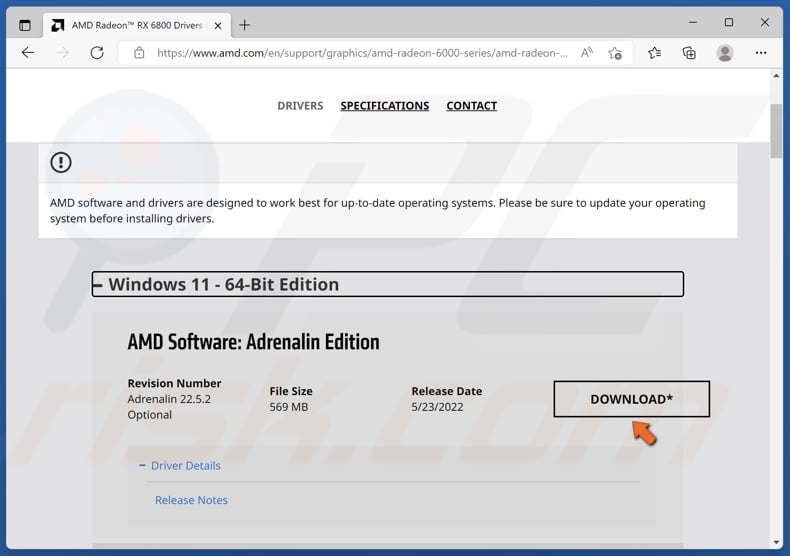
4. Select the driver and click Download.
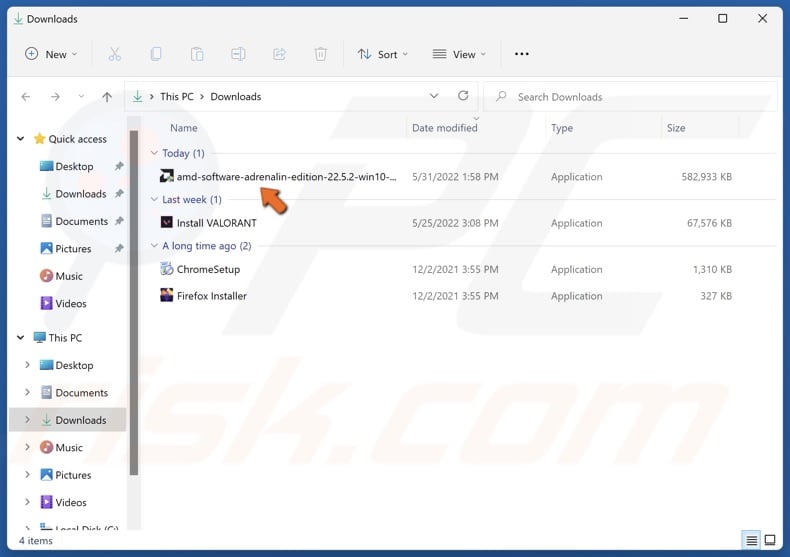
5. Once downloaded, run the graphics driver installation wizard.
Method 2. Clear the %TEMP% Folder in Windows
1. Hold down Windows+R keys to open Run.
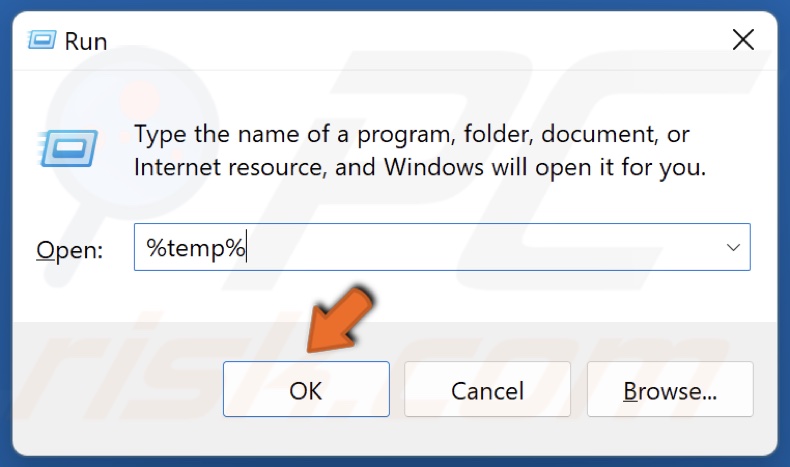
2. In the Run dialog box, type in %temp% and click OK.
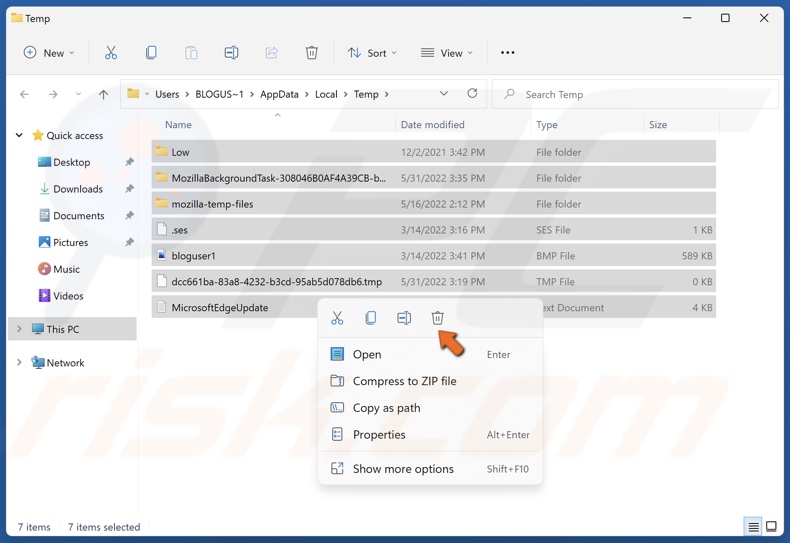
3. Hold down Ctrl+A keys to select all files and folders inside the %temp% folder.
4. Right-click the selected files and click Delete.
Method 3. Run Disk Cleanup
1. Hold down Windows+R keys to open Run.
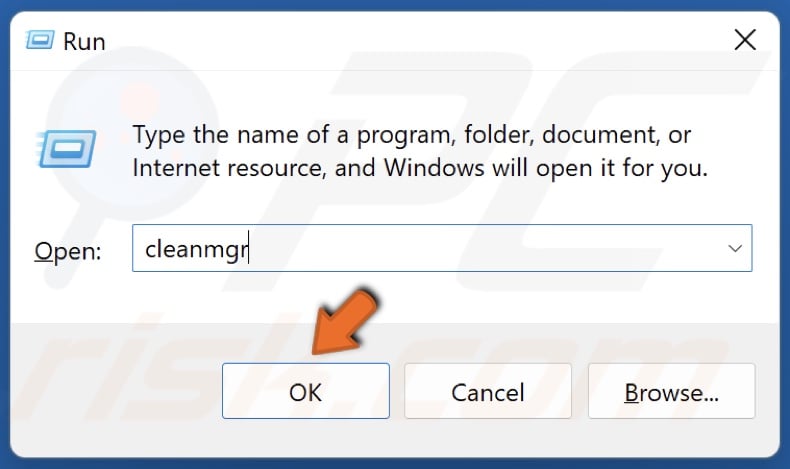
2. In the Run dialog box, type in cleanmgr and click OK.
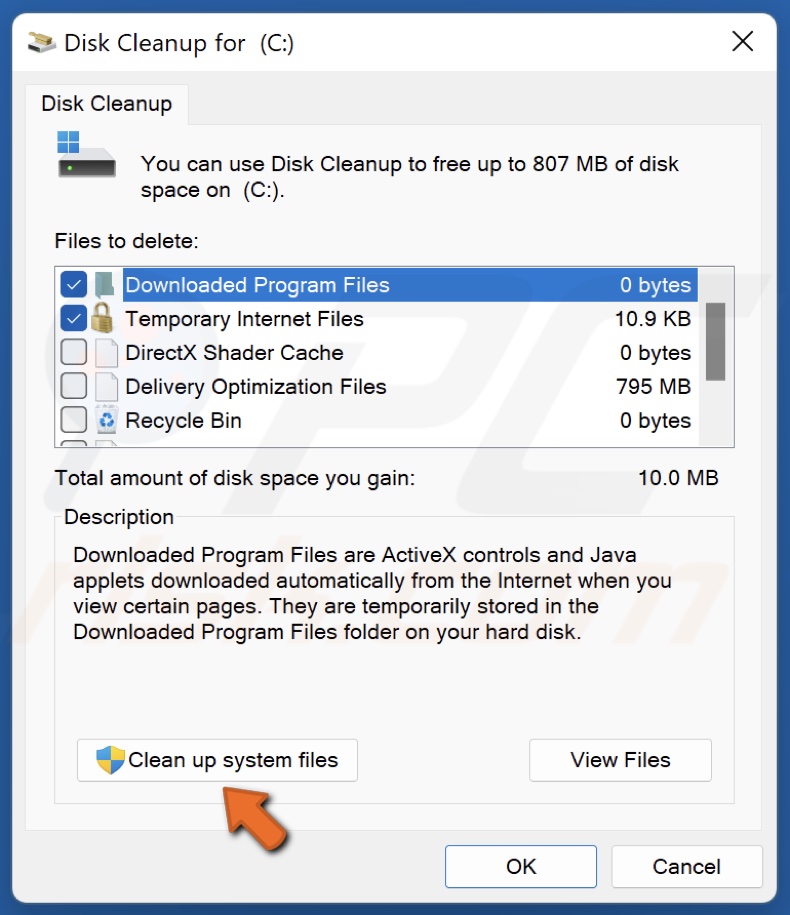
3. Click Clean up system files.
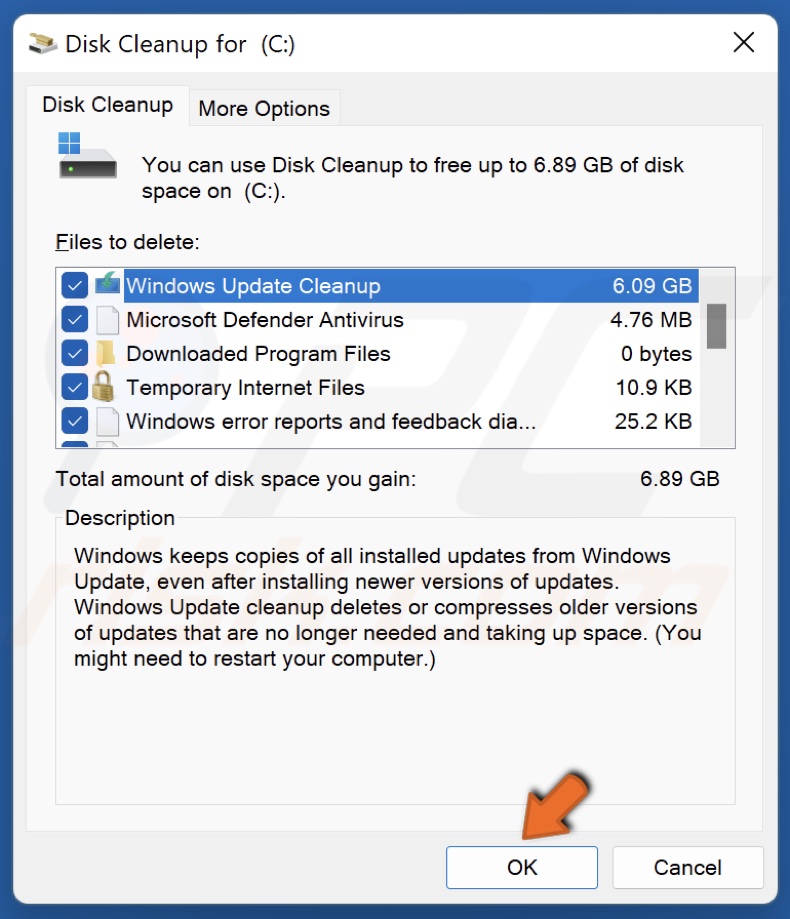
4. Tick the checkboxes of the locations you want to be cleaned and click OK.
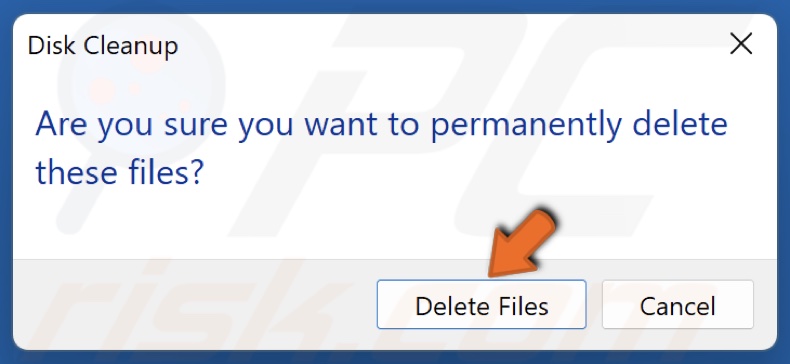
6. Then, click Delete Files when prompted.
6. Wait for the cleaning process to complete.
Method 4. Run a Check Disk (CHKDSK) Scan
1. Hold down Windows+R keys to open Run.
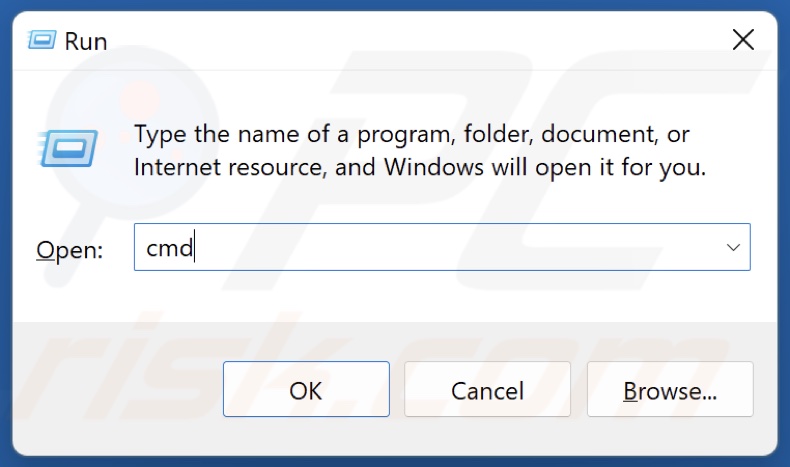
2. In the Run dialog box, type in CMD and hold down Ctrl+Shift+Enter keys to open the elevated Command Prompt.
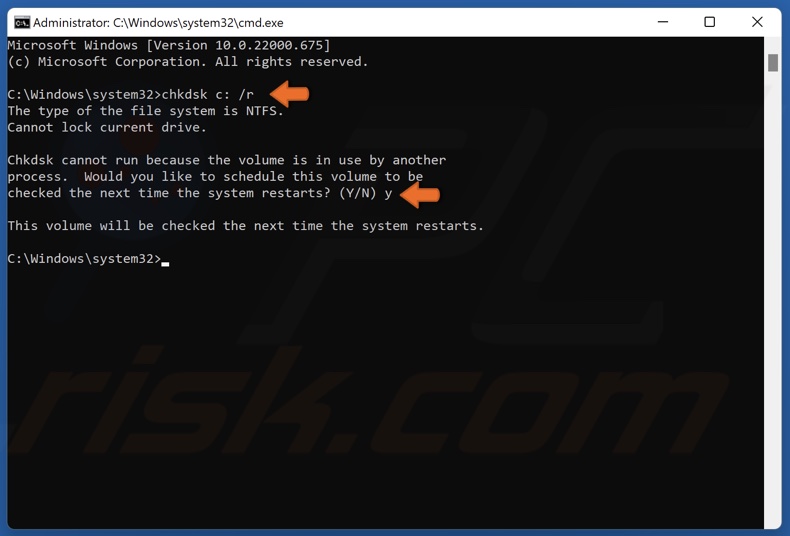
3. In the Command Prompt Window, type in CHKDSK c: /r and hit Enter. In our case, C is the system drive. If your system drive uses another letter, such as D, type in D instead of C.
4. Type in Y if that volume is being used by another process, and press Enter.
5. Then, close the Command Prompt and restart your PC. The scan will begin during the restart.
Method 5. Run the Deployment Image & Servicing Management (DISM) Scan
1. Hold down Windows+R keys to open Run.
2. In the Run dialog box, type in CMD and hold down Ctrl+Shift+Enter keys to open the elevated Command Prompt.
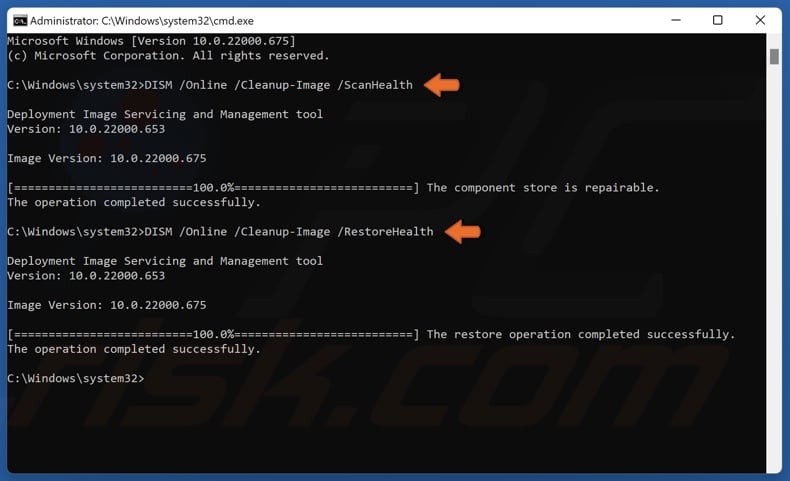
3. In the Command Prompt window, type in DISM /Online /Cleanup-Image /ScanHealth and press Enter.
4. Type in DISM /Online /Cleanup-Image /RestoreHealth and press Enter.
5. Close the Command Prompt and restart your PC.
Method 6. Run the System File Checker (SFC) Scan
1. Hold down Windows+R keys to open Run.
2. In the Run dialog box, type in CMD and hold down Ctrl+Shift+Enter keys to open the elevated Command Prompt.
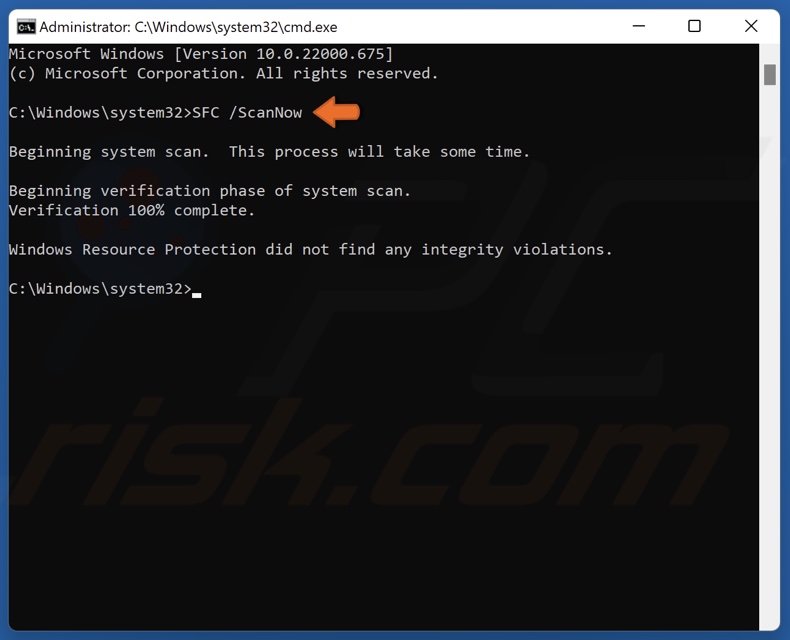
3. In the Command Prompt window, type in SFC /ScanNow and press Enter.
4. Close the Command Prompt and restart your PC.
Share:

Rimvydas Iliavicius
Researcher, author
Rimvydas is a researcher with over four years of experience in the cybersecurity industry. He attended Kaunas University of Technology and graduated with a Master's degree in Translation and Localization of Technical texts. His interests in computers and technology led him to become a versatile author in the IT industry. At PCrisk, he's responsible for writing in-depth how-to articles for Microsoft Windows.
▼ Show Discussion