How to Fix Windows 11 Snipping Tool Not Working

Get Free Scanner and check your computer for errors
Fix It NowTo fix found issues, you have to purchase the full version of Combo Cleaner. Free trial available. Combo Cleaner is owned and operated by Rcs Lt, the parent company of PCRisk.com read more.
How to Fix Windows 11 Snipping Tool Not Working
Many Windows 11 users experience issues with the Snipping Tool. The app fails to launch, doesn’t take screenshots, or the screenshot is partially or entirely black. This article contains several methods to help you get Snipping Tool to work correctly.
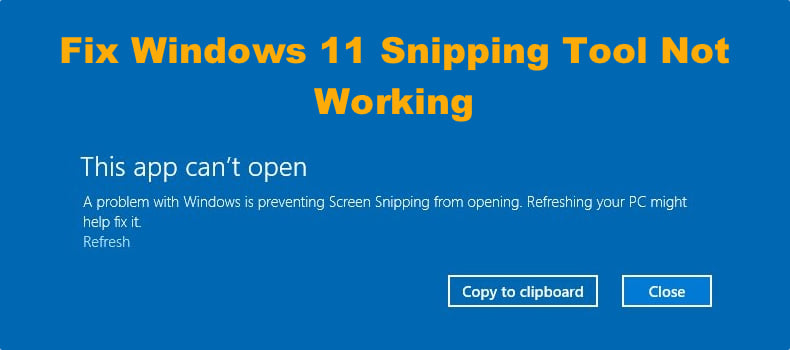
When the Snipping Tool is malfunctioning, and you try to open it, you may get a dialog screen that says:
This app can’t open
A problem with Windows is preventing Screen Snipping from opening. Refreshing your PC might help fix it.
Why Does the Snipping Tool Stop Working?
- Interference from other apps. Another application or process prevents the Snipping Tool from launching or working correctly. Running Windows 11 in Clean Boot mode may help you identify which program(s) interfere with the Snipping Tool.
- Outdated graphics card driver. An outdated Graphics card driver can prevent the Snipping tool from Launching. Update your graphics card drivers and see if that fixed the problem.
- Corrupted Snipping Tool Installation. The installation may become due to a Windows 11 update glitch.
- Expired Snipping Tool certificate. The Snipping Tool is a repackaged Snip & Sketch app found in Windows 10. Due to poor oversight, the Snipping Tool was released with a certificate that expired on October 31, 2021.
- System screen scaling. The snipping tool doesn’t work correctly for many because screen scaling is not set to 100%, especially in multi-screen display setups with different scaling levels. Set screen scaling of all displays to 100%, which might fix the problem.
Video on How to Fix Windows 11 Snipping Tool Not Working
Table of Contents:
- Introduction
- Method 1. Set the Date Before October 31, 2021
- Method 2. Repair and Reset the Snipping Tool
- Method 3. Run the System File Checker (SFC) Scan
- Method 4. Reinstall the Snipping Tool Using PowerShell
- Video on How to Fix Windows 11 Snipping Tool Not Working
Download Computer Malware Repair Tool
It is recommended to run a free scan with Combo Cleaner - a tool to detect viruses and malware on your device. You will need to purchase the full version to remove infections. Free trial available. Combo Cleaner is owned and operated by Rcs Lt, the parent company of PCRisk.com read more.
Method 1. Set Date Before October 31, 2021
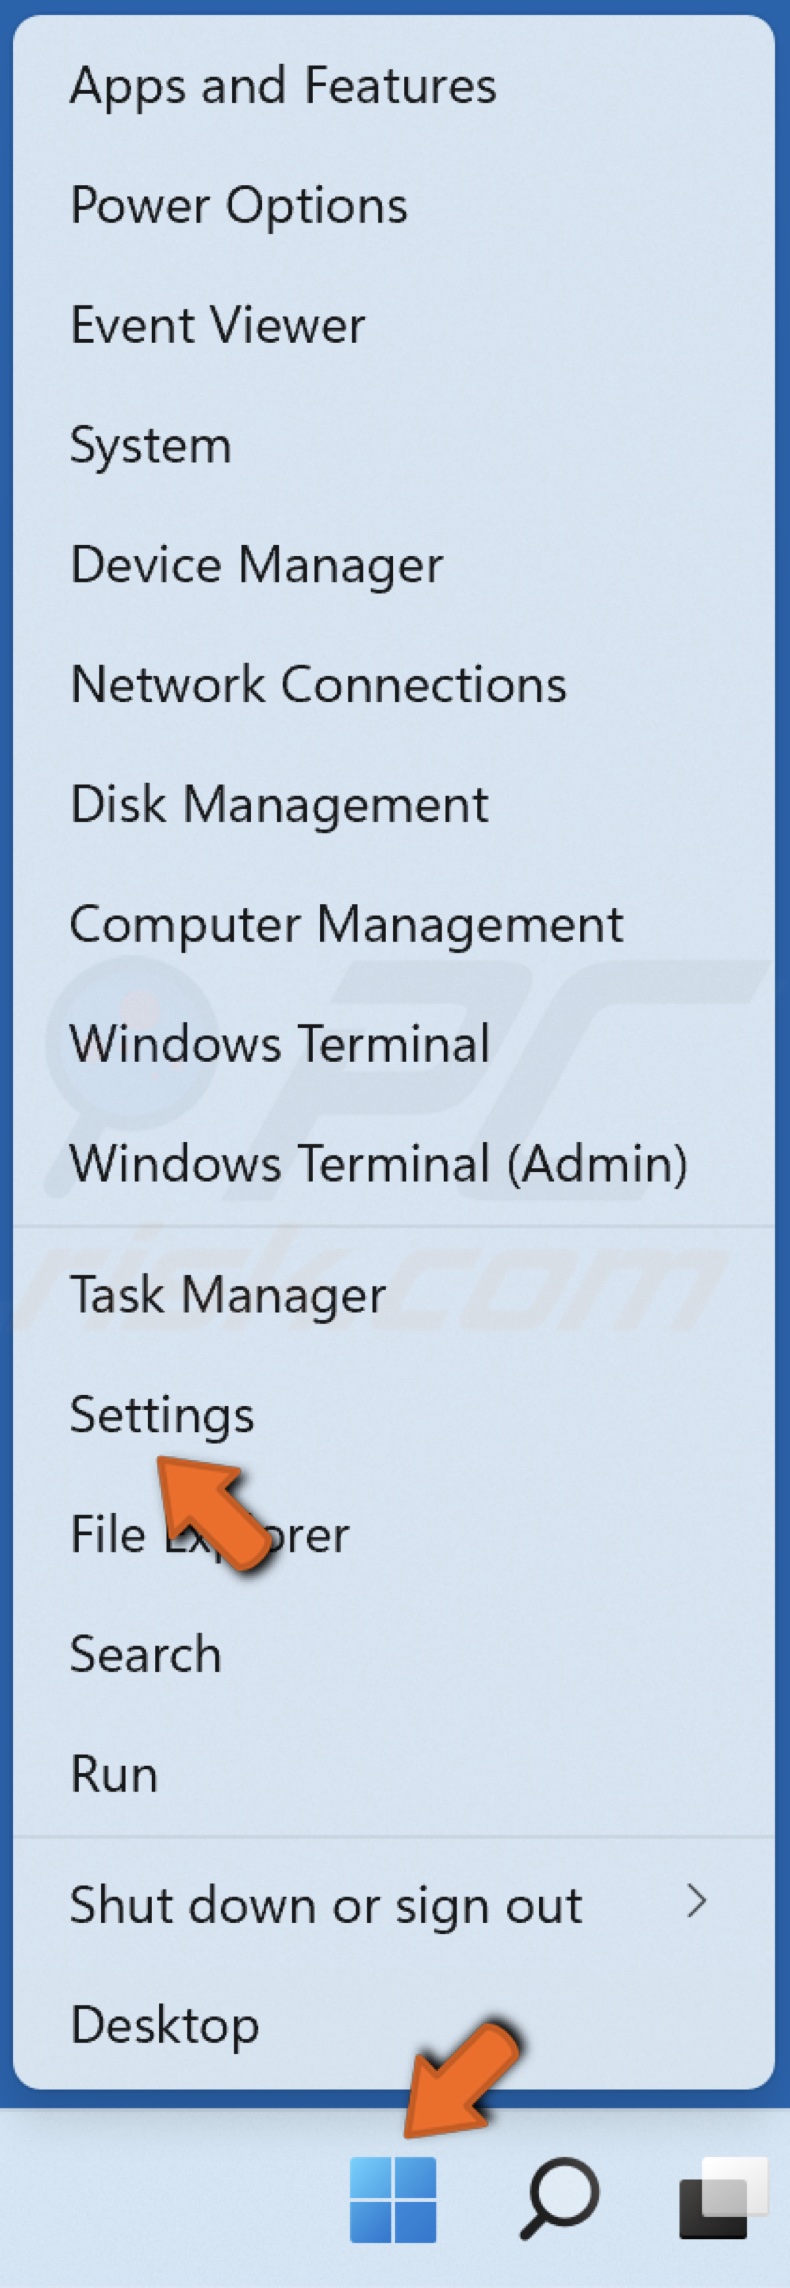
1. Right-click Start and select Settings.
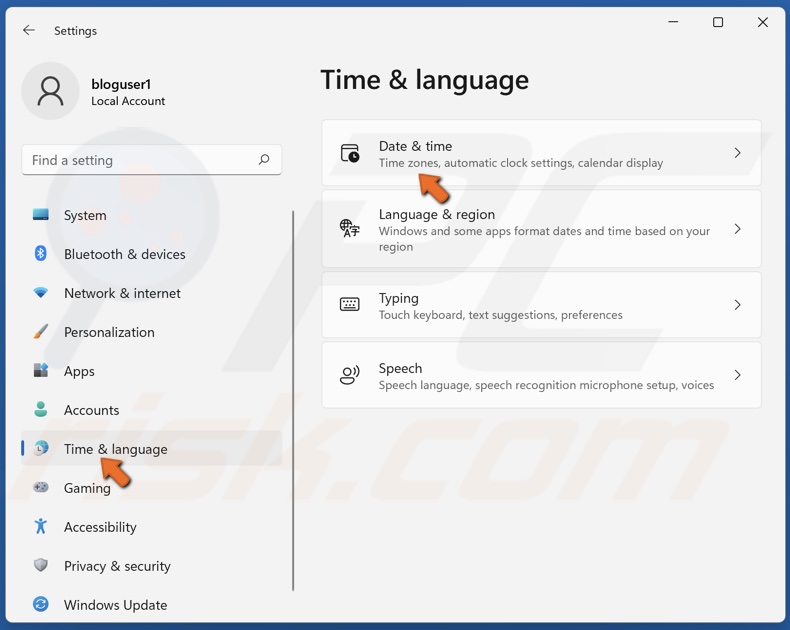
2. In the left pane, select Time & language and then select Date & time.
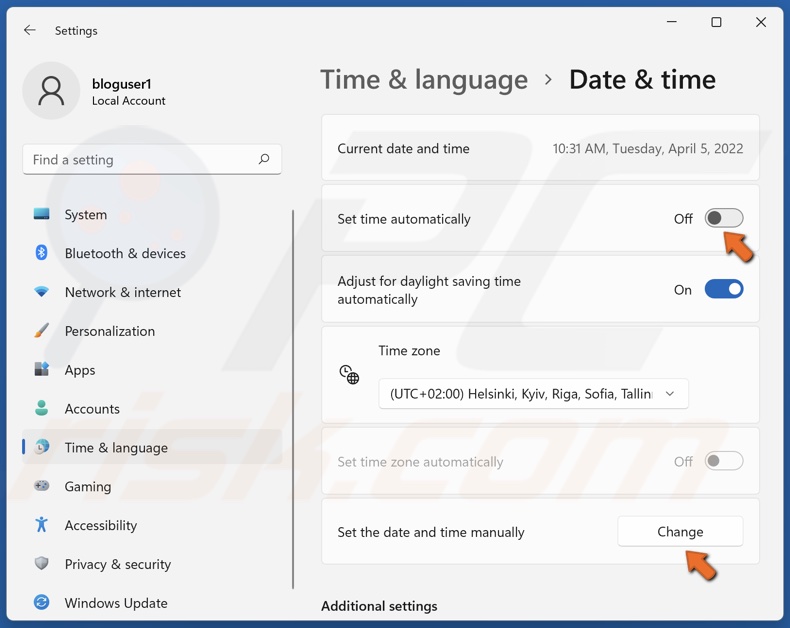
3. Toggle off the slider next to Set time automatically.
4. Then, click Change next to Set the date and time manually.
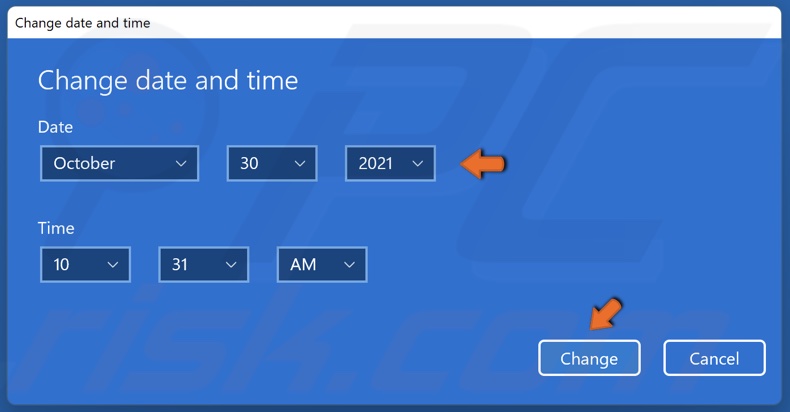
5. Set the date to October 30, 2021, and click Change.
6. Open the Snipping Tool to see if it works. You can try changing the date back to automatic, and the Snipping Tool should work. Change it back to manual and set the date back to October 30, 2021, if it doesn’t.
Method 2. Repair and Reset the Snipping Tool
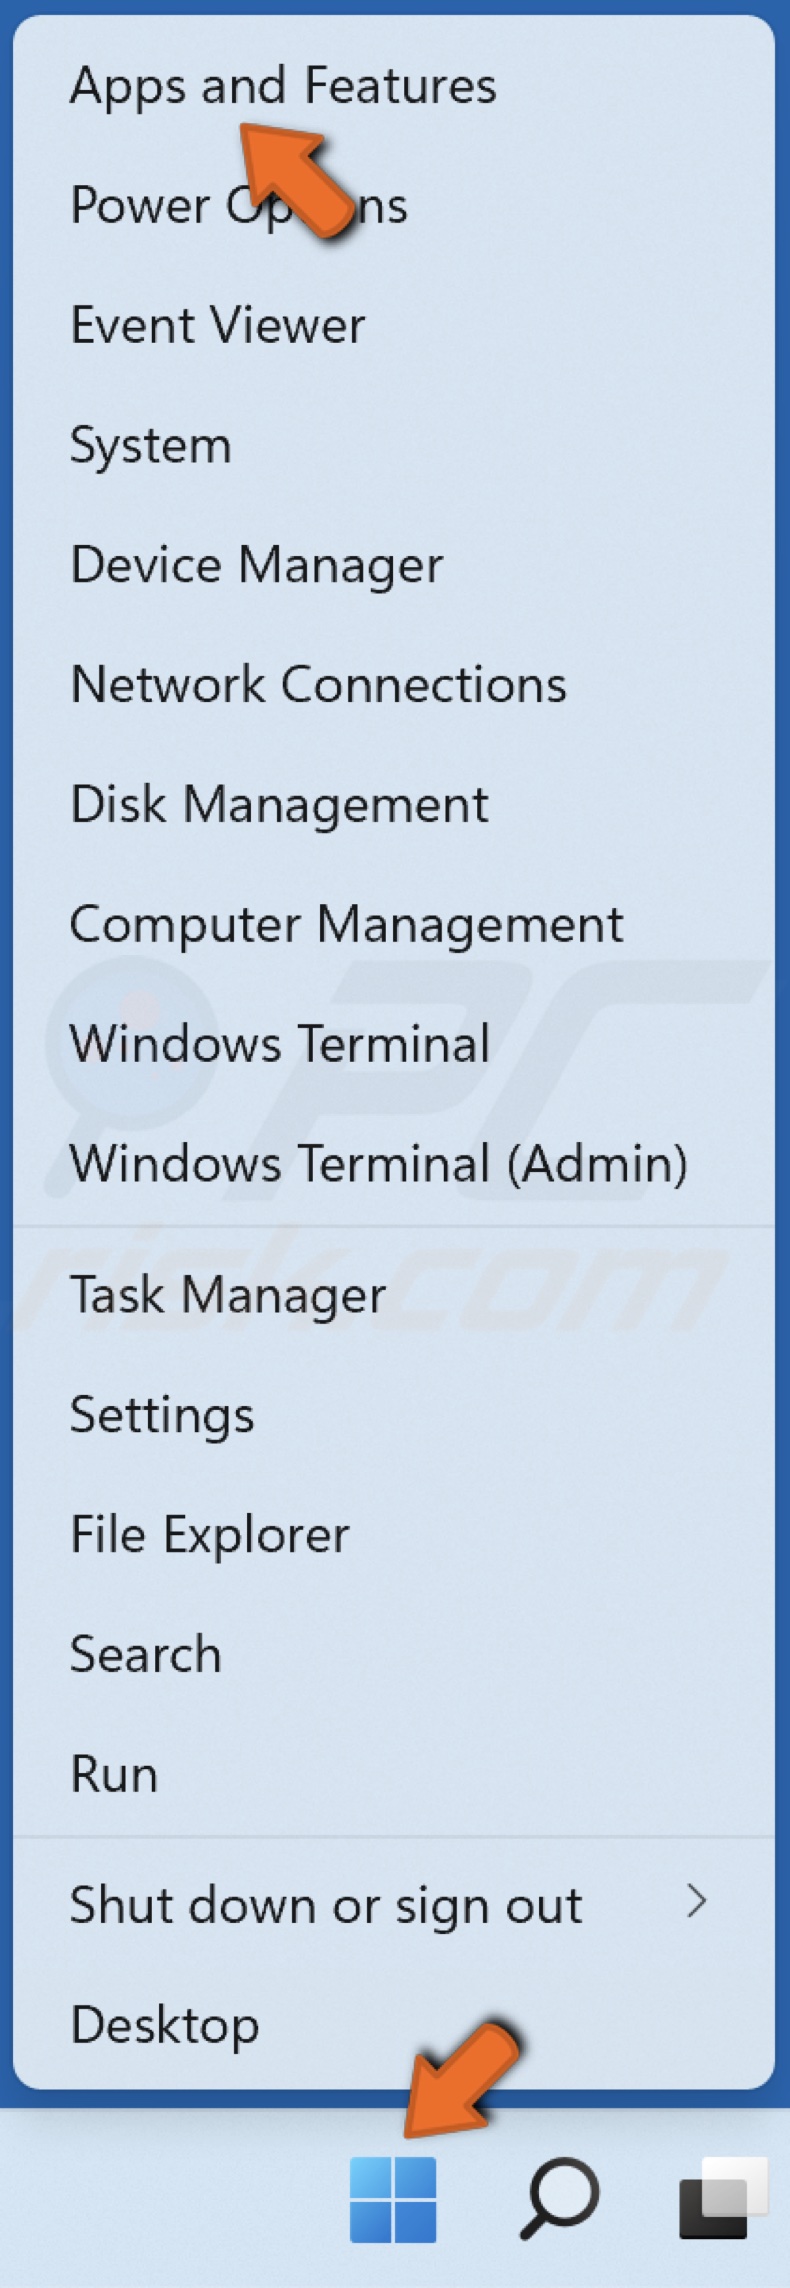
1. Right-click Start and select Apps and Features.

2. Scroll through the apps list and find Snipping Tool.
3. Click the ellipsis next to Snipping Tool and select Advanced options.
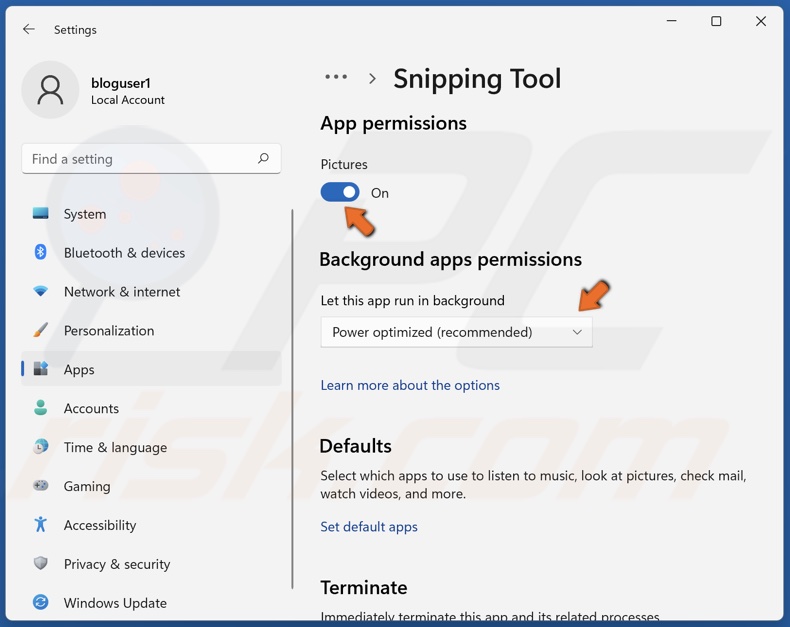
4. Make sure that Pictures in App permissions are enabled.
5. In the Background apps and permissions section, open the Let this app run in the background drop-down menu.
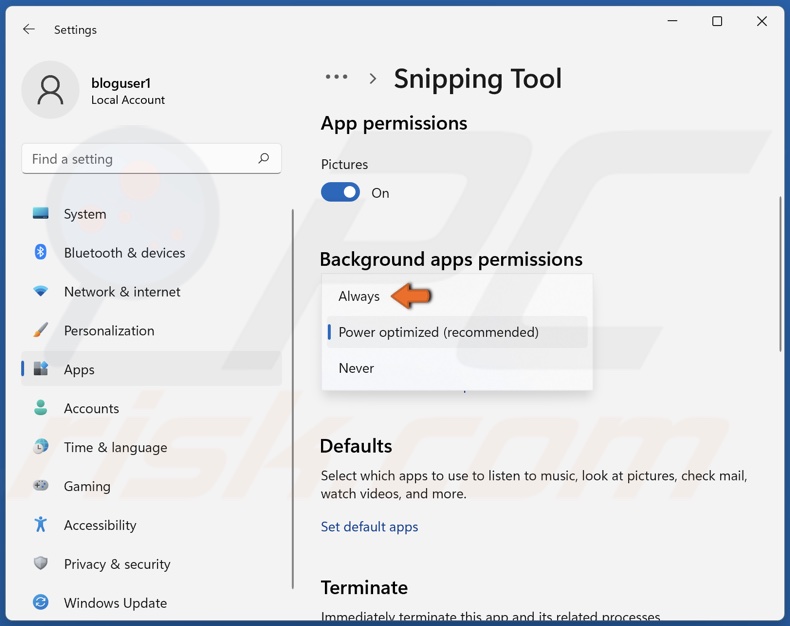
6. Select Always.
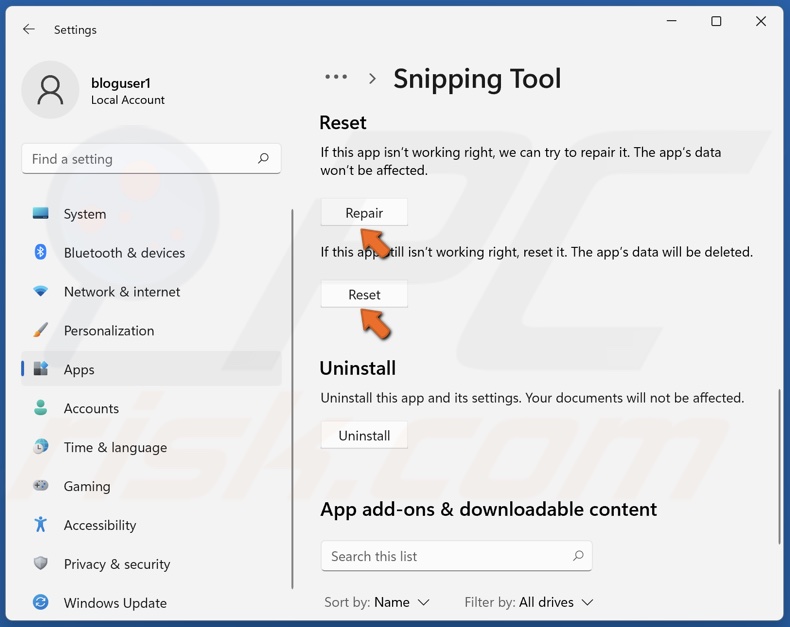
6. In the Reset section, click Repair.
7. If Snipping Tool still doesn’t work, click Reset.
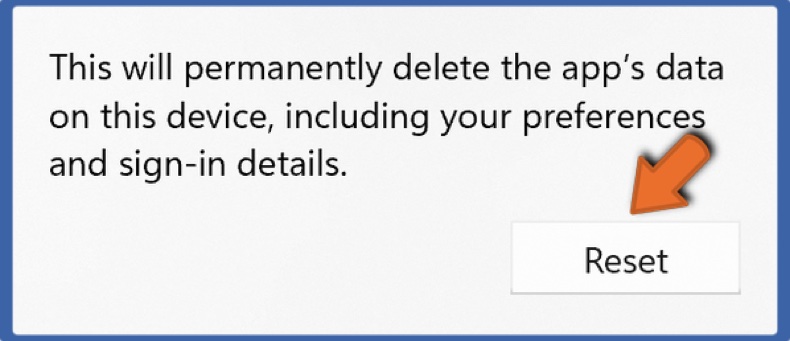
8. Click Reset again to confirm the action.
Method 3. Run the System File Checker (SFC) Scan
1. Hold down Windows+R keys to open Run.
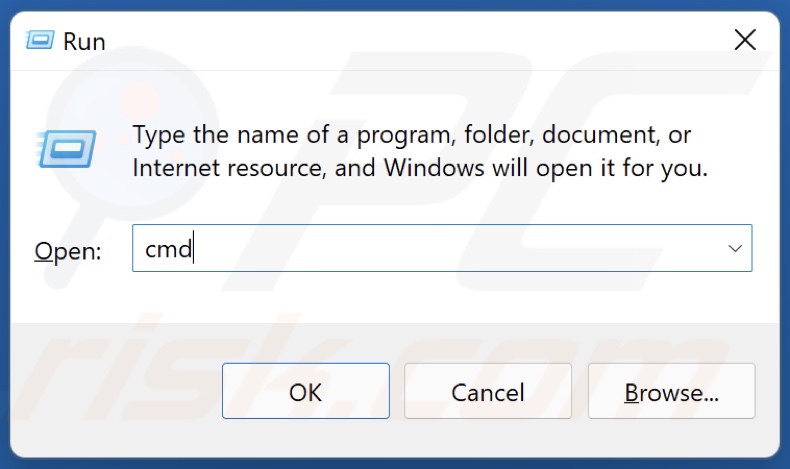
2. In the Run dialog box, type in CMD and hold down Ctrl+Shift+Enter keys to open the elevated Command Prompt.
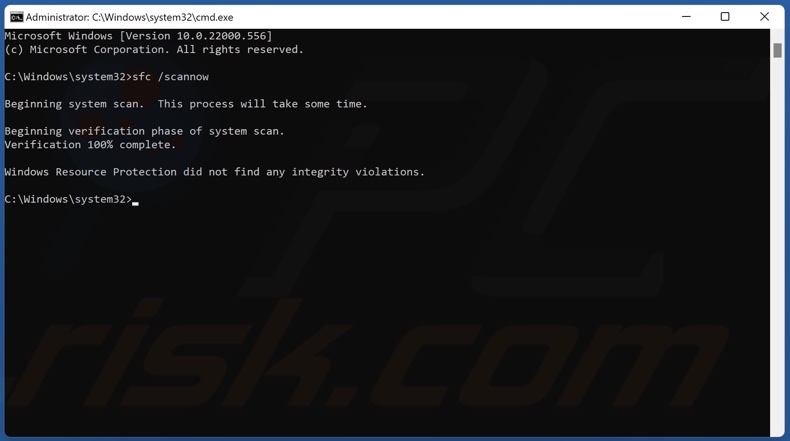
3. In the Command Prompt window, type in SFC /ScanNow and press the Enter key.
4. Restart your PC.
Method 4. Reinstall the Snipping Tool Using PowerShell
1. Hold down Windows+R keys to open Run.
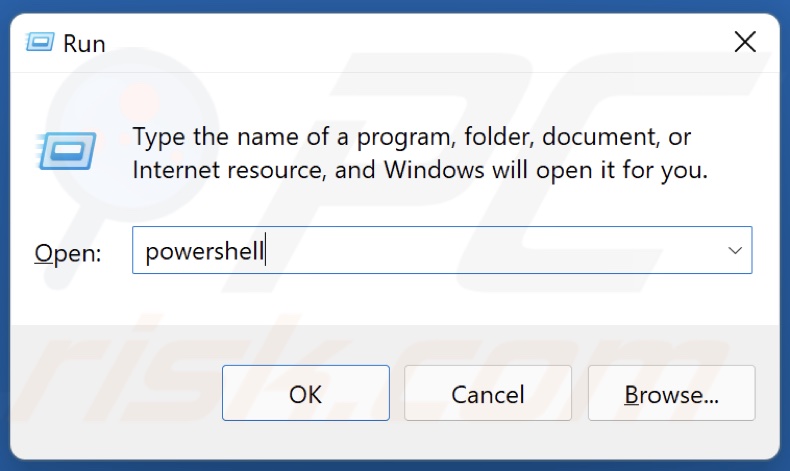
2. In the Run dialog box, type in powershell and hold down Ctrl+Shift+Enter keys to open PowerShell as an administrator.
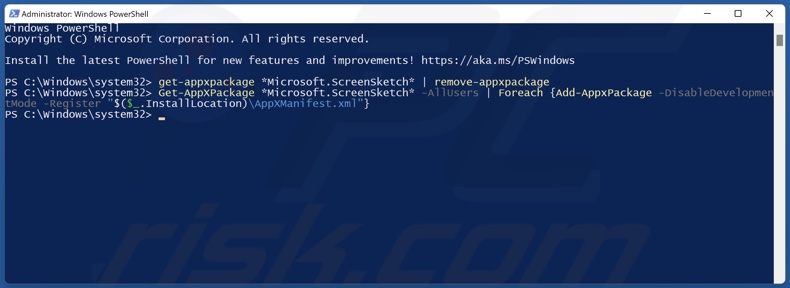
3. In the PowerShell window, type in get-appxpackage *Microsoft.ScreenSketch* | remove-appxpackage and press the Enter key. Snipping Tool will be uninstalled.
4. Then type in Get-AppXPackage *Microsoft.ScreenSketch* -AllUsers | Foreach {Add-AppxPackage -DisableDevelopmentMode -Register "$($_.InstallLocation)\AppXManifest.xml"} and press Enter. The latest build of Snipping Tool will be installed.
Share:

Rimvydas Iliavicius
Researcher, author
Rimvydas is a researcher with over four years of experience in the cybersecurity industry. He attended Kaunas University of Technology and graduated with a Master's degree in Translation and Localization of Technical texts. His interests in computers and technology led him to become a versatile author in the IT industry. At PCrisk, he's responsible for writing in-depth how-to articles for Microsoft Windows.
▼ Show Discussion