How to Fix DNS_PROBE_FINISHED_NXDOMAIN Error in Google Chrome

Get Free Scanner and check your computer for errors
Fix It NowTo fix found issues, you have to purchase the full version of Combo Cleaner. Free trial available. Combo Cleaner is owned and operated by Rcs Lt, the parent company of PCRisk.com read more.
How to Fix DNS_PROBE_FINISHED_NXDOMAIN Error in Google Chrome
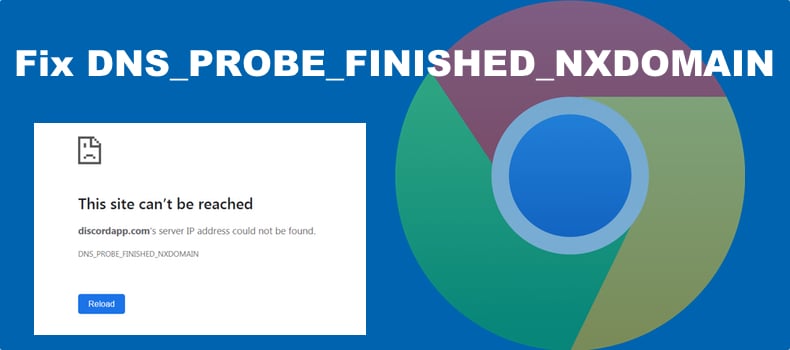
“This site can’t be reached. Server IP address could not be found” with DNS_PROBE_FINISHED_NXDOMAIN is a common error experienced by Google Chrome users. If you get this error when trying to access a website on your Windows machine, follow the instructions provided in this article to fix it.
What Does DNS_PROBE_FINISHED_NXDOMAIN Mean?
DNS connects domain names with actual web server IP addresses. DNS is used to resolve/translate domain names. If the DNS can’t resolve the domain name or address, you may get the DNS_PROBE_FINISHED_NXDOMAIN error. NXDOMAIN stands for Non-Existent Domain.
Why Does the DNS_PROBE_FINISHED_NXDOMAIN Error Occur?
- Misconfigured DNS settings or another issue with the DNS on the user’s PC.
- The domain of the target website is not registered or has expired.
- The domain is not pointing to any IP address.
- The issue comes from the ISP (Internet Service Provider) side.
- Interference from anti-virus or VPN software. Try to temporarily disable your anti-virus and VPN software and check if that resolves this error.
Video on How to Fix the DNS_PROBE_FINISHED_NXDOMAIN Error
Table of Contents:
- Introduction
- Method 1. Reset TCP/IP Settings and Flush DNS Cache
- Method 2. Restart the DNS Client Service
- Method 3. Change Your DNS Server Address
- Method 4. Clear Google Chrome Host Cache
- Method 5. Reset Google Chrome Flags
- Video on How to Fix the DNS PROBE FINISHED NXDOMAIN Error
Download Computer Malware Repair Tool
It is recommended to run a free scan with Combo Cleaner - a tool to detect viruses and malware on your device. You will need to purchase the full version to remove infections. Free trial available. Combo Cleaner is owned and operated by Rcs Lt, the parent company of PCRisk.com read more.
Method 1. Reset TCP/IP Settings and Flush DNS Cache
1. Hold down Windows+R keys to open Run.
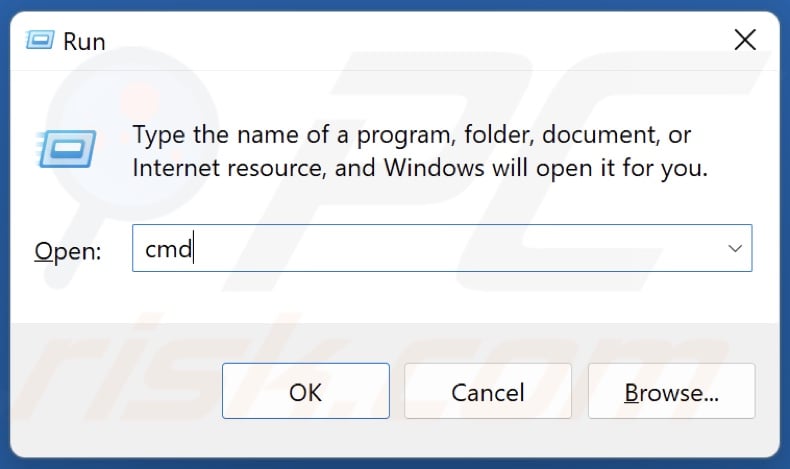
2. In the Run dialog box, type in CMD and hold down Ctrl+Shift+Enter keys to open Command Prompt as an administrator.
3. In the Command Prompt window, type in the commands below and press the Enter key after typing in each one.

- netsh winsock reset
- netsh int ip reset
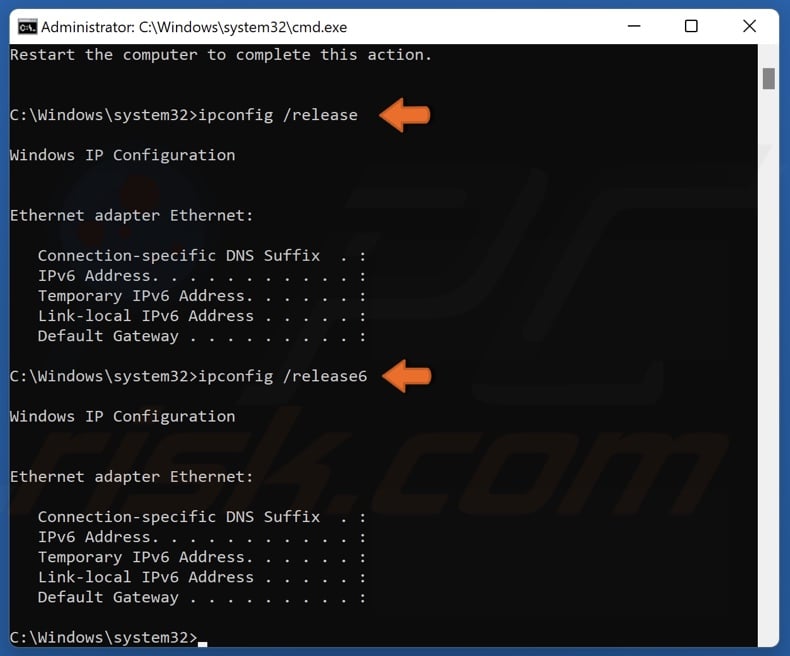
- ipconfig /release
- ipconfig /release6
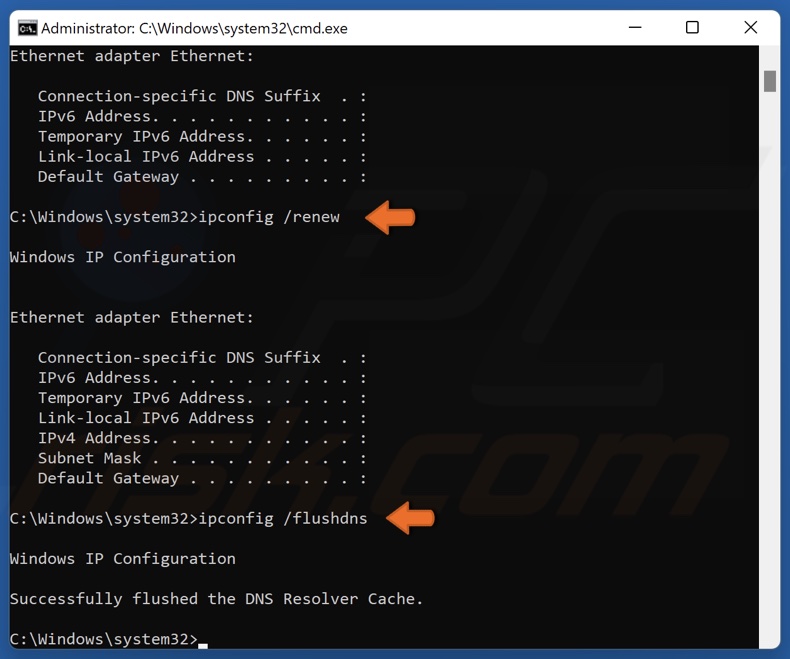
- ipconfig /renew
- ipconfig /flushdns
4. Close the Command Prompt and restart your PC.
Method 2. Restart the DNS Client Service
1. Hold down Windows+R keys to open Run.
2. In the Run dialog box, type in CMD and hold down Ctrl+Shift+Enter keys to open Command Prompt as an administrator.
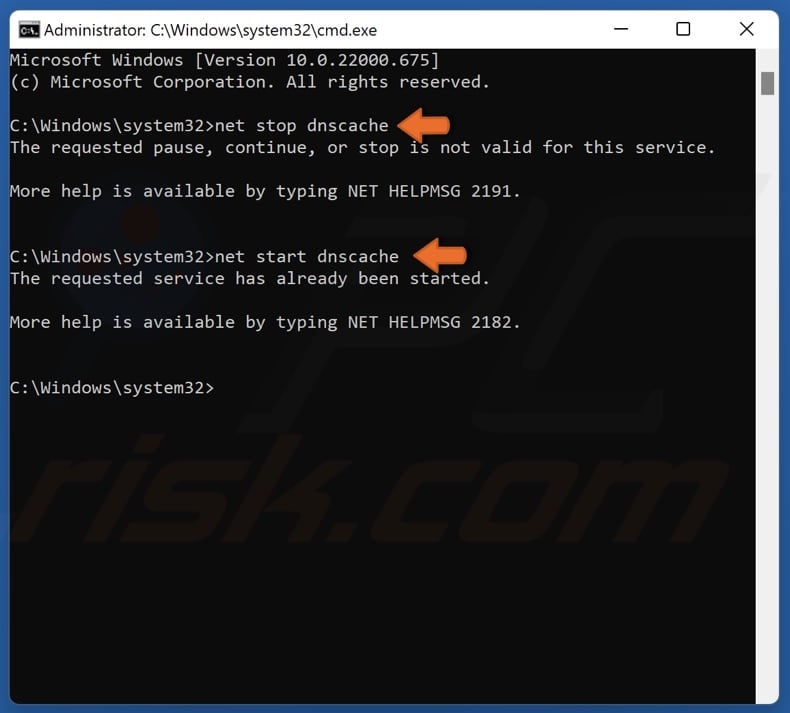
3. Type in net stop dnscache in the Command Prompt window and press Enter.
4. Then, type in net start dnscache and press Enter.
5. Restart your PC.
Method 3. Change Your DNS Server Address
1. Hold down Windows+R keys to open Run.
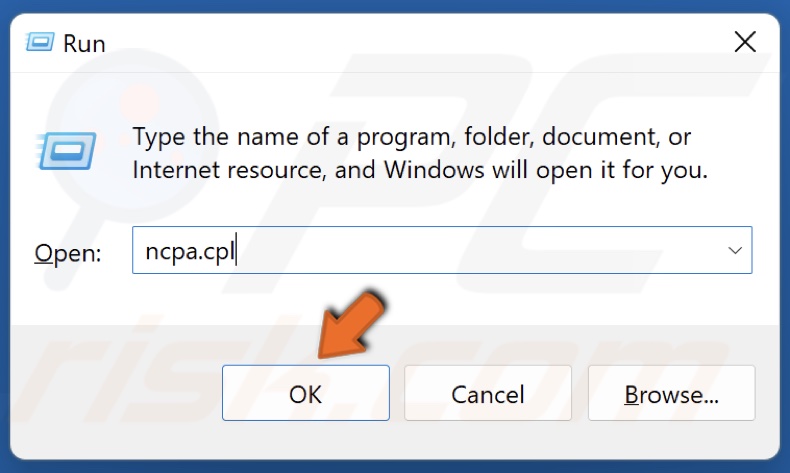
2. In the Run dialog box, type in ncpa.cpl and click OK.
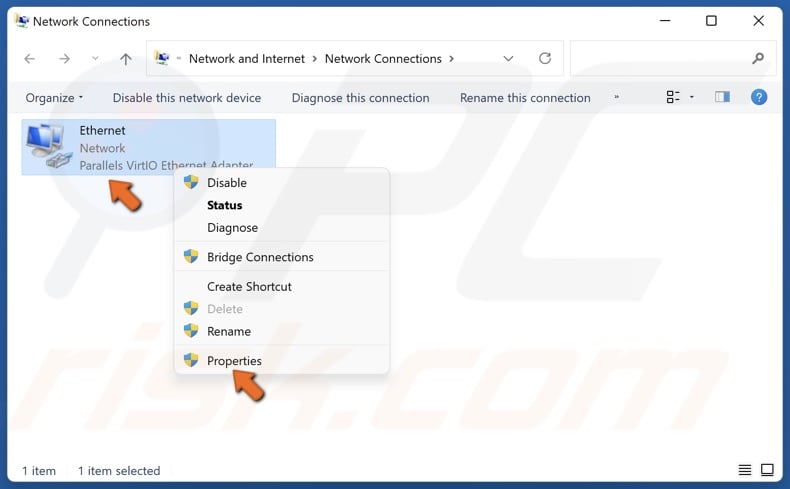
3. Right-click the network adapter and select Properties.
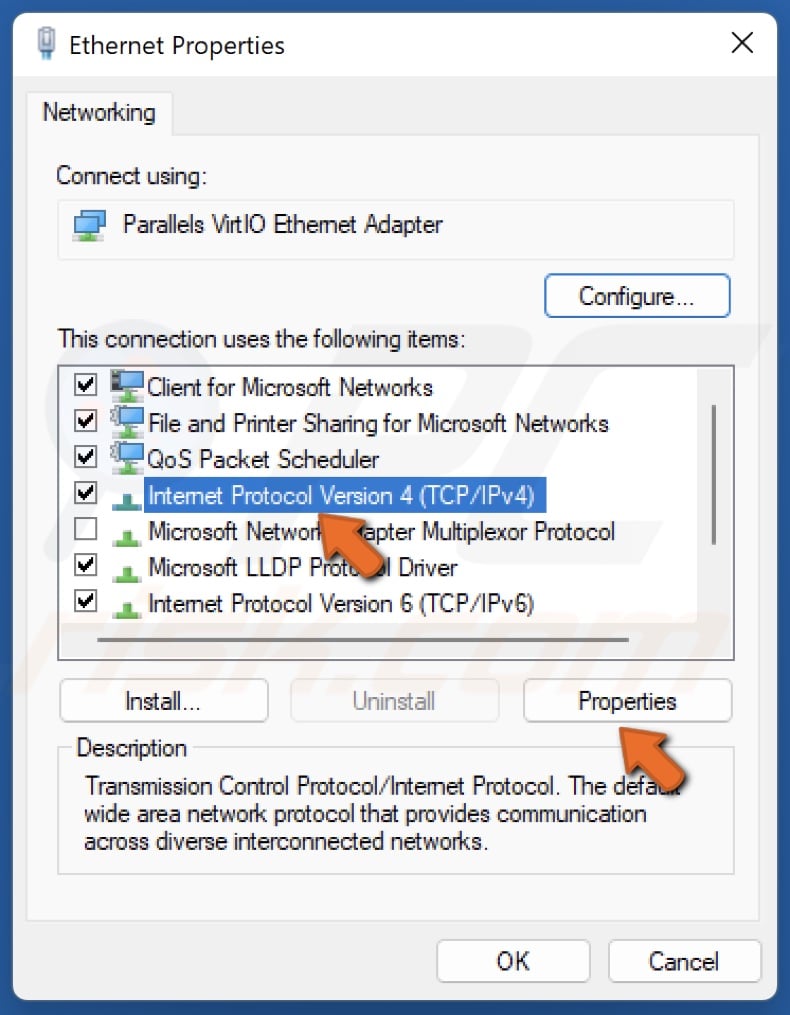
4. Select Internet Protocol Version 4 (TCP/IPv4) and click Properties.
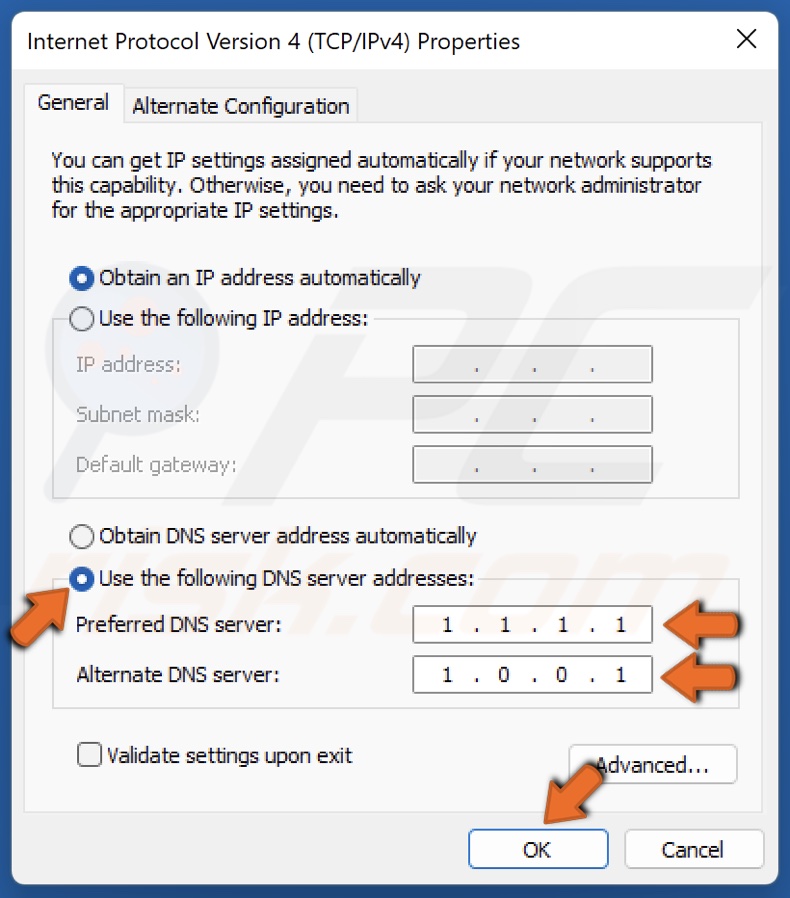
5. Tick the Use the following DNS server addresses option.
6. In the Preferred DNS server, type in 1.1.1.1
7. In the Alternate DNS server, type in 1.0.0.1
8. Click OK to save settings.
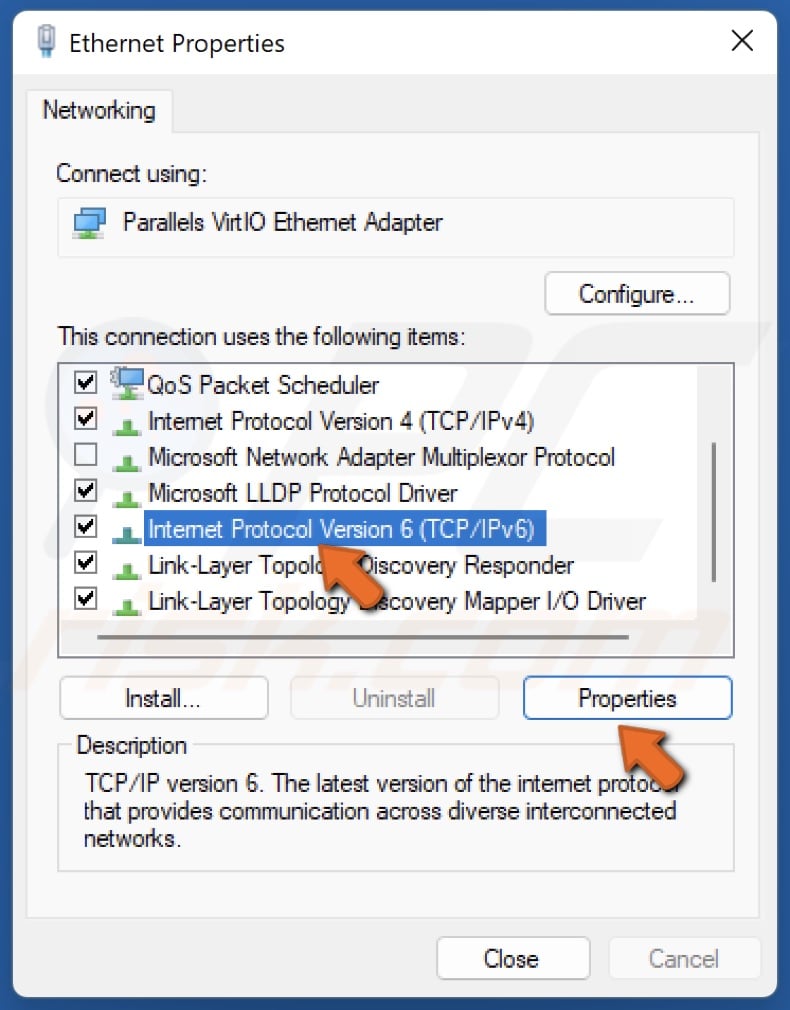
9. Select Internet Protocol Version 6 (TCP/IPv6) and click Properties.
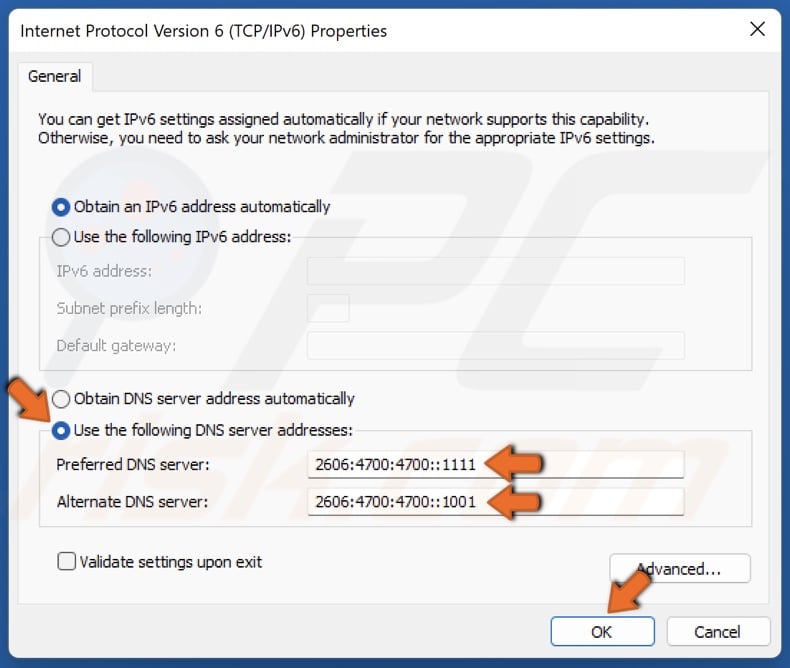
10. Tick the Use the following DNS server addresses option.
11. In the Preferred DNS server, type in 2606:4700:4700::1111
12. In the Alternate DNS server, type in 2606:4700:4700::1001
13. Click OK to save settings.
14. Restart your PC for the changes to take effect.
Method 4. Clear Google Chrome Host Cache
1. Open Google Chrome.
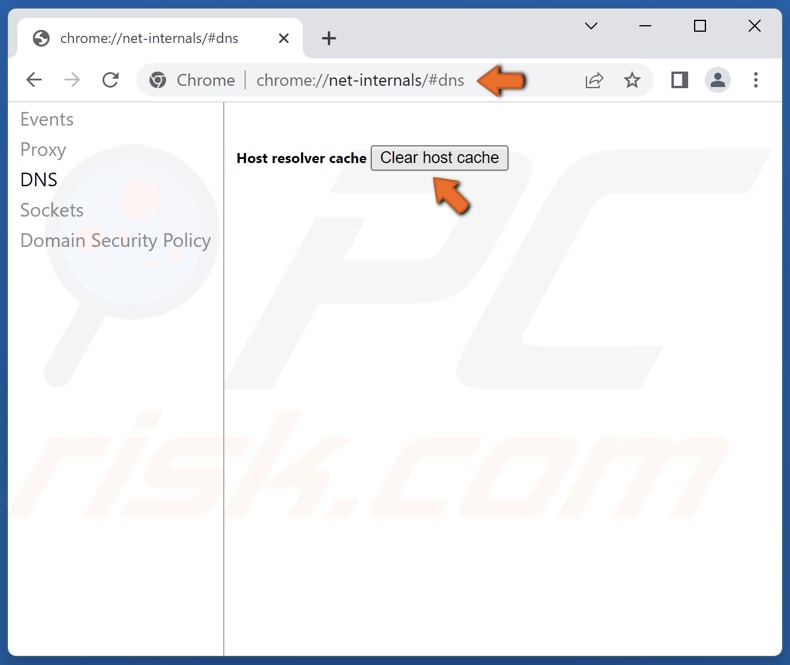
2. Type in chrome://net-internals/#dns in the Omnibox and press the Enter key.
3. Click Clear host cache.
Method 5. Reset Google Chrome Flags
1. Open Google Chrome.
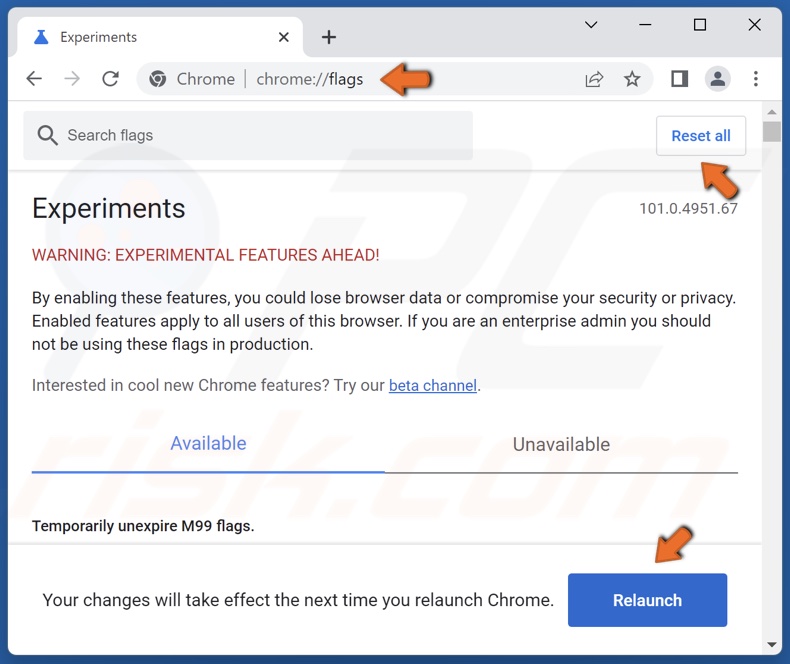
2. Type in chrome://flags/ in the Omnibox and press the Enter key.
3. Click Reset all.
4. Then, click Relaunch.
Share:

Rimvydas Iliavicius
Researcher, author
Rimvydas is a researcher with over four years of experience in the cybersecurity industry. He attended Kaunas University of Technology and graduated with a Master's degree in Translation and Localization of Technical texts. His interests in computers and technology led him to become a versatile author in the IT industry. At PCrisk, he's responsible for writing in-depth how-to articles for Microsoft Windows.
▼ Show Discussion