How to Fix ERR_CONNECTION_RESET Error in Google Chrome

Get Free Scanner and check your computer for errors
Fix It NowTo fix found issues, you have to purchase the full version of Combo Cleaner. Free trial available. Combo Cleaner is owned and operated by Rcs Lt, the parent company of PCRisk.com read more.
How to Fix ERR_CONNECTION_RESET Error in Google Chrome
The ERR_CONNECTION_RESET is an error code that appears in Google Chrome when the browser fails to establish a connection. This article will show you how to fix this error.
What Does ERR_CONNECTION_RESET Mean?
The ERR_CONNECTION_RESET error appears when you try accessing a website, but Google Chrome fails to establish a connection. As a result, the connection is “reset,” which means that Chrome can’t connect to the website’s server, and the server can’t send data to your web browser.
In most cases, while you can access most websites, this error may prevent you from accessing specific websites.
What Causes This Error?
Our research has revealed that the ERR_CONNECTION_RESET error usually indicates a client-side connection issue, which can occur due to the reasons listed below.
- A corrupted web browser cache.
- A problem with your proxy settings.
- Incorrect or corrupted TCP/IP configuration.
- A problem with your Virtual Private Network (VPN). Try disabling your VPN to fix the error.
- A third-party firewall or anti-virus program blocks the connection. Try disabling your anti-virus or firewall program.
Before trying any of our fixes, try resetting and power cycling your Internet router, updating your network adapter driver, and running the built-in Windows Internet connections troubleshooter.
Video Guide on How to Fix ERR_CONNECTION_RESET Error
Table of Contents:
- Introduction
- Method 1. Clear Google Chrome Browsing Data
- Method 2. Disable Proxy Server
- Method 3. Change the DNS Server Address
- Method 4. Reset TCP/IP Settings and Flush DNS Cache
- Method 5. Disable Explicit Congestion Notification (ECN)
- Video Guide on How to Fix ERR CONNECTION RESET Error
Download Computer Malware Repair Tool
It is recommended to run a free scan with Combo Cleaner - a tool to detect viruses and malware on your device. You will need to purchase the full version to remove infections. Free trial available. Combo Cleaner is owned and operated by Rcs Lt, the parent company of PCRisk.com read more.
Method 1. Clear Google Chrome Browsing Data
1. Open Google Chrome.
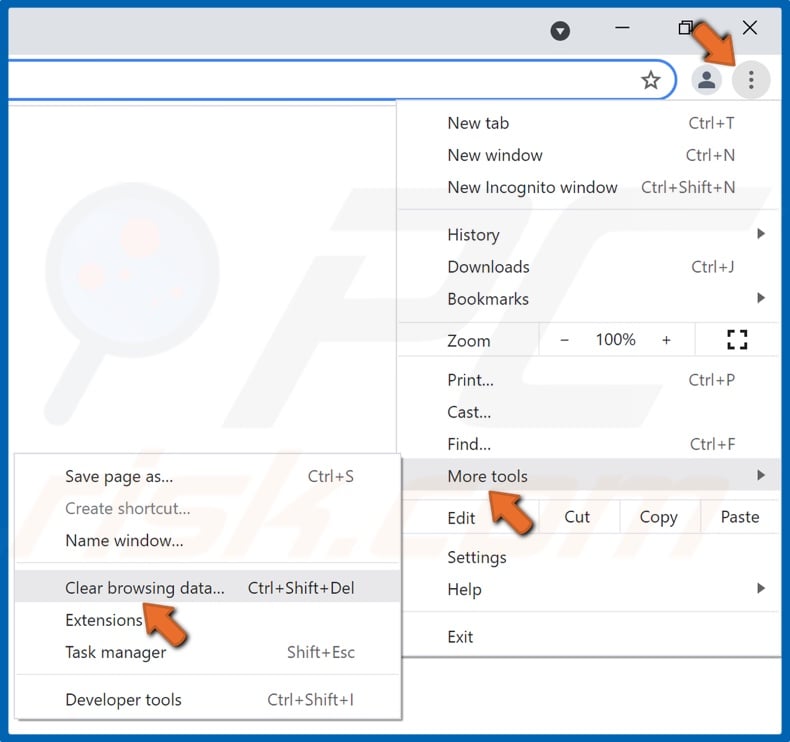
2. Click the ellipsis at the top-right corner, select More tools, and click Clear browsing data.
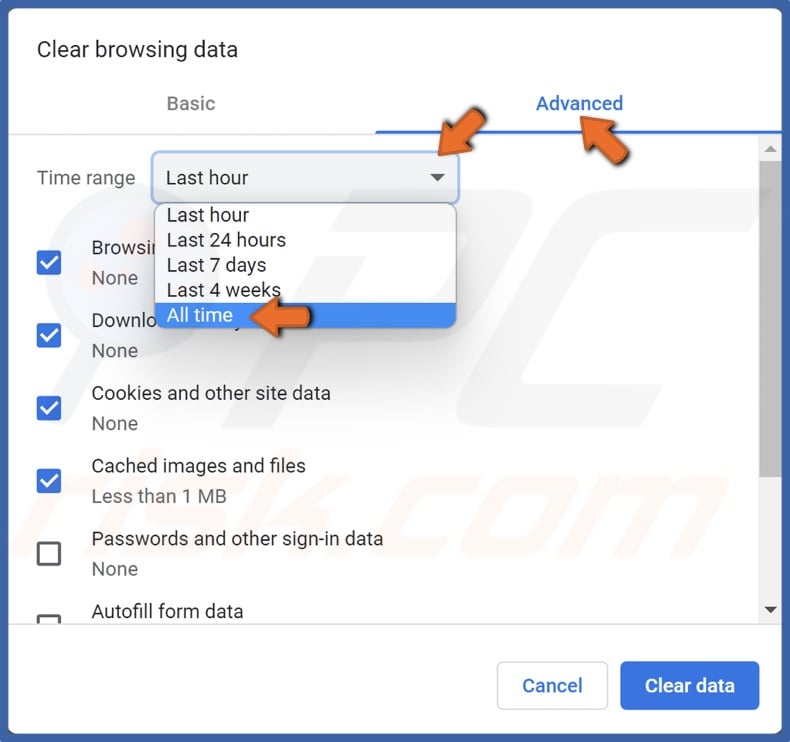
3. Select Advanced.
4. Open the Time range drop-down menu and select All time.
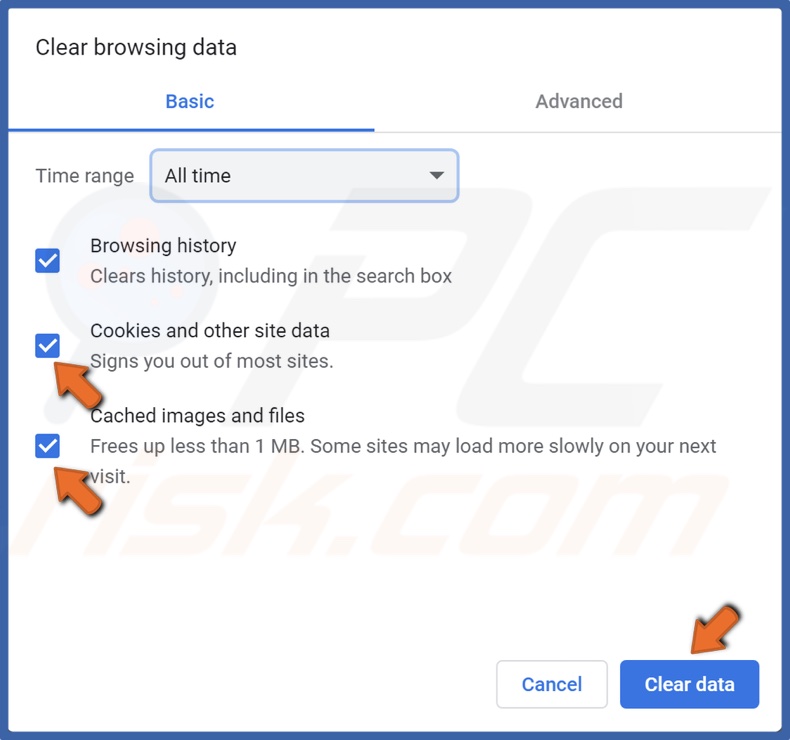
5. Mark the checkboxes next to Cookies and other site data, and Cached images and files.
6. Click Clear data.
Method 2. Disable Proxy Server
1. Hold down Windows+R keys to open Run.
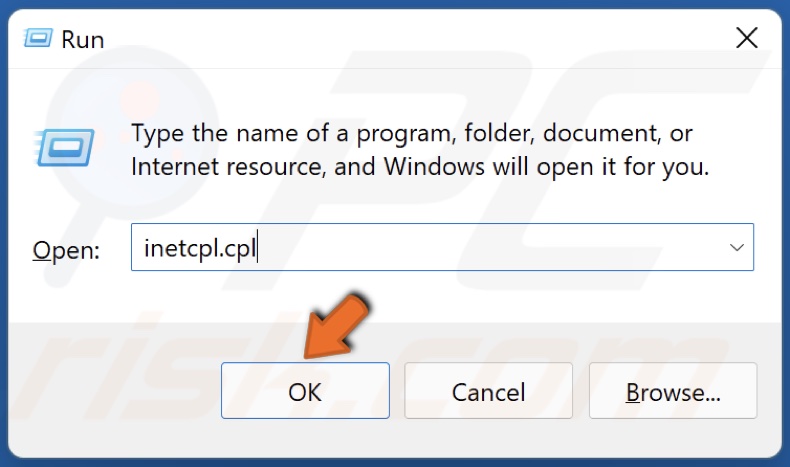
2. In the Run dialog box, type in inetcpl.cpl and click OK.
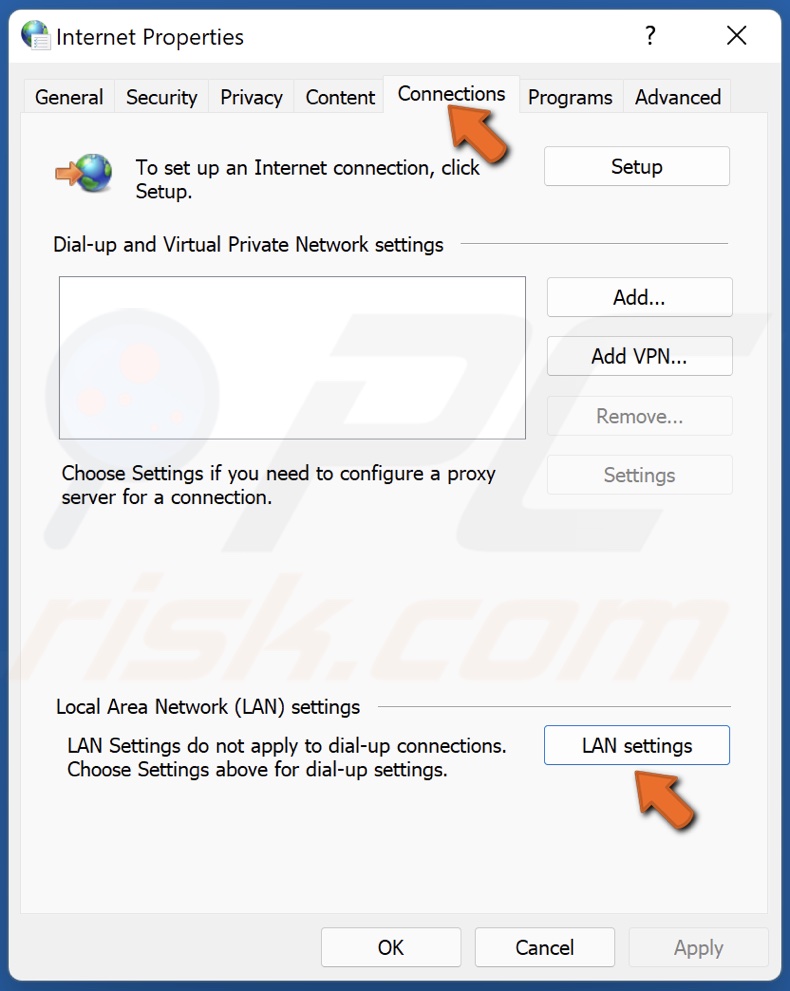
3. In the Internet Properties window, select the Connections tab.
4. Click LAN settings.
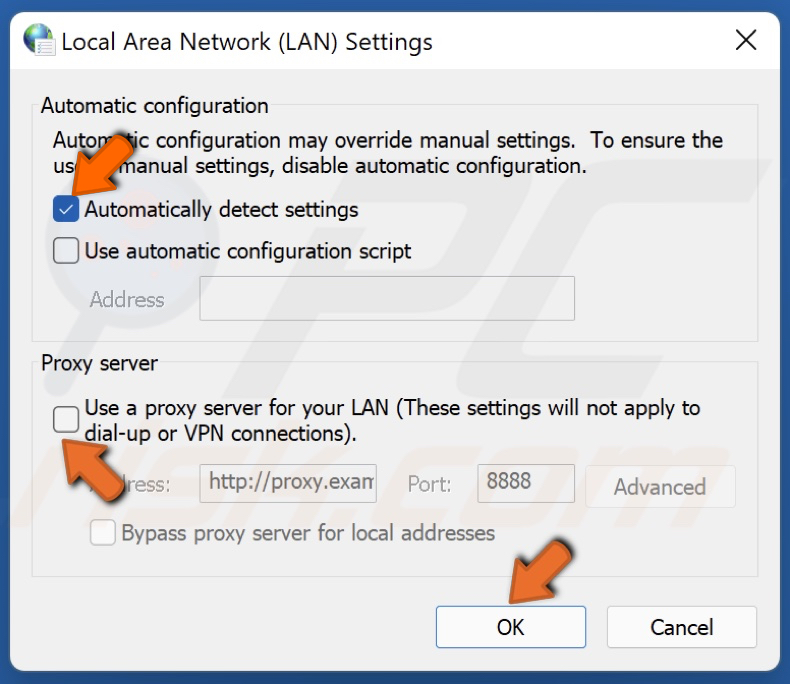
5. Unmark the checkbox next to Use a proxy server for your LAN option.
6. Mark the Automatically detect settings option.
7. Click OK.
Method 3. Change the DNS Server Address
1. Hold down Windows+R keys to open Run.
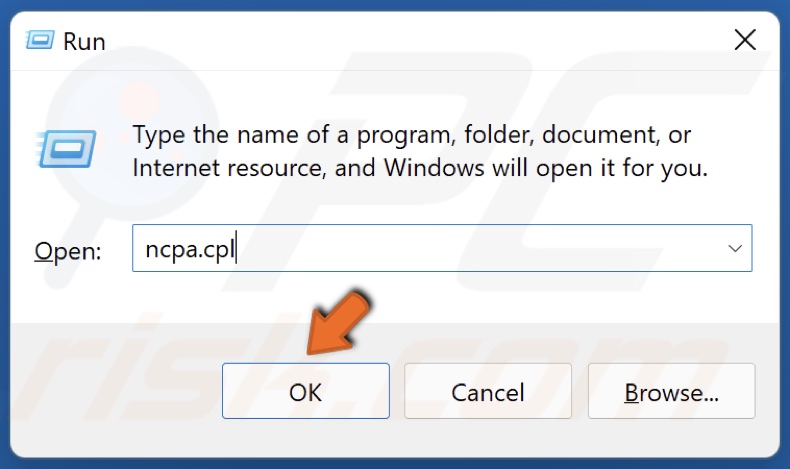
2. In the Run dialog box, type in ncpa.cpl and click OK.
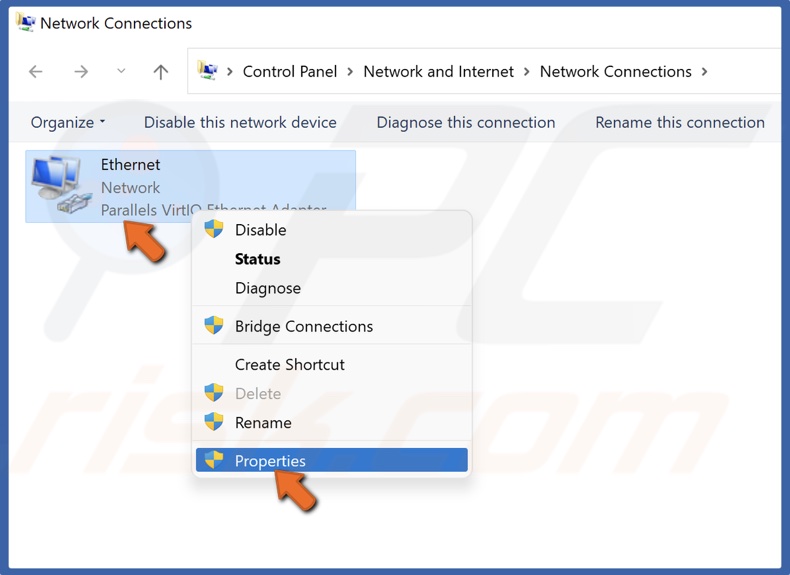
3. Right-click your network adapter and click Properties.
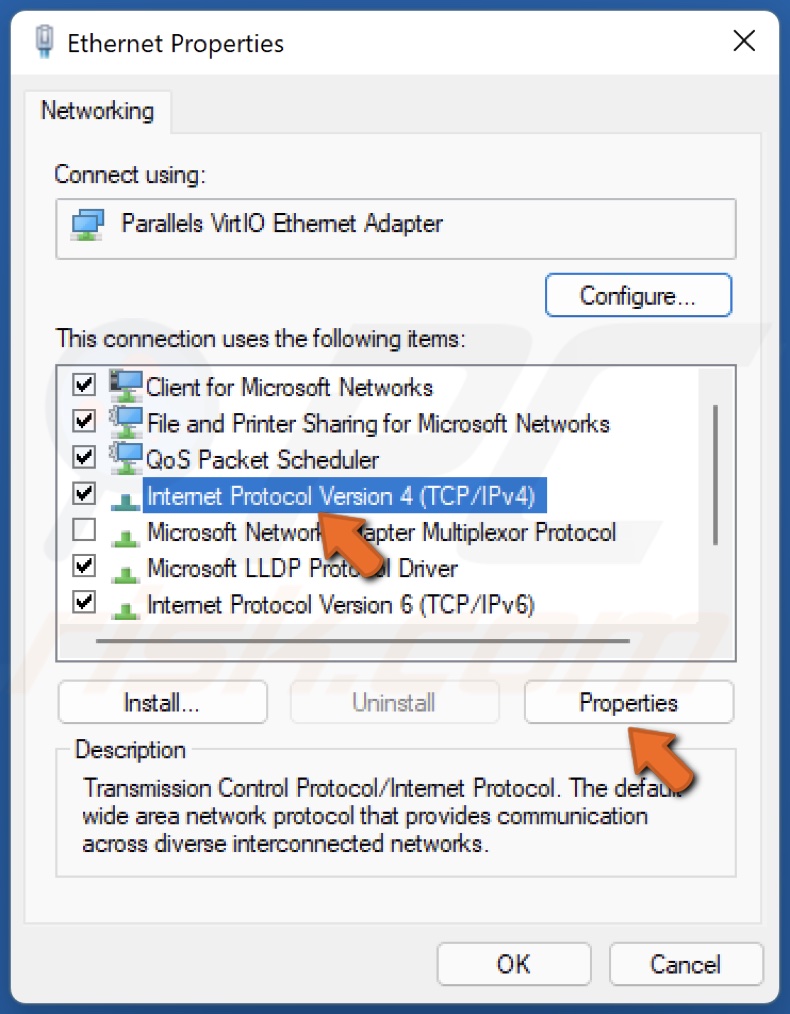
4. Select Internet Protocol Version 4 (TCP/IPv4) and click Properties.
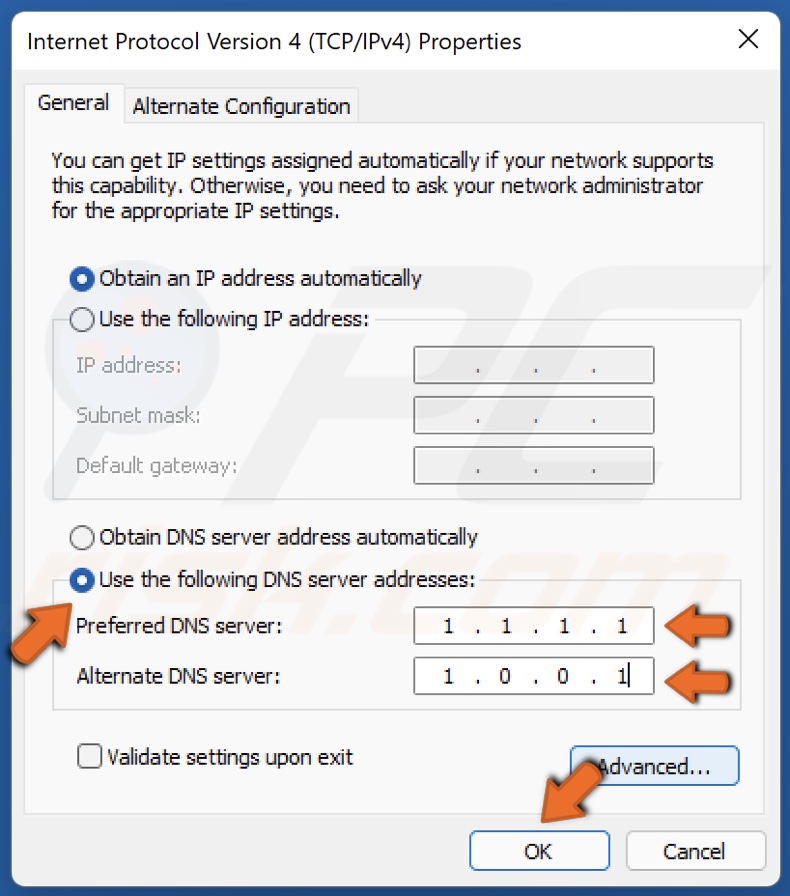
5. Tick the Use the following DNS server addresses option.
6. Enter the following addresses.
- In the Preferred DNS server, type in 1.1.1.1
- In the Alternate DNS server, type in 1.0.0.1
7. Click OK to save settings.
8. Restart your PC.
Method 4. Reset TCP/IP Settings and Flush DNS Cache
1. Hold down Windows+R keys to open Run.
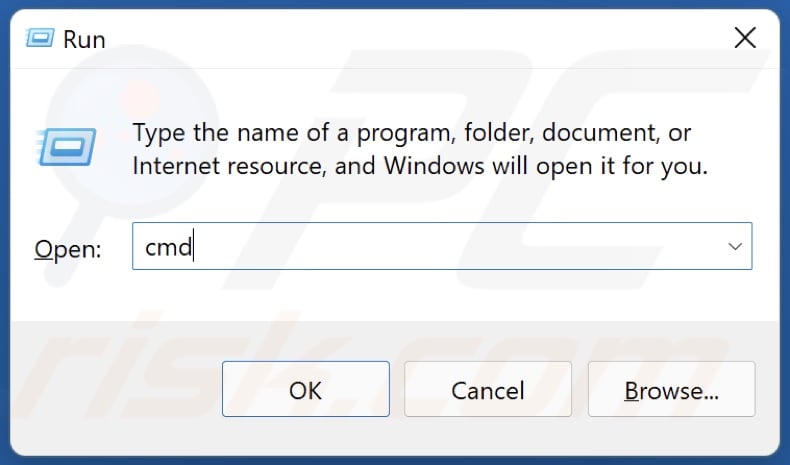
2. In the Run dialog box, type in CMD and hold down Ctrl+Shift+Enter keys to open the elevated Command Prompt.
3. In the Command Prompt window, type in the commands listed below and press the Enter key after typing in each one.
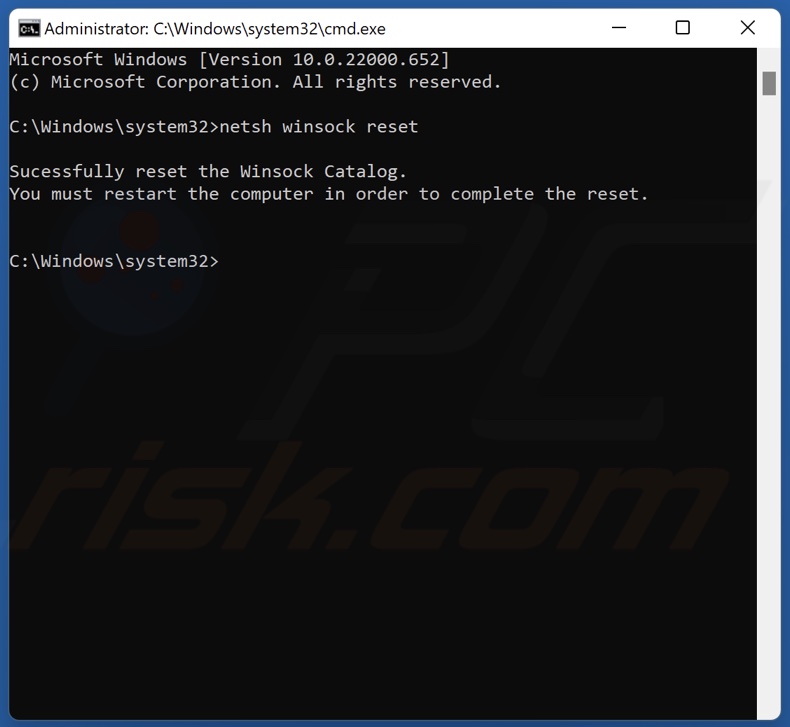
Type in netsh winsock reset and press Enter.
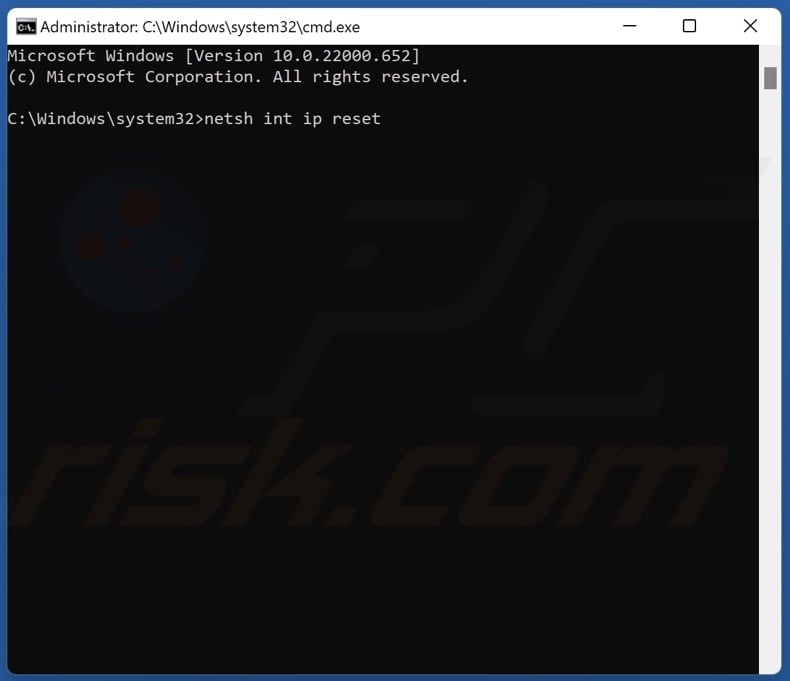
Type in netsh int ip reset and press Enter.
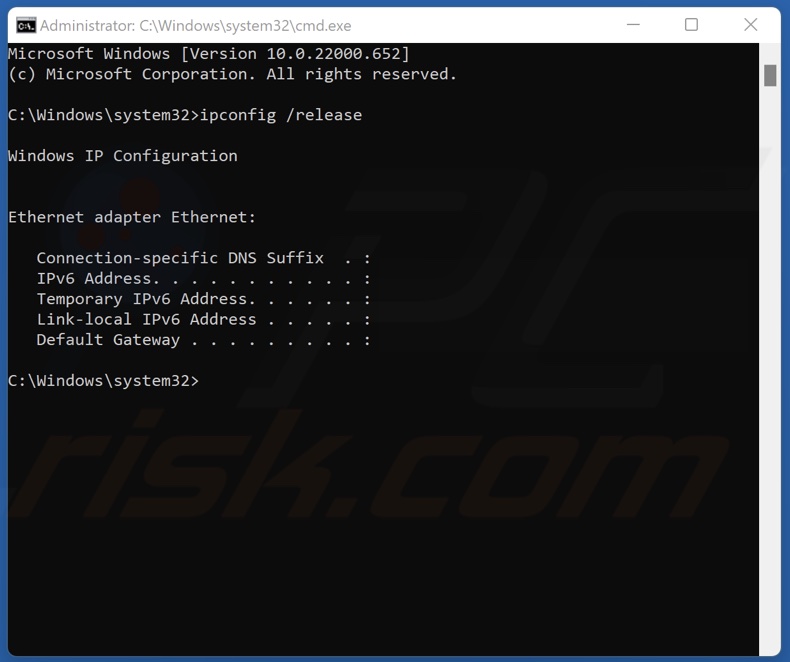
Type in ipconfig /release and press Enter.
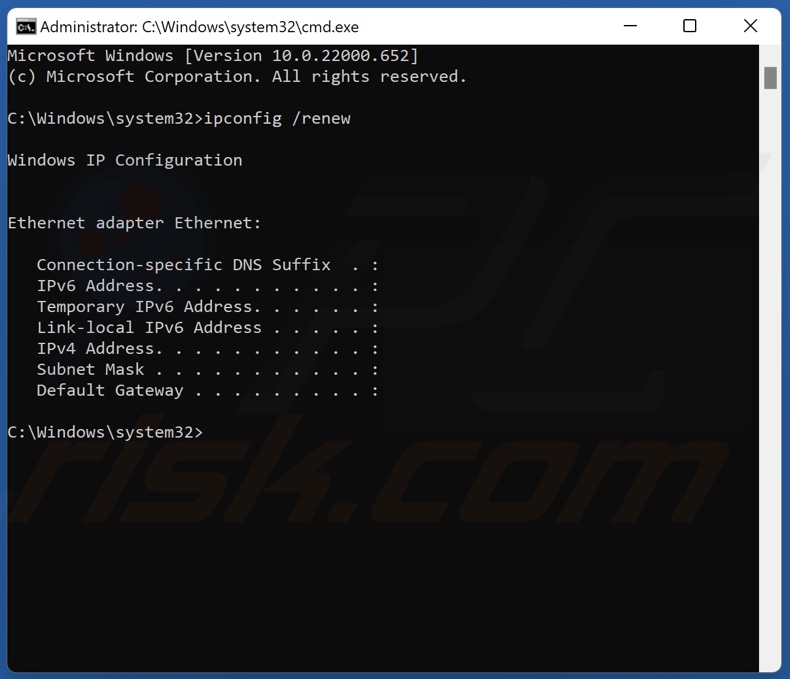
Type in ipconfig /renew and press Enter.
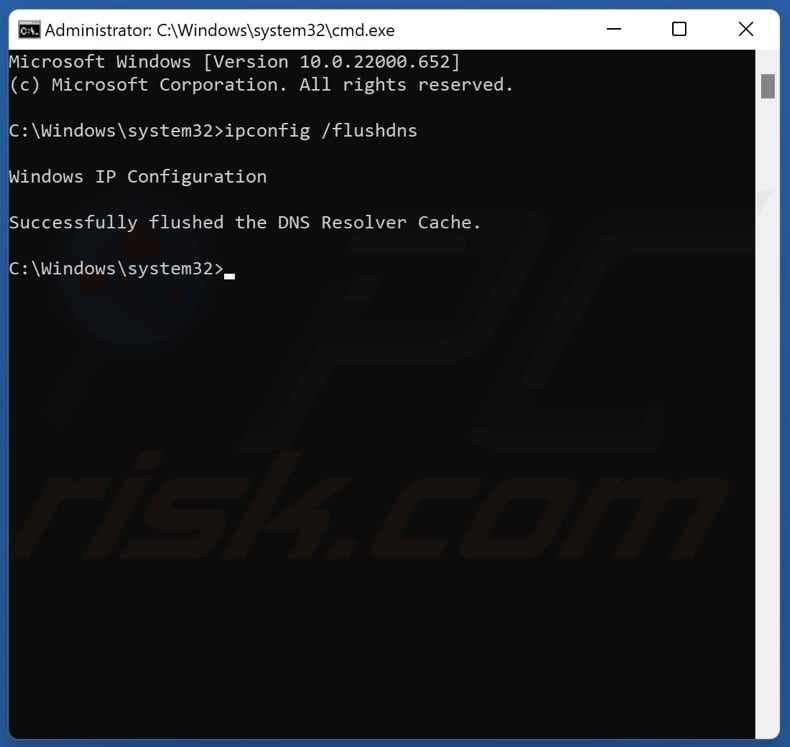
Type in ipconfig /flushdns and press Enter.
4. Restart your PC.
Method 5. Disable Explicit Congestion Notification (ECN)
1. Hold down Windows+R keys to open Run.
2. In the Run dialog box, type in CMD and hold down Ctrl+Shift+Enter keys to open the elevated Command Prompt.
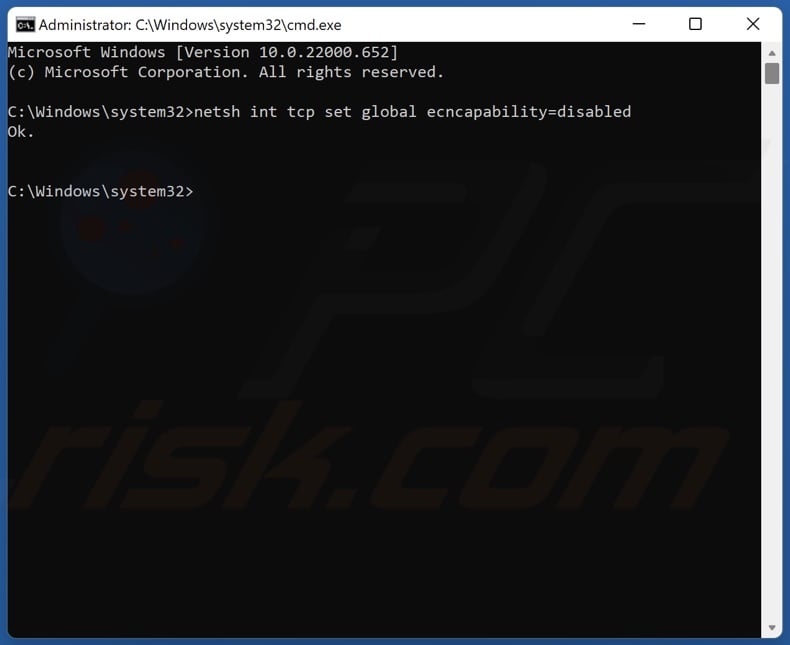
3. In the Command Prompt window, type in netsh int tcp set global ecncapability=disabled and press Enter.
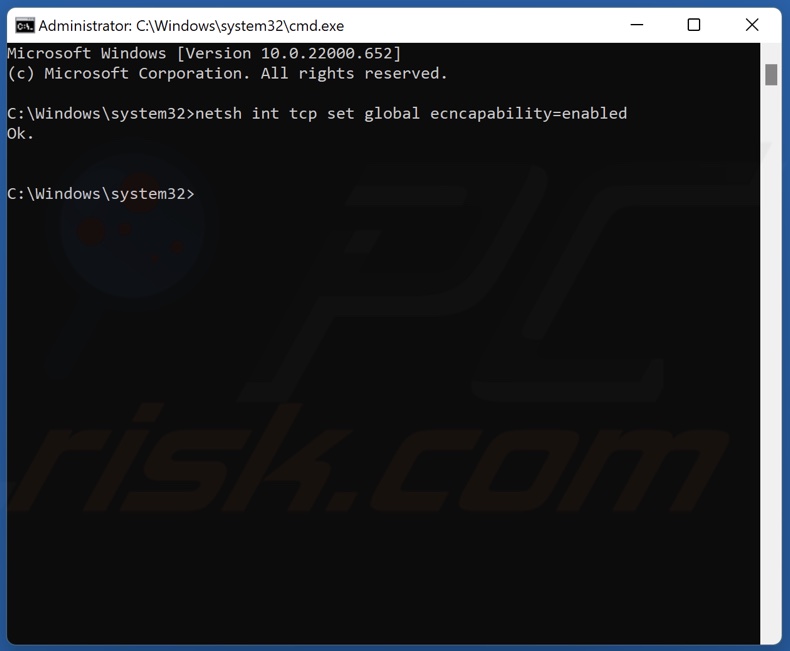
4. If you need to reenable the Explicit Congestion Notification (ECN) in the future, type in netsh int tcp set global ecncapability=enabled and press Enter.
Share:

Rimvydas Iliavicius
Researcher, author
Rimvydas is a researcher with over four years of experience in the cybersecurity industry. He attended Kaunas University of Technology and graduated with a Master's degree in Translation and Localization of Technical texts. His interests in computers and technology led him to become a versatile author in the IT industry. At PCrisk, he's responsible for writing in-depth how-to articles for Microsoft Windows.
▼ Show Discussion