10 solutions when you can't share or access a Shared Album

Get Free Scanner and check your computer for errors
Fix It NowTo fix found issues, you have to purchase the full version of Combo Cleaner. Free trial available. Combo Cleaner is owned and operated by Rcs Lt, the parent company of PCRisk.com read more.
Here's what to do when the Shared Album stops working
Shared Albums is a helpful tool if you want to show your cherished memories to family and friends. It must be very frustrating when you can't share or access them but don't worry, I'm here to help!
Do you keep getting error messages or opening an empty album? Sometimes, they may stop working and become inaccessible due to various reasons. Some can be easily fixed, and other problems require more complicated solutions.
The feature not working on iPhone can occur due to network connectivity issues, server problems, app glitches, and more. In this blog post, we'll guide you through some troubleshooting steps to fix the issue and get your shared albums up and running again. So, let's get started!
Video on 10 solutions when you can't share or access a Shared Album
Table of Contents:
- Introduction
- Method 1. Check the internet connection
- Method 2. Check the System Status Page
- Method 3. Check the album link
- Method 4. Re-enable Shared Albums
- Method 5. Turn off the Low Power Mode
- Method 6. Reopen the Photos app
- Method 7. Sign out and back into your iCloud
- Method 8. Restart your iPhone
- Method 9. Update the operating system
- Method 10. Reset iOS to factory settings
- Video on 10 solutions when you can't share or access a Shared Album
Download Computer Malware Repair Tool
It is recommended to run a free scan with Combo Cleaner - a tool to detect viruses and malware on your device. You will need to purchase the full version to remove infections. Free trial available. Combo Cleaner is owned and operated by Rcs Lt, the parent company of PCRisk.com read more.
Check the internet connection
For the Shared Albums feature to work, you need to have a strong and stable network. If you don't have that and it keeps breaking, it will be hard to access any albums.
First, reset your internet connection and check if the problem vanishes.
To reset the network connection, follow the steps below:
1. On iPhone with Face ID, swipe down from the top right corner.
On iPhones with the Home button, swipe up from the bottom.
2. Tap on the Airplane icon to turn the Airplane mode on.
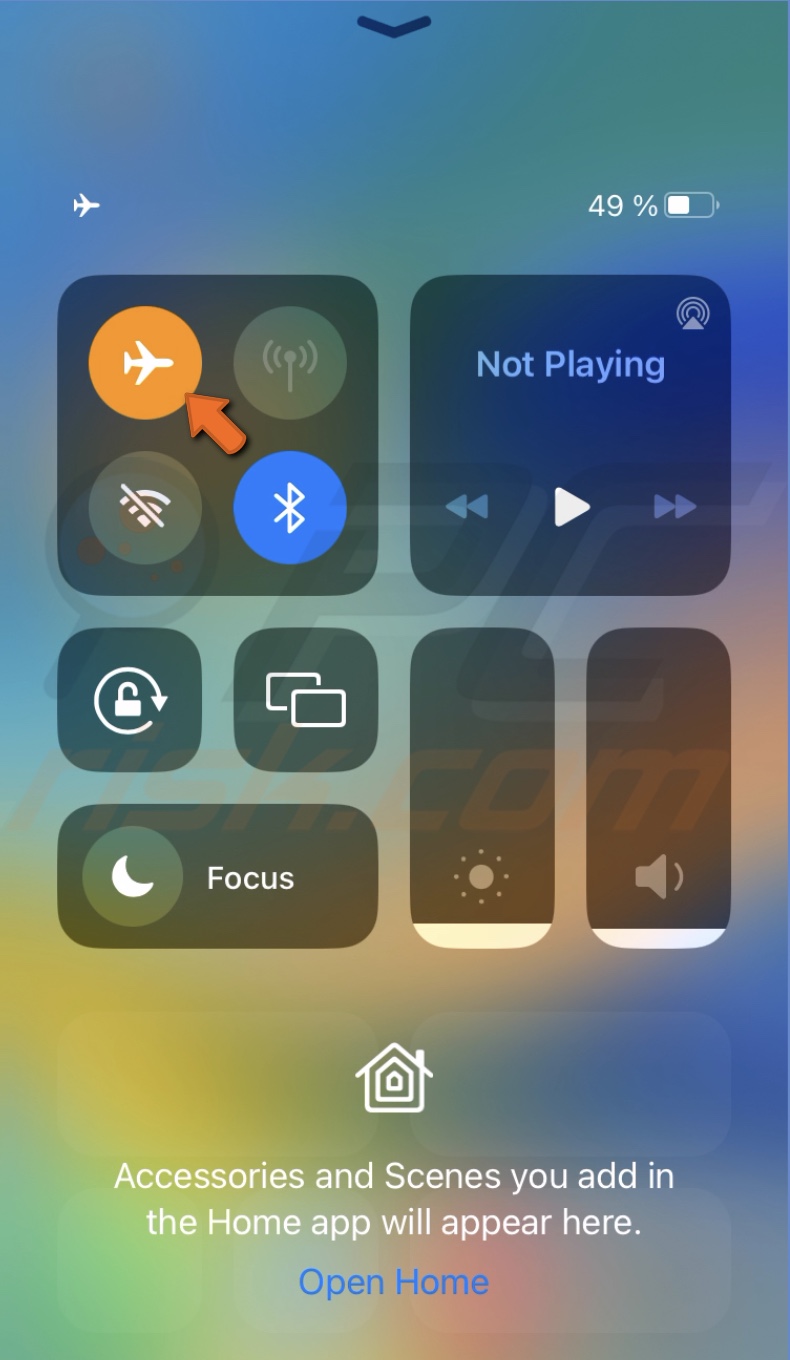
3. After a few seconds, turn it off and check the internet connection.
If resetting didn't help, reset all network settings and configure them again.
To reset network settings, follow the steps below:
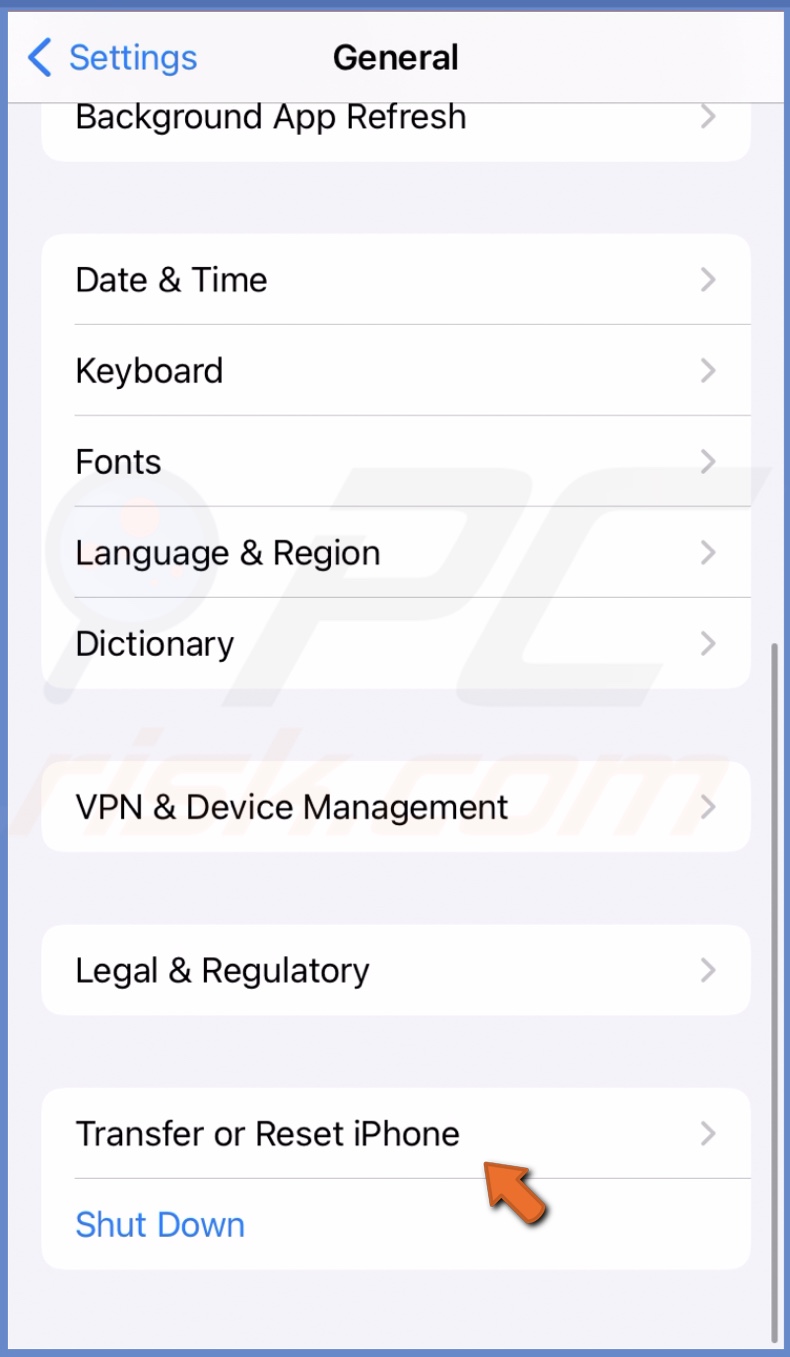
1. Go to Settings and tap on "General".

2. Scroll to the bottom and tap on "Transfer or Reset iPhone".
3. Select "Reset" and tap on "Reset Network Settings".
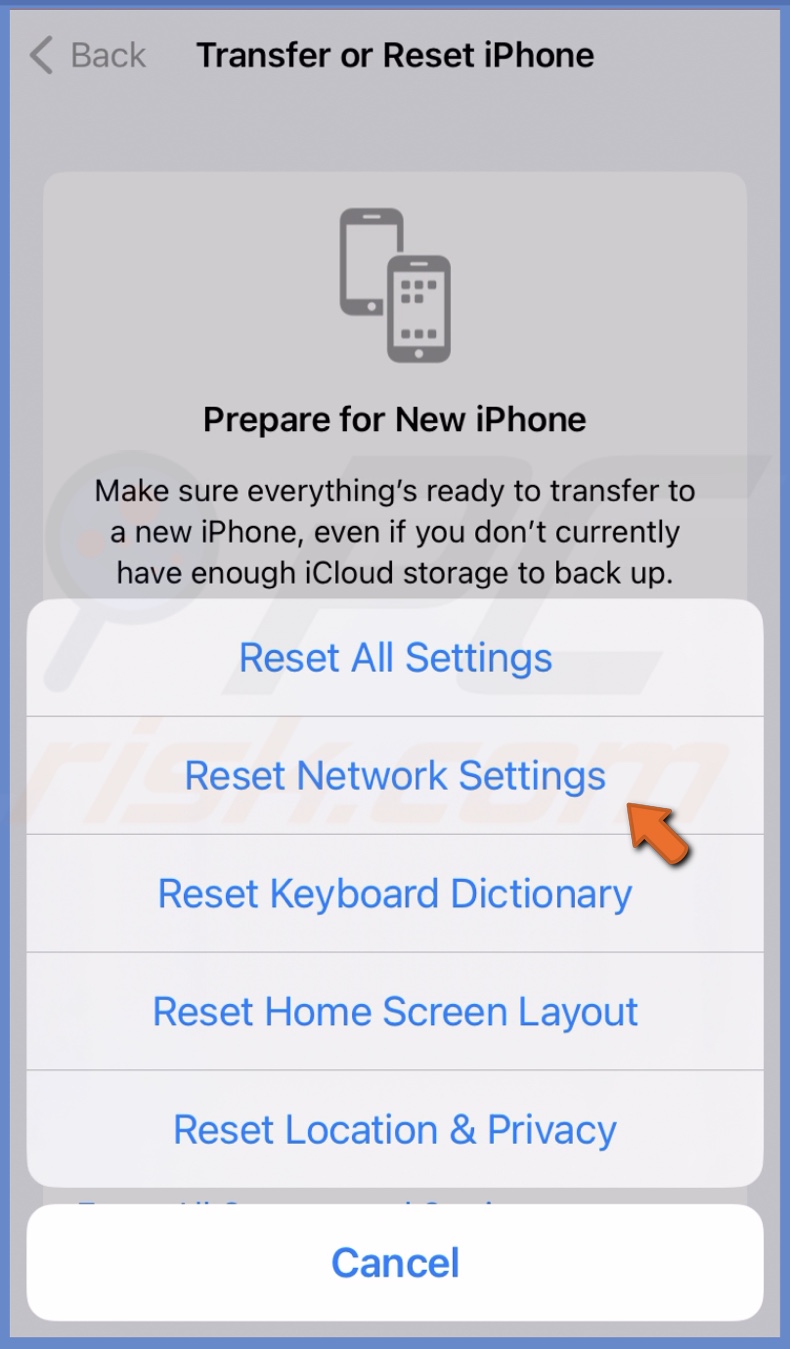
4. Enter the passcode and confirm the action.
5. After the reset, connect to the internet again.
Check the System Status Page
If your network is stable and there's no problem, check Apple server status. Before going any further, let's check if the Shared Albums don't work due to a server issue or something else.
To check the servers, follow the steps below:
1. Open your browser and go to: www.apple.com/in/support/systemstatus/
2. Then, locate the "Photos" server, and you'll see if it's active or has any issues and is unavailable right now.
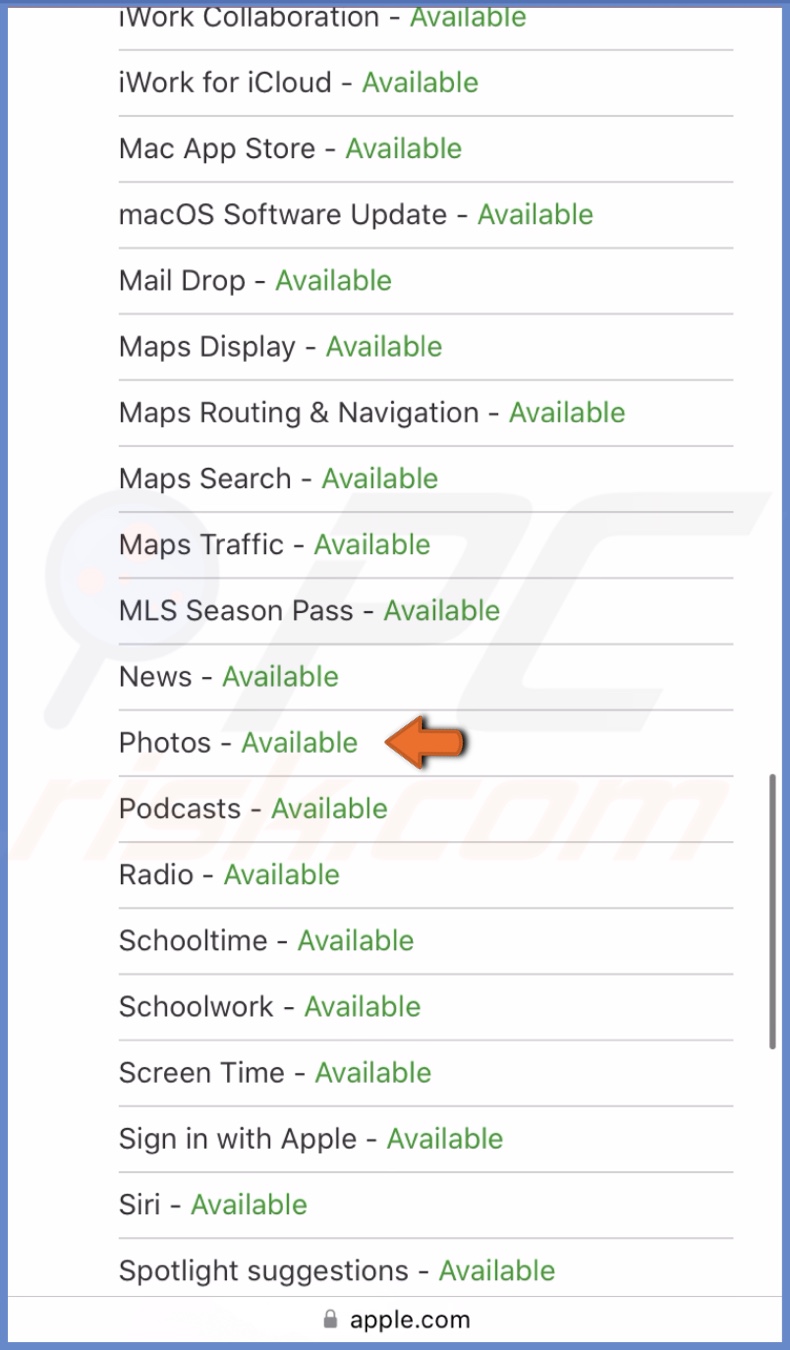
If the server is active and you can't access a shared album, go to the next troubleshooting step.
Check the album link
If you're trying to access a Shared Album link, but it's unavailable, check if it's still valid. The join link expires after 30 days, so if you want to access the album, ask for a new link.
Turn off and on the Shared Albums option to reset the setting and check if you can access an album.
To re-enable the Share Albums feature, follow the steps below:
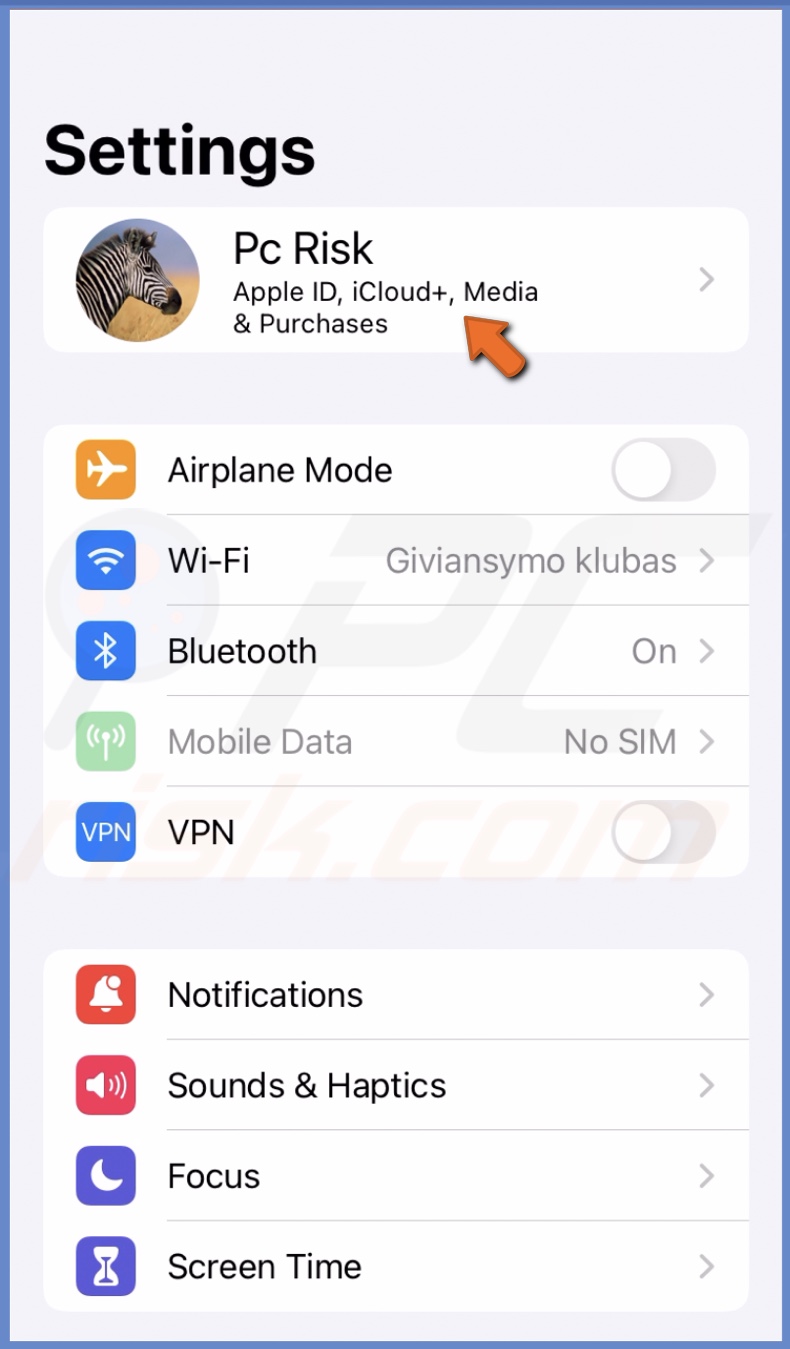
1. Open the Settings app.
2. Go to your Apple ID settings.
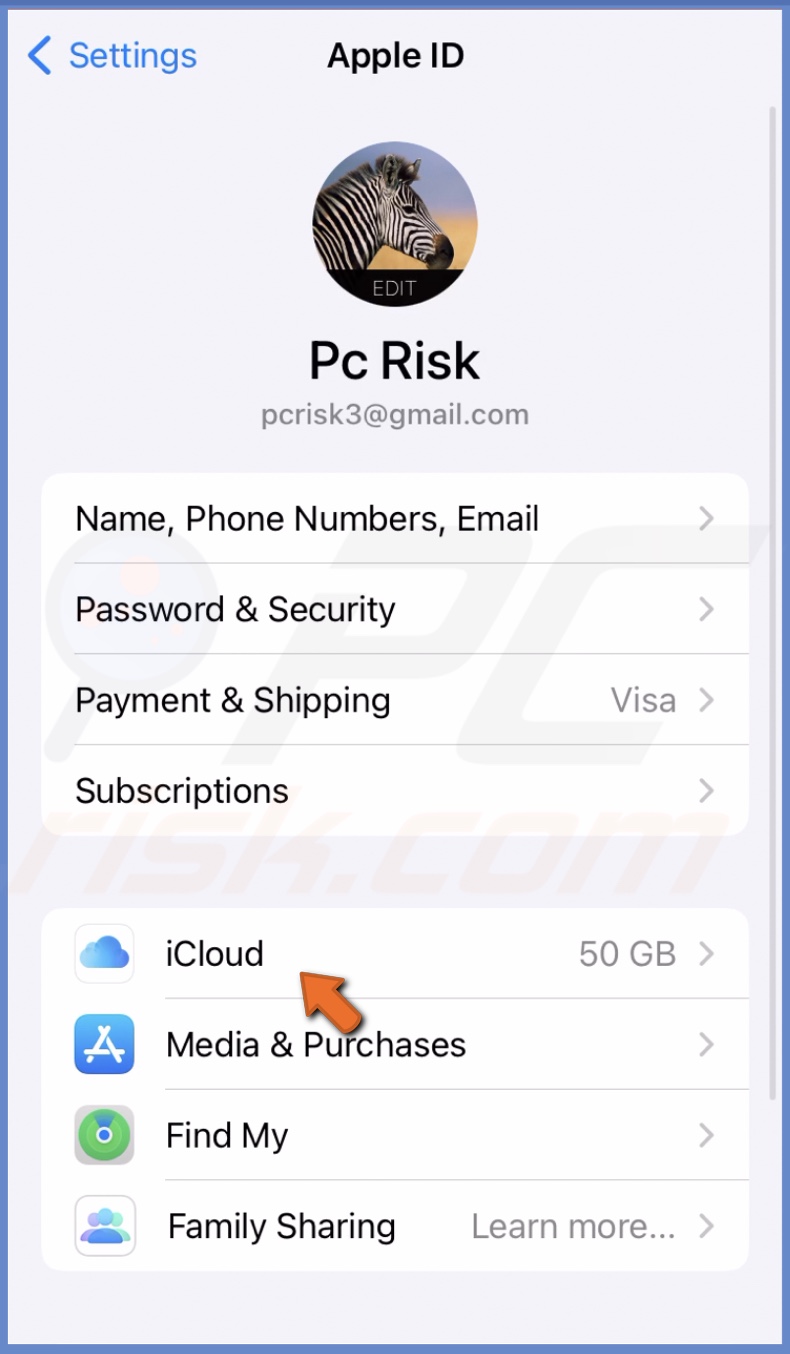
3. Then, go to iCloud settings.
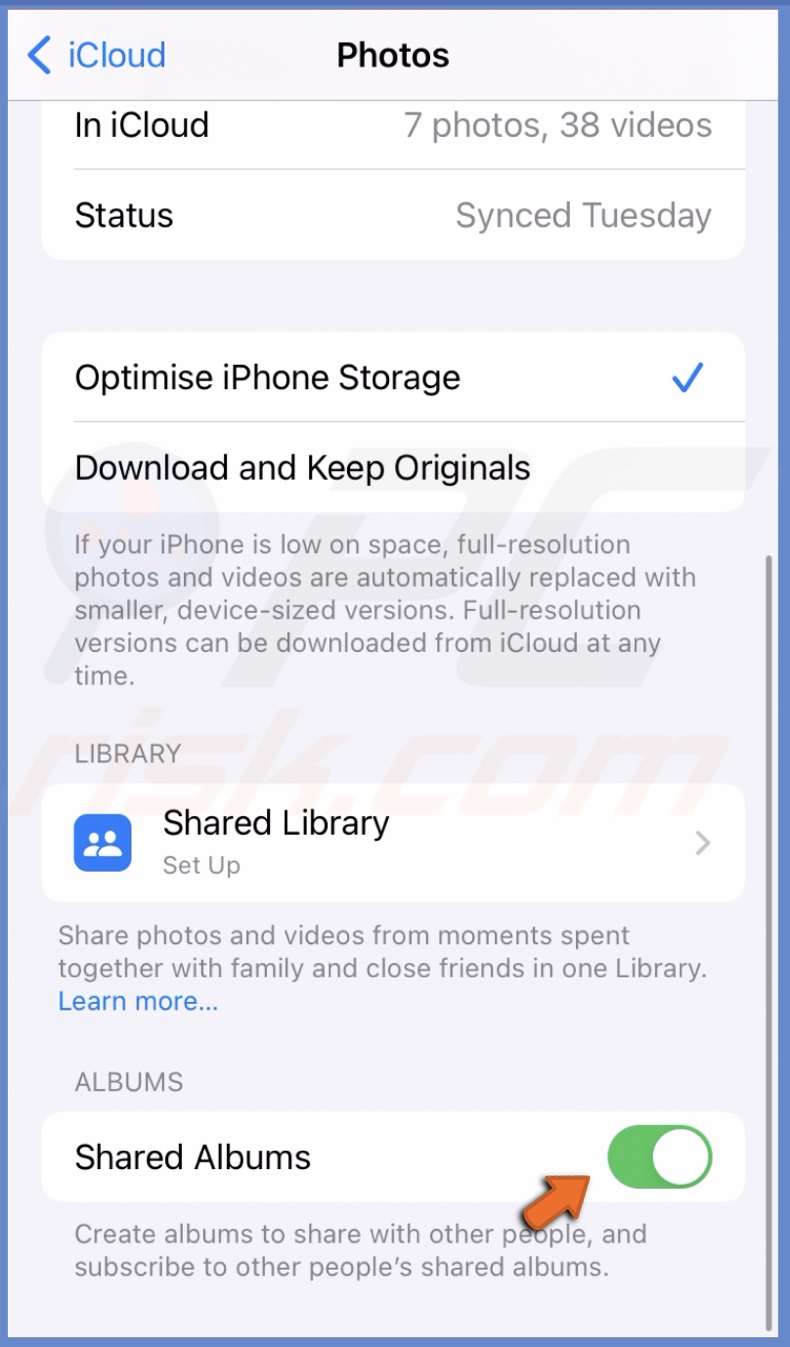
4. Tap on "Photos".
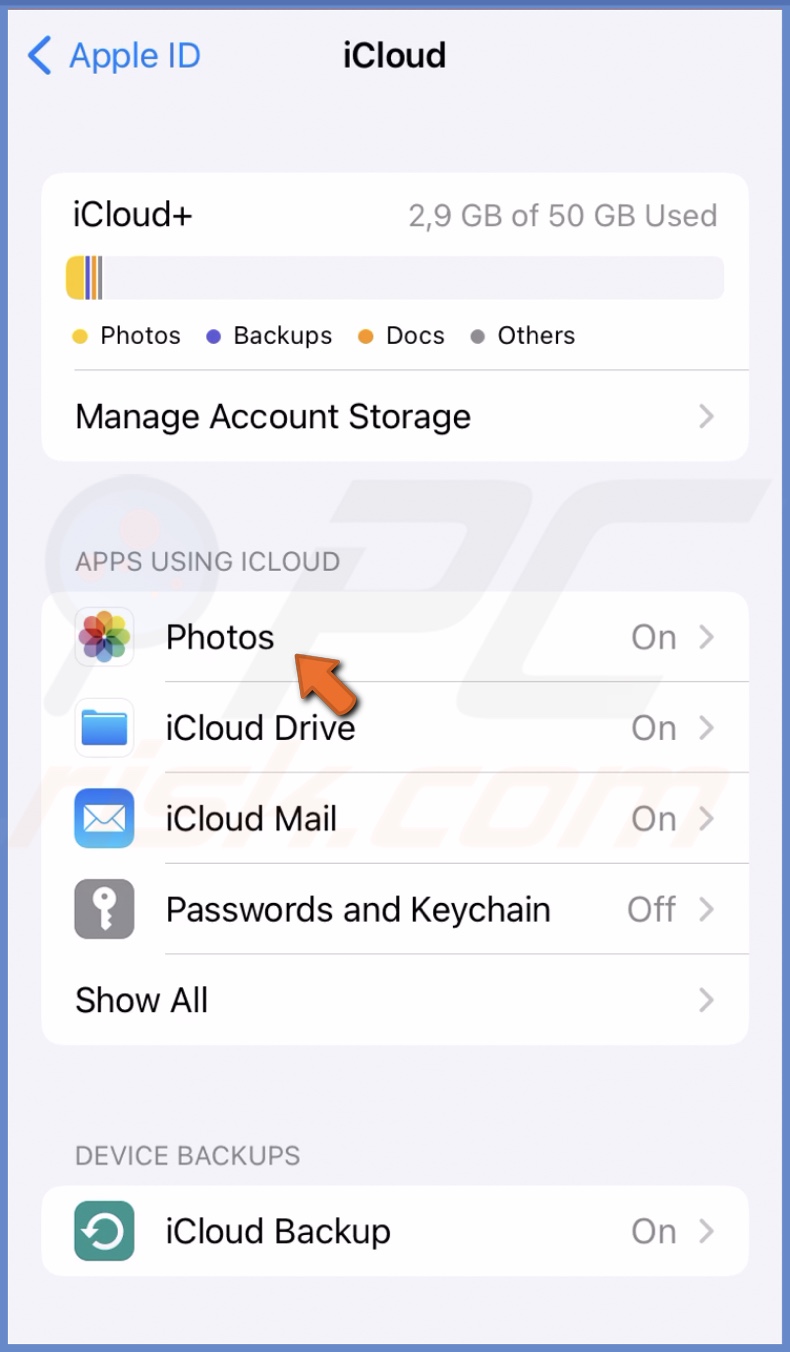
5. Now, turn off "Shared Albums" and tap on "OK".
6. Wait for a few seconds and enable the feature again.
Turn off the Low Power Mode
When the Low Power Mode is turned on, Shared Albums won't work as they need to run in the background to update. And, if you don't know, when the Low Power Mode is enabled, no apps can run in the background.
To disable the Low Power Mode, follow the steps below:
1. Go to the iPhone settings.
2. Then, go to the "Battery" settings.
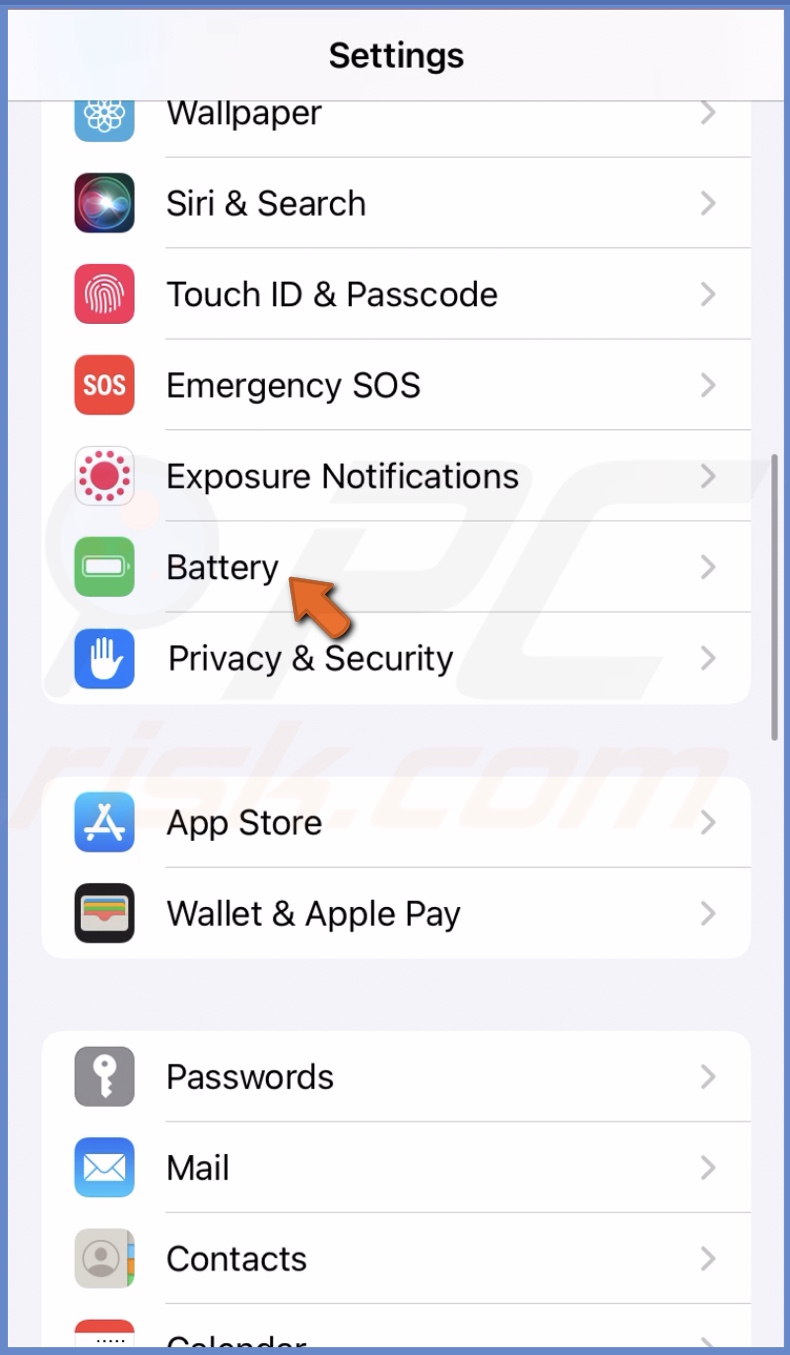
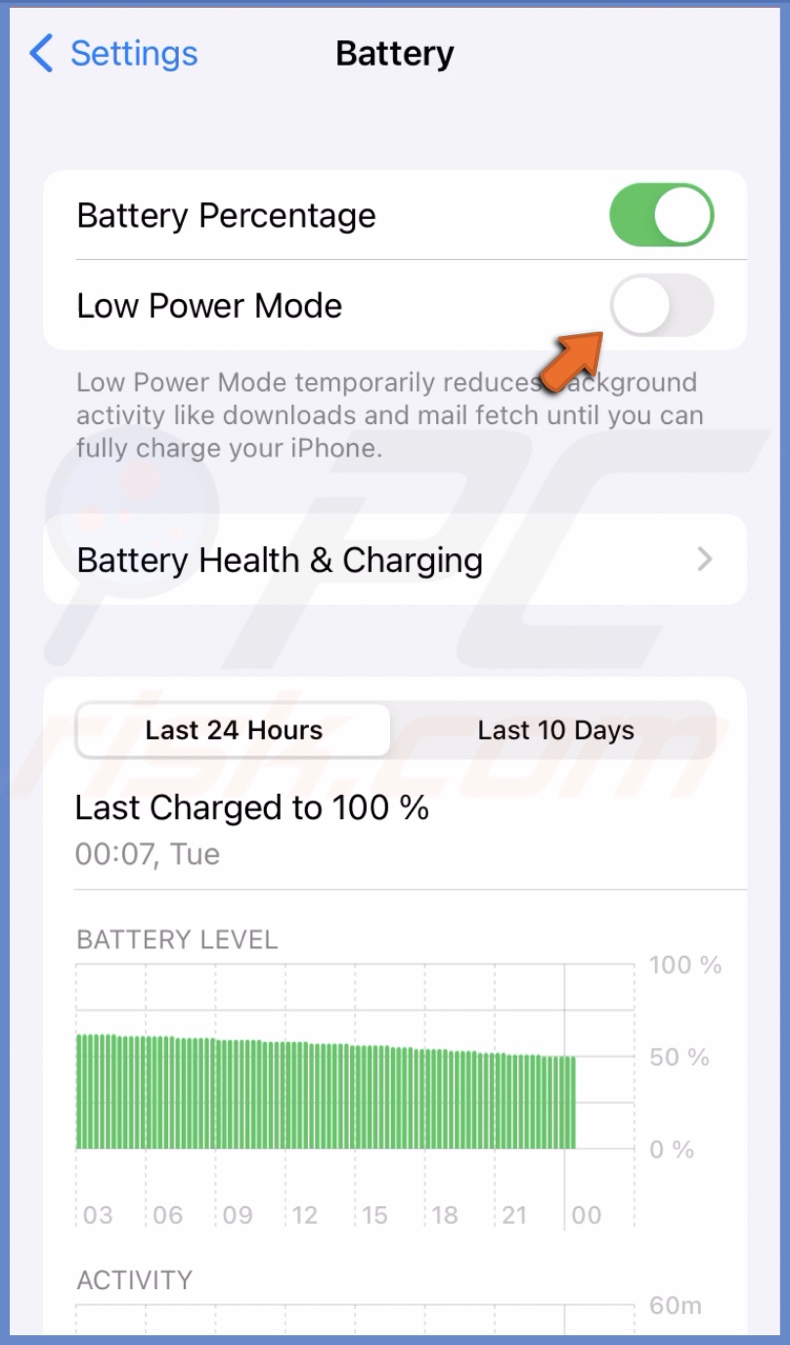
3. Next to "Low Power Mode", toggle the switch to turn it off.
Reopen the Photos app
Sometimes, an app can run into a problem and malfunction. That can be the case for the Photos app. A simple Photos restart might fix the Shared Album not working.
To restart the Photos app, follow the steps below:
1. On iPhones with Face ID, swipe up from the middle bottom until you'll see all opened apps.
2. On iPhones, with the Home button, double press it.
3. Locate the Photos app and swipe up on it to close.
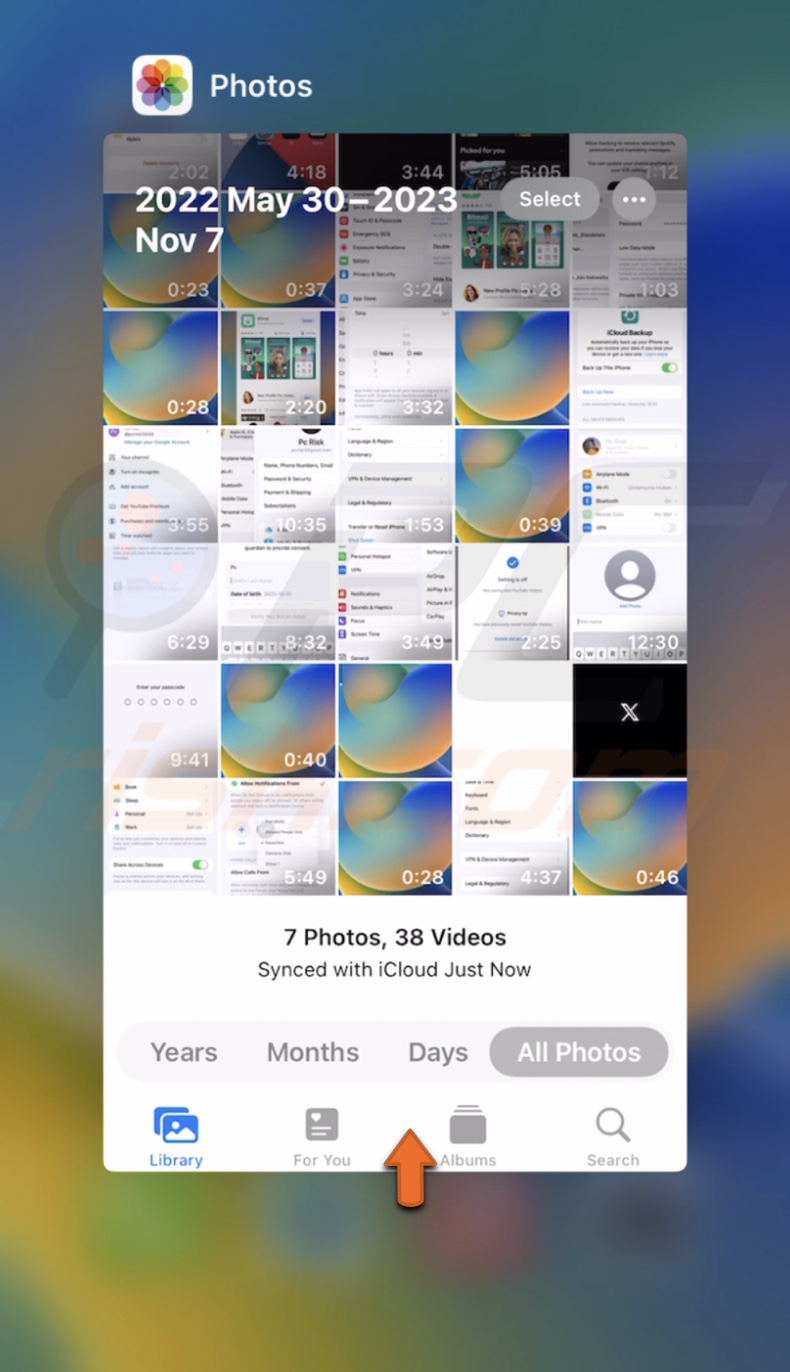
4. Now, open the app again.
Sign out and back into your iCloud
If the Shared Album has stopped updating, logging out and back into iCloud could resolve the situation.
To sign out and back into iCloud, follow the steps below:
1. Open Settings and tap on your Apple ID name.
2. Scroll to the bottom and tap on "Sign Out".

3. Enter your Apple ID password and tap on "Turn Off".
4. Select what data you want to keep and tap on "Sign Out".
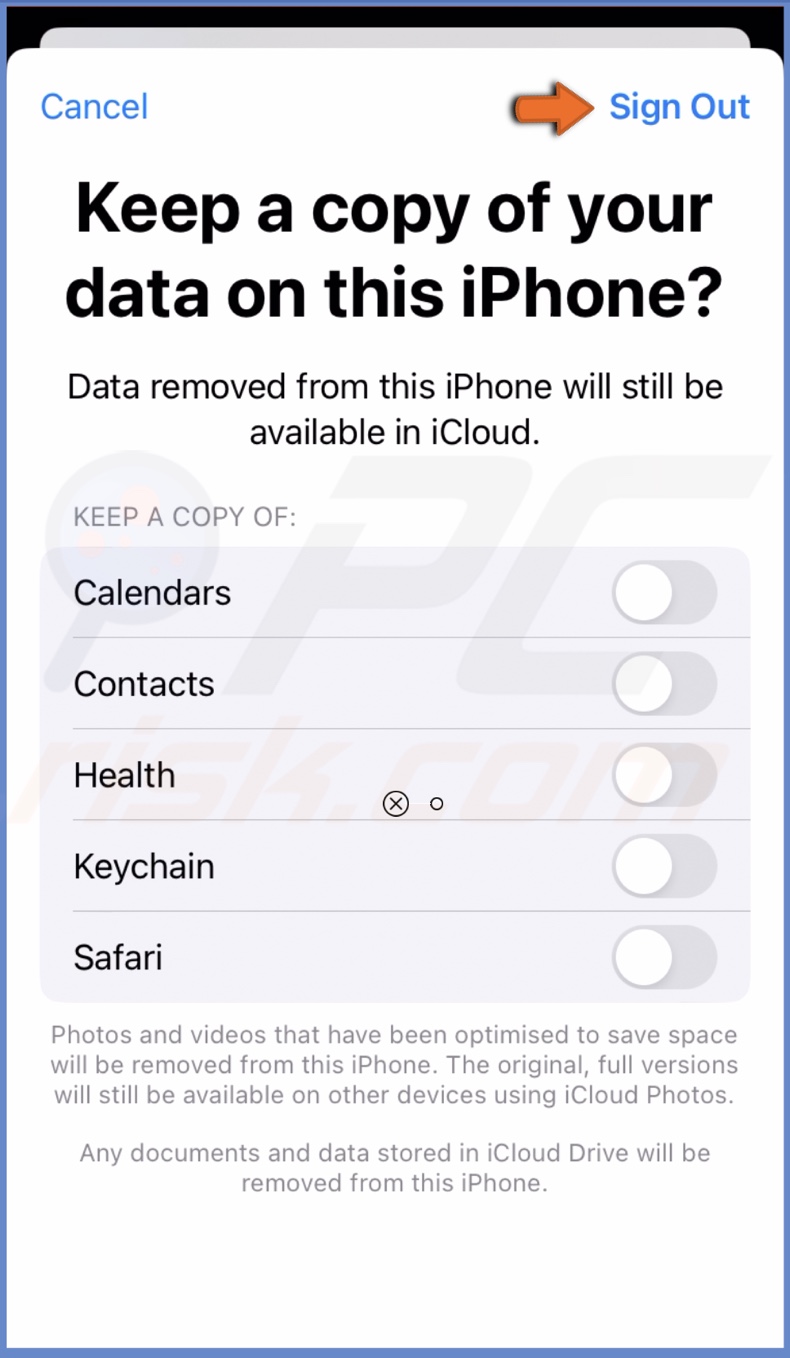
5. Then, confirm the action.
6. Now tap on "Sing into your Apple ID" and enter the credentials.
Restart your iPhone
A force restart will eliminate any minor bugs or glitches that the previous steps couldn't. It will refresh the system and hopefully solve the problem.
To force restart your iPhone for iOS 16 and later, follow the steps below:
1. Quickly press the Volume Up button located on the left side of your iPhone.
2. Then, quickly press the Volume Down button.
3. Press the Side button until you see the Apple logo.
4. Release the Side button and wait for the iPhone to load.
To force restart an iPhone with an older iOS, go here.
Update the operating system
Still can't access Shared Albums? Then, check for a system update. If the problem is from Apple's side, an update is your option to fix the issue, as it will remove errors that prevent you from accessing those albums.
To update the iOS, follow the steps below:
1. Go to the Settings app and tap on "General".
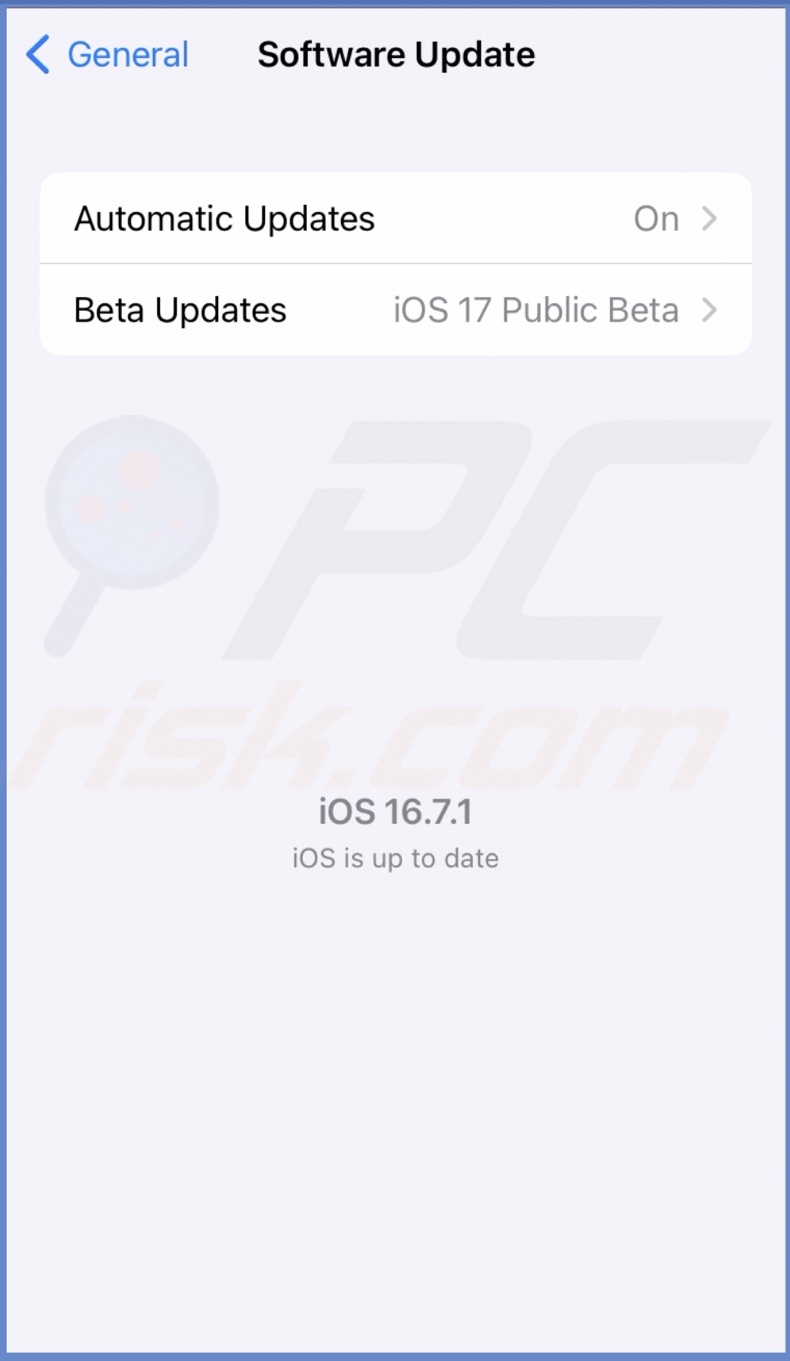
2. Then, tap on "Software Update".
3. Wait while the iPhone searches for updates. If found, tap on "Update".
Reset iOS to factory settings
If none of the above tips helped, reset your device to factory settings. It will erase everything and deal with any bugs or glitches that the system might've encountered.
Before resetting iPhone to factory settings, back up your data, apps, photos, and other important information so you can quickly restore.
If you need more info on how to reset, back up, and restore data, visit our guide here.
To do a factory settings reset, follow the steps below:
1. Open the Settings app and tap on "General".
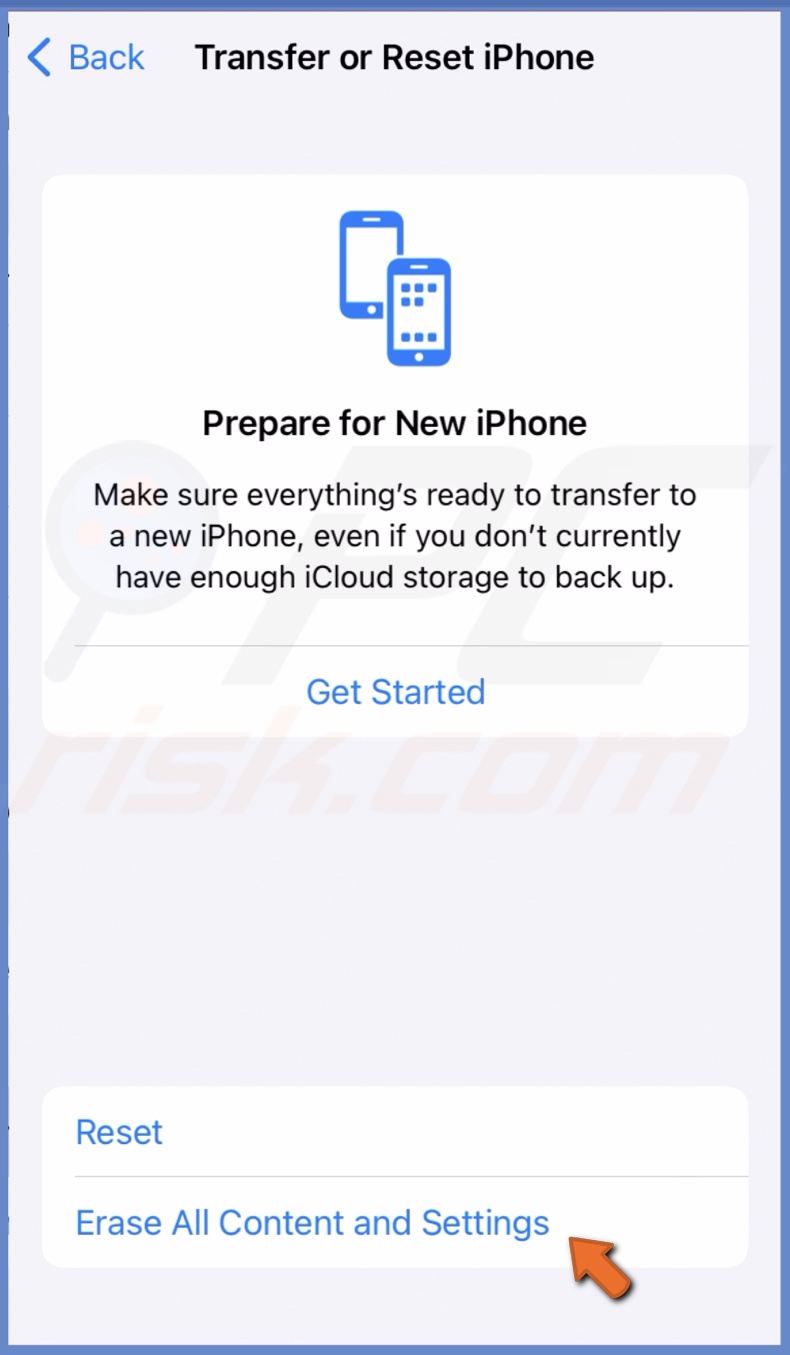
2. Scroll to the bottom and select "Transfer or Reset iPhone".
3. Tap on "Erase All Content and Settings".
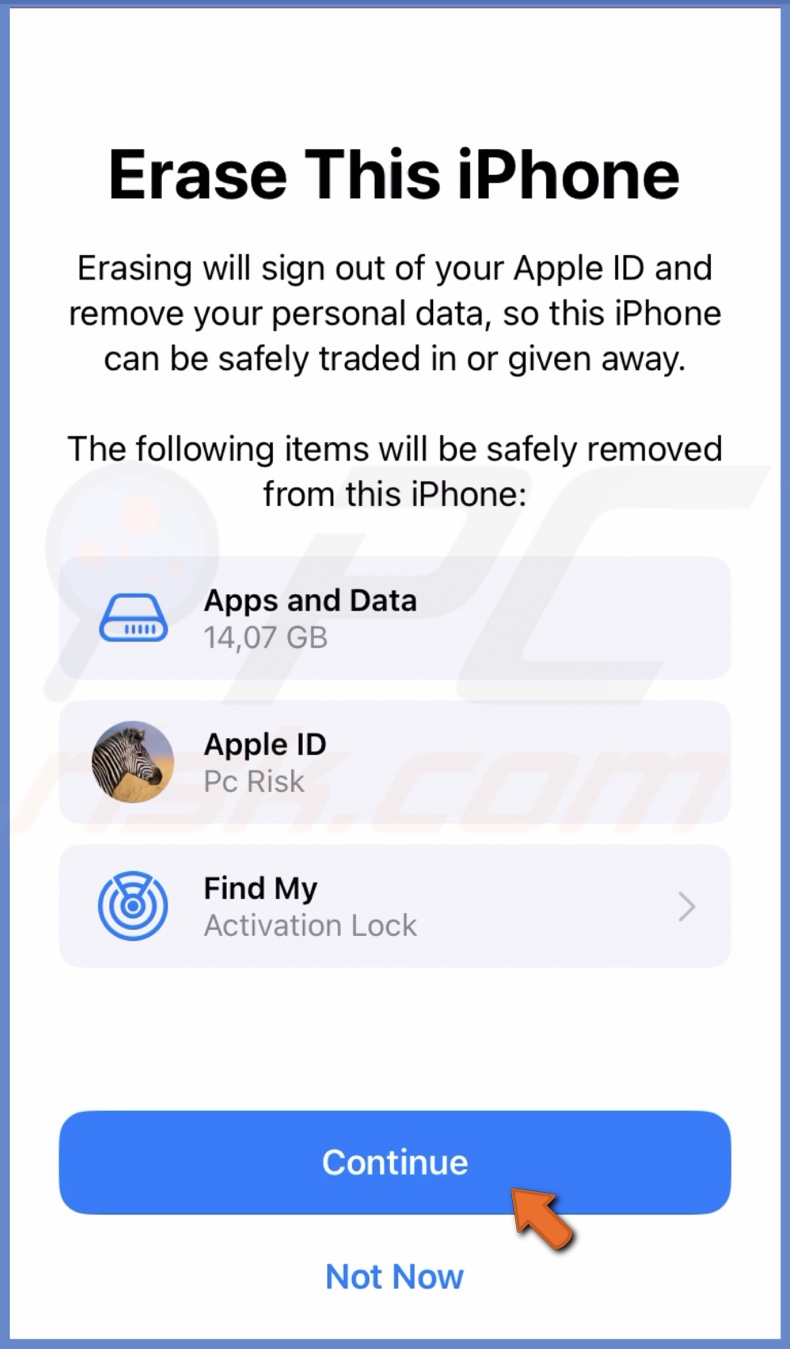
4. Tap on "Continue" and follow the instructions on the screen.
5. When the reset is done, set up your device and restore the backup.
If you have any questions, feel free to leave a comment below!
Share:

Karolina Peistariene
Author of how-to guides for Mac users
Responsible for collecting, analyzing, and presenting problem-solving solution articles related to macOS issues. Years of macOS experience combined with solid research and analyzing skills help Karolina provide readers with working and helpful solutions as well as introduce various features Mac has to offer.
▼ Show Discussion