9 ways to fix Always-On display on iPhone 15 and 14 Pro

Get Free Scanner and check your computer for errors
Fix It NowTo fix found issues, you have to purchase the full version of Combo Cleaner. Free trial available. Combo Cleaner is owned and operated by Rcs Lt, the parent company of PCRisk.com read more.
How to Get Always-On Display to Work Again on iPhone 15 and 14 Pro
Has the Always-On display feature suddenly stopped working? I understand your frustration, as you've probably already gotten used to this convenient function.
Always-On display allows you to check the clock, date, and notifications without interacting with your iPhone, even when the screen is locked. You don't need to unlock or even touch the screen to see this info.
But if you're asking yourself how to fix this issue, I got you! There are several steps you can take to troubleshoot the problem and get the Always-On display working again. In this how-to guide, I'll walk you through various solutions and tell you step-by-step what to do.
Video on 9 ways to fix Always-On display on iPhone 15 and 14 Pro
Table of Contents:
- Introduction
- Method 1. Check if Always-On display is turned on
- Method 2. Update the iOS
- Method 3. Turn off the Low Power Mode
- Method 4. Edit Sleep focus
- Method 5. Turn off the Continuity Camera
- Method 6. Re-enable Raise to Wake feature
- Method 7. Turn off the CarPlay feature
- Method 8. Force restart the iPhone
- Method 9. Reset iOS to factory settings
- Video on 9 ways to fix Always-On display on iPhone 15 and 14 Pro
Download Computer Malware Repair Tool
It is recommended to run a free scan with Combo Cleaner - a tool to detect viruses and malware on your device. You will need to purchase the full version to remove infections. Free trial available. Combo Cleaner is owned and operated by Rcs Lt, the parent company of PCRisk.com read more.
Check if Always-On display is turned on
First, ensure Always-On display is enabled. Even though this feature is automatically turned on on iPhone 15 and 14 Pro, you might have disabled it by accident.
To turn on Always On Display, follow the steps below:
1. Go to your device settings.
2. Scroll down and tap on "Display & Brightness".
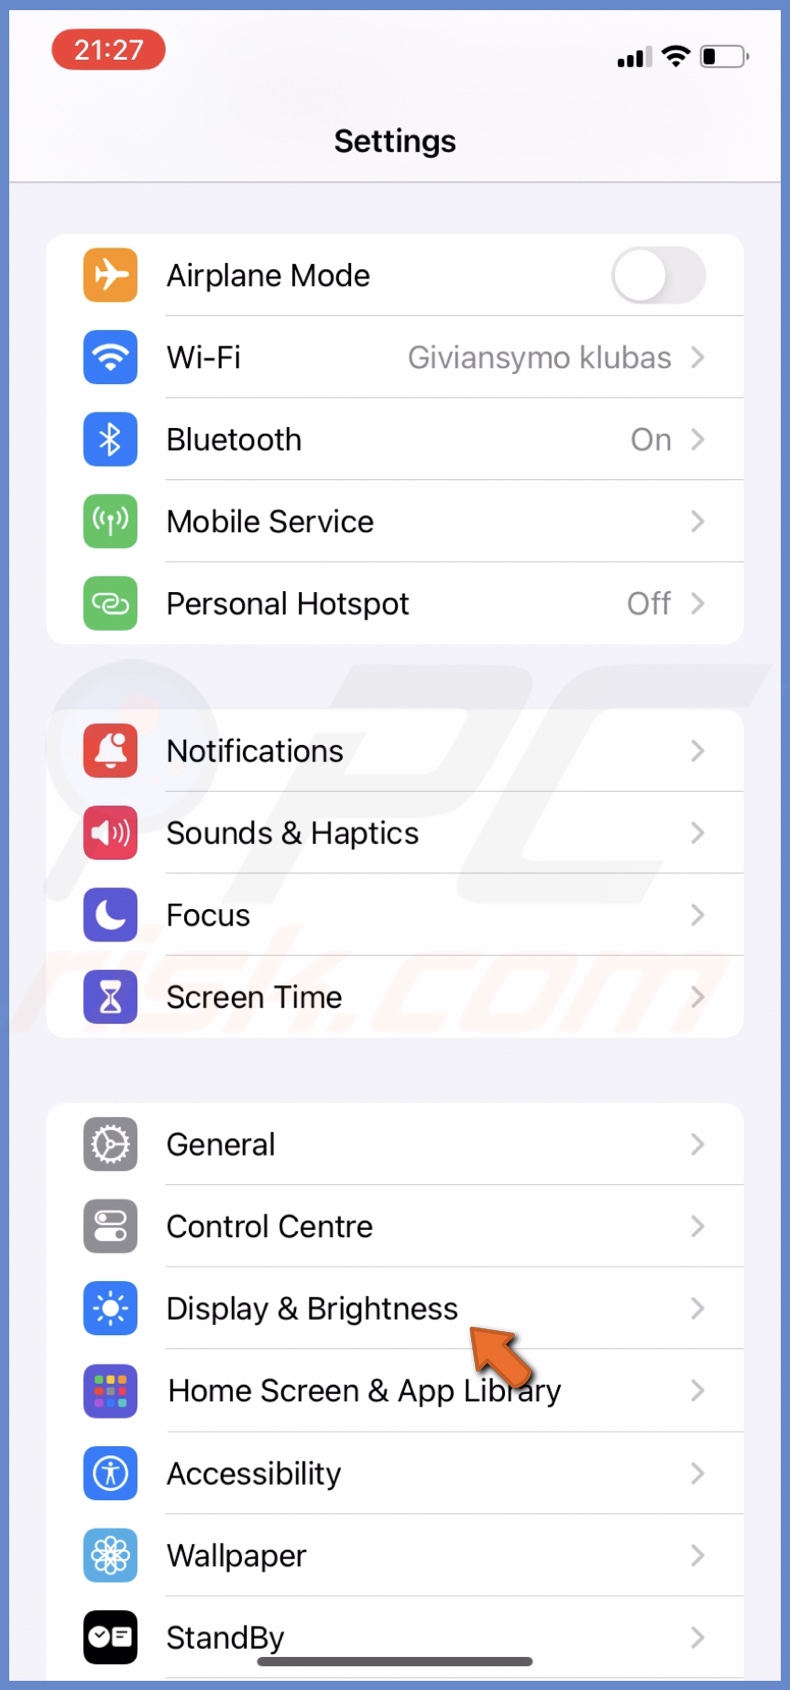
3. Make sure the "Always On Display" option is enabled.
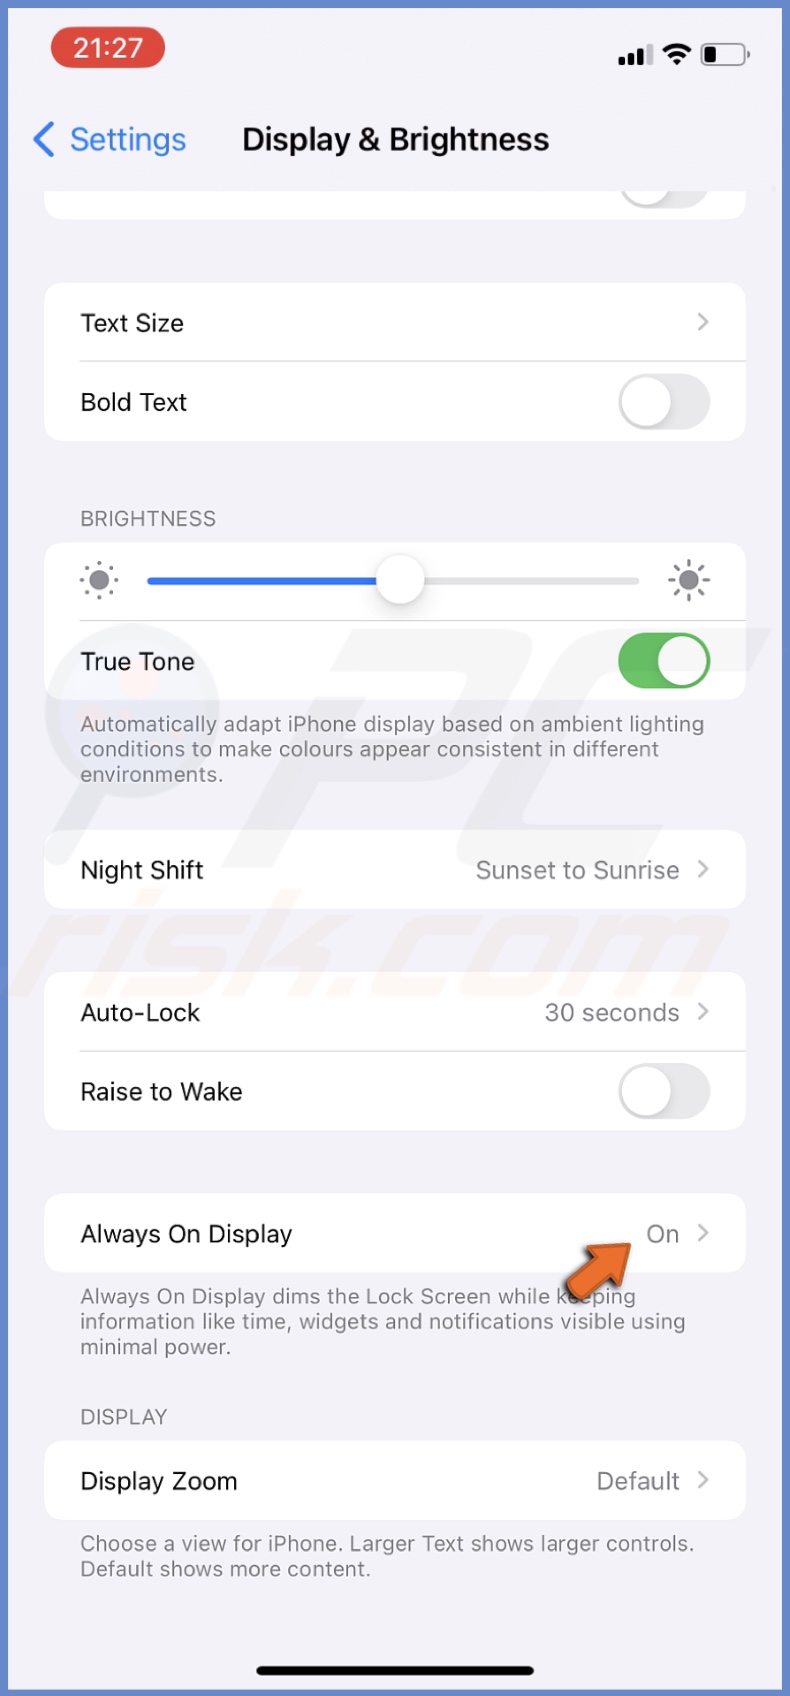
4. If it is, re-enable the option.
Update the iOS
The second thing you can do is to update the iOS. If the problem is due to bugs in the operating system, an update will fix it. Check if an upgrade is available.
To update the iPhone, follow the steps below:
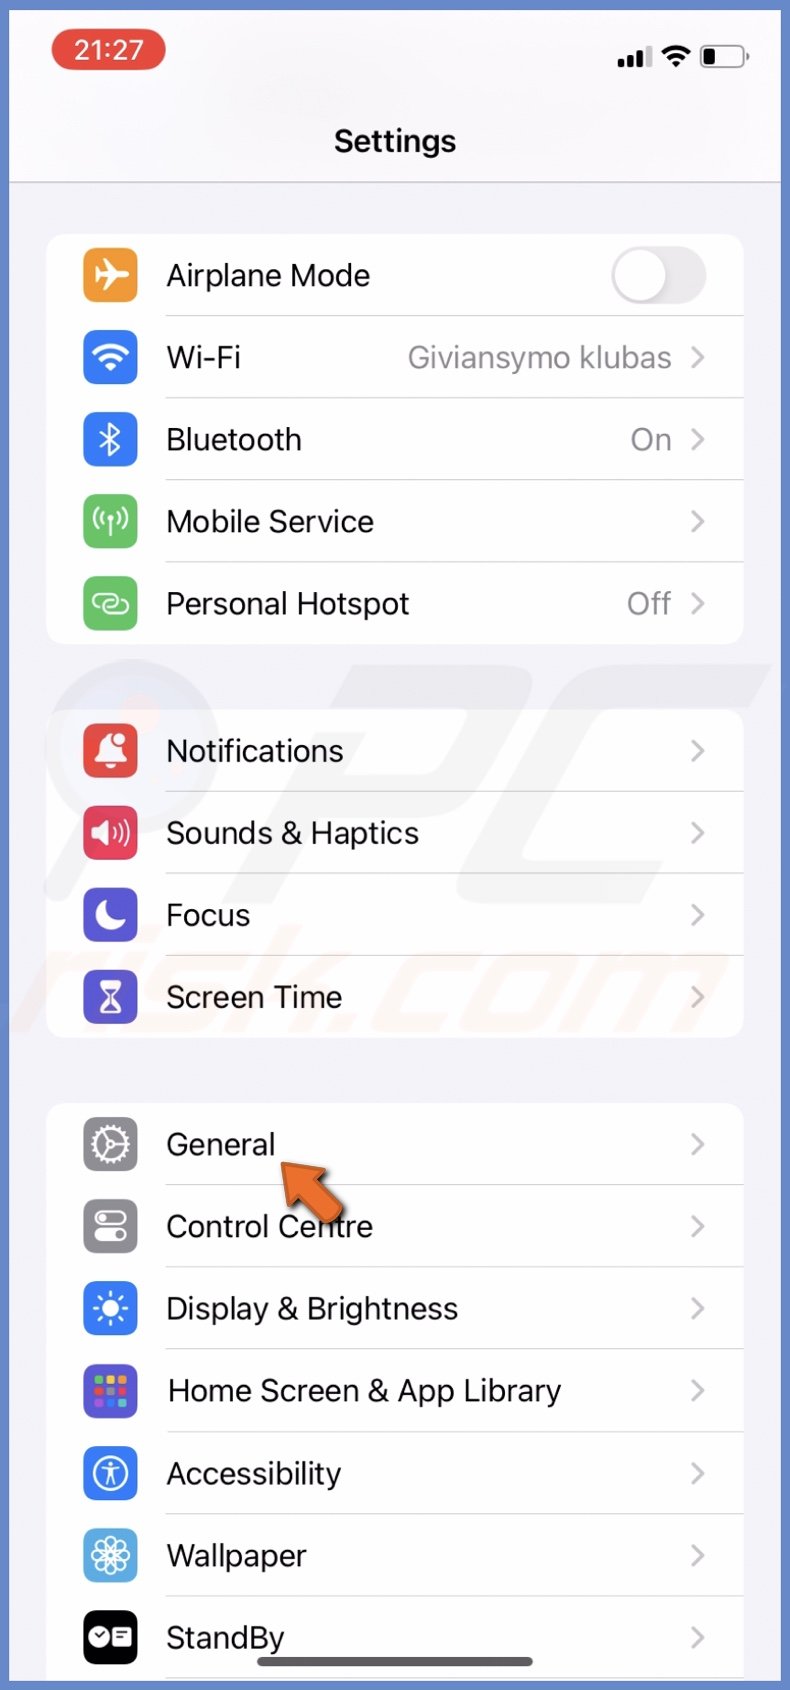
1. Open the iPhone Settings app.
2. Go to "General" settings and select "Software Update".
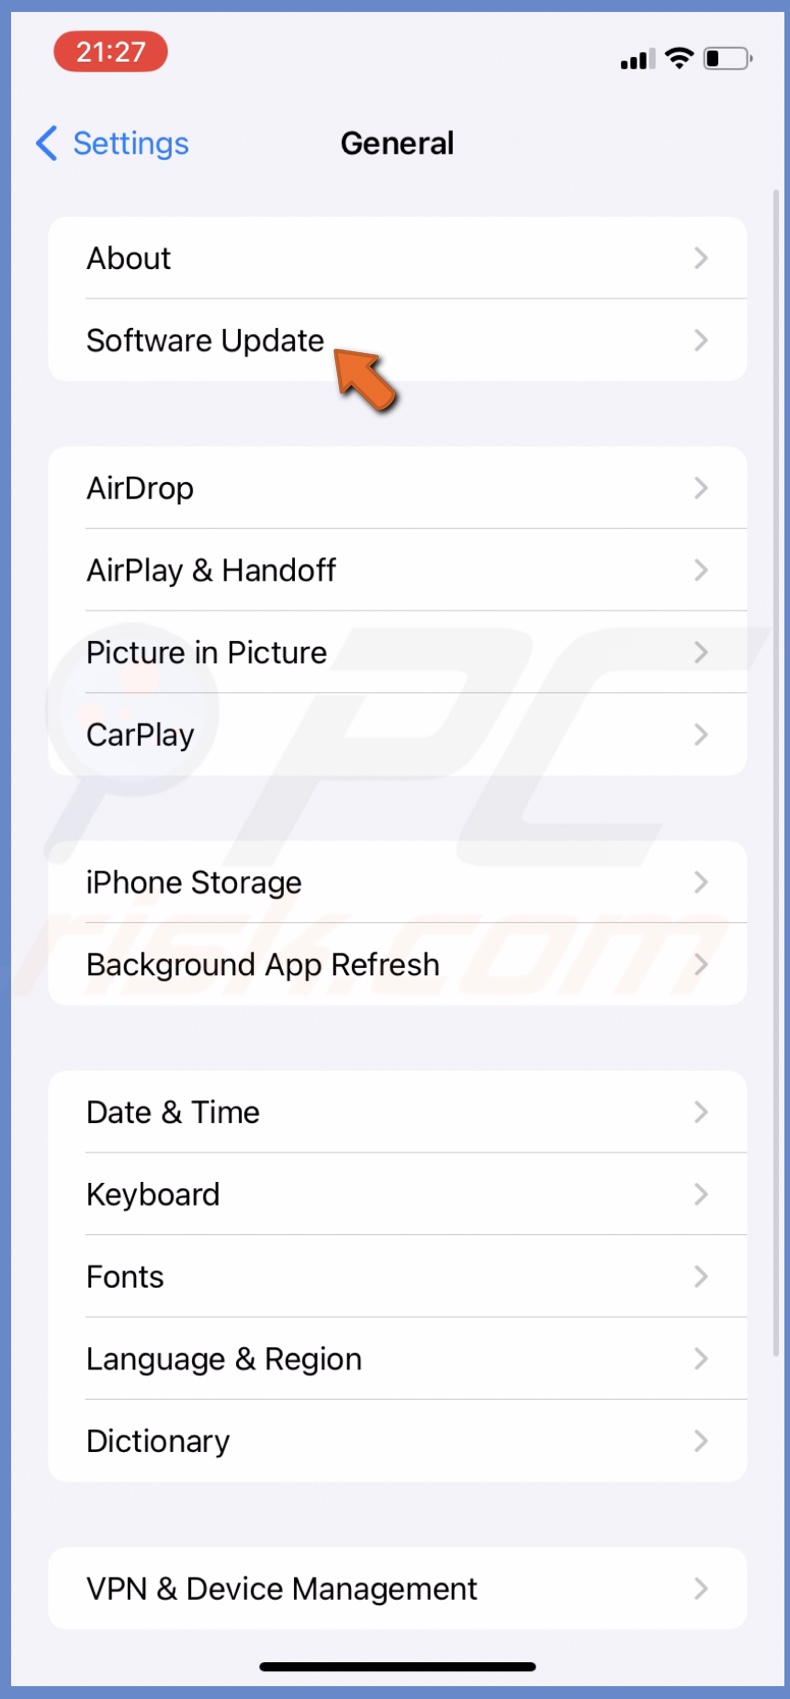
3. Wait while the system searches for an update. If available, update the iOS.
Turn off the Low Power Mode
The Low Power Mode minimizes battery usage by dimming your iPhone screen, etc. If it's turned on, you won't be able to use the Always-On display feature, so if it's enabled, turn it off.
To turn off the Low Power Mode, follow the steps below:
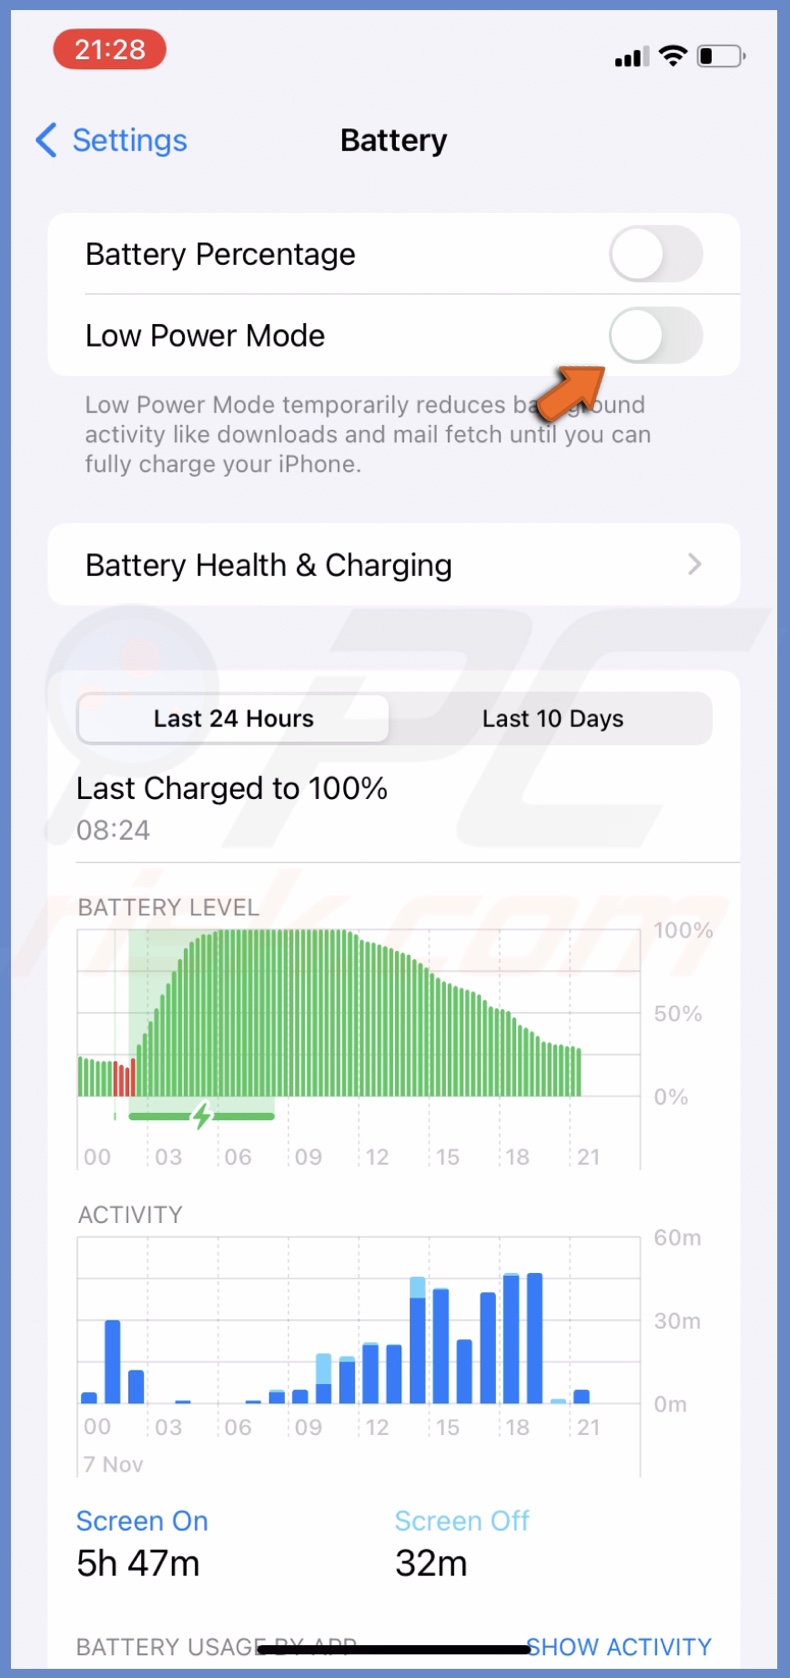
1. Open the Settings app on your device.
2. Go to "Battery" settings.
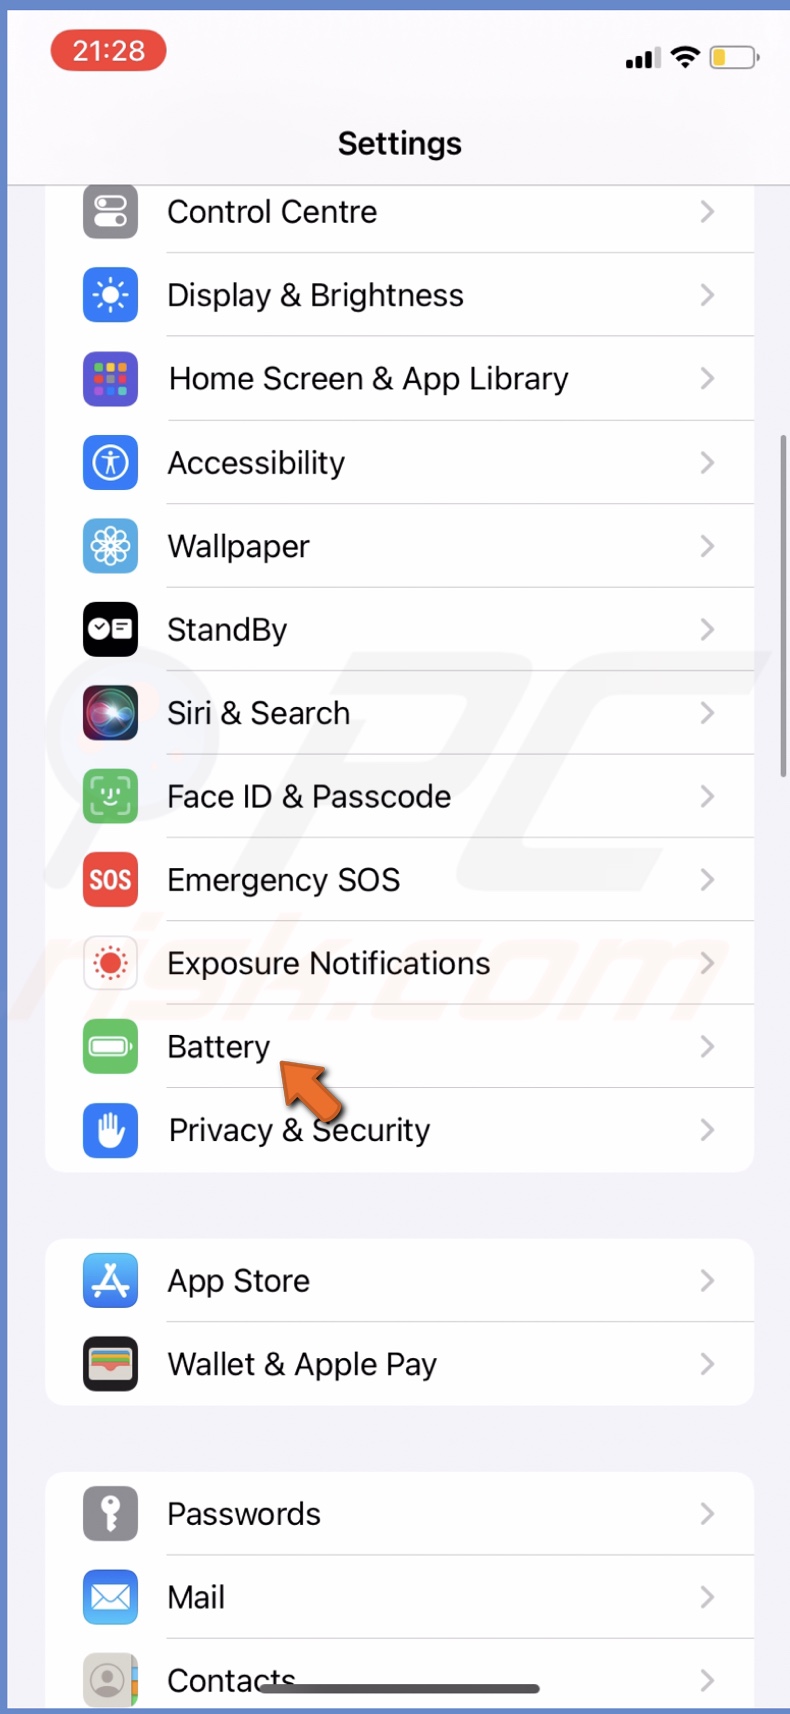
3. Next to "Low Power Mode", move the slider to turn off the feature.
Edit Sleep focus
Sleep Focus is designed to help you get a better night's sleep by reducing distractions and interruptions. That includes keeping your screen dim.
When the feature is enabled, it will automatically turn off the Always-On display feature. If you have Sleep Focus turned on, edit the settings so you'll be able to use Always-On.
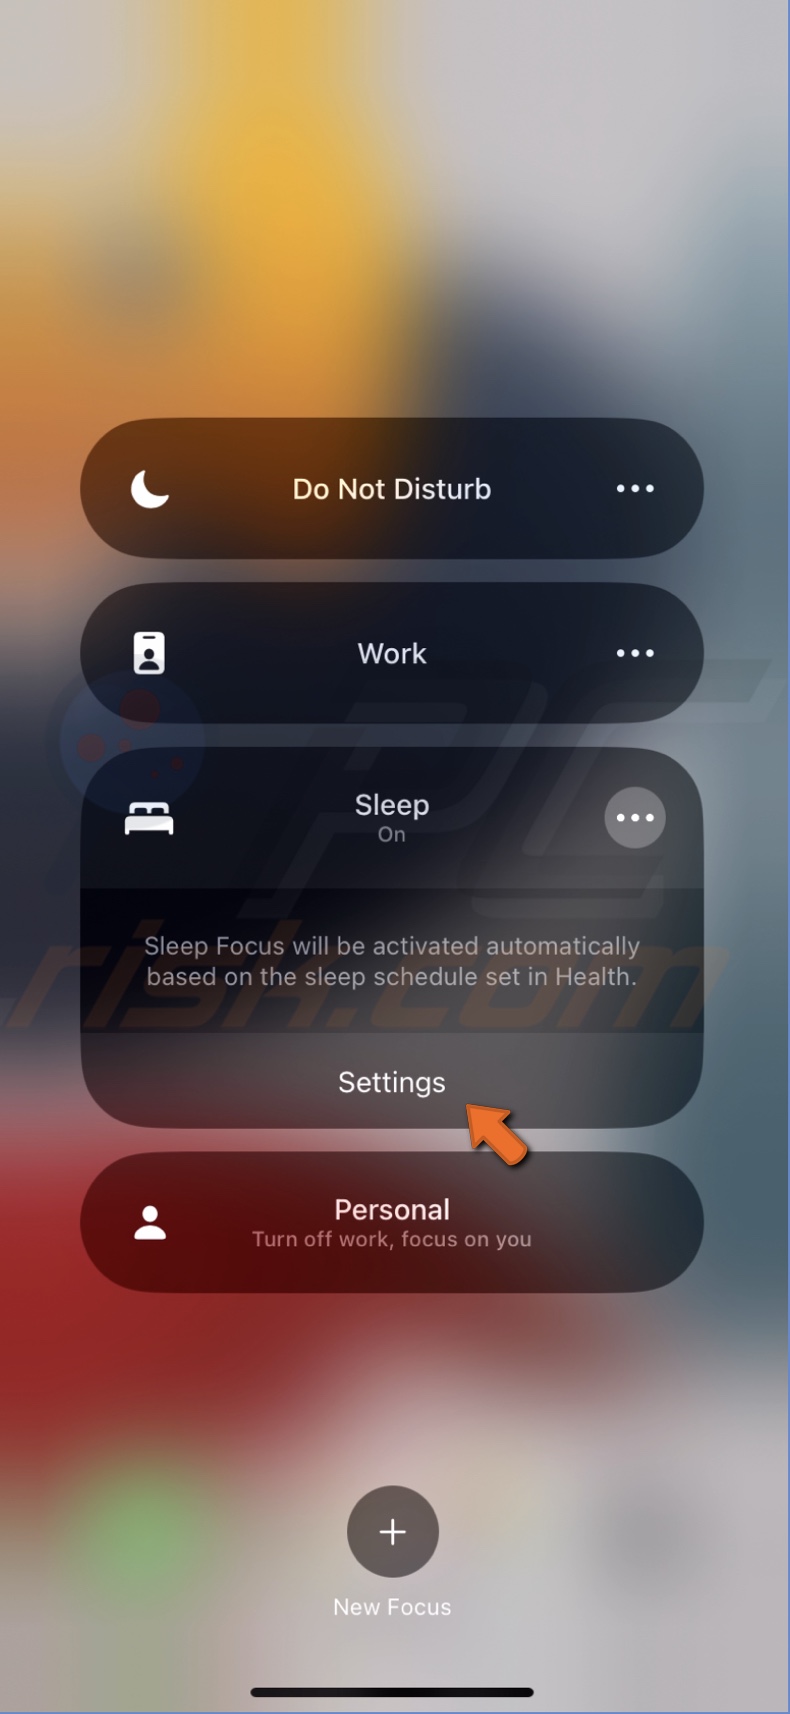
To change Sleep Focus from Control Center, follow the steps below:
1. On iPhones with Face ID, swipe down from the top right corner of the screen.
On iPhones with the Home button, swipe up from the middle bottom.
2. Tap on "Sleep" focus and select the three dots.
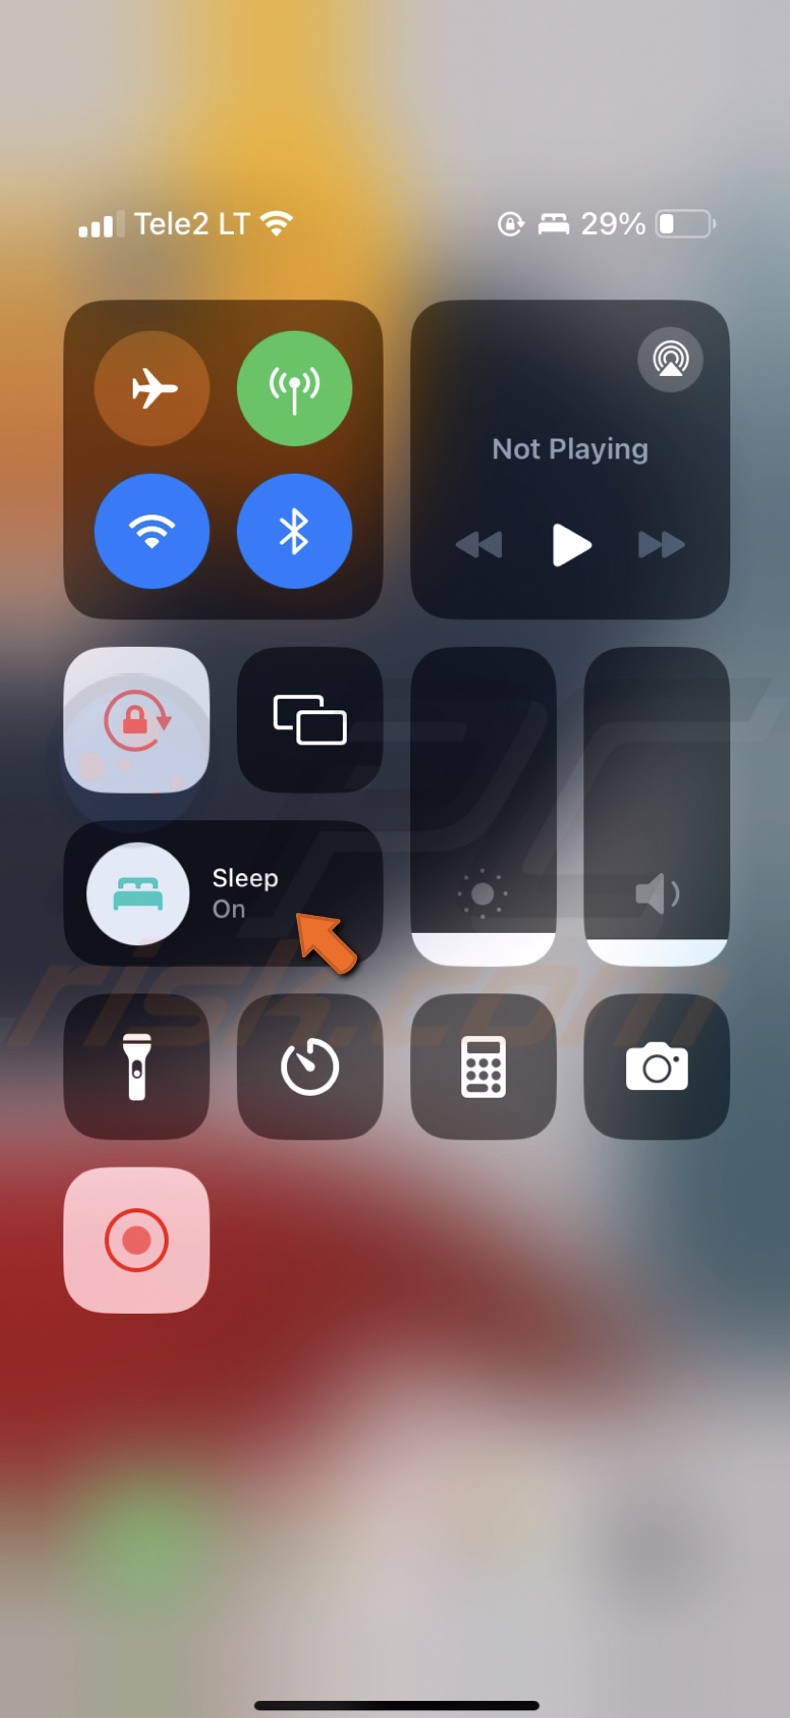
3. Tap on "Settings" and edit them.
You can also change these settings in the Settings app. Open the app and search for "Focus" settings.
Turn off the Continuity Camera
When the Continuity Camera feature is enabled, you won't be able to use Always-On. First, turn off the camera function and then try to use the Always-On display feature.
To disable the Continuity Camera, follow the steps below:
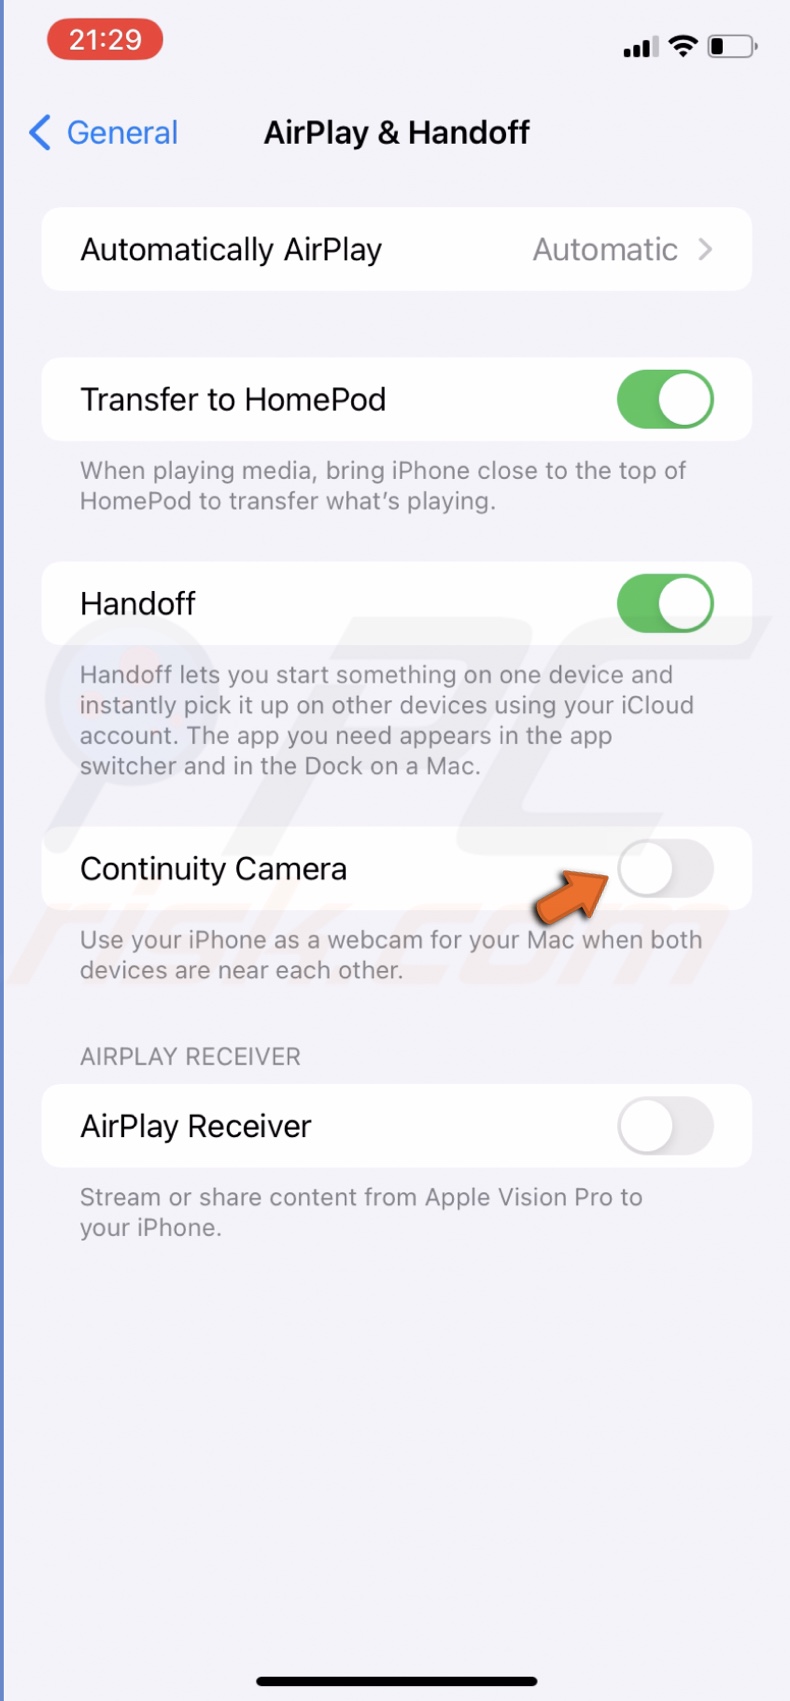
1. Go to your iPhone settings.
2. Go to "General" settings and tap on "AirPlay & Handoff".
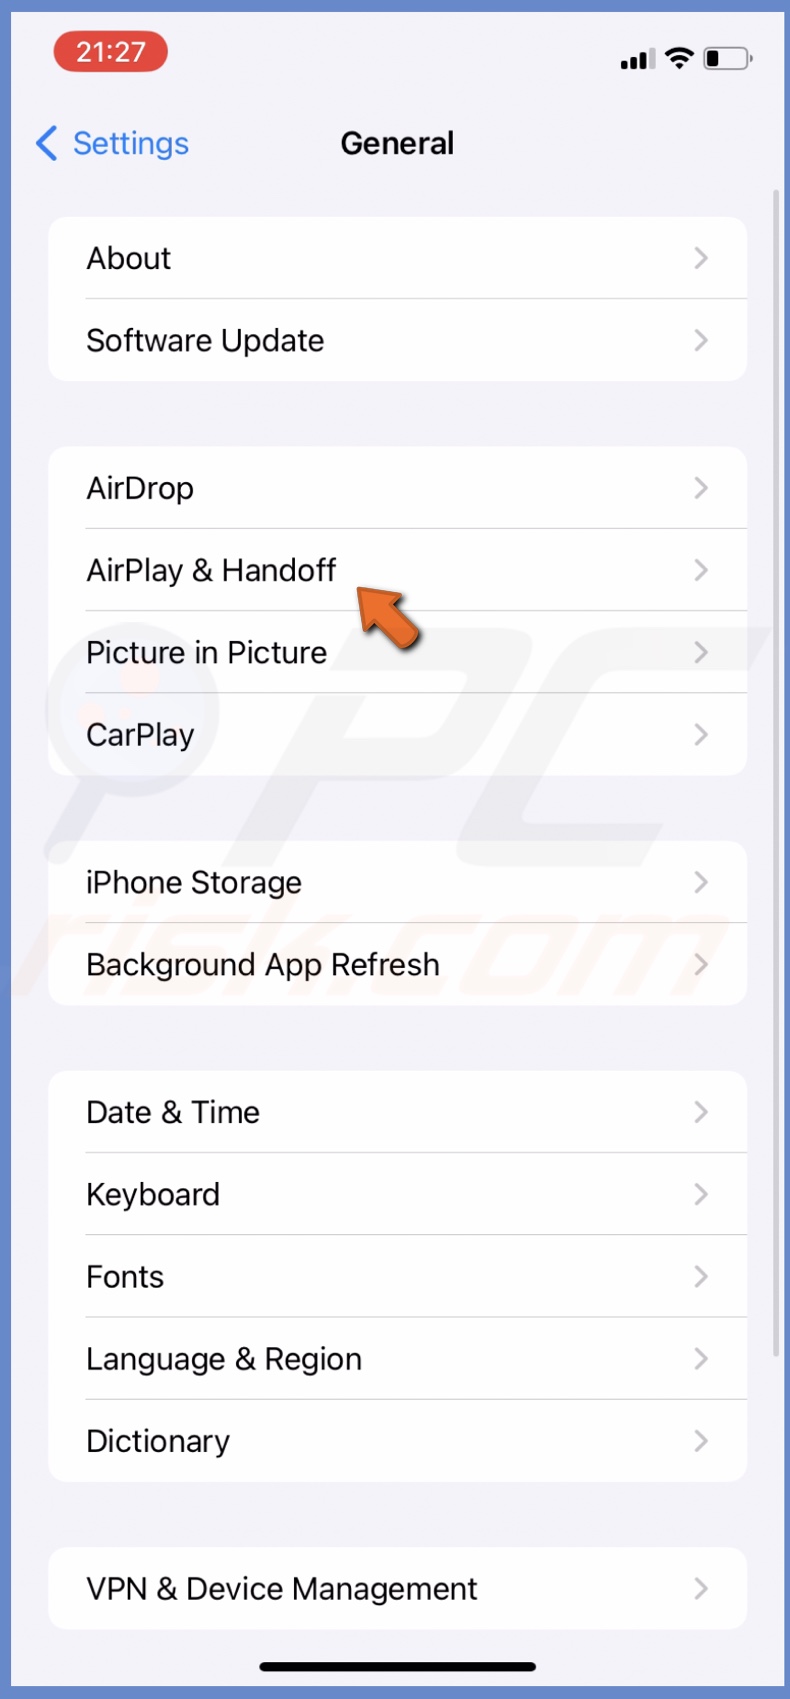
3. Turn off the "Continuity Camera" feature.
Re-enable Raise to Wake feature
Re-enabling the Rise to Wake feature might get rid of glitches that prevent Always-On from working.
If you don't know what Rise to Wake is, it's a function on iPhones and iPads without the Home button. It lights up your screen when you pick it up and does the opposite when you put it down.
To re-enable the Rise to Wake feature, follow the steps below:
1. Open the Settings app on your device.
2. Go to "Display & Brightness" settings.
3. Turn off "Rise to Wake".
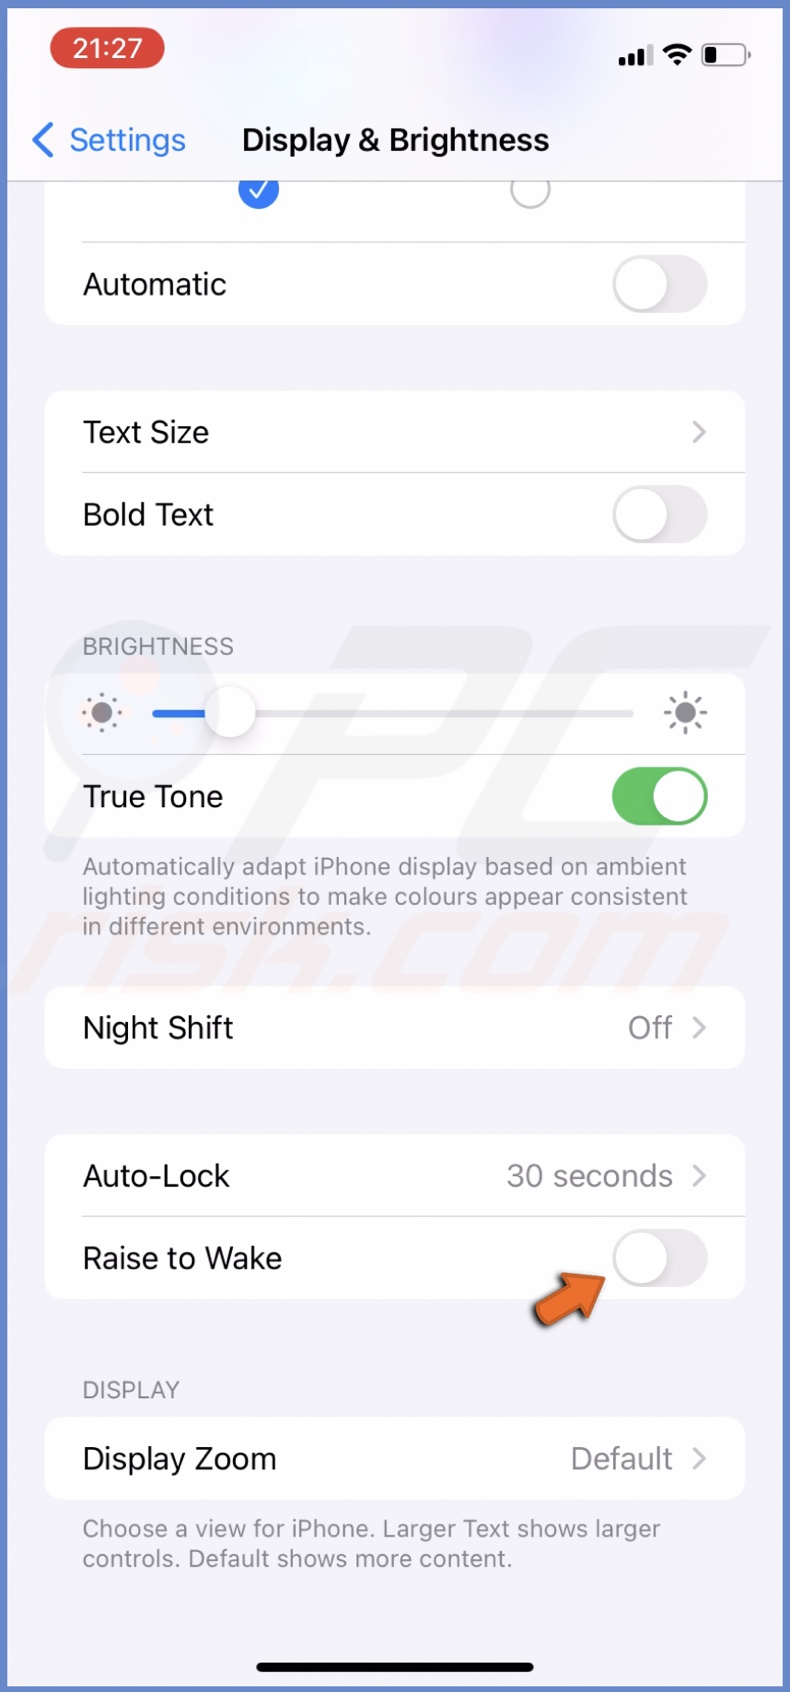
4. Wait for a few seconds and turn it back on.
Turn off the CarPlay feature
When CarPlay is turned on, the Always-On feature is automatically disabled. So, if you want to use AOD, turn off CarPlay on your device.
Tu disable CarPlay, follow the steps below:
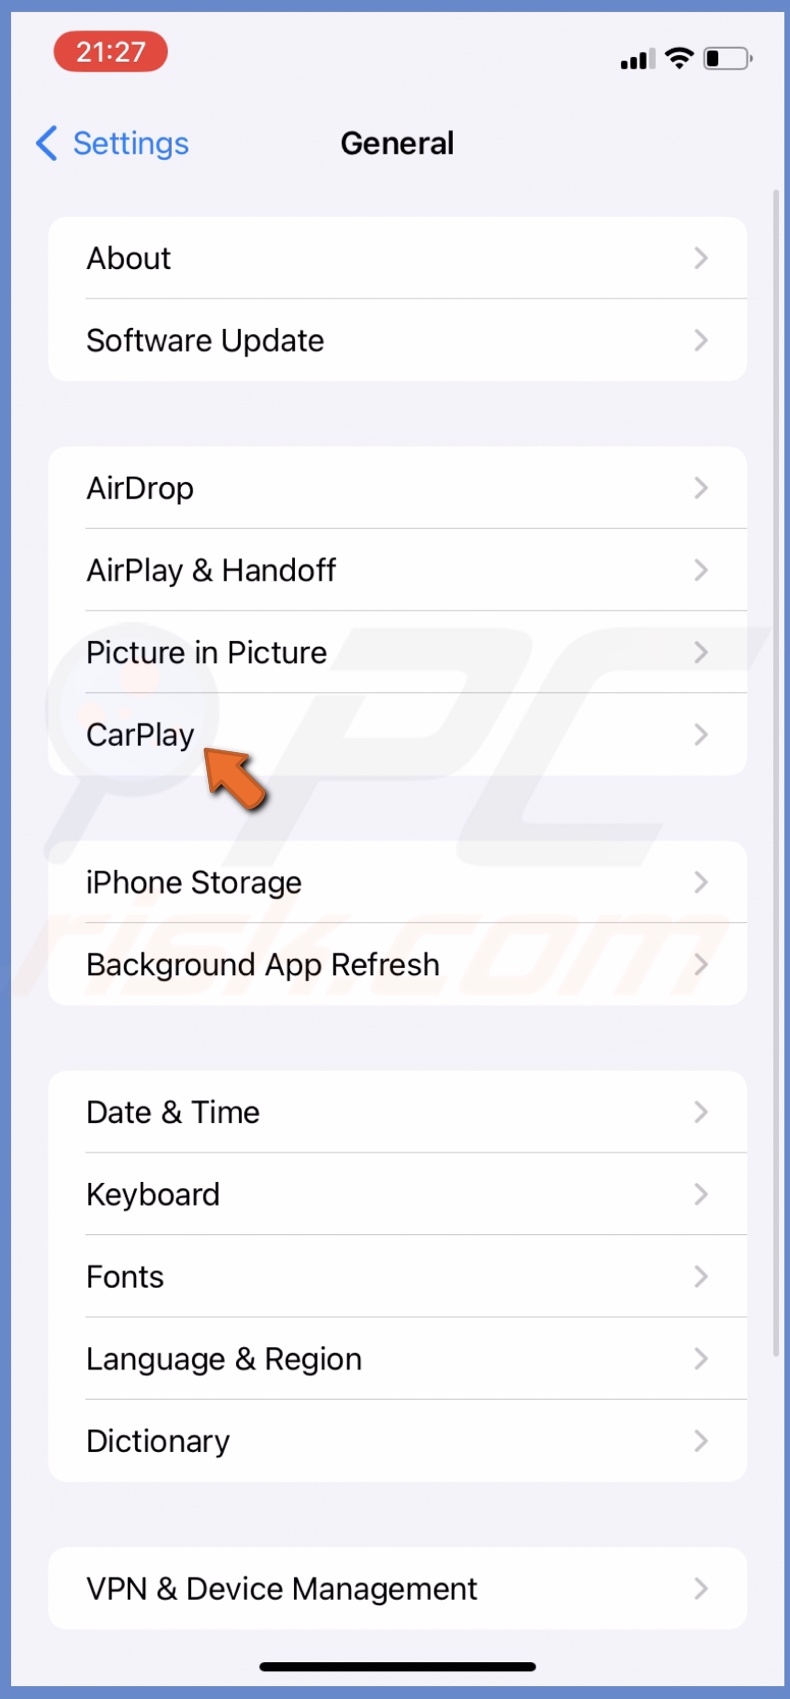
1. Go to Settings and select "General".
2. Tap on "CarPlay".
3. Select the car and tap on "Forget This Car".
Force restart the iPhone
Always-On still not working? A forced restart of the system will remove bugs and glitches that your iPhone might've picked up and clear out the cache. That should help fix the Always-On display function.
To force restart your iPhone for iOS 16 and later, follow the steps below:
1. Press and quickly release the Volume Up button located on the left side of your iPhone.
2. Press and quickly release the Volume Down button.
3. Press and hold the Side button.
4. When the Apple logo appears, release the Side button.
To force restart an iPhone with an older iOS, go here.
Reset iOS to factory settings
If nothing helped, consider resetting your device to factory settings. It's a big step, but it will refresh the system, fix any settings mishap, and most likely improve problems that the previous steps couldn't.
Before reseting your iPhone, make sure to back up your data, apps, photos, and other important information so you can quickly restore it. This process will delete everything.
More information on how to back up data, reset the device, and restore the backup you'll find here.
To reset your iPhone to factory settings, follow the steps below:
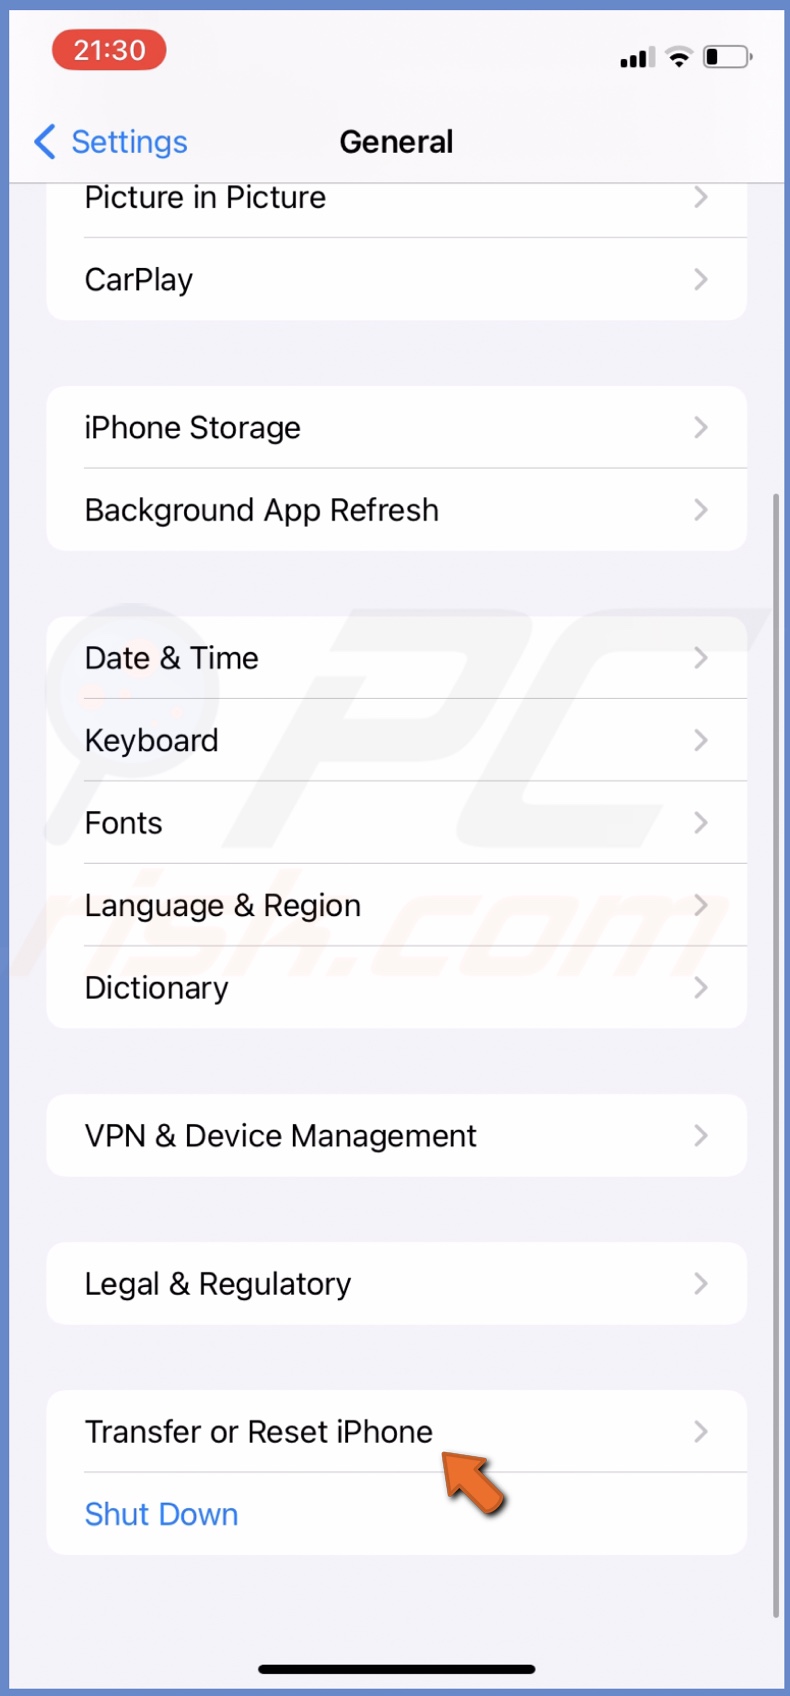
1. In the device Settings app, go to "General".
2. Scroll to the bottom and tap on "Transfer or Reset iPhone".
3. Select "Erase All Content and Settings".
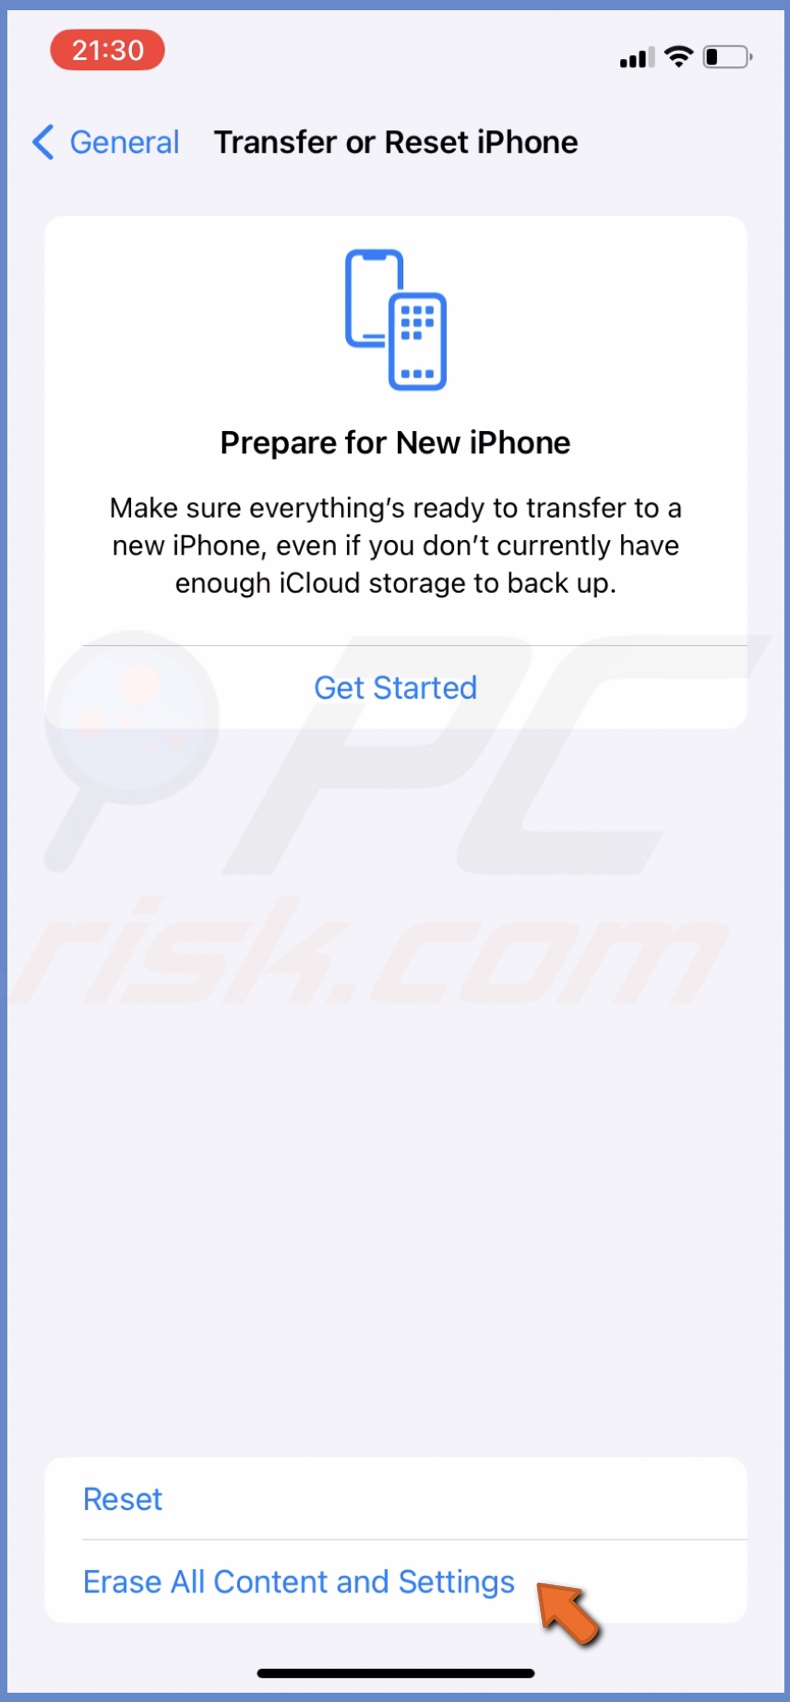
4. Tap on "Continue" and follow the instructions on the screen.
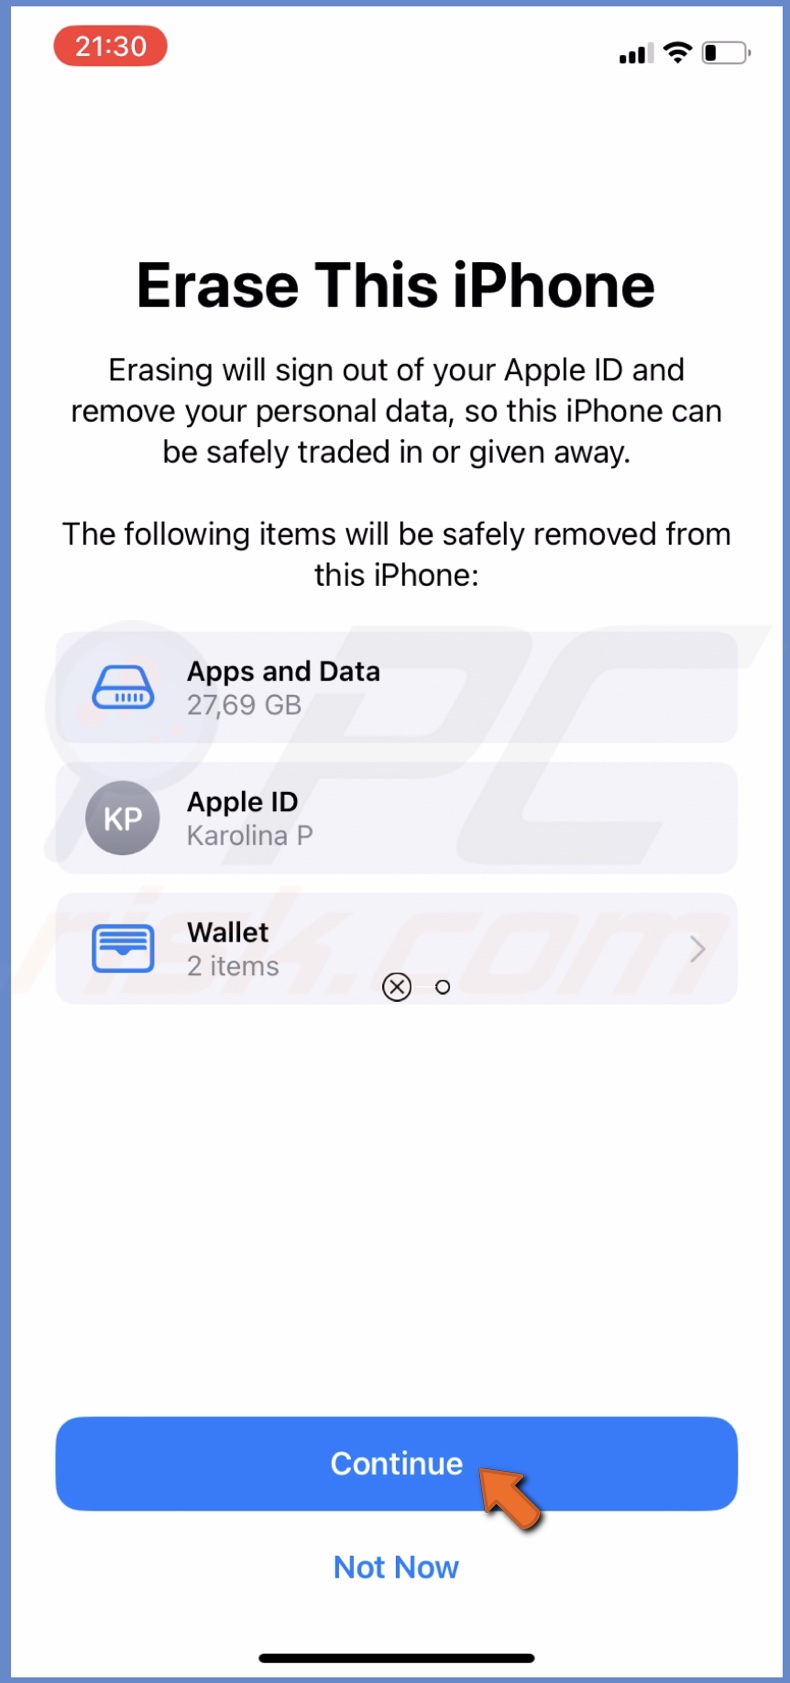
5. When the reset is finished, set up your device again and restore the backup.
If you have any questions, feel free to leave a comment below!
Share:

Karolina Peistariene
Author of how-to guides for Mac users
Responsible for collecting, analyzing, and presenting problem-solving solution articles related to macOS issues. Years of macOS experience combined with solid research and analyzing skills help Karolina provide readers with working and helpful solutions as well as introduce various features Mac has to offer.
▼ Show Discussion