11 creative ways to set up your Mac for productivity

Get Free Scanner and check your computer for errors
Fix It NowTo fix found issues, you have to purchase the full version of Combo Cleaner. Free trial available. Combo Cleaner is owned and operated by Rcs Lt, the parent company of PCRisk.com read more.
11 ways to turn your Mac into a productivity machine
As you work, you want to be as productive as possible. It can be challenging with all the distractions around, but lucky for you, your Mac has many great features that can help you be more efficient.
All the functions listed in this post are built-in, so you don't need to download anything. Although some features are available only with macOS Ventura and later, you can still use most of them if you have an older operating system.
Video on 11 creative ways to set up your Mac for productivity
Table of Contents:
- Introduction
- Paste text with or without formatting
- Start using Text Clipping
- Pause file copy
- Instantly convert images to different formats
- Make the best of App Switcher
- Rename multiple files at the same time
- Paste photo edits
- Use the Notification Center
- Split the screen
- Quickly access features with Hot Corners
- Organize open windows with Stage Manager
- Video on 11 creative ways to set up your Mac for productivity
Download Computer Malware Repair Tool
It is recommended to run a free scan with Combo Cleaner - a tool to detect viruses and malware on your device. You will need to purchase the full version to remove infections. Free trial available. Combo Cleaner is owned and operated by Rcs Lt, the parent company of PCRisk.com read more.
Paste text with or without formatting
You can paste text in two different ways: with the original formatting or without it. Only some people know how to copy and paste without any formatting, which can be very helpful and time-saving.
To paste text without its formatting, follow the steps below:
1. Copy the text you want.
2. Paste the text by pressing the Command+Option+Shift+V keys on your keyboard.
The key combination Command+V will paste text with the original formatting.
Start using Text Clipping
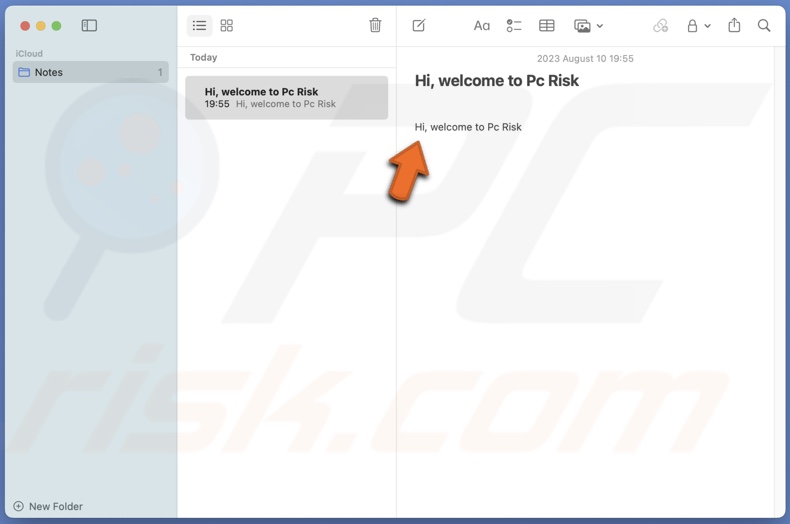
The feature is not well known and undeservingly so. It allows you to drag text from an app to another location on your Mac. Text Clipping can save time and boost productivity as you can pull out pieces of text for later use.
To use Text Clipping, follow the steps below:
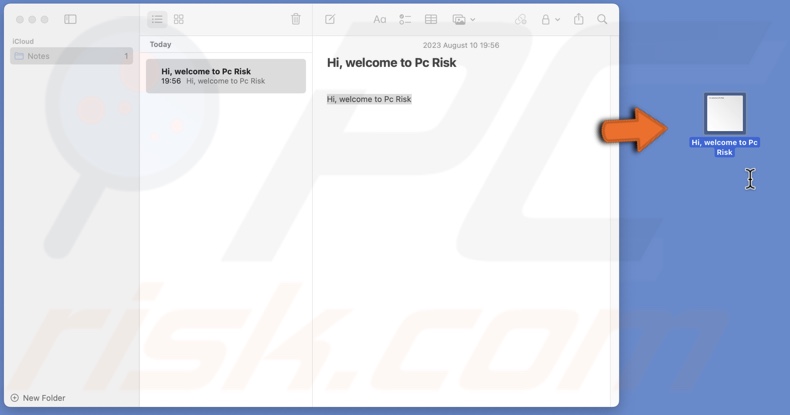
1. Highlight the text you want to extract and drag the selection to a preferred location on your computer.
2. The text is saved in a ".textclipping" format and named after the first few words of the selection. You can rename the Text Clipping file as you want.
If you want to use the extracted text, drag it to a Pages document, for example.
Pause file copy
Another feature you need to know is how to pause a file while it's copying. There might be a time you'll need this function, so to save time, you can stop the process instead of canceling it and starting from the beginning.
To pause the file copy process, follow the steps below:
1. While the file is duplicating, click on the pie chart. If you see your files 'as Icons' and not 'as List', skip to the second step.
2. Then, click on the X button to stop the process.
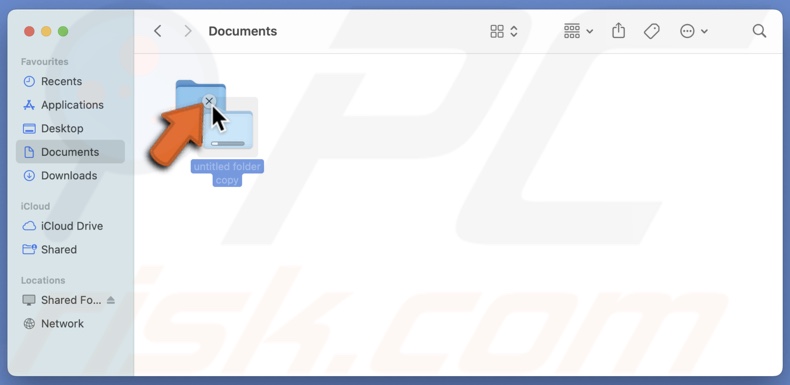
3. The file copy is stopped. You can continue any time by clicking the 'Resume' icon.
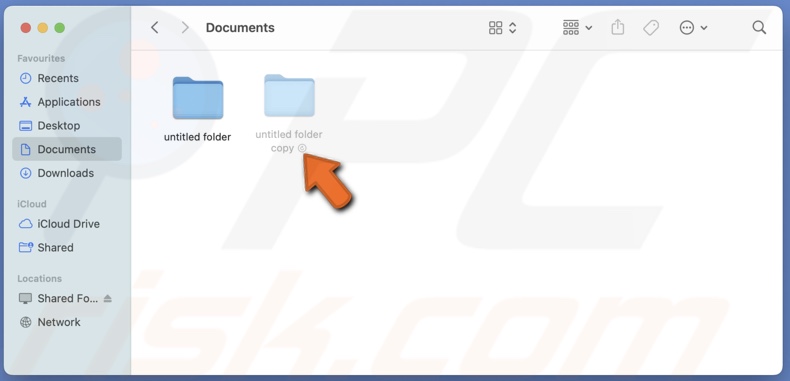
If you don't want to resume the copy, delete the 'ghost' copy (file that's not entirely copied).
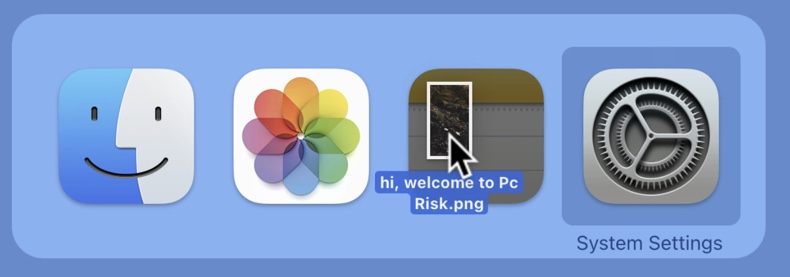
Instantly convert images to different formats
If your Mac runs on macOS Monterey or later, you can convert images using Finder.
To change image format fast, follow the steps below:
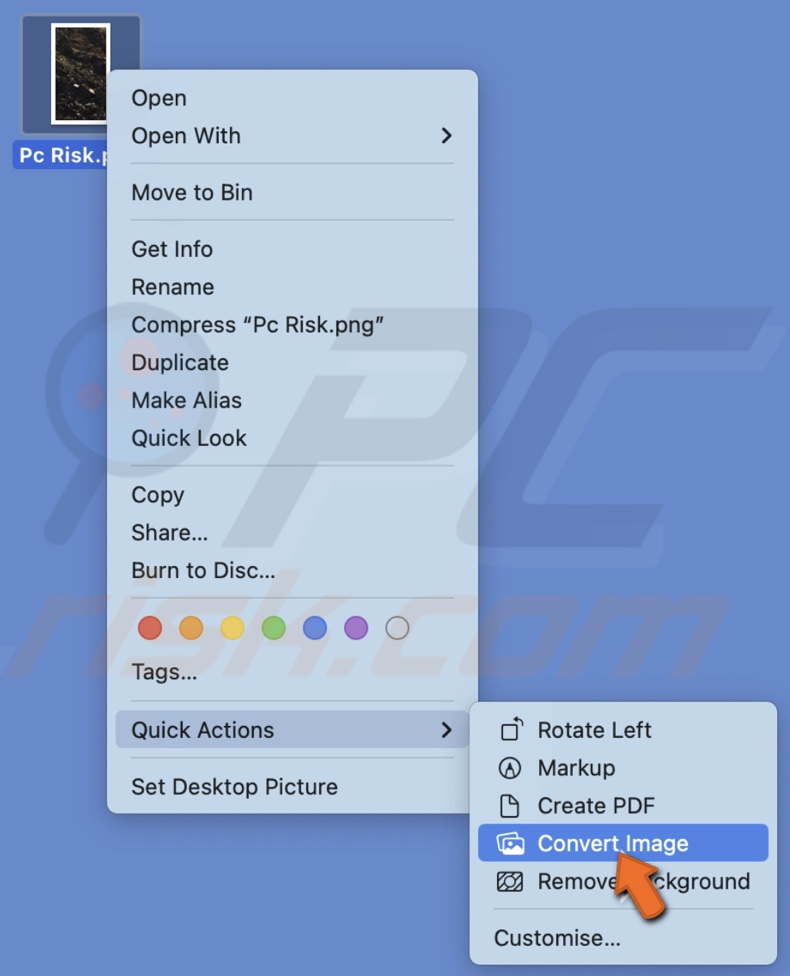
1. Right-click on the image.
2. Hover over "Quick Actions" and click "Convert Image".
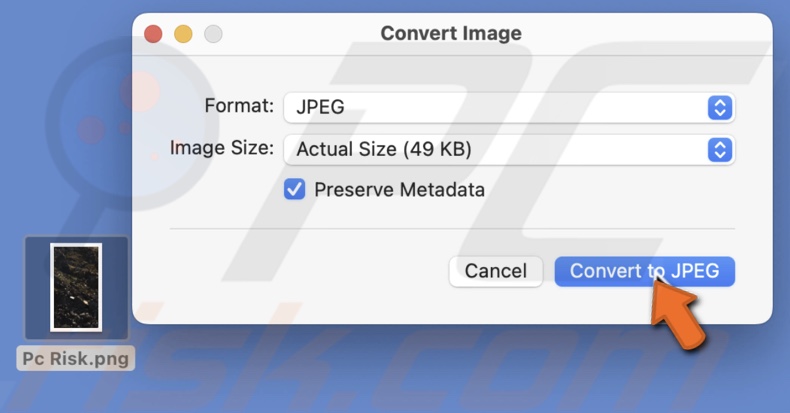
3. Next to "Format", click on the drop-down menu and select the format from the given options.
4. If you need to, change the image size.
5. When finished, click "Convert to (chosen format)".
Make the best of App Switcher
To save time and increase productivity use the App Switcher. It's a program that allows you to switch between running apps fast. With it, you can also open files and close running apps.
To switch between apps using App Switcher, follow the steps below:
1. Press the Command+Tab keys on your keyboard to open the App Switcher.
2. While pressing the Command key, switch between apps by tapping the Tab key until you locate the application you want to open.
3. Then, release the Command key to open the app. It will pop up on the front of your screen.
To open files using App Switcher, follow the steps below:
1. Click and start dragging the file you want to open.
2. Simultaneously open the App Switcher (as explained above), drag the file on an app, and release it.
3. Your selected application will then open the file.
To close a program using App Switcher, follow the steps below:
1. Open the App Switcher.
2. While pressing the Command key, tap the Tab key until you select the application you want to quit, and press the Q key on your keyboard.
Rename multiple files at the same time
Another productive feature is the ability to rename several files using the 'Rename' action. It only applies to files with the same piece of text in their name. For example, you have a few images with the same one word as part of the name and want to change it.
To replace a part of the file name on multiple files at once, follow the steps below:
1. Press the Command key on your keyboard and select the files you want to rename. Remember, they all have to have at least one word that's the same in their name.
2. Then right-click on any selected files and click "Rename".
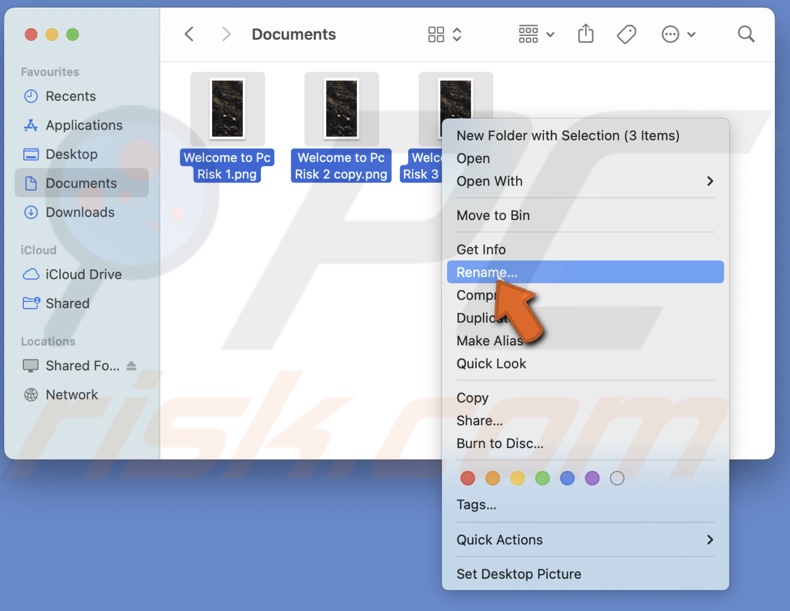
3. From the drop-down menu, select "Replace Text".
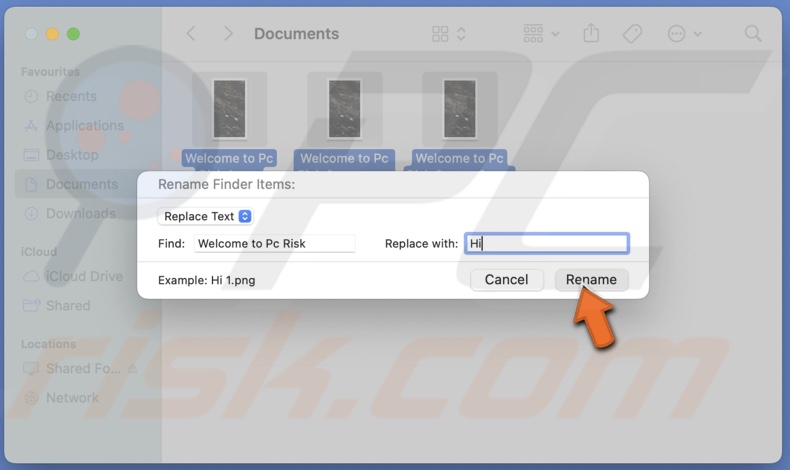
4. Next to "Find", type the text you want to replace. And next to "Replace with", enter the text you want to replace it with.
5. When done, click on "Rename".
Paste photo edits
With macOS Ventura or later, you can paste photo edits. If you want to use the same edit on multiple photos, you can just paste it. No more editing each picture separately.
To paste the same photo edit on other pictures, follow the steps below:
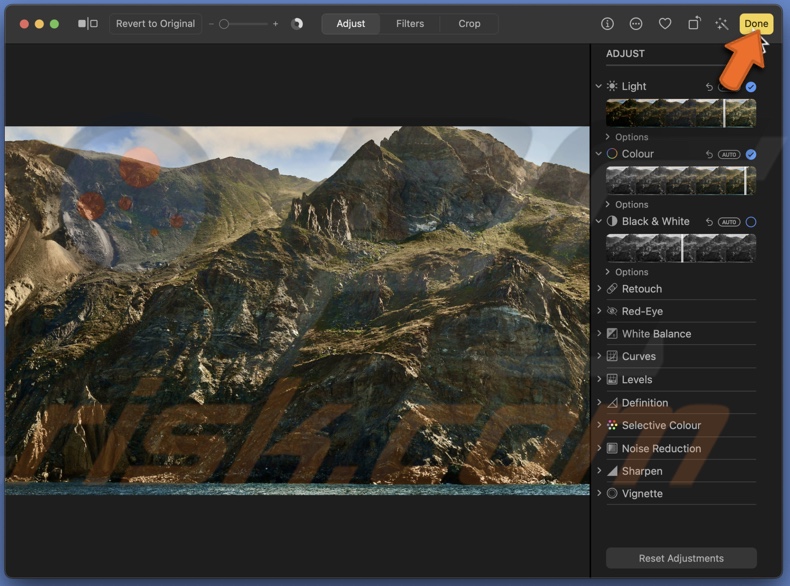
1. Open the photo you want to edit in the Photos app.
2. Click on "Edit" and make the desired changes.
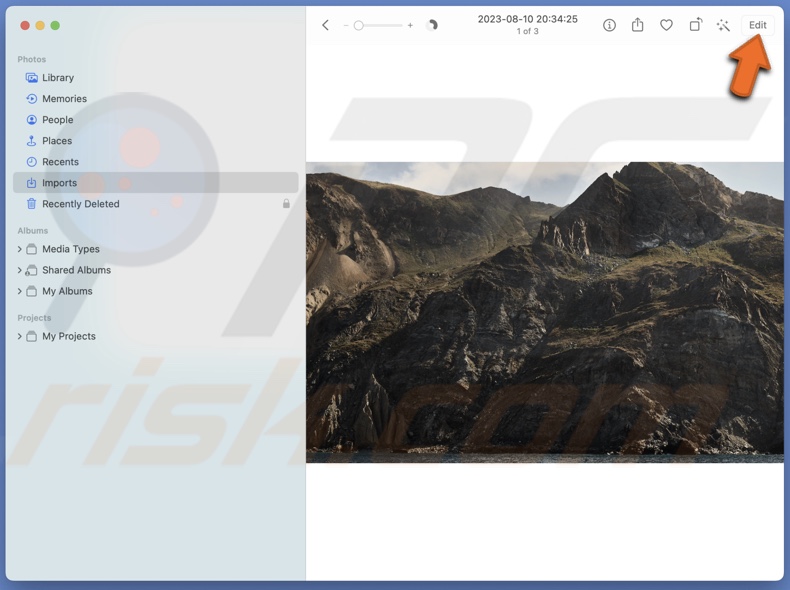
3. When done, click on "Done".
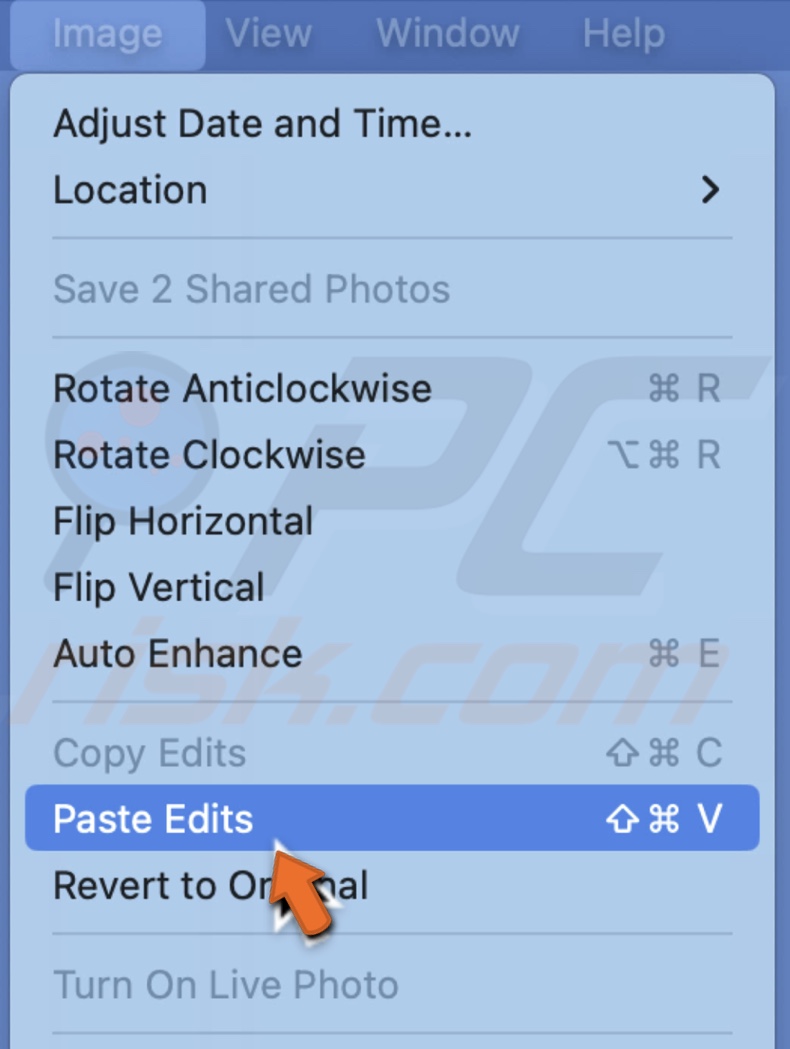
4. From the menu bar, click "Image" and select "Copy Edits".

5. Select the photos you want to paste the edits to, click on "Image" again, and select "Paste Edits".
Use the Notification Center
The Notification Center can be quite helpful when you need to quickly glance at the calendar, your notes, etc. With one click, you can see your day's schedule, the time, the weather, your stocks, and more.
To edit the Notification Center, follow the steps below:
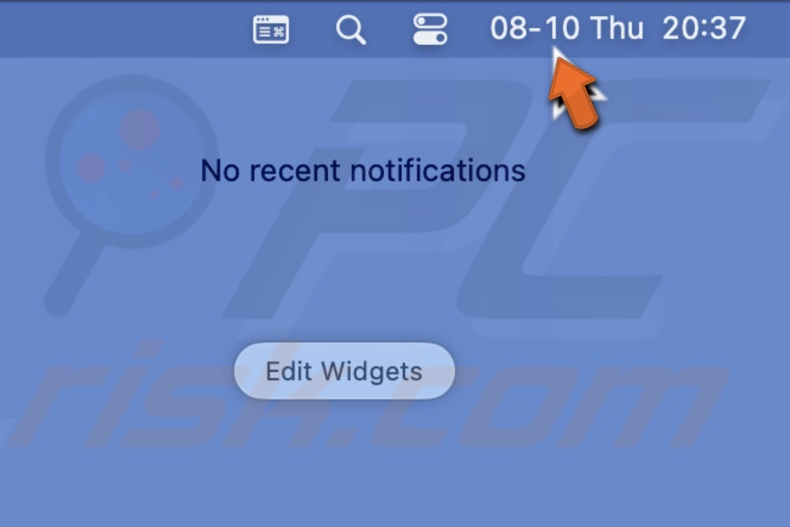
1. Click on the date and time section at the top right corner of your screen.
2. Then, click on "Edit Widgets".
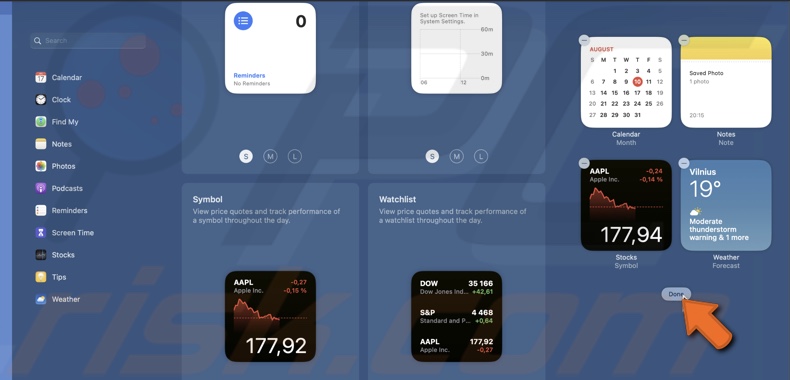
3. From the list, choose the widgets of the apps you want to see in your Notification Center.
4. Rearrange the widgets by dragging them to the position you want.
5. When done, click on "Done".
Split the screen
The Split View function is a saver when you need to work with two apps or browser windows at the same time. You can fixate them to a part of the screen and change the size.
To use Split View, follow the steps below:
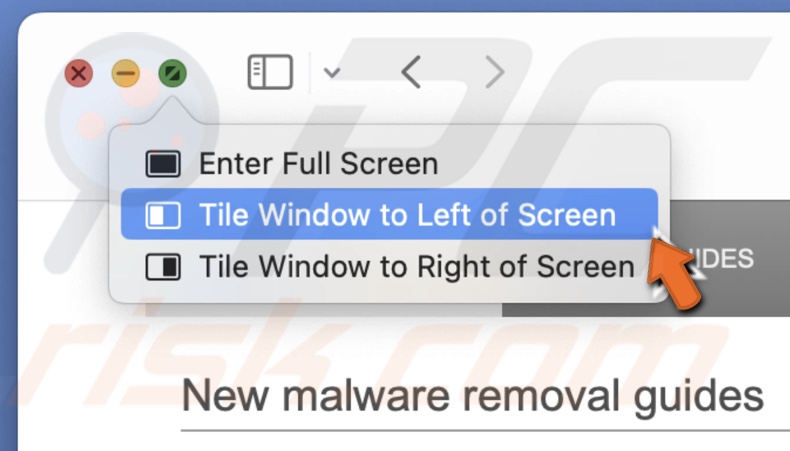
1. At the top left corner of a window, click and hold the green button until a menu pops up.
2. Then, choose which side you want to assign the window to.
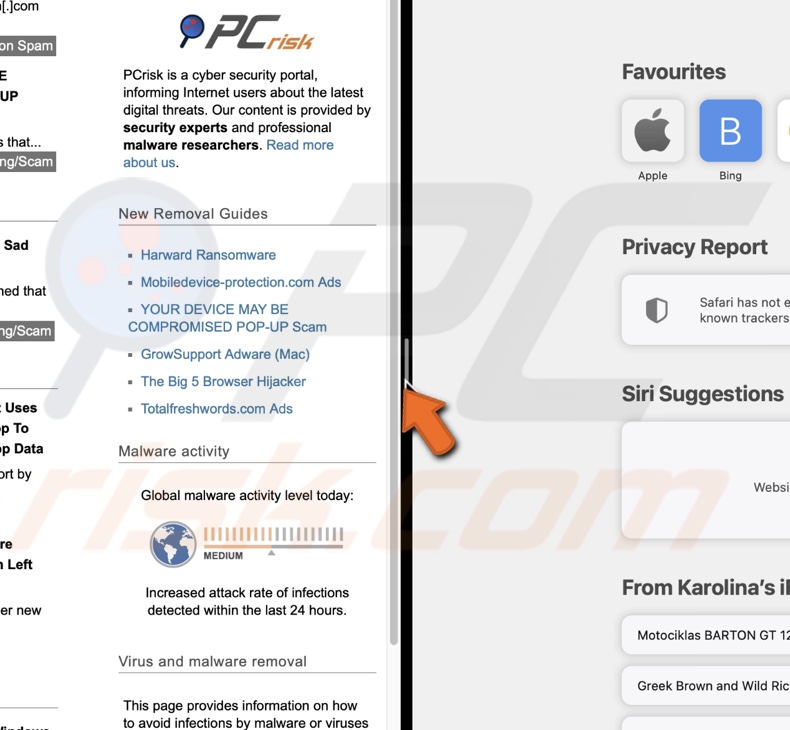
3. You'll then get the option to choose the other window or app to set on the other side of the screen.
4. To change the sizes of the windows, drag the handle between the two to one or the other side.
Quickly access features with Hot Corners
Place something in your screen corners. It's a fast way to access specific Mac features like Quick Notes, Mission Control, and more. One of the best is the Lock Screen feature. You only need to move your mouse to a corner, and the screen is locked.
To set up Hot Corners, follow the steps below:
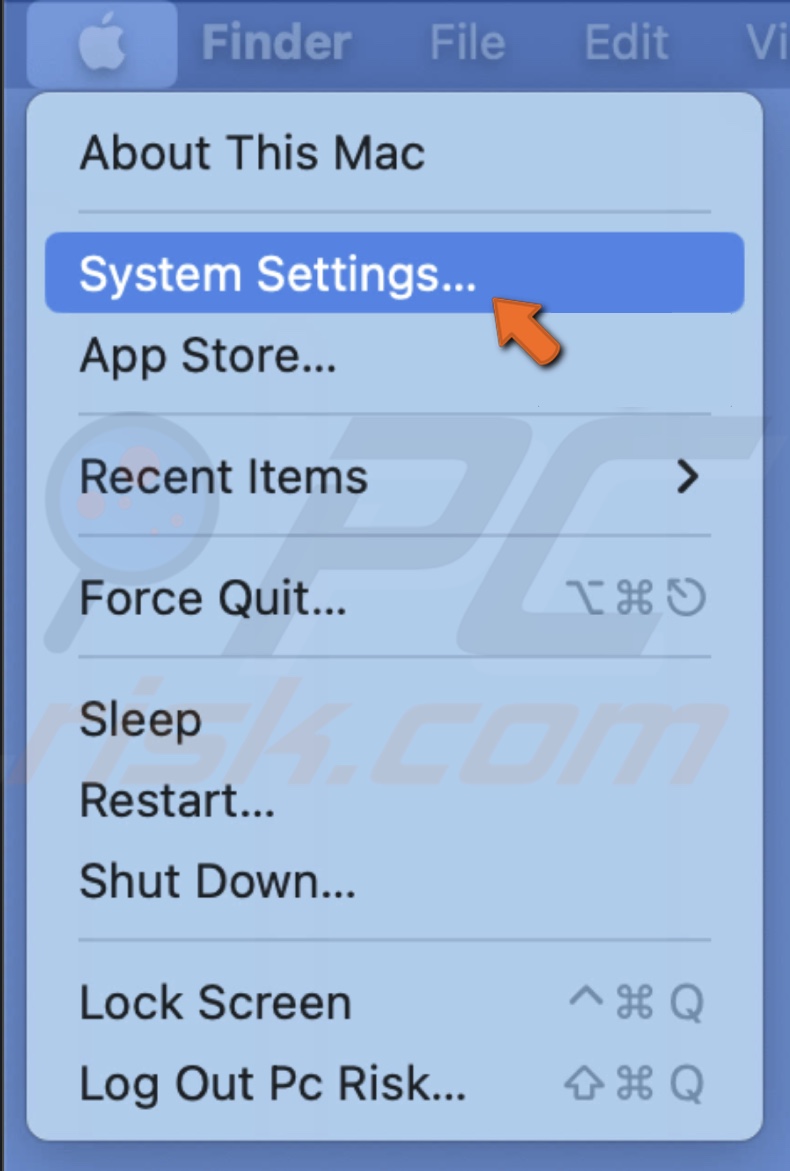
1. Click on the Apple logo and go to "System Settings" or "System Preferences".
2. Click "Desktop & Dock" and select "Hot Corners".
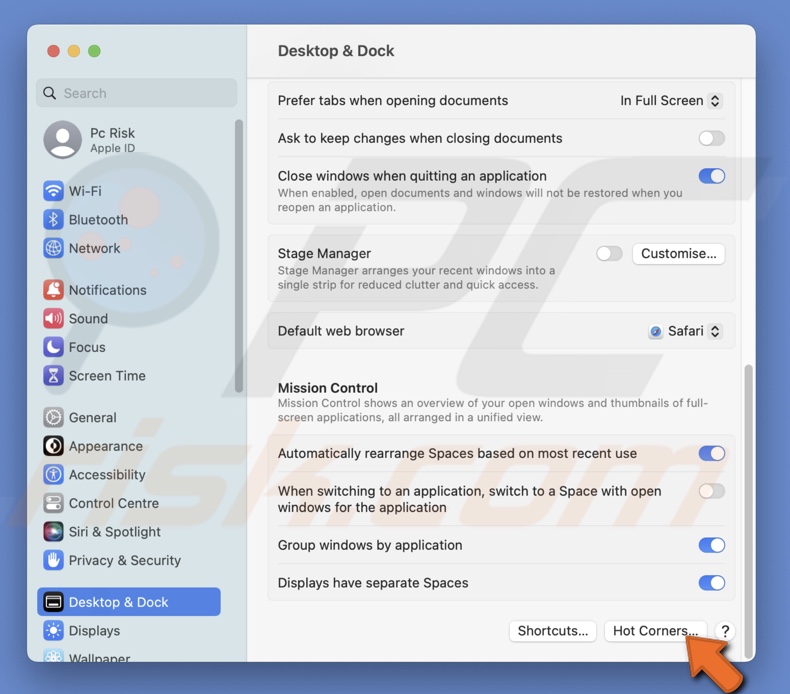
Or click on "Desktop & Screen Saver", and in the "Screen Saver" tab, click on "Hot Corners".
3. Choose a corner and click on the drop-down menu.
4. Select the feature you want to add.
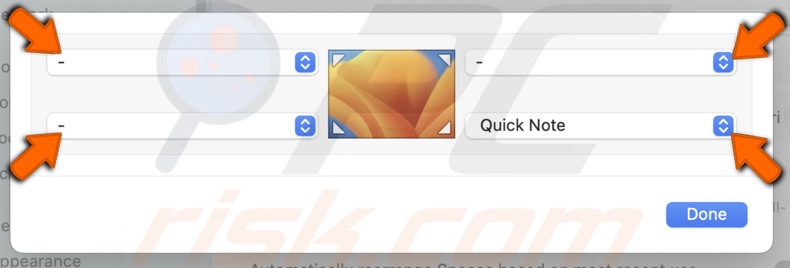
5. When done, click on "Done".
Organize open windows with Stage Manager
Stage Manager minimizes and organizes your opened windows. Their thumbnails appear on the left side of your screen, allowing you to preview each window.
To use Stage Manager, follow the steps below:
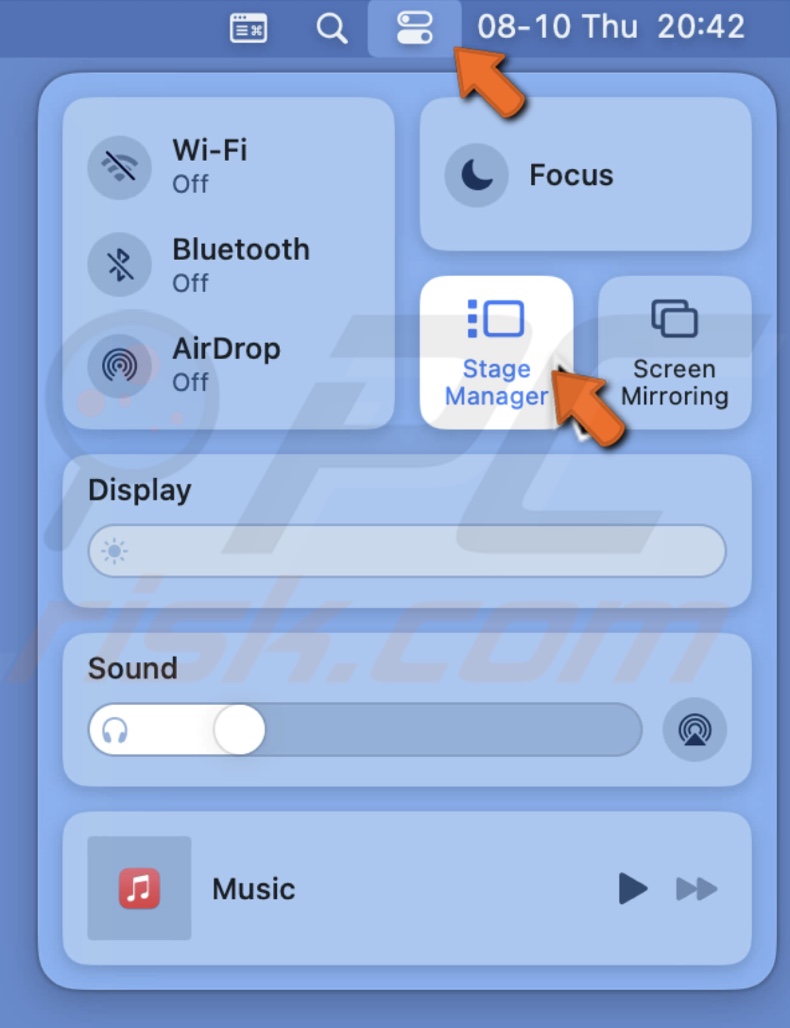
1. Click on the Control Center icon in the right corner of the menu bar.
2. Then, click on "Stage Manager" to activate the feature.
This is the fastes way to activate it. To learn more about Stage Manager and how to use it, visit out post on Became a pro user of Stage Manager.
Work smarter, not harder
Mac has a lot of features that can help you be more efficient. Select the ones you find beneficial and boost your productivity.
If you have any questions, feel free to leave a comment below.
Share:

Karolina Peistariene
Author of how-to guides for Mac users
Responsible for collecting, analyzing, and presenting problem-solving solution articles related to macOS issues. Years of macOS experience combined with solid research and analyzing skills help Karolina provide readers with working and helpful solutions as well as introduce various features Mac has to offer.
▼ Show Discussion