Became a pro user of Stage Manager

Get Free Scanner and check your computer for errors
Fix It NowTo fix found issues, you have to purchase the full version of Combo Cleaner. Free trial available. Combo Cleaner is owned and operated by Rcs Lt, the parent company of PCRisk.com read more.
Master Stage Manager and increase productivity
Stage Manager is an excellent tool for having a clean Desktop and fast access to apps. The feature organizes all active programs and their windows by minimizing and moving them to the recent app list on the left side of the screen.

Thumbnails show live updates like incoming messages and emails. You can also minimize the window when a video plays, and it won't automatically pause. That means you can do other things while an ad runs on a Youtube video and open the window when the video starts.
Learn how to use Stage Manager to simplify your daily life. Let's go!
Video on Became a pro user of Stage Manager
Table of Contents:
- Introduction
- How to use Stage Manager on Mac
- Turn on or off
- Switch between apps
- Organize windows and apps
- Add or remove apps from a group
- Show or hide from the menu bar
- Adjust settings to your liking
- How to use Stage Manager on iPad
- Turn on or off
- Switch between apps
- Create app groups
- Organize app windows
- Adjust Stage Manager settings
- Video on Became a pro user of Stage Manager
Download Computer Malware Repair Tool
It is recommended to run a free scan with Combo Cleaner - a tool to detect viruses and malware on your device. You will need to purchase the full version to remove infections. Free trial available. Combo Cleaner is owned and operated by Rcs Lt, the parent company of PCRisk.com read more.
How to use Stage Manager on Mac
Learn how to use and navigate Stage Manager on your Mac. To start,
you need to have macOS Ventura or later.
Turn on or off
There are 3 ways you can turn Stage Manager on or off: from the Control Center, by going to settings, or the fastest one is by using a keyboard shortcut. Choose the most appealing, or use all three depending on your mood.
To turn on/off Stage Manager Control Center, follow the steps below:
1. Click on the Control Center icon at the top right corner of your screen.
2. Click the "Stage Manager" button to turn it on or off.

To turn on/off Stage Manager using a key combination, follow the steps below:
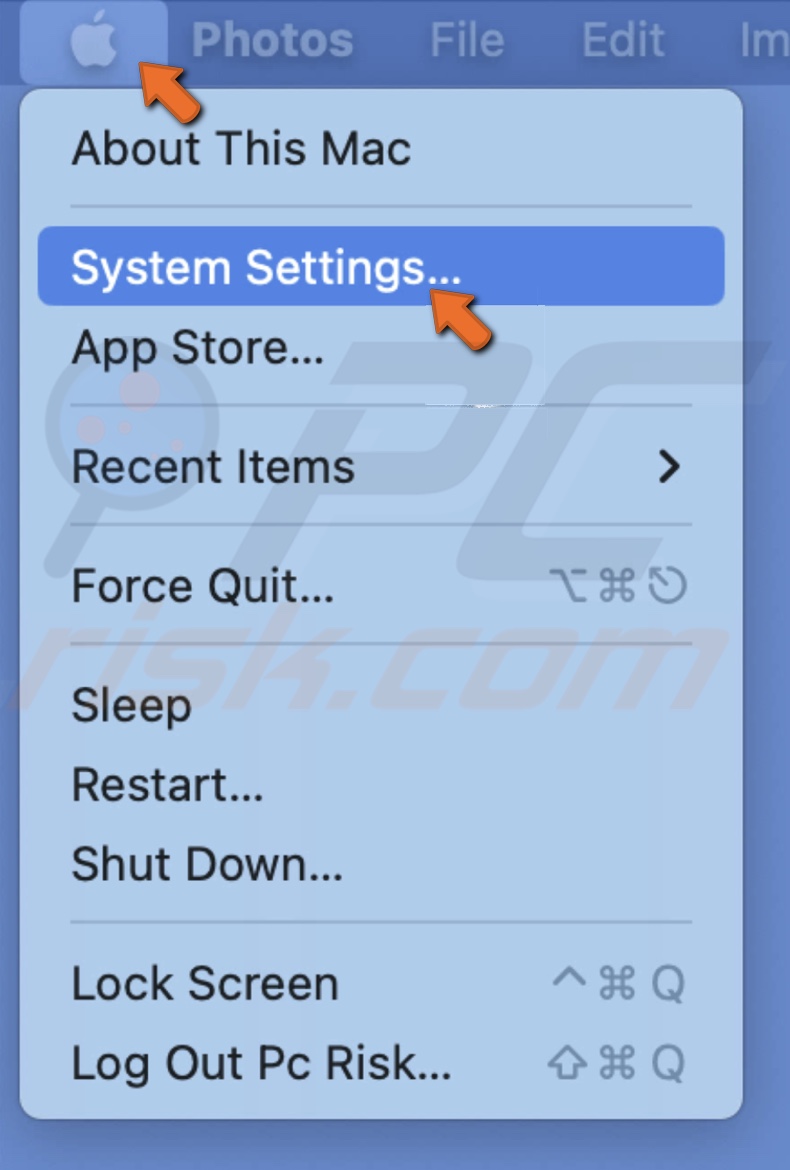
1. Click on the Apple logo and select "System Settings".
2. Scroll to the end, select "Keyboard", and click on "Keyboard Shortcuts".
3. Then, select "Mission Control" and click on "None" next to "Turn Stage Manager on/off".
4. On your keyboard, enter the key combination you want.
5. When done, you'll see the keys you select next to the option. To finish, click on "Done".
To turn on/off Stage Manager via settings, follow the steps below:
1. Click on the Apple logo and select "System Settings".
2. Go to "Desktop & Dock".
3. Then, locate the "Windows & Apps" section and turn on "Stage Manager".
4. Repeat the same step to turn it off.
Switch between apps
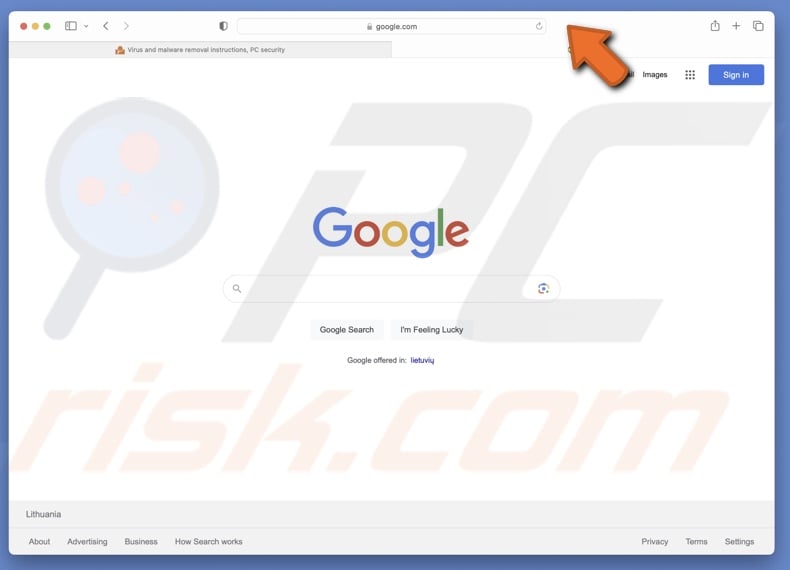
Switching between apps is very easy. Just click on the app thumbnail you want to change, and it will replace the one that's in the center of the screen.
You can also change the windows of the same app. To do that, press the Command + character (1,2,3...) key.
Organize windows and apps
When the Stage Manager is enabled, you can organize windows by hiding/unhiding apps, repositioning, resizing, and overlapping windows, minimizing them, or dropping files into an app.
To hide an app, press the Command + H keys on your keyboard.
If you want to unhide an app, switch to it from the Dock or press the Command + Tab keys on your keyboard.

To reposition a window, simply click and drag the title bar to the desired location on your screen. You can also resize the window by dragging the edge.
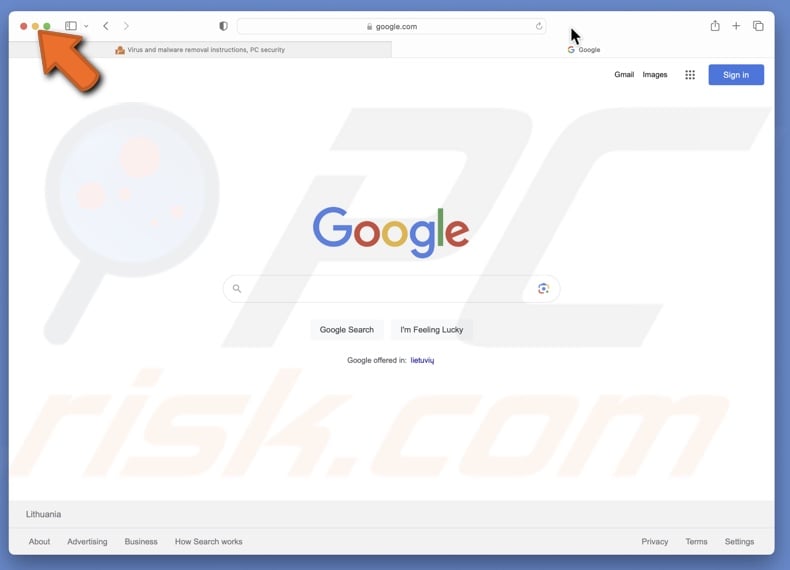
If you want to minimize a window to a thumbnail, click on the minus icon or press the Command + M keys on your keyboard.
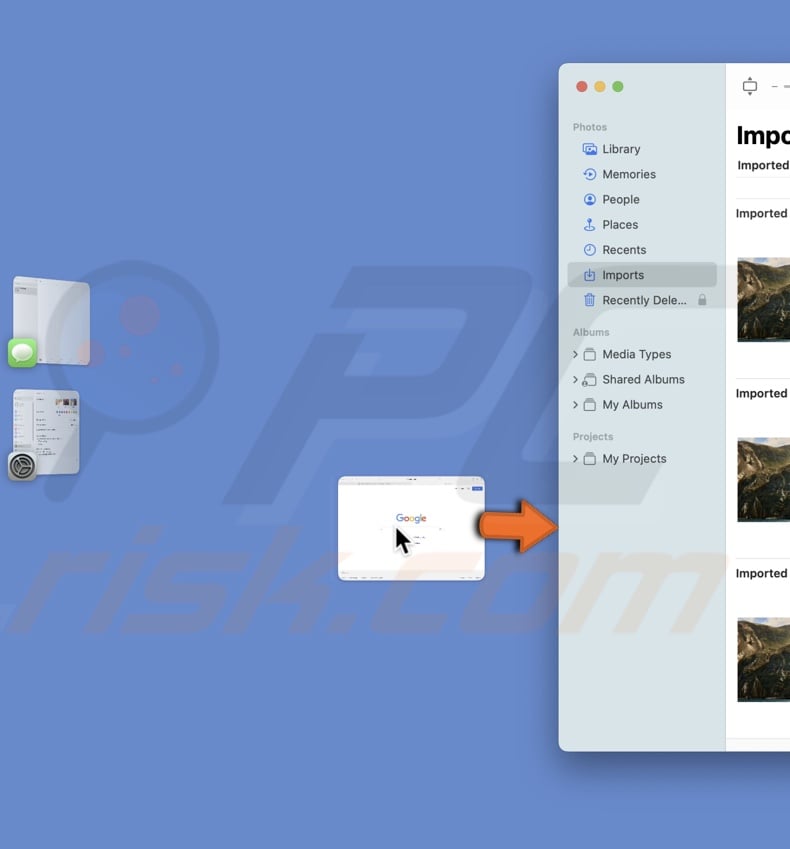
If you want to drag and drop a file into an app, follow the steps below:
1. Drag and hover the item over an app thumbnail until it appears in the center.
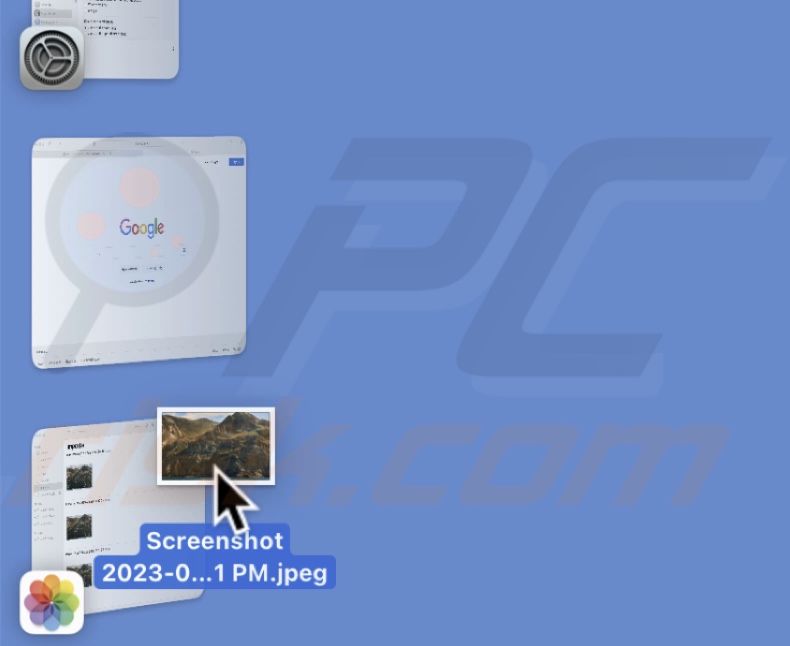
2. Drop the item onto the window.
3. If multiple windows overlap, hover the item over the window fragment until it appears in the center and then drop it.
Add or remove apps from a group
With Stage Manager, you can create app groups. That means grouped apps will appear under the same thumbnail on the left side of the screen. The last used app will appear on the front of the thumbnail.
To add an app to a group, drag an app from the left side of the screen to the center.
To remove an app from the group, drag it from the center to the left side of the screen.
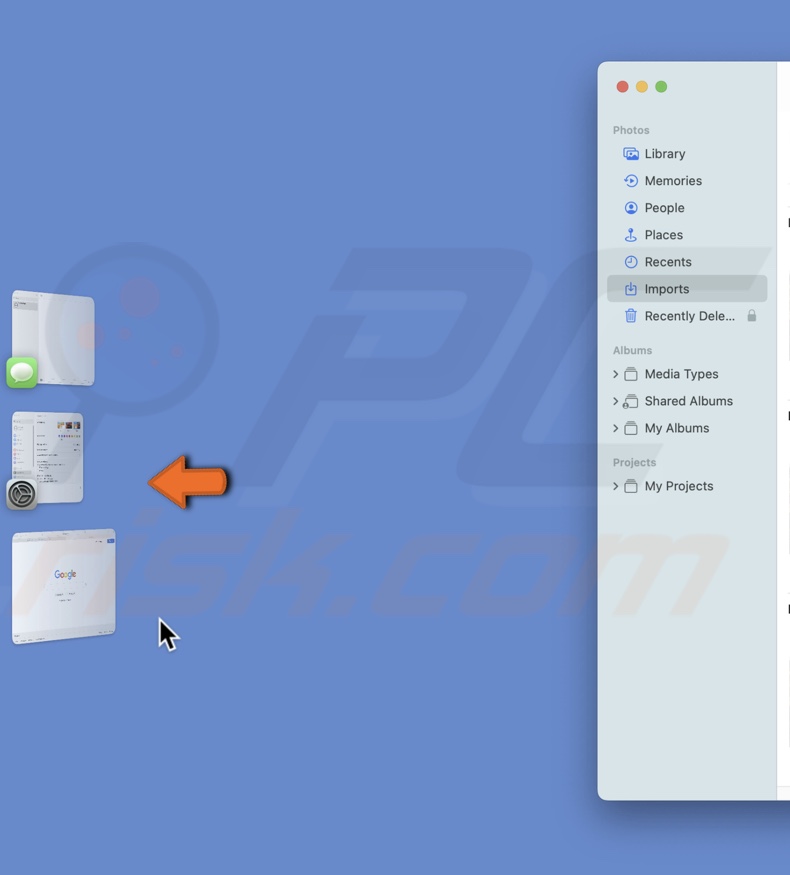
If the list of apps is hidden, move the cursor to the edge of the left side to unhide it.
You can also add the Stage Manager icon to the menu bar for faster access.
To show or hide from the menu bar, follow the steps below:
1. Click on the Apple logo and select "System Settings".
2. From the sidebar, select "Control Center".
3. Next to "Stage Manager", click on the pop-up menu and select "Show in Menu Bar" or "Don't Show in Menu Bar".

Adjust settings to your liking
In the Stage Manager settings, you can turn certain features like recent applications, desktop items, and more on or off.
To change Stage Manager settings, follow the steps below:
1. Click on the Apple logo and select "System Settings".
2. Select "Desktop & Dock" from the left sidebar and, next to "Stage Manager", click "Customize".
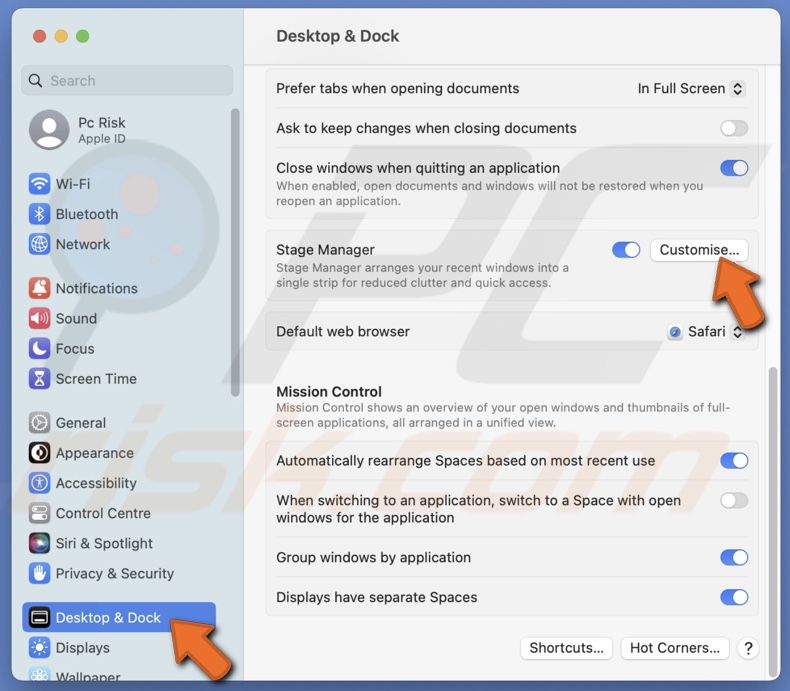
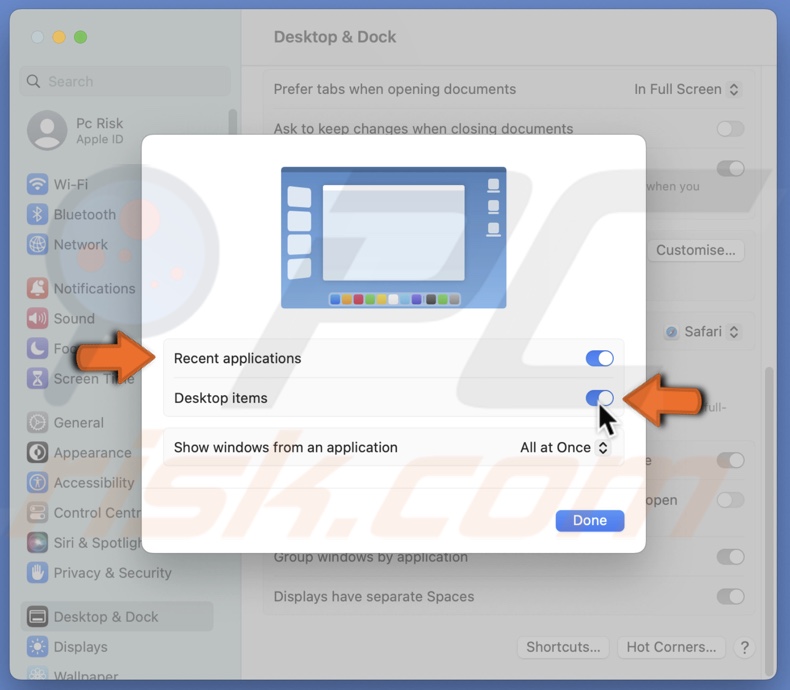
3. Here, you can select:
> If you want to see "Recent applications" on the left side.
> "Desktop items" on your desktop.
4. Next to "Show windows from an application", click on the drop-down menu to select:
> "All at Once" - to see all active app windows on your screen.
> "One at a Time" - to see only the recently used active window of an app on your screen.
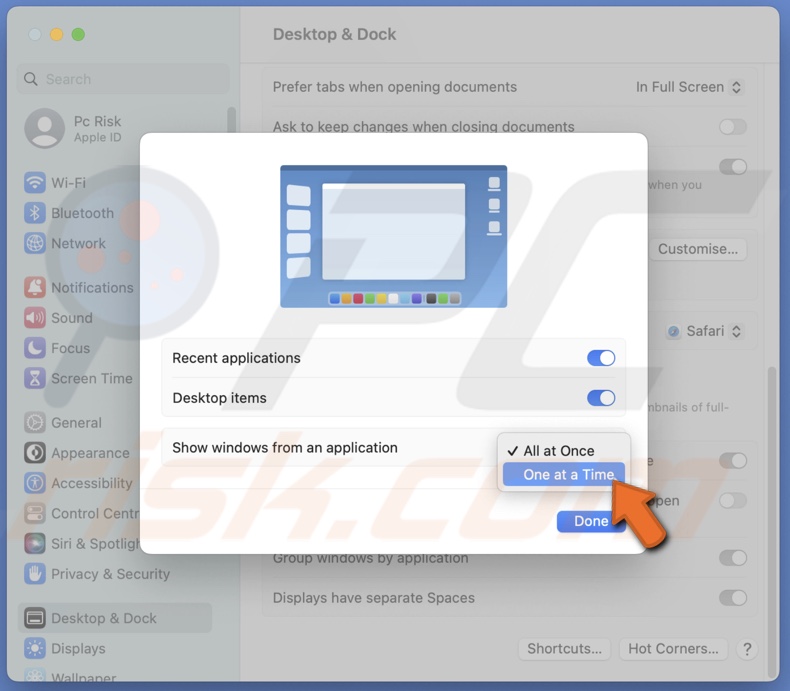
5. When done, click on "Done".
How to use Stage Manager on iPad
Learn how to use and navigate Stage Manager on your iPad. To use this feature on your iPad, you need to have iPadOS 16 and one of the following:
> 5th generation iPad Air
> All generations 11-ich iPad Pro
> 3rd generation or later iPad Pro 12.9-inch.
Turn on or off
You can enable Stage Manager on your iPad in two ways: via settings or the Control Center.
To turn on/off Stage Manager in the Control Center, follow the steps below:
1. Open the Control Center by swiping down on the top right side of the screen.
2. Locate and tap the Stage Manager icon to turn it on or off.
To turn on/off Stage Manager from settings, follow the steps below:
1. Open the Settings app and go to "Home Screen & Multitasking".
2. Tap on "Stage Manager".
3. Next to "Use Stage Manager on iPad" toggle the switch to turn it on or off.
Switch between apps
Switching between apps on iPad is simple. Just tap on an app thumbnail from the recent app list (left side of the screen). Or tap on an app icon from the Dock.
If you want to send a window to the left side of the screen without switching apps, tap on the three dots at the top middle. Then, choose "Minimize".
Create app groups
There are 3 ways you can create an app group. Choose the most appealing to you, or use all three of them.
> Tap on three dots in the top middle of a window. Select "Add Another Window" and choose which apps to add to the group.
> Drag an app from the Dock to the center of the screen and drop it. That will add the app to the group.
> Drag an app thumbnail to the center from the recent apps list and drop it. The app will be added to the group.
Organize app windows
With Stage Manager, you can manage your app windows by adjusting window size, position, and more.
To resize the app window, drag the dark curve outwards or inwards at the bottom left or right corner and release when done. If you're using a trackpad or mouse, click on the edge of a window to resize.
To expand the app window, tap on the three dots at the top middle and select "Zoom".
To change the window location, tap, hold, and drag the title bar to a preferred position.
To see all active apps, open App Switcher. To do that, press the Command + Tab keys on your keyboard. To learn more about the App Switcher feature, visit our post on 11 creative ways to set up your Mac for productivity.
To see all active windows of an app, do one of these three things:
> Tap and hold the app icon in Dock and select "Show All Windows".
> Tap on the app thumbnail from the recent app list.
> Open App Switcher and select the app.
Adjust Stage Manager settings
On iPad, you can choose if you want to see recently used apps on the left side and hide or unhide Dock while Stage Manager is active.
To change settings via iPad Settings, follow the steps below:
1. Go to the Settings app and select "Home Screen & Multitasking".
2. Tap on "Stage Manager".
3 When the feature is enabled, you can check or uncheck "Recent Apps" and "Dock".
To change settings via Control Center, follow the steps below:
1. Open the Control Center by swiping down on the top right side of the screen.
2. Tap and hold the Stage Manager icon to access settings.
3. Then, heck or uncheck "Recent Apps" and "Dock".
Hope you found this article informative. If you have any questions, feel free to leave a comment below.
Share:

Karolina Peistariene
Author of how-to guides for Mac users
Responsible for collecting, analyzing, and presenting problem-solving solution articles related to macOS issues. Years of macOS experience combined with solid research and analyzing skills help Karolina provide readers with working and helpful solutions as well as introduce various features Mac has to offer.
▼ Show Discussion