Got a New iPhone? You Should Do These 14 Things

(updated)
Get Free Scanner and check your computer for errors
Fix It NowTo fix found issues, you have to purchase the full version of Combo Cleaner. Free trial available. Combo Cleaner is owned and operated by Rcs Lt, the parent company of PCRisk.com read more.
How to Set Up Your New iPhone?
If you've been using an iPhone for a very long time, that setting up a brand new one should be a quick process. You can just restore your whole data from a backup or transfer everything from an old phone to a new one. But if you've never used one, a brand new device can make you feel overwhelmed.
If you never used an Apple product, you'll need to create an Apple ID. If you already created it, you can log into it at the initial setup stage. You can also skip the step and sign in later. But having an Apple ID is essential if you want to see the full potential of your iPhone.
In this article, we listed 14 things you should do with your new device to make it less stressful and easier for you. As well as save you from more stress in situations like if you lose your iPhone or misplace it.
Video on How to Set Up Your New iPhone?
Table of Contents:
- Introduction
- Log In to Apple ID and Back Up Your Device
- Enable Find My iPhone
- Set Up Your Medical ID
- Enable The Do Not Disturb While Driving Mode
- Activate FaceTime and iMessage
- Activate Siri
- Set Up Your Email Account
- Turn On Preferred Restrictions
- Customize Control Center
- Disable App Auto-Updates
- Check Out The Accessibility Settings
- Customize The Today Screen
- Download Desired Apps
- Set Up Your iPhone Passcode and Touch ID or Face ID
- Video on How to Set Up Your New iPhone?
Download Computer Malware Repair Tool
It is recommended to run a free scan with Combo Cleaner - a tool to detect viruses and malware on your device. You will need to purchase the full version to remove infections. Free trial available. Combo Cleaner is owned and operated by Rcs Lt, the parent company of PCRisk.com read more.
Log In to Apple ID and Back Up Your Device
When you're setting up your new iPhone, you'll be prompted to log in to an Apple ID and restore your data from the connected iCloud account. If you've skipped the Apple ID login, you can connect your Apple ID from device settings.
To sign in to your Apple ID, follow the steps below:
1. Go to the "Settings" app.
2. At the very top, tap on "Sign in to your iPhone".
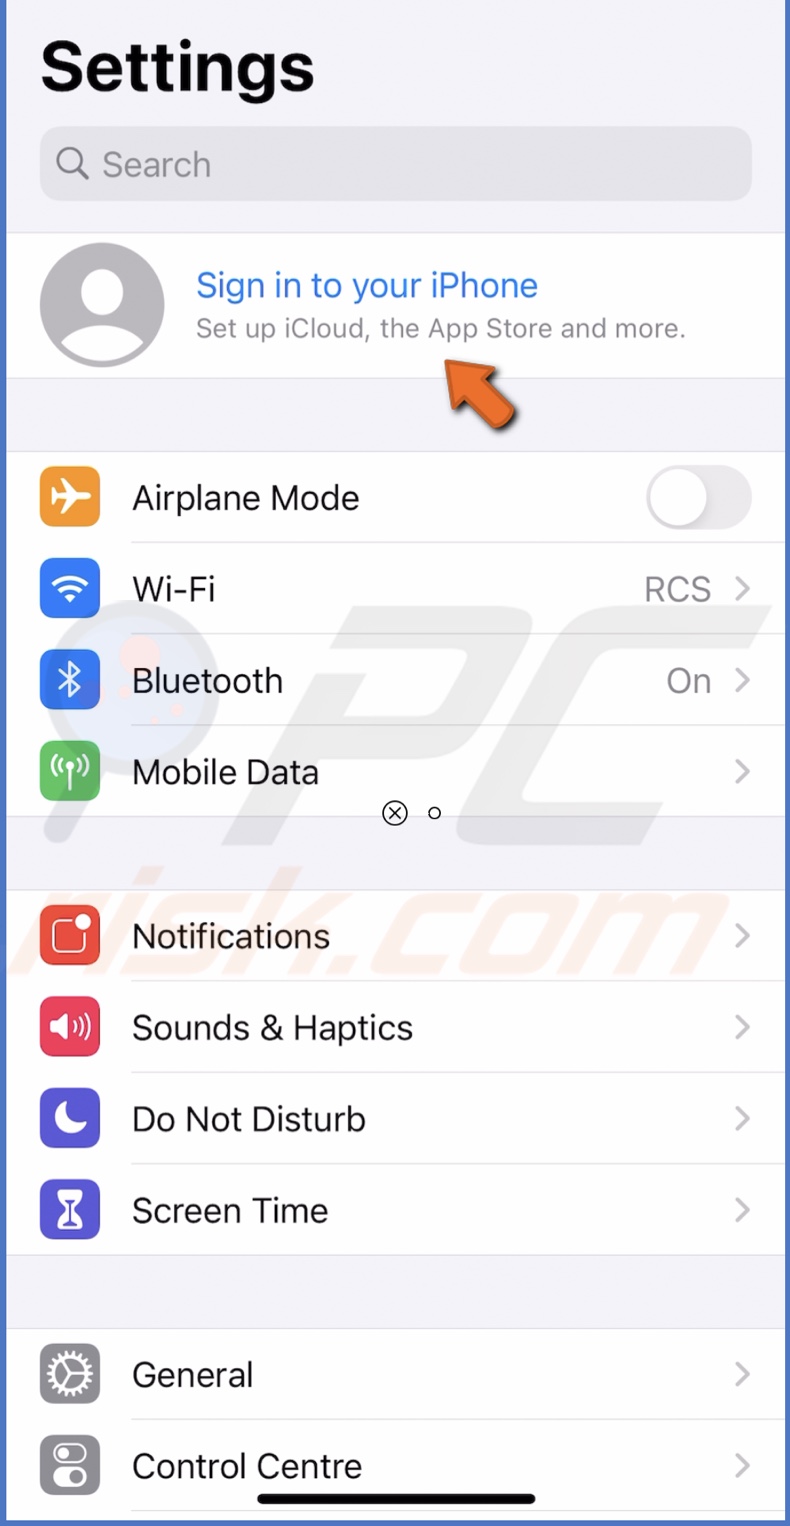
3. You'll be asked to enter your Apple ID credentials.
4. If asked, enter your other device password.
When you've signed into the Apple ID, turn on iCloud Backup.
To enable iCloud Backup, follow the steps below:
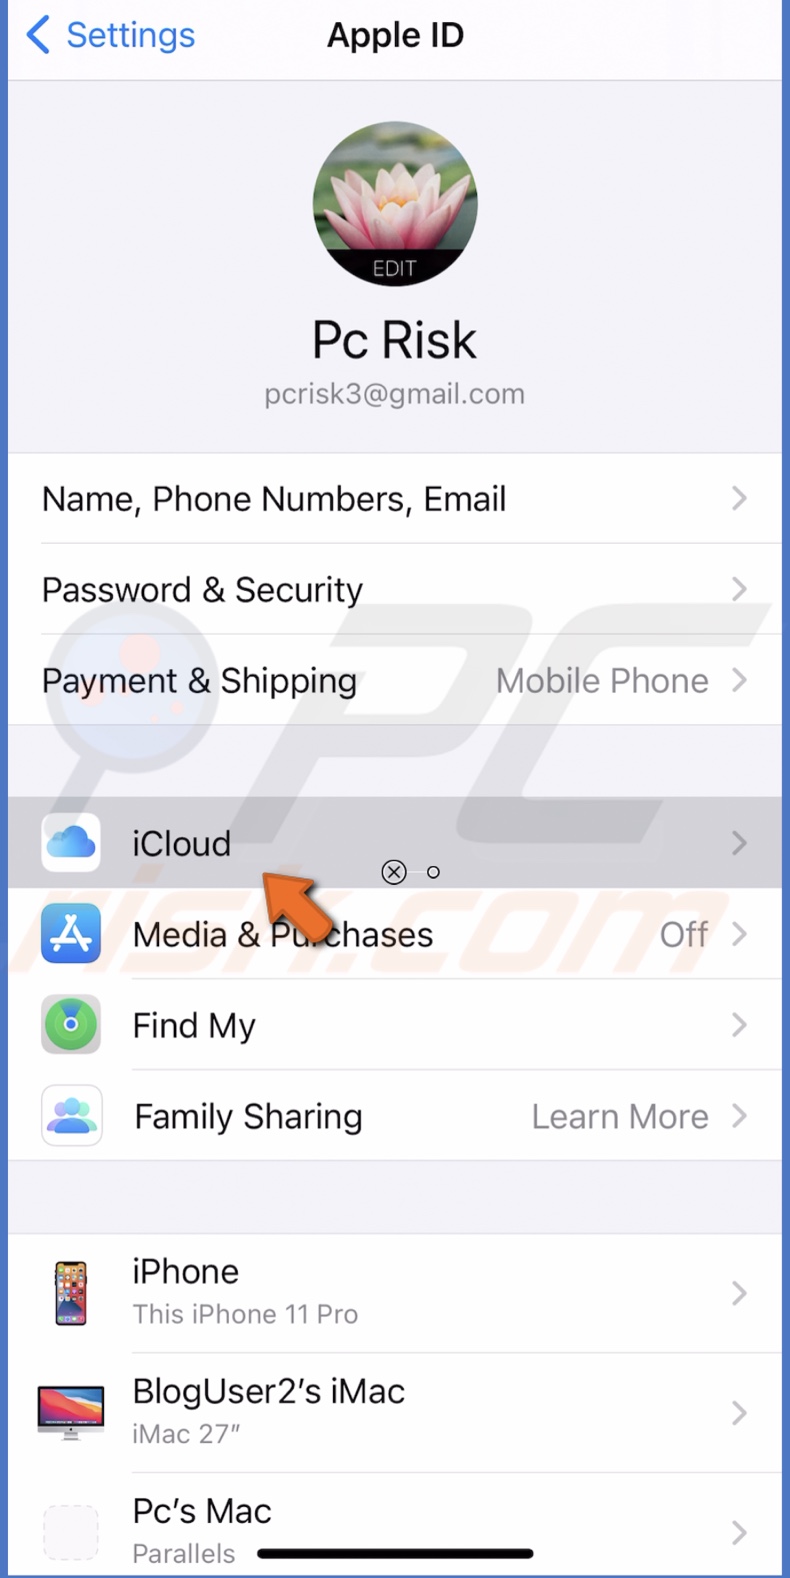
1. Go to device settings.
2. Tap on your Apple ID.
3. Then, tap on "iCloud".
4. Scroll down, locate "iCloud Backup," and tap on it.
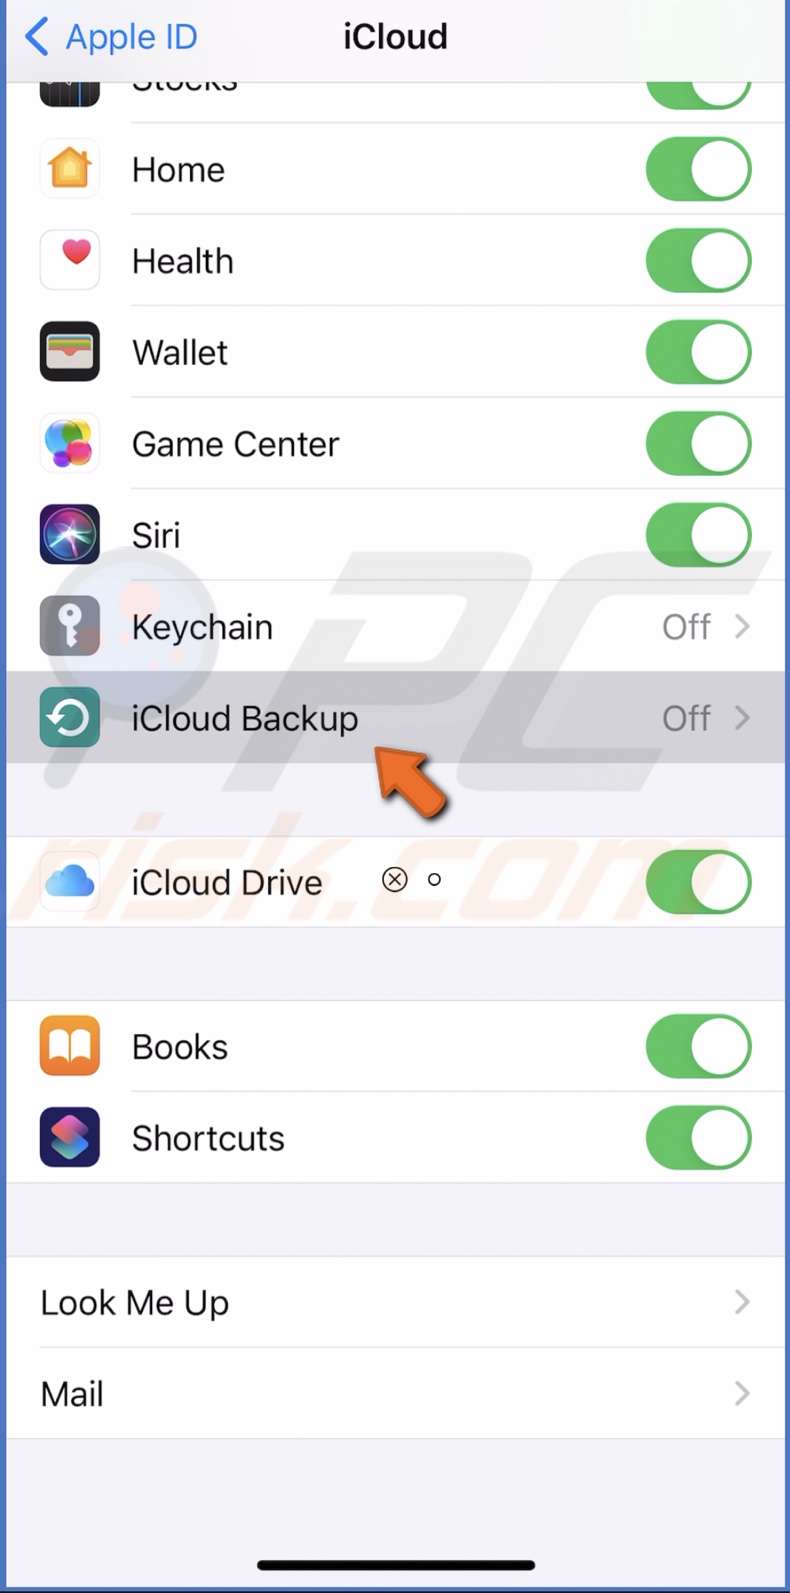
5. Toggle to enable iCloud Backup.
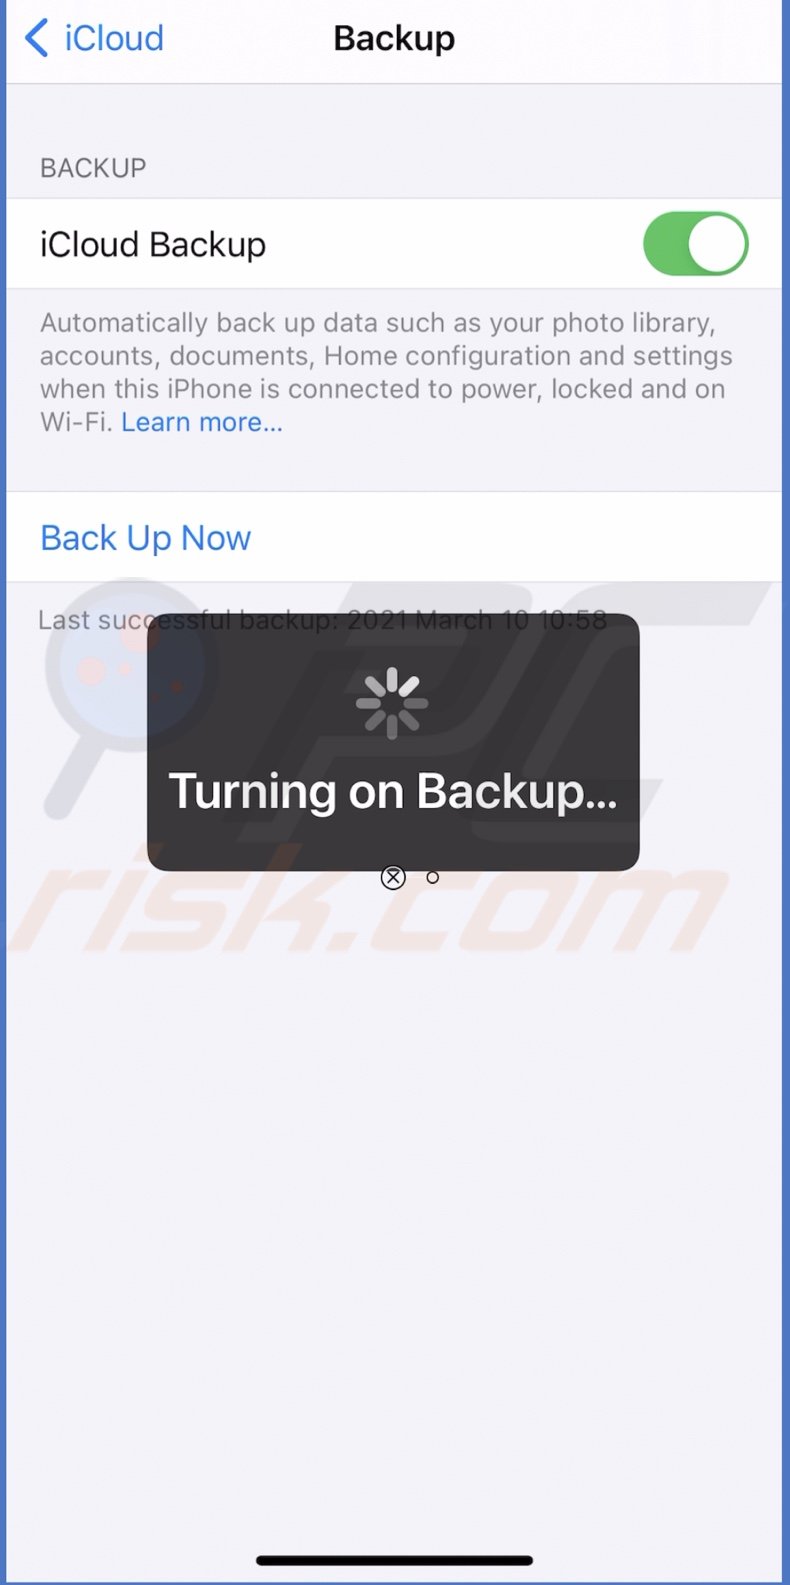
Now, your device is backed up to iCloud.
Enable Find My iPhone
It's a good idea to turn on the Find MY iPhone feature. If you can't find it, you can play a sound on it, so it's easier to find. It's also beneficial if you lose your device. In that case, you can lock your iPhone and add your information so the person that finds it will know where to return it.
To enable Find My iPhone, follow the steps below:
1. Go to "Settings".
2. Tap on your Apple ID.
3. Tap on "Find My".
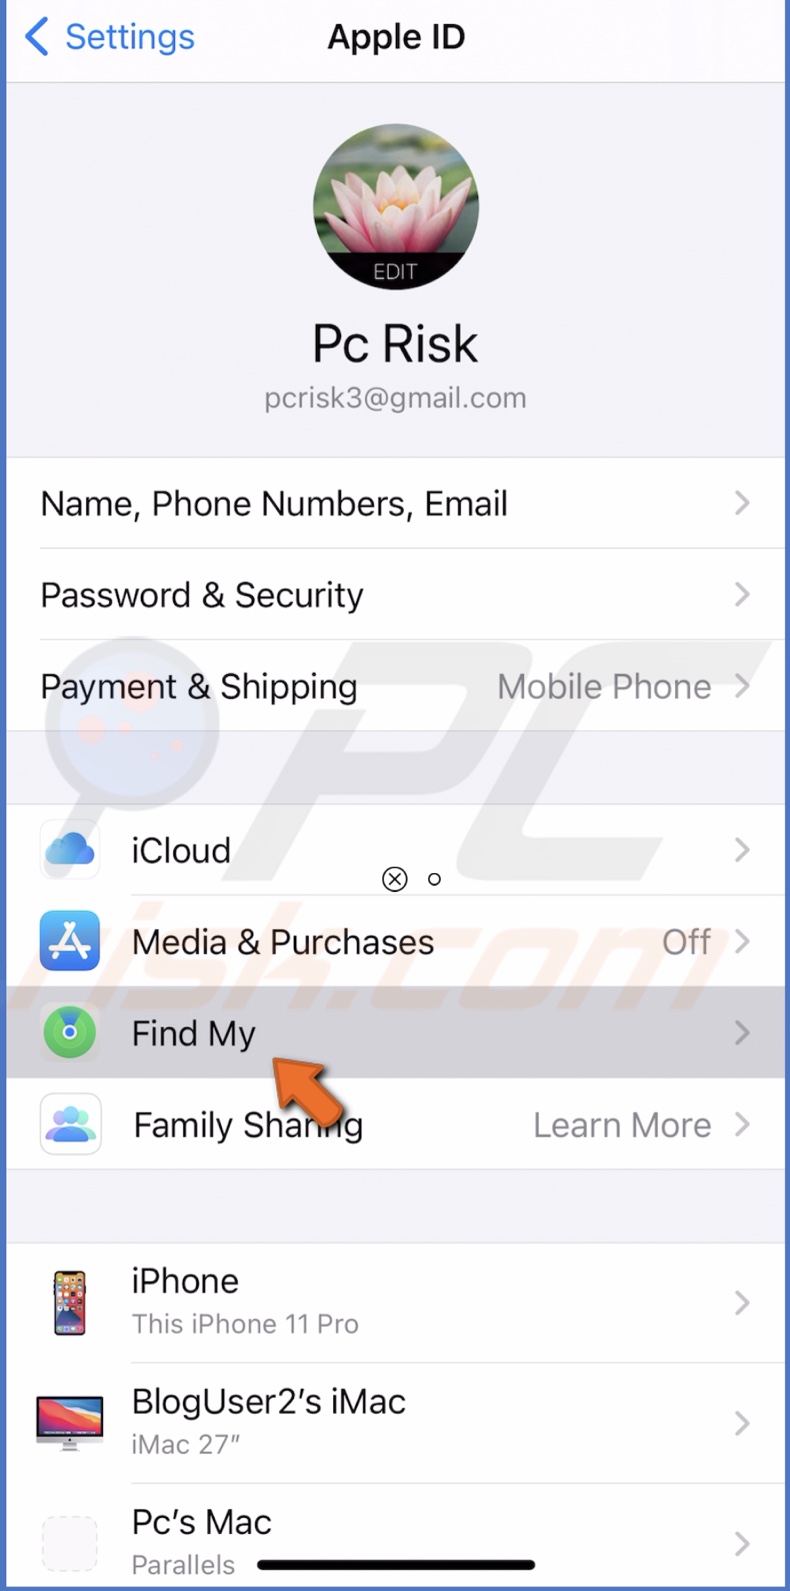
Then, on "Find My iPhone".
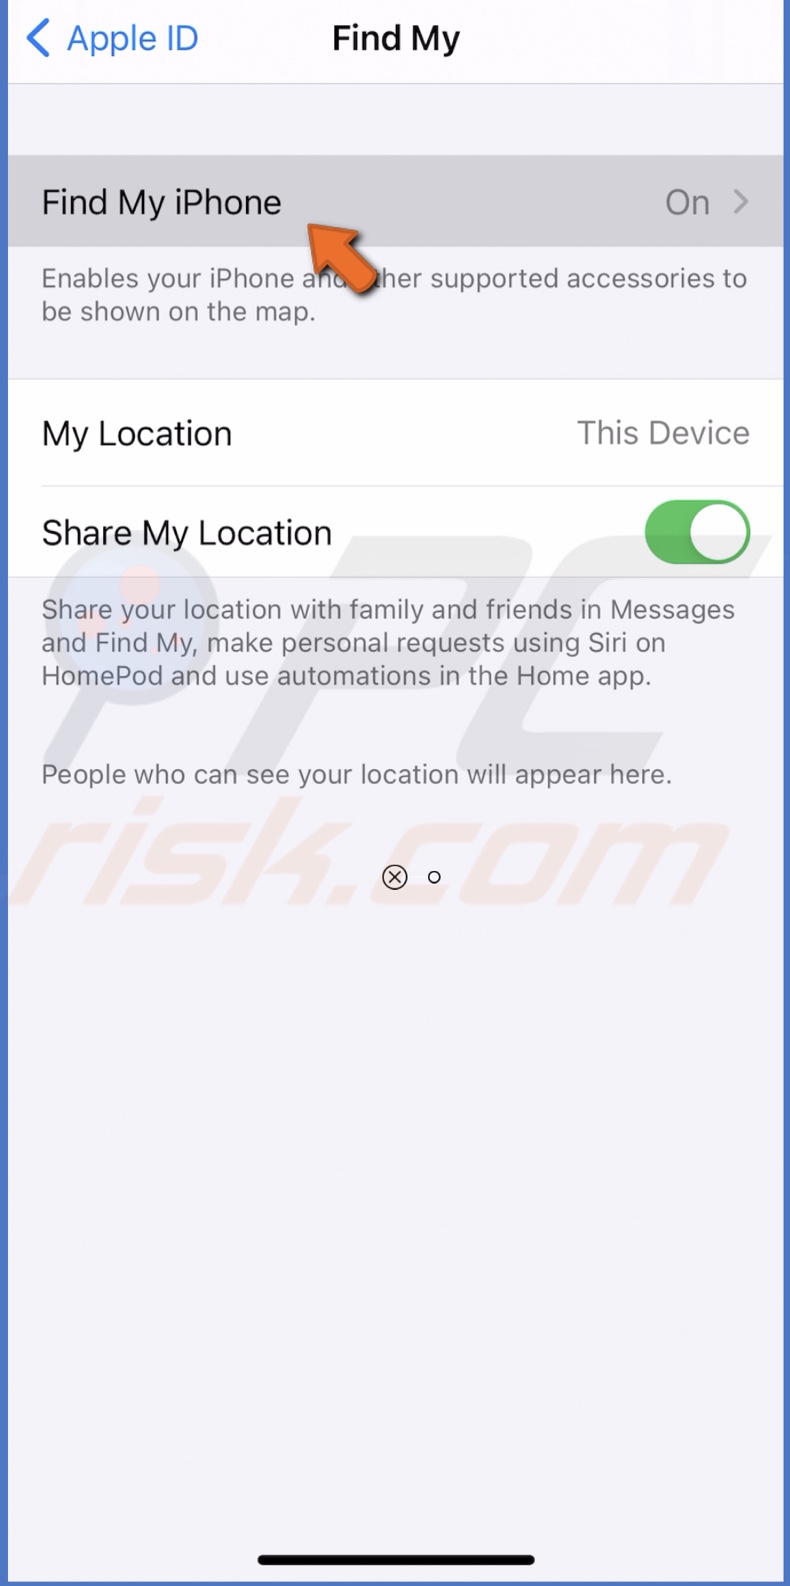
4. Then, toggle to enable the feature.
5. Next, open the "Find My" app. It should already be on your home screen. If not, go to the "App Store" and download it.
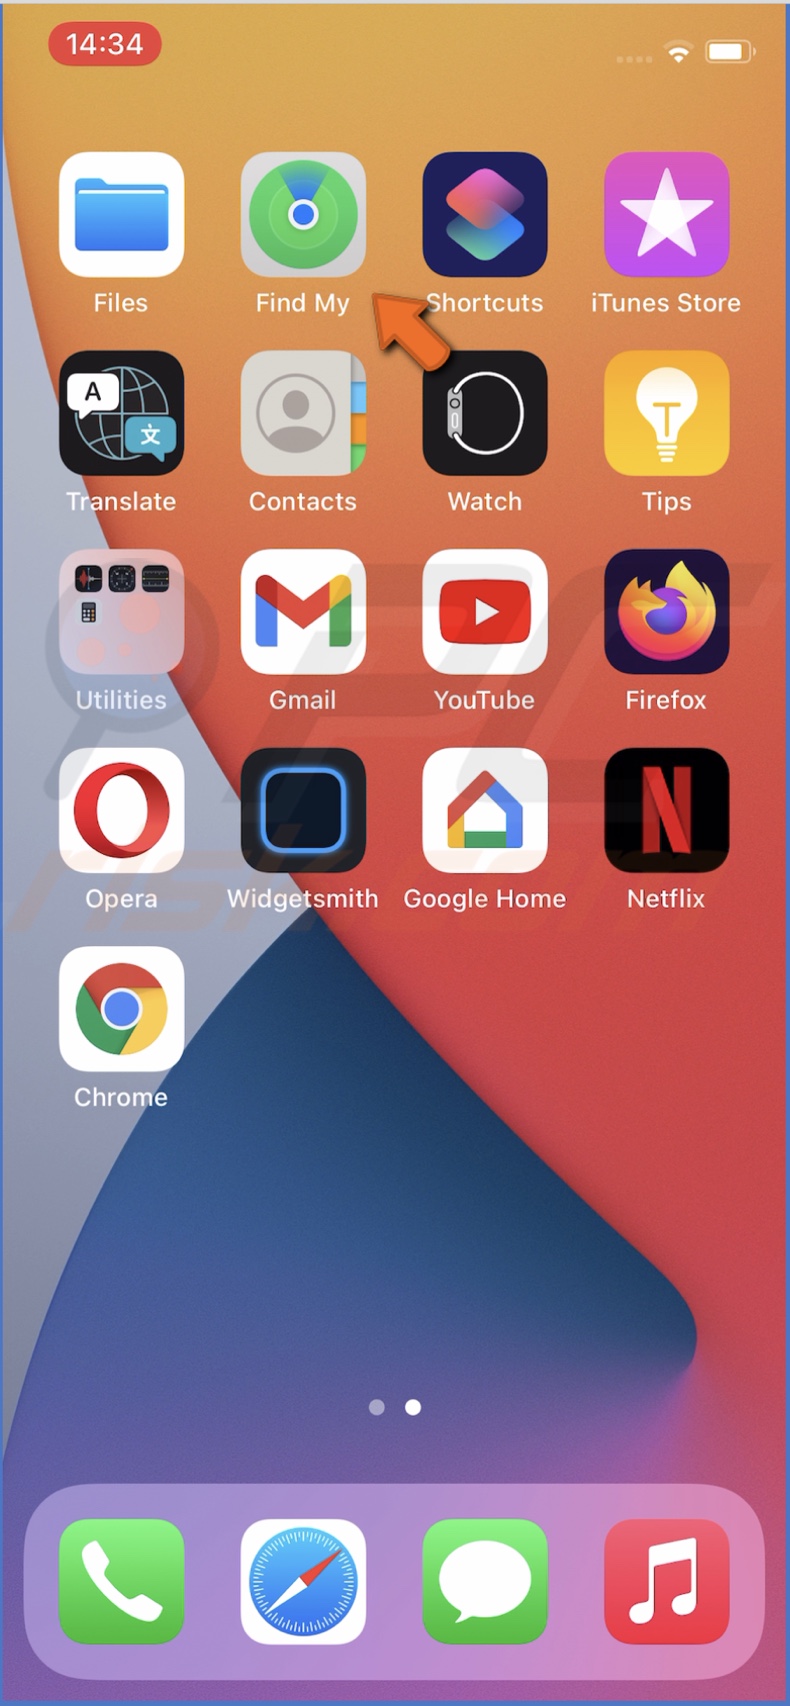
6. Download the app, allow it to use your location, and start managing your device.
Set Up Your Medical ID
Medical ID can be very helpful in case of emergency. It can be accessed from your iPhone's lock screen and help the medical staff. It displays your emergency contact, any allergies you have, and other important information.
To set up your Medical ID, follow the steps below:
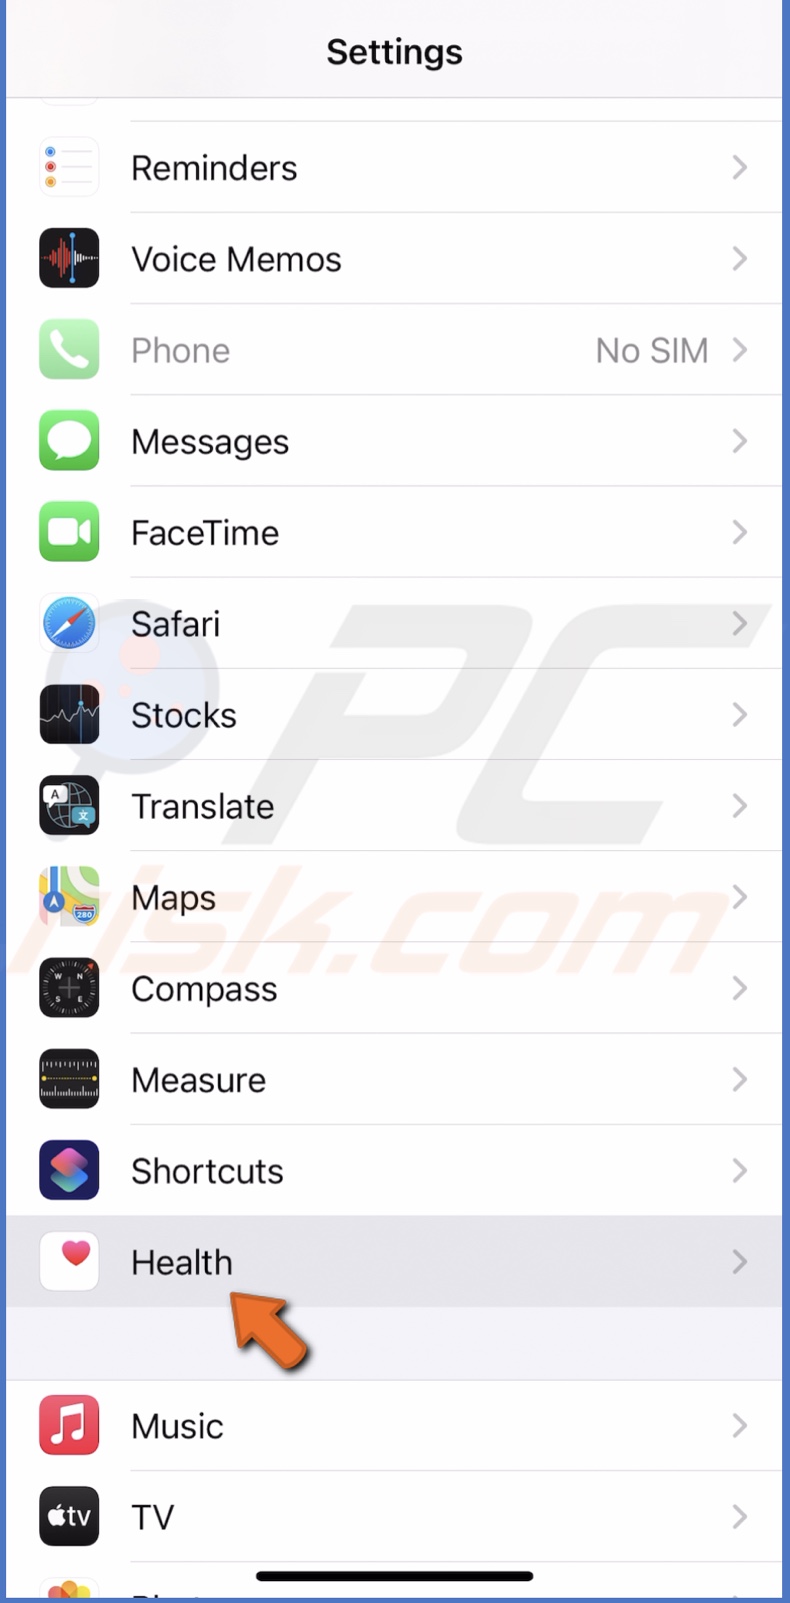
1. Go to your iPhone's settings.
2. Scroll down and locate "Health". Tap on it.
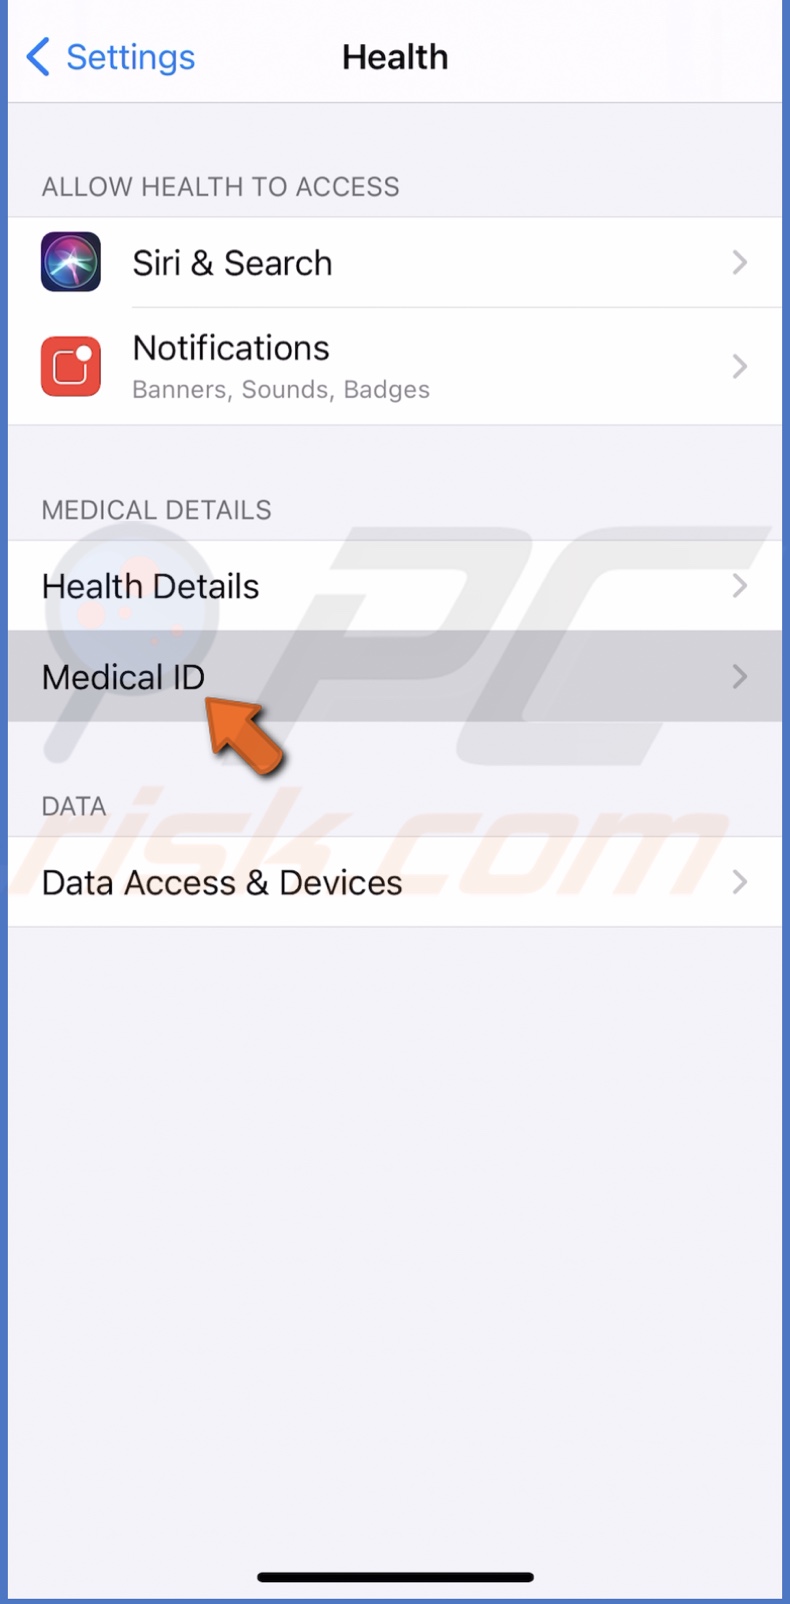
3. Then, tap on "Medical ID" and on "Create Medical ID".
4. Enter your medical information and tap on "Next".
5. When you're done, tap on "Done".
Your Medical ID can be accessed by tapping on "Emergency" on your lock screen and select "Medical ID".
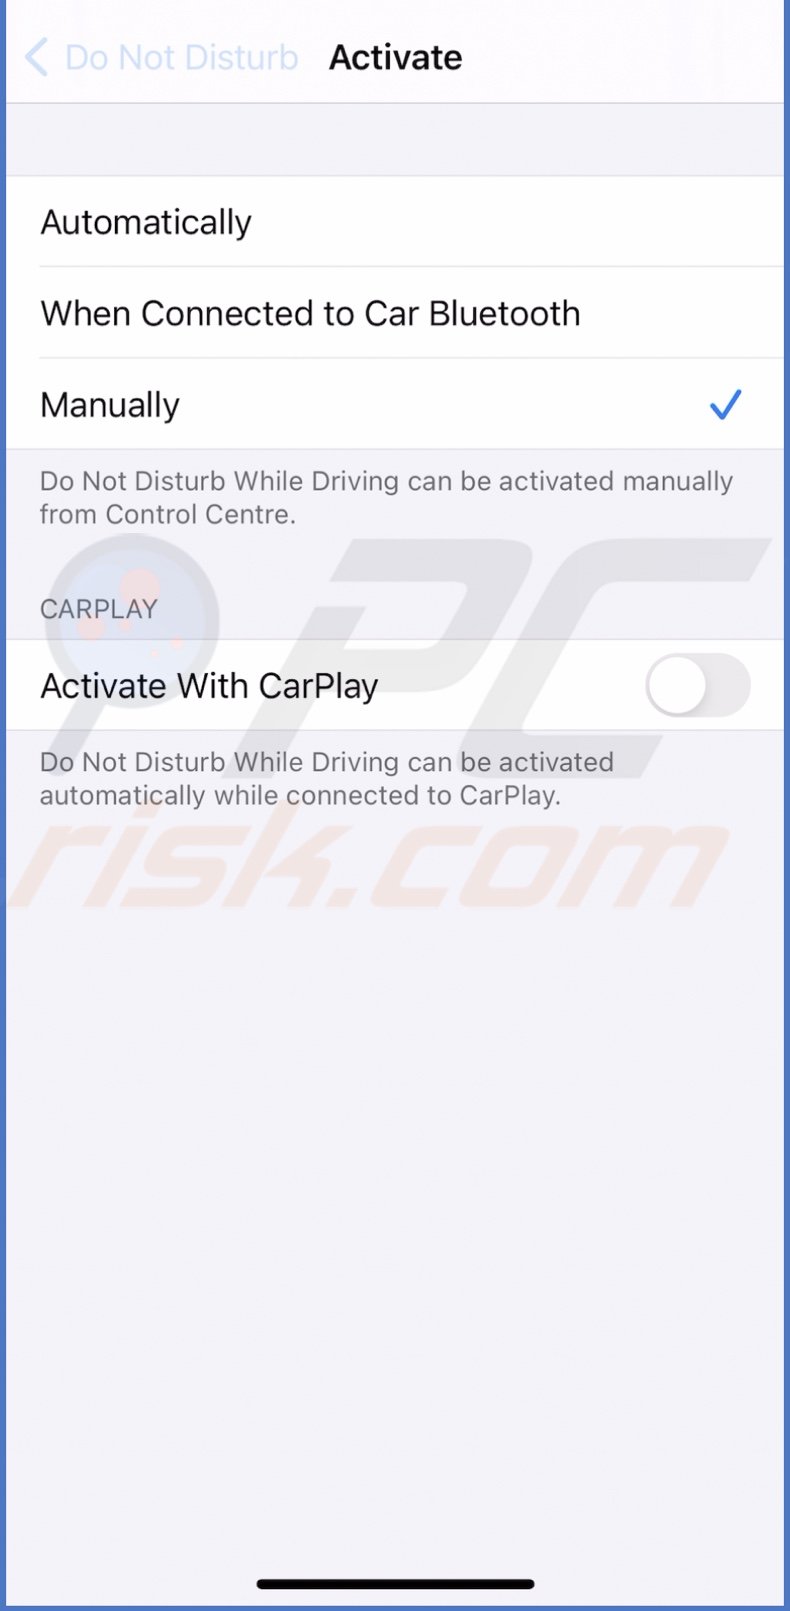
Enable The Do Not Disturb While Driving Mode
The Do Not Disturb While Driving Mode will help you concentrate while driving. It's especially helpful if you're a new driver. It turns itself on automatically, or you can turn it on manually from the Control Center.
To enable the Do Not Disturb While Driving Mode, follow the steps below:
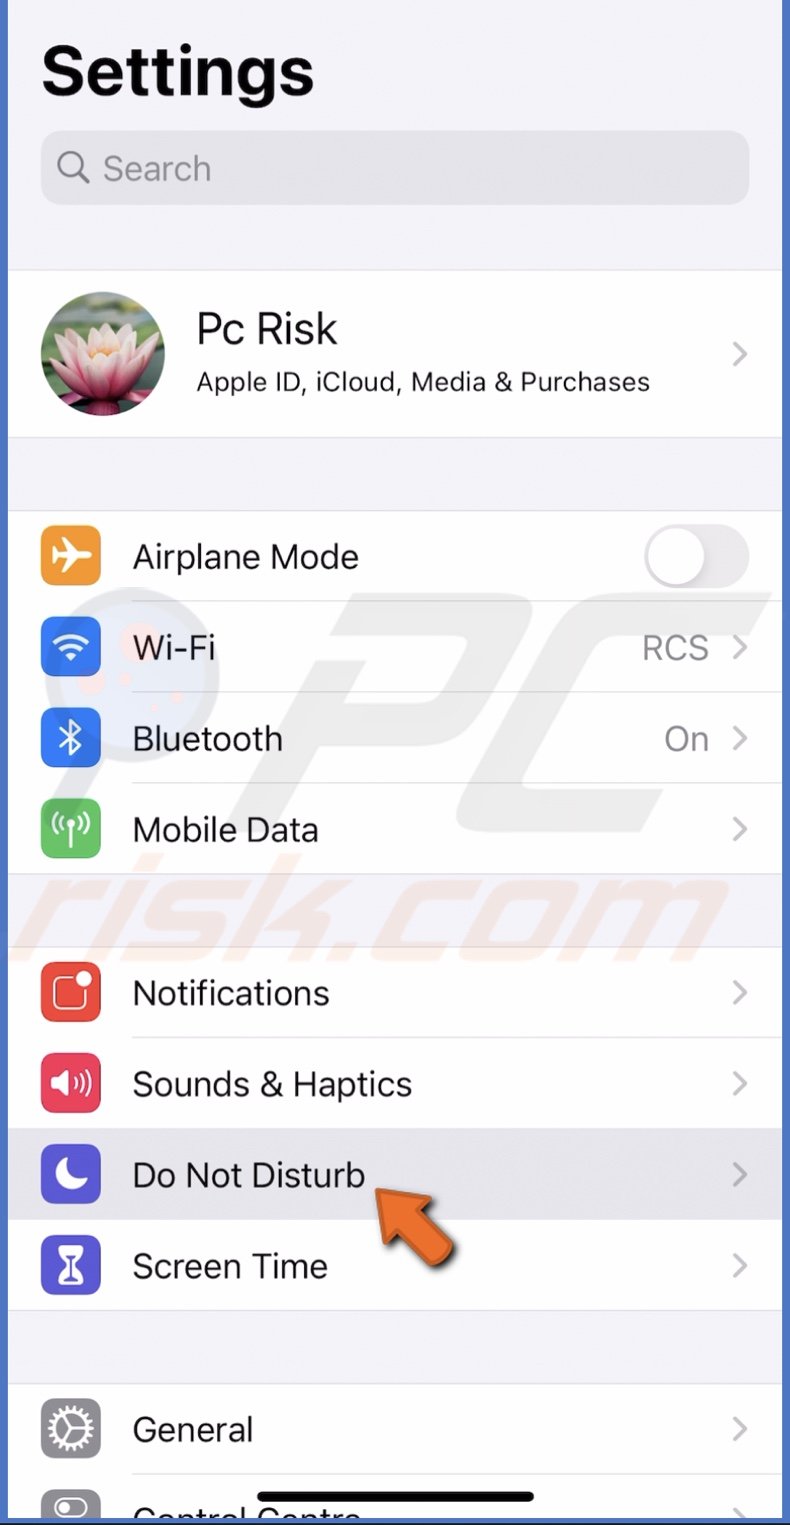
1. Go to the "Settings" app.
2. Tap on "Do Not Disturb".
3. Scroll down and tap on "Activate".
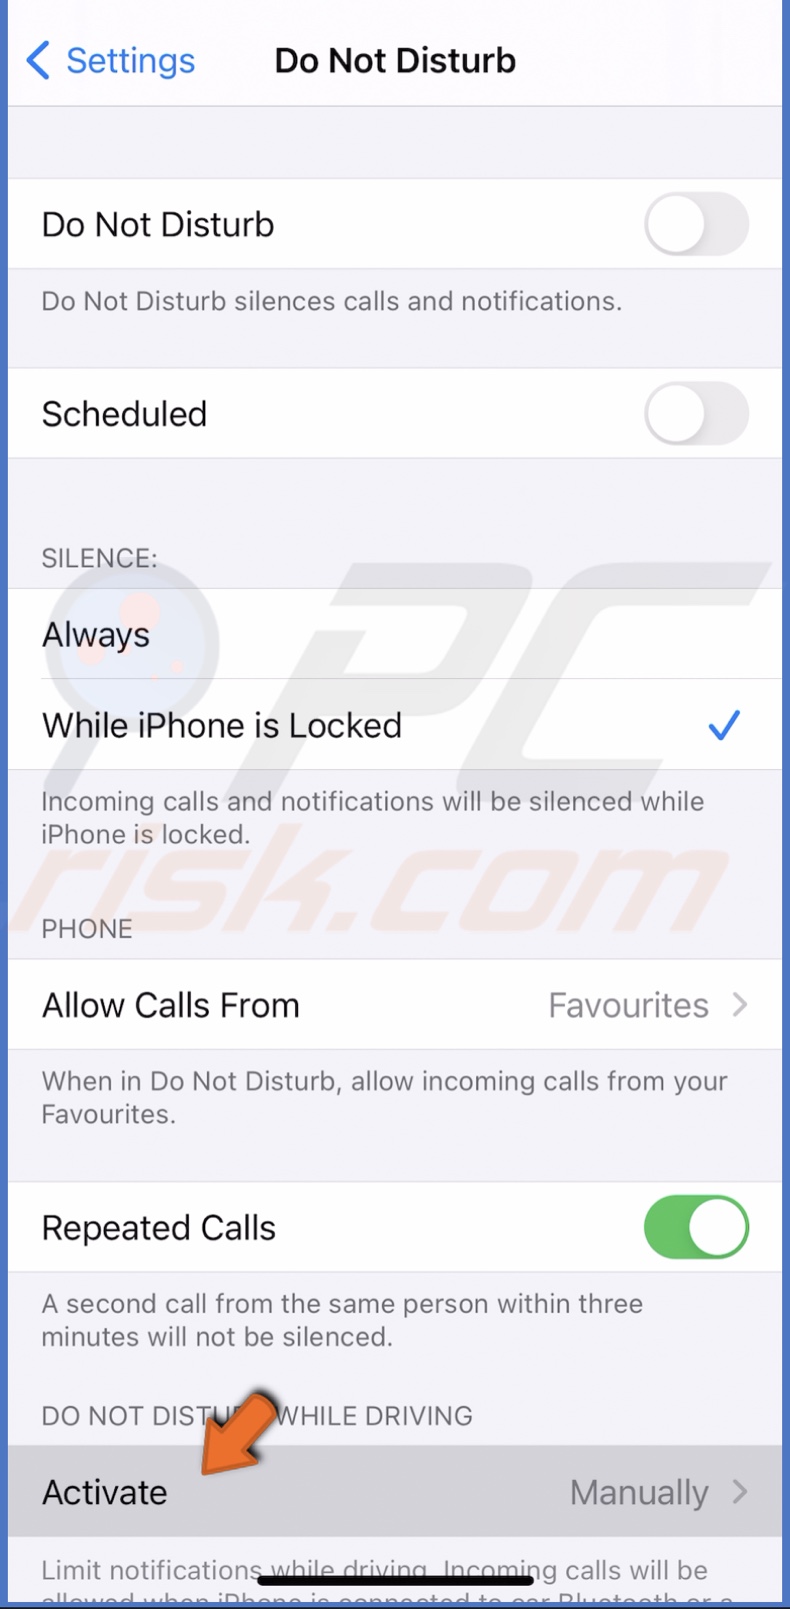
4. Select how you want to activate the feature.
5. If you choose "Manually", go back to settings and tap on "Control Center".
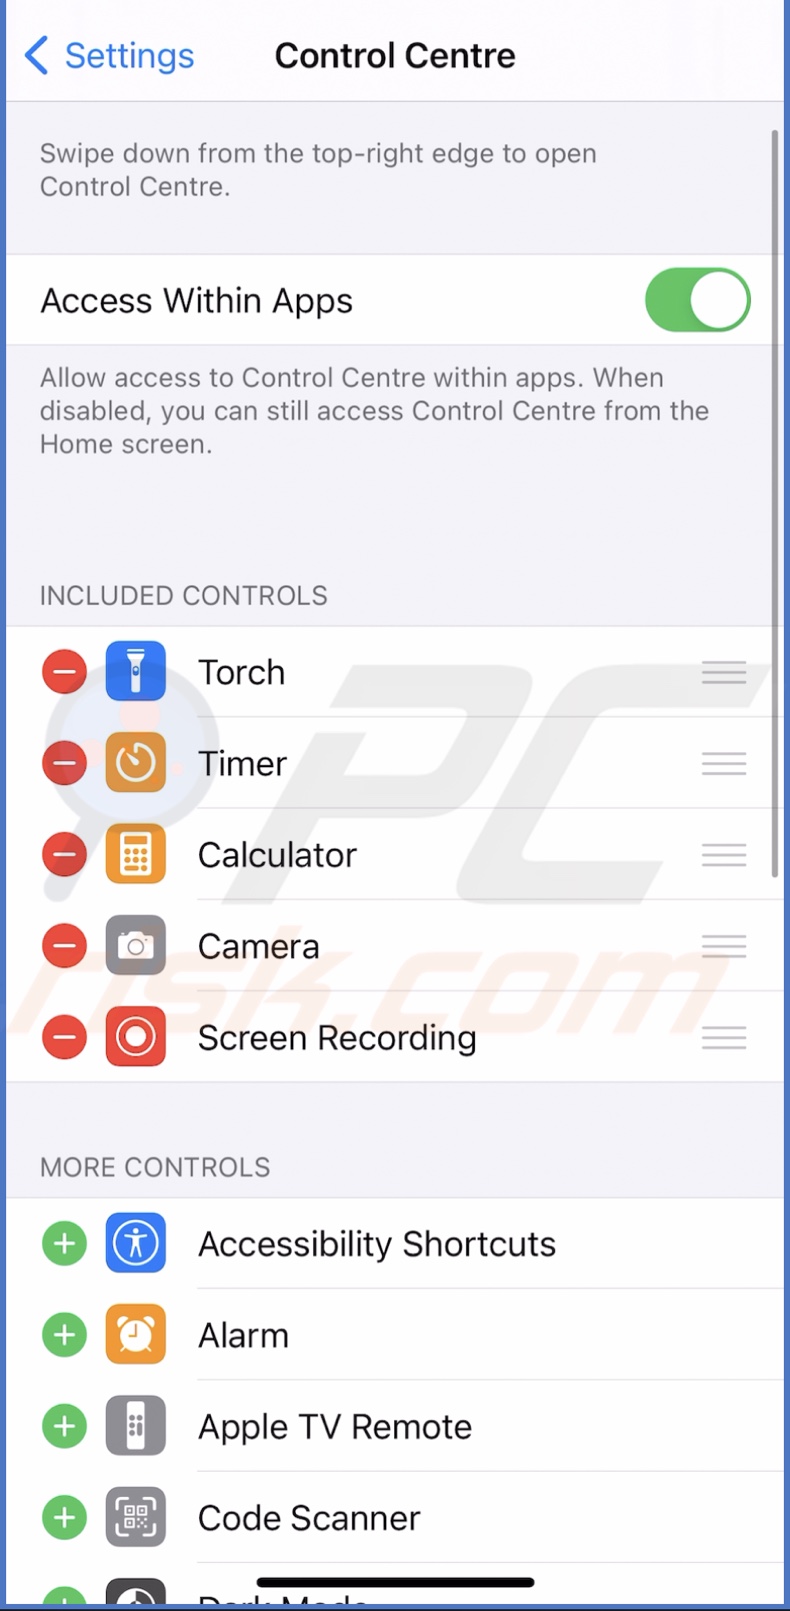
6. Locate the "Do Not Disturb While Driving" and tap on the plus button next to it.
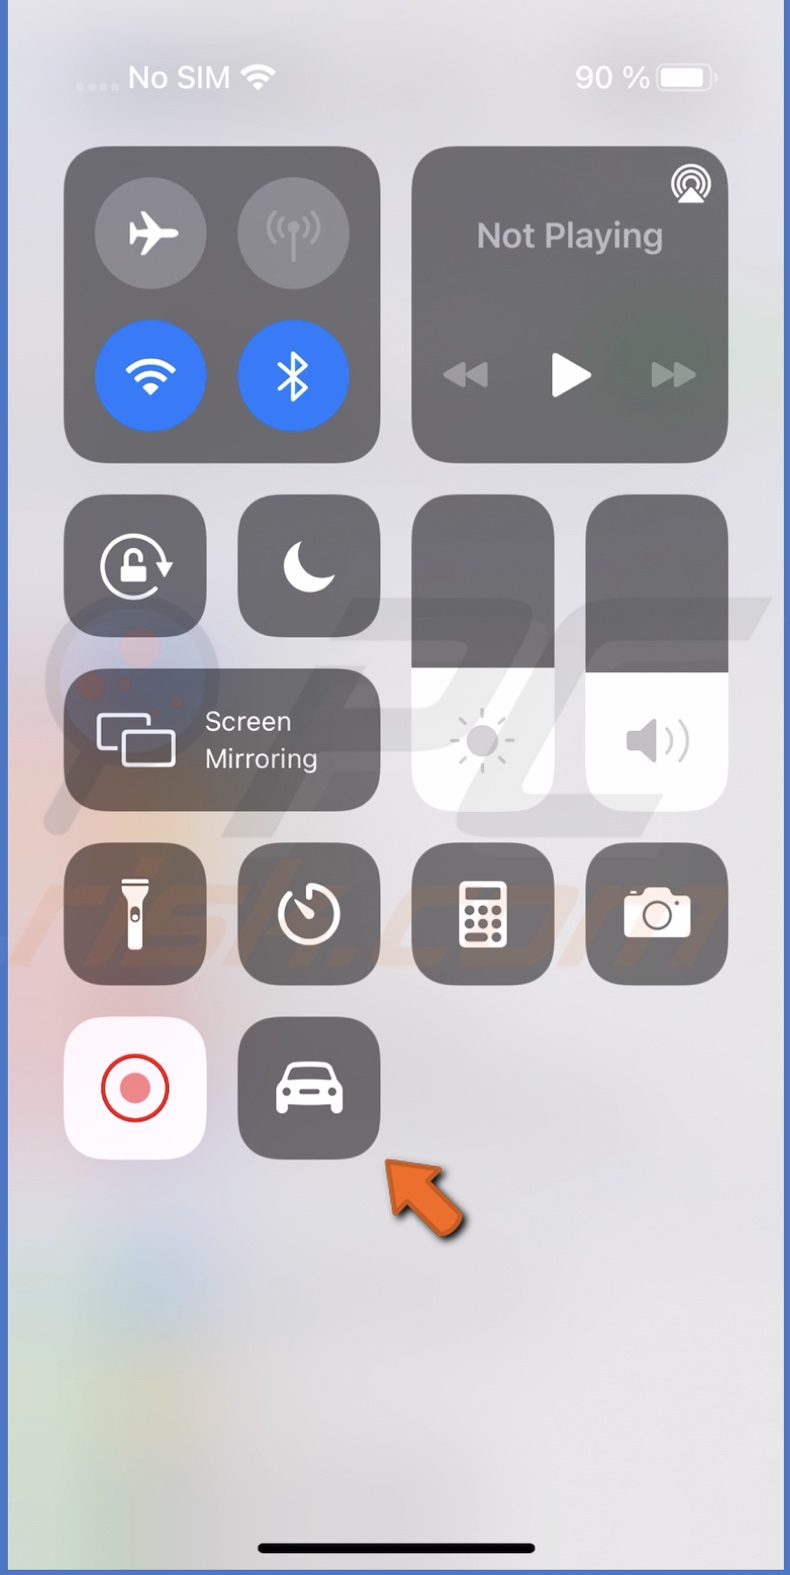
7. Now go to your Home Screen and swipe down from the top right corner of your device screen to open the Control Center.
8. You'll see the "Do Not Disturb While Driving" icon. Tap on it when you want to enable or disable it.
Activate FaceTime and iMessage
iMessage and FaceTime are essential communication services. It'll allow you to chat and facetime with other Apple users for free.
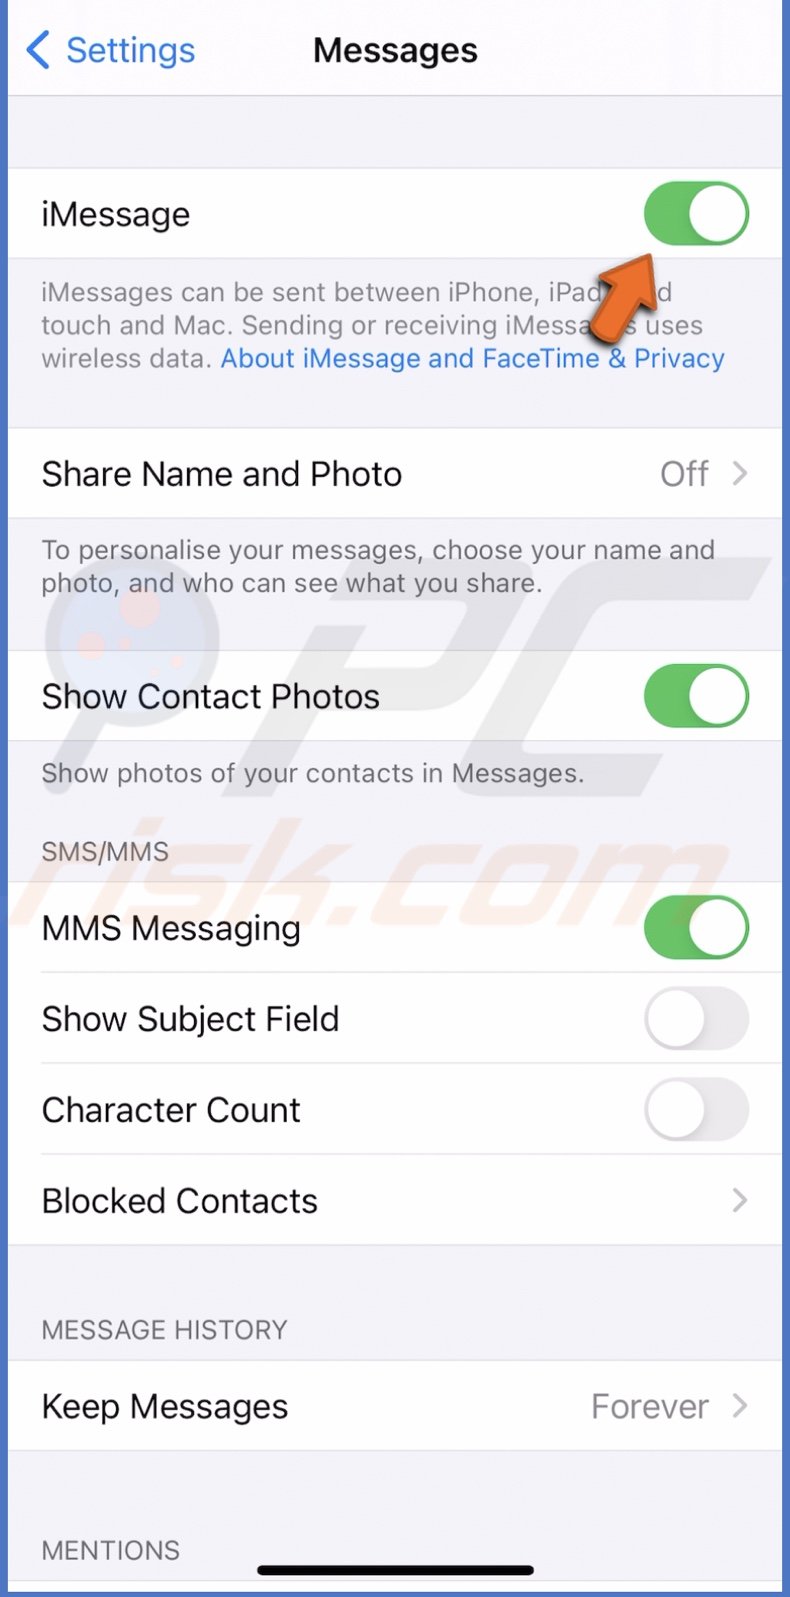
To activate iMessage, follow the steps below:
1. Go to "Settings".
2. Scroll down and tap on "Messages".
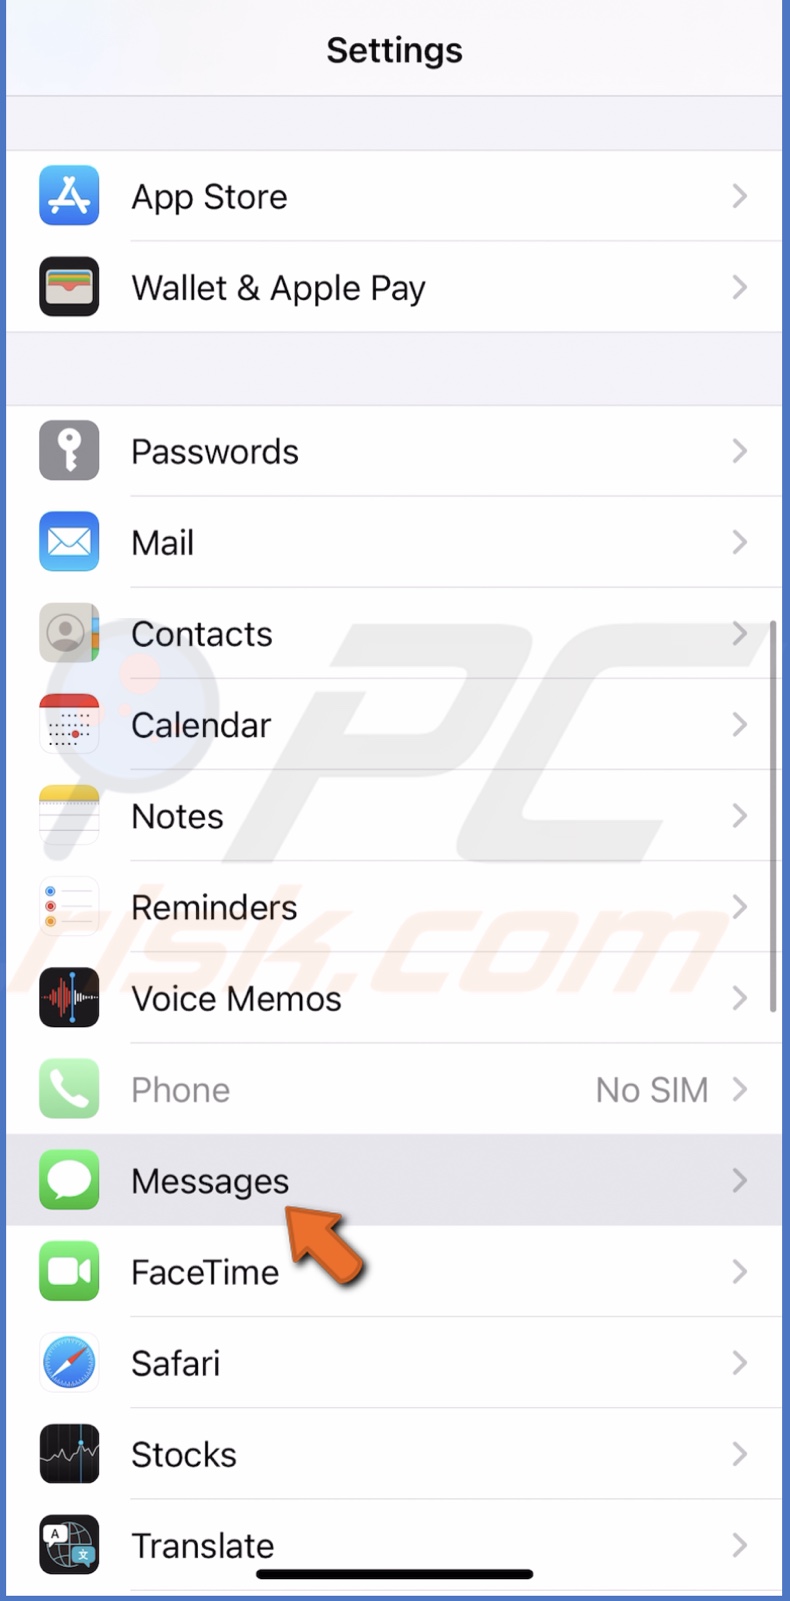
3. Then, enable "iMessage".
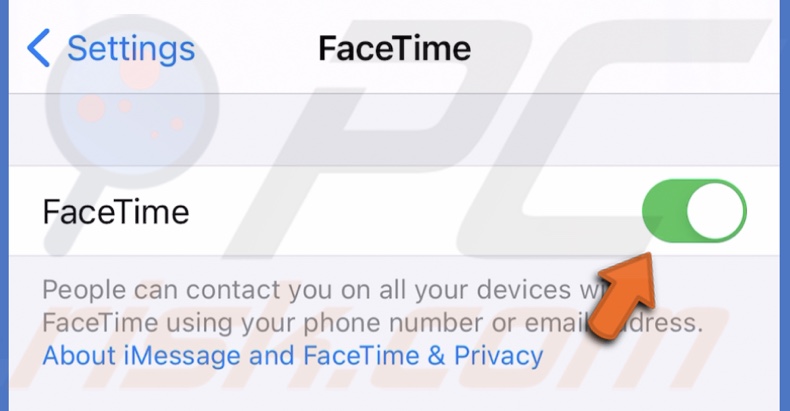
To activate FaceTime, follow the steps below:
1. Go to "Settings".
2. Scroll down and tap on "Face Time".
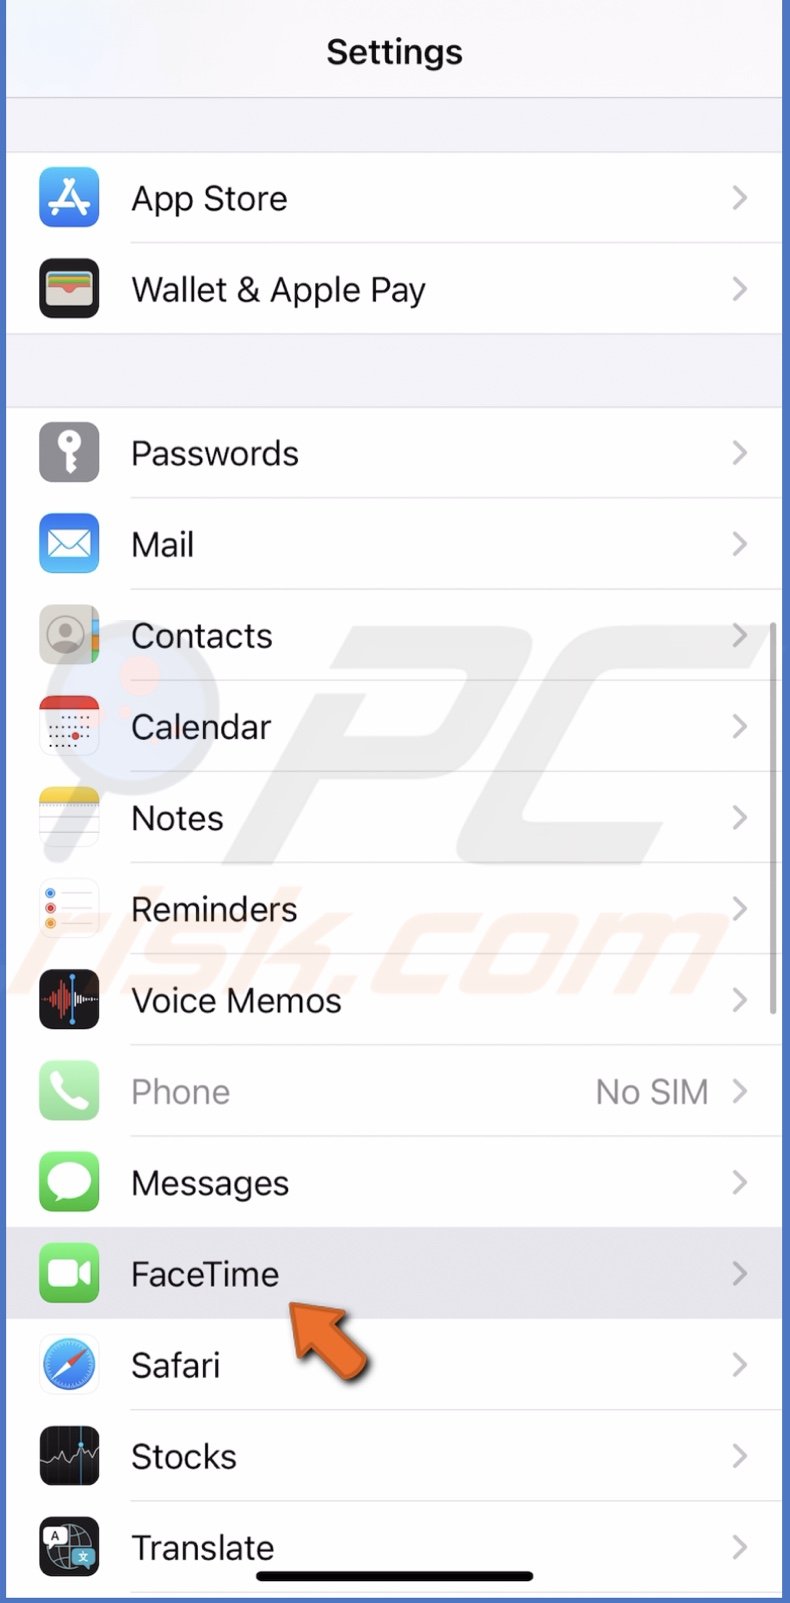
3. Then, tap on the slider next to "FaceTime" to enable the feature.
If you're having problems activating iMessage or FaceTime, you can see our guide on "9 Simple Ways to Fix iMessage "Waiting for Activation" Error". For FaceTime activation, follow the same steps only with FaceTime.
Activate Siri
Siri is a great virtual assistant that can save you some time on various tasks and find information, so you don't have to search for it.
To activate Siri, follow the steps below:
1. Go to "Settings".
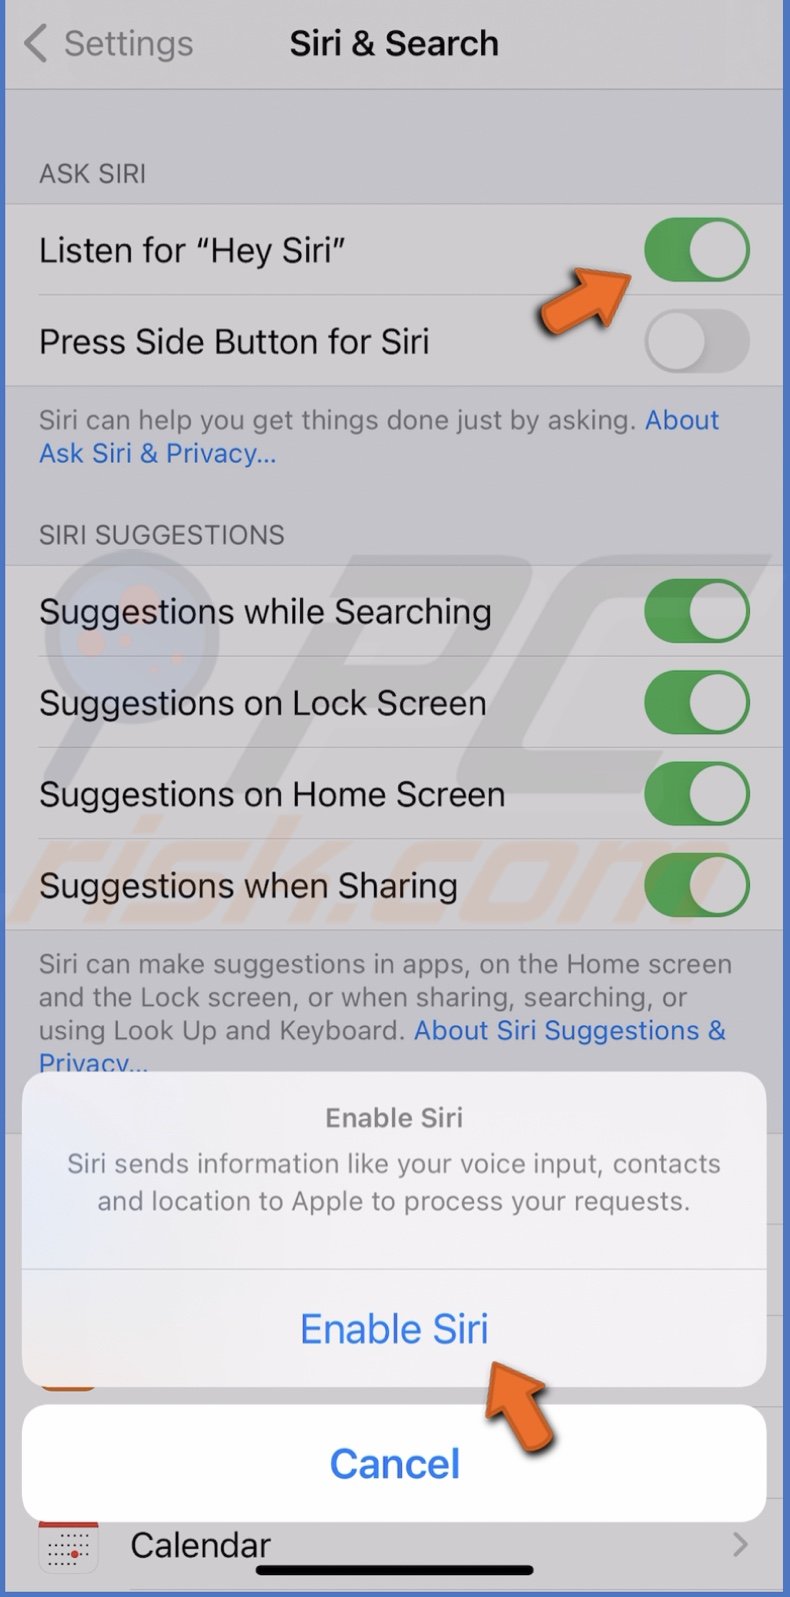
2. Then, go to "Siri & Search".
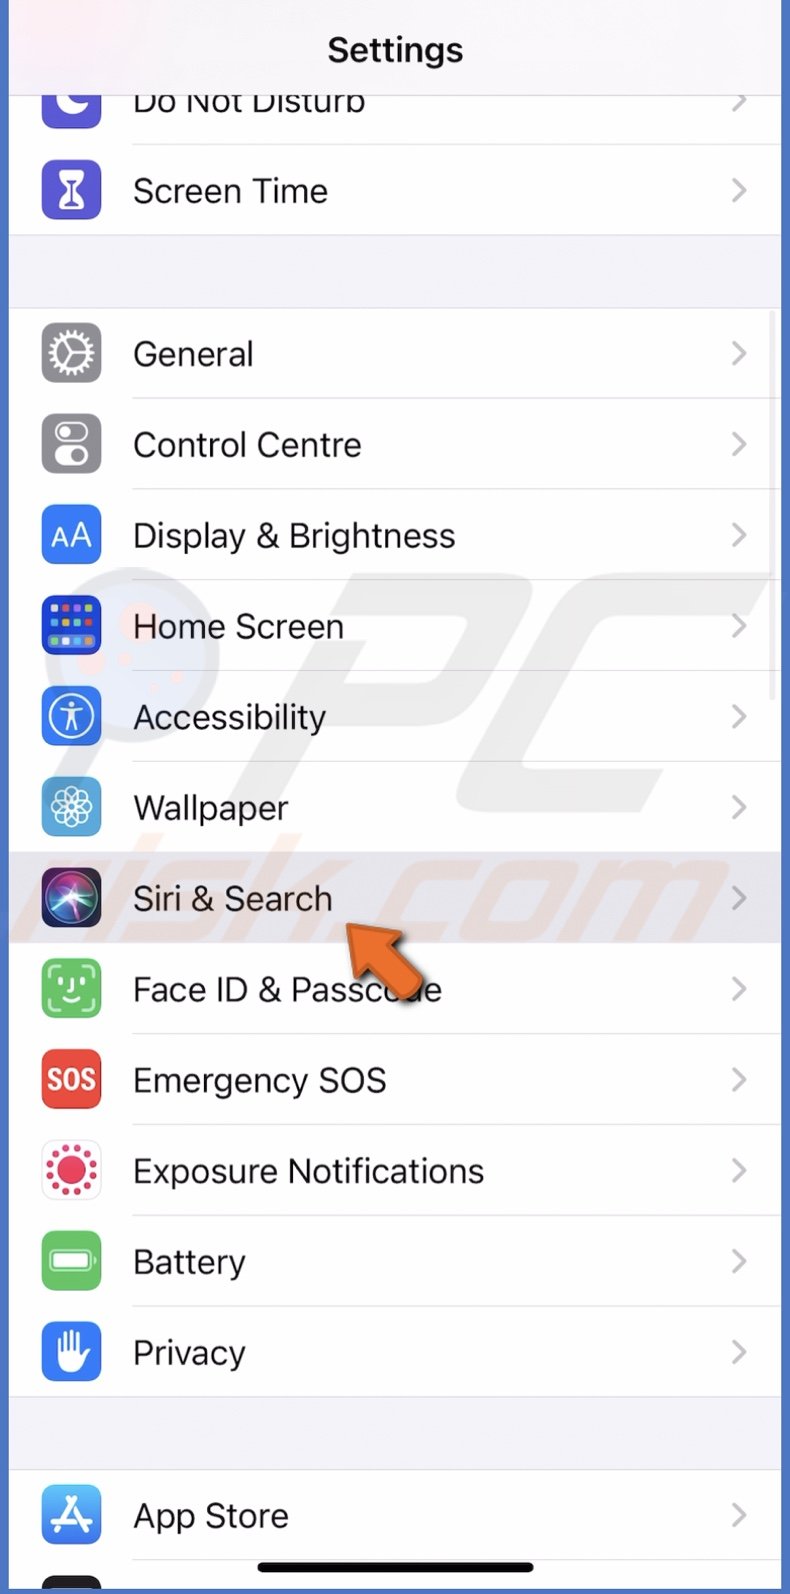
3. Enable "Listen for "Hey Siri" and tap on "Enable Siri".
4. Tap on "Continue".
5. Follow the instructions on the screen and when you're done, tap on "Done".
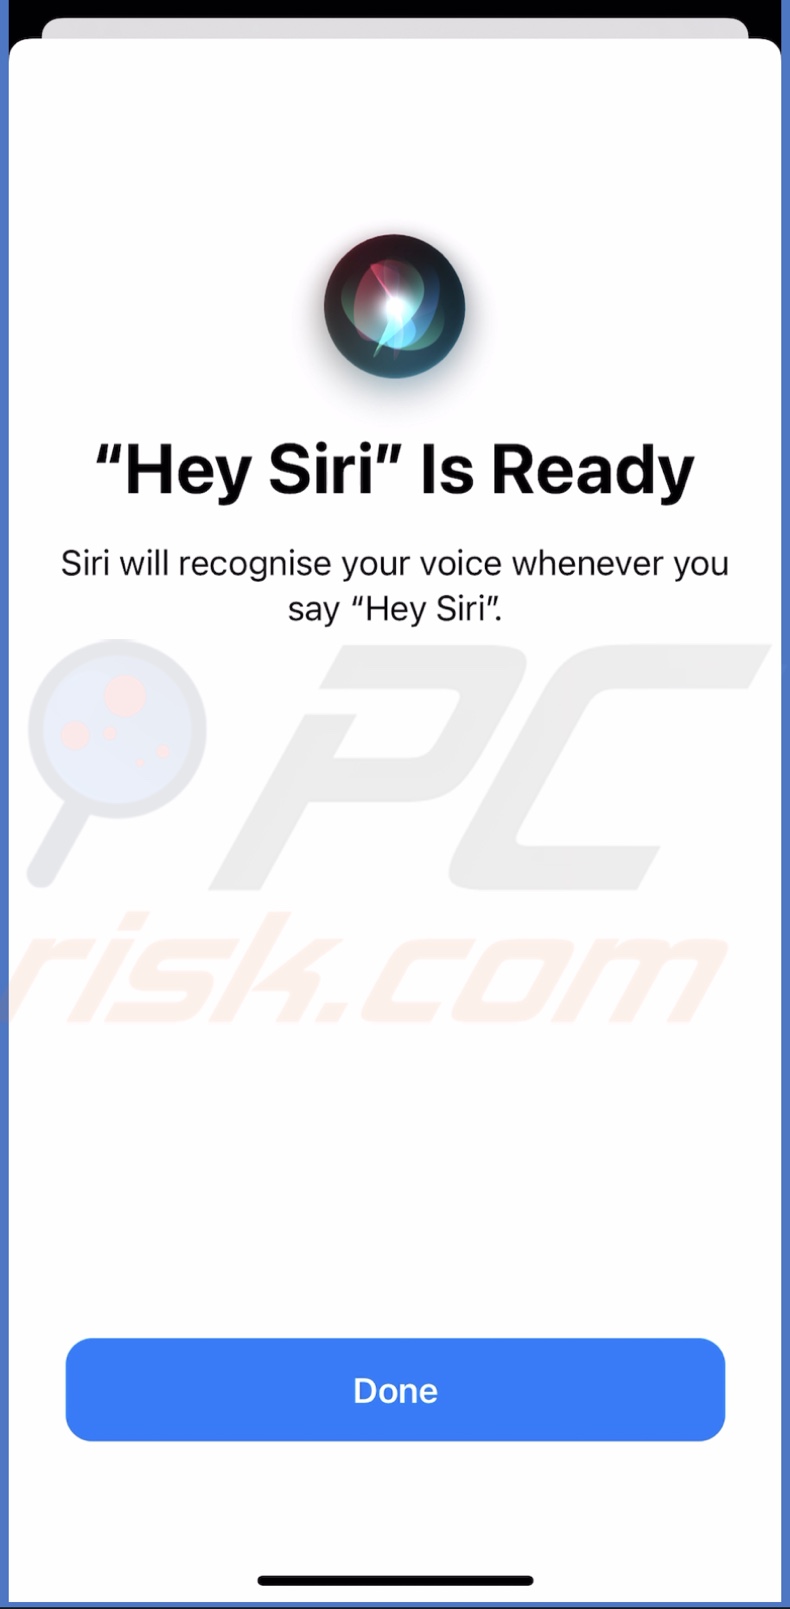
To ask or tell Siri something, say "Hey Siri" and proceed with your question or command.
In the "Siri & Search" settings, you can manage Siri and change the settings as you wish.
Set Up Your Email Account
You can connect your email account to the default iOS email app on your iPhone or download an email app you want to use.
To add your email account or accounts to the Mail App on your iPhone, follow the steps below:
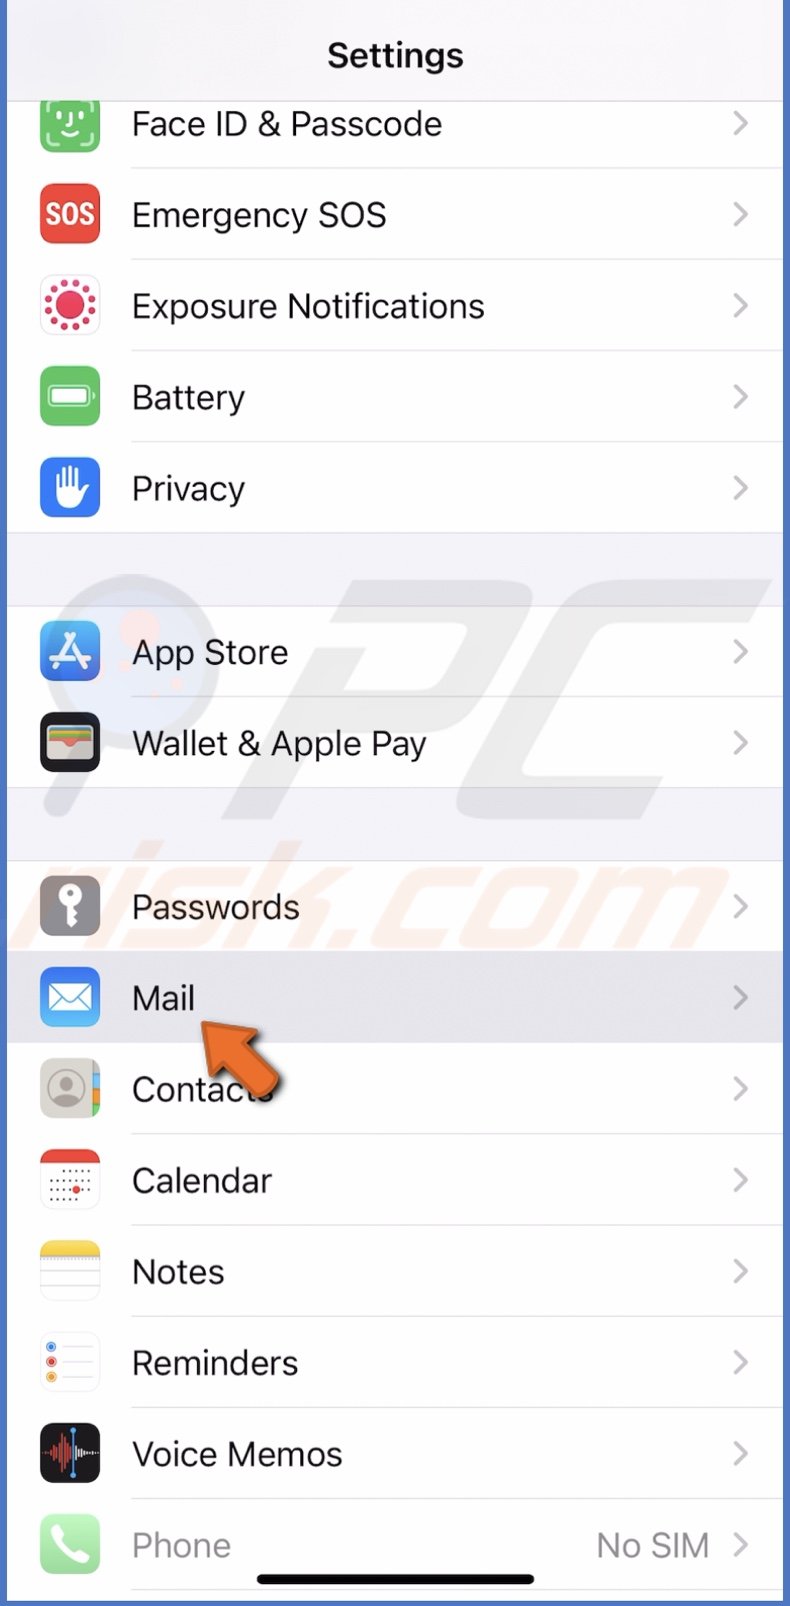
1. Go to the "Settings" app.
2. Scroll down and go to "Mail".
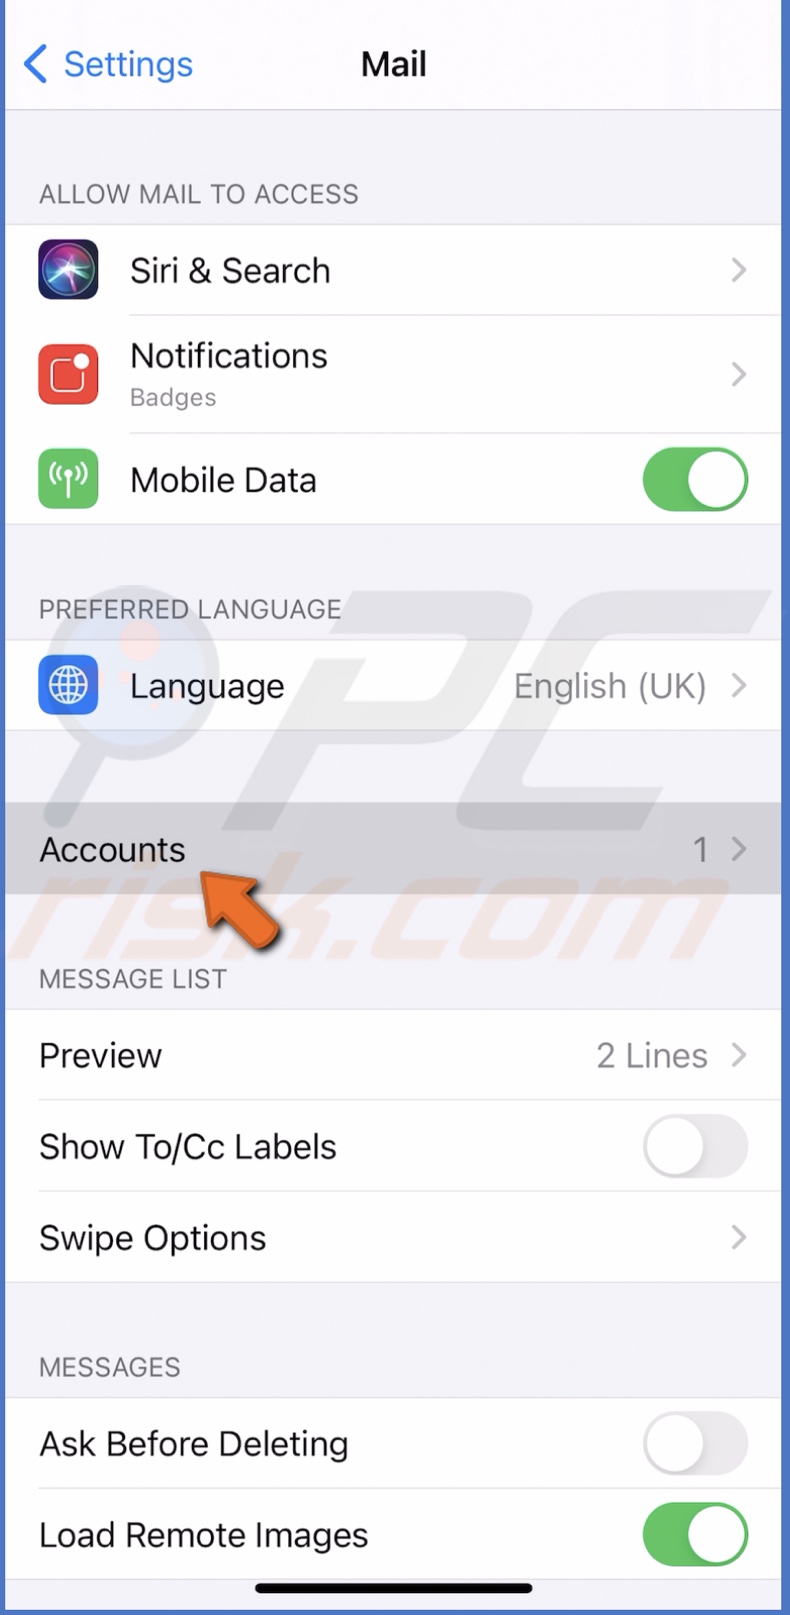
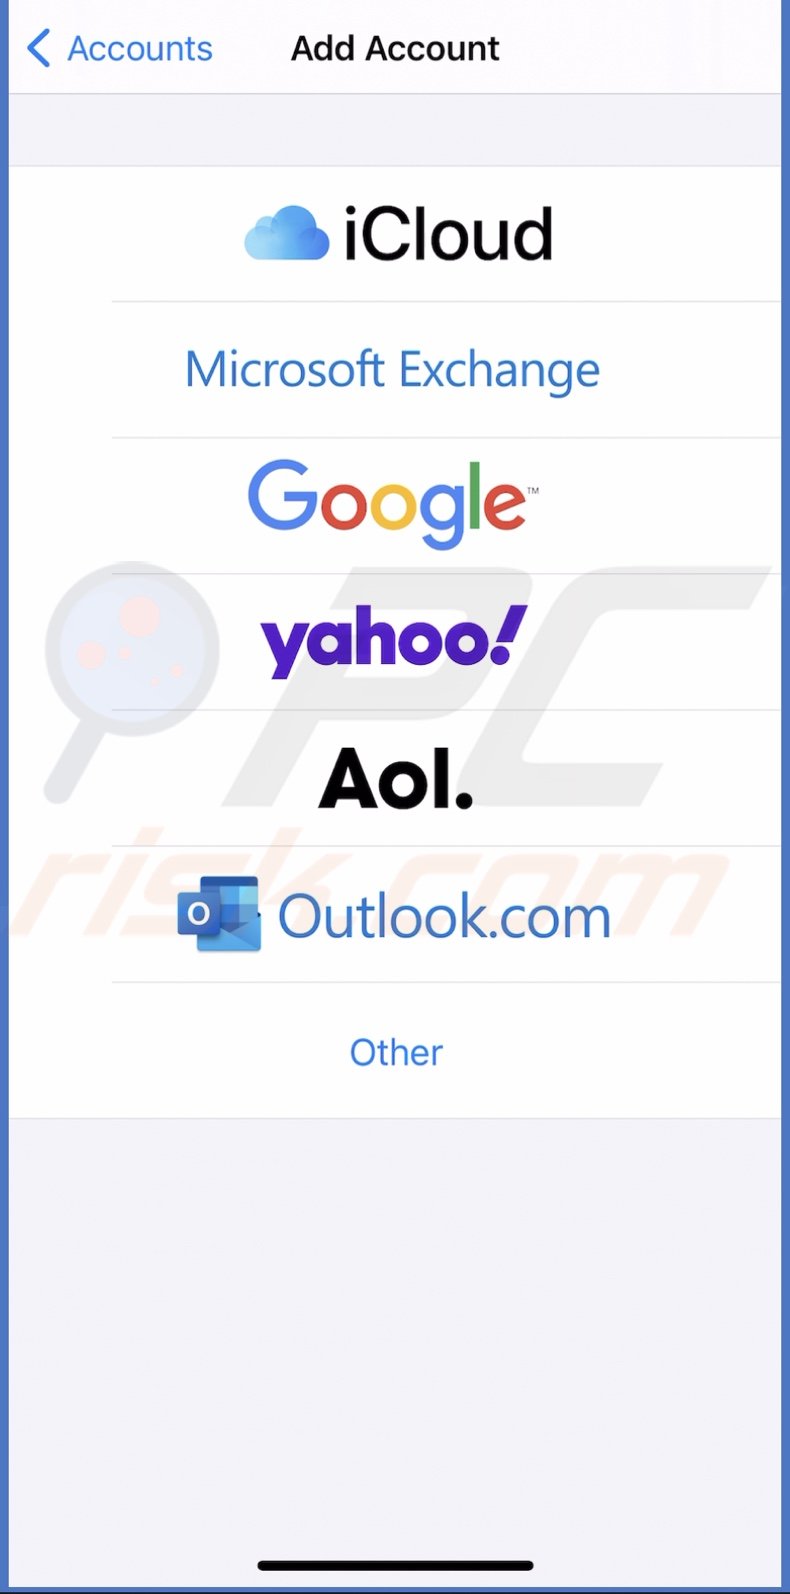
3. Then, tap on "Accounts" and on "Add Account".
4. You'll see alit of email service providers. Tap on your email provider or tap on "Other" if you don't see yours.
5. If a pop-up appears asking for permission to use Google, tap on "Continue".
6. Then, enter your email credentials to sign in.
7. After your email account is verified, you'll see syncing options. Leave them as they are and tap on "Save".
If you want to add another account, repeat the steps.
Turn On Preferred Restrictions
Screen Time is a feature offered by Apple that's used to put on restrictions on specific apps and content. Screen Time is also very effective if you want to restrict your kids from opening certain apps and seeing certain content.
You can check out our guide on "How to Use Screen Time in iOS 14 on macOS and iOS".
Customize Control Center
Control Center is like a quit menu that you can open anytime you need. It contains your most-used features.
To customize Control Center, follow the steps below:
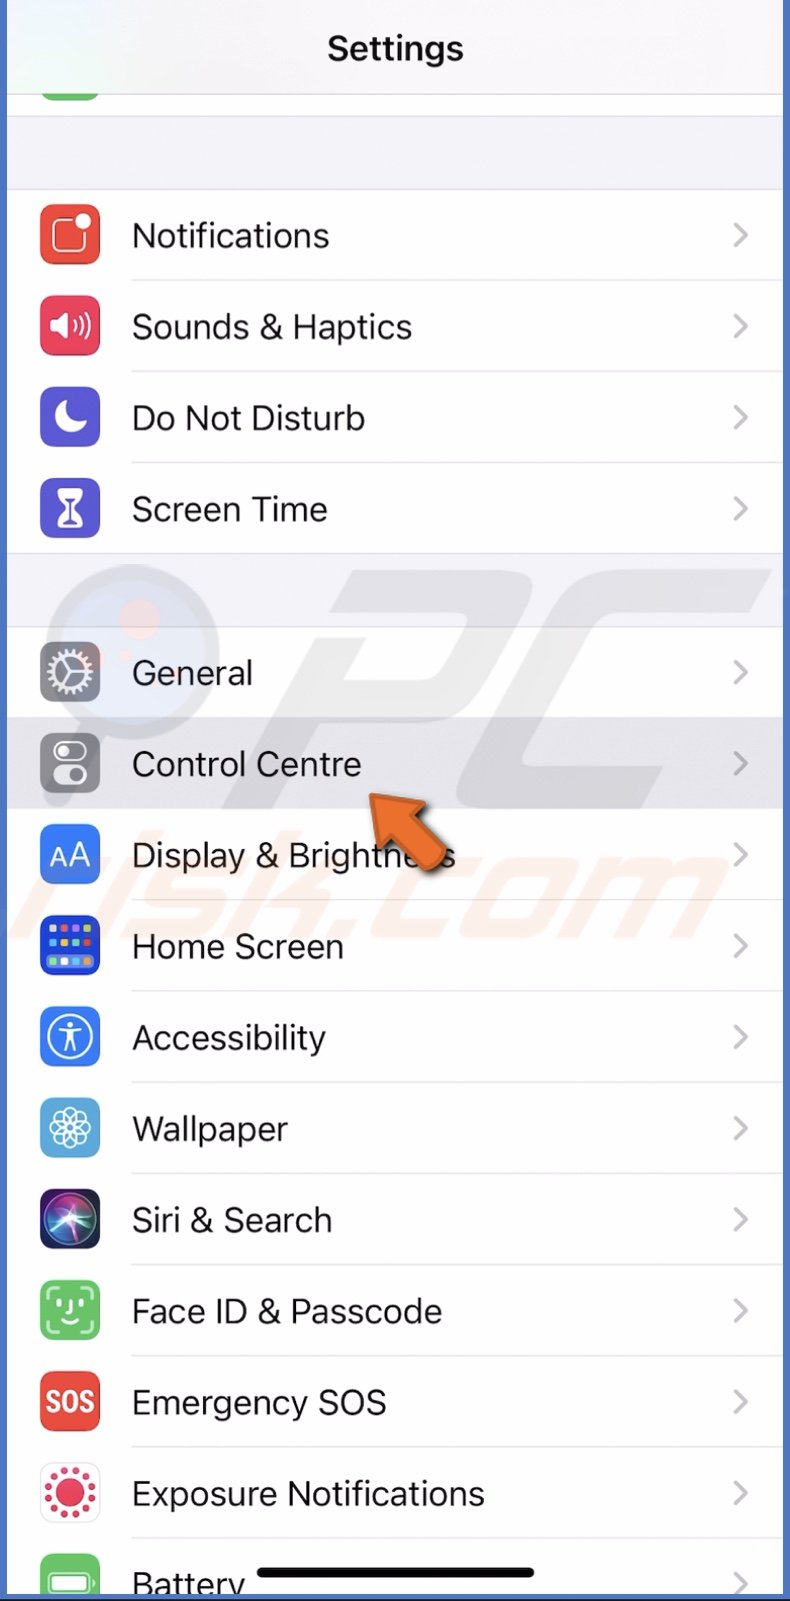
1. Go to iPhone settings.
2. Then, go to "Control Center".
3. When you find the feature you want to add to tap on the plus button next to it.
4. When you're done, go to the Home Screen, swipe down from the top right corner of your device screen. You'll see the Control Center with your added features.
Disable App Auto-Updates
Depending on your preference, you can either keep app auto-updates or update them manually. We don't recommend keeping them turned on if you have an unstable internet connection or use mobile data.
To disable app auto-updates, follow the steps below:
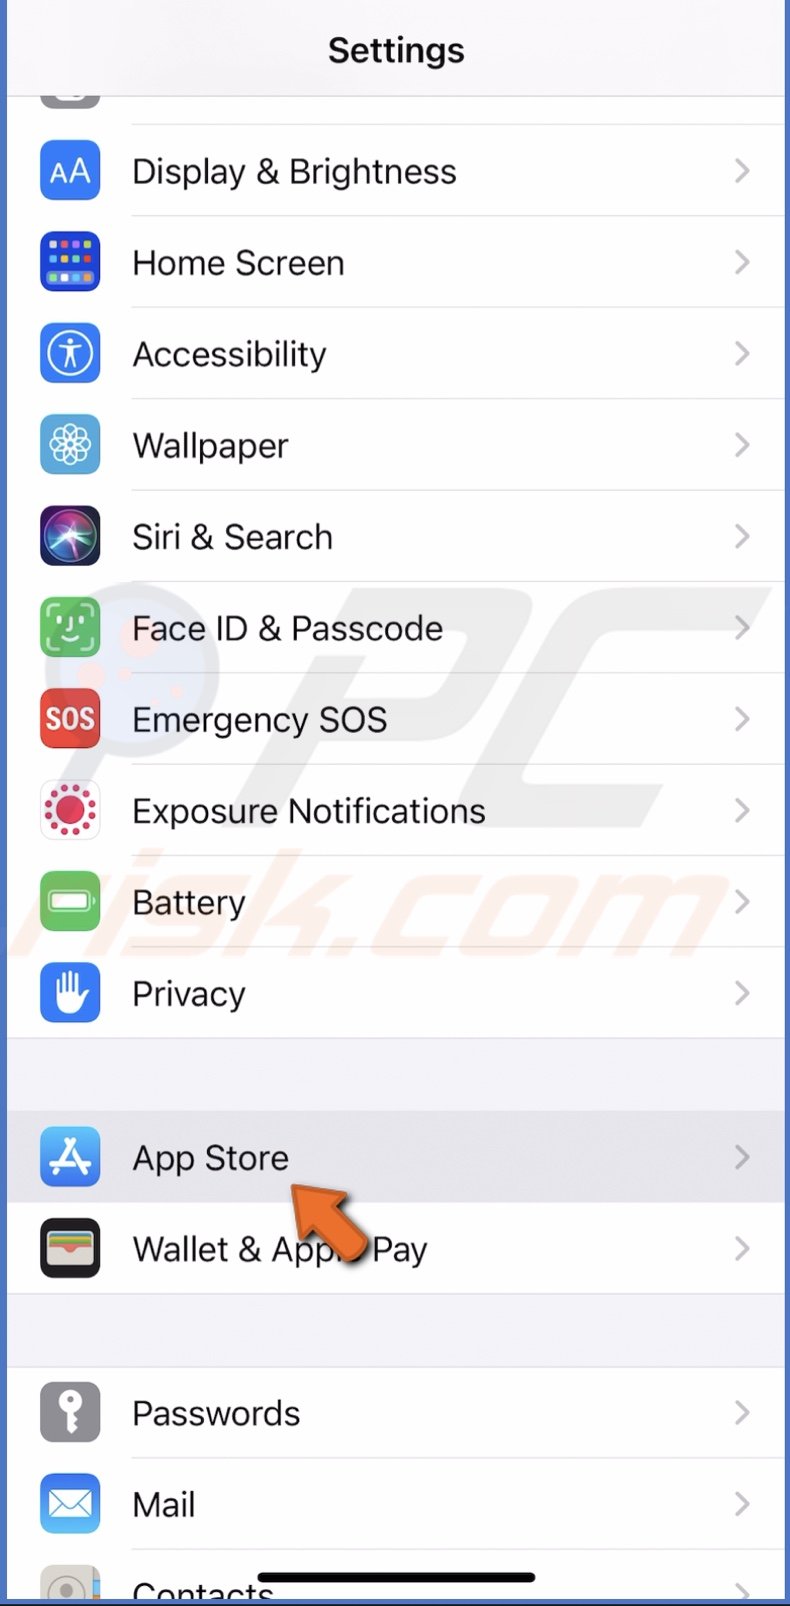
1. Go to device settings.
2. Scroll down and go to "iTunes & App Store" or "App Store".
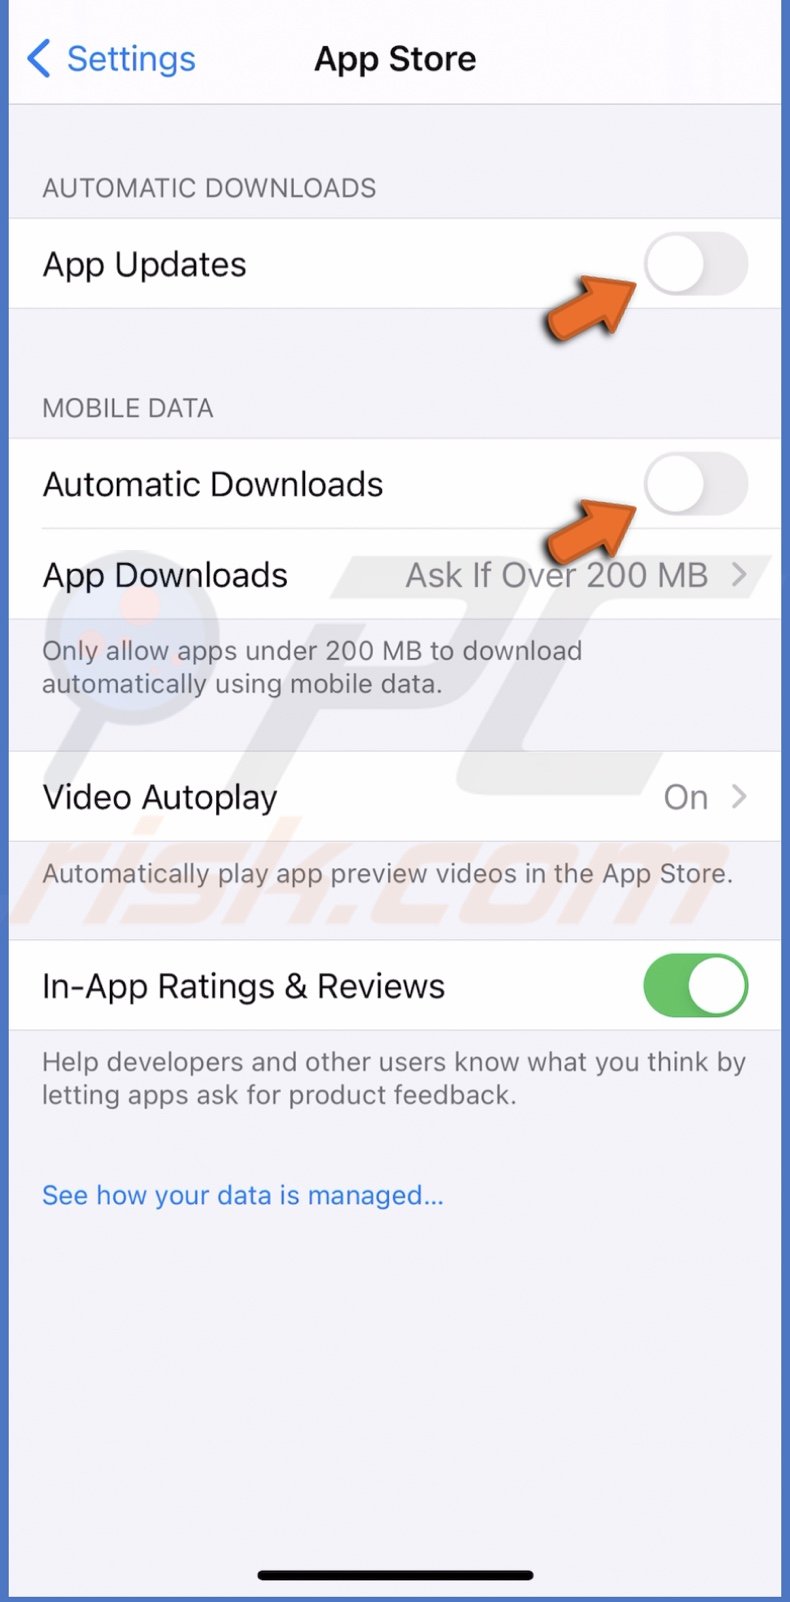
3. Under the "Automatic Downloads" section, disable "App Updates".
4. Under the "Mobile Data" section, disable "Automatic Downloads".
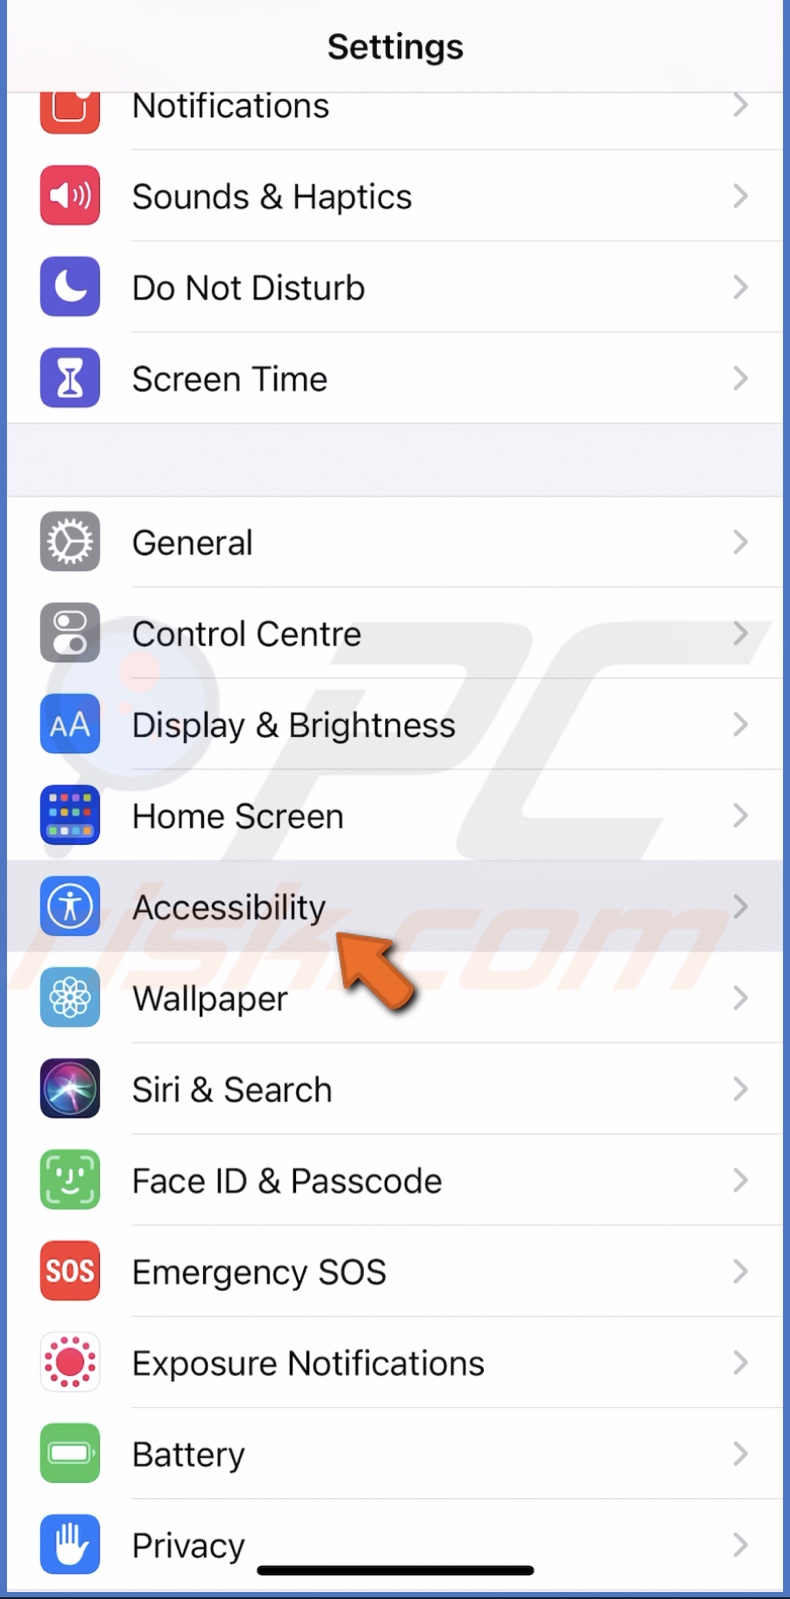
Check Out The Accessibility Settings
In Accessibility settings, you can turn on VoiceOver, Zoom, Increase Contrast, enlarge text, and more.
Go to device settings and tap on "Accessibility" to explore all options.
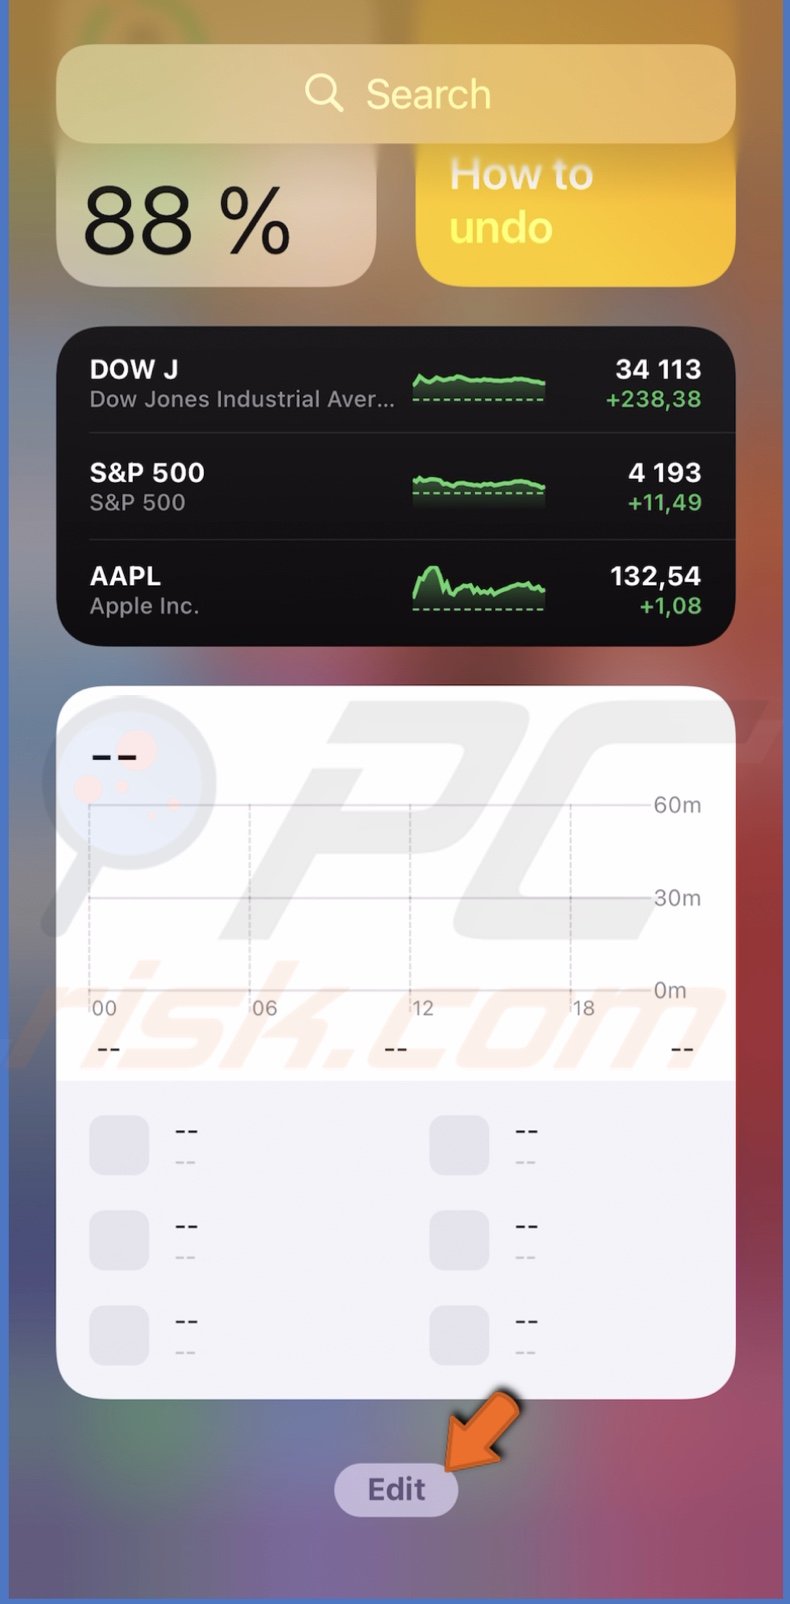
Customize The Today Screen
The Today view shows you today's information like the weather forecast, stock prices, battery percentage, and much more.
To customize the Today view, follow the steps below:
1. On your Home Screen, swipe to the right side to see the Today screen.
2. Scroll down to the bottom and tap on "Edit".
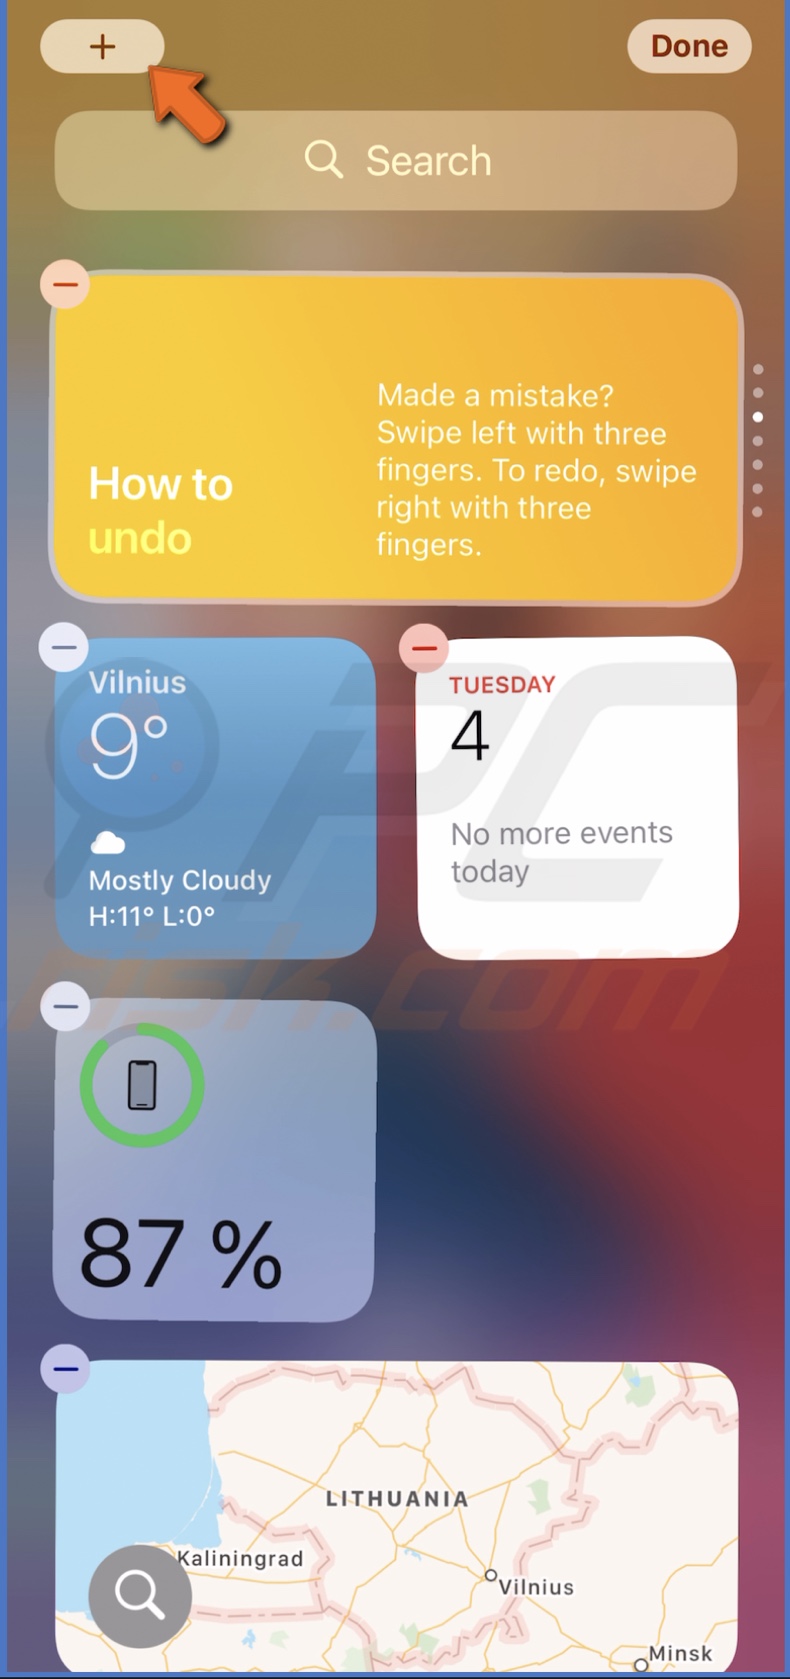
3. When all apps start to jiggle, you can rearrange them and remove the ones you don't want to see.
4. Tap on the plus button at the top left corner to add other widgets.
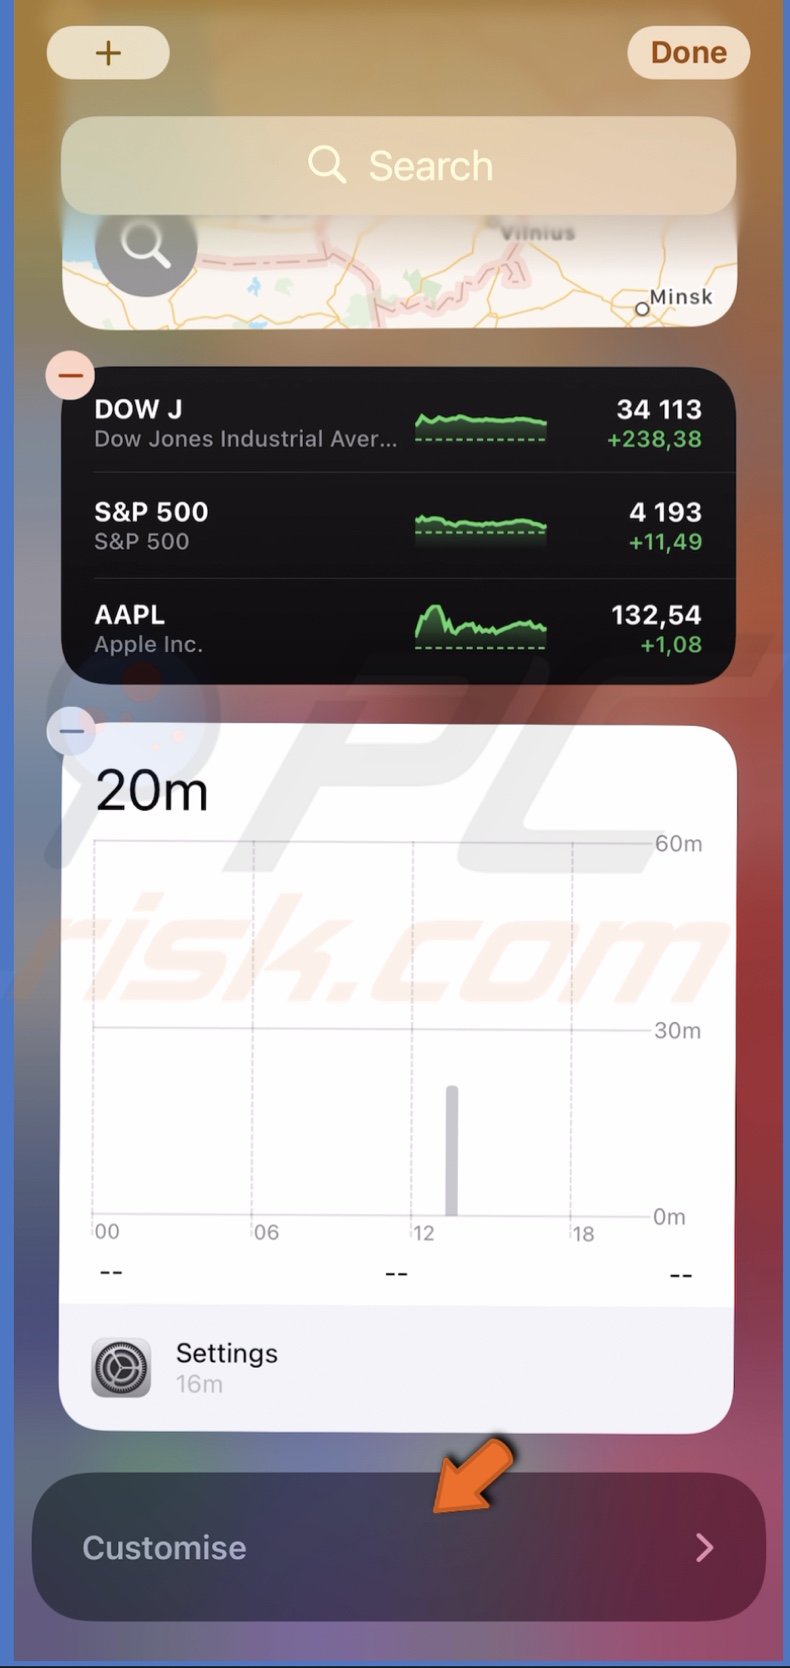
5. You can also tap on "Customise" at the very bottom and tap on the plus button to add a widget you want.
Download Desired Apps
Now, you can download the apps you want.
To download apps, follow the steps below:
1. Go to the "App Store".
2. Tap on your account icon and enter your Apple ID credentials.
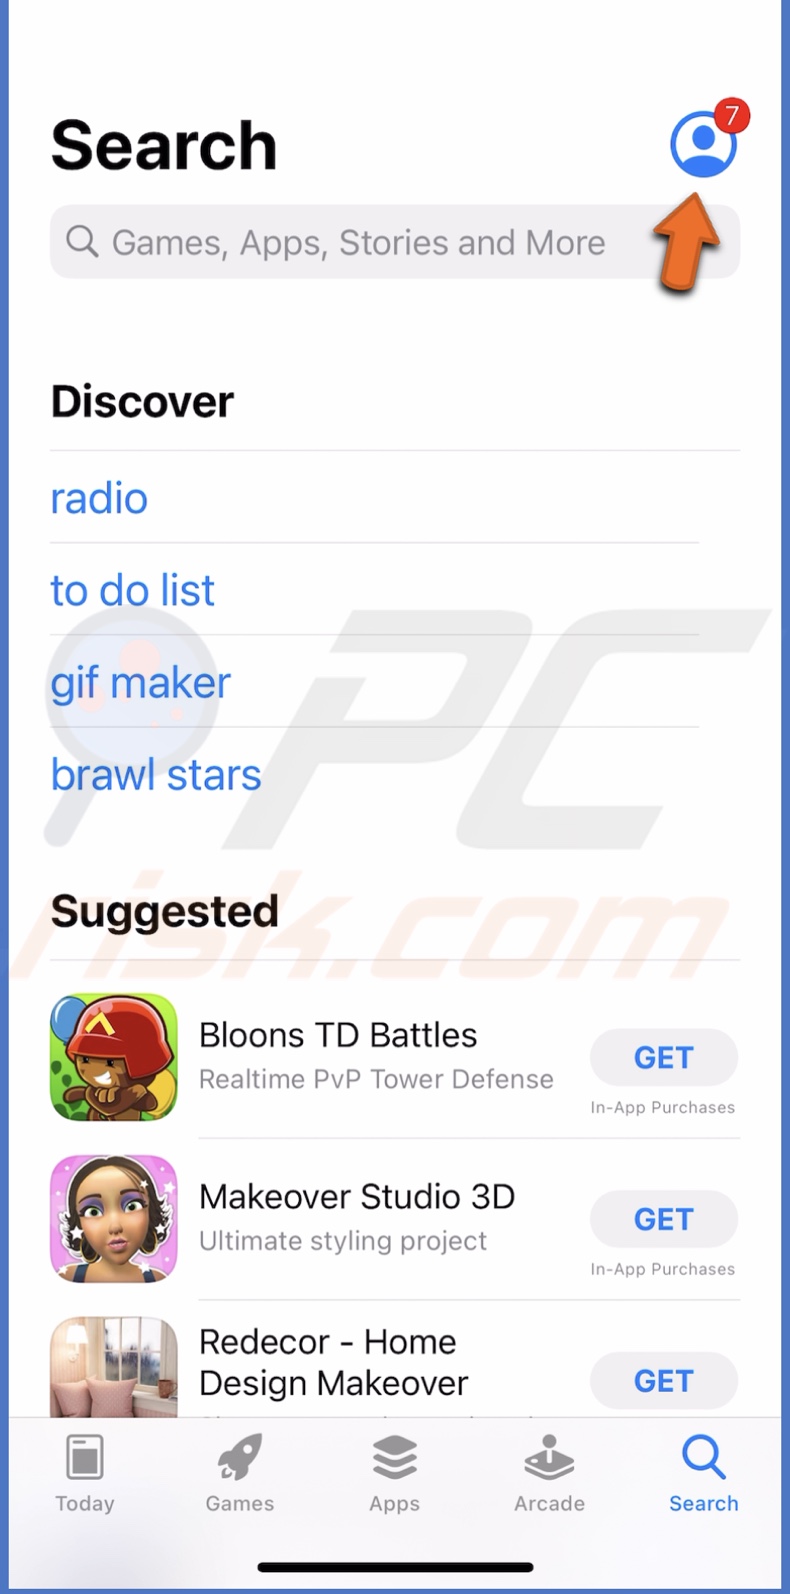
3. When you're done, go back to the App Store main page.
4. In the search bar, search for the app you want and download it.
Set Up Your iPhone Passcode and Touch ID or Face ID
When your iPhone is set up, add a passcode and Touch or Face ID to keep the information on your iPhone safe.
To add an iPhone passcode, follow the steps below:
1. Go to the "Settings" app.
2. Tap on "Face ID & Passcode".
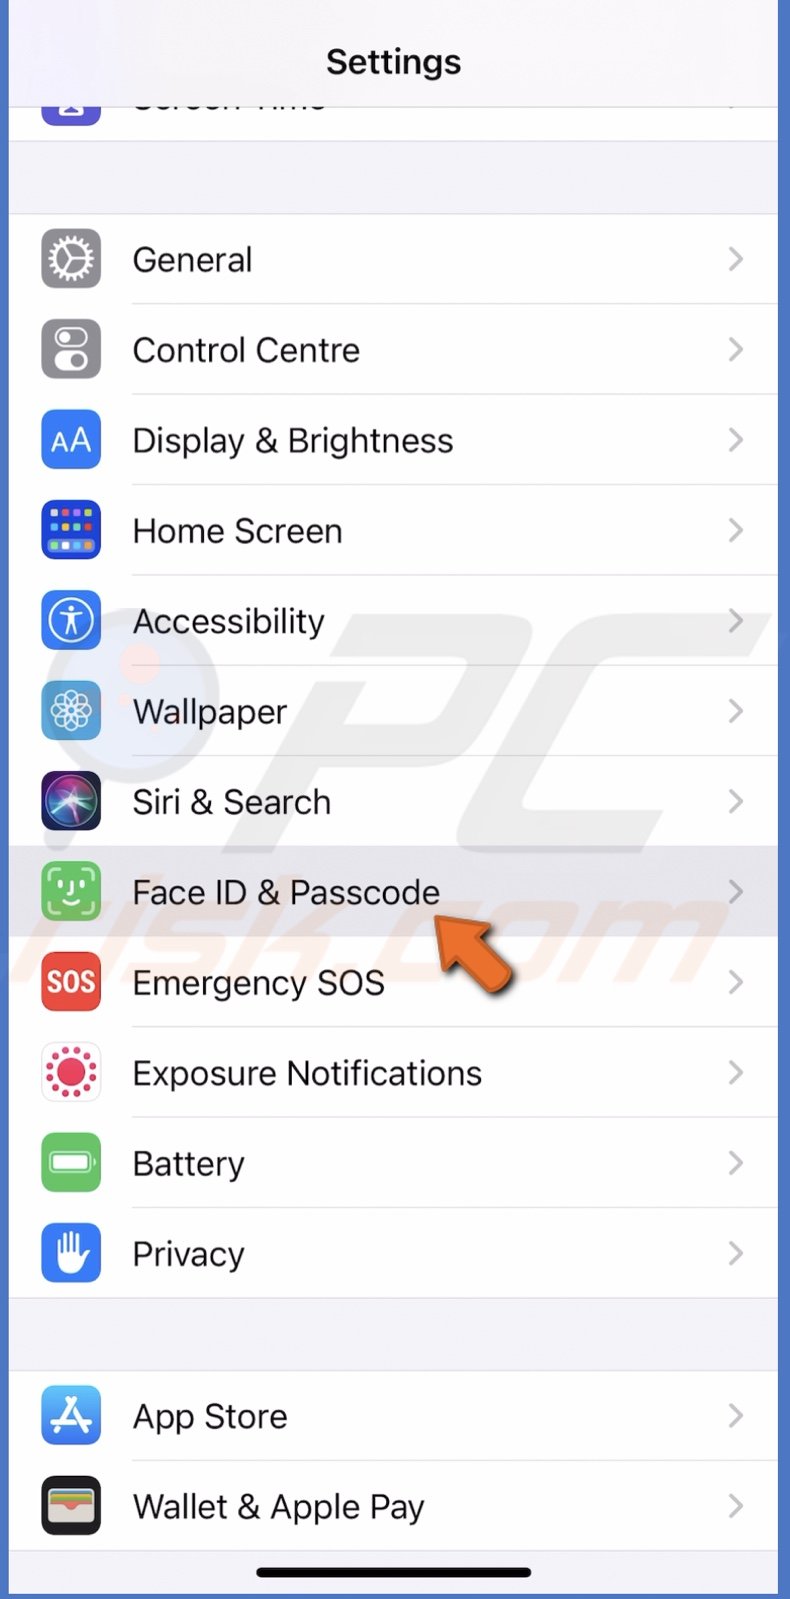
3. Scroll down and tap on "Turn Passcode On".
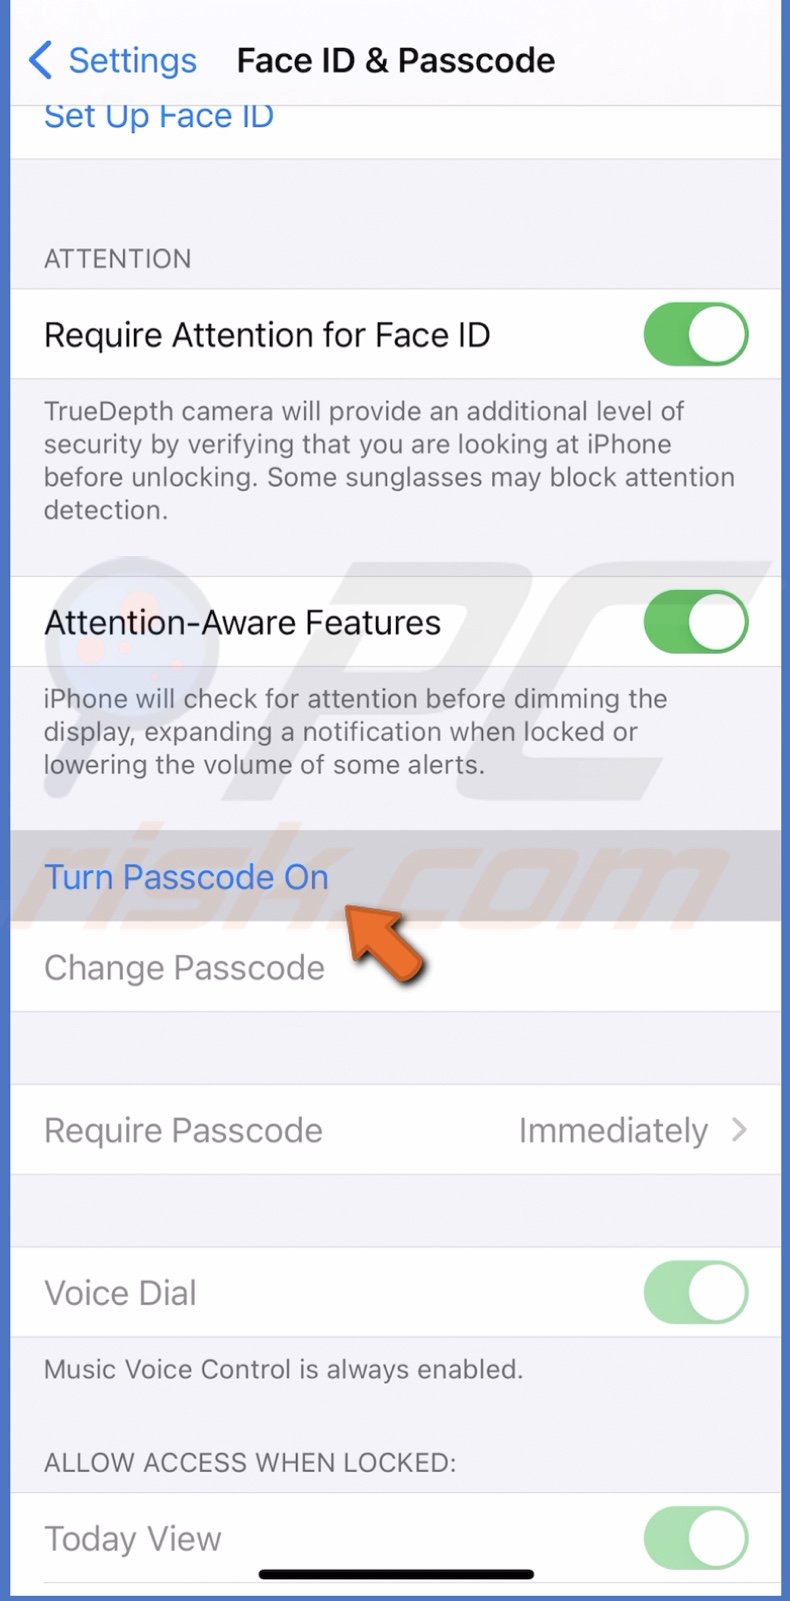
4. Enter the passcode you want to set two times for confirmation.
5. If asked, enter your Apple ID password.
To set up a Face ID, follow the steps below:
1. Go to the "Settings" app.
2. Tap on "Face ID & Passcode".
3. Tap on "Set Up Face ID".
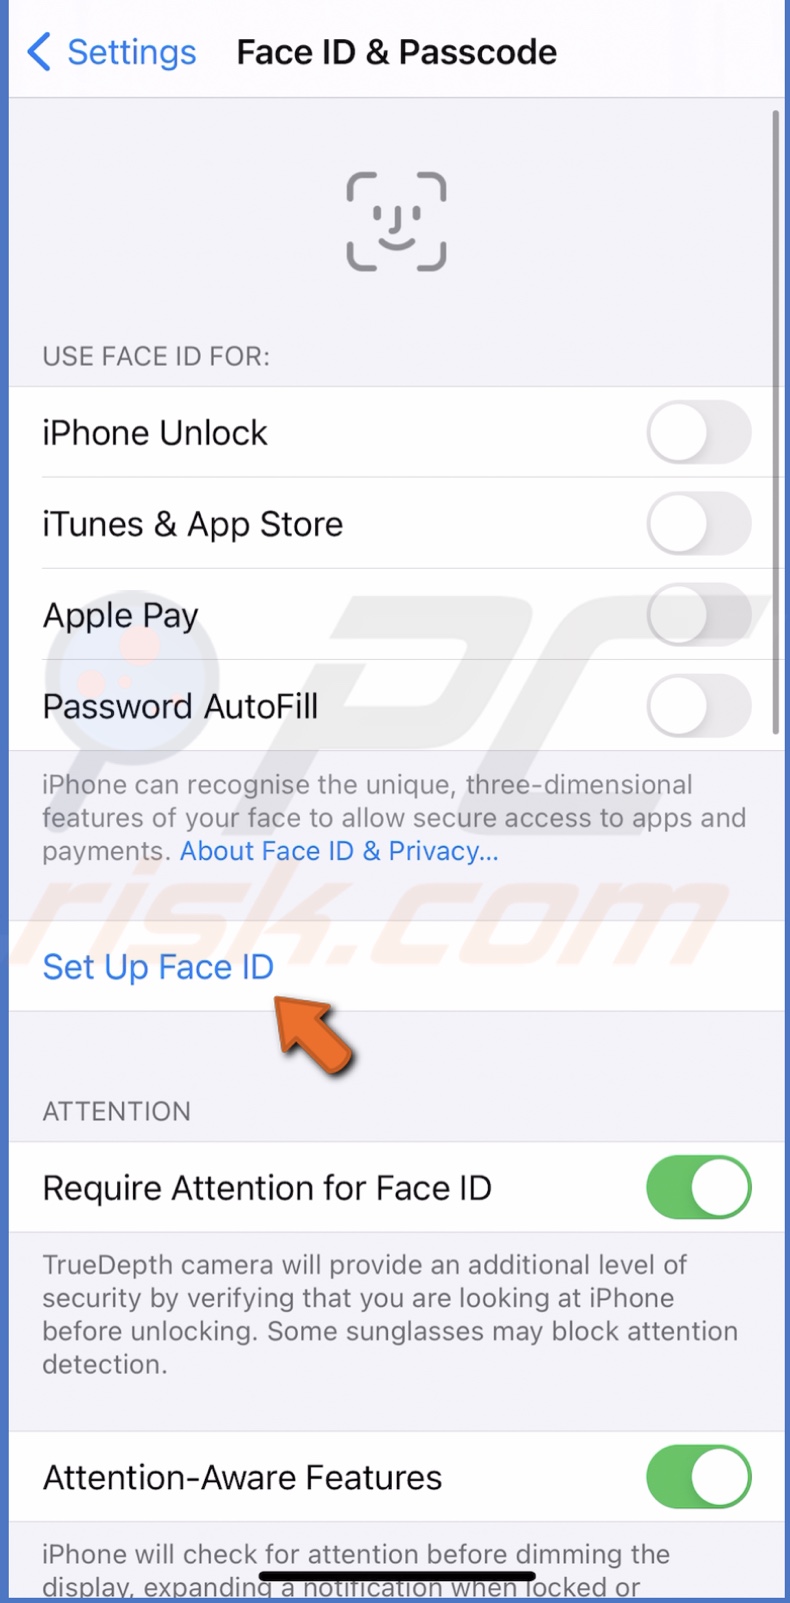
4. Then, tap on "Get Started" and follow the instructions on the screen.
To set up Touch ID, follow the steps below:
1. Go to the "Settings" app.
2. Tap on "Touch ID & Passcode".
3. Tap on "Add a Fingerprint" and follow the instructions on the screen.
Now your iPhone is all set. You can explore more features and settings in the "Settings" app or take a look at our other guides.
We hope you were successful in setting up your device.
You can also check out the video above.
Share:

Karolina Peistariene
Author of how-to guides for Mac users
Responsible for collecting, analyzing, and presenting problem-solving solution articles related to macOS issues. Years of macOS experience combined with solid research and analyzing skills help Karolina provide readers with working and helpful solutions as well as introduce various features Mac has to offer.
▼ Show Discussion