How to Create Desktop Shortcuts on Mac?

(updated)
Get Free Scanner and check your computer for errors
Fix It NowTo fix found issues, you have to purchase the full version of Combo Cleaner. Free trial available. Combo Cleaner is owned and operated by Rcs Lt, the parent company of PCRisk.com read more.
Easy Ways to Create Desktop Shortcuts on macOS
Probably everyone that uses a smart device knows what a shortcut is and what it does. For those that do not, it is a folder that links a file, folder, app, or website to its original location. It lets the user to faster access needed data. On Apple devices, the shortcut is named 'Alias'.

Every alias has a parent file, but suppose you do not remember where is the parent file or want to delete both files. The simplest way to find the parent file is to right-click on the alias file and choose "Show Original". You can also select the alias file, and on your keyboard, press Command and R keys. A Finder window will appear with the parent file.
In this article, you will find out how to create a desktop shortcut (an alias) of any file, folder, app, and website. Also, you will find out how to add the alias to Dock and how to delete it.
Video on Easy Ways to Create Desktop Shortcuts on macOS
Table of Contents:
- Introduction
- Method 1. How to Create a Desktop Shortcut Using Quick Menu
- Method 2. How to Create a Desktop Shortcut Using Drag and Drop Feature
- Method 3. How to Create a Website Shortcut
- How to Add a Desktop Shortcut to Dock
- How to Delete a Desktop Shortcut
- Video on Easy Ways to Create Desktop Shortcuts on macOS
Download Computer Malware Repair Tool
It is recommended to run a free scan with Combo Cleaner - a tool to detect viruses and malware on your device. You will need to purchase the full version to remove infections. Free trial available. Combo Cleaner is owned and operated by Rcs Lt, the parent company of PCRisk.com read more.
How to Create a Desktop Shortcut Using Quick Menu
As mentioned above, an Alias is a folder that links to the original file or folder. By creating an Alias, you can access frequently used files much faster.
To create a file, folder, or app alias using a quick menu, follow the steps below:
1. Open Finder.
2. Navigate to the file, folder, or app you want to create a desktop shortcut.
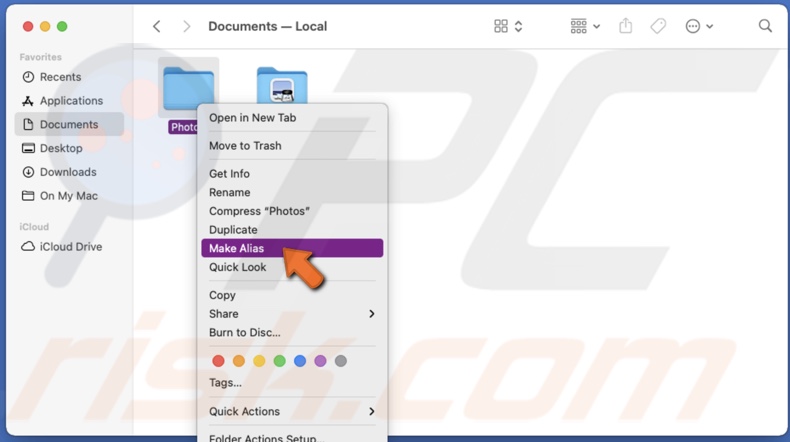
3. When you have located your item, right-click on it.
4. When the small menu appears, click on "Make Alias".
You can also create an alias by selecting the item and clicking on "File" in the upper menu. Then, in the secondary menu, choose "Make Alias".
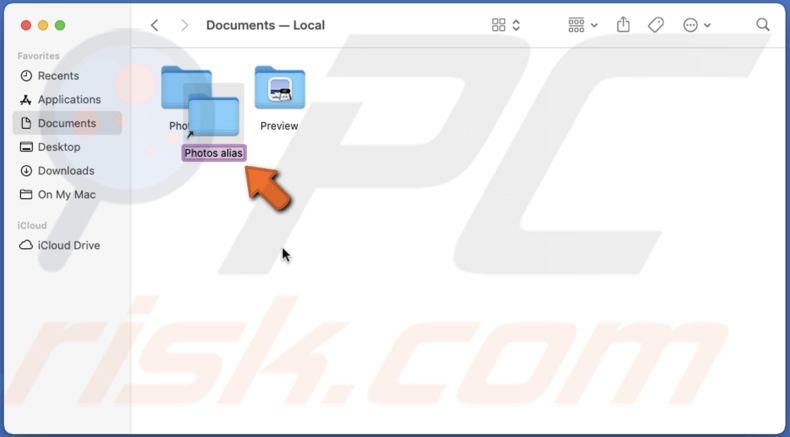
It will create a folder with the word alias next to the item name. You can rename it, drag it to another location and manage it like the original file.
How to Create a Desktop Shortcut Using Drag and Drop Feature
Creating a shortcut using the Alias feature from the quick menu is quite fast, but keep on reading if you want an even faster way to make a shortcut.
To create an alias using the drag-and-drop feature, follow the steps below:
1. Open Finder.
2. Navigate to the file, folder, or app you want to create a desktop shortcut.
3. When you have located your item, simultaneously press the Option and Command keys on your keyboard.
4. Then, click on the file, folder, or app and drag it to the desktop or any other location you want.
If you are using a Mac that is running on macOS Mojave or older, use the shortcut: Command + L
A folder with the word alias next to the item name will be created. You can rename it, drag it to another location and manage it like the original file.
How to Create a Website Shortcut
Creating a website shortcut is as easy as making a file shortcut. Follow the detailed explanation below to find out how to do that.
To create a website shortcut, follow the steps below:
1. Open your browser window.
2. Go to the website you want to make a desktop shortcut.
3. Then, select the website address by clicking on it once.
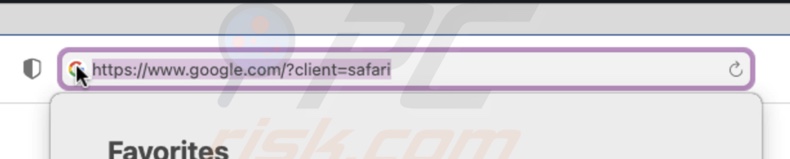
4. When the address is selected, drag and drop it to the desktop or any other location you want.
5. You will see a website shortcut appear with an @ on a blank page icon.
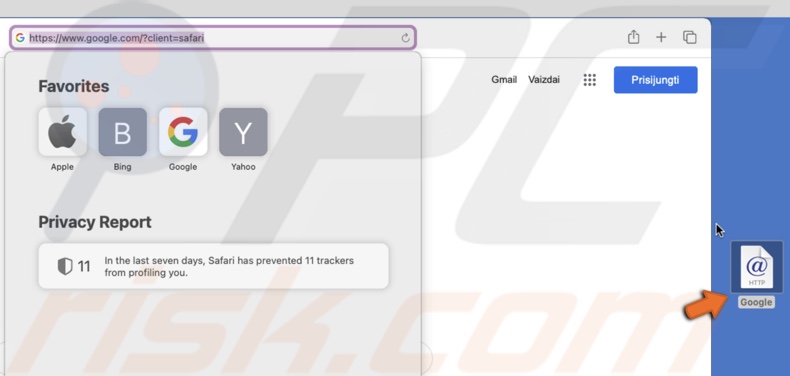
When you click on the website shortcut, it will direct you to the exact same page you saved it.
How to Add a Desktop Shortcut to Dock
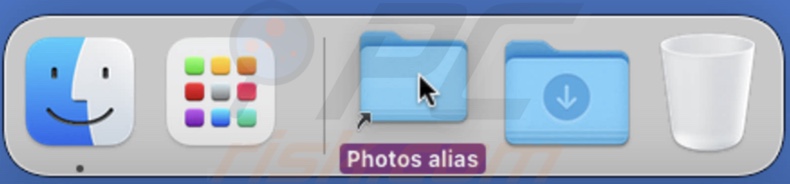
If you want to add a desktop shortcut to Dock, you can just drag and drop it to the Dock's right side next to the Trash icon. You can find more information adding items to Dock by taking a look at our article about "How to Use And Customize Dock on Mac".
How to Delete a Desktop Shortcut
If you want to delete the alias for any reason, you can do that with a few very simple steps.
To delete an alias, follow the steps below:
1. Locate the shortcut.
2. Right-click on it.
3. When the quick menu appears, select the "Move to Trash" option.
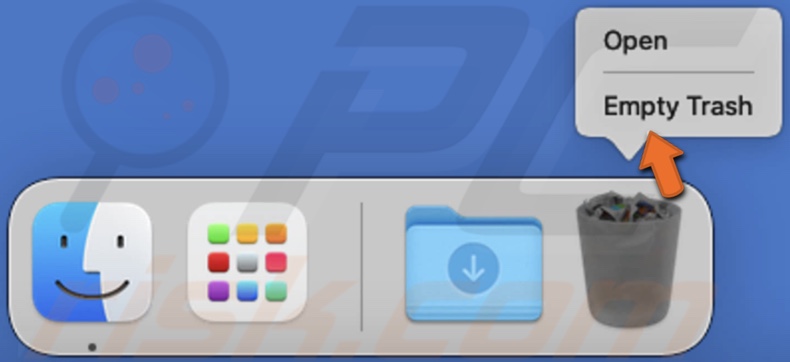
4. Then, go to the Trach and right-click on it.
5. When the quick menu pops up, click on "Empty Trash".
6. When a window pops up asking if you want to delete the item permanently, click on "Empty Trash" again to confirm the action.
We hope this article was helpful!
Check out the video below for a step-by-step tutorial.
Share:

Karolina Peistariene
Author of how-to guides for Mac users
Responsible for collecting, analyzing, and presenting problem-solving solution articles related to macOS issues. Years of macOS experience combined with solid research and analyzing skills help Karolina provide readers with working and helpful solutions as well as introduce various features Mac has to offer.
▼ Show Discussion