How to Capture And Manage Screenshots on macOS?

(updated)
Get Free Scanner and check your computer for errors
Fix It NowTo fix found issues, you have to purchase the full version of Combo Cleaner. Free trial available. Combo Cleaner is owned and operated by Rcs Lt, the parent company of PCRisk.com read more.
How to Capture And Manage Screenshots on macOS?
The screen capture feature, called Screenshot, is convenient when you need to capture the screen of your Mac to show the content on it to others. By making a screenshot, you get a good quality digital image of your Mac's display. Depending on the key combination, you can make a whole display screenshot or choose a region of your screen to capture.
When you take a screenshot, your Mac, by default, will save it in PNG (Portable Network Graphics) format as it can retain the quality of the created image. The downside is that the PNG format images tend to be large. Sometimes it might be more convenient to use a format that takes less storage space, for example, a JPEG (Joint Photographic Experts Group) format.
Below you will find detailed steps to change screenshot format, change the default location, disable screenshot thumbnail preview, and more.
Video on How to Capture And Manage Screenshots on macOS
Table of Contents:
- Introduction
- Four Ways You Can Take Screenshots
- How to Change Screenshot Format Using Terminal
- How to Change The Default Location of a Screenshot
- How to Save Screenshots to Clipboard
- How to Disable Screenshot Thumbnail Preview
- How to Change Screenshot Keyboard Shortcut
- Video on How to Capture And Manage Screenshots on macOS
Download Computer Malware Repair Tool
It is recommended to run a free scan with Combo Cleaner - a tool to detect viruses and malware on your device. You will need to purchase the full version to remove infections. Free trial available. Combo Cleaner is owned and operated by Rcs Lt, the parent company of PCRisk.com read more.
Four Ways You Can Take Screenshots
There are four ways you take screenshots. You can take a screenshot of the entire screen, a selected area, an open window, and screenshot tools.
Screenshot fullscreen
To capture the entire screen of your Mac, simultaneously press Command + Shift + 3 keys on your keyboard.
Screenshot a Selected Area of The Screen
1. To capture a chosen area of the screen, simultaneously press Command + Shift + 4 keys on your keyboard.
2. When you see your mouse cursor change to a crosshair, release the keys and select an area on your screen that you want to capture.

If you select the wrong area, you don't have to press the Esc key and start selecting again. If you press and hold the Space key, you can move your selection. To change the selected area only in one direction, press and hold the Shift key. To increase or decrease the sides of the chosen area in proportion, press the Option key.
Screenshot an Open Window
1. You can screenshot an open window by simultaneously pressing Command + Shift + 4 keys on your keyboard.
2. Let go of the keys. When you see your mouse cursor change to the crosshair and then press the Space bar once.
3. When you see a camera icon, hover over a screen that you want to capture and click on it.

Using this screen capture method, you can screenshot even the Dock or the upper menu bar.
Capture Using Screenshot Tools
If you don't want to remember all the above options and you think it's a hassle, you can always use the screenshot tools. You can do all of the above-mentioned options with it. To open screenshot tools, simultaneously press Command + Shift + 5 on your keyboard. Choose what you want to screenshot and click on "Capture".

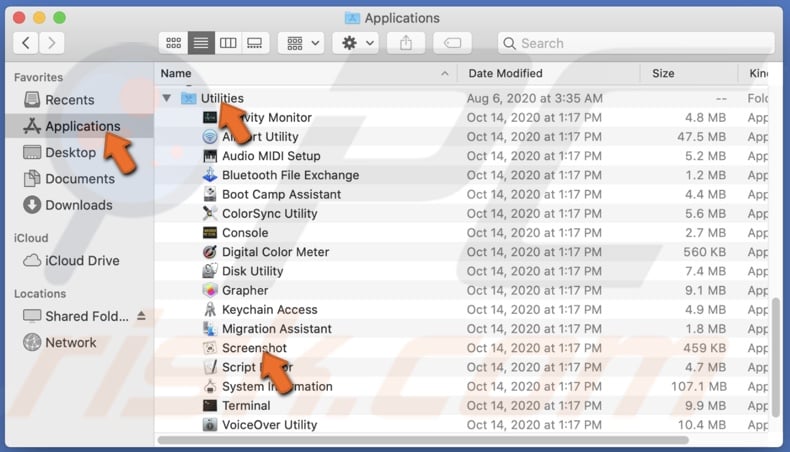
You can also use screenshot tools with the Screenshot app:
1. Open Finder.
2. Go to "Applications".
3. Scroll down until you see the Utilities folder. Click on it.
4. Find and click on "Screenshot".
How to Change Screenshot Format Using Terminal
As mentioned above, when you take a screenshot, it is automatically saved as a PNG image. To change the screenshots' default format, choose a format you want to change to and follow the steps.
Change the format to JPEG:
1. Open Terminal from Launchpad, Finder, or Spotlight.
2. In the Terminal window, enter the command line: defaults write com.apple.screencapture type jpg
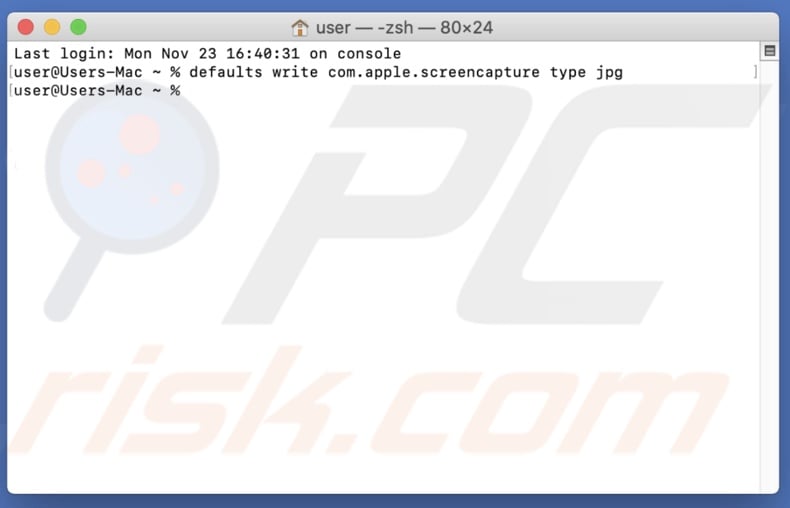
3. Restart your Mac.
Change the format to TIFF:
1. Open Terminal from Launchpad, Finder, or Spotlight.
2. In the Terminal window, enter the command line: defaults write com.apple.screencapture type tiff
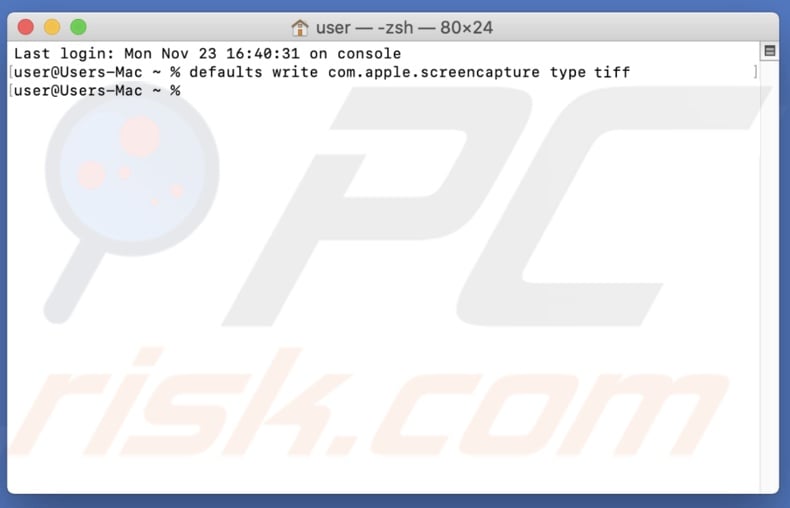
3. Restart your Mac.
Change the format to PDF:
1. Open Terminal from Launchpad, Finder, or Spotlight.
2. In the Terminal window, enter the command line: defaults write com.apple.screencapture type pdf
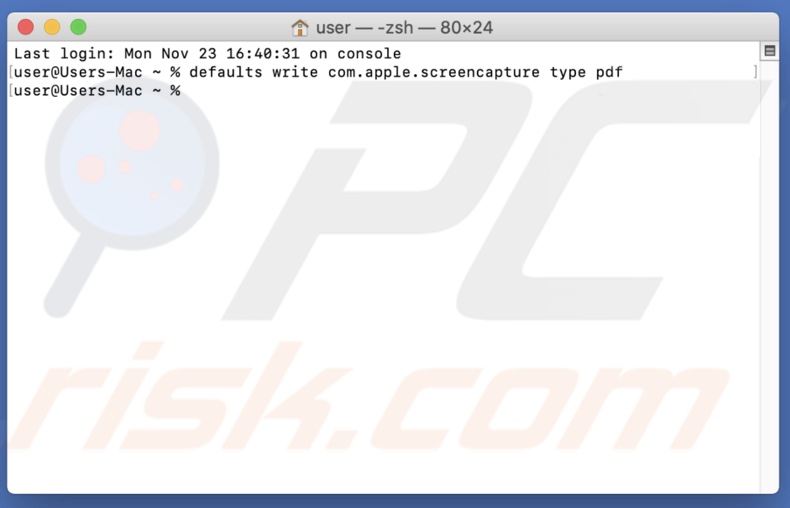
3. Restart your Mac.
Change the format to GIF (Graphics Interchange Format):
1. Open Terminal from Launchpad, Finder, or Spotlight.
2. In the Terminal window, enter the command line: defaults write com.apple.screencapture type gif
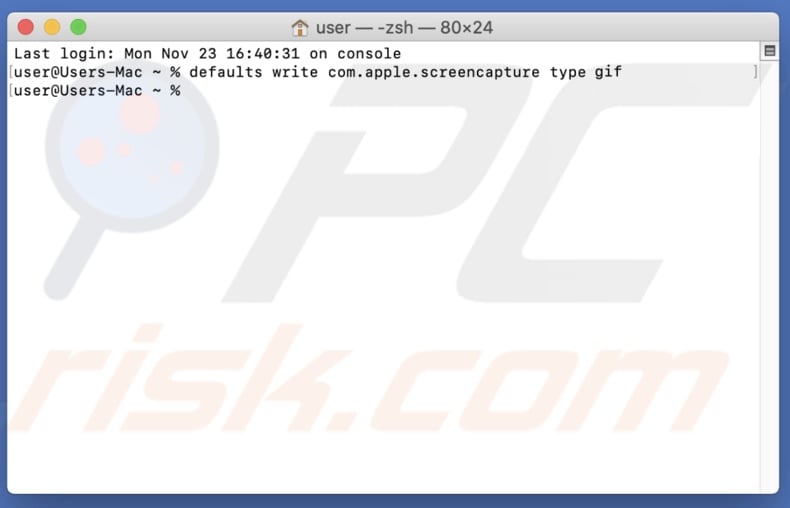
3. Restart your Mac.
Change the format back to PNG:
1. Open Terminal from Launchpad, Finder, or Spotlight.
2. In the Terminal window, enter the command line: defaults write com.apple.screencapture type png
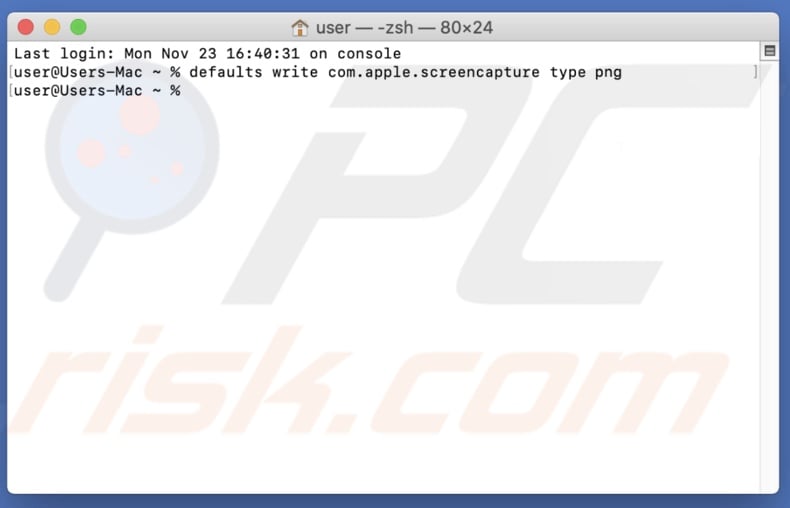
3. Restart your Mac.
How to Change The Default Location of a Screenshot
The default location of a screenshot is your Mac's desktop, but you can always change that by following the steps below:
1. On your keyboard, simultaneously press the Command + Shift + 5 key.
2. In the menu bar, click on "Options".
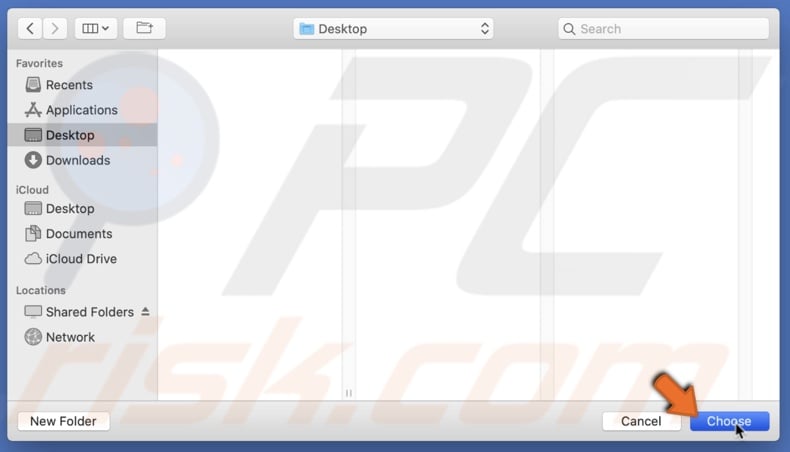
3. Choose a location you want your screenshots to be saved.
4. If you don't see the location you want to choose, click on "Other Locations" and navigate to your desired location.
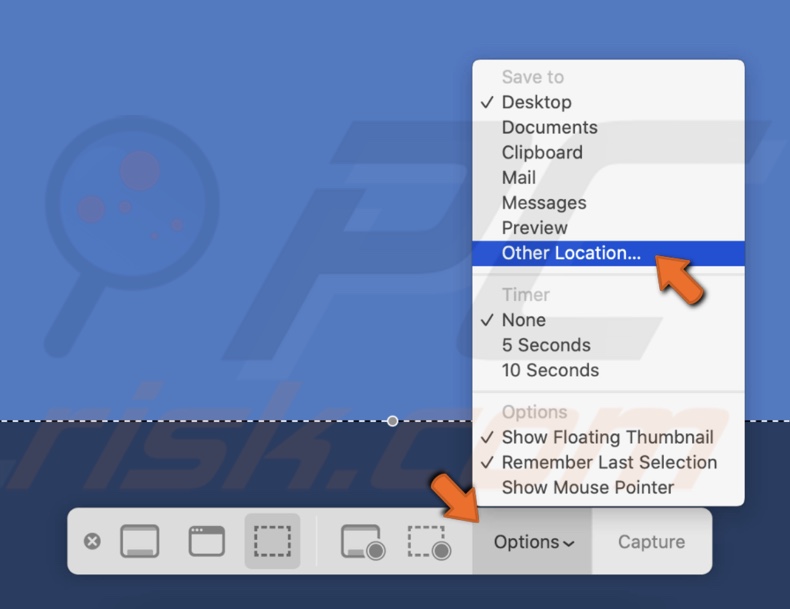
5. Then click on "Choose".
How to Save Screenshots to Clipboard
If you do not want your screenshots to be saved on the desktop or in other locations and just want to paste it where ever you need, you can save them to the clipboard. There are two ways you can save screenshots to the clipboard.
Always save screenshots to the clipboard:
1. On your keyboard, simultaneously press the Command + Shift + 5 key.
2. In the menu bar, click on "Options".
3. Choose "Clipboard".
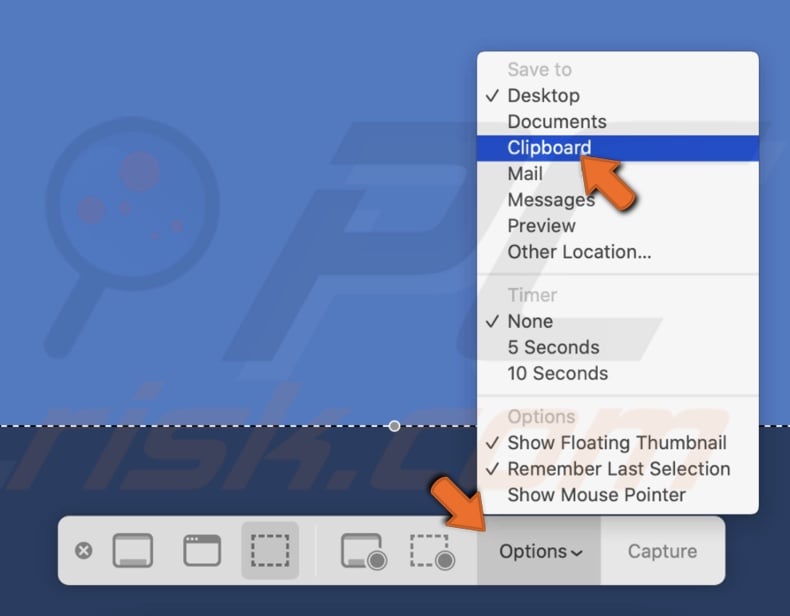
Your screenshots will be saved to the clipboard until you change the location.
Momentarily save screenshots to the clipboard:
When taking screenshots of the entire screen or a chosen area, press the "Contol" key to send your screenshot to the clipboard. For example, if you are taking a full-screen screenshot, simultaneously press Command + Shift + 4 + Control keys on your keyboard. Your screenshot will then be sent to the clipboard, and keep in mind that it will not be saved anywhere.
How to Disable Screenshot Thumbnail Preview
If you have a newer Mac, a thumbnail of the screenshot appears whenever you take a screenshot at the bottom right corner. If you click on it, you can edit the screenshot or send it via AirDrop or other ways. But to some, that can sometimes be annoying. Follow the steps below to disable it.
1. Simultaneously press Command + Shift + 5 on your keyboard.
2. In the bottom menu bar, click on "Options".
3. Under "Options", find and click on "Show Floating Thumbnail".
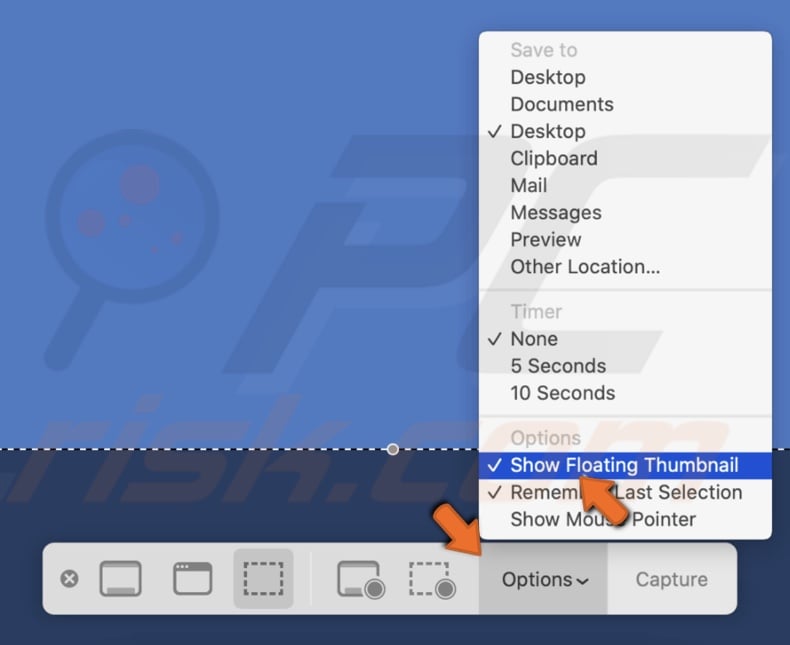
Now you will not see the thumbnail appear every time you take a screenshot.
How to Change Screenshot Keyboard Shortcut
If the default keyboard shortcuts for taking a screenshot are inconvenient for you, you can always change the keys in the Mac settings.
1. Click on the Apple logo in the upper menu bar.
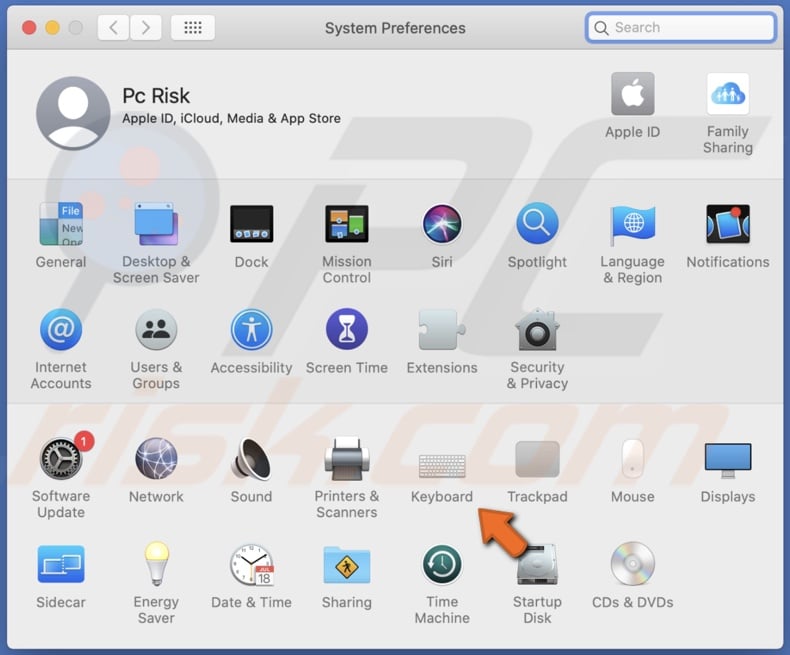
2. Go to "System Preferences".
3. Find and go to "Keyboard".
4. Go to the "Shortcuts" tab.
5. Click on "Screenshots".
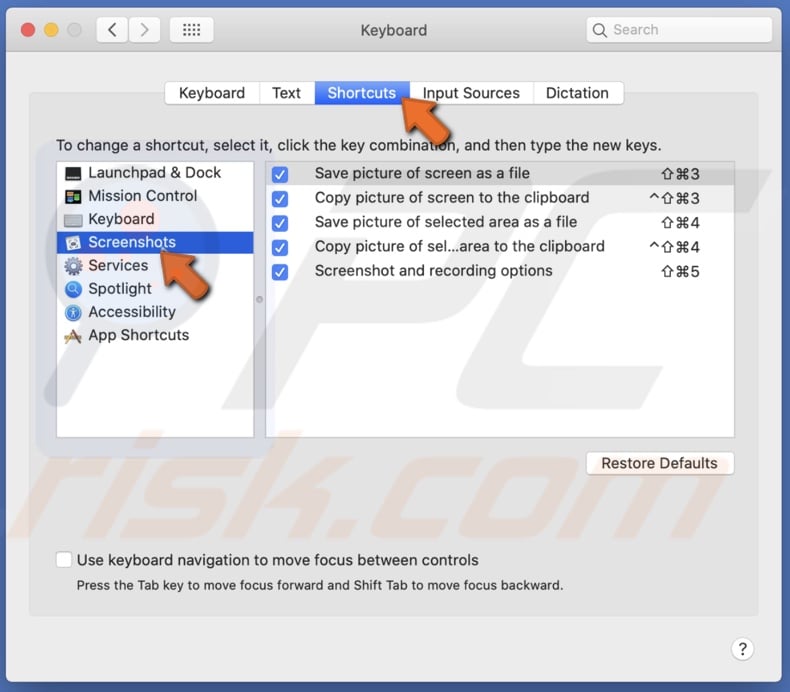
6. Select a shortcut and double-click on it.
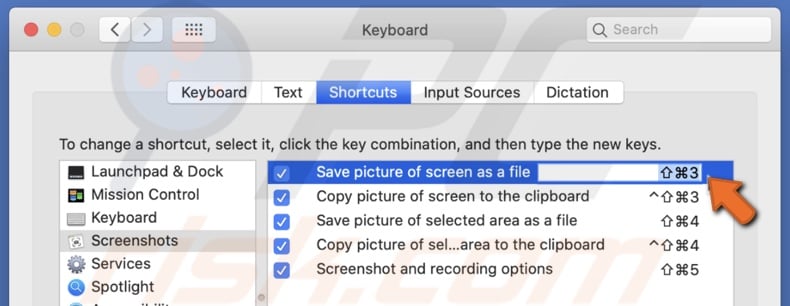
7. Then simultaneously press the key combination on your keyboard that you want to change to.
To restore default shortcut combinations click on "Restore Defaults". You can find more information on keyboard shortcuts here.
We hope you found this information useful. Let us know in the comments if you have any questions!
Share:

Karolina Peistariene
Author of how-to guides for Mac users
Responsible for collecting, analyzing, and presenting problem-solving solution articles related to macOS issues. Years of macOS experience combined with solid research and analyzing skills help Karolina provide readers with working and helpful solutions as well as introduce various features Mac has to offer.
▼ Show Discussion