How to Remove Applications From Your Mac?

(updated)
Get Free Scanner and check your computer for errors
Fix It NowTo fix found issues, you have to purchase the full version of Combo Cleaner. Free trial available. Combo Cleaner is owned and operated by Rcs Lt, the parent company of PCRisk.com read more.
How to Remove/Uninstall Applications From Your Mac?
Removing applications from Mac OS is easy. However, some users (especially those who have switched from Windows) can find the process confusing. The default method for removing apps from a MacBook or other Apple computer is similar to that of a mobile device: hold and drag the app icon to Trash. In most cases, this is all that is required to remove an application.

Some applications offer an uninstaller; however, this is not strictly necessary since Mac OS applications do not have background components or registry files (as with software designed for Windows). Also, macOS allows you to access its library freely, so you can manually remove any application files, such as cache or old preferences.
Rarely, some corrupted or older applications require a more complicated method to remove them altogether. Eliminating applications using the methods described in this article might save valuable disk space. Some application removal steps described below can also help to remove hidden files that store application serial numbers.
Video showing How to Remove Applications From Your Mac?
Table of Contents:
- Introduction
- Remove applications on any Mac OS through Finder
- Uninstall apps installed via Mac App Store
- Remove the software's library files, caches, and preferences
- Applications with uninstaller utility included
- Removing Kernel Extensions and hidden files
- Video showing How to Remove Applications From Your Mac?
Download Computer Malware Repair Tool
It is recommended to run a free scan with Combo Cleaner - a tool to detect viruses and malware on your device. You will need to purchase the full version to remove infections. Free trial available. Combo Cleaner is owned and operated by Rcs Lt, the parent company of PCRisk.com read more.
Remove applications on any Mac OS through Finder
This is probably the oldest method, which has been in use since the Mac OS was first devised. Therefore, it does not matter which operating system version you are using, and there is no IT knowledge required.
1. Open Finder and go to the Applications folder.
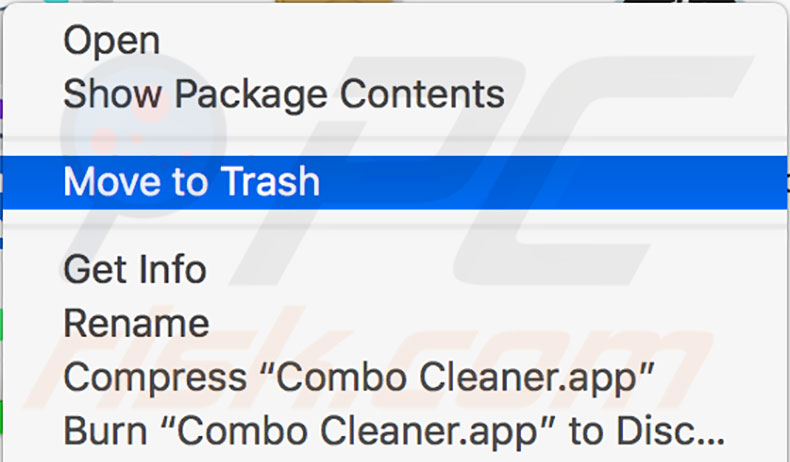
2. Look for the software you wish to remove. When you have found the app, hold Control down and click it, right-click the icon, and select Move to Trash.
This option is accessible also by dragging the icon straight to the Trash can icon. If you cannot use a mouse, trackpad, or touchpad, use the Command and Delete shortcut, which moves software to the Trash can.
3. Once you have moved the selected programs to the Trash can, right-click or Control-click the Trash can icon and choose Empty the Trash.
Uninstall apps installed via Mac App Store
Although software removal is simple on the Mac OS, Apple decided to add an easier way to delete apps. Note, however, that this path works only with programs installed through the App Store, so you cannot remove apps added manually. This simplified method appeared with the Mac OS X Lion and Mountain Lion versions.
To remove programs added through the App Store:
1. Open Launchpad and find the application you wish to remove.
2. Left-click and hold until the white (X) icon appears and the app icon begins to jiggle.
3. Click the white (X) icon and confirm your action by clicking Delete in the warning message. The Drag to Trash method also works here.
Using the Launchpad to remove the software allows you to skip a step (where clearing the Trash is required), and programs disappear immediately.
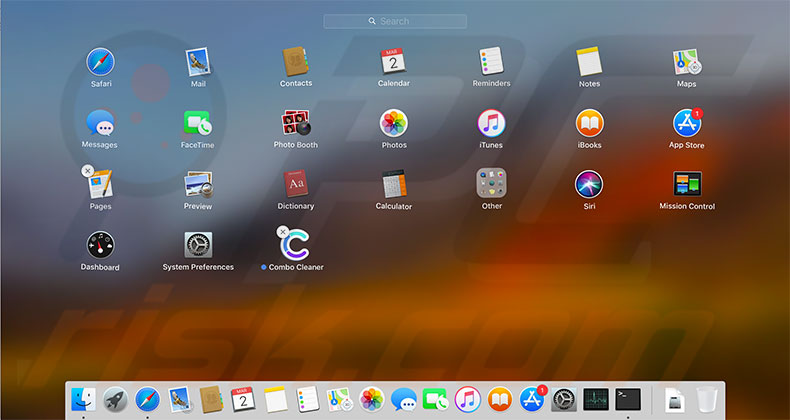
Many iOS users will recognize this method since removing apps from their iPhones, iPads, or iPod touch is identical. Even Android users might be familiar with this method. Apple attempts to simplify its operating system with every new version.
Remove the software's library files, caches, and preferences
Rarely, some applications leave preference files and caches after deletion. These usually do not affect the operation of the Mac or affect performance, but they will use hard drive space. Remove these files if your system has low capacity, SSDs, or the hard drive is almost complete.
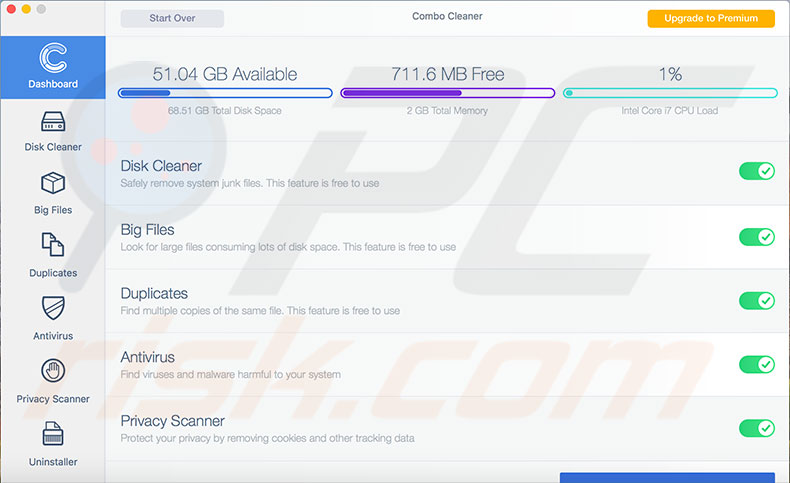
To make cleaning more accessible, we recommend Combo Cleaner, which deletes software and associated files such as saved states, preferences, caches, temporary files, etc. Furthermore, this utility offers Drive, RAM, and CPU monitoring features.
If you prefer to clean the Mac manually, remove app support files in the Application Support folder.
1. Launch Finder and from the menu bar click on Go.
2. Then, click on Go to Folder.
3. In the path bar enter: ~/Library/Application Support/
4. Look for folders or files with the name of the software you wish to remove. Sometimes they are named by the developer rather than the title of the app.
5. Then, enter this path and delete the files as well: ~/Library/Preferences/
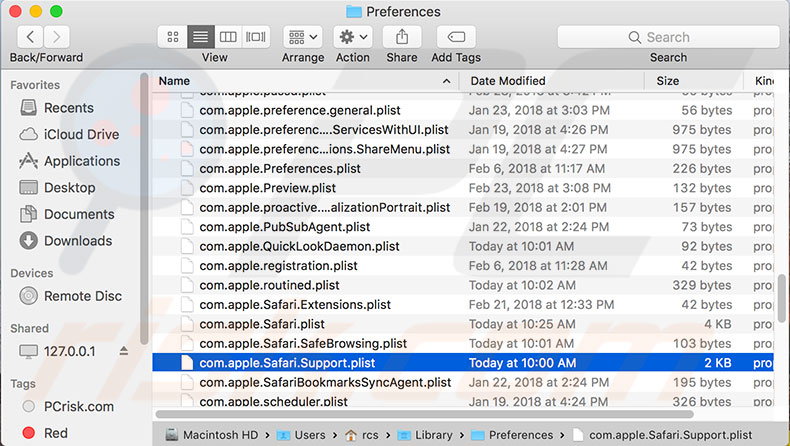
6. Cache files are stored within the ~/Library/Caches/ folder.
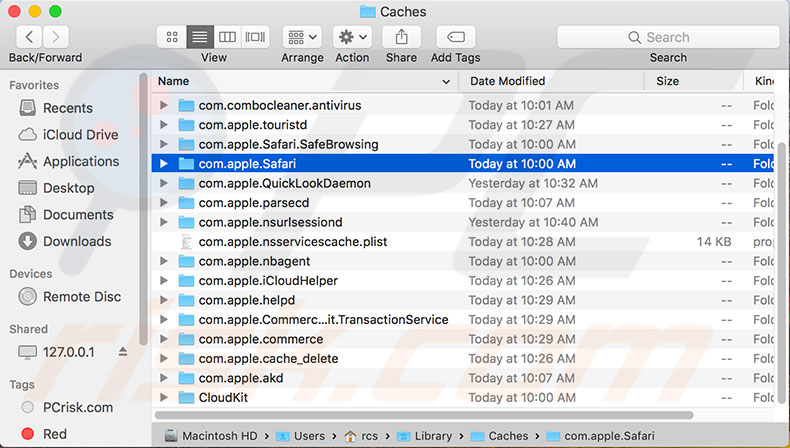
Again, these files should not affect Mac performance, but they use hard drive space. So remove them to obtain more space. If you lack drive space generally, check this article for detailed information on how to get more available space.
Applications with uninstaller utility included
Programs developed for Mac OS are usually delivered without an uninstaller. However, some have this feature, thus allowing you to remove apps and all associated files in one step. As a rule, software from Adobe or Microsoft comes with an uninstaller since some of the apps install additional software, which places library files and affiliated programs in separate directories.
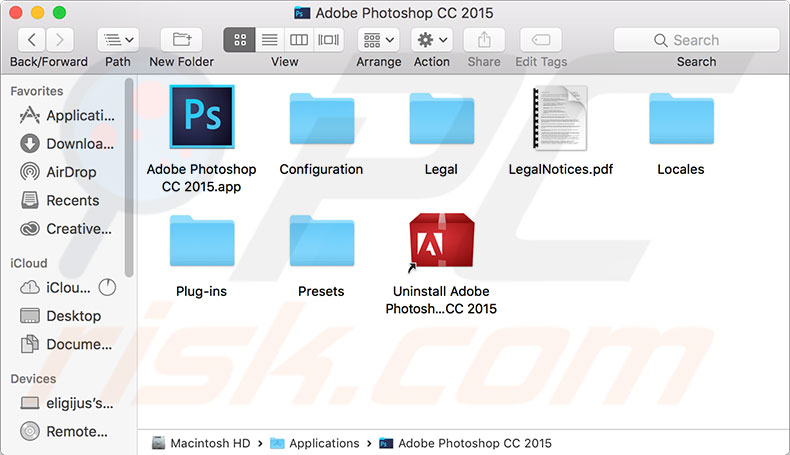
For instance, by default, Adobe Photoshop installs the Photoshop application in addition to Stock Photos, Help Viewer, Adobe Bridge, and other programs. If you do not wish to use these additional features, you may delete them manually as with any other app.
Alternatively, use the included uninstaller, which is provided whether you have downloaded the install from the web or a DVD. Suppose the software you wish to uninstall contains an uninstaller app. In that case, it is probably best to use this since it is an official method suggested by the developer to remove the program.
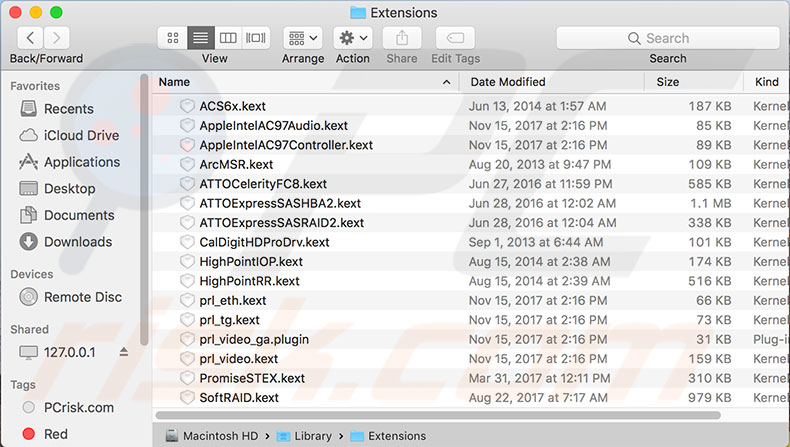
Suppose you have deleted an Application and all associated files from Library folders and still notice some fragments of the removed software. In that case, this might be caused by a kernel extension or hidden file. Before you remove the files, research the components of the particular application.
Note: Kernel extensions are necessary for the correct functioning of the operating system. Do not delete these files permanently until you are sure that they are not necessary for Mac OS.
Kernel extensions are stored in the /System/Library/Extensions and contains .kext format. Look for files or folders with the name of your removed software or vendor. For example, old copies of Symantec software might leave SymEvent.kext and SymOSXKernelUtilities.kext files hidden on your system.
These can be removed as with any general file, but before you delete them permanently, leave a copy on the desktop and move the original to the Trash. Do not clear the Trash can until you reboot the Mac and check that it is working properly and the issues are solved. Otherwise, restore the files and try others.
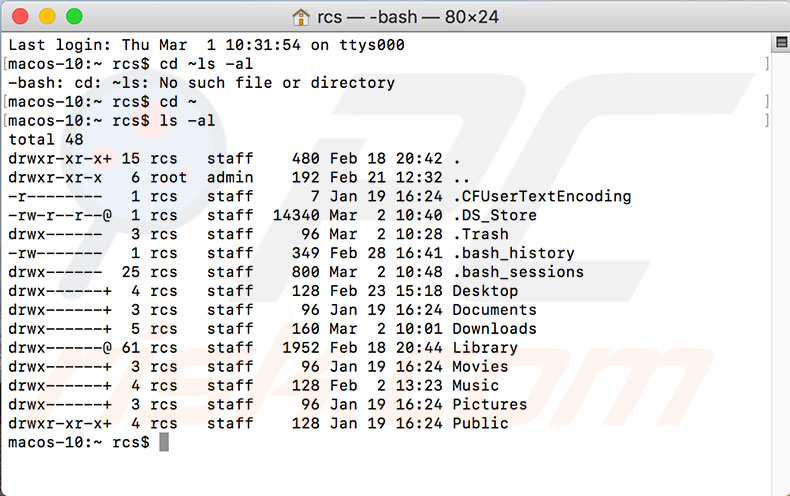
Hidden files are usually identifiable as their names have a (.) in the beginning. These types of files are not displayed in Finder by default. Developers use this method for authentication purposes, and most of them are stored in the home folder.
To detect these files, you can use Terminal (which is within the Utilities folder.) With the help of Terminal, you can delete the hidden content. Execute the following commands to list all contents from the home folder (~), and then remove the hidden file with the name .parallels_settings:
cd ~
ls -al
sudo rm .parallels_settings
Note: using the sudo command to delete any file will require you to enter an administrator account password.
Share:

Karolina Peistariene
Author of how-to guides for Mac users
Responsible for collecting, analyzing, and presenting problem-solving solution articles related to macOS issues. Years of macOS experience combined with solid research and analyzing skills help Karolina provide readers with working and helpful solutions as well as introduce various features Mac has to offer.
▼ Show Discussion