How to Fix Event ID 1014 Error on Windows 11

Get Free Scanner and check your computer for errors
Fix It NowTo fix found issues, you have to purchase the full version of Combo Cleaner. Free trial available. Combo Cleaner is owned and operated by Rcs Lt, the parent company of PCRisk.com read more.
How to Fix Event ID 1014 Error on Windows 11
Event ID 1014 is an error code you see when your system fails to connect to its DNS server. This article will explain the causes of this error and provide several ways to fix it.
What Causes Event ID 1014?
According to our research, you can get this error when your ISP-provided DNS server (Domain Name System) fails to respond to your computer, i.e., the network connection times out. Typically, users experience brief connection drops of 5-10 seconds, after which everything returns to normal.
When you get this error, your PC creates an event log with details. The log contains information that may help you determine the cause. Below is a list of the most common causes of this error.
- TCP/IP Offload has been enabled. TCP/IP Offload shifts CPU processing to the network adapter and frees up the CPU to perform other tasks. However, this feature may cause problems when enabled.
- Your network adapter and PC are on different WiFi channels. Usually, routers will change the channel automatically, but older routers may not.
- Outdated device drivers. Your device drivers, particularly your network adapter driver, may be outdated and needs updating.
- Your Internet Service Provider (ISP) experienced an outage. If there is a problem on your ISP’s end, you can only wait for the issue on their end to be resolved.
Before trying our fixes, here are some things you should do:
- Disable your proxy server if you have one set up.
- Disable your VPN service if you have one.
- Power-cycle/restart your Internet router.
- Disable or uninstall your third-party anti-virus software.
- Update the Internet router firmware.
Video Tutorial on How to Fix Event ID 1014
Table of Contents:
- Introduction
- Method 1. Run the Network and Internet Troubleshooter
- Method 2. Disable TCP/IP Offload
- Method 3. Change the DNS server Address and Disable IPv6
- Method 4. Reset the Hosts File to Default
- Method 5. Disable Network Adapter Power-Saving Option
- Method 6. Update the Network Adapter Driver
- Video Tutorial on How to Fix Event ID 1014
Download Computer Malware Repair Tool
It is recommended to run a free scan with Combo Cleaner - a tool to detect viruses and malware on your device. You will need to purchase the full version to remove infections. Free trial available. Combo Cleaner is owned and operated by Rcs Lt, the parent company of PCRisk.com read more.
Method 1. Run the Network and Internet Troubleshooter
The Network and Internet troubleshooter in Windows 11 may fix Event ID 1014 if misconfigured network settings cause it.
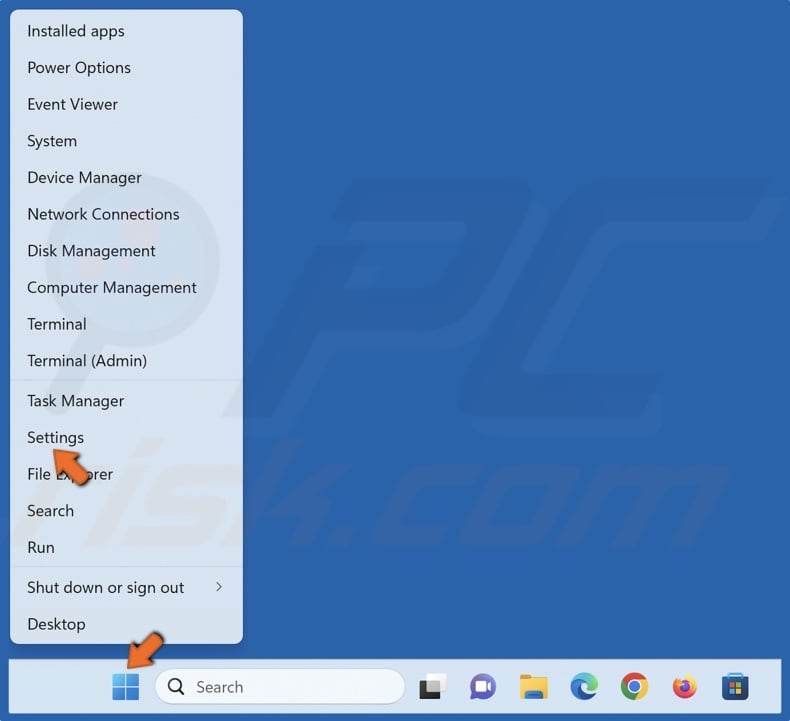
1. Right-click the Start button and select Settings.
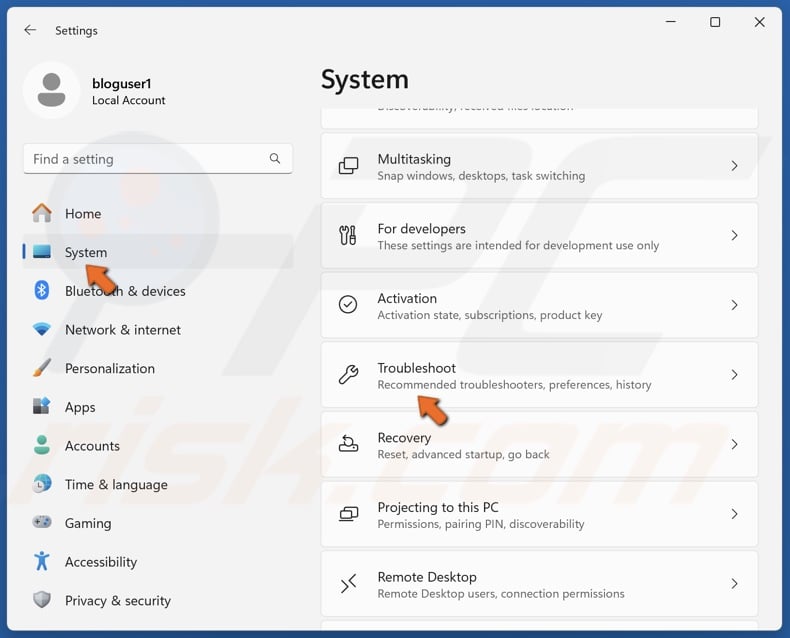
2. Select the System panel, scroll down, and click Troubleshoot.
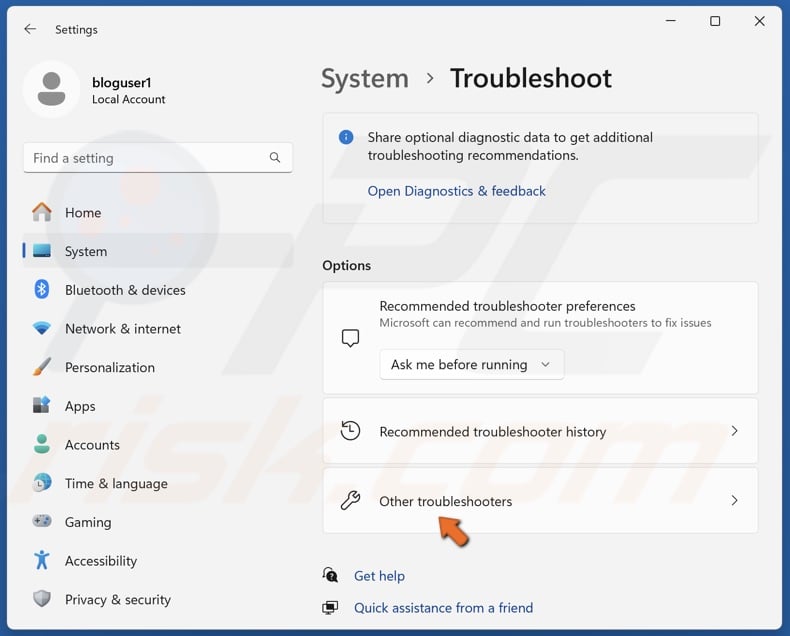
3. Select Other troubleshooters.
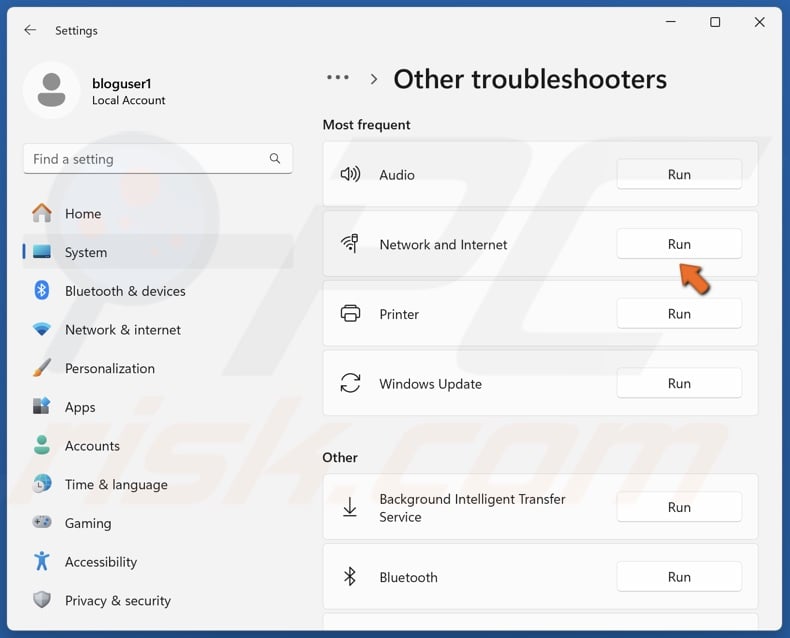
4. Run the Network and Internet troubleshooter.
Method 2. Disable TCP/IP Offload
Often, users get Event ID 1014 because TCP/IP Offload is enabled. Disabling RSS, autotuning, and task offload may resolve the issue.
1. Hold down Windows+R keys to open Run.
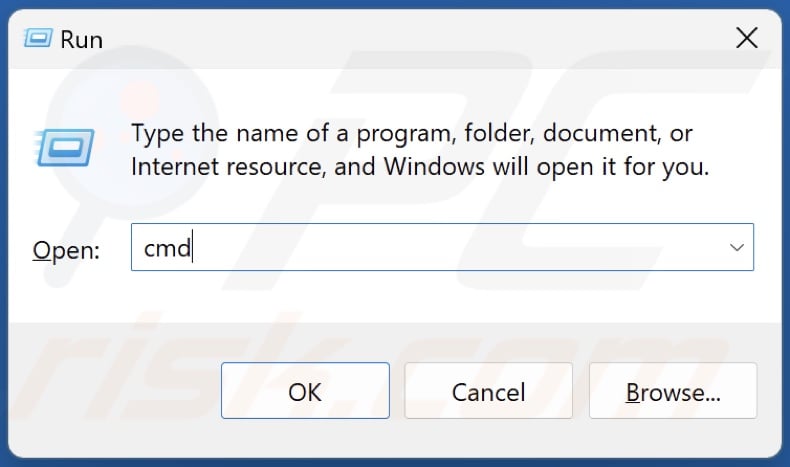
2. Type CMD in Run and hold down Ctrl+Shift+Enter keys to open Command Prompt as an administrator.
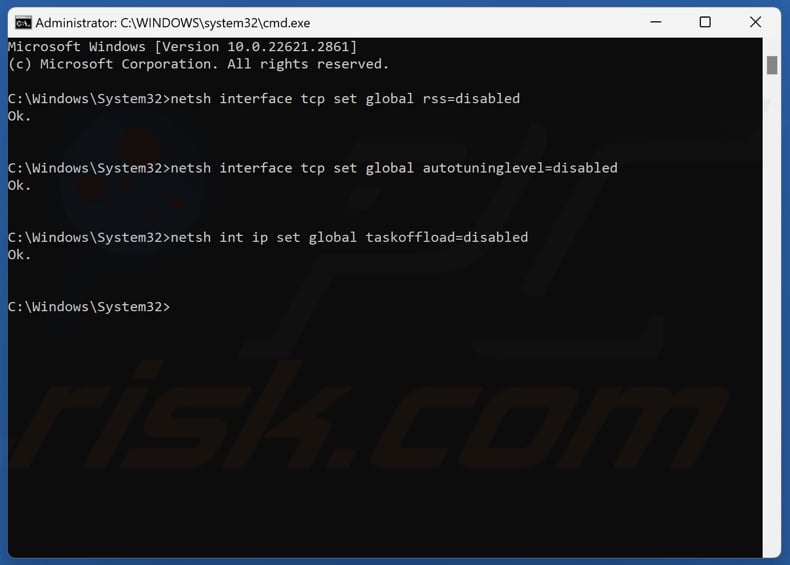
3. In Command Prompt, type in the commands below and press Enter.
netsh interface tcp set global rss=disabled
netsh interface tcp set global autotuninglevel=disabled
netsh int ip set global taskoffload=disabled
4. Close the Command Prompt and restart your PC.
Method 3. Change the DNS Server Address and Disable IPv6
You may get Event ID 1014 when your ISP-provided DNS server experiences issues. Switching to a more stable third-party DNS server may resolve your issue.
1. Hold down Windows+R keys to open Run.
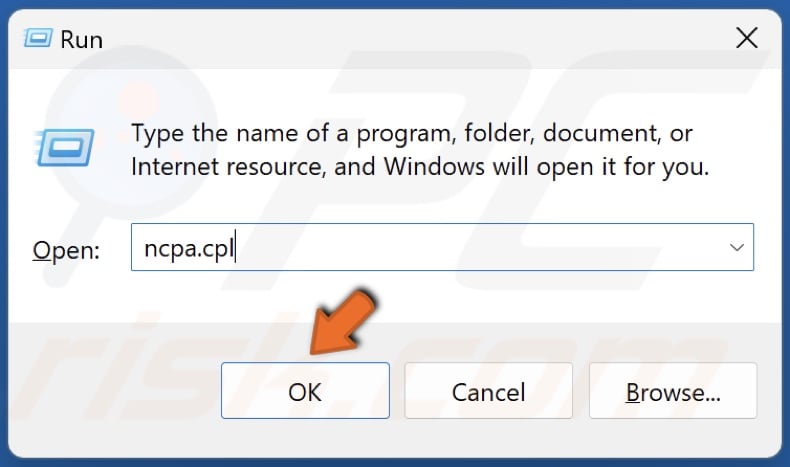
2. Type ncpa.cpl in Run and click OK.
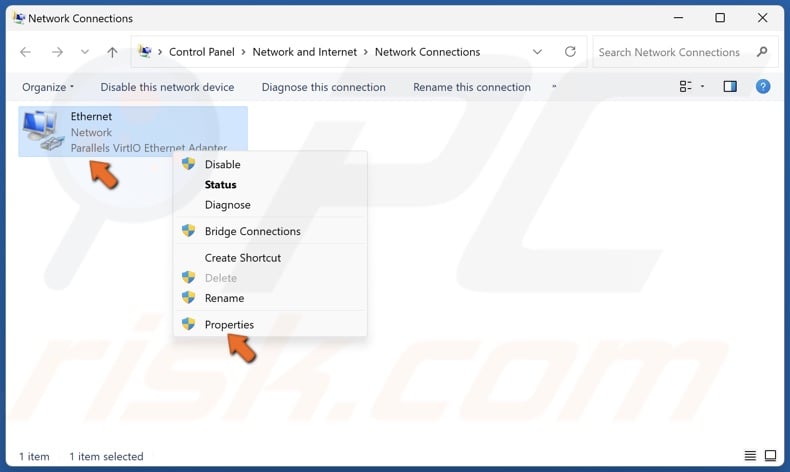
3. Right-click the network adapter and click Properties.
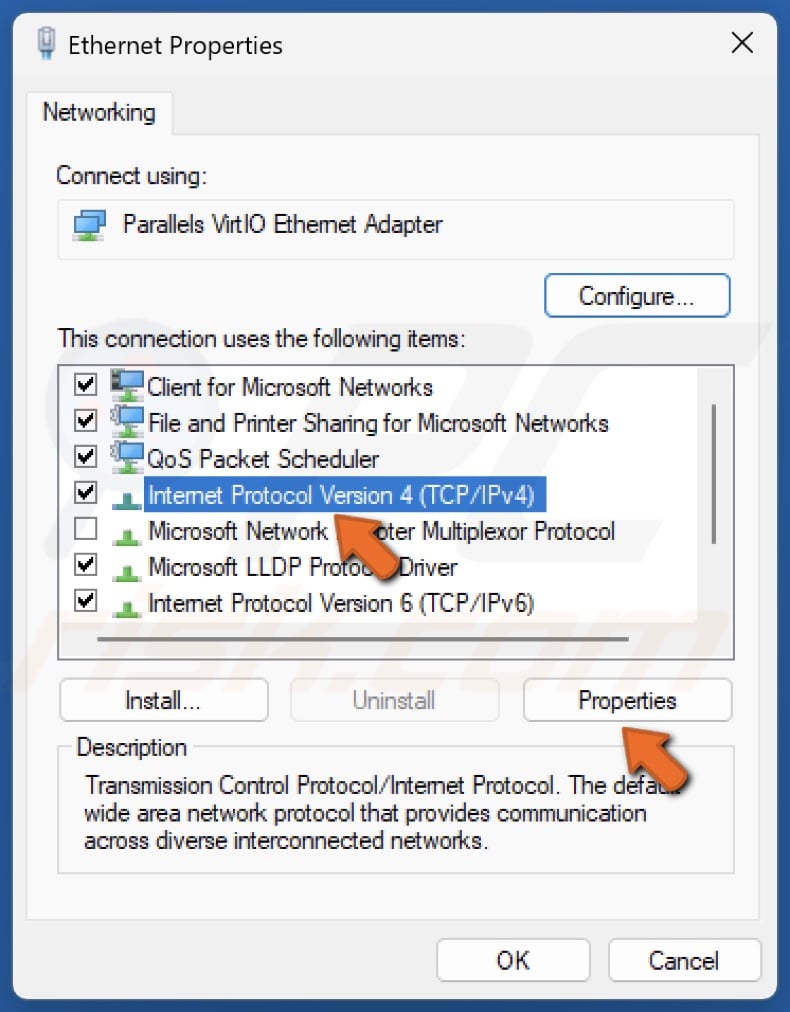
4. Select Internet Protocol Version 4 (TCP/IPv4) and click Properties.
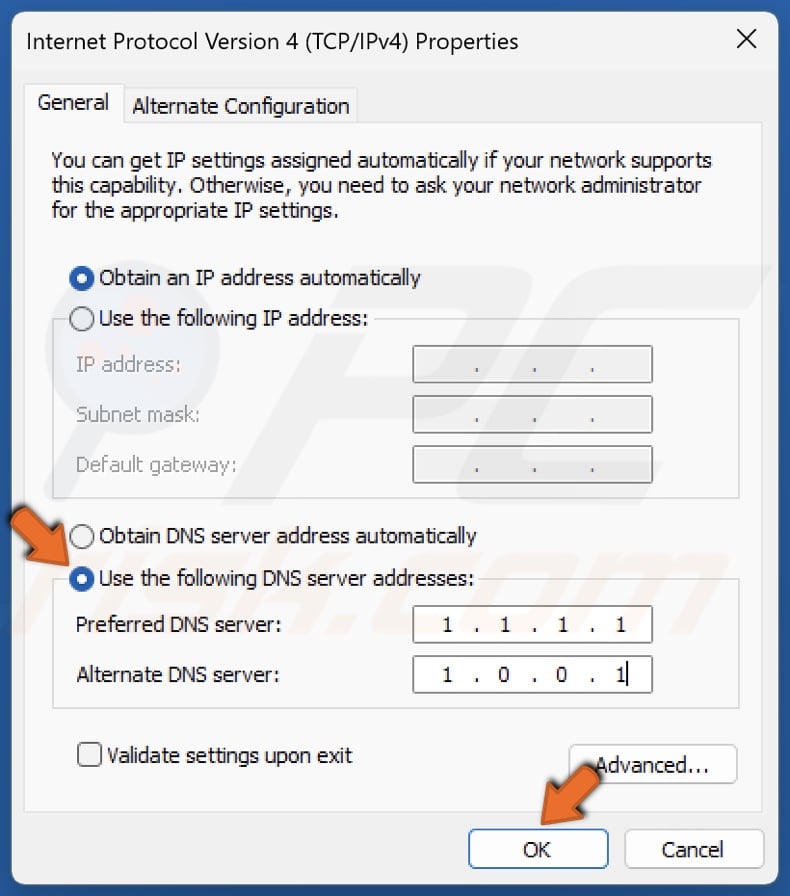
5. Select Use the following DNS server addresses option.
6. In the Preferred DNS server, type in 1.1.1.1
7. In the Alternate DNS server, type in 1.0.0.1
8. Click OK.
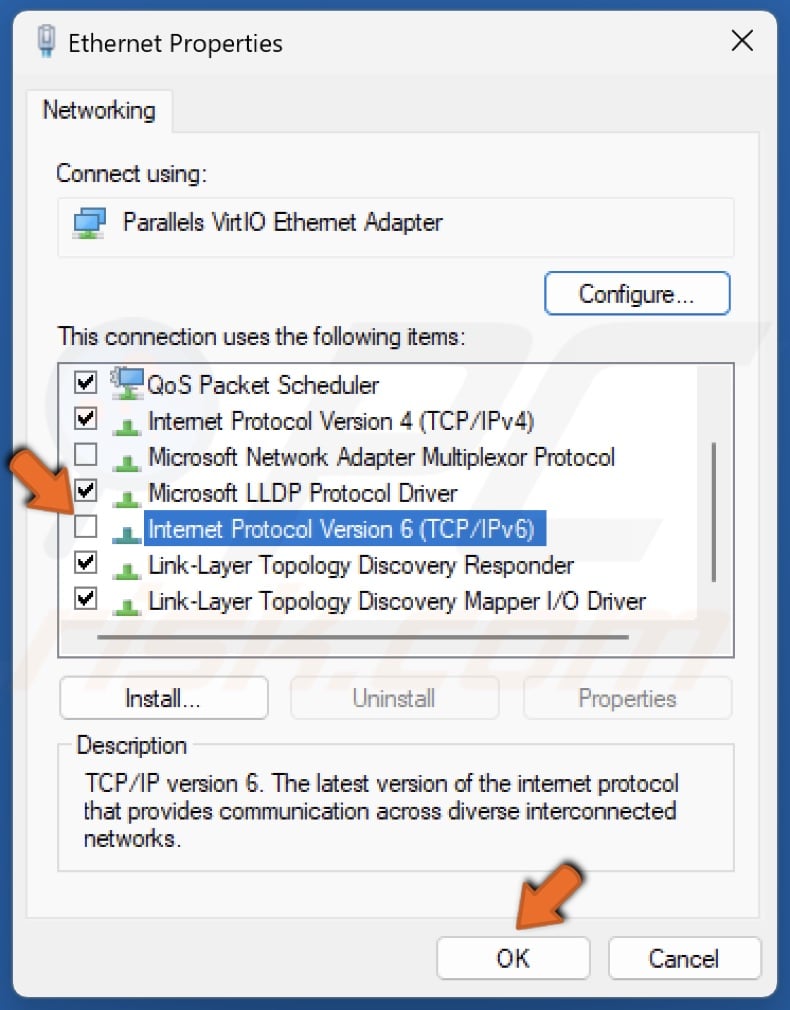
9. Unmark the checkbox next to Internet Protocol Version 6 (TCP/IPv6) to disable IPv6 and click OK.
10. Close the Properties window and restart your PC.
Method 4. Reset the Hosts File to Default
If your Windows hosts file has been corrupted, you may experience a DNS-related issue. Resetting the hosts file to default often resolves the issue.
1. Hold down Windows+R keys to open Run.

2. Type notepad in Run and click OK.
# Copyright (c) 1993-2009 Microsoft Corp.
#
# This is a sample HOSTS file used by Microsoft TCP/IP for Windows.
#
# This file contains the mappings of IP addresses to host names. Each
# entry should be kept on an individual line. The IP address should
# be placed in the first column followed by the corresponding host name.
# The IP address and the host name should be separated by at least one
# space.
#
# Additionally, comments (such as these) may be inserted on individual
# lines or following the machine name denoted by a '#' symbol.
#
# For example:
#
# 102.54.94.97 rhino.acme.com # source server
# 38.25.63.10 x.acme.com # x client host# localhost name resolution is handle within DNS itself.
# 127.0.0.1 localhost
# ::1 localhost
3. Copy and paste the text above into notepad.
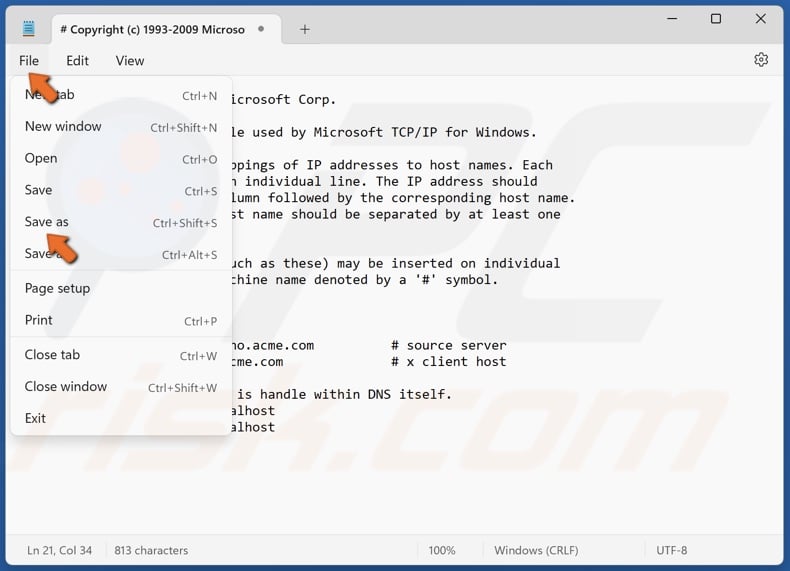
4. Click File and click Save As.
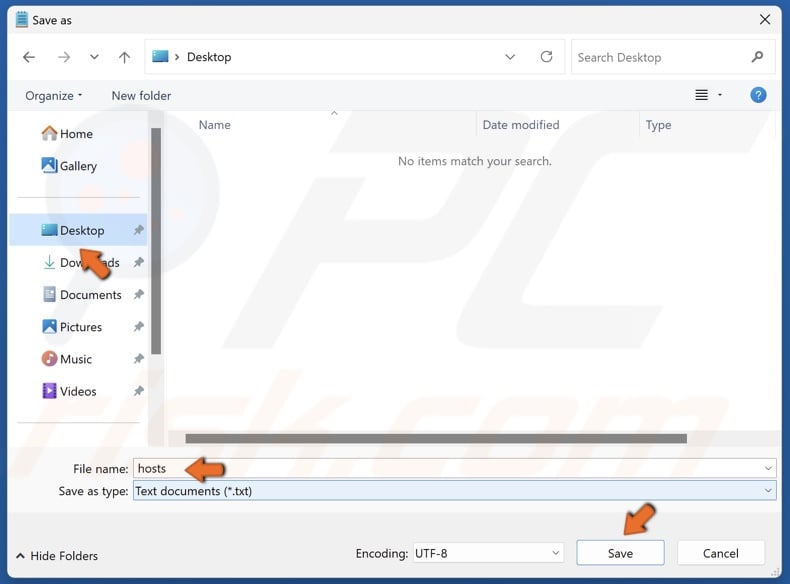
5. Name the file as hosts, choose to save it on your desktop, and click Save.
6. Hold down Windows+E keys to open File Explorer.
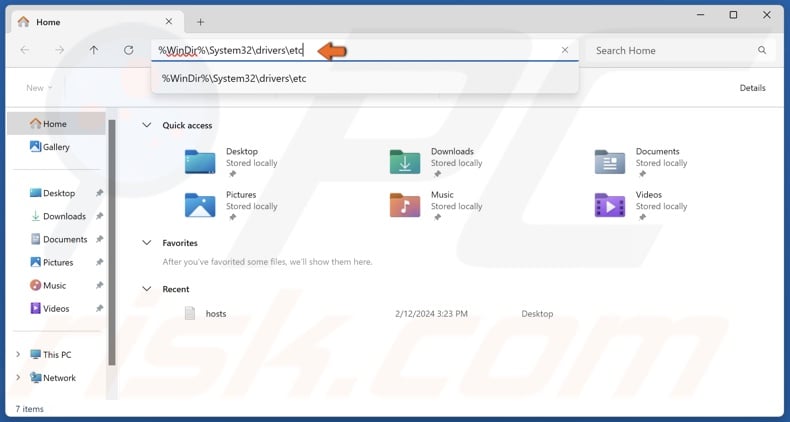
7. In the File Explorer address bar, type in
%WinDir%\System32\drivers\etc
8. Press the Enter key.
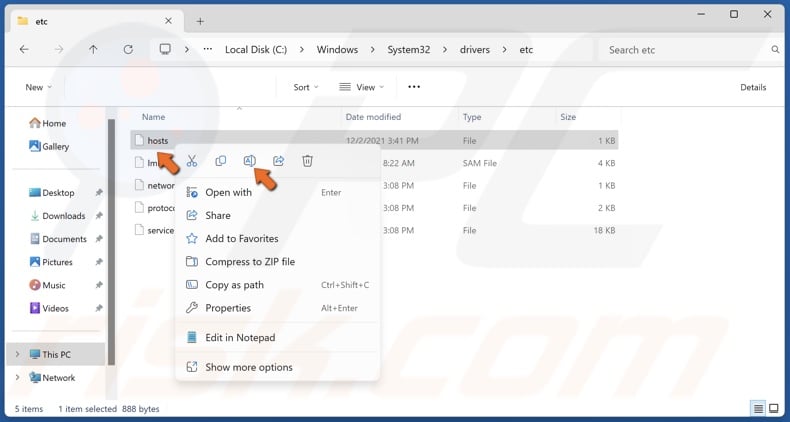
9. Right-click the hosts file and click Rename.
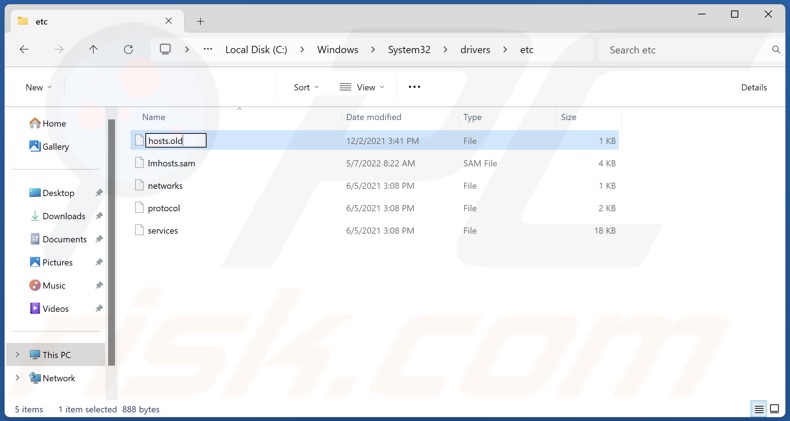
10. Rename the file to hosts.old and save it.
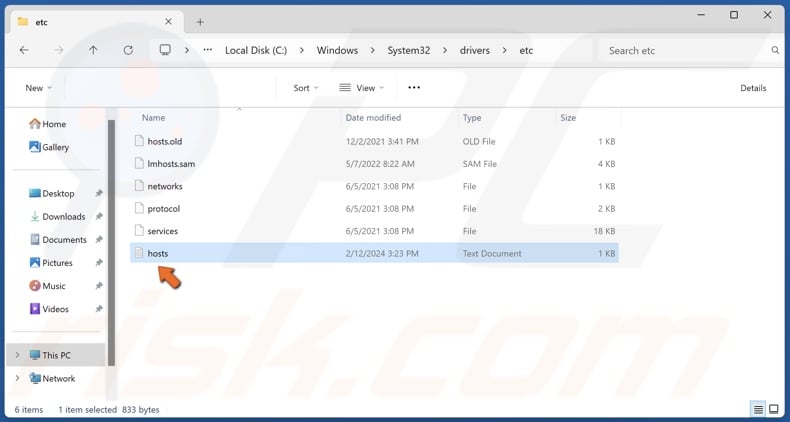
11. Move the newly created hosts file from your desktop into the folder.
Method 5. Disable Network Adapter Power-Saving Option
You may get the Event ID 1014 error because the power-saving option for your network adapter is enabled. Disabling it may resolve the error.
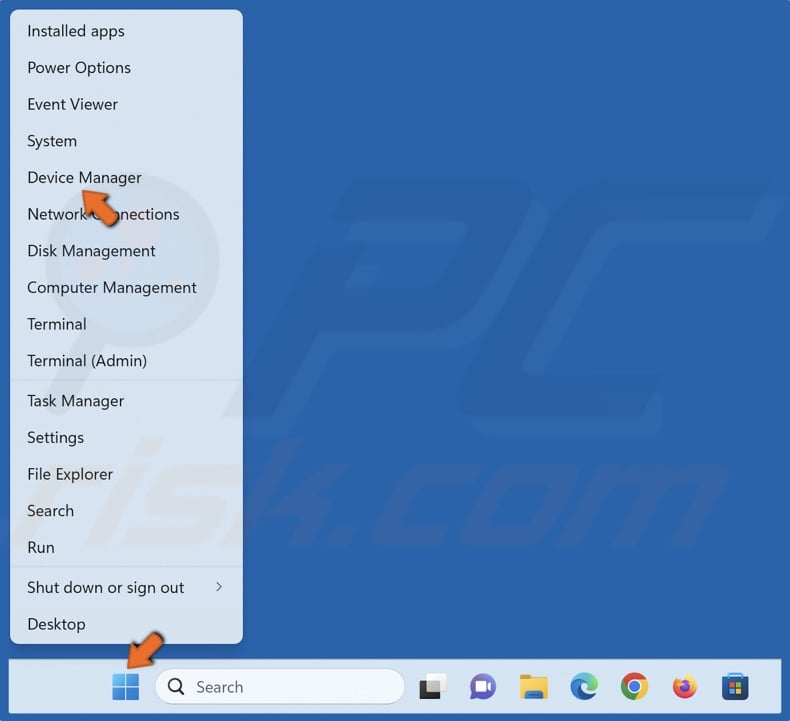
1. Right-click the Start button and select Device Manager.
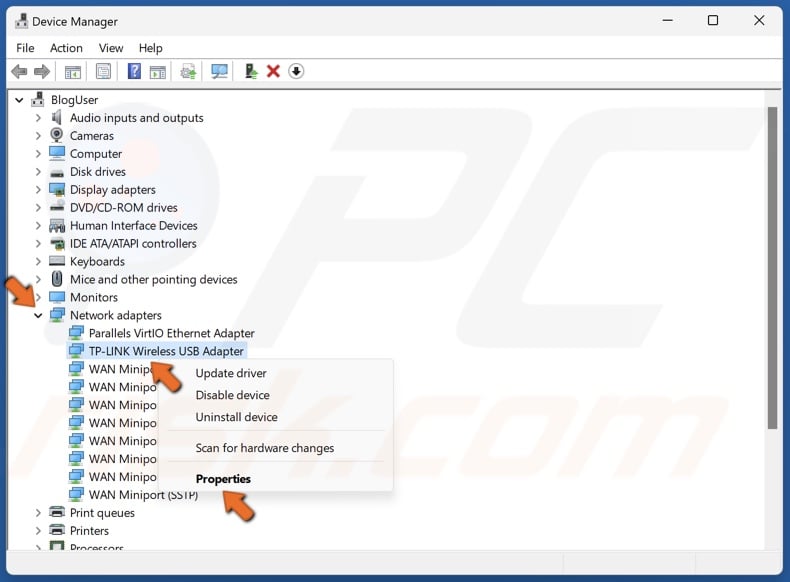
2. Expand the Network adapters list.
3. Right-click your network adapter and click Properties.
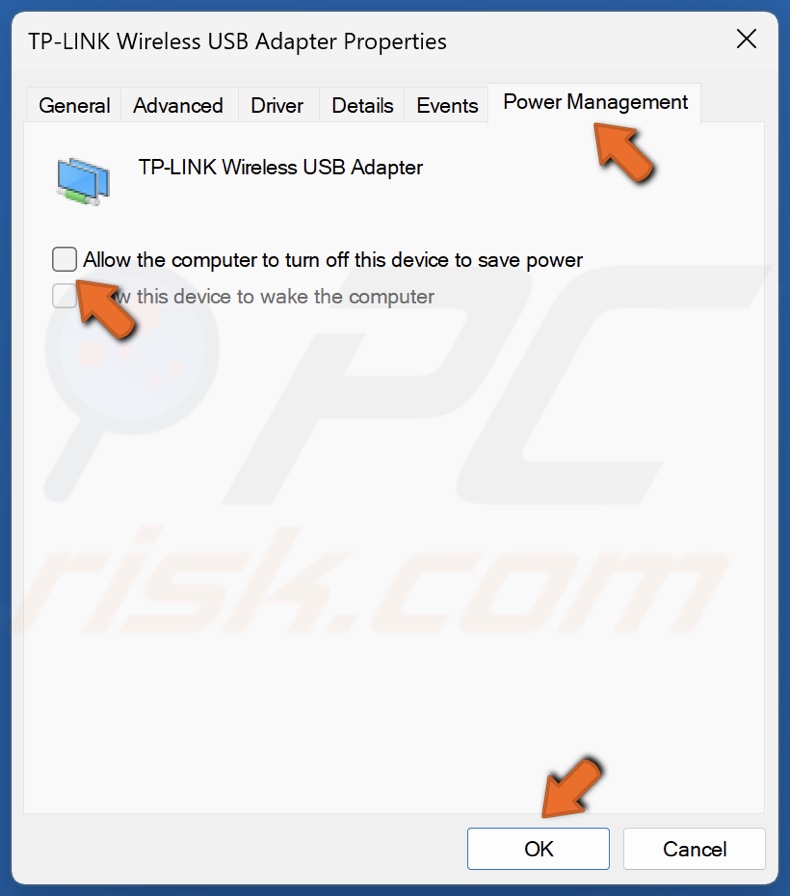
4. Select the Power Management tab.
5. Unmark the Allow the computer to turn off this device to save power checkbox.
6. Click OK.
7. Close the Device Manager and restart your PC.
Method 6. Update the Network Adapter Driver
An outdated or potentially incompatible driver installed for your network adapter may cause connection issues and, thus, the Event ID 1014 error. Updating your network adapter driver may fix it.
1. Right-click the Start button and select Device Manager.

2. Expand the Network adapters list.
3. Right-click your network adapter and click Update driver.
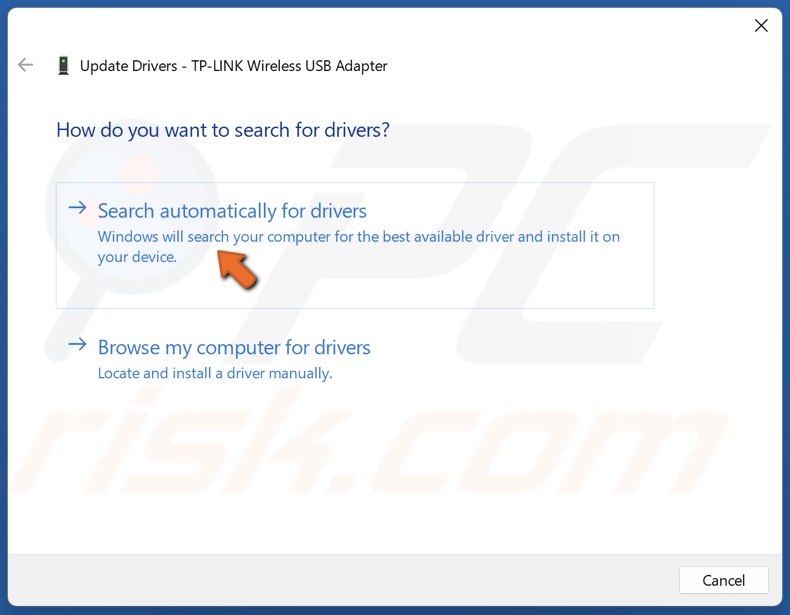
4. Select Search Automatically for drivers. Windows will find the best available driver stored locally and install it.
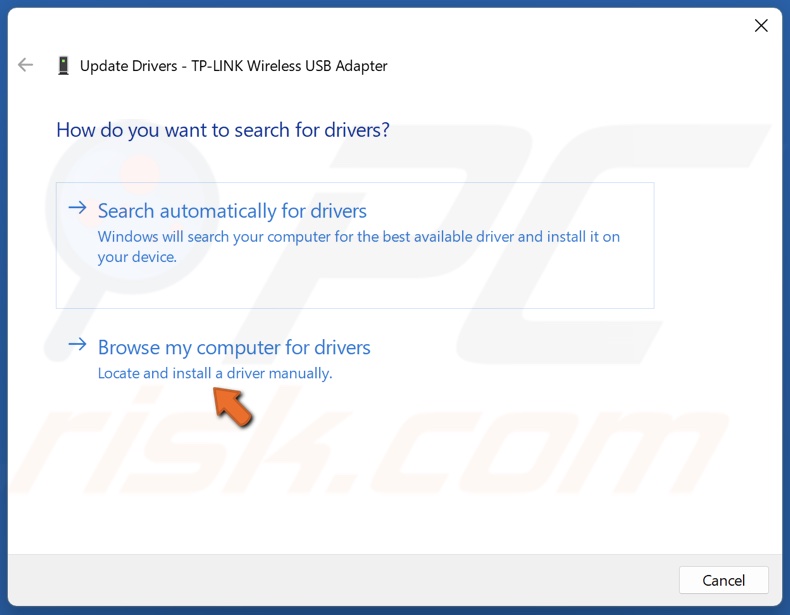
5. Alternatively, select Browse my computer for drivers.
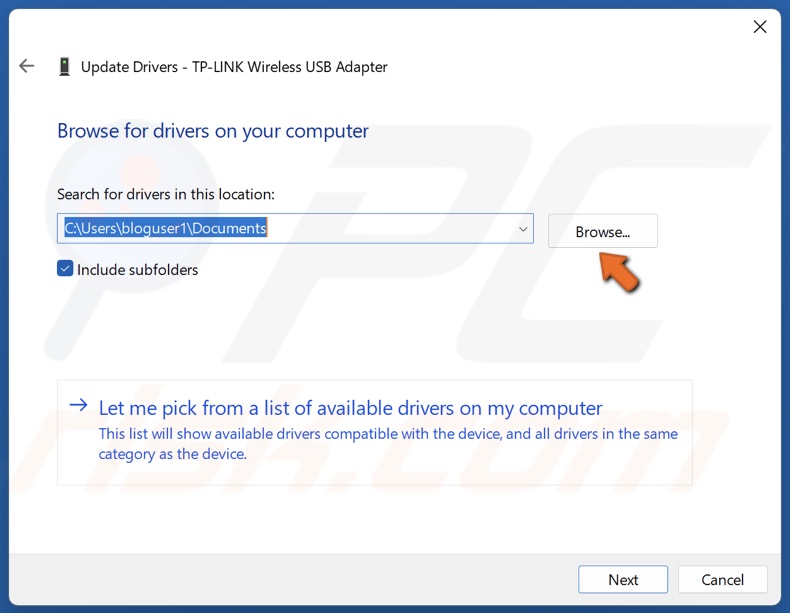
6. Click Browse and select a driver downloaded from the hardware manufacturer's website.
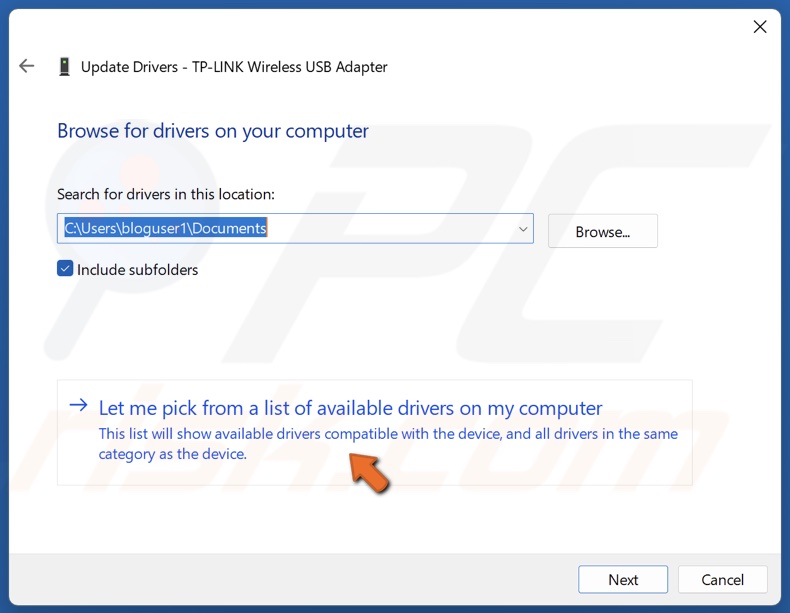
7. Alternatively, click Let me pick from a list of available drivers on my computer.

8. Select a compatible driver from the list of available drivers and click Next.
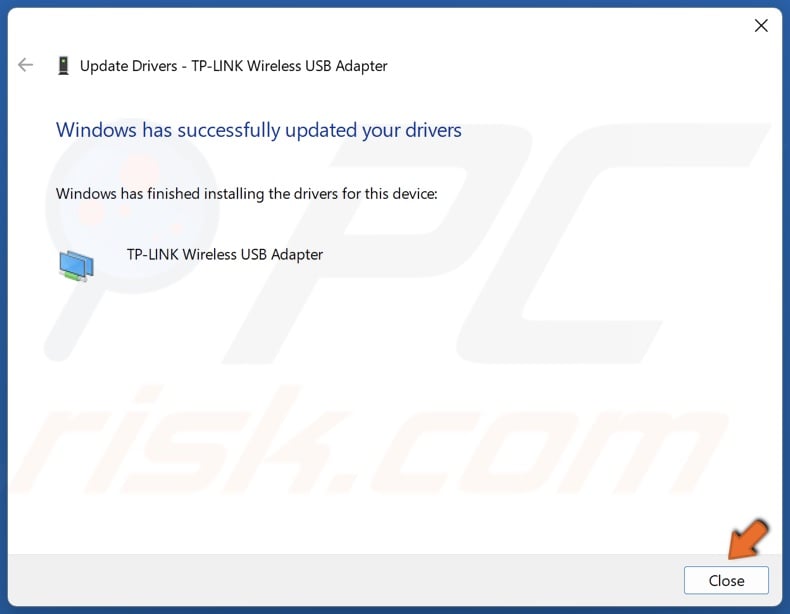
9. Click Close and restart your PC.
Did this guide help you resolve the issue causing Event ID 1014 on your PC? Leave a comment below to let us know.
Share:

Rimvydas Iliavicius
Researcher, author
Rimvydas is a researcher with over four years of experience in the cybersecurity industry. He attended Kaunas University of Technology and graduated with a Master's degree in Translation and Localization of Technical texts. His interests in computers and technology led him to become a versatile author in the IT industry. At PCrisk, he's responsible for writing in-depth how-to articles for Microsoft Windows.
▼ Show Discussion