How to Fix Laptop Not Connecting to Hotspot

Get Free Scanner and check your computer for errors
Fix It NowTo fix found issues, you have to purchase the full version of Combo Cleaner. Free trial available. Combo Cleaner is owned and operated by Rcs Lt, the parent company of PCRisk.com read more.
How to Fix Laptop Not Connecting to Hotspot on Windows 11
Mobile hotspots are a convenient way to get Internet access for your laptop when no Wi-Fi is not available. However, if your computer won’t connect to your mobile hotspot, this article is what you’re looking for. This article will explain the causes of this issue and provide several easy ways to fix it.
Why Won’t My Computer Connect to My Hotspot?
Since you’re trying to connect your laptop to another device with its own possible issues, several things can go wrong and prevent your laptop from connecting to a hotspot device.
A temporary glitch severed the connection. In this case, forgetting the hotspot and reconnecting (as shown in Method 1) should fix the issue.
- The hotspot is operating on a frequency band unsupported by the laptop. If your mobile device’s AP band is set to 5 GHz, it may not work, and you need to change it to 2.4 GHz.
- Your laptop’s network driver is outdated. Network adapter drivers are often neglected as Windows installs generic drivers automatically for the adapter to work. However, generic drivers often lack additional functionality to connect to a mobile hotspot or set up and act as a mobile hotspot.
- Your laptop is not on your hotspot device’s list of allowed devices. If your laptop is on the list of blocked devices, remove it from the blocklist.
- Your laptop is out of range of the hotspot. The hotspot won’t appear in the available networks list in this case.
Before you try any of our advanced fixes, here are some things you should try:
- Restart your mobile hotspot device.
- Restart your computer.
- Turn off Bluetooth on your PC.
- Turn the hotspot off and on.
- Turn the Wi-Fi on your PC off and on.
- Ensure your mobile device is properly set up to provide a signal.
- Ensure your laptop is close enough to the hotspot device to get a signal.
- Try to change the hotspot network name on your mobile device. Try using a short, simple name.
Video Tutorial on How to Fix Laptop Not Connecting to Hotspot
Table of Contents:
- Introduction
- Method 1. Forget the Mobile Hotspot Network and Reconnect
- Method 2. Update Your Network Adapter Driver
- Method 3. Run the Internet Connections and Network Adapter Troubleshooters
- Method 4. Reset Network Settings to Default
- Method 5. Modify Network Adapter Settings
- Method 6. Delete the HostedNetworkSettings Value in the Windows Registry
- Video Tutorial on How to Fix Laptop Not Connecting to Hotspot
Download Computer Malware Repair Tool
It is recommended to run a free scan with Combo Cleaner - a tool to detect viruses and malware on your device. You will need to purchase the full version to remove infections. Free trial available. Combo Cleaner is owned and operated by Rcs Lt, the parent company of PCRisk.com read more.
Method 1. Forget the Mobile Hotspot Network and Reconnect
If your laptop can’t connect to your mobile hotspot due to a signal-related issue, forget the network on your PC and try to reconnect.
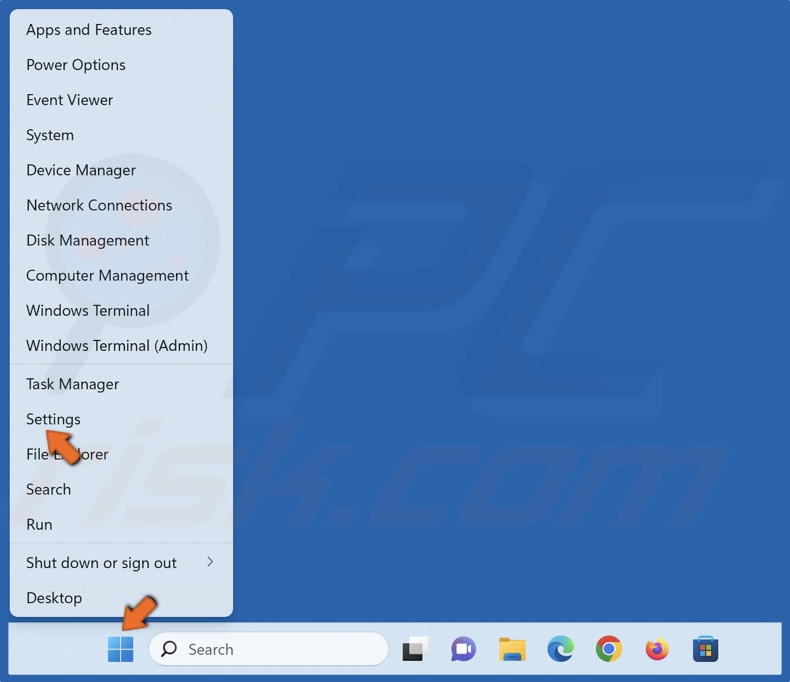
1. Right-click the Start menu button and click Settings.
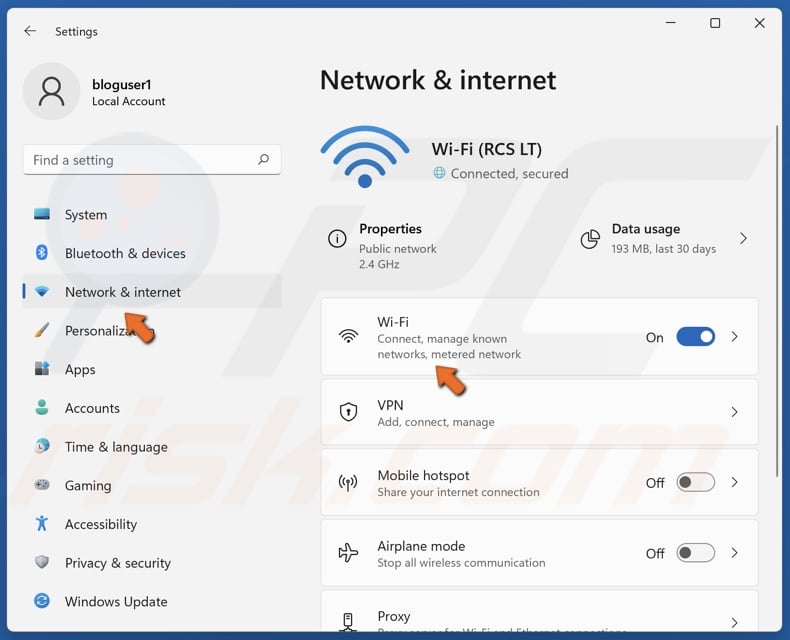
2. Select the Network & internet panel.
3. Select Wi-Fi.
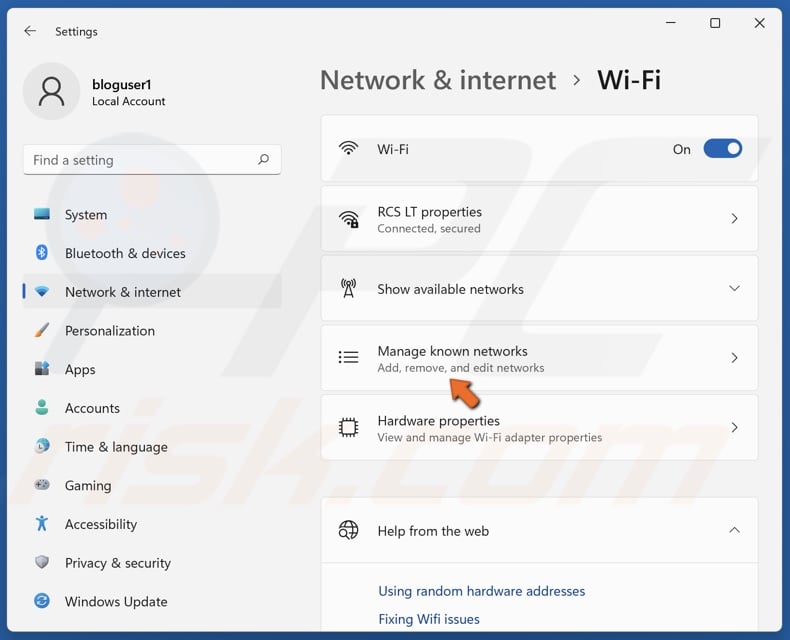
4. Click Manage known networks.
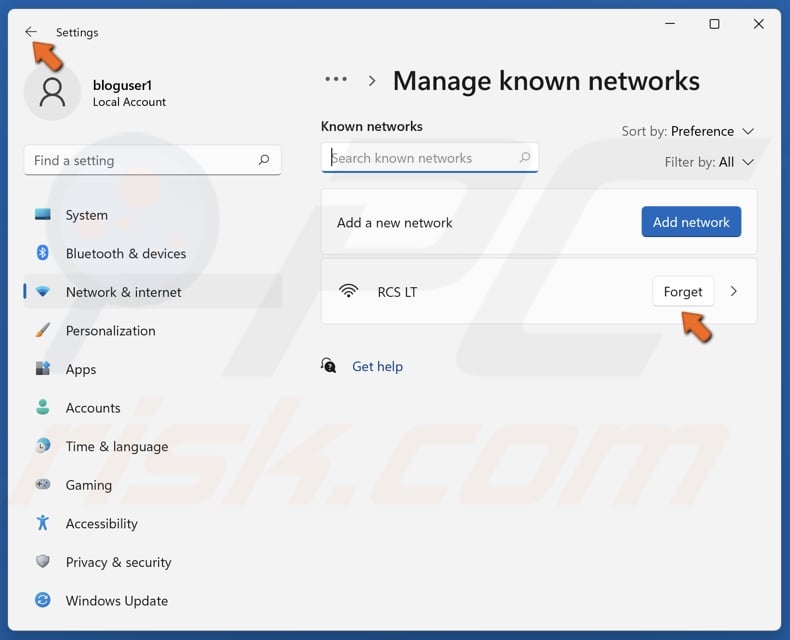
5. Identify the mobile hotspot and click the Forget button next to it. Then, return to the Wi-Fi settings panel.
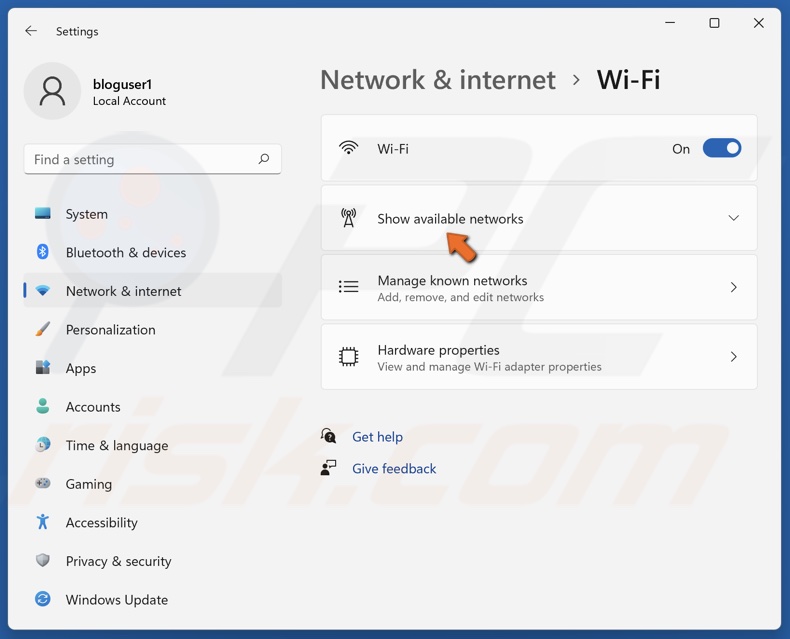
6. Click Show available networks.
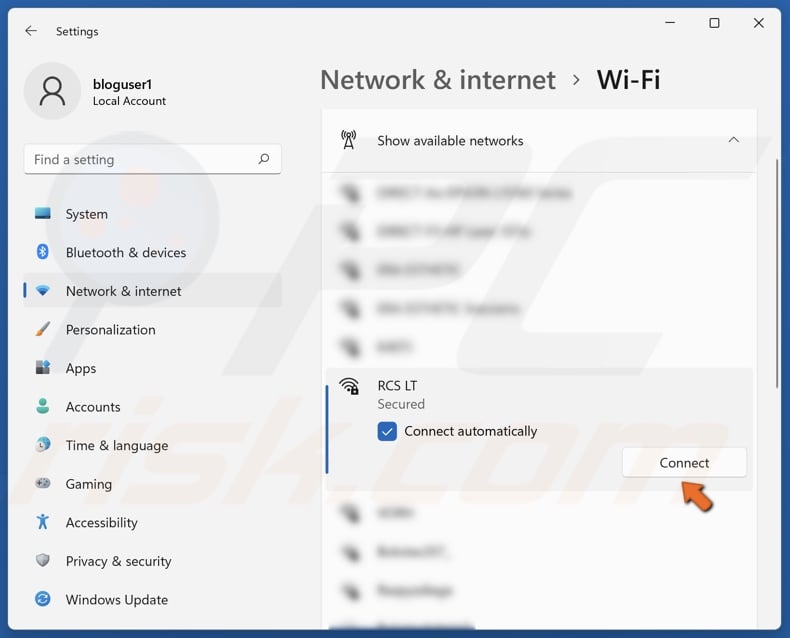
7. Click on the mobile hotspot and click Connect.
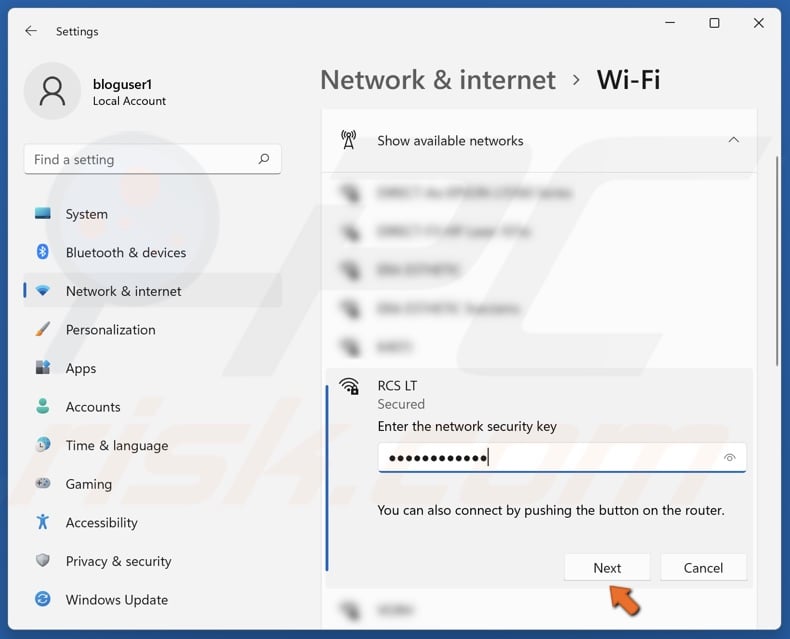
8. Enter the password, and click Next.
Method 2. Update Your Network Adapter Driver
Like every device on your PC, your network adapter is controlled by a dedicated driver. Therefore, your network adapter driver is critical to your Internet connection. If it’s outdated, corrupted, or hasn’t been installed, you may be unable to connect to your mobile hotspot.
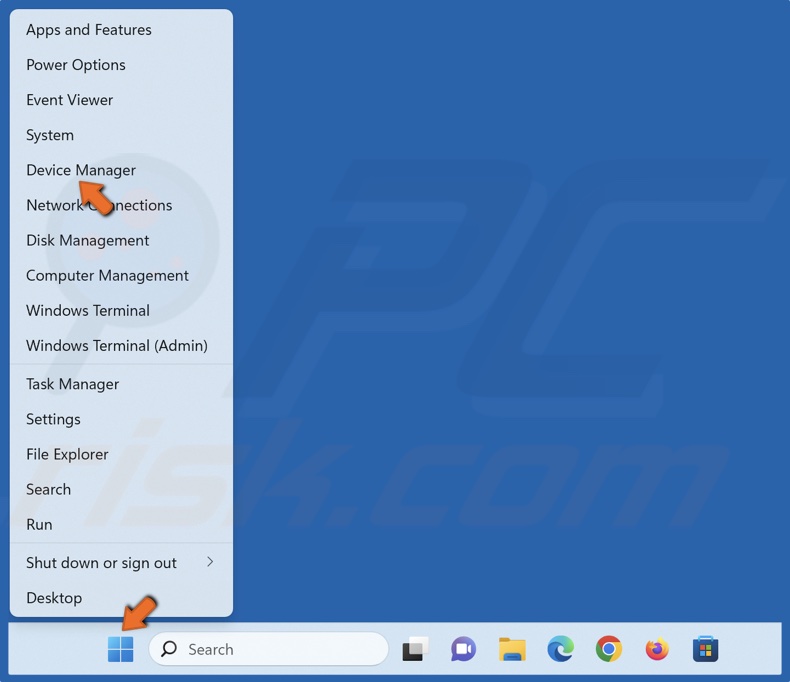
1. Right-click the Start menu button and click Device Manager.

2. In the Device Manager window, expand the Network adapters list.
3. Right-click your network adapter and click Update driver.

4. Select Search automatically for drivers. Windows will scan your PC for the best available driver and install it.
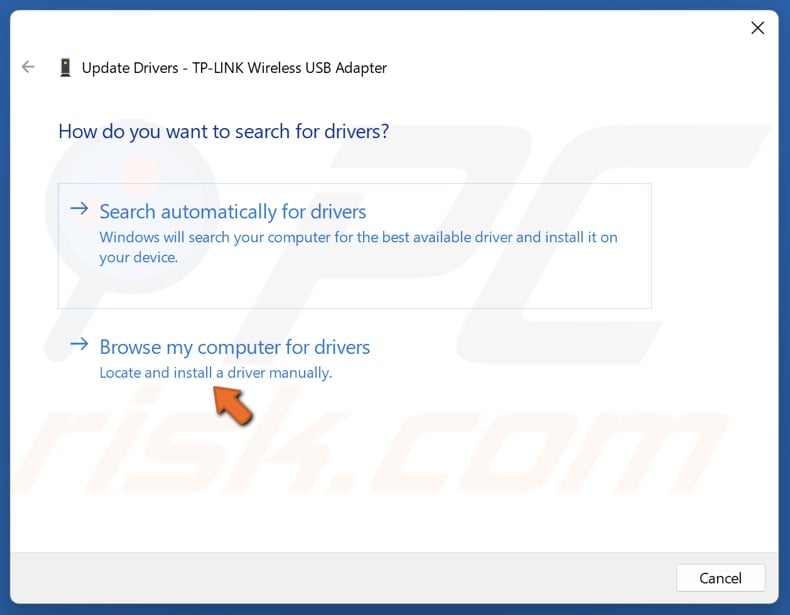
5. Alternatively, select Browse my computer for drivers.

6. Click Browse and select a driver you downloaded from the hardware vendor’s website.
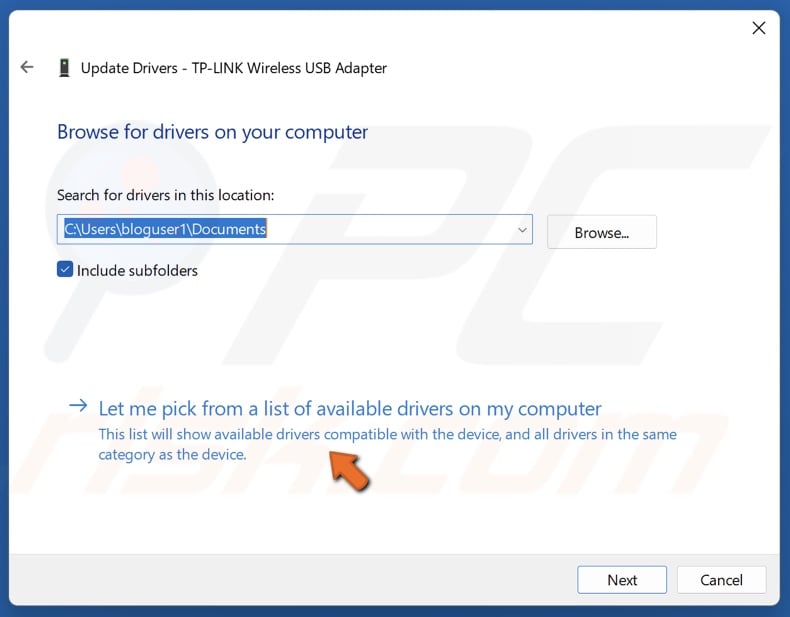
7. Alternatively, click Let me pick from a list of available drivers on my computer.
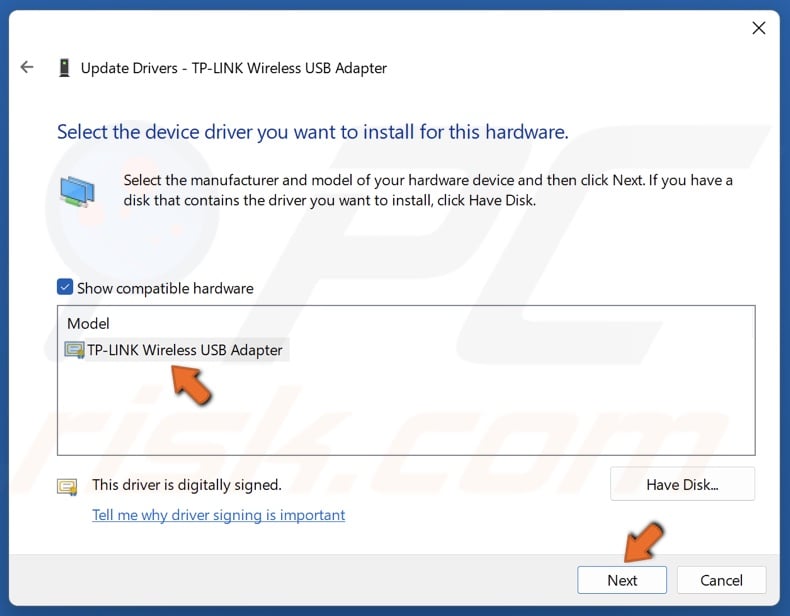
8. Select a driver from the list of available drivers and click Next.
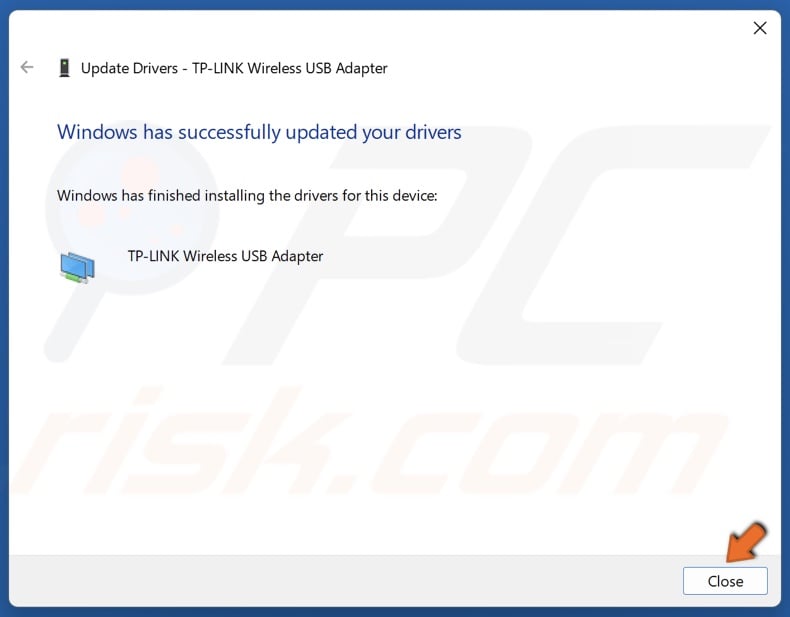
9. Click Close.
10. Restart your PC.
Method 3. Run the Internet Connections and Network Adapter Troubleshooters
Running the Internet Connections and Network Adapter troubleshooters may fix the issue if your laptop won’t connect to a hotspot due to network or network adapter-related issues outside of driver updates.
1. Right-click the Start menu button and select Settings.
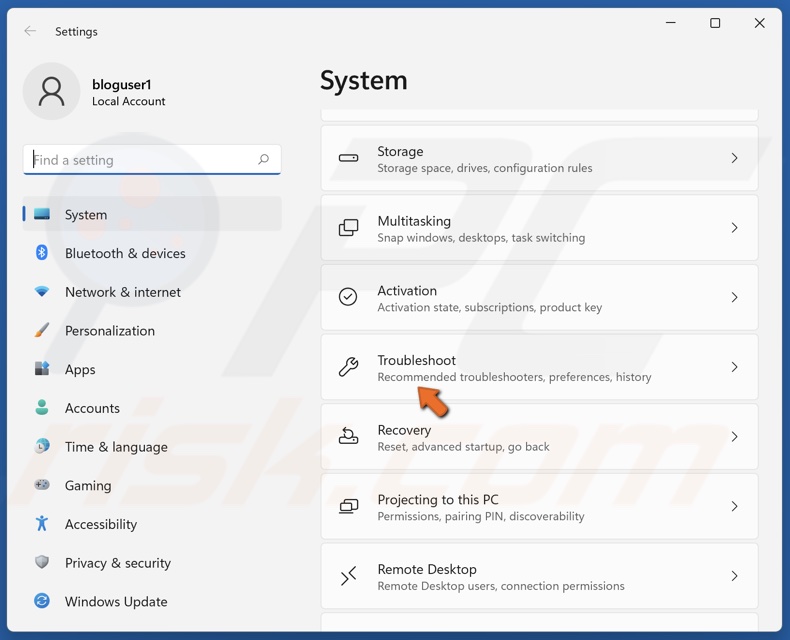
2. In the System panel, scroll down and click Troubleshoot.

3. Select Other troubleshooters.
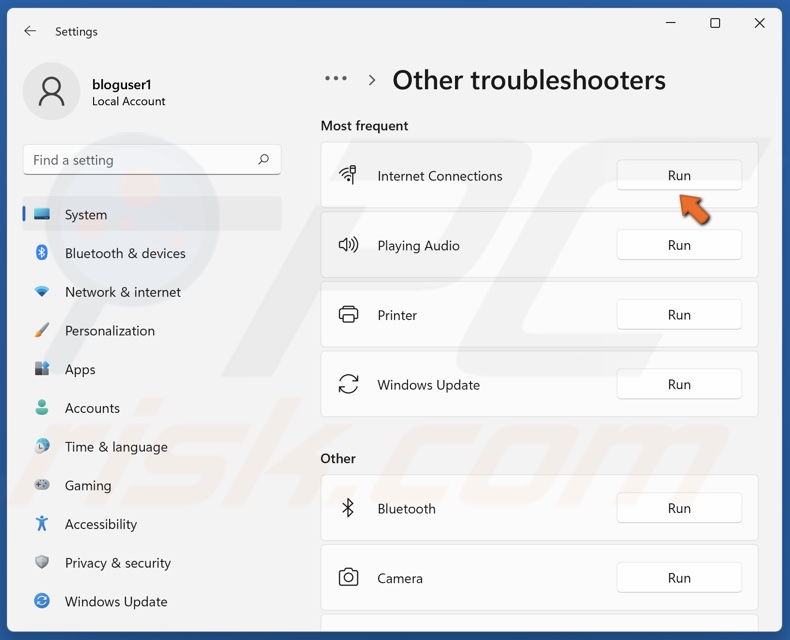
4. Run the Internet Connections troubleshooter.
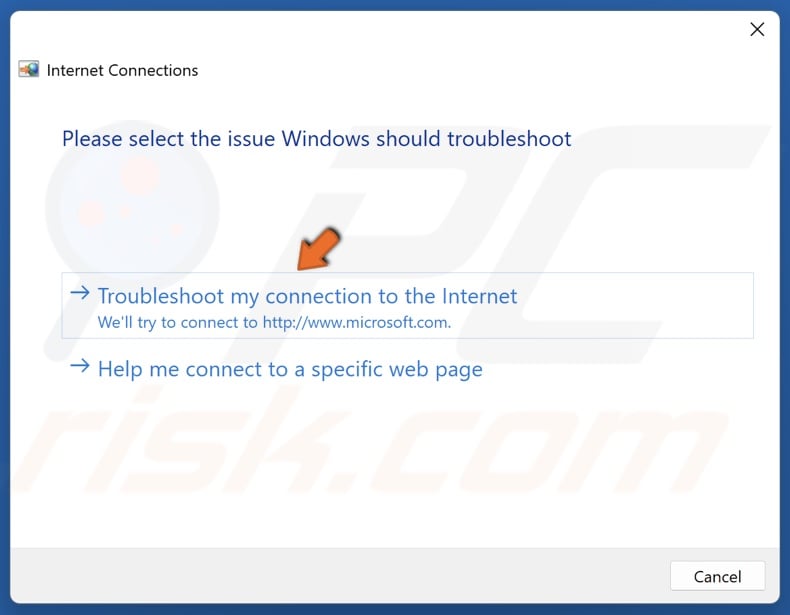
5. Click Troubleshoot my connection to the Internet. The troubleshooter will identify the issues and suggest fixes.
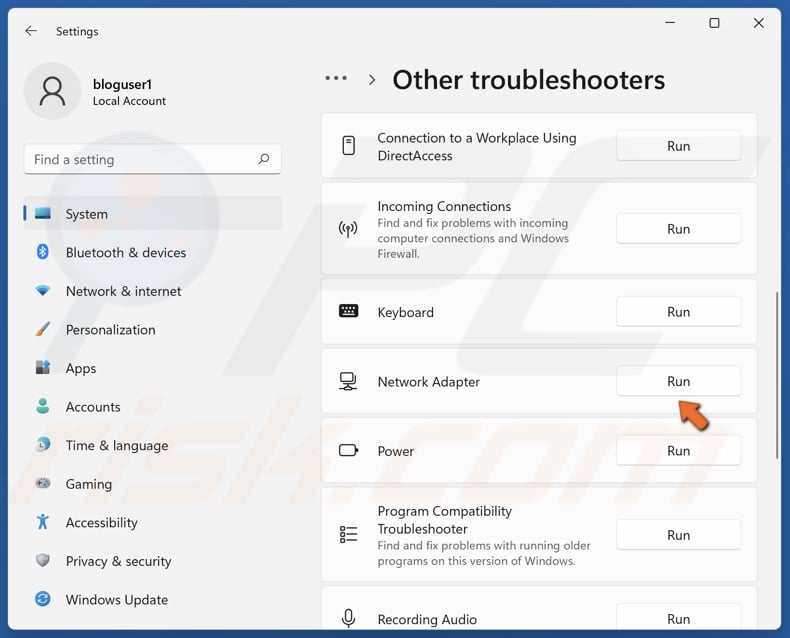
6. Then, scroll down and run the Network Adapter troubleshooter.
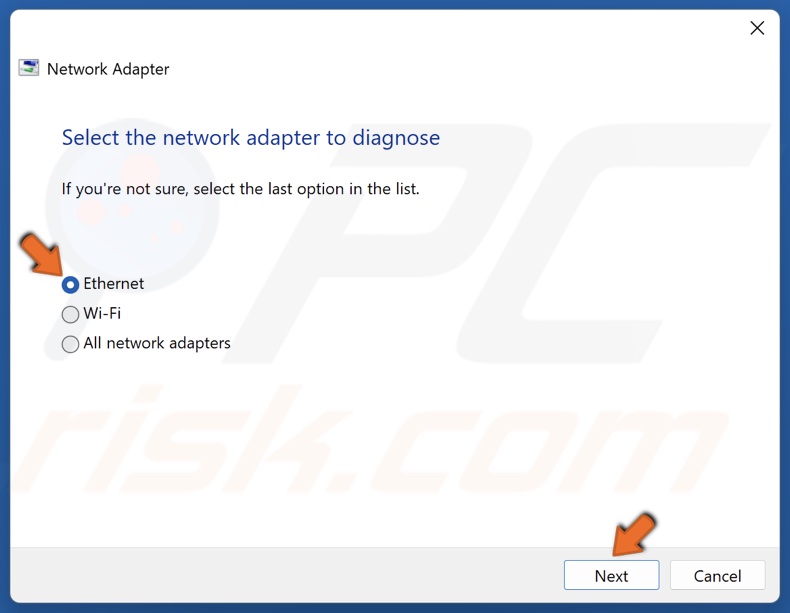
7. Select your network adapter and click Next. We recommend running the troubleshooter for each network adapter separately.
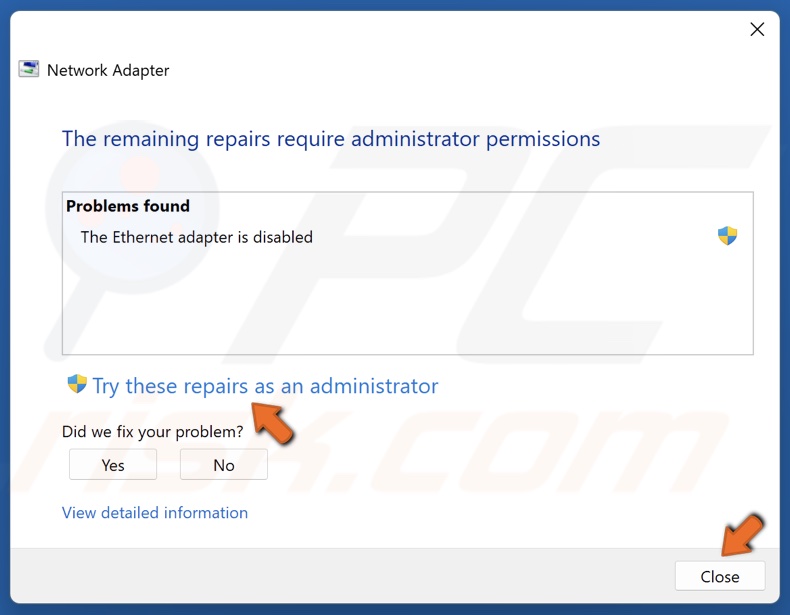
8. Click Try these repairs as an administrator.
9. Click Close after completing the troubleshooting.
Method 4. Reset Network Settings to Default
If your network settings have been misconfigured, resetting all of your network settings to default should fix your laptop not connecting to a hotspot.
Note: All your networking components will be set to their default settings, and you will have to reinstall your network driver and re-enter your Wi-Fi connection password.
1. Right-click the Start menu button and click Settings.
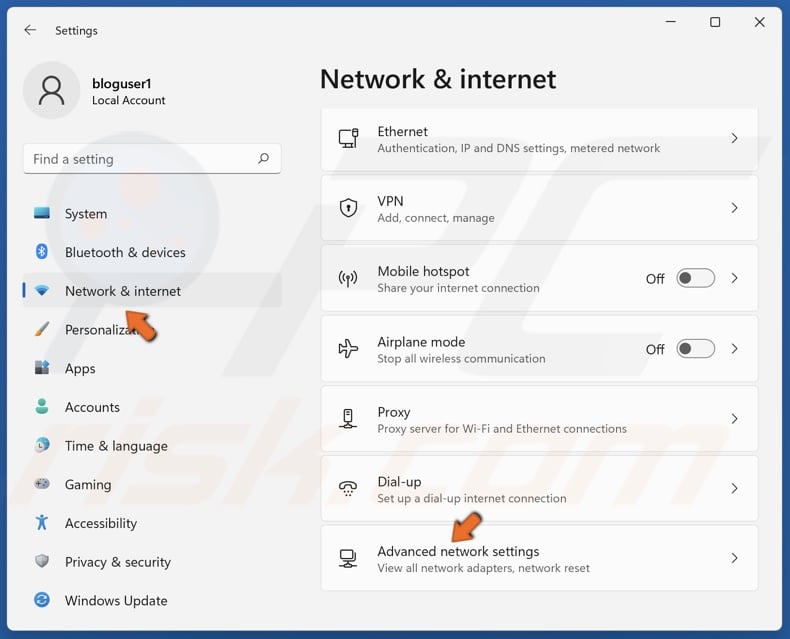
2. Select the Network & internet panel.
3. Select Advanced network settings.
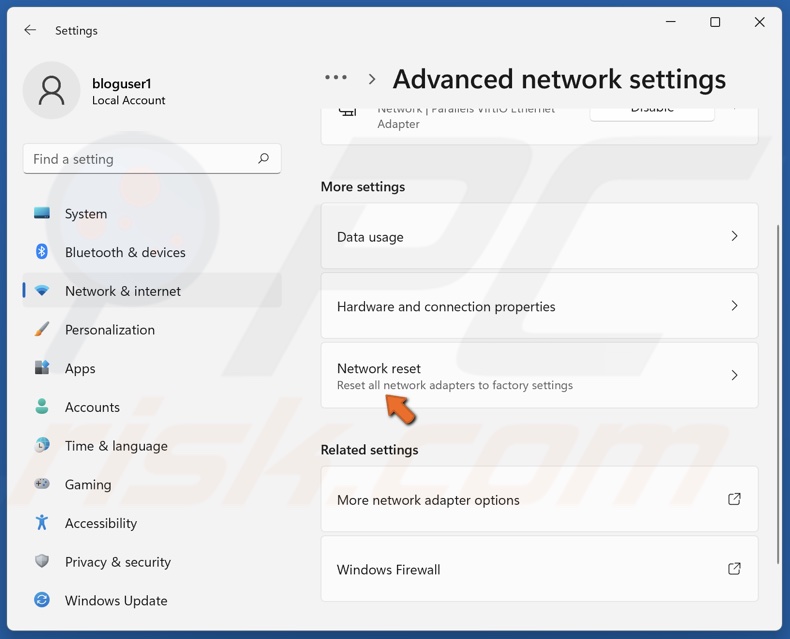
4. Select Network reset.
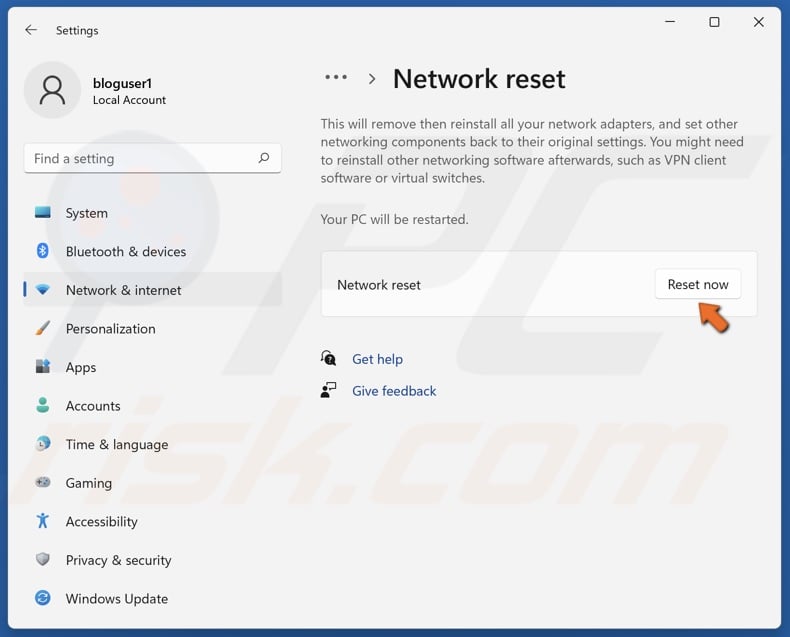
5. Click Reset now.
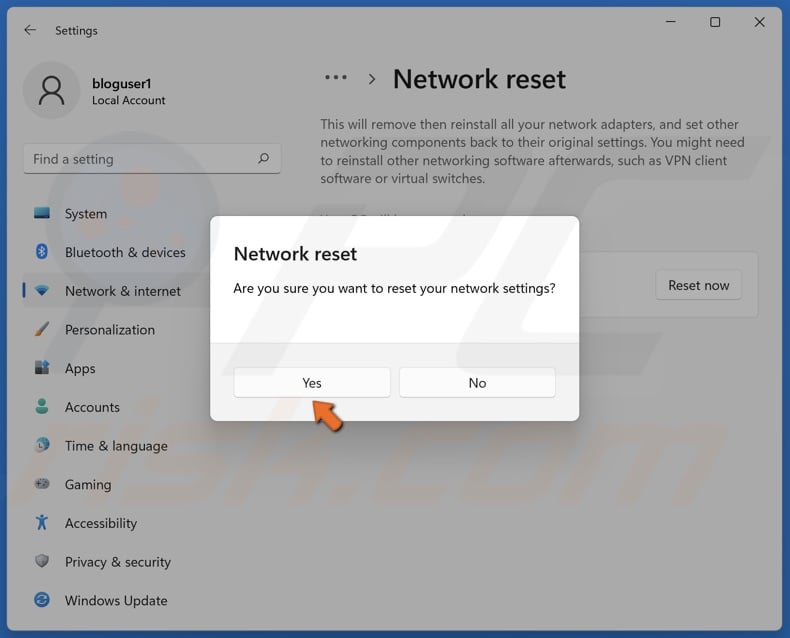
6. Click Yes to confirm the reset.
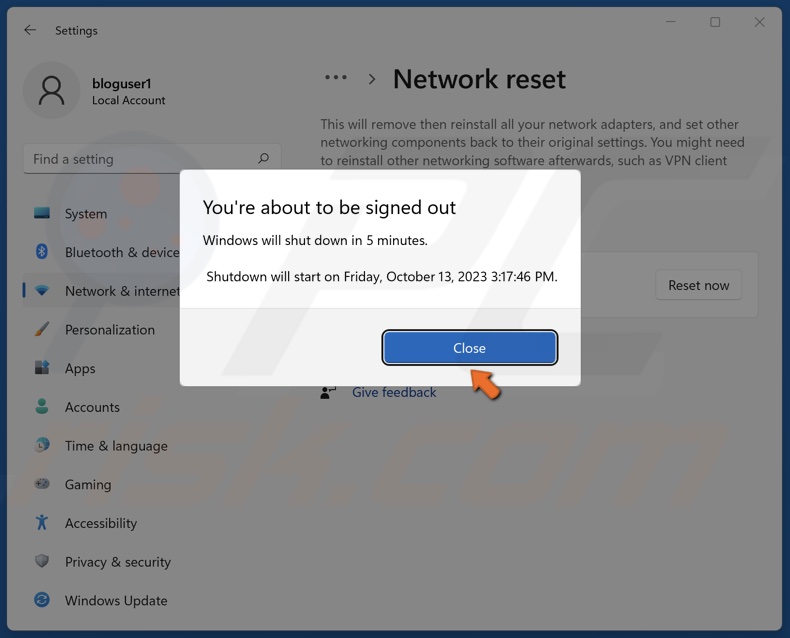
7. Click Close when prompted.
8. Restart your PC.
Method 5. Modify Network Adapter Settings
Windows 11 and 10 allow you to set up your laptop as a hotspot to connect other devices to the Internet. If you’re trying to set up a hotspot but get a “We can’t set up mobile hotspot” error or other devices can’t connect to the Internet, you need to modify your network adapter settings, namely, enable the “Allow other network users to connect through this computer’s Internet connection” option.
1. Hold down Windows+R keys to open Run.
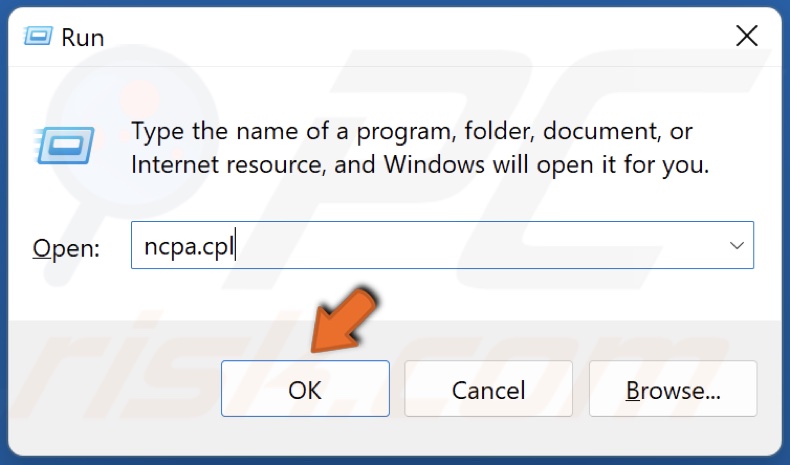
2. Type in ncpa.cpl in the Run dialog and click OK.
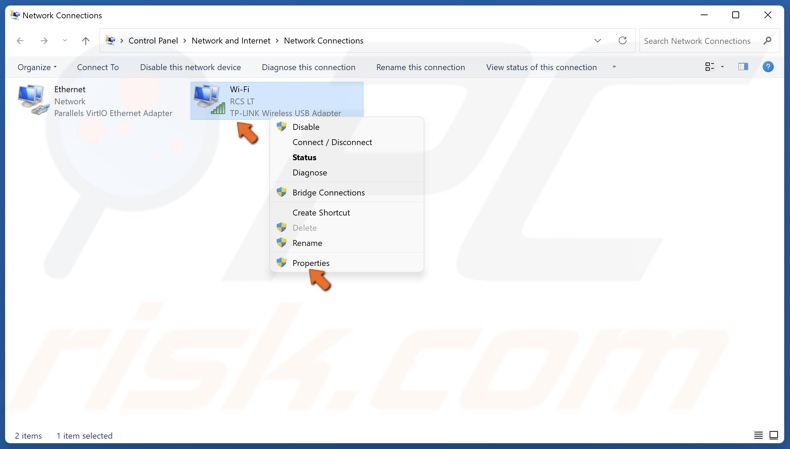
3. In the Network Connections window, right-click your Wi-Fi or Ethernet adapter and click Properties.

4. Select the Sharing tab.
5. Mark the Allow other network users to connect through this computer’s Internet connection checkbox and click OK.
Method 6. Delete the HostedNetworkSettings Value in the Windows Registry
1. Hold down Windows+R keys to open Run.

2. Type in regedit in the Run dialog and click OK.
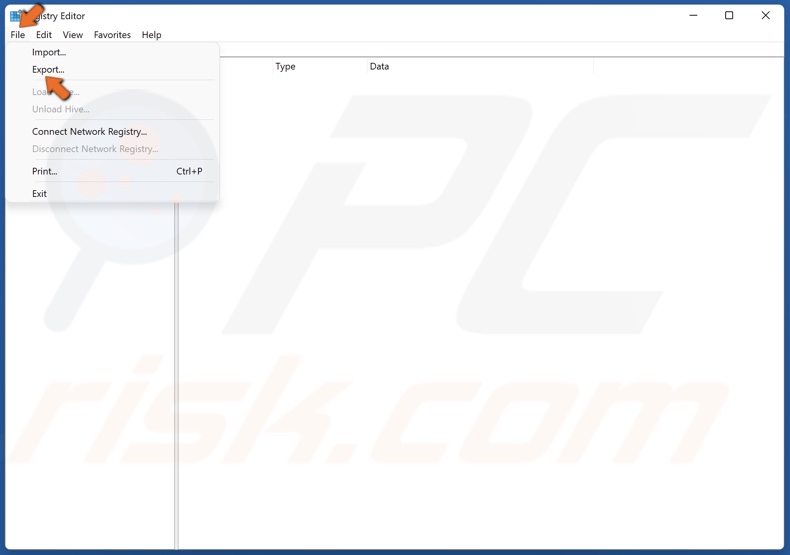
3. Click File in the toolbar and click Export.
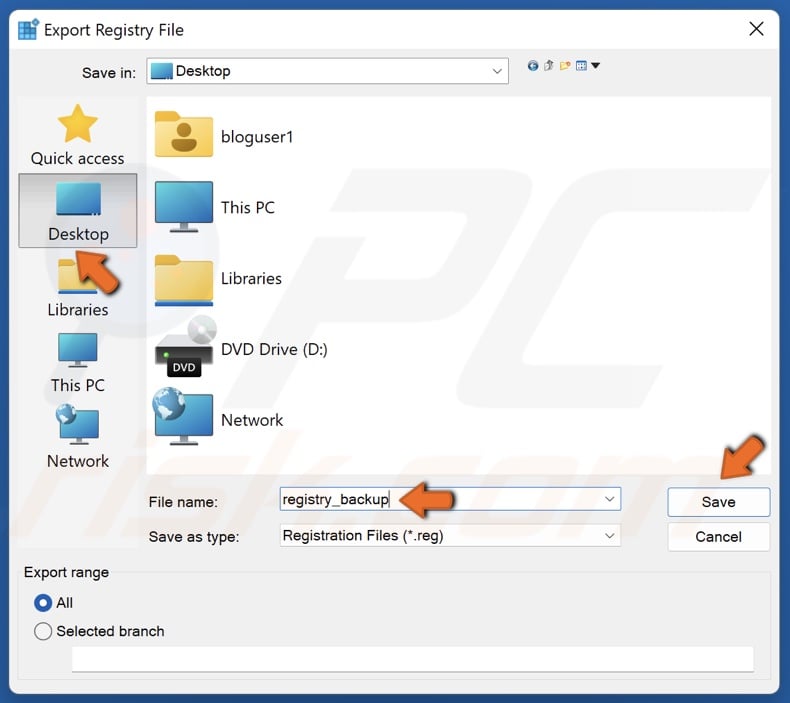
4. Select where to save the file, name the file registry_backup, and click Save.
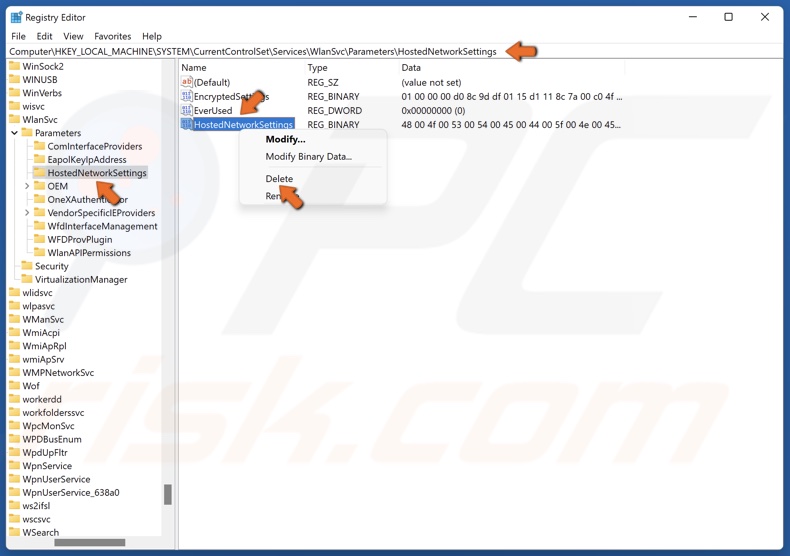
5. Then, navigate to:
HKEY_LOCAL_MACHINE\SYSTEM\CurrentControlSet\Services\WlanSvc\Parameters\HostedNetworkSettings
6. Select the HostedNetworkSettings key in the left pane.
7. In the right pane, right-click the HostedNetworkSettings value and click Delete.
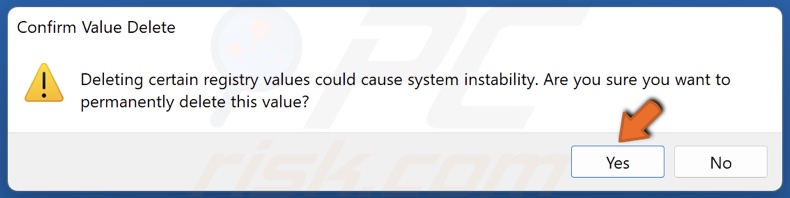
8. Click Yes when prompted to confirm the removal.
9. Close the Registry Editor and restart your PC.
Did this article help you fix your laptop not connecting to a hotspot? Let us know in the comments below. If you know other ways to fix this problem, please share it with others in the comments as well.
Share:

Rimvydas Iliavicius
Researcher, author
Rimvydas is a researcher with over four years of experience in the cybersecurity industry. He attended Kaunas University of Technology and graduated with a Master's degree in Translation and Localization of Technical texts. His interests in computers and technology led him to become a versatile author in the IT industry. At PCrisk, he's responsible for writing in-depth how-to articles for Microsoft Windows.
▼ Show Discussion