How to Fix 403 Forbidden Error on Windows 11

Get Free Scanner and check your computer for errors
Fix It NowTo fix found issues, you have to purchase the full version of Combo Cleaner. Free trial available. Combo Cleaner is owned and operated by Rcs Lt, the parent company of PCRisk.com read more.
How to Fix 403 Forbidden Error on Windows 11
“403 Forbidden” is a client-side HTTP error that occurs when you don’t have permission to access a particular directory on a web server due to insufficient permissions or when the directory is empty. If you can’t access a website due to this error, the methods provided here may help you fix it.
What Does “403 Forbidden” Mean?
“Error 403 Forbidden” is an HTTP response code indicating that the web server understands the request but refuses to authorize it.
The web server refuses to authorize access when the client doesn’t have sufficient permissions to access the website or something else on a given website.
What Causes This Error?
Sometimes, error “403 Forbidden” occurs due to an access misconfiguration on the client side, so you can easily fix the error in such a case. However, usually, it occurs due to an issue with the website itself, and there’s nothing you can do about it. Below is a breakdown of the most common causes for this error.
- Insufficient permissions. You may get the 403 error code because you have insufficient rights to a resource. The website’s owner may have configured some website settings to forbid access to particular resources.
- The directory is empty. You may get this error if you visit an empty website directory.
- New web page link. You can get the “403 Forbidden” status message if the page you’re trying to visit has a new link to which the old link doesn’t redirect.
- The index page is missing. The homepage name of a website is not index.html or index.php.
- A broken WordPress plugin. You may get this error if a WordPress plugin is misconfigured or incompatible with another plugin.
- Wrong IP address. The domain name may point to an incorrect or old IP address that hosts a website that forbids you from accessing it.
- Your system is infected with malware. If a website’s web server has been infected with malware, it may corrupt the .htaccess file, which must be deleted and restored for the site to work correctly.
Before trying our fixes, here are some tips:
- Double-check the website address. Make sure that you have entered the website address correctly. Most servers don’t allow directory browsing for security purposes. When they’re set up correctly, you’ll get redirected to another page but will get “HTTP 403 - Forbidden” if they’re not.
- Refresh the Website. Sometimes, the “403 Forbidden” error occurs temporarily, so you can try refreshing the page several times and see if the server authorizes access to the website. With the website open, press the F5 key or click the Refresh button in the menu bar to refresh the website. The F5 shortcut works on all mainstream websites.
- Disconnect from your VPN server. Some websites block VPNs, so you will get the “403 Forbidden” error when you try to visit such a website. So, disconnect from your VPN and try accessing the website. If the error goes away, then your VPN service is the culprit.
- Try again later. If none of the tips above or the methods below help you fix the error, it’s most likely due to an issue on the website. In this case, all you can do is try again later.
Video Tutorial on How to Fix “403 Forbidden”
Table of Contents:
- Introduction
- Method 1. Clear Browser Cookies and Cache
- Clear Cookies and Cache in Google Chrome
- Clear Cookies and Cache in Mozilla Firefox
- Clear Cookies and Cache in Microsoft Edge
- Method 2. Disable Internet Protocol Version 6
- Method 3. Perform a DNS Flush and Reset the Winsock Catalog
- Method 4. Change DNS Server Address
- Video Tutorial on How to Fix “403 Forbidden”
Download Computer Malware Repair Tool
It is recommended to run a free scan with Combo Cleaner - a tool to detect viruses and malware on your device. You will need to purchase the full version to remove infections. Free trial available. Combo Cleaner is owned and operated by Rcs Lt, the parent company of PCRisk.com read more.
If the website has been cached on your browser, but its address was changed, you will get the “HTTP 403 - Forbidden” message. To fix this, you have to clear your web browser’s cache, but clearing other browsing data may also help.

1. Open Chrome. Click the three-dot button at the top-right corner, select More tools, and click Clear browsing data.
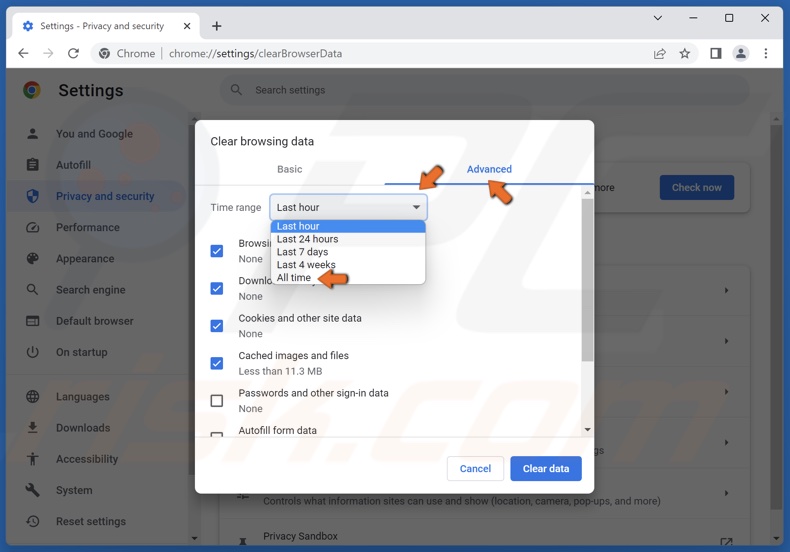
2. Select the Advanced tab.
3. Open the Time range drop-down menu and select All time.
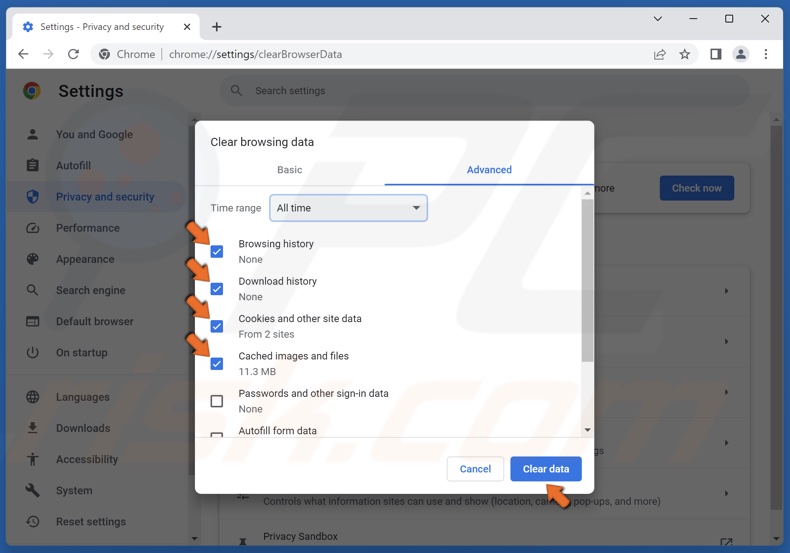
4. Mark the Browsing history, Download history, Cookies and other site data, and Cached images and files checkboxes.
5. Click Clear data.
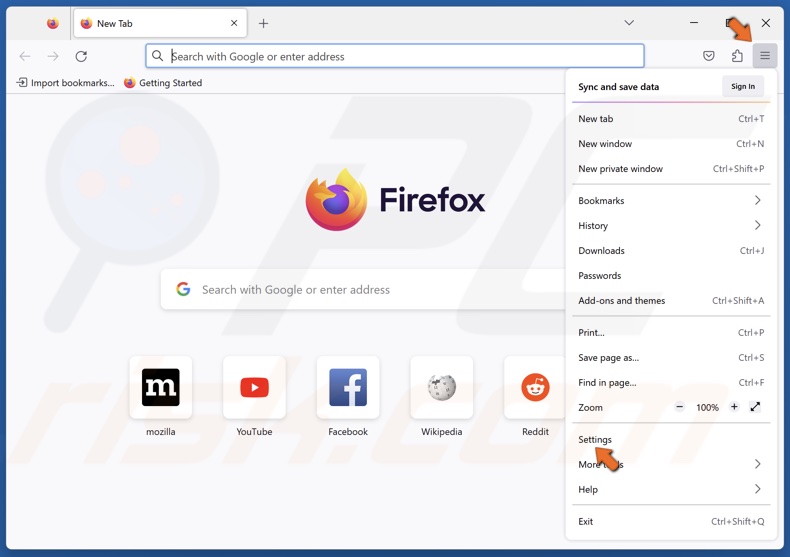
1. Open Firefox. Open the menu and select Settings.
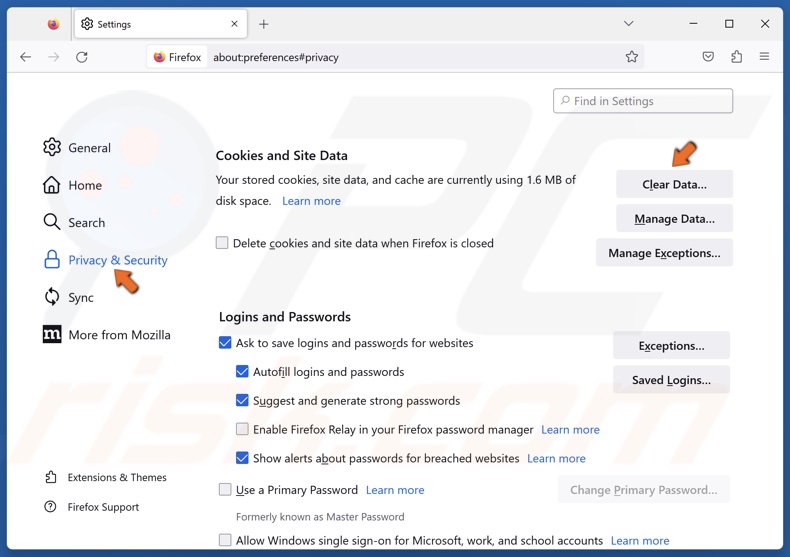
2. Select the Privacy & Security panel.
3. Click Clear Data in the Cookies and Site Data section.
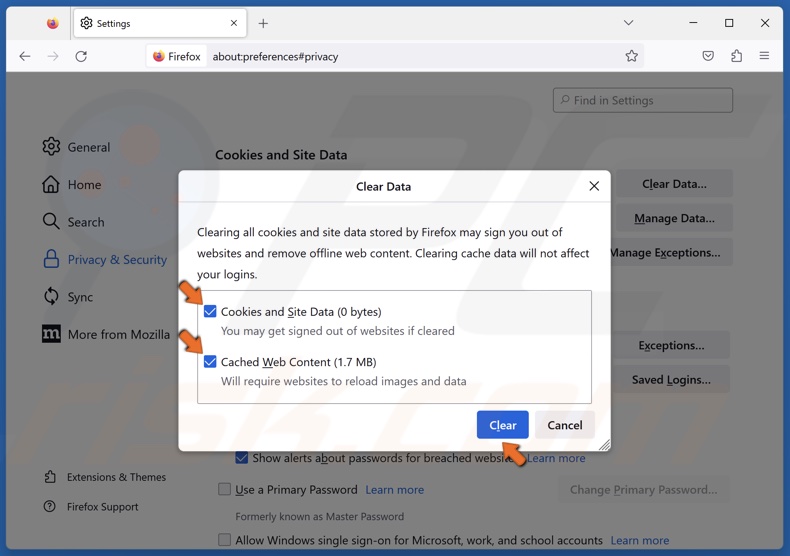
4. Mark the Cookies and Site Data and Cached Web Content checkboxes and click Clear.
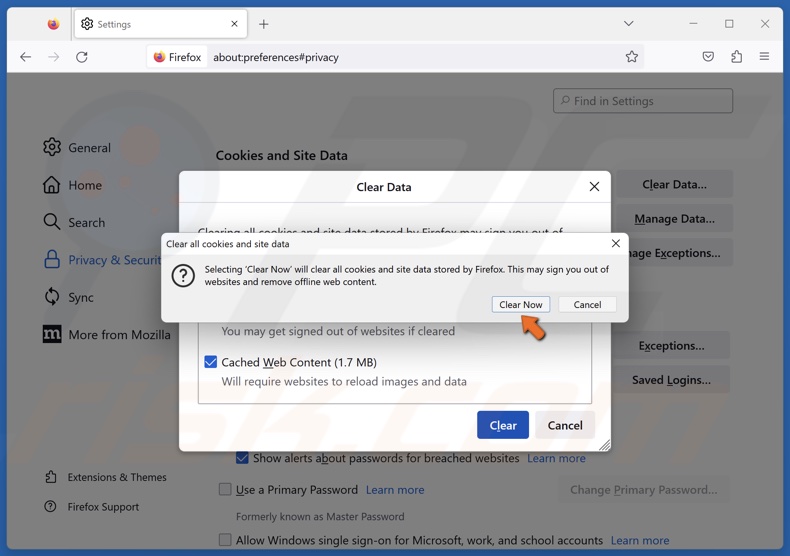
5. Click Clear Now.
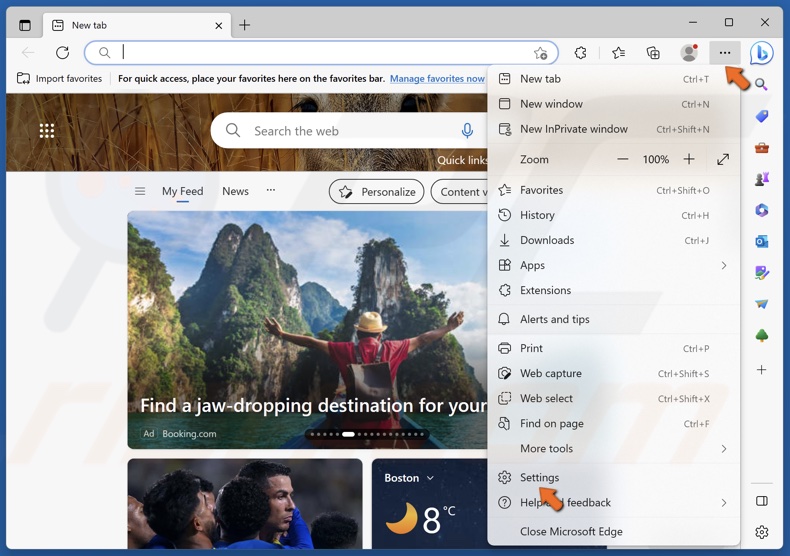
1. Open Edge. Click the three-dot button at the top-right corner and select Settings.

2. Click Privacy, search, and services in the right pane.
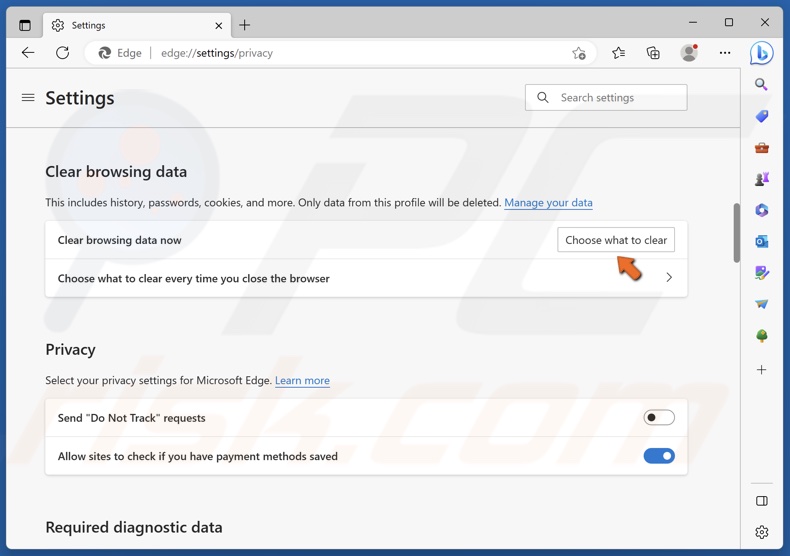
3. Click Choose what to clear.
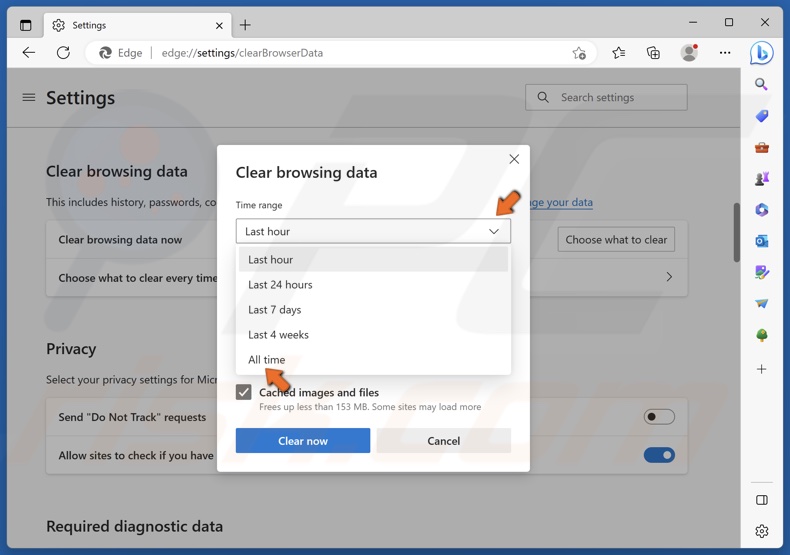
4. Open the Time range drop-down menu and select All time.
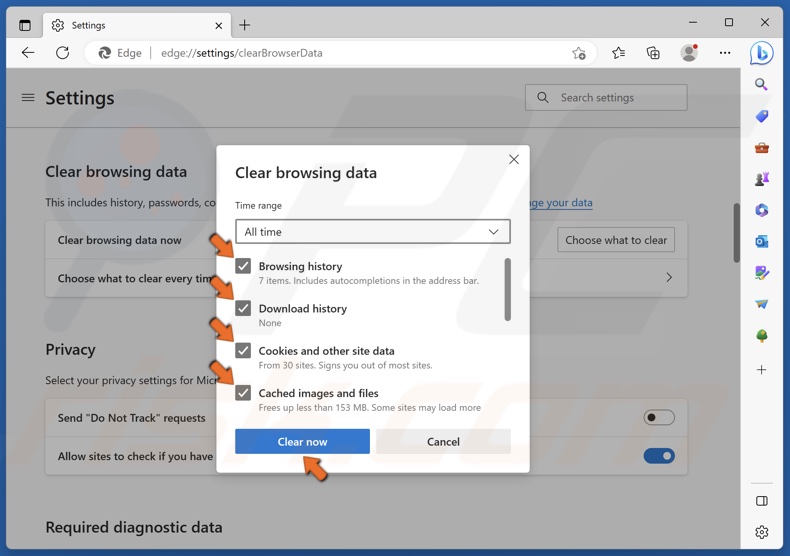
5. Mark the Browsing history, Download history, Cookies and other site data, and Cached images and files checkboxes.
6. Click Clear now.
Method 2. Disable Internet Protocol Version 6
Many users reported fixing the “403 Forbidden” error by disabling the Internet Protocol Version 6 (IPv6) protocol.
1. Hold down Windows+R keys to open Run.
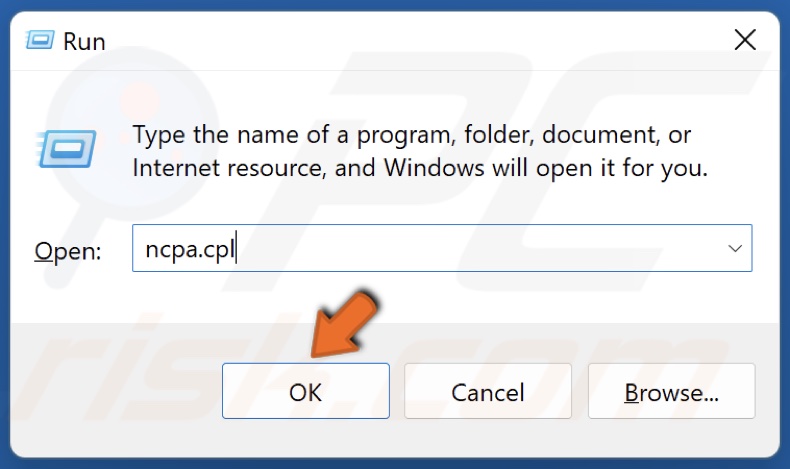
2. Type in ncpa.cpl in the Run dialog and click OK.

3. Right-click your network adapter and click Properties.

4. In the Networking tab, unmark the Internet Protocol Version 6 (TCP/IPv6) checkbox and click OK.
Method 3. Perform a DNS Flush and Reset the Winsock Catalog
If your network settings have been misconfigured, running the netsh winsock reset command will reset the socket settings of the TCP/IP stack.
The ipconfig /release command will release your IP address from your router, and the ipconfig /renew will assign a new IP address. The ipconfig /flushdns command will fix the overflow of packets.
1. Hold down Windows+R keys to open Run.
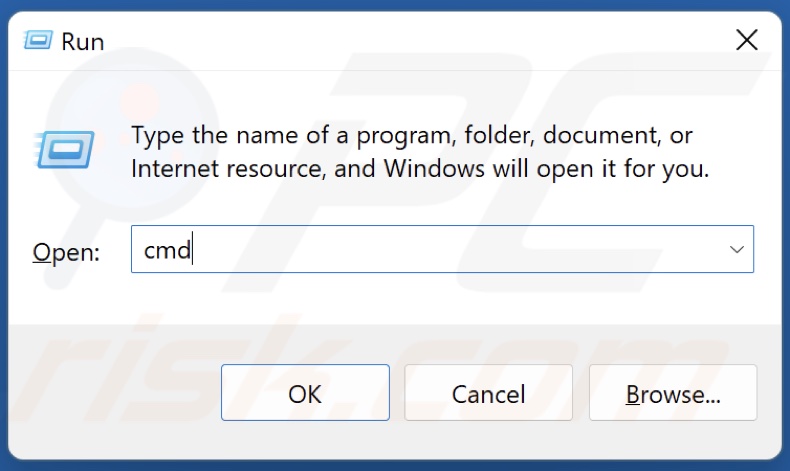
2. Type in CMD in the Run dialog and hold down Ctrl+Shift+Enter keys to open Command Prompt as an administrator.
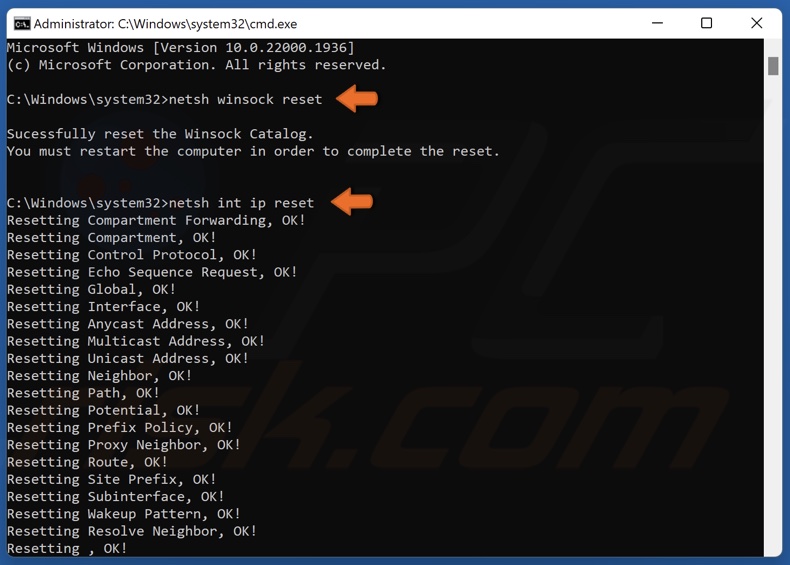
3. In the Command Prompt window, type in the commands below and press the Enter key after typing in each one.
netsh winsock reset
netsh int ip reset
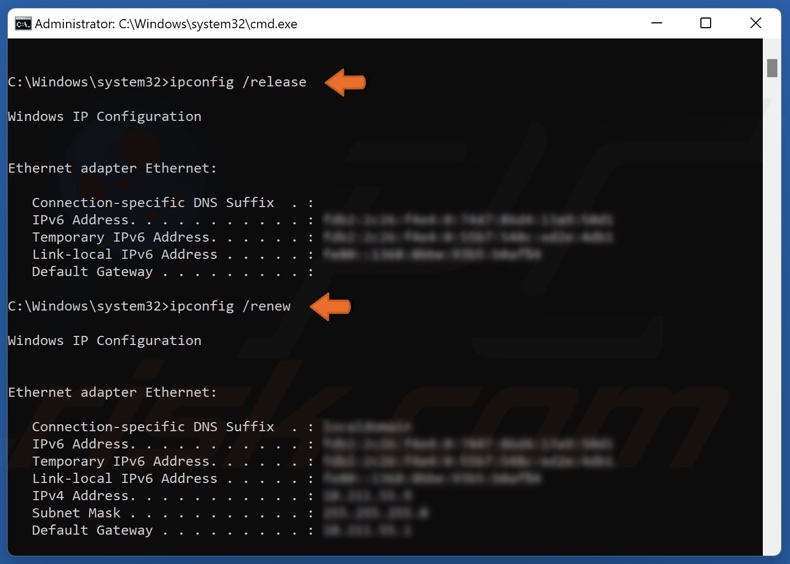
ipconfig /release
ipconfig /renew
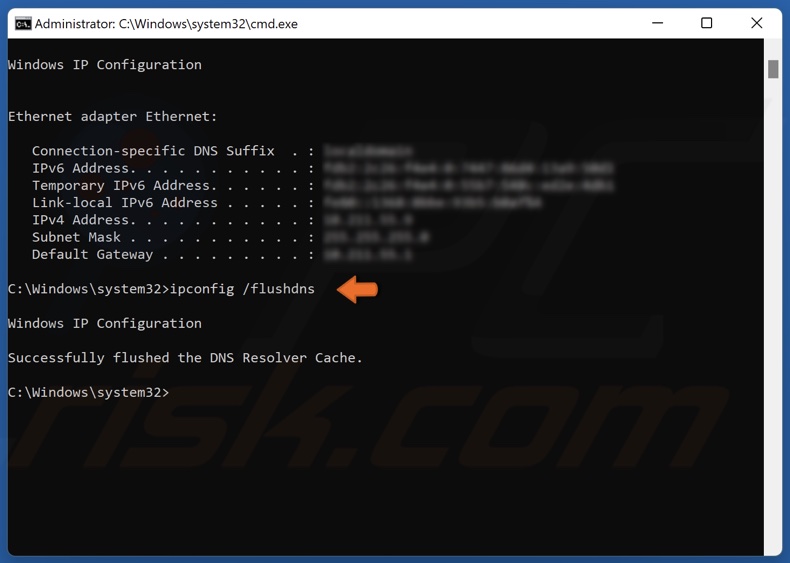
ipconfig /flushdns
4. Close the Command Prompt and restart your PC.
Method 4. Change DNS Server Address
When you enter the domain name of a website, your browser uses the Domain Name System (DNS) to resolve it. If your ISP-provided DNS server experiences issues, the website you want to visit won’t load.
If your ISP-provided primary and alternate DNS servers are unavailable, try switching to a third-party DNS server, as shown below.
1. Hold down Windows+R keys to open Run.
2. Type in ncpa.cpl in the Run dialog and click OK.
3. Right-click your network adapter and click Properties.
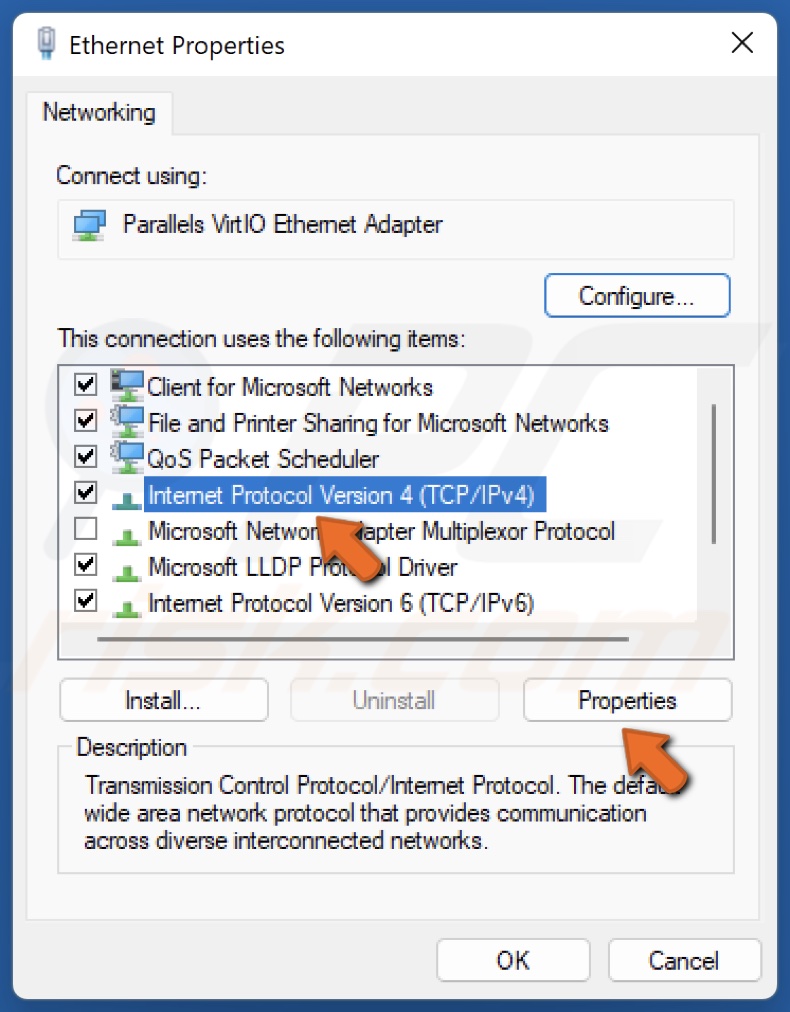
4. In the Networking tab, select Internet Protocol Version 4 (TCP/IPv4) and click Properties.
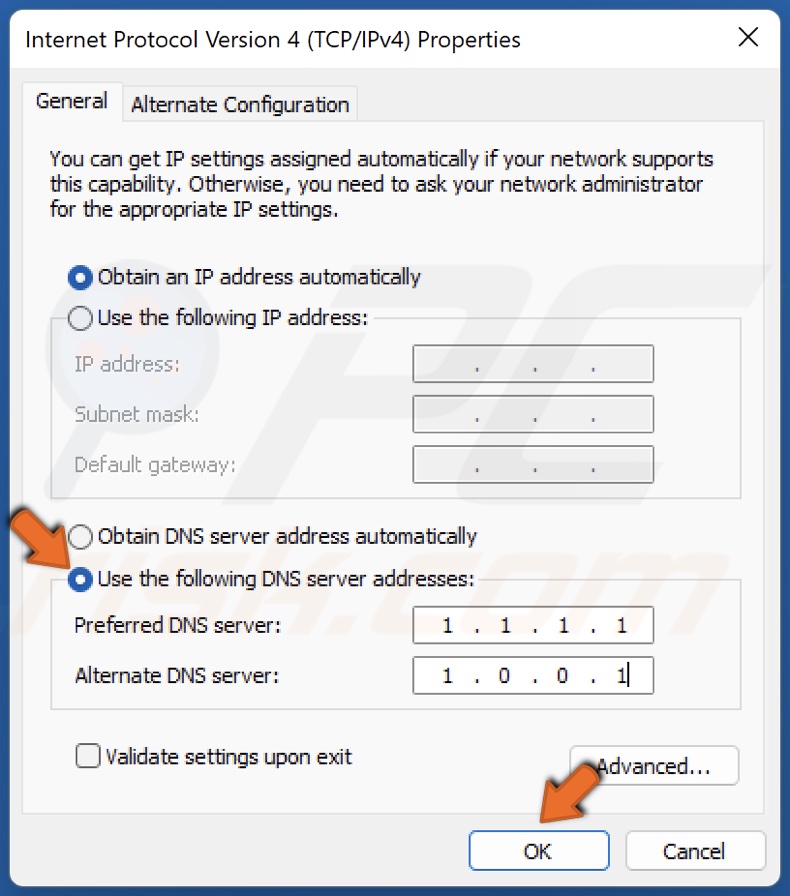
5. In the resulting Internet Protocol window, tick Use the following DNS server addresses.
6. In the Preferred DNS server, type in 1.1.1.1
7. In the Alternate DNS server, type in 1.0.0.1
8. Click OK.
9. Restart your PC.
Did this article help you fix the “403 Forbidden” error code on your PC? Let us know in the comments below.
Share:

Rimvydas Iliavicius
Researcher, author
Rimvydas is a researcher with over four years of experience in the cybersecurity industry. He attended Kaunas University of Technology and graduated with a Master's degree in Translation and Localization of Technical texts. His interests in computers and technology led him to become a versatile author in the IT industry. At PCrisk, he's responsible for writing in-depth how-to articles for Microsoft Windows.
▼ Show Discussion