How to Fix MoUSO Core Worker Process High Memory/CPU/Disk Usage

Get Free Scanner and check your computer for errors
Fix It NowTo fix found issues, you have to purchase the full version of Combo Cleaner. Free trial available. Combo Cleaner is owned and operated by Rcs Lt, the parent company of PCRisk.com read more.
How to Fix MoUSO Core Worker Process High Memory/CPU/Disk Usage on Windows 11
MoUSO Core Worker Process (MoUsoCoreWorker.exe) is a Windows service that manages system updates. Some users have found that MoUSO Core Worker Process causes high memory (RAM) usage and slows down their PCs. This article will show you how to fix this issue.
What is MoUSO Core Worker Process?
MoUSO Core Worker Process is an Update Session Orchestrator (USO) that controls update sessions. It controls which updates must be installed first and which can be installed later. It manages the update session and resolves problems that can prevent Windows from updating. Additionally, it protects Windows from potential threats when updating.
MoUsoCoreWorker.exe replaced wuauclt.exe (Windows Update AutoUpdate Client) in Windows 10 (Version 1903) in September 2020. Depending on your power configuration, it will appear as either MoUsoCoreWorker.exe or USOCoreWorker.exe.
It’s worth noting that after Microsoft replaced wuauclt.exe, some antivirus programs started detecting MoUsoCoreWorker.exe as malware, which it is not. MoUsoCoreWorker.exe is part of Windows 10 and Windows 11.
What Causes MoUSO Core Worker Process High Memory/Disk/CPU Usage?
Causes MoUSO Core Worker is configured to run in the background and doesn’t impact other processes the user is running. Normally, it uses 8 to 9 MB of memory. However, MoUSO Core Worker Process sometimes uses a lot of system memory due to download or installation errors of Windows updates. In some cases, it may also cause high CPU and Disk usage.
Our research has revealed that MoUSO Core Worker causes high memory, CPU, or disk usage due to the issues listed below.
- The MoUsoCoreWorker.exe process is outdated. The process may be outdated, but installing the latest Windows updates should fix it.
- The Pending updates have been blocked.
- The Windows update is in the wrong state.
Video Tutorial on How to Fix MoUSO Core Worker Process High Memory/CPU/Disk Usage
Table of Contents:
- Introduction
- Method 1. Run the Windows Update Troubleshooter
- Method 2. Pause Windows Updates
- Method 3. Install the Latest Windows Updates
- Method 4. Disable Delivery Optimization
- Method 5. Restart or Disable the Update Orchestrator Service
- Video Tutorial on How to Fix MoUSO Core Worker Process High Memory/CPU/Disk Usage
Download Computer Malware Repair Tool
It is recommended to run a free scan with Combo Cleaner - a tool to detect viruses and malware on your device. You will need to purchase the full version to remove infections. Free trial available. Combo Cleaner is owned and operated by Rcs Lt, the parent company of PCRisk.com read more.
Method 1. Run the Windows Update Troubleshooter
Since MoUSO Core Worker Process causes high memory usage due to an update-related problem, you should try running the Windows Update Troubleshooter. Windows Update Troubleshooter is a tool specifically designed to fix Windows update-related issues.
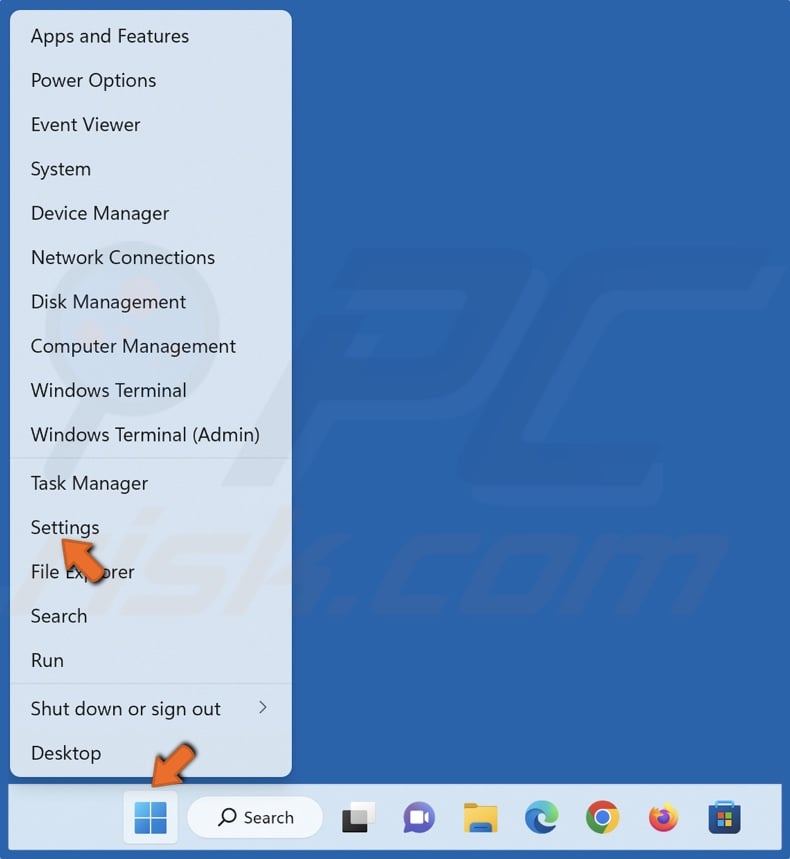
1. Right-click the Start button and click Settings.
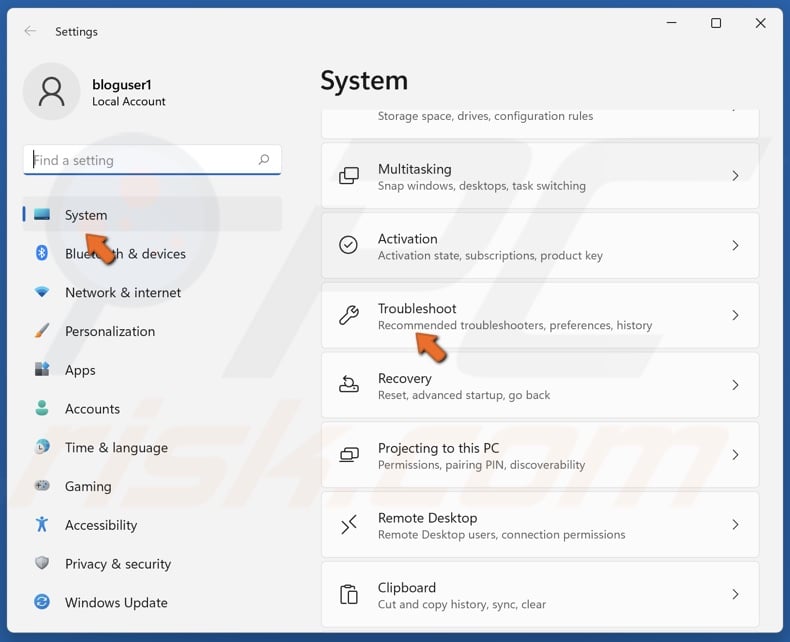
2. In the System panel, scroll down and click Troubleshoot.
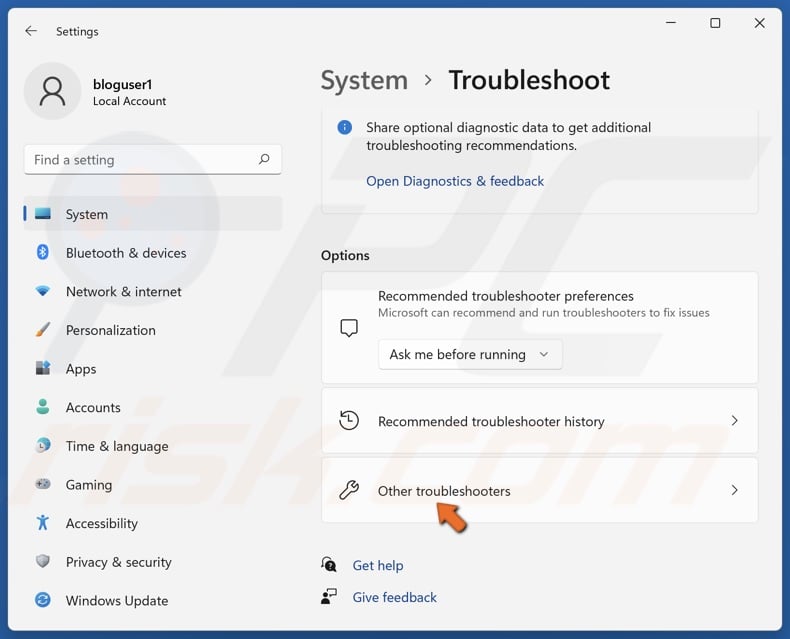
3. Select Other troubleshooters.
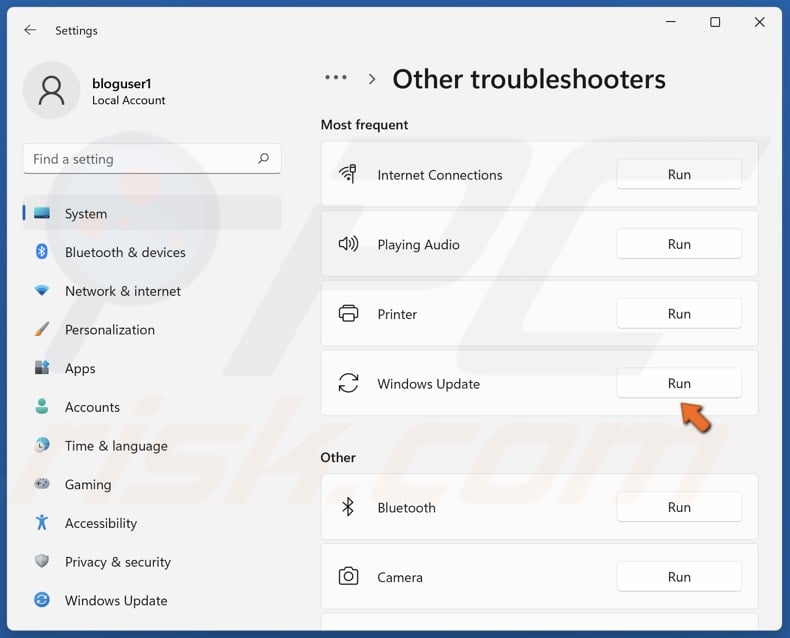
4. Run the Windows Update troubleshooter.
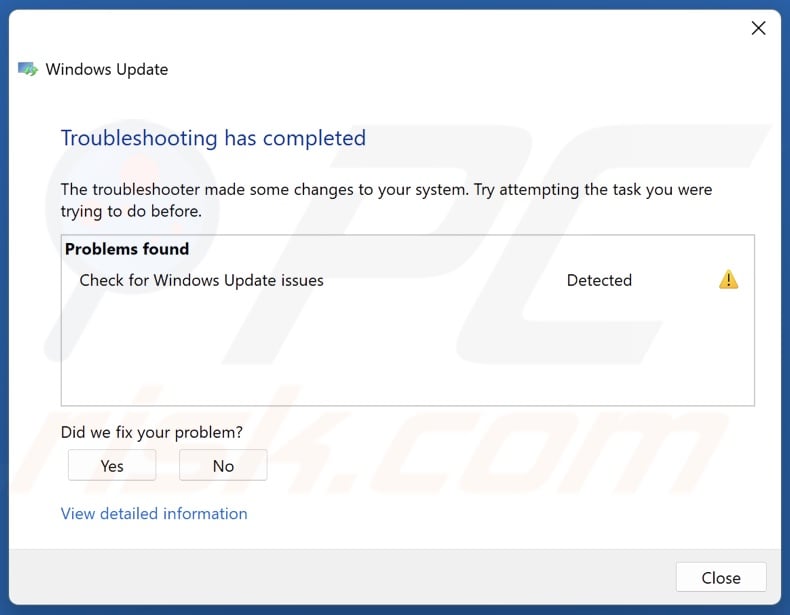
5. Apply the proposed fixes and restart your PC.
Method 2. Pause Windows Updates
Pausing Windows updates will cancel and remove updates that are unable to finish installing. You can leave the Windows Update paused or resume it to allow the updates to be re-downloaded and installed correctly.
1. Right-click the Start button and click Settings.
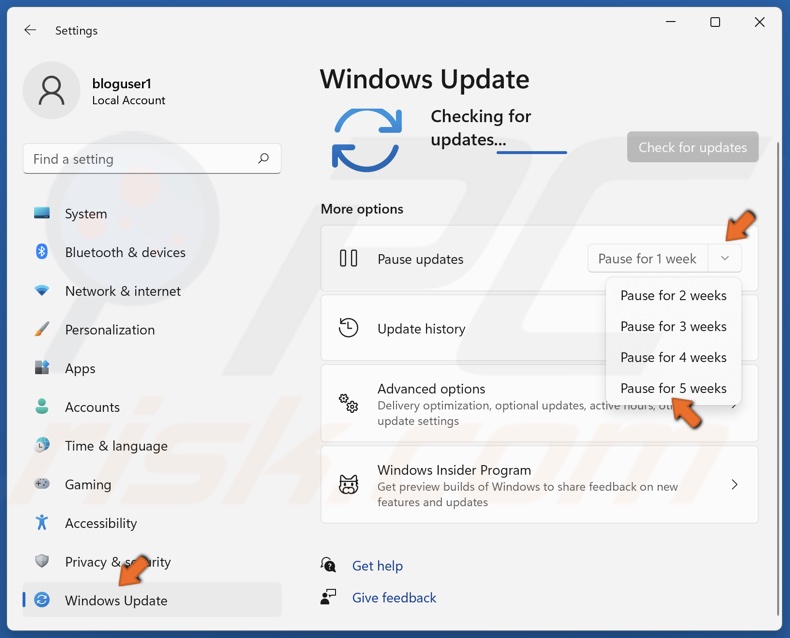
2. Select the Windows Update panel.
3. Under the More options section, open the Pause updates menu and select Pause for 5 weeks.
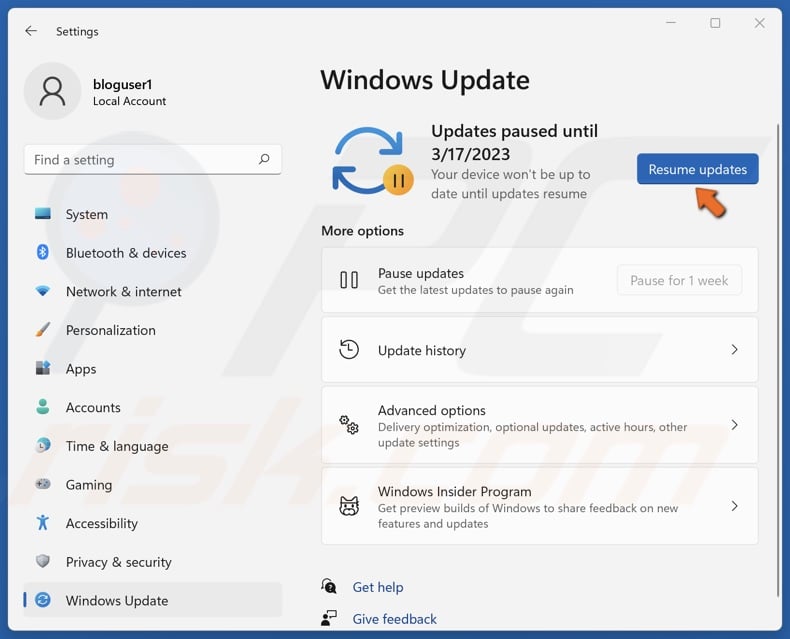
4. Click Resume updates at a later date.
Method 3. Install the Latest Windows Updates
Since MoUsoCoreWorker.exe can cause high memory, CPU, and disk usage due to pending updates, we recommend that you install all of them.
1. Right-click the Start button and click Settings.
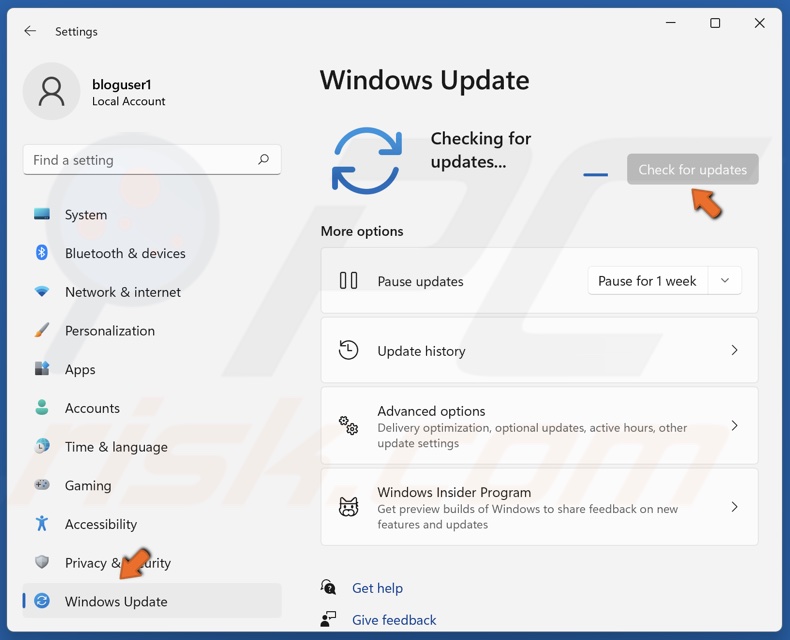
2. Select the Windows Update panel.
3. Click Check for updates.
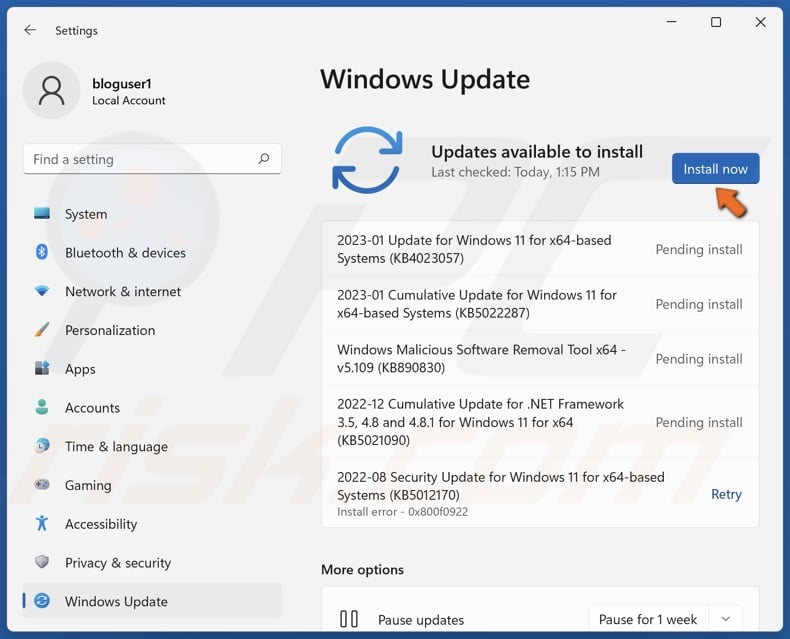
4. If Windows has already checked for updates, click Install now.
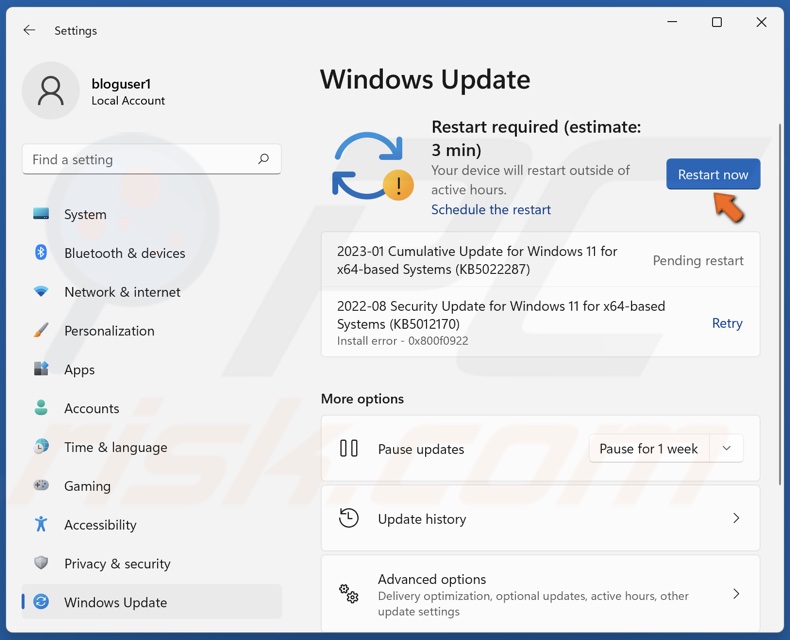
4. Click Restart now if prompted.
Method 4. Disable Delivery Optimization
The Delivery Optimization feature allows Windows to download updates from a local machine rather than the Windows Update server.
However, before applying this method, install all of the latest available Windows updates.
1. Hold down Windows+R keys to open Run.
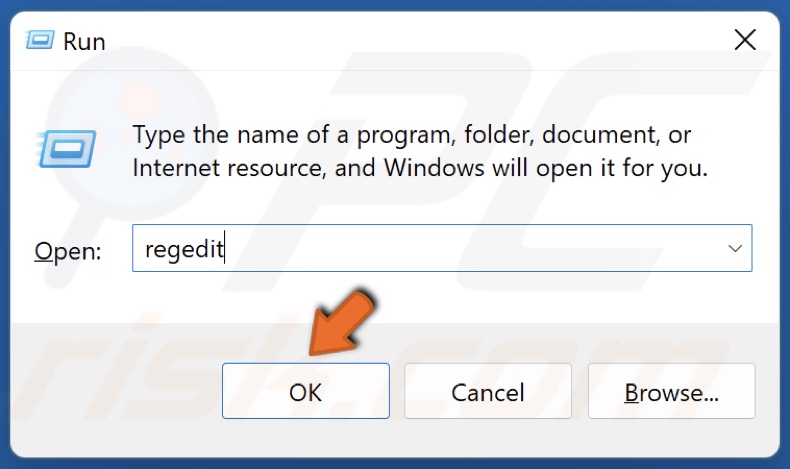
2. In the Run dialog, type in regedit and click OK.
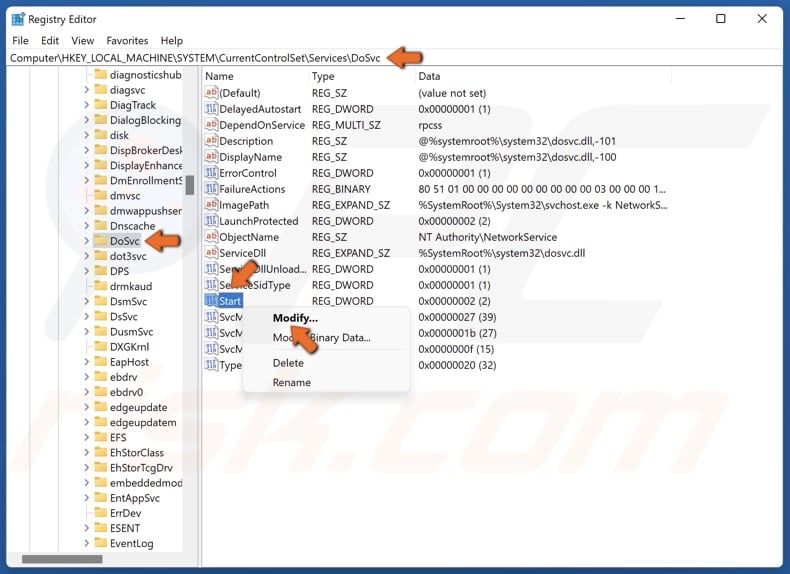
3. In the Windows Registry Editor, navigate to:
HKEY_LOCAL_MACHINE\SYSTEM\CurrentControlSet\Services\DoSvc
4. Select the DoSvc key.
5. In the right pane, right-click the Start D-WORD key and click Modify.
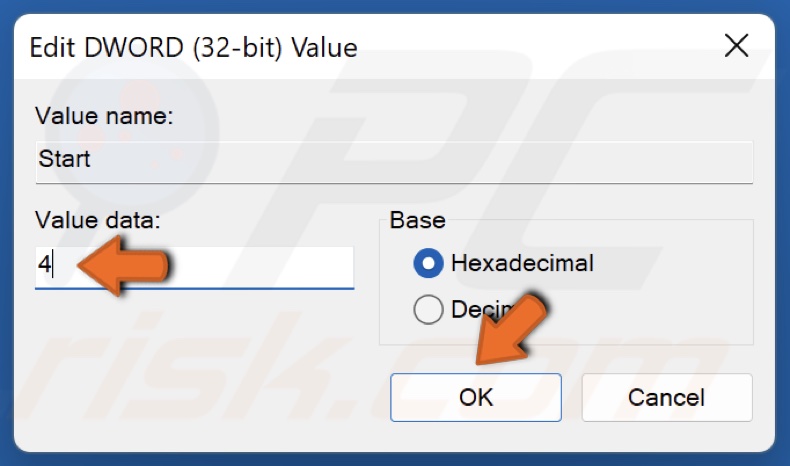
6. Type in 4 in the Value data line and click OK.
7. Close Windows Registry Editor and restart your PC.
Method 5. Restart or Disable the Update Orchestrator Service
If nothing else works, you can restart the Update Orchestrator Service, which will shut down the process and start it using a more reasonable amount of system memory.
The Update Orchestrator Service needs to run for the MoUSO Core Worker Process to function. If restarting doesn’t fix your high memory, CPU, or disk usage, you can disable the Update Orchestrator Service.
1. Hold down Windows+R keys to open Run.
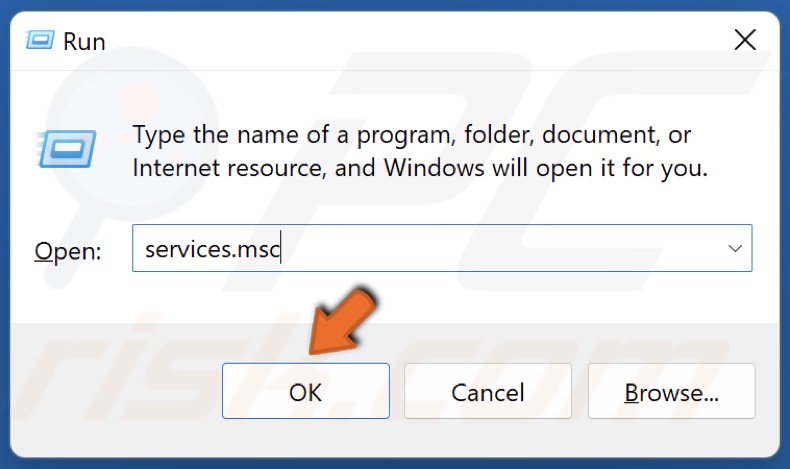
2. In the Run dialog, type in services.msc and click OK.
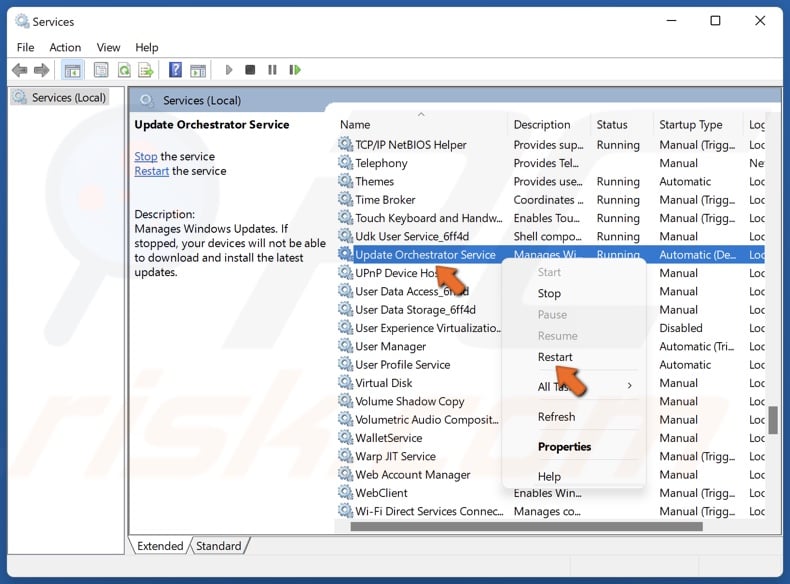
3. In the Services window, scroll down and locate Update Orchestrator Service.
4. Right-click Update Orchestrator Service and click Restart.
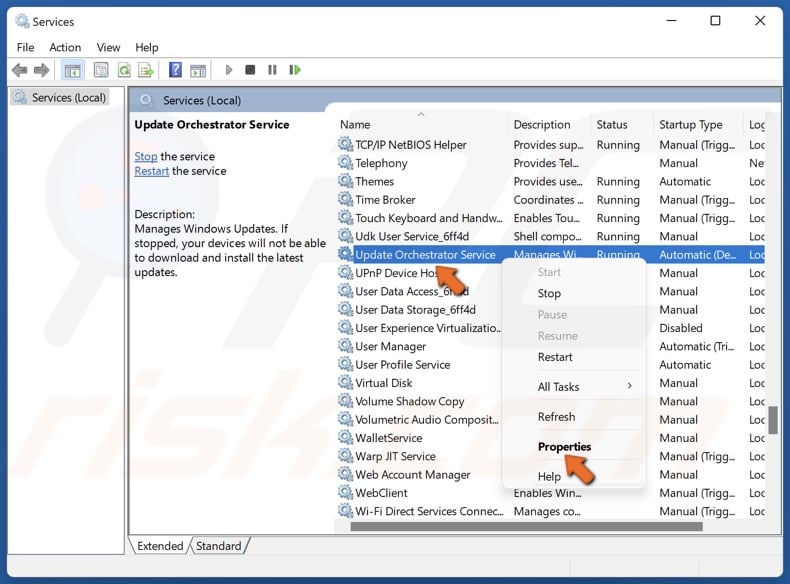
5. If that doesn’t fix the issue, right-click Update Orchestrator Service and click Properties.

6. Open the Startup type menu and select Disabled.
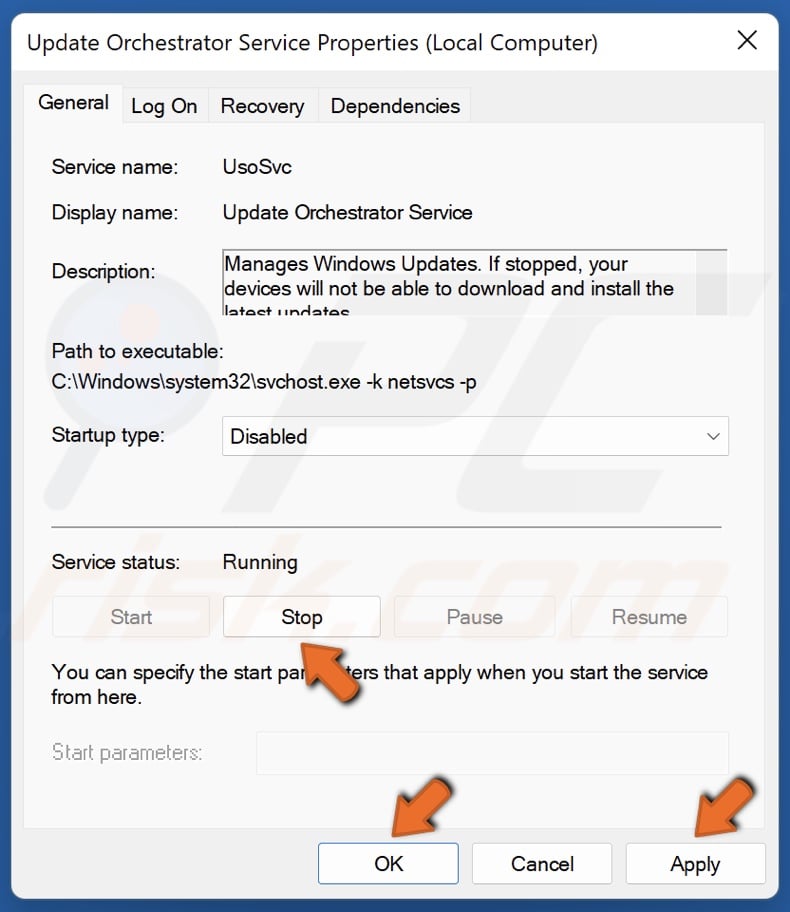
7. Click Stop in the Service status section.
8. Click Apply and click OK.
9. Close the Services window.
Did this article help you fix MoUSO Core Worker Process high memory, CPU, or disk usage on your PC? Let us know by commenting below.
Share:

Rimvydas Iliavicius
Researcher, author
Rimvydas is a researcher with over four years of experience in the cybersecurity industry. He attended Kaunas University of Technology and graduated with a Master's degree in Translation and Localization of Technical texts. His interests in computers and technology led him to become a versatile author in the IT industry. At PCrisk, he's responsible for writing in-depth how-to articles for Microsoft Windows.
▼ Show Discussion