How to Fix Valorant Error Code VAN 68

Get Free Scanner and check your computer for errors
Fix It NowTo fix found issues, you have to purchase the full version of Combo Cleaner. Free trial available. Combo Cleaner is owned and operated by Rcs Lt, the parent company of PCRisk.com read more.
How to Fix Error Code VAN 68 in Valorant
Error Code VAN 68 occurs when the Valorant client can’t connect to Riot’s servers or when Vanguard isn’t working properly. This article will tell you more about this error and provide several methods to fix it.
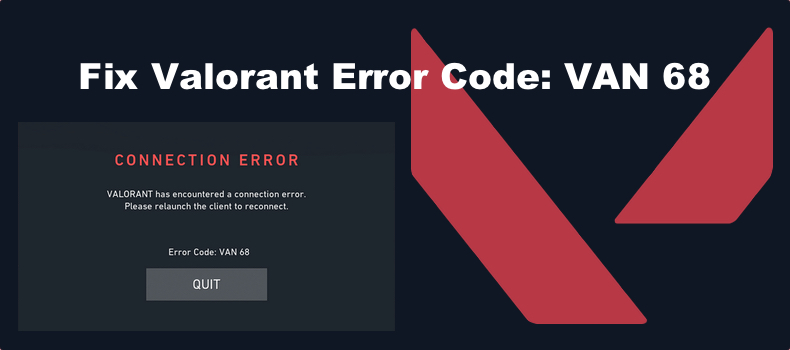
The entire error message reads as follows:
VALORANT has encountered a connection error. Please relaunch the client to reconnect.
Error Code: VAN 68
When Does Error Code VAN 68 Occur?
Error Code VAN 68 is a notorious connectivity error that prevents players from starting the game. Our research has shown that this error can occur due to issues on the server side as well as on the client side. Here we will focus on the causes on the client side.
- Misconfigured network settings. Error code VAN 68 may pop up when the client experiences connectivity issues. It often occurs due to an issue with the DNS server, network profile, Windows Defender Firewall settings, or an Internet router issue.
- Riot Vanguard is not working. Sometimes, Vanguard might not function correctly and cause connection issues in Valorant. Reinstalling Vanguard should fix the problem.
- Valorant in conflict with IPv6. As Valorant doesn’t fully support the IPv6 protocol, it may conflict with it, resulting in connection issues.
- A Firewall is blocking Valorant. Windows Defender Firewall or a third-party firewall may block Vaornat from connecting to its servers. You can try allowing Valorant through the firewall or temporarily disabling the firewall.
Before trying any of our fixes, we recommend you go to the Riot Games Service Status website and check the server status. If the servers aren’t experiencing issues, then the issue is on the client side, and we invite you to apply the fixes listed below.
Video Instructions on How Fix Error Code VAN 68 in Valorant
Table of Contents:
- Introduction
- Method 1. Reset TCP/IP Settings and Flush DNS Cache
- Method 2. Change DNS Server Adress
- Method 3. Disable IPv6 Protocol
- Method 4. Allow Valorant through Windows Defender Firewall
- Method 5. Set Proxy Settings to Automatic
- Method 6. Reinstall Riot Vanguard
- Method 7. Repair Valorant Installation
- Video Instructions on How Fix Error Code VAN 68 in Valorant
Download Computer Malware Repair Tool
It is recommended to run a free scan with Combo Cleaner - a tool to detect viruses and malware on your device. You will need to purchase the full version to remove infections. Free trial available. Combo Cleaner is owned and operated by Rcs Lt, the parent company of PCRisk.com read more.
Method 1. Reset TCP/IP Settings and Flush DNS Cache
By following the instructions below, you will reset your network settings and clear your DNS cache. Resetting your network settings and flushing your DNS cache should resolve your connectivity issue.
1. Hold down Windows+R keys to open Run.
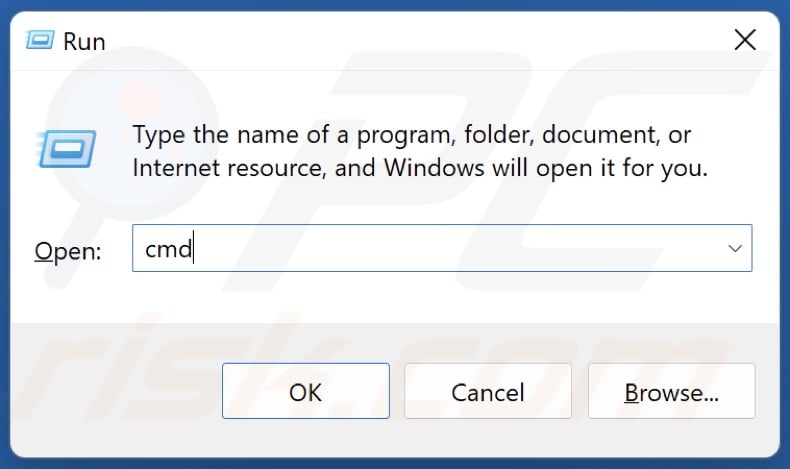
2. In the Run dialog box, type in CMD and hold down Ctrl+Shift+Enter keys to open the elevated Command Prompt.
3. In the Command Prompt window, type in the commands listed below and press the Enter key after typing in each one.
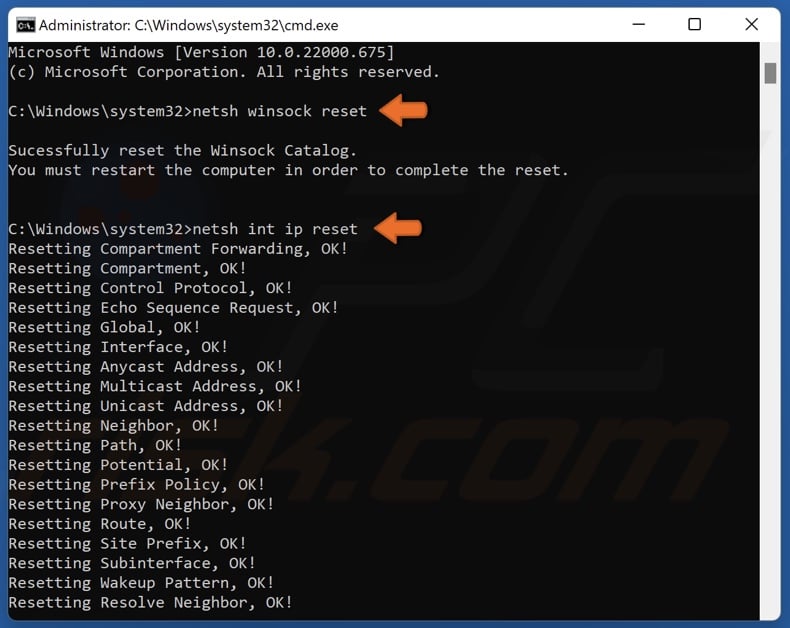
- netsh winsock reset
- netsh int ip reset

- ipconfig /release
- ipconfig /renew
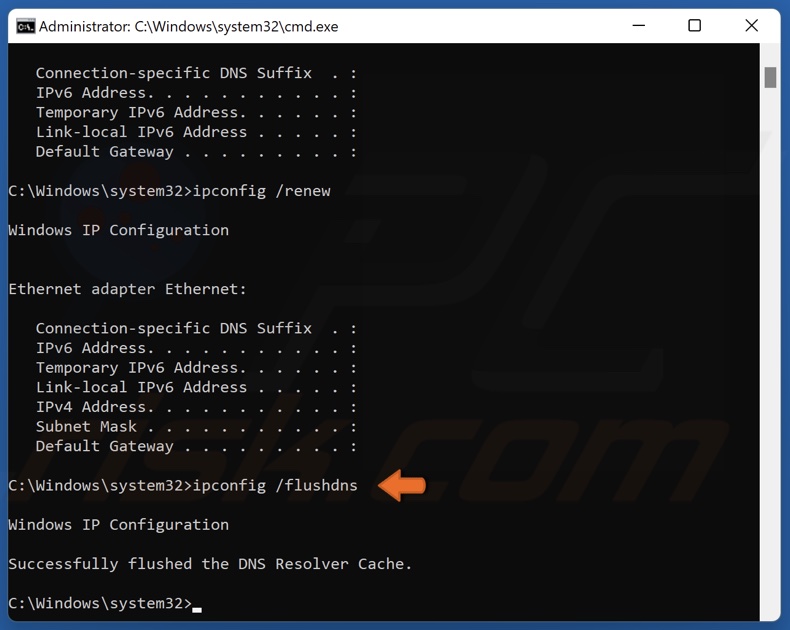
- ipconfig /flushdns
4. Close the Command Prompt and restart your PC.
Additionally, we recommend power-cycling your Internet router. Unplug your router from the power outlet and wait for a few minutes. Then, plug it back into the power outlet.
Method 2. Change DNS Server Adress
Switching to another DNS server often fixes various connection issues, including the error code VAN 68 in Valorant.
1. Hold down Windows+R keys to open Run.
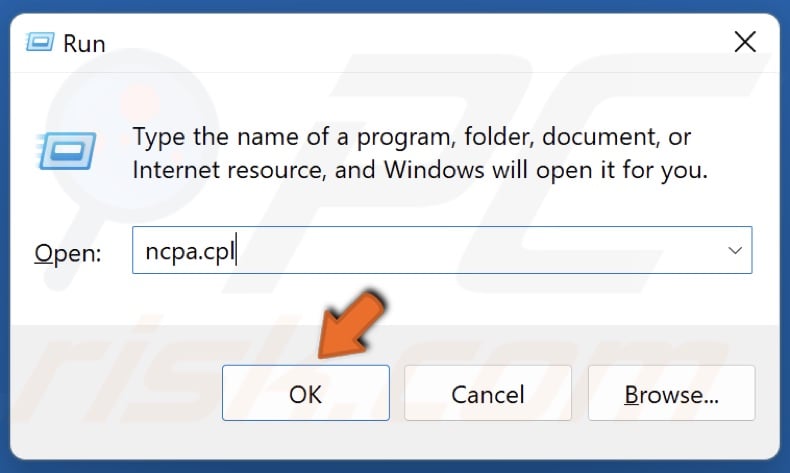
2. In the Run dialog box, type in ncpa.cpl and click OK.
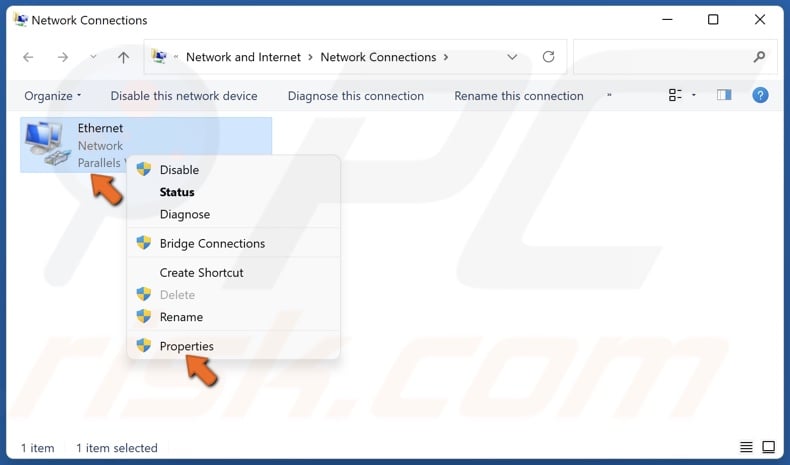
3. Right-click your network adapter and select Properties.
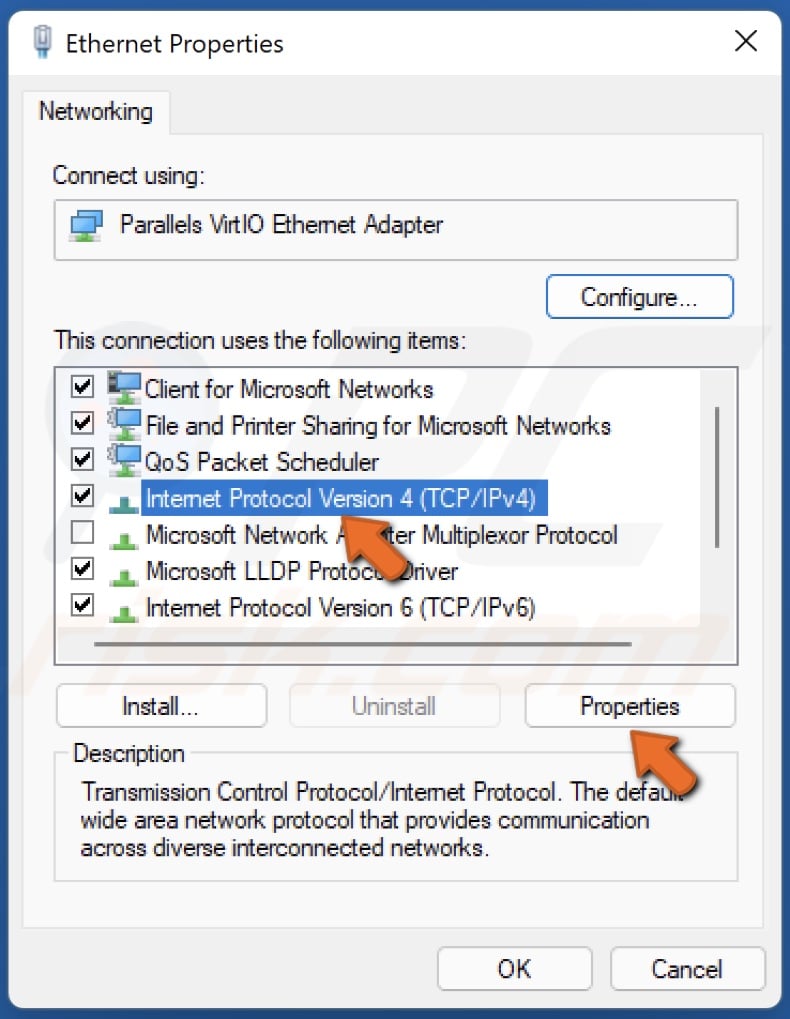
4. Select Internet Protocol Version 4 (TCP/IPv4) and click Properties.
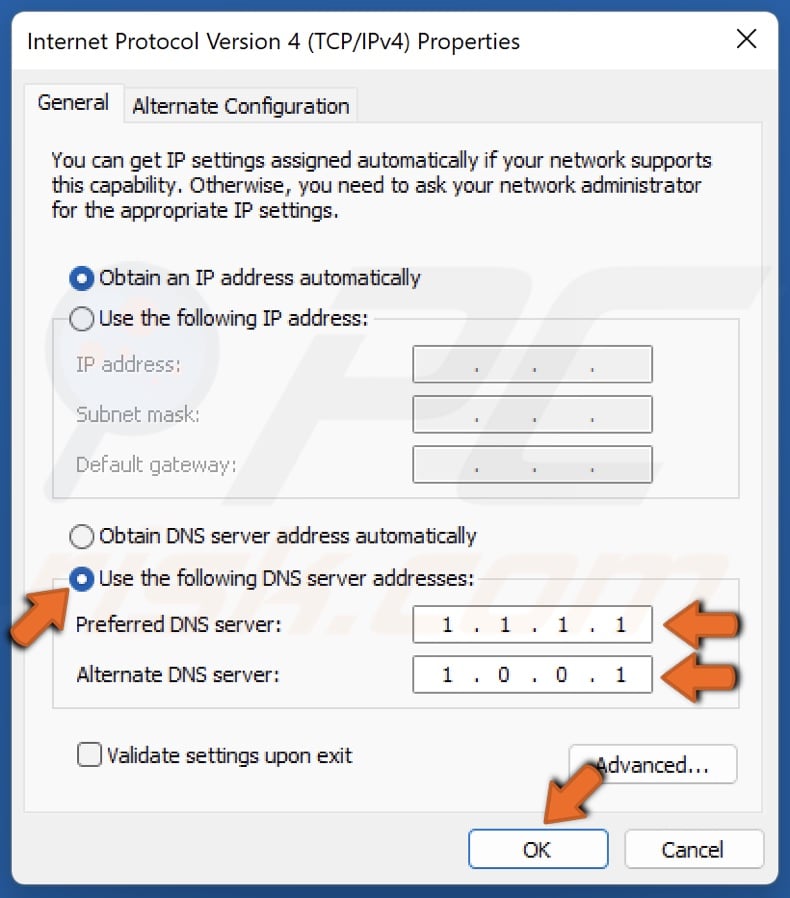
5. Tick Use the following DNS server addresses.
6. In the Preferred DNS server, type in 1.1.1.1
7. In the Alternate DNS server, type in 1.0.0.1
8. Click OK.
9. Restart your PC.
We recommend returning to the default DNS server if you’re already using a custom DNS server and still getting the VAN 68 error.
Method 3. Disable IPv6 Protocol
Because Valorant doesn’t fully support IPv6 (Internet Protocol version 6), disabling it might fix the error.
1. Hold down Windows+R keys to open Run.
2. In the Run dialog box, type in ncpa.cpl and click OK.
3. Right-click your network adapter and select Properties.
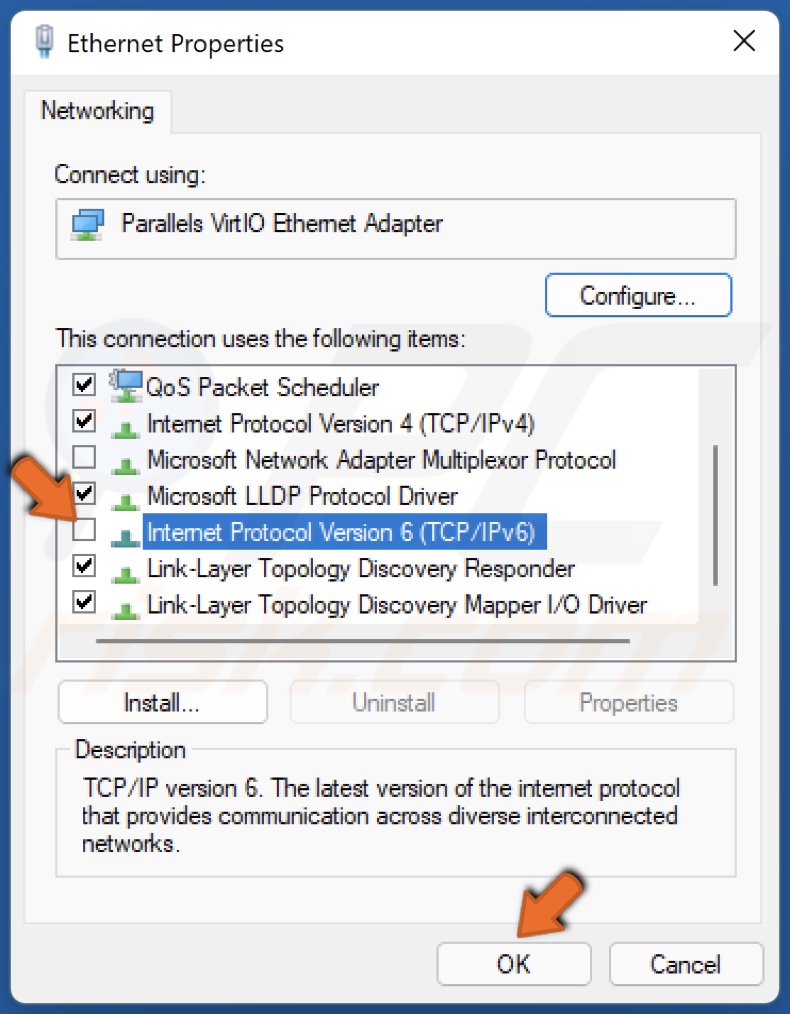
4. In the Networking tab, uncheck the checkbox next to Internet Protocol Version 6 (TCP/IPv6) and click OK.
Method 4. Allow Valorant through Windows Defender Firewall
The ports that connect Valorant’s servers could be blocked by Windows Defender Firewall (or third-party firewall). Adding Valorant to your firewall’s exceptions list might fix the VAN 68 error.
1. Hold down Windows+R keys to open Run.
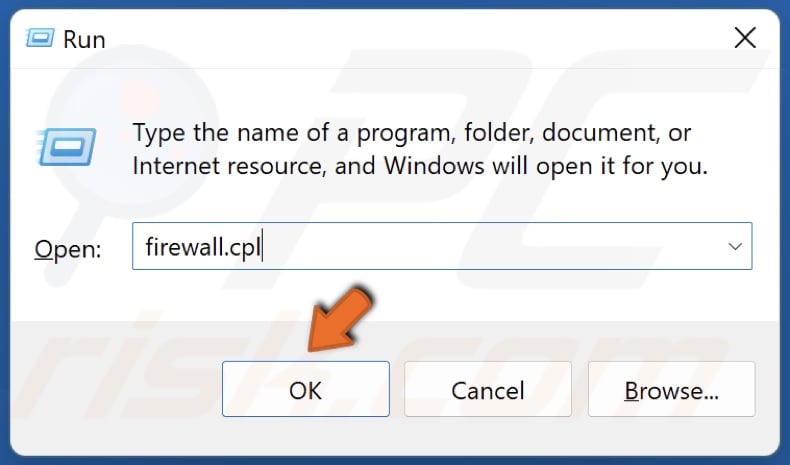
2. In the Run dialog box, type in firewall.cpl and click OK.
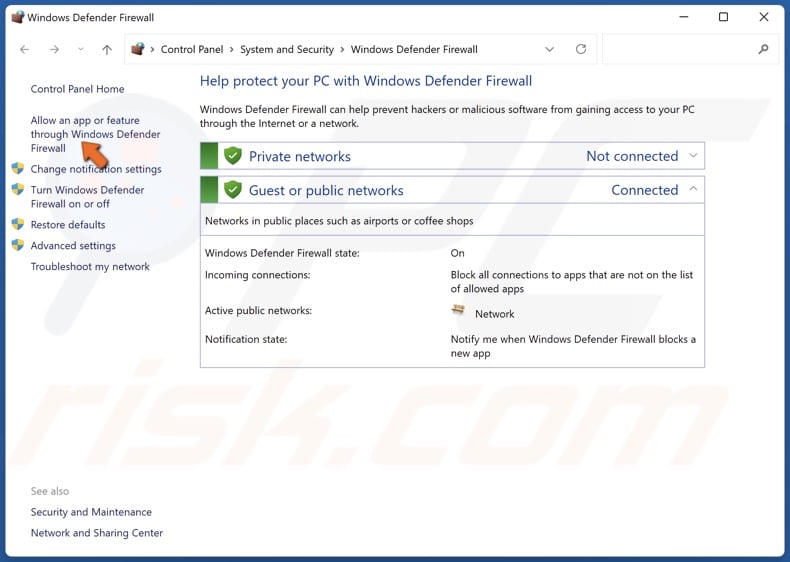
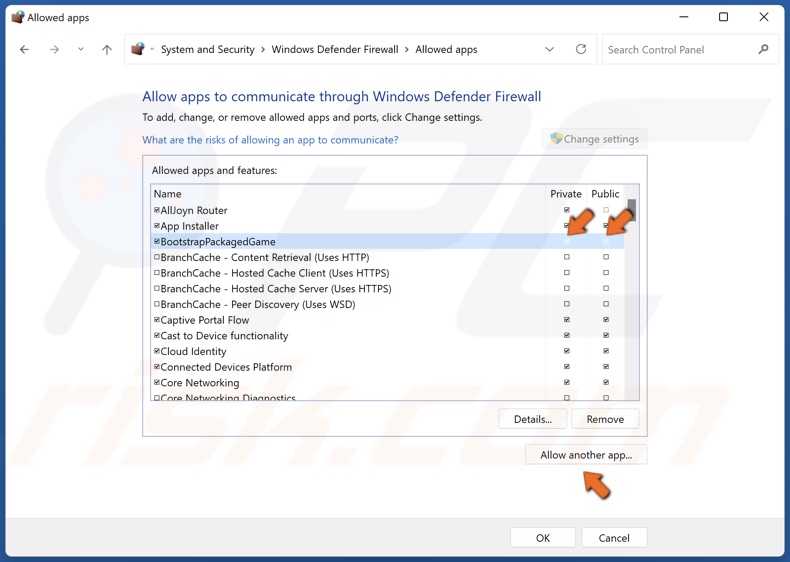
3. Click Allow an app or feature through Windows Defender Firewall.
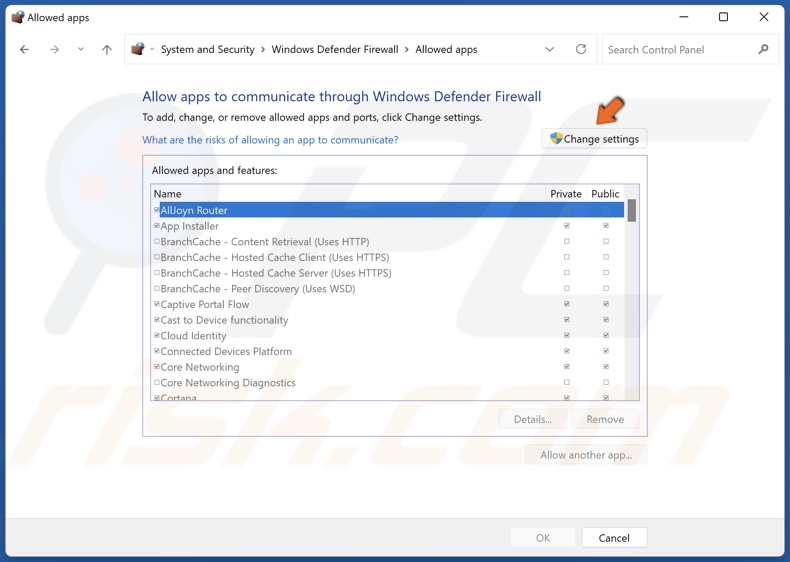
4. In the Allowed apps and features window, click Change settings.
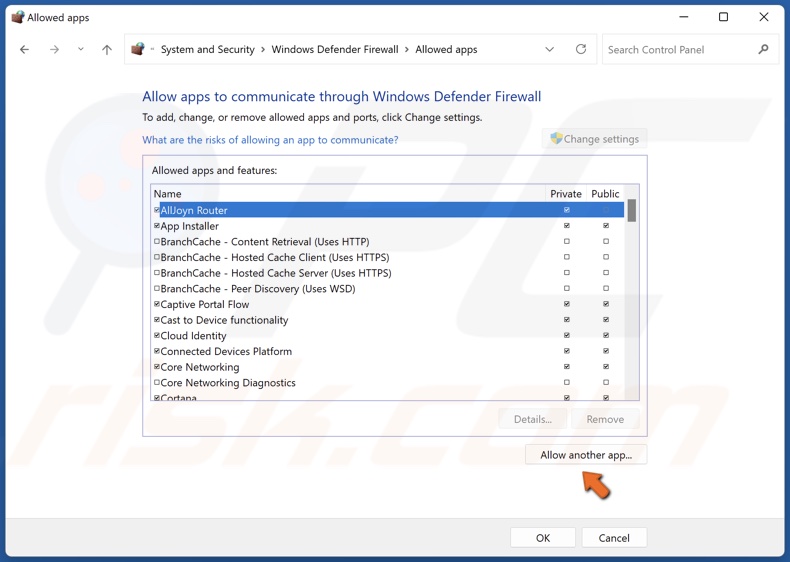
5. Click Allow another app.

6. Then, click Browse.

7. Navigate to C:\Riot Games\Riot Client
8. Select RiotClientServices.exe and click Open.
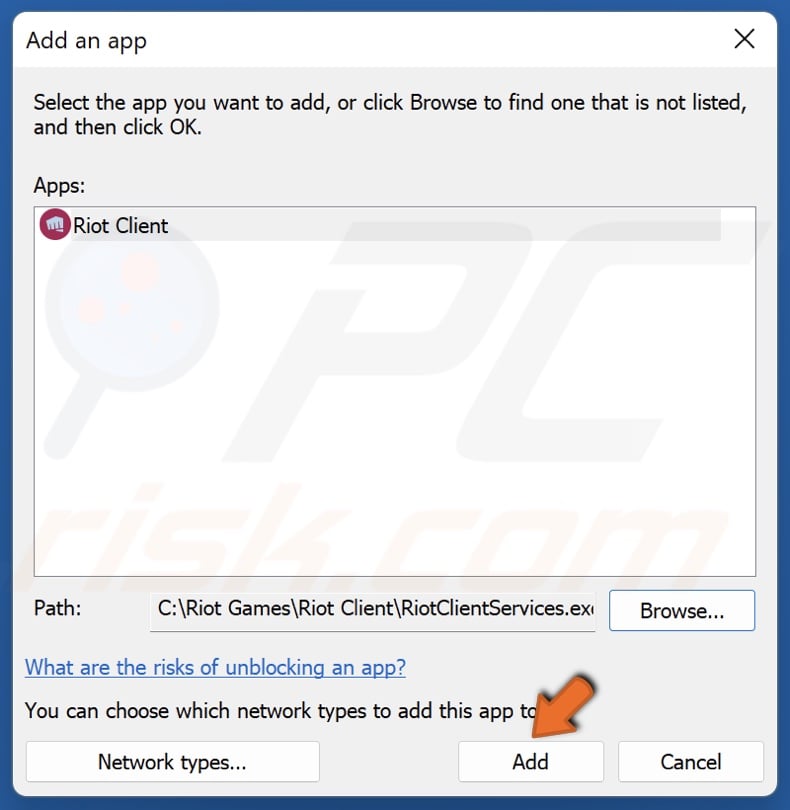
9. Click Add to add Riot Client.
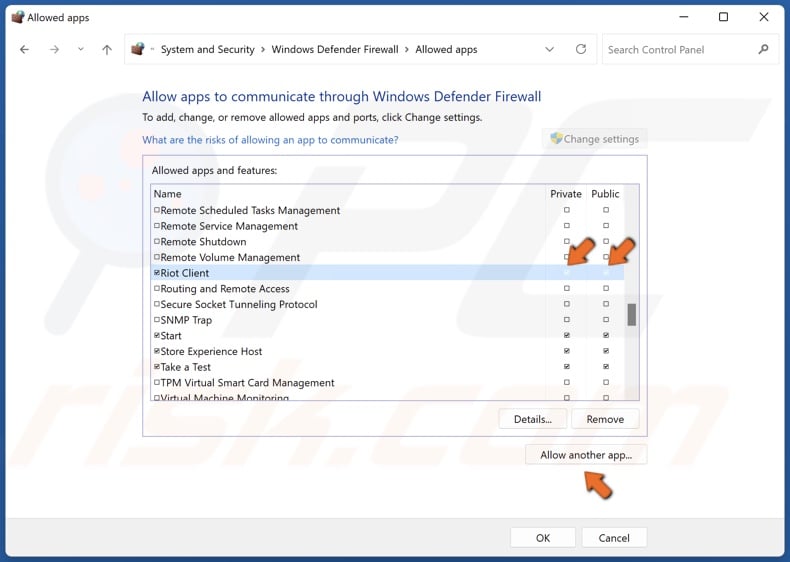
10. Mark the checkboxes in the Private and Public columns next to Riot Client.
11. Click Allow another app.
12. Click Browse.
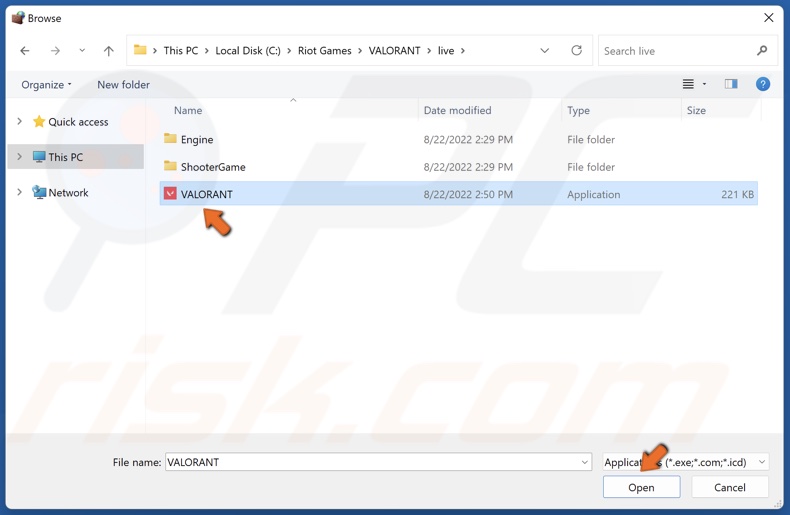
13. Navigate to C:\Riot Games\VALORANT\live
14. Select VALORANT.exe and click Open.
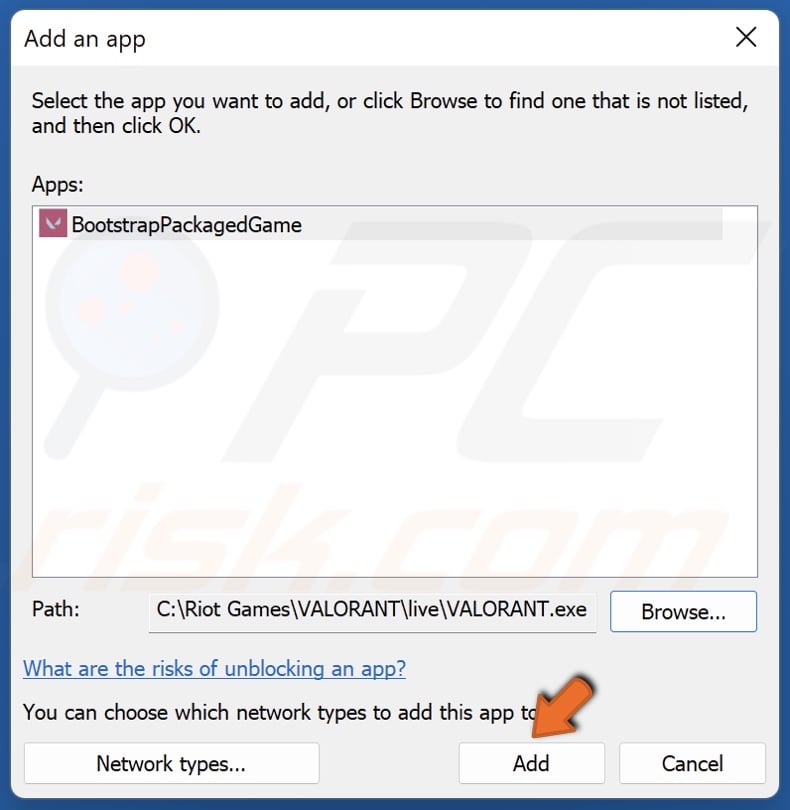
15. Click Add to add BootstrapPackagedGame.
16. Mark the checkboxes in the Private and Public columns next to BootstrapPackagedGame.
17. Click Allow another app.
18. Click Browse.
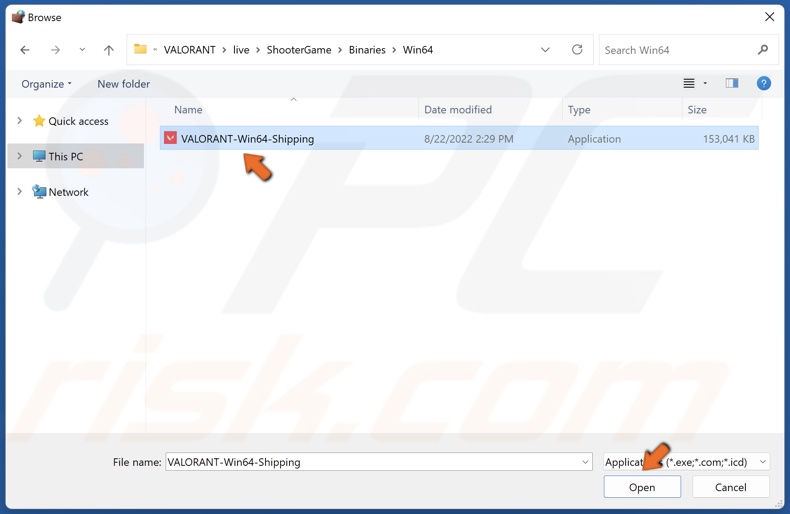
19. Navigate to C:\Riot Games\VALORANT\live\ShooterGame\Binaries\Win64
20 Select VALORANT-Win64-Shipping.exe and click Open.
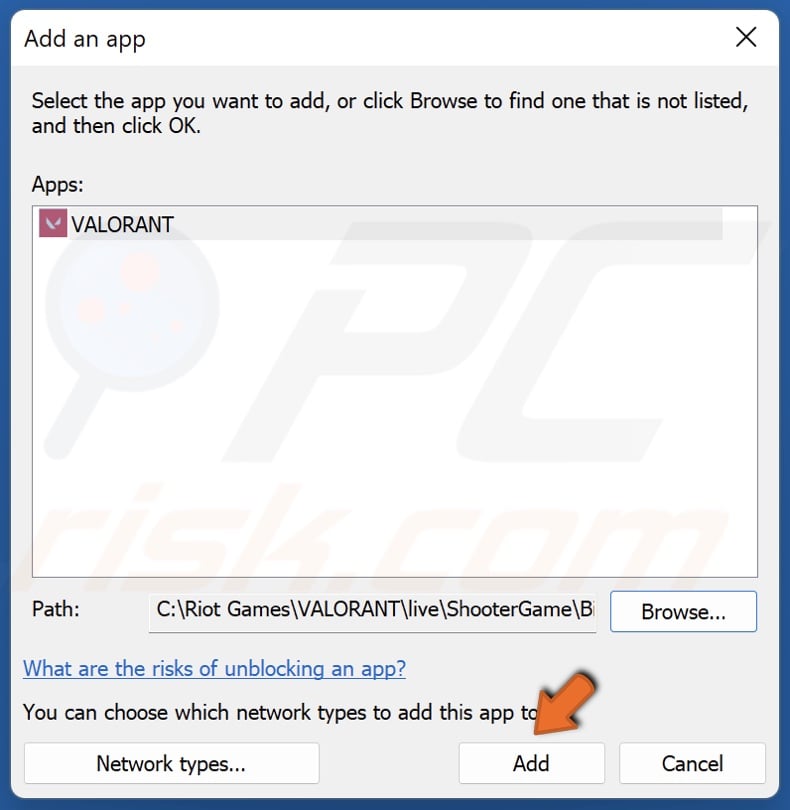
21. Click Add to add VALORANT.
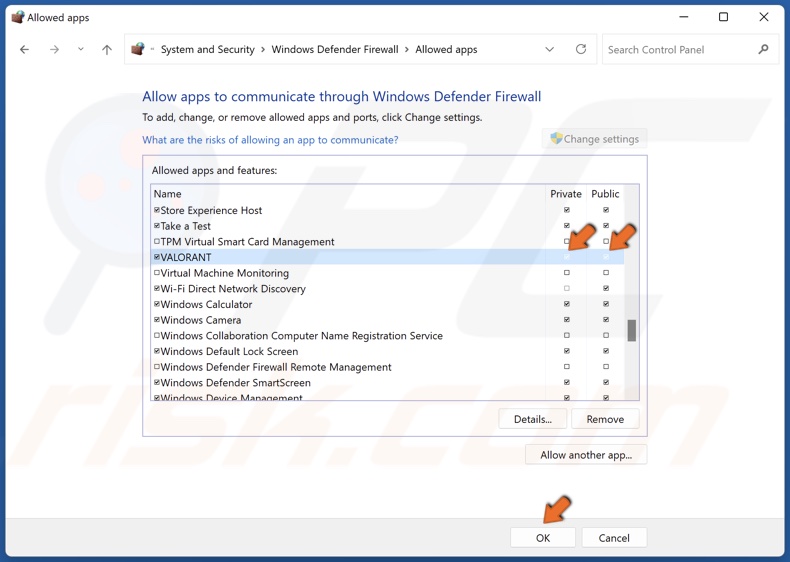
22. Mark the checkboxes in the Private and Public columns next to VALORANT, and click OK.
Method 5. Set Proxy Settings to Automatic
A custom proxy server might cause the error, so setting the proxy settings to automatic (the default setting in Windows) might fix the error.
1. Hold down Windows+R keys to open Run.
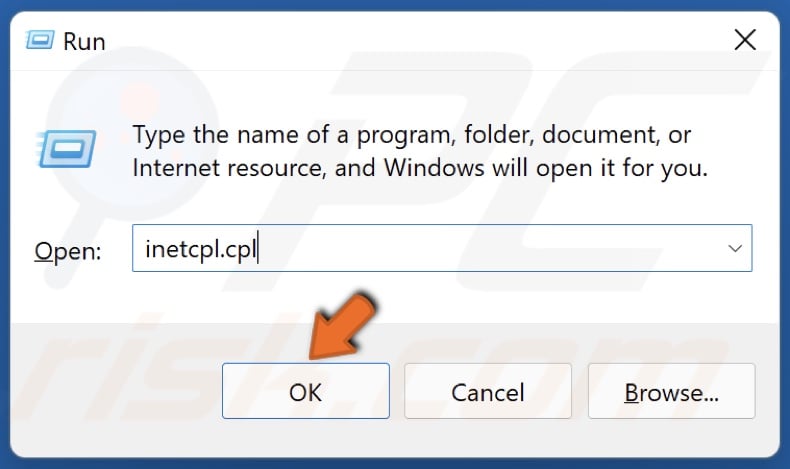
2. In the Run dialog box, type in inetcpl.cpl and click OK.
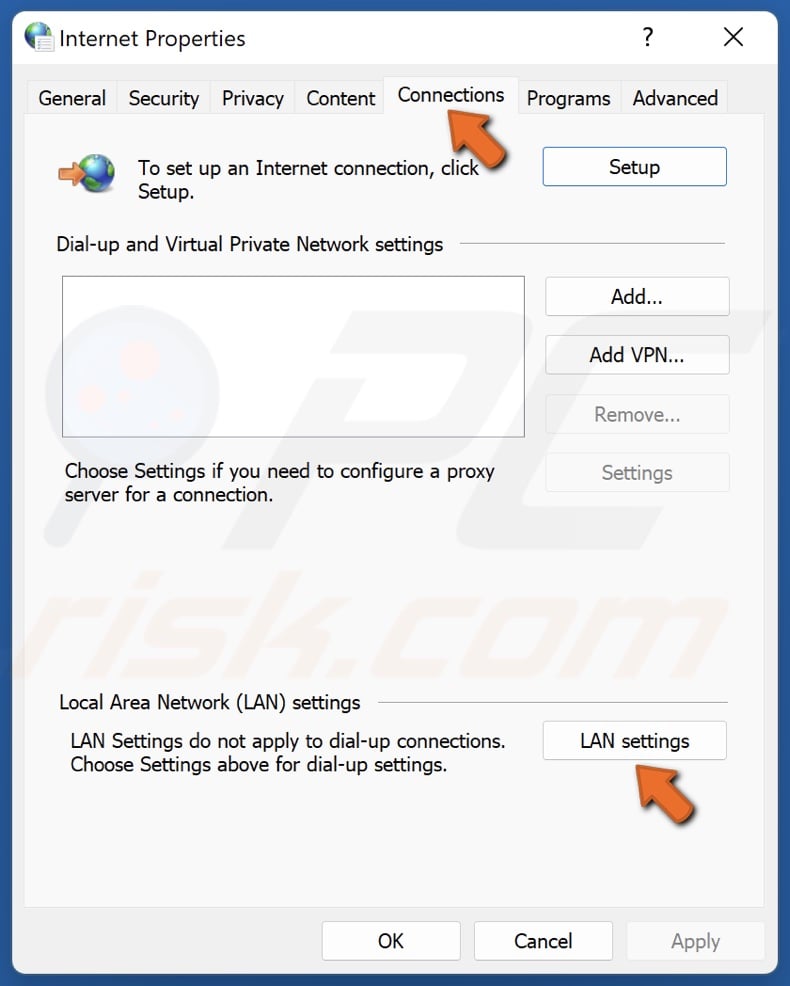
3. Select the Connections tab.
4. Click LAN settings.
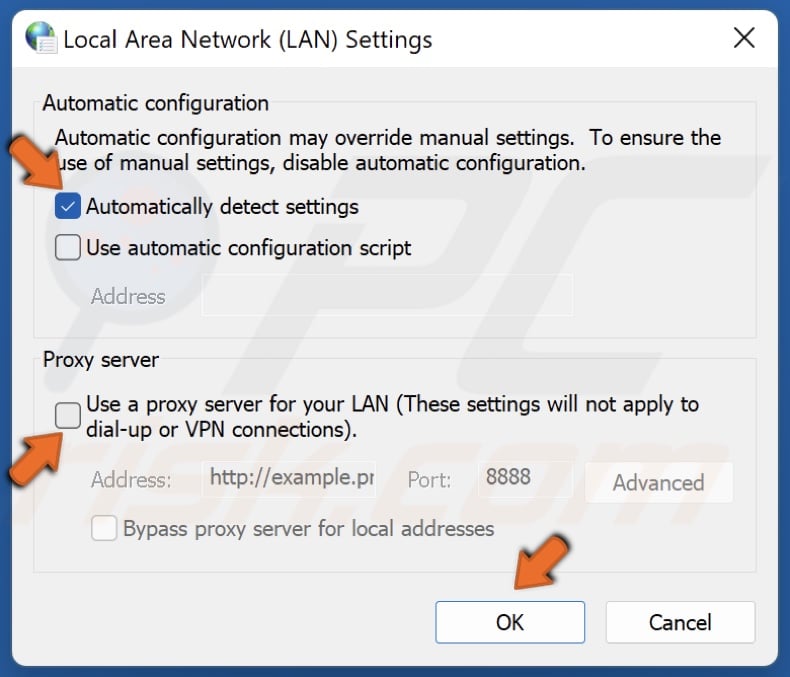
5. Unmark the Use a proxy server for your LAN checkbox.
6. Mark the Automatically detect settings checkbox, and click OK.
Method 6. Reinstall Riot Vanguard
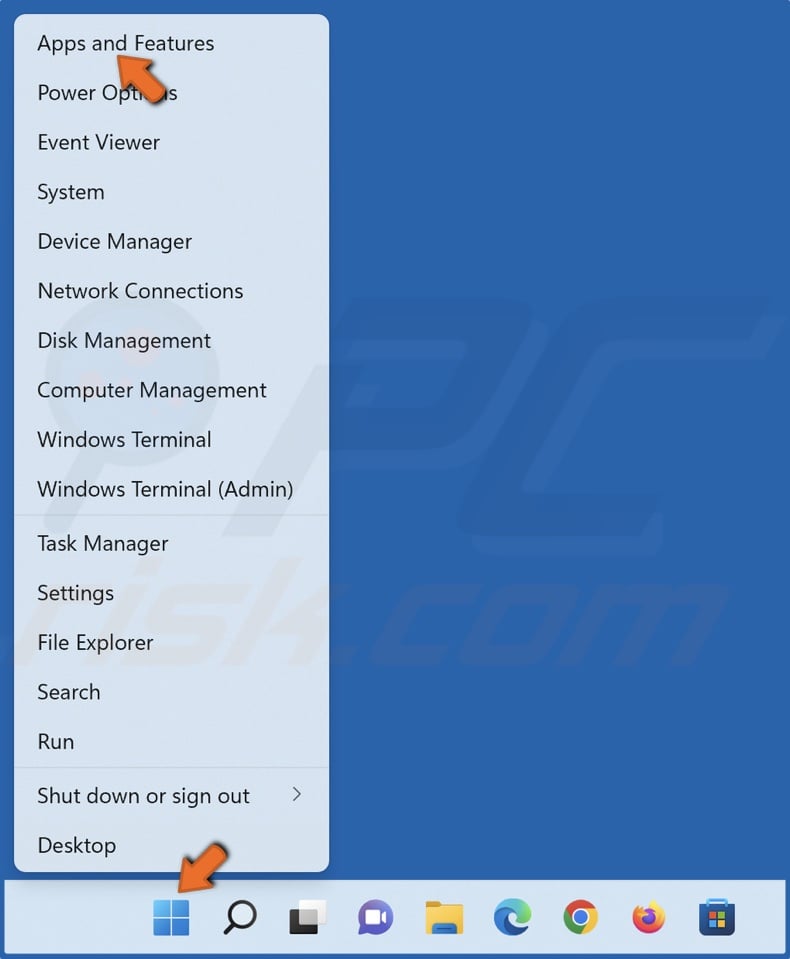
1. Right-click Start and select Apps and Features.
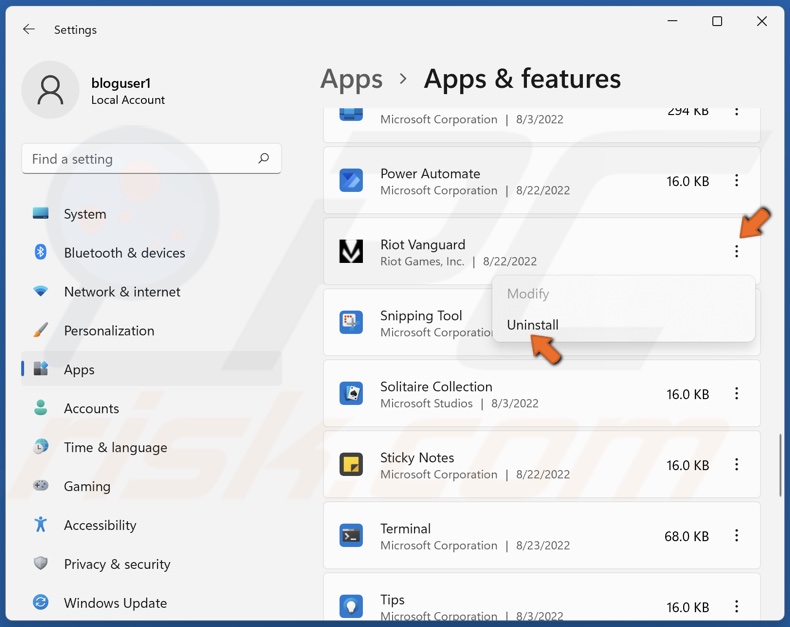
2. Scroll through the app list and find Riot Vanguard.
3. Click Uninstall.
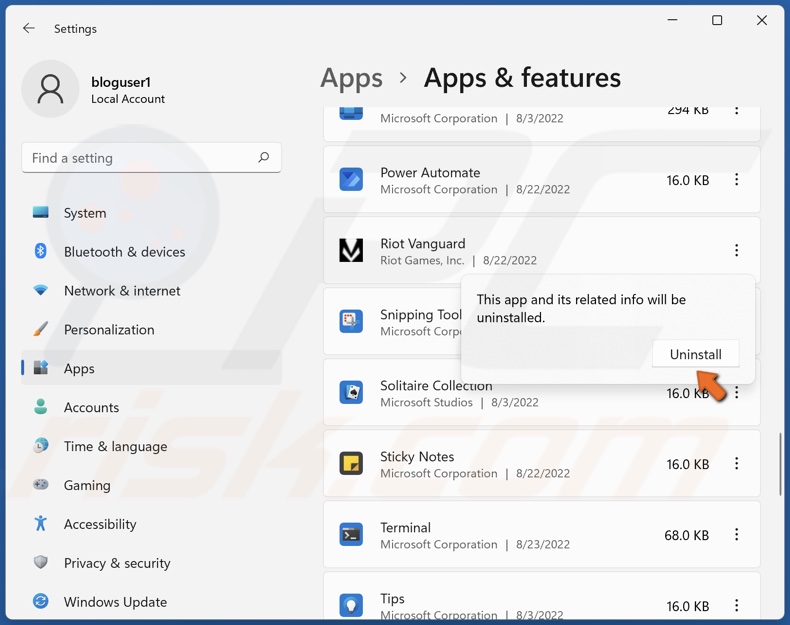
4. Click Uninstall again.
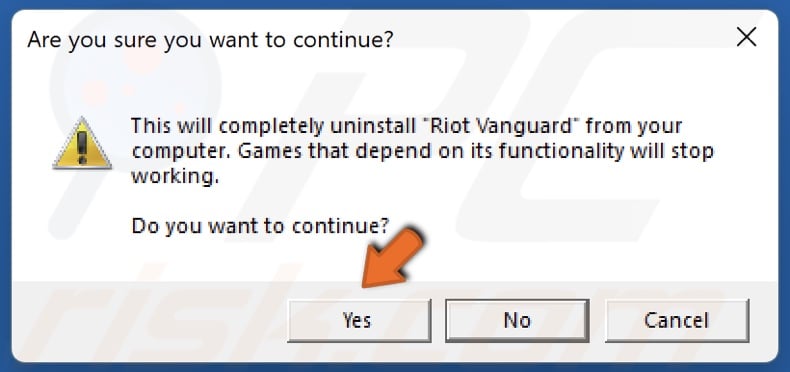
5. Click Yes to continue.
6. Launch Valorant and Riot Vanguard will be reinstalled automatically.
Method 7. Repair Valorant Installation
Corrupted game files may cause connectivity issues in Valorant. Repairing the game installation may fix the VAN 68 error.
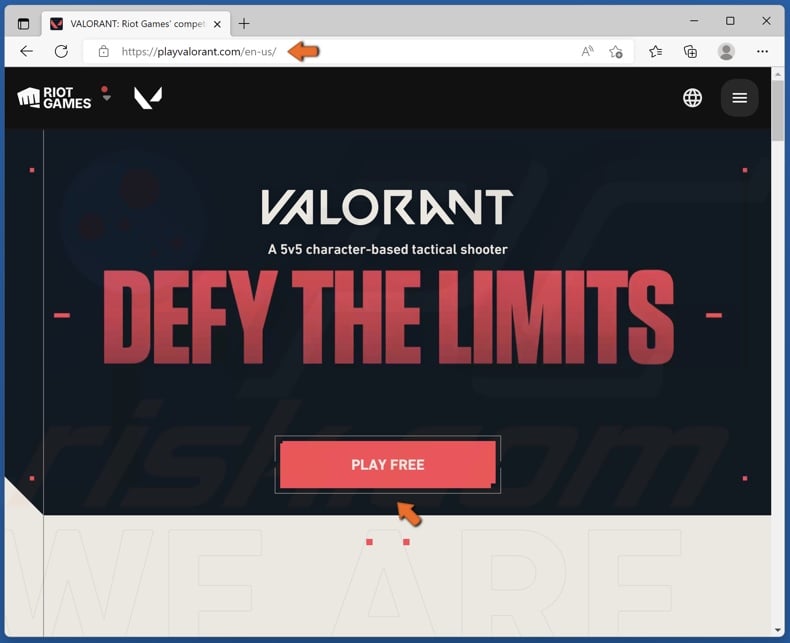
1. Open your browser and go to the Valorant website.
2. Click Play Free.
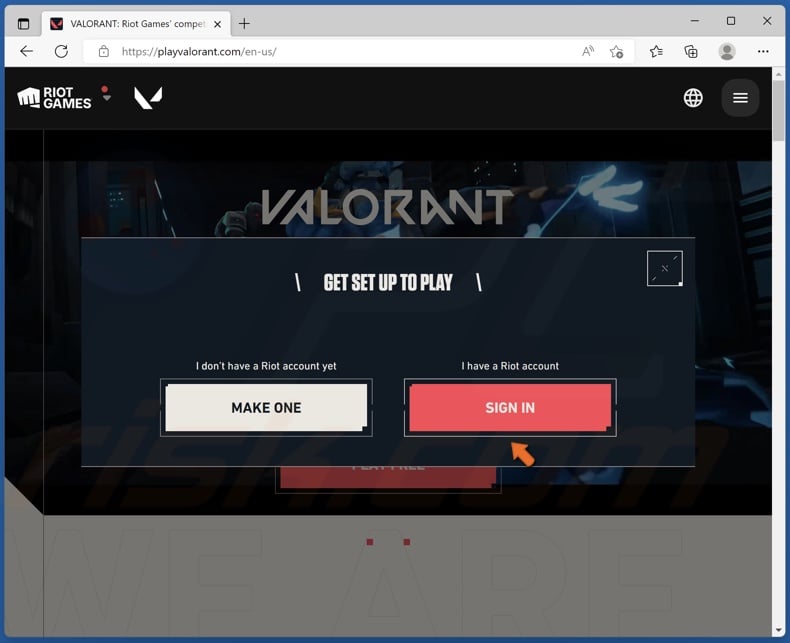
3. Click Sign in.
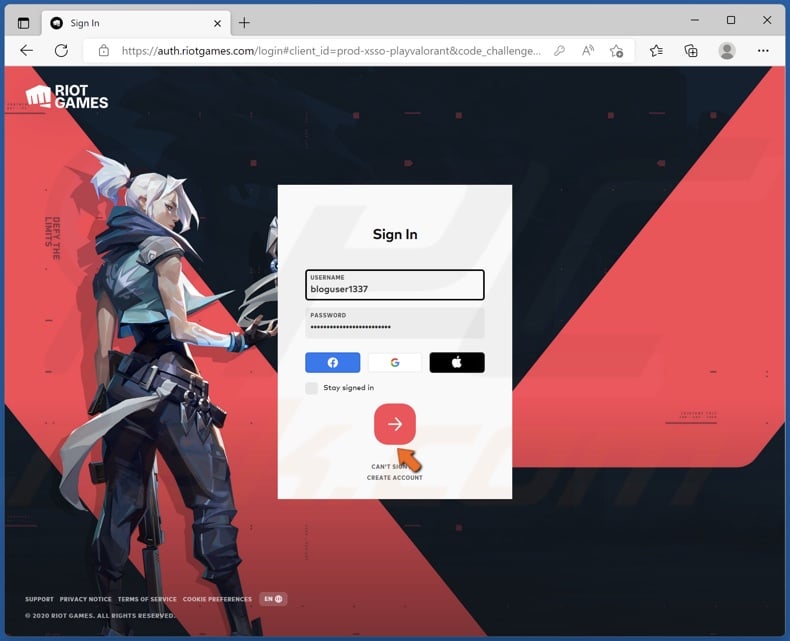
4. Enter your login credentials and click Sign in.
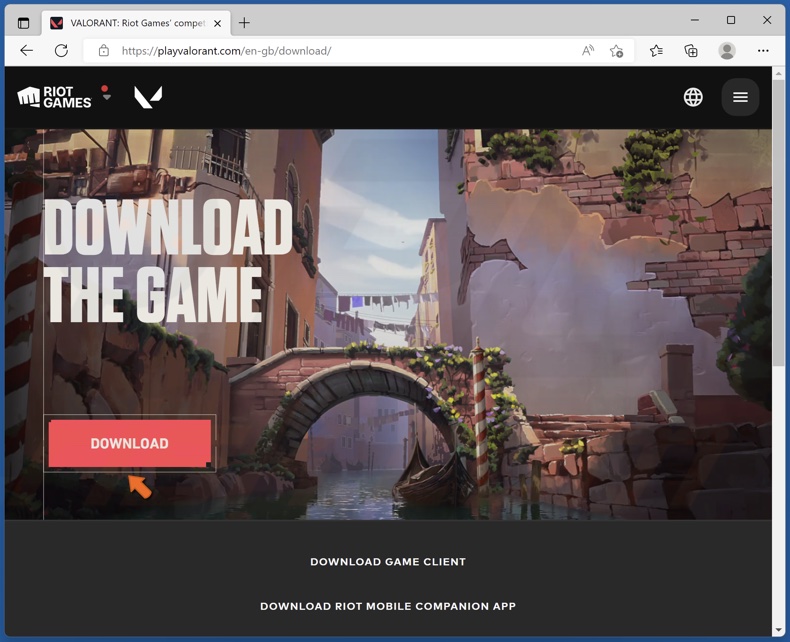
4. Click Download.
5. Run Install VALORANT.exe once it’s downloaded.
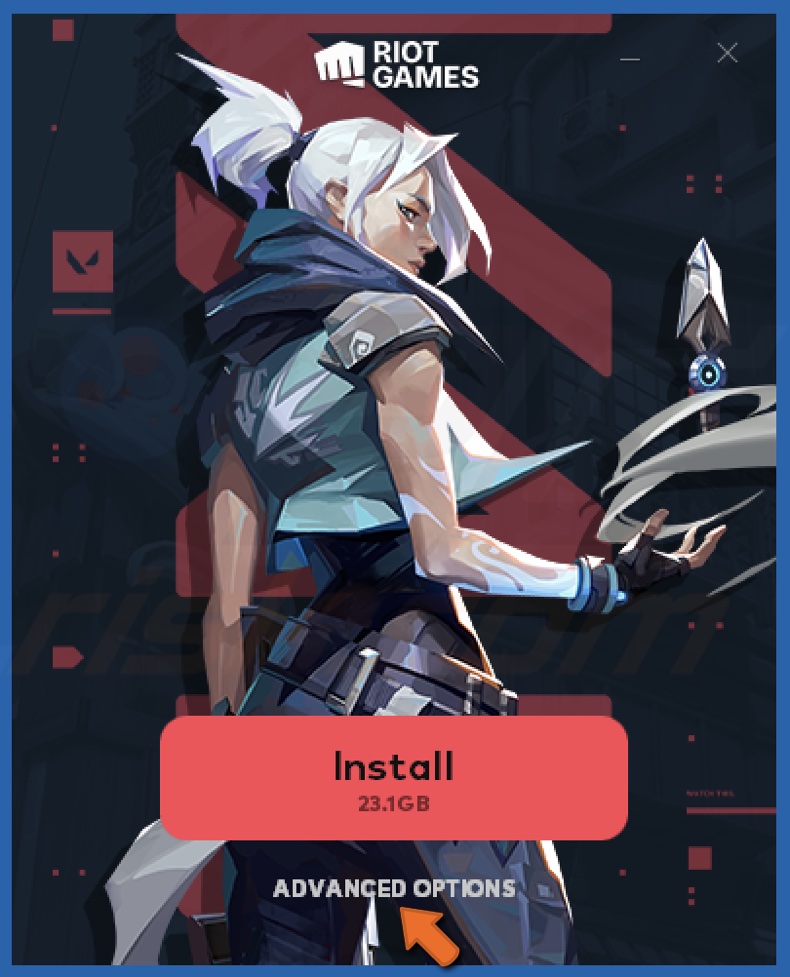
6. Click Advanced Options.
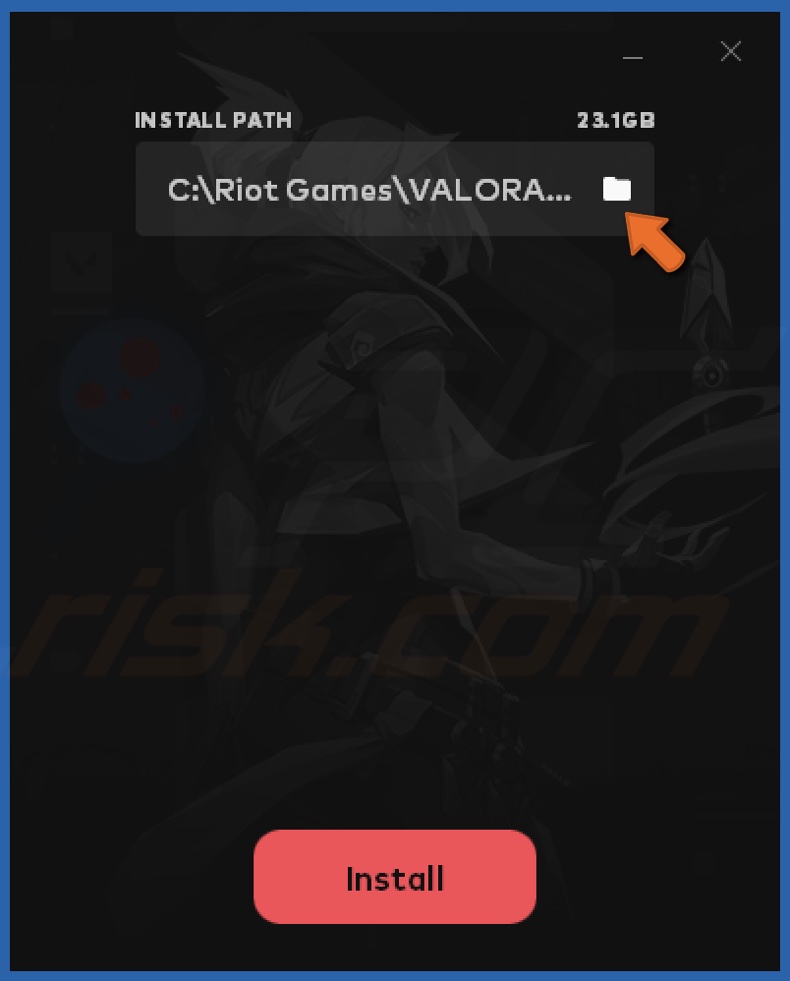
7. Select the Install Path.
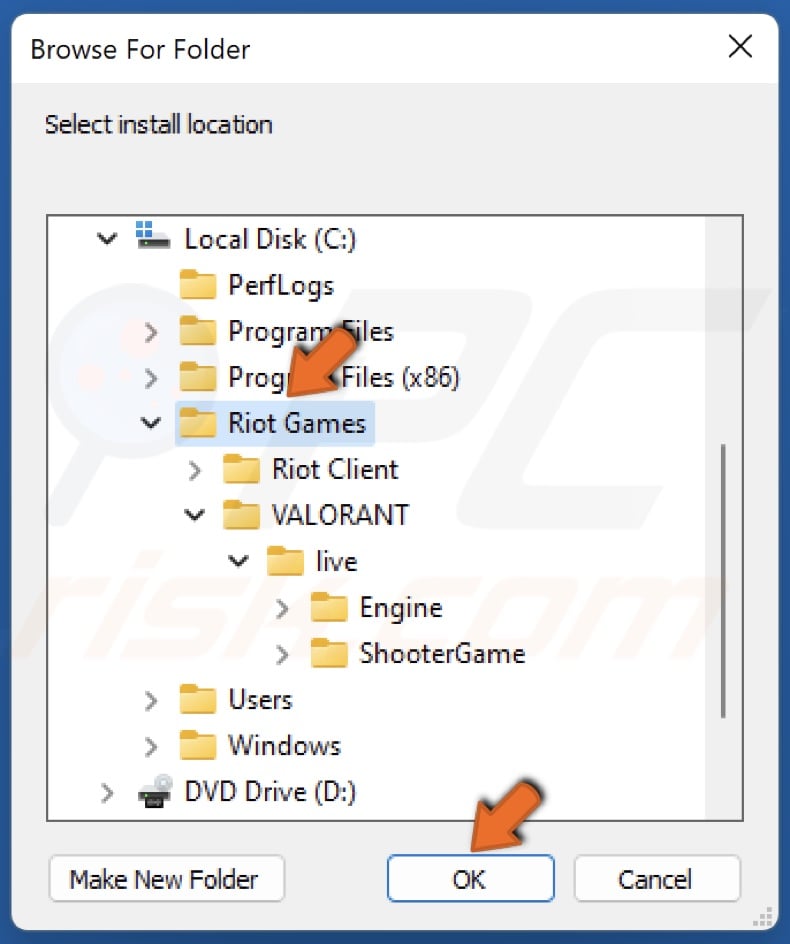
8. Select the Riot Games folder and click OK. Make sure to select the correct destination folder. Otherwise, Valorant won’t be repaired.
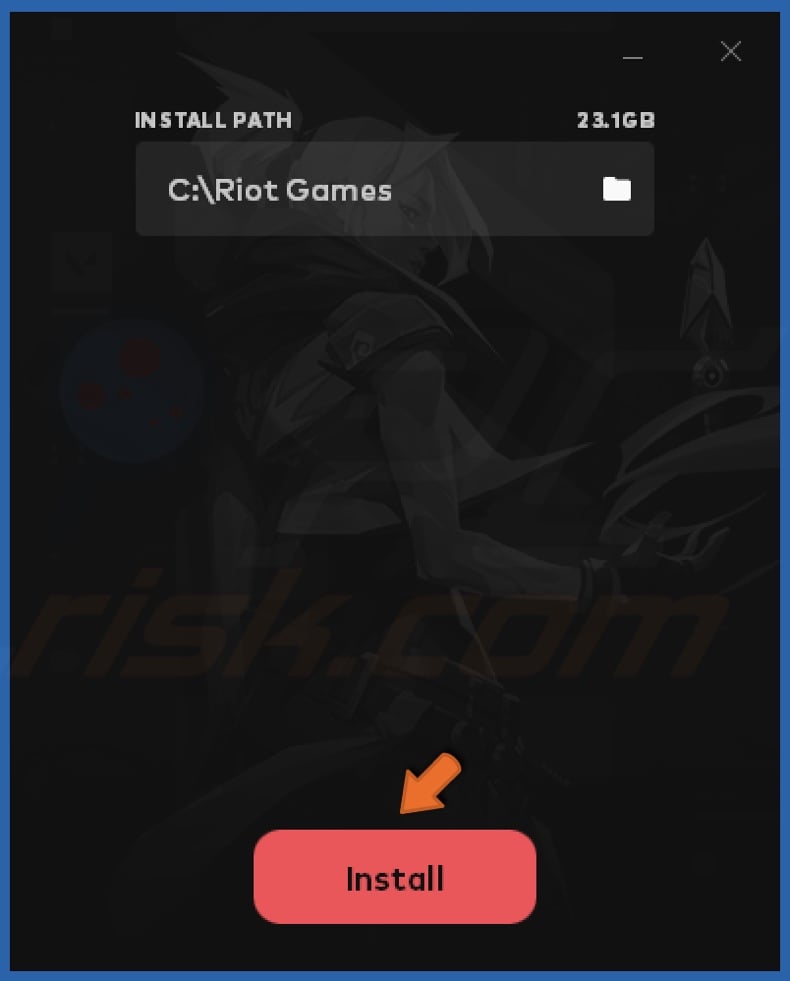
7. Click Install. The game will be repaired automatically.
Did this article help you fix Error Code VAN 68 in Valorant? Let us know by leaving a comment below.
Share:

Rimvydas Iliavicius
Researcher, author
Rimvydas is a researcher with over four years of experience in the cybersecurity industry. He attended Kaunas University of Technology and graduated with a Master's degree in Translation and Localization of Technical texts. His interests in computers and technology led him to become a versatile author in the IT industry. At PCrisk, he's responsible for writing in-depth how-to articles for Microsoft Windows.
▼ Show Discussion