How to Fix Error 740 "We can't install this printer right now"

Get Free Scanner and check your computer for errors
Fix It NowTo fix found issues, you have to purchase the full version of Combo Cleaner. Free trial available. Combo Cleaner is owned and operated by Rcs Lt, the parent company of PCRisk.com read more.
How to Fix Error 740 When Adding a Printer on Windows 11
Many Windows 11 users reported getting Error 740 when adding a printer to their PCs. If you’re also getting this error, follow the instructions in this article to fix it.
The entire error message reads as follows:
That didn’t work. We can’t install this printer right now. Try again later or contact your network administrator for help. Error: #740.
What Causes This Error?
- Insufficient privilages. In most cases, Error 740 occurs if users don’t have sufficient administrative privileges to install the printer wizard. However, this error can occur even when logged in with an administrator account.
- Corrupted and incompatible printer drivers. In some cases, Error 740 occurs for printers that use Type 3 PCL6 x64 drivers.
- A broken printer server.
Video on How to Fix Error 740 "We can’t install this printer right now"
Table of Contents:
- Introduction
- Method 1. Run the Printer Installation Wizard via Command Prompt
- Method 2. Disable User Account Control (UAC)
- Method 3. Create a New Administrator Account
- Video on How to Fix Error 740 “We can’t install this printer right now”
Download Computer Malware Repair Tool
It is recommended to run a free scan with Combo Cleaner - a tool to detect viruses and malware on your device. You will need to purchase the full version to remove infections. Free trial available. Combo Cleaner is owned and operated by Rcs Lt, the parent company of PCRisk.com read more.
Method 1. Run the Printer Installation Wizard via Command Prompt
This method is known to fix Error #740 for most users. It involves using Command Prompt to run the printer wizard with administrative privileges manually.
1. Hold down Windows+R keys to open Run.
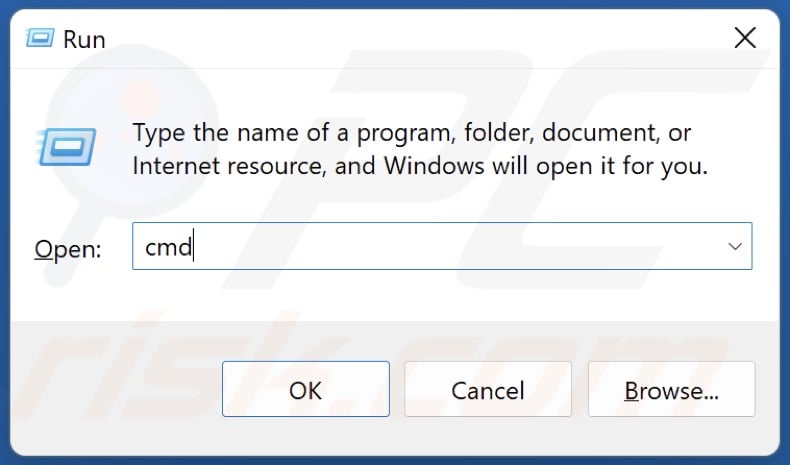
2. In the Run dialog box, type in CMD and hold down Ctrl+Shift+Enter keys to open Command Prompt as an administrator.
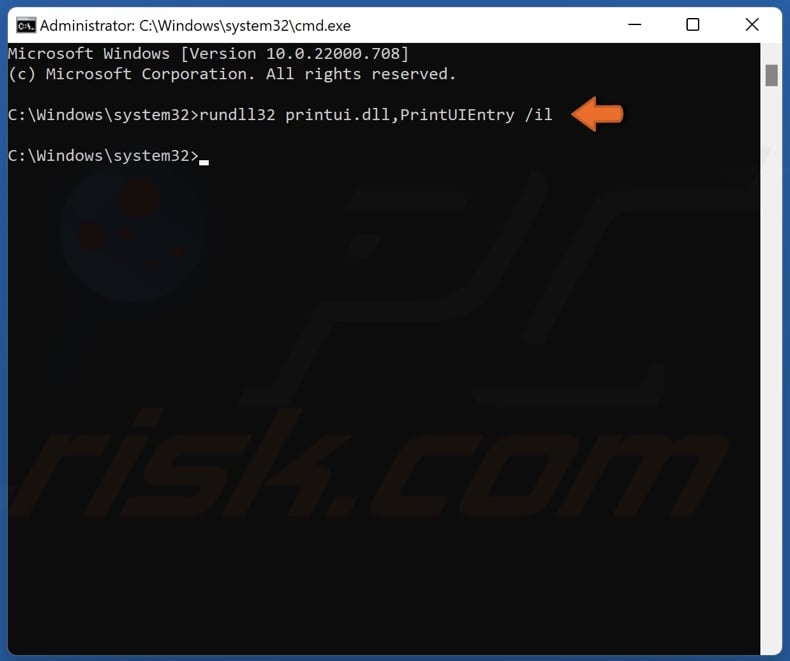
3. In the Command Prompt window, type in
rundll32 printui.dll,PrintUIEntry /il
and press Enter.
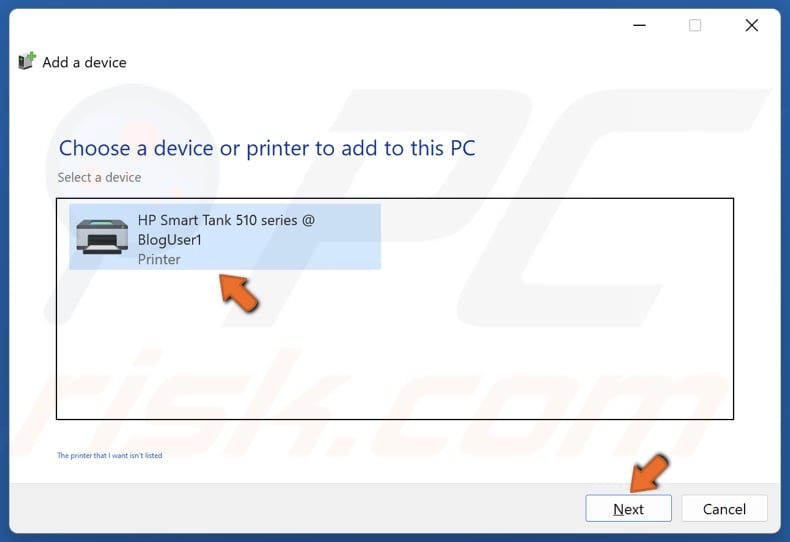
4. Select your printer and click Next. If your printer doesn’t show up, click The printer that I want isn’t listed and choose how to find your printer, and click Next.
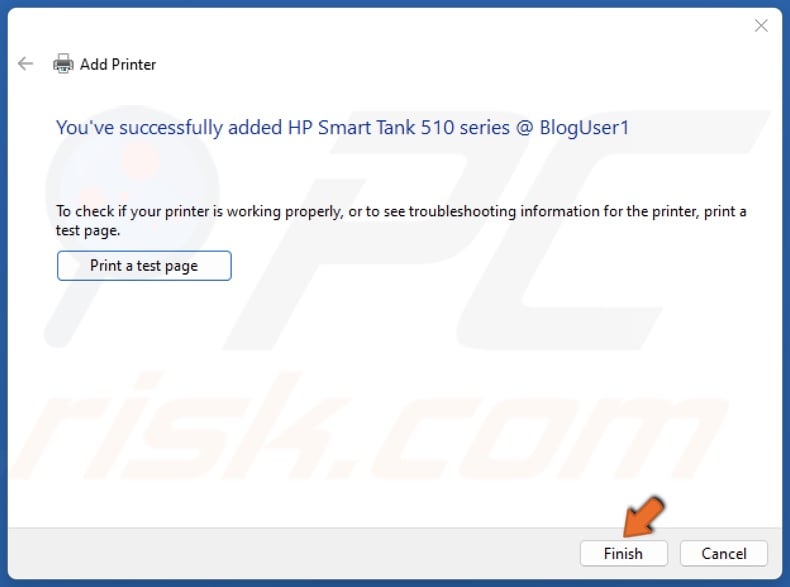
5. The setup will install the necessary files. Then, click Finish.
Method 2. Disable User Account Control (UAC)
The UAC could be why you get Error 740 when adding a printer. Try disabling the UAC. Then, add the printer, and reenable it again.
1. Hold down Windows+R keys to open Run.
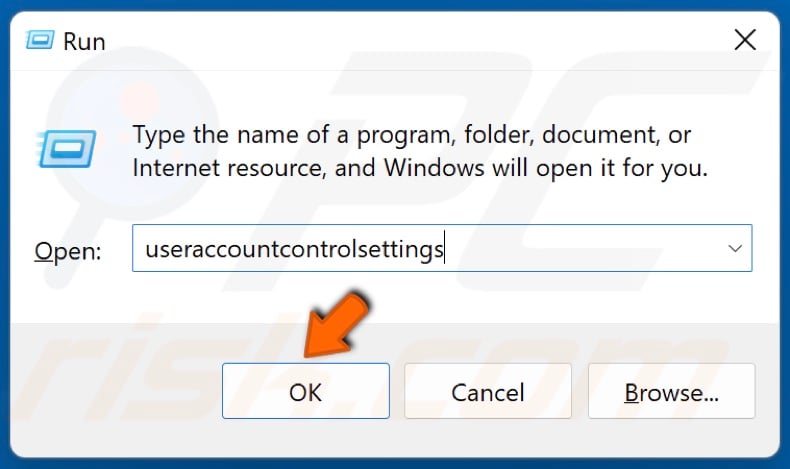
2. In the Run dialog box, type in useraccountcontrolsettings and click OK.
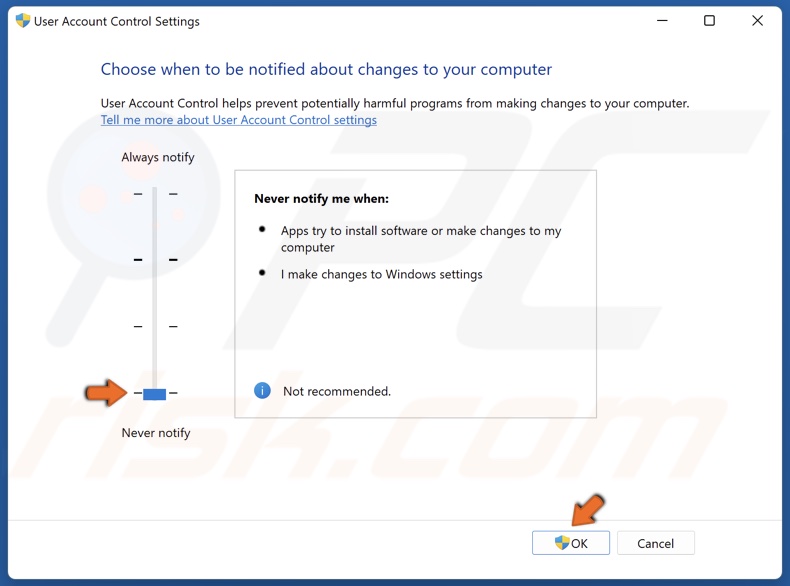
3. In the resulting User Account Control Settings window, move the slider to the bottom to Never, and click OK to save the changes.
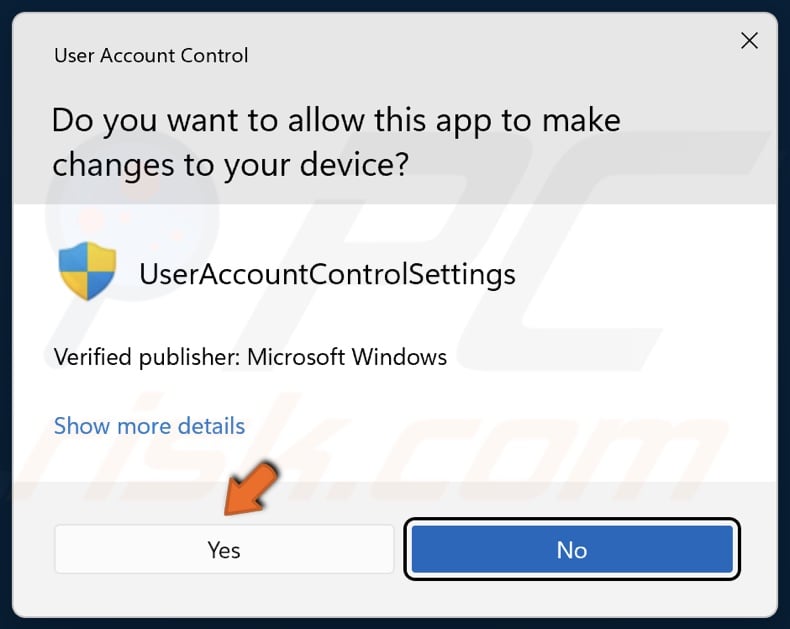
4. Click Yes when prompted by the User Account Control.
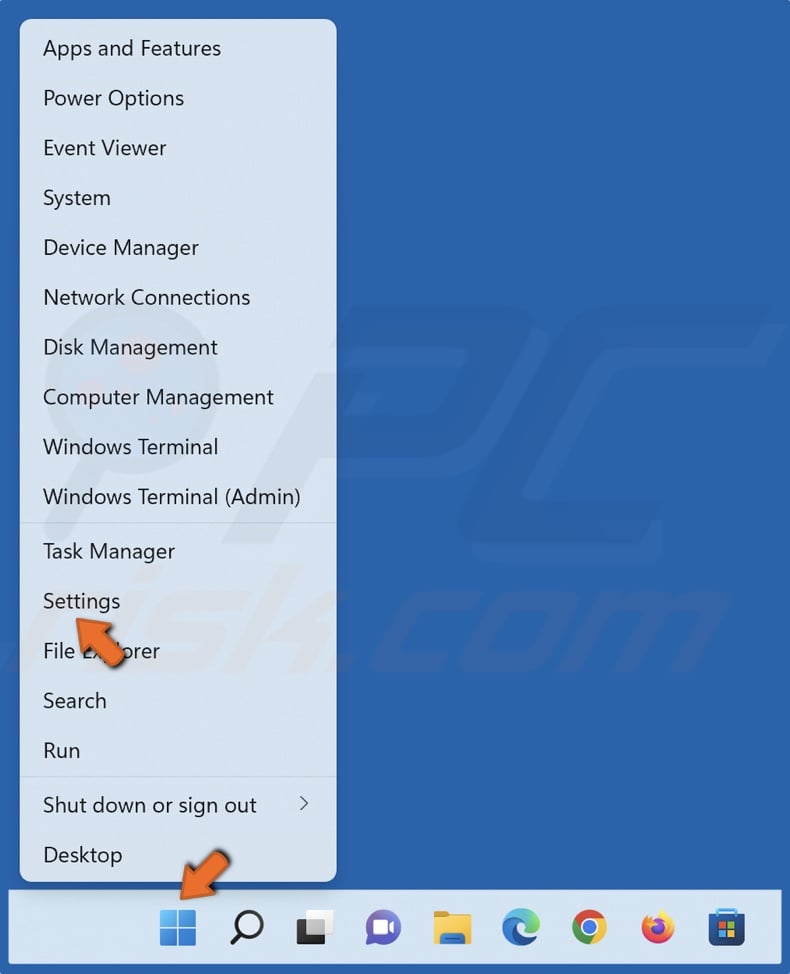
5. Right-click Start and click Settings.
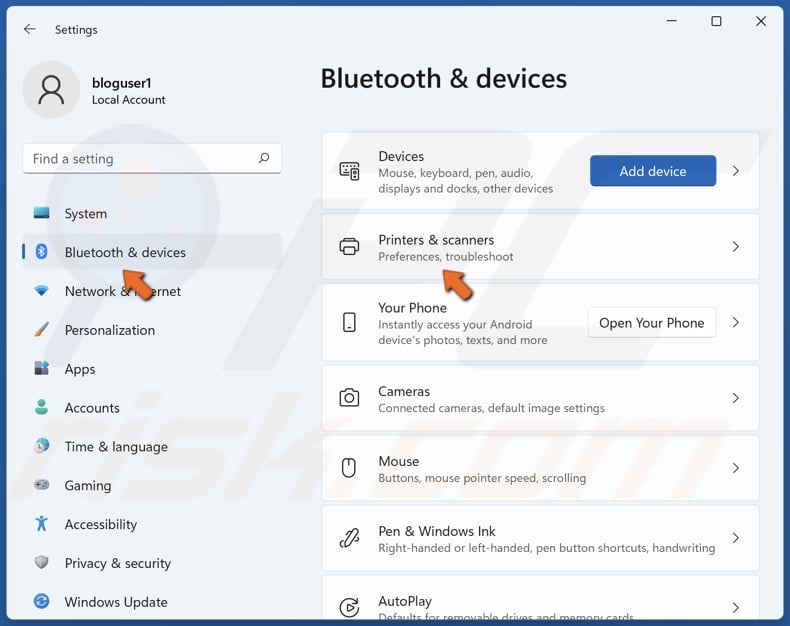
6. In the left pane, select Bluetooth & devices, and click Printers & scanners.
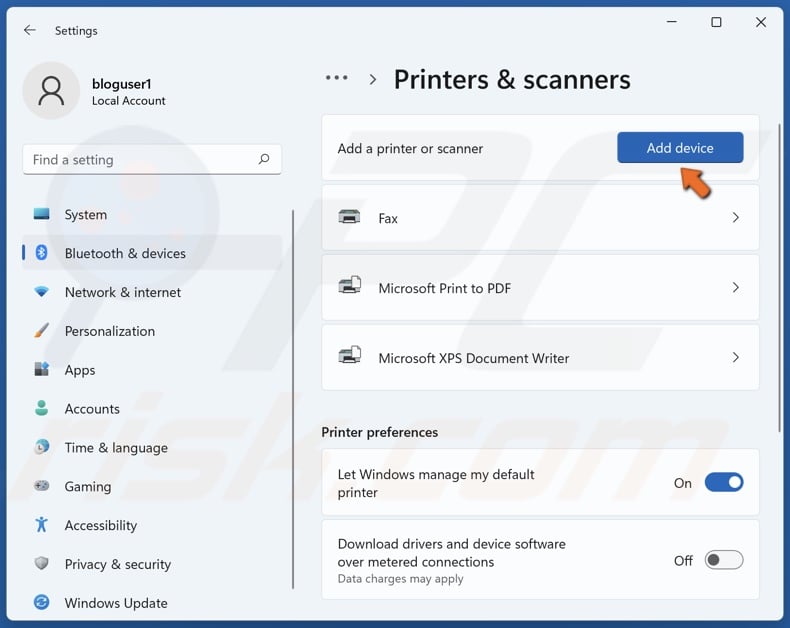
7. Click Add device.
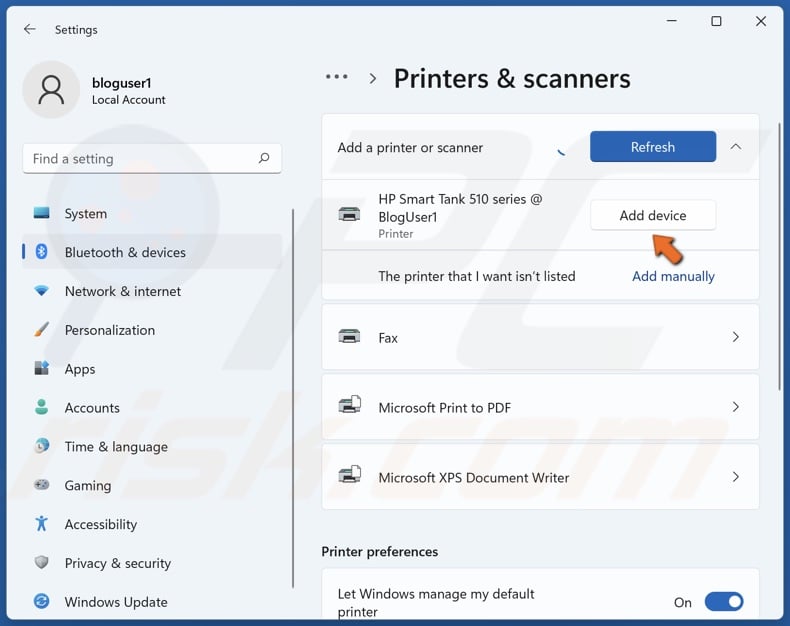
8. When your printer name shows up, click Add device.
Method 3. Create a New Administrator Account
Error 740 may occur due to a glitch or a misconfiguration in your account. You can try creating a new local account and then try adding your printer.
1. Right-click Start and select Settings.

2. In the left pane, select Accounts and click Family & other users.
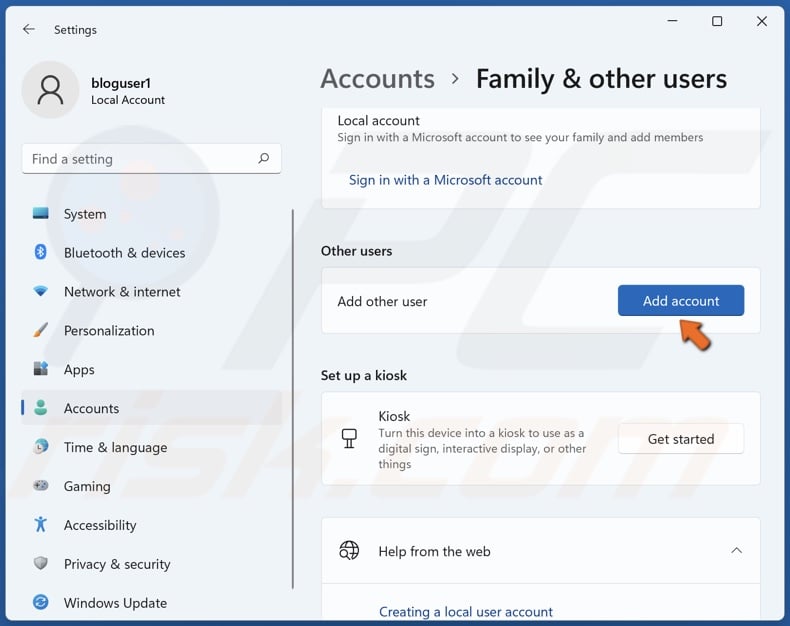
3. In the Other users section, click Add account.
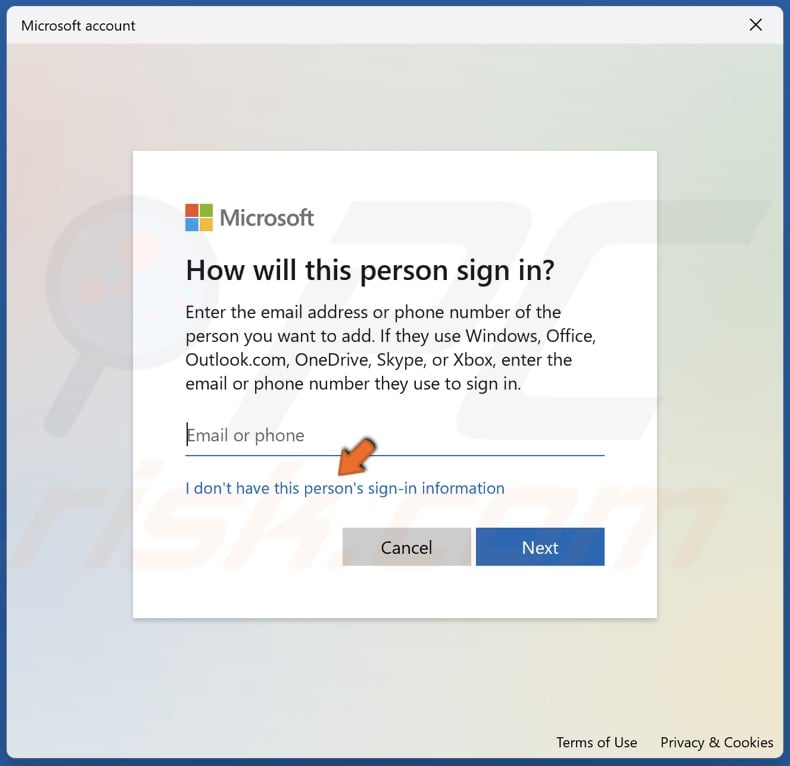
4. A Microsoft account window will open. Click I don’t have this person’s sign-in information.
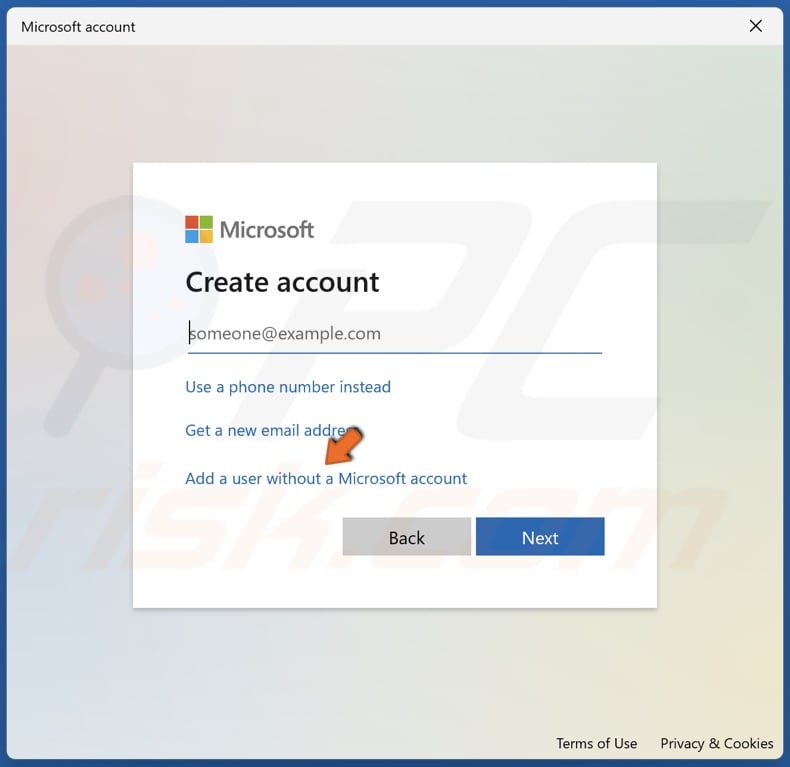
5. Then, click Add a user without a Microsoft account.
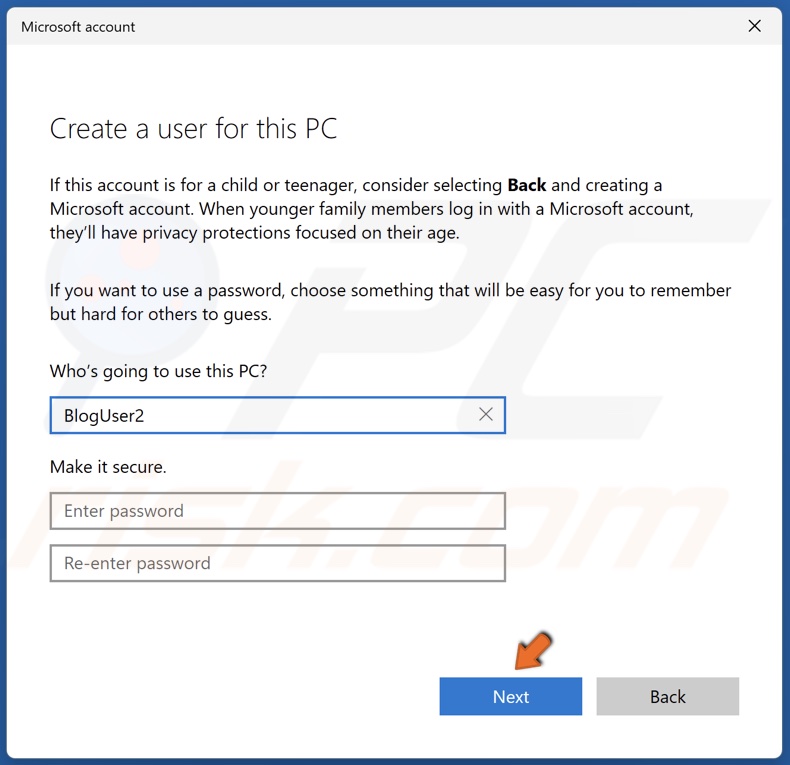
6. Set a user name and click Next.
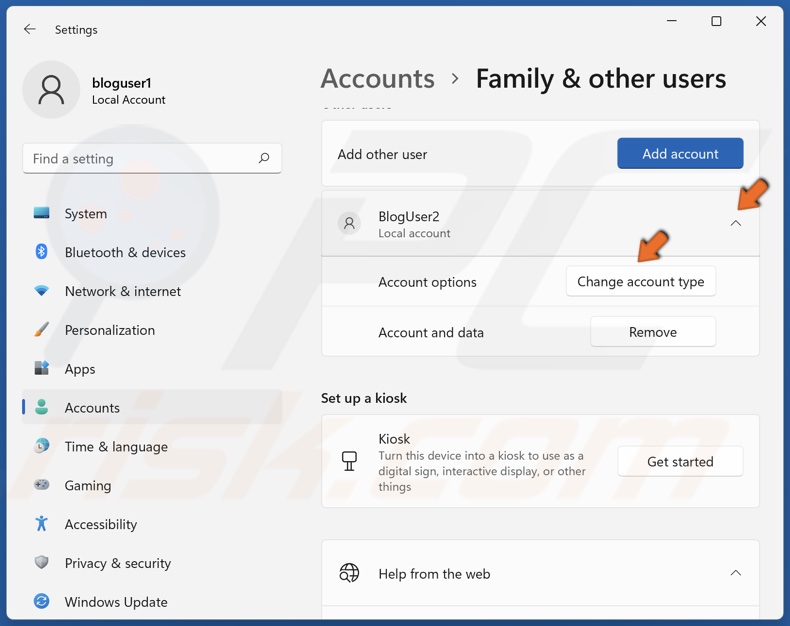
7. Expand the user menu and click Change account type.
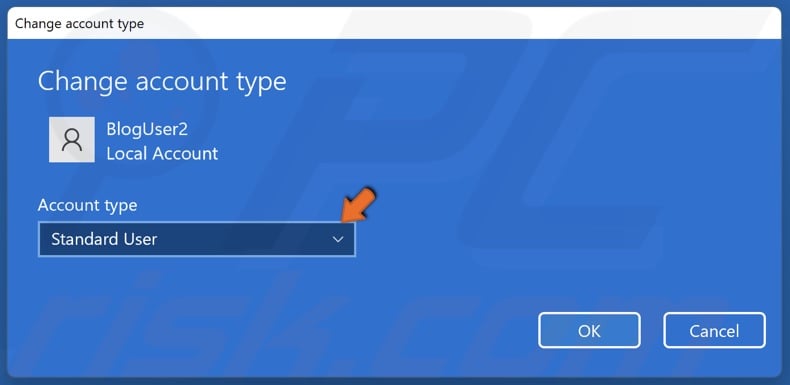
8. Open the Account type drop-down menu.
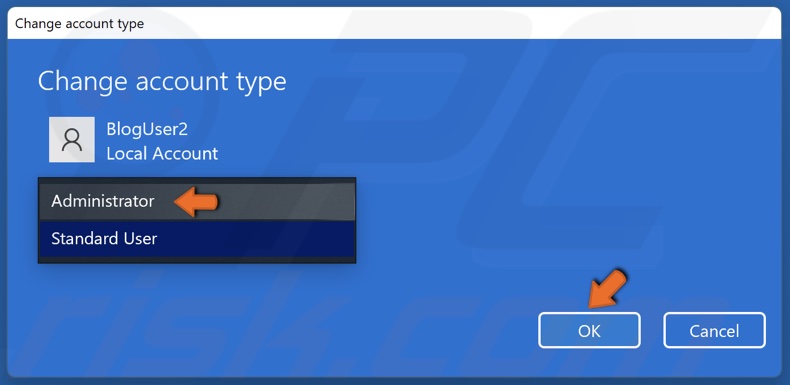
9. Select Administrator, and click OK.
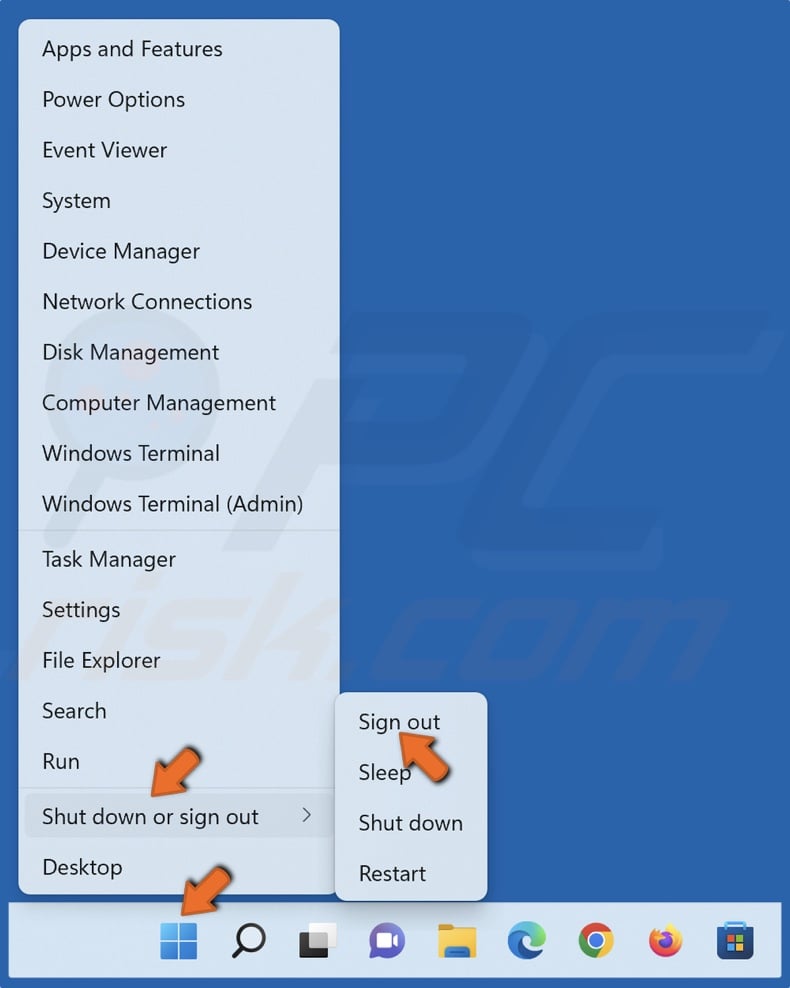
10. Right-click Start, select Shutdown or sign out, and click Sign out.
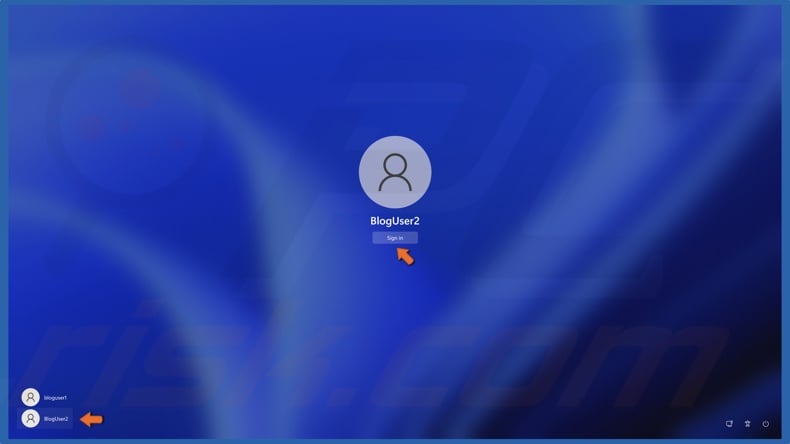
11. In the lower-left corner, select the new user account and click Sign in.
12. Right-click Start and click Settings.
13. In the left pane, select Bluetooth & devices, and click Printers & scanners.
14. Click Add device.
15. When your printer name shows up, click Add device.
16. Right-click Start, select Shutdown or sign out, and click Sign out.

17. Select your primary user account in the lower-left corner and click Sign in.
Share:

Rimvydas Iliavicius
Researcher, author
Rimvydas is a researcher with over four years of experience in the cybersecurity industry. He attended Kaunas University of Technology and graduated with a Master's degree in Translation and Localization of Technical texts. His interests in computers and technology led him to become a versatile author in the IT industry. At PCrisk, he's responsible for writing in-depth how-to articles for Microsoft Windows.
▼ Show Discussion