5 Ways to Fix League of Legends RADS Error

Get Free Scanner and check your computer for errors
Fix It NowTo fix found issues, you have to purchase the full version of Combo Cleaner. Free trial available. Combo Cleaner is owned and operated by Rcs Lt, the parent company of PCRisk.com read more.
How to Fix League of Legends RADS Error in Windows 11
League of Legends is a solid game, but its player base often experiences various errors that prevent it from starting. This troubleshooting guide will show you how to fix the RADS Error in LoL.

The RADS error indicates that League of Legends can’t establish a connection to the game’s HTTP server. The full error message says the following:
Could not connect to the HTTP Server. Please check that your internet connection is enabled and that your firewall is not blocking access.
What Causes the RADS Error?
You may experience this error due to misconfigured DNS settings, network connection, and host files. Your DNS plays an important role when connecting to a server. If it’s been misconfigured or runs into issues, you won’t be able to connect. Try flushing your system’s DNS cache and changing your default DNS server address.
In addition, this error may also occur if you don’t have sufficient permissions. In this case, the error may occur if a third-party process interferes with LoL. Try running the game as an administrator and add it to the Windows Defender Firewall list of exceptions.
Video Instructions on How to Fix League of Legends RADS Error
Table of Contents:
- Introduction
- Method 1. Run League of Legends as an Administrator
- Method 2. Add League of Legends to Windows Defender Firewall Exceptions List
- Method 3. Change Your DNS Server Address
- Method 4. Perform a DNS Flush
- Method 5. Modify the Windows Hosts File
- Video Instructions on How to Fix League of Legends RADS Error
Download Computer Malware Repair Tool
It is recommended to run a free scan with Combo Cleaner - a tool to detect viruses and malware on your device. You will need to purchase the full version to remove infections. Free trial available. Combo Cleaner is owned and operated by Rcs Lt, the parent company of PCRisk.com read more.
Method 1. Run League of Legends as an Administrator
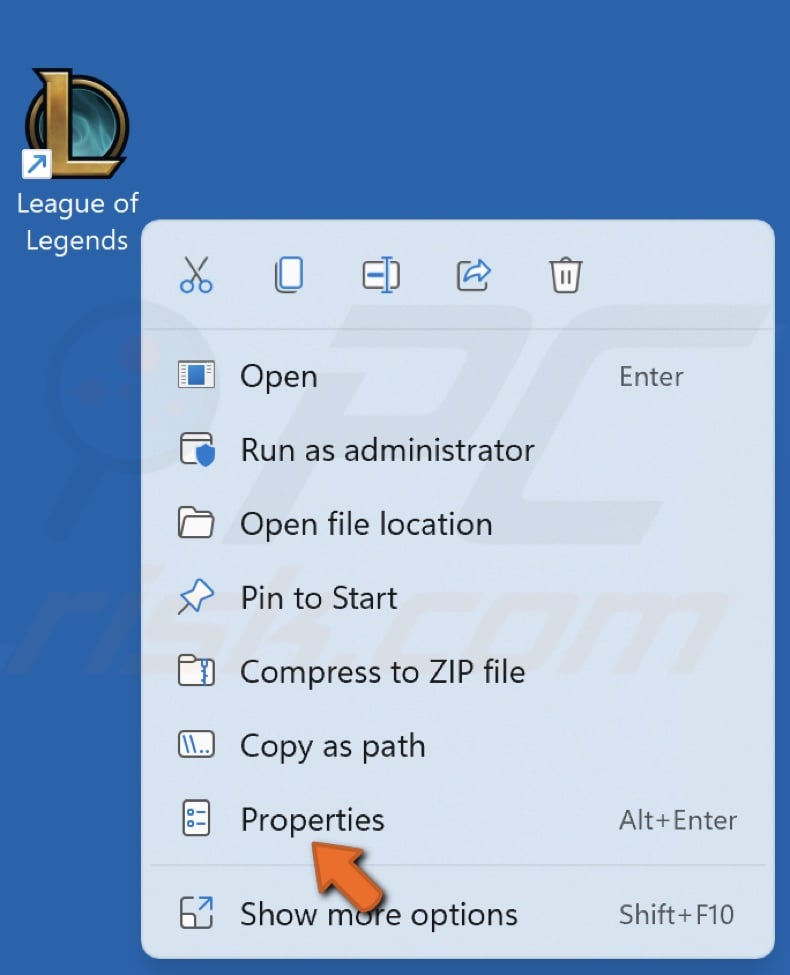
1. Right-click the League of Legends launcher and select Properties.
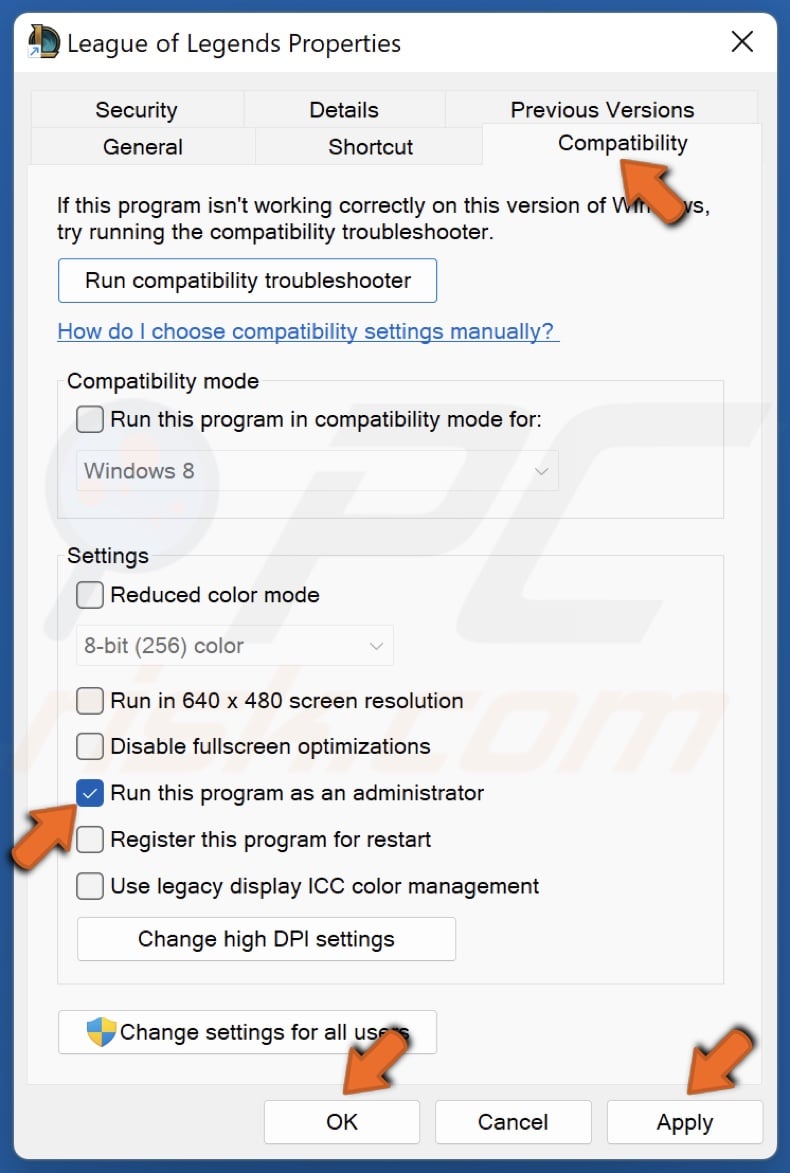
2. Go to the Compatibility tab.
3. Mark the Run this program as an administrator checkbox.
4. Click Apply and click OK.
Method 2. Add League of Legends to Windows Defender Firewall Exceptions List
1. Hold down Windows+R keys to open Run.
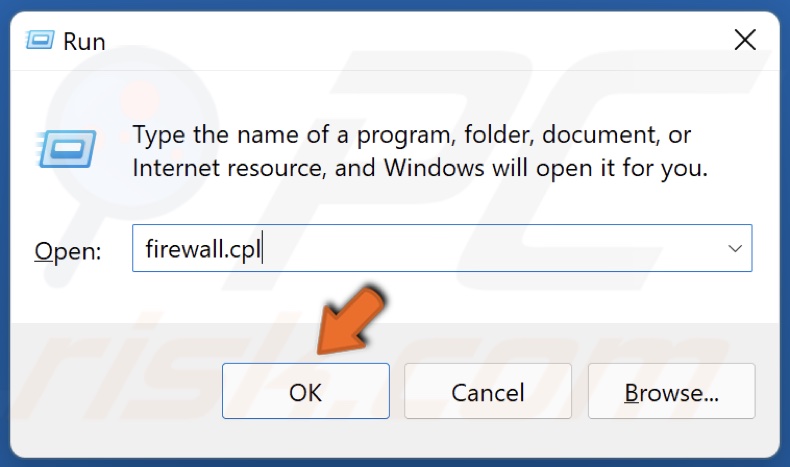
2. In the Run dialog box, type in firewall.cpl and click OK.
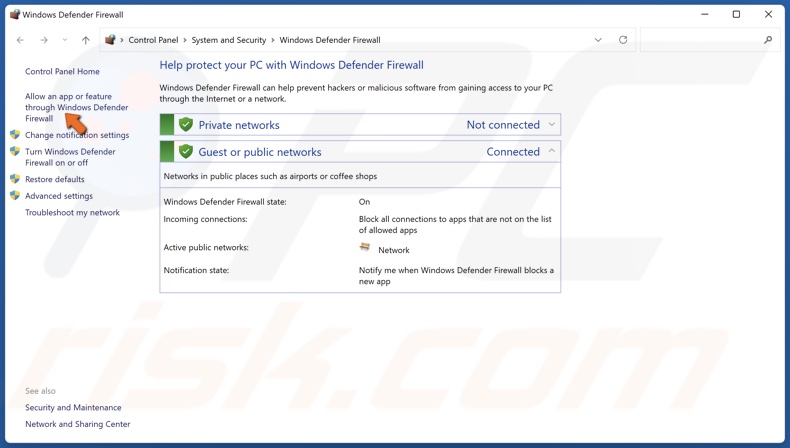
3. In the Firewall settings window, click Allow an app or feature through Windows Firewall.
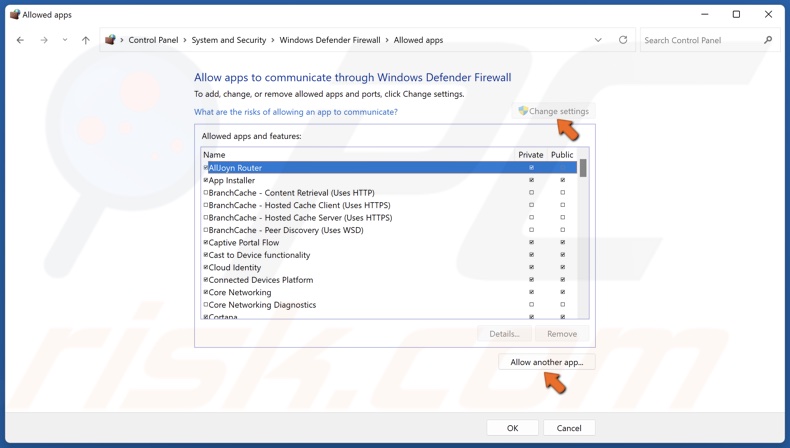
4. In the Allowed apps and features window, click Change settings.
5. Click Allow another app.
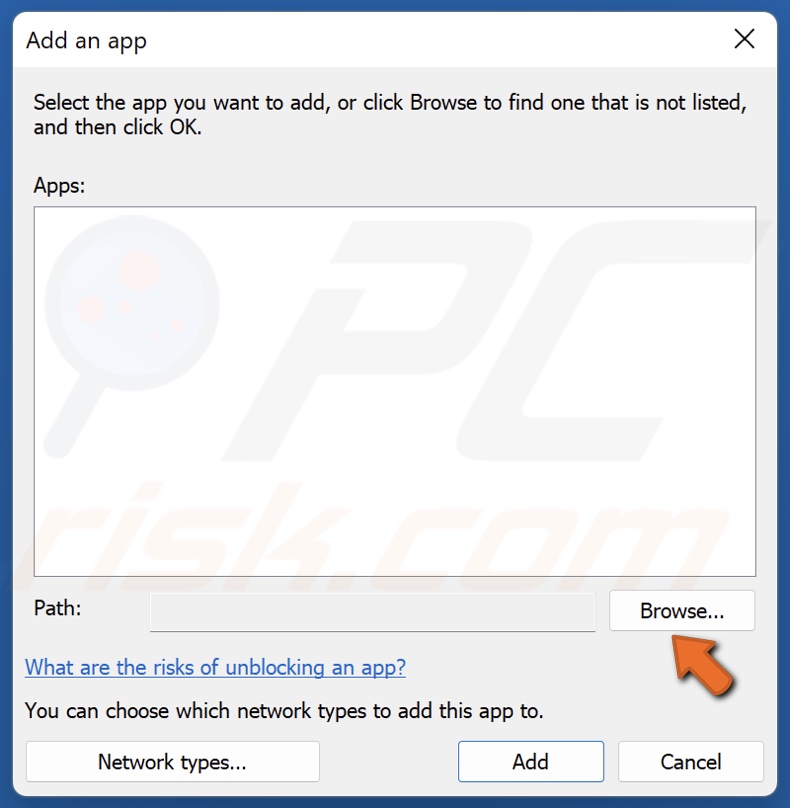
6. Then, click Browse.
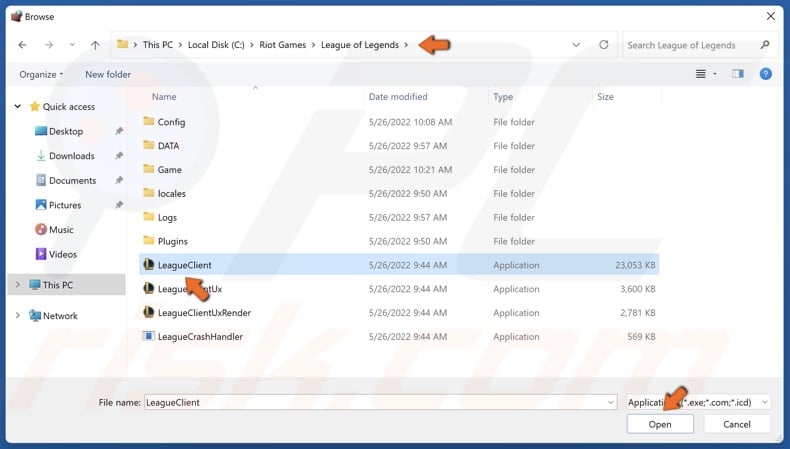
7. Navigate to the League of Legends installation location (C:\Riot Games\League of Legends by default)
8. Select LeagueClient.exe and click Open.
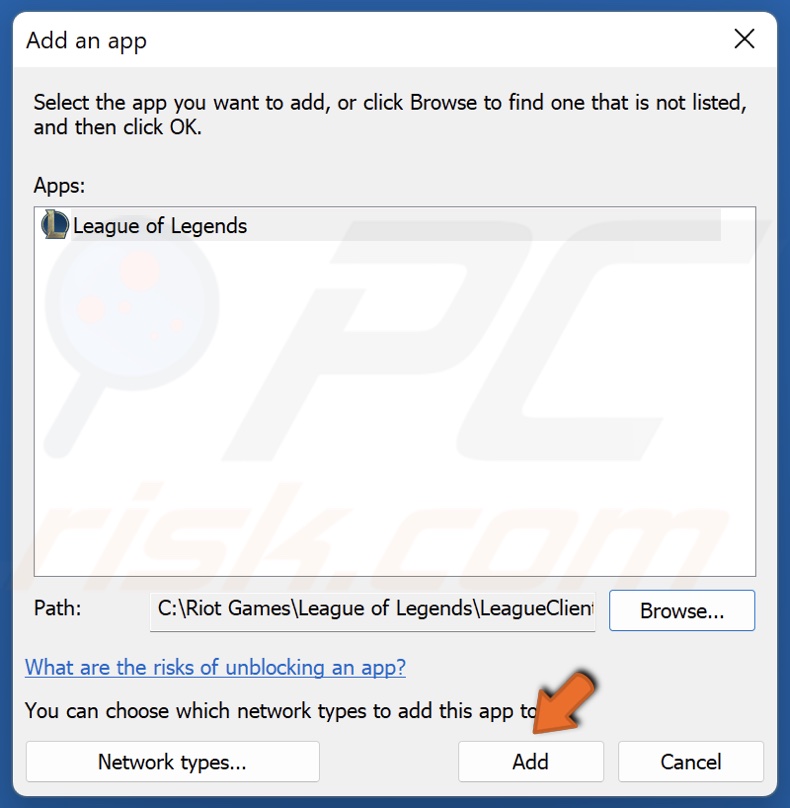
9. Click Add.
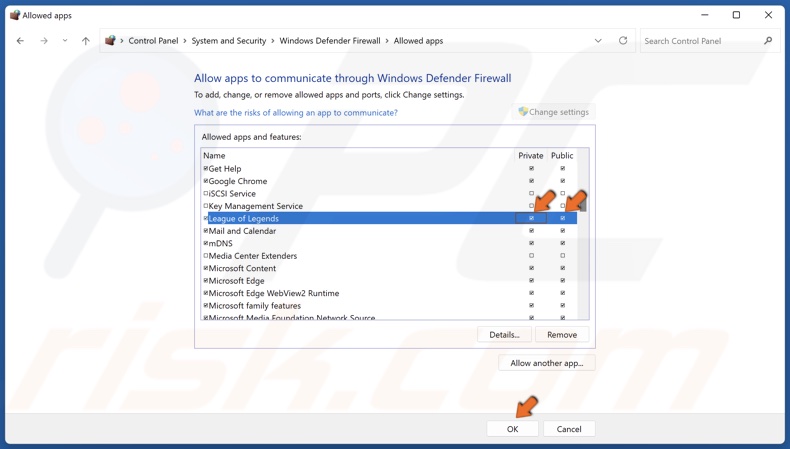
10. Mark the checkboxes in the Private and Public columns next to League of Legends, and click OK.
Method 3. Change Your DNS Server Address
1. Hold down Windows+R keys to open Run.
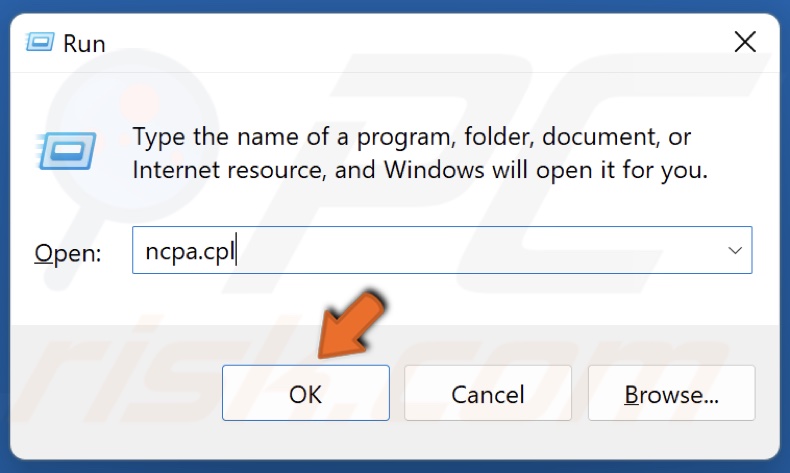
2. In the Run dialog box, type in ncpa.cpl and click OK.
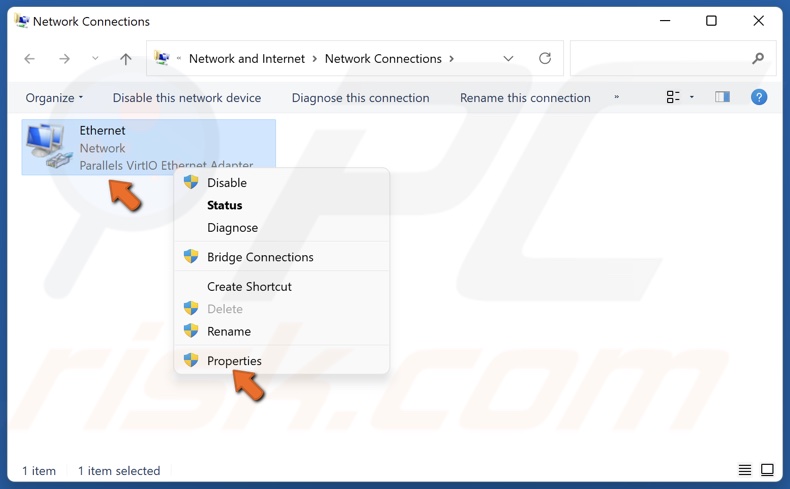
3. Right-click your network adapter and select Properties.
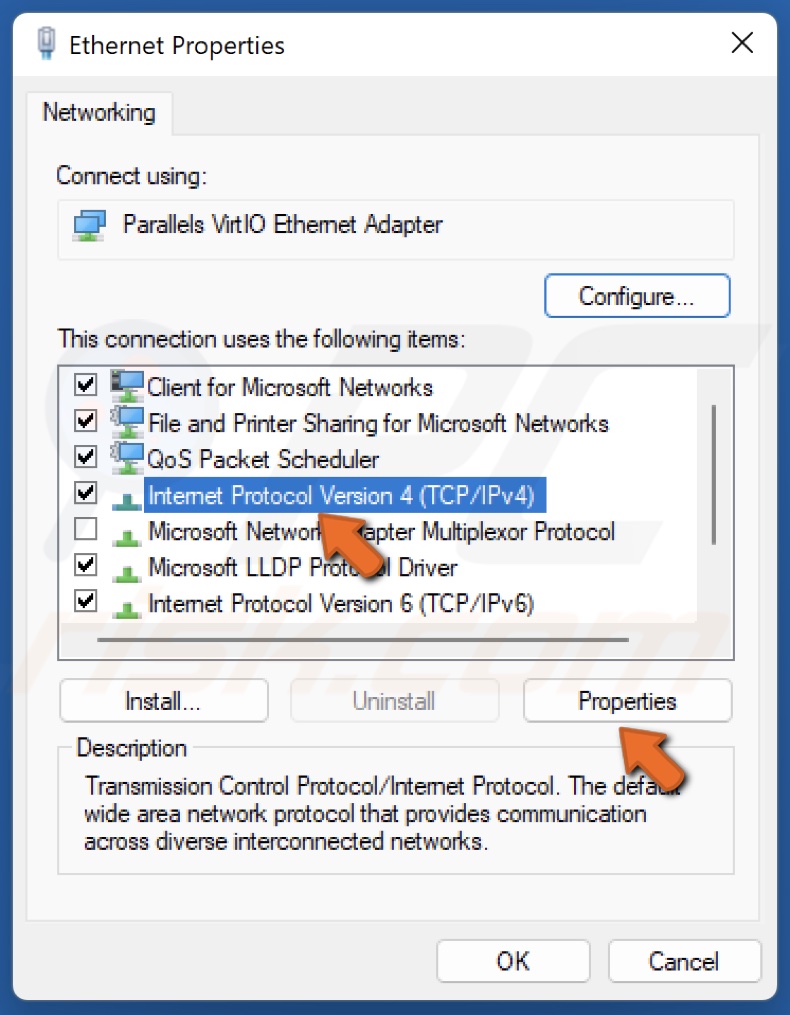
4. Select Internet Protocol Version 4 (TCP/IPv4) and click Properties.
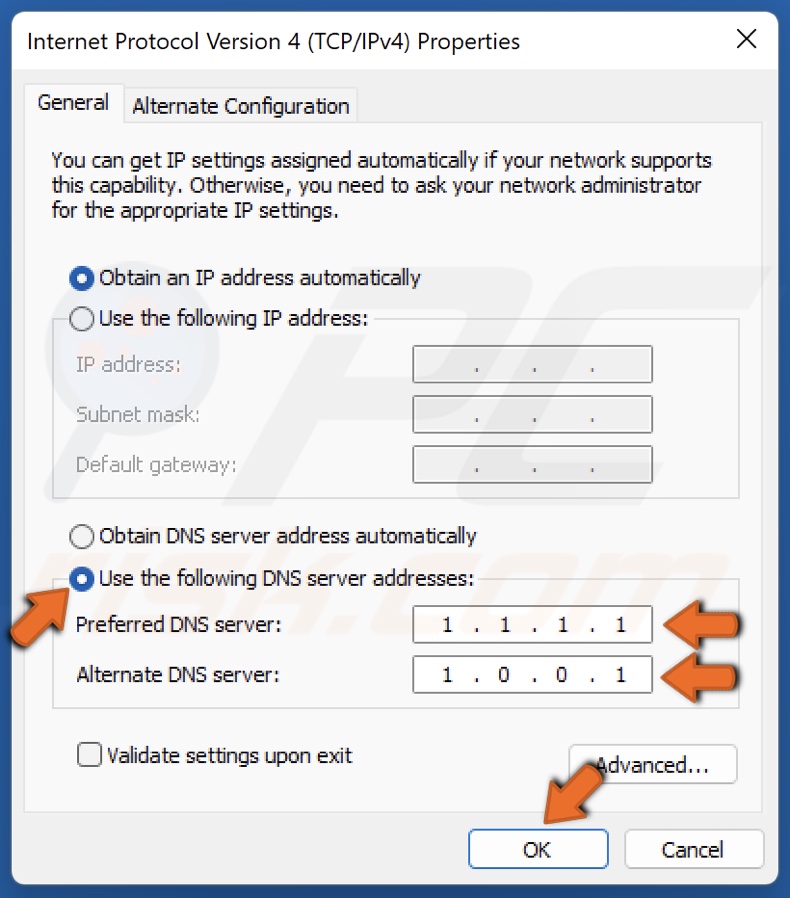
5. Tick Use the following DNS server addresses.
6. In the Preferred DNS server, type in 1.1.1.1
7. In the Alternate DNS server, type in 1.0.0.1
8. Click OK to save settings.
9. Restart your PC for the changes to take effect.
Method 4. Perform a DNS Flush
1. Hold down Windows+R keys to open Run.
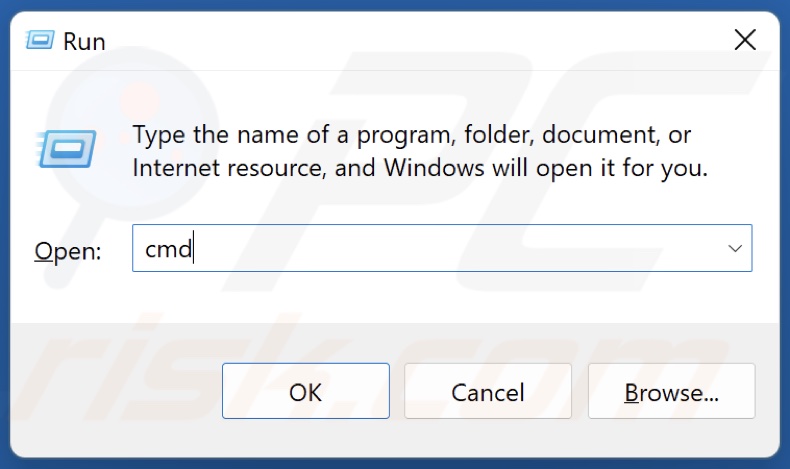
2. In the Run dialog box, type in CMD and hold down Ctrl+Shift+Enter keys to open the elevated Command Prompt.
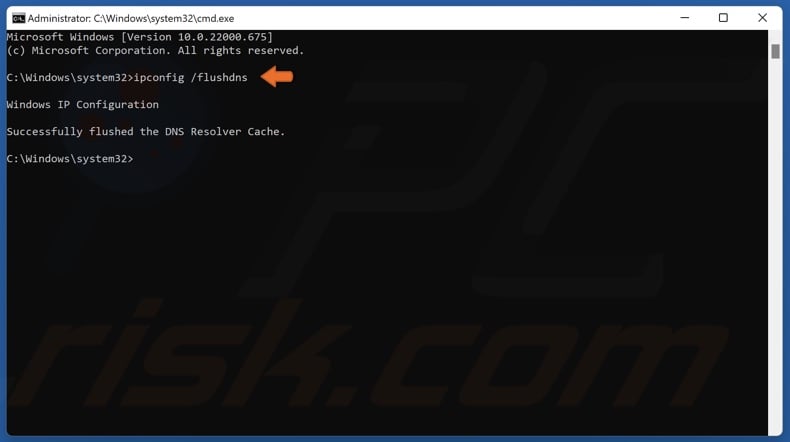
3. In the Command Prompt window, type in ipconfig /flushdns and press the Enter key. Running this command will clear the DNS cache files and reset the DNS resolver cache.
4. Close the Command Prompt.
Method 5. Modify the Windows Hosts File
1. Hold down Windows+E keys to open File Explorer.
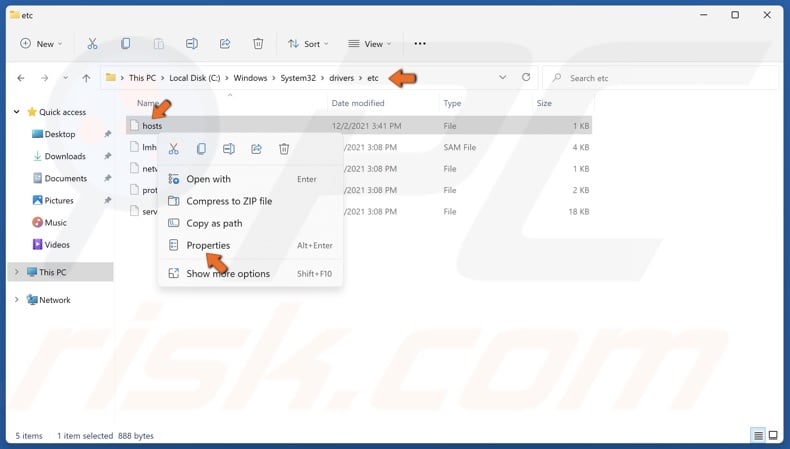
2. In the File Explorer address bar, type in C:\Windows\System32\drivers\etc and press the Enter key.
3. Right-click the hosts file and click Properties.
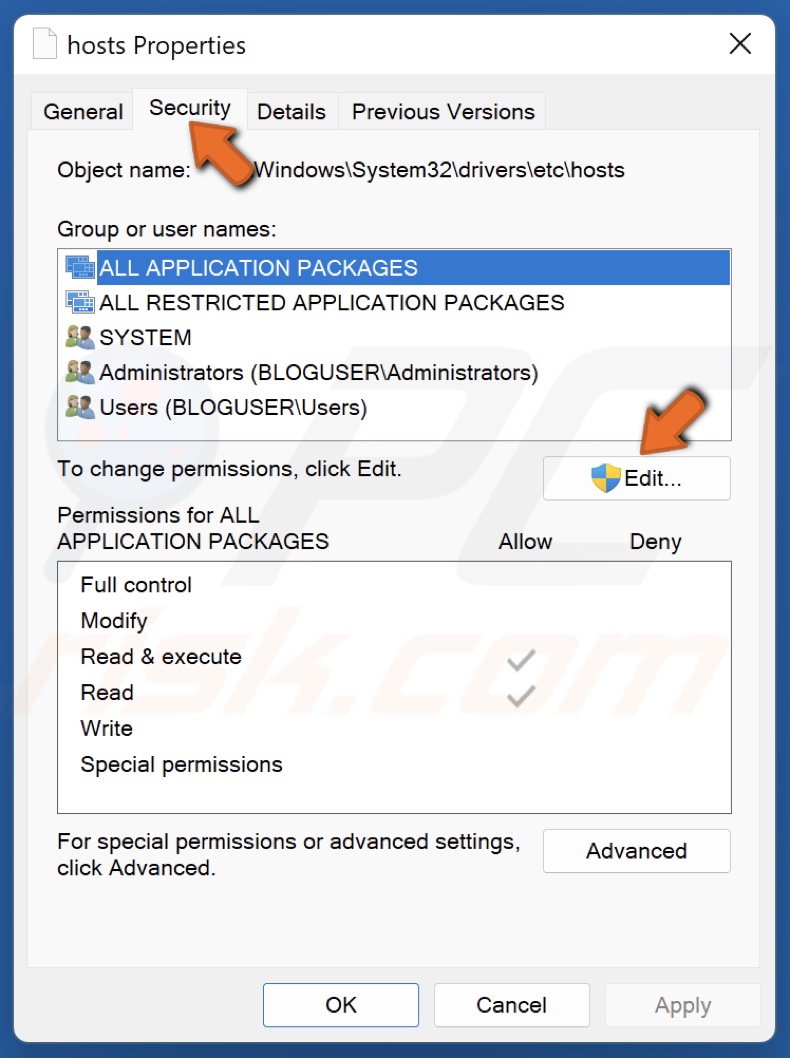
4. Select the Security tab and click Edit.
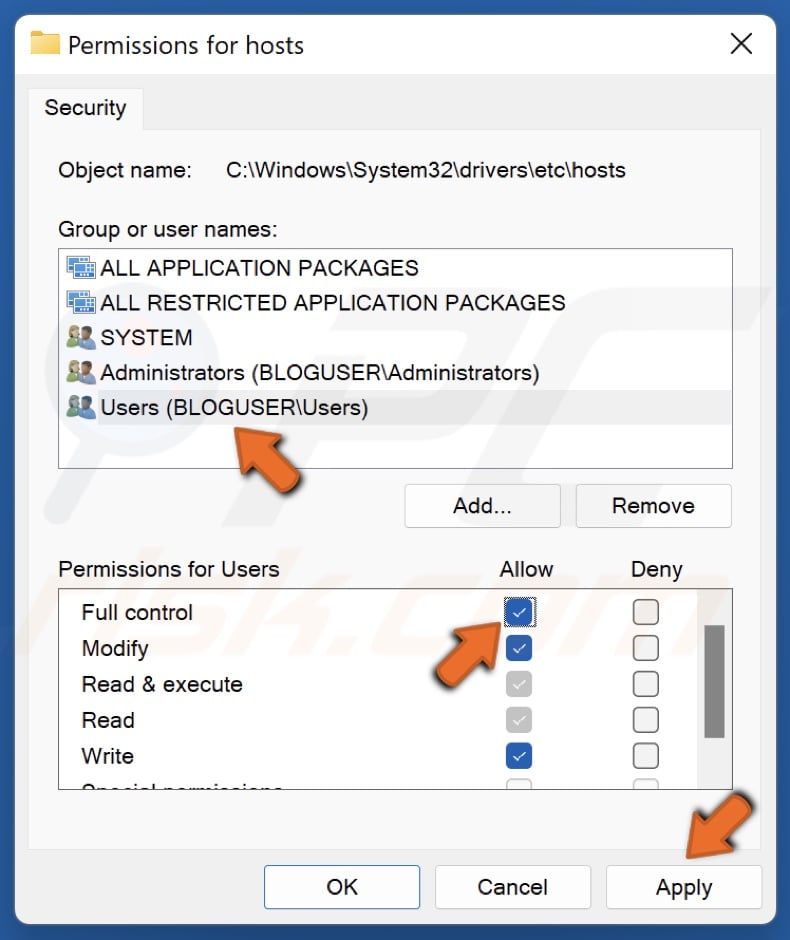
5. Select your Windows user, mark Full control in the Allow column, and click Apply.
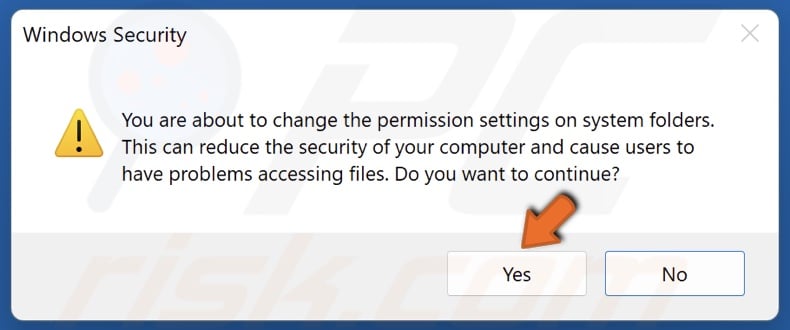
6. Click Yes when prompted.
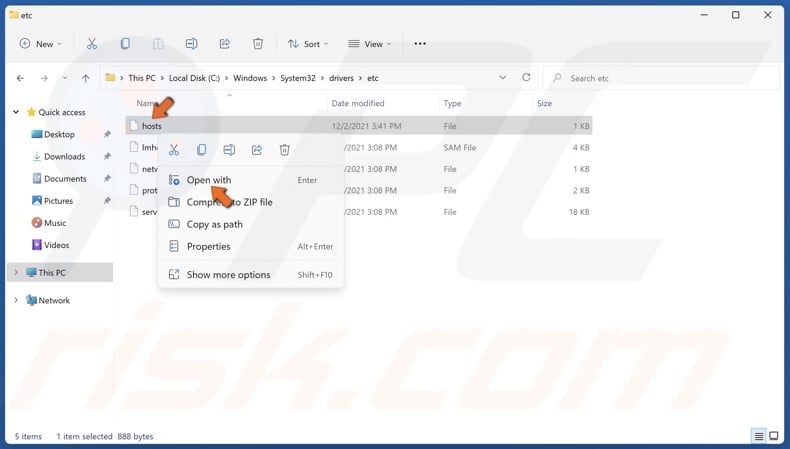
7. Right-click the hosts file and click Open with.

8. Select Notepad and click OK.
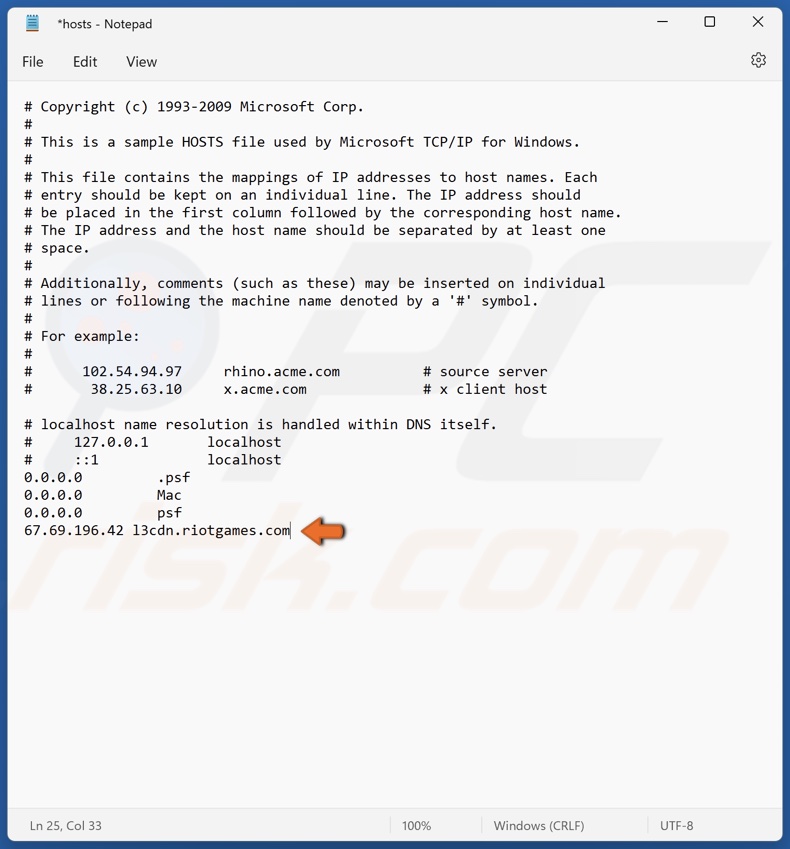
9. Enter 67.69.196.42 l3cdn.riotgames.com at the bottom of the file.
10. Hold down Ctrl+S keys to save the changes and close Notepad.
Share:

Rimvydas Iliavicius
Researcher, author
Rimvydas is a researcher with over four years of experience in the cybersecurity industry. He attended Kaunas University of Technology and graduated with a Master's degree in Translation and Localization of Technical texts. His interests in computers and technology led him to become a versatile author in the IT industry. At PCrisk, he's responsible for writing in-depth how-to articles for Microsoft Windows.
▼ Show Discussion