How to Fix Omegle "Error Connecting to Server"

Get Free Scanner and check your computer for errors
Fix It NowTo fix found issues, you have to purchase the full version of Combo Cleaner. Free trial available. Combo Cleaner is owned and operated by Rcs Lt, the parent company of PCRisk.com read more.
How to Fix Omegle Error Connecting to Server
Omegle is a web-based chatting service that allows users to chat with random people worldwide. However, many of its users sometimes get an “Error connecting to server. Please try again”, which prevents them from using the service. This article will show you how you can fix this problem.
Why Does Omegle Say Error Connecting to Server?
There are several reasons why Omegle may throw this error. The most common reasons are listed below.
- Misconfigured Internet settings. In this case, you may solve the problem by reacquiring an IP address and DNS server. You may also bypass this issue by using a VPN.
- Corrupted web browser cookies. Deleting your browser cookies and cache may resolve the problem.
- An unstable Internet connection.
- Your Internet Service Provider (ISP) may block Omegle.
- Omegle may block your IP address.
- Omegle server outages. The website may be under maintenance or experience technical problems with its servers.
Before trying any of our fixes, try power-cycling your Internet router and connecting to another network (if possible). If doing these things doesn’t fix the issue, follow the step-by-step instructions below.
Video Guide on How to Fix Omegle "Error Connecting to Server"
Table of Contents:
- Introduction
- Method 1. Reset TCP/IP Settings and Flush DNS Cache
- Method 2. Clear Browsing Data
- Clear Browsing Data in Google Chrome
- Clear Browsing Data in Mozilla Firefox
- Clear Browsing Data in Microsoft Edge
- Method 3. Use a Virtual Private Network (VPN)
- Add a VPN Extension to Google Chrome
- Add a VPN Extension to Mozilla Firefox
- Add a VPN Extension to Microsoft Edge
- Video Guide on How to Fix Omegle "Error Connecting to Server
Download Computer Malware Repair Tool
It is recommended to run a free scan with Combo Cleaner - a tool to detect viruses and malware on your device. You will need to purchase the full version to remove infections. Free trial available. Combo Cleaner is owned and operated by Rcs Lt, the parent company of PCRisk.com read more.
Method 1. Reset TCP/IP Settings and Flush DNS Cache
1. Hold down Windows+R keys to open Run.
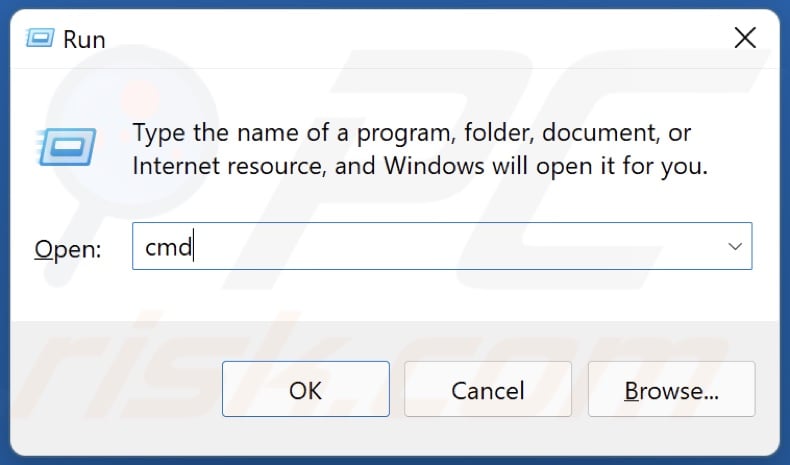
2. In the Run dialog box, type in CMD and hold down Ctrl+Shift+Enter keys to open the elevated Command Prompt.
3. In the Command Prompt window, type in the commands listed below and press the Enter key after typing in each one.
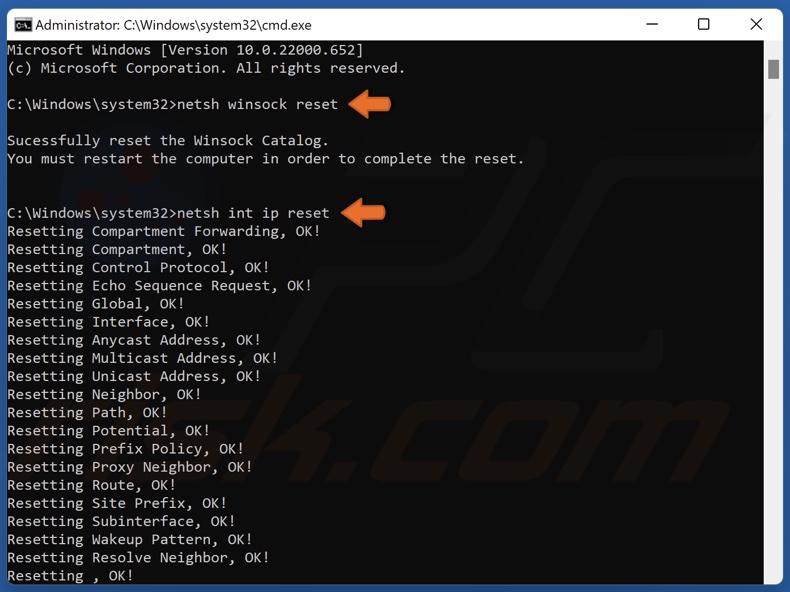
- netsh winsock reset
- netsh int ip reset
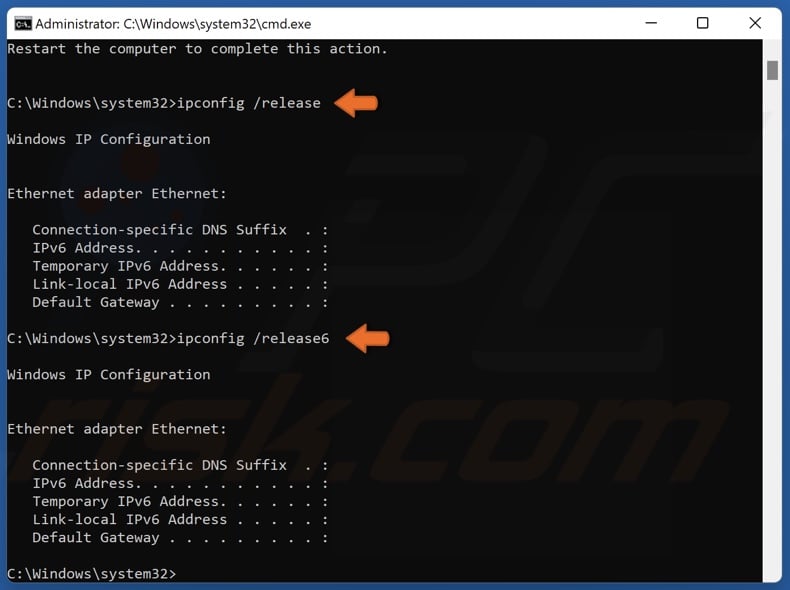
- ipconfig /release
- ipconfig /release6
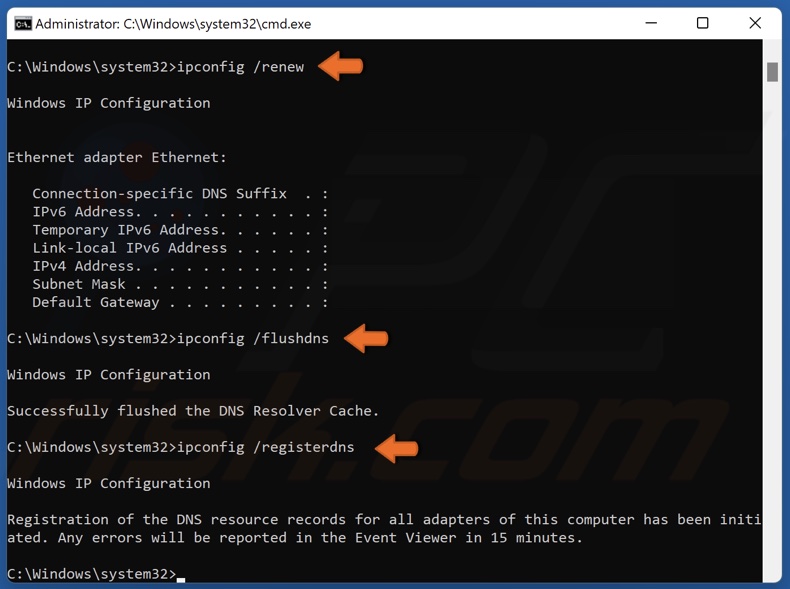
- ipconfig /renew
- ipconfig /flushdns
- ipconfig /registerdns
4. Close the Command Prompt and restart your PC.
Method 2. Clear Browsing Data
Clear Browsing Data in Google Chrome
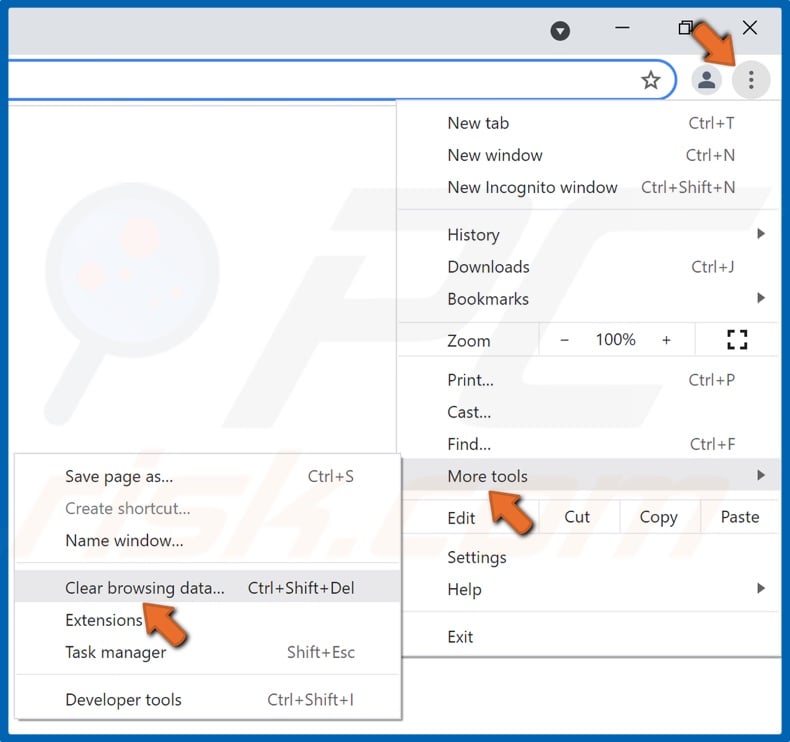
1. Open Google Chrome. Click the ellipsis at the top-right corner, select More tools, and click Clear browsing data.
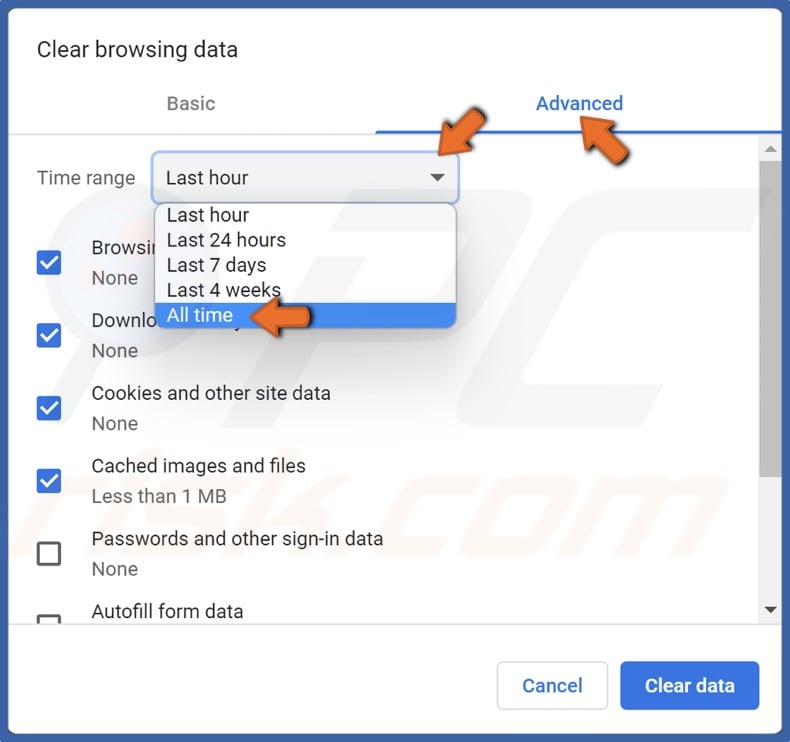
2. Select Advanced.
3. Open the Time range drop-down menu and select All time.
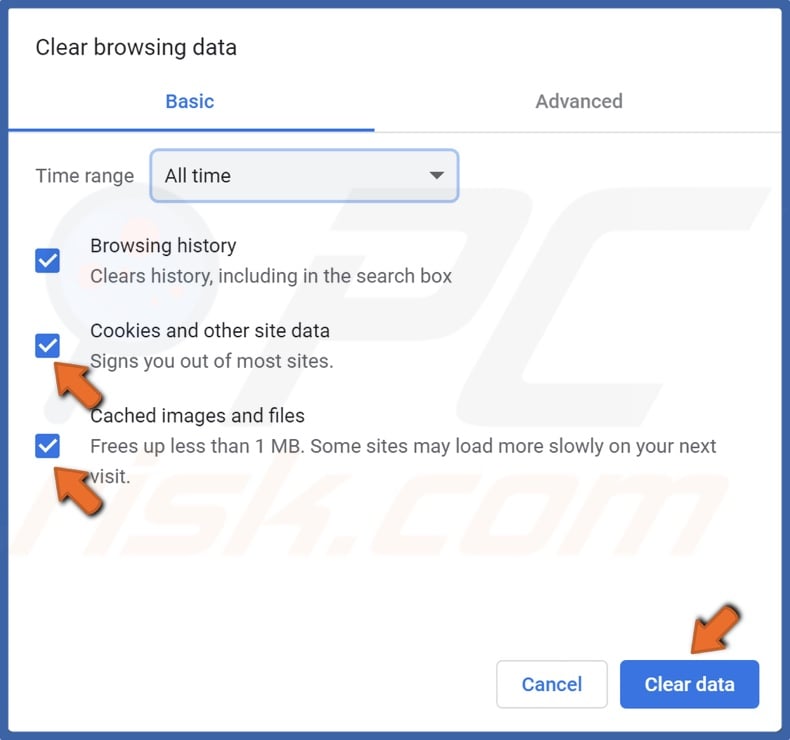
4. Mark the checkboxes next to Cookies and other site data and Cached images and files.
5. Click Clear data.
Clear Browsing Data in Mozilla Firefox
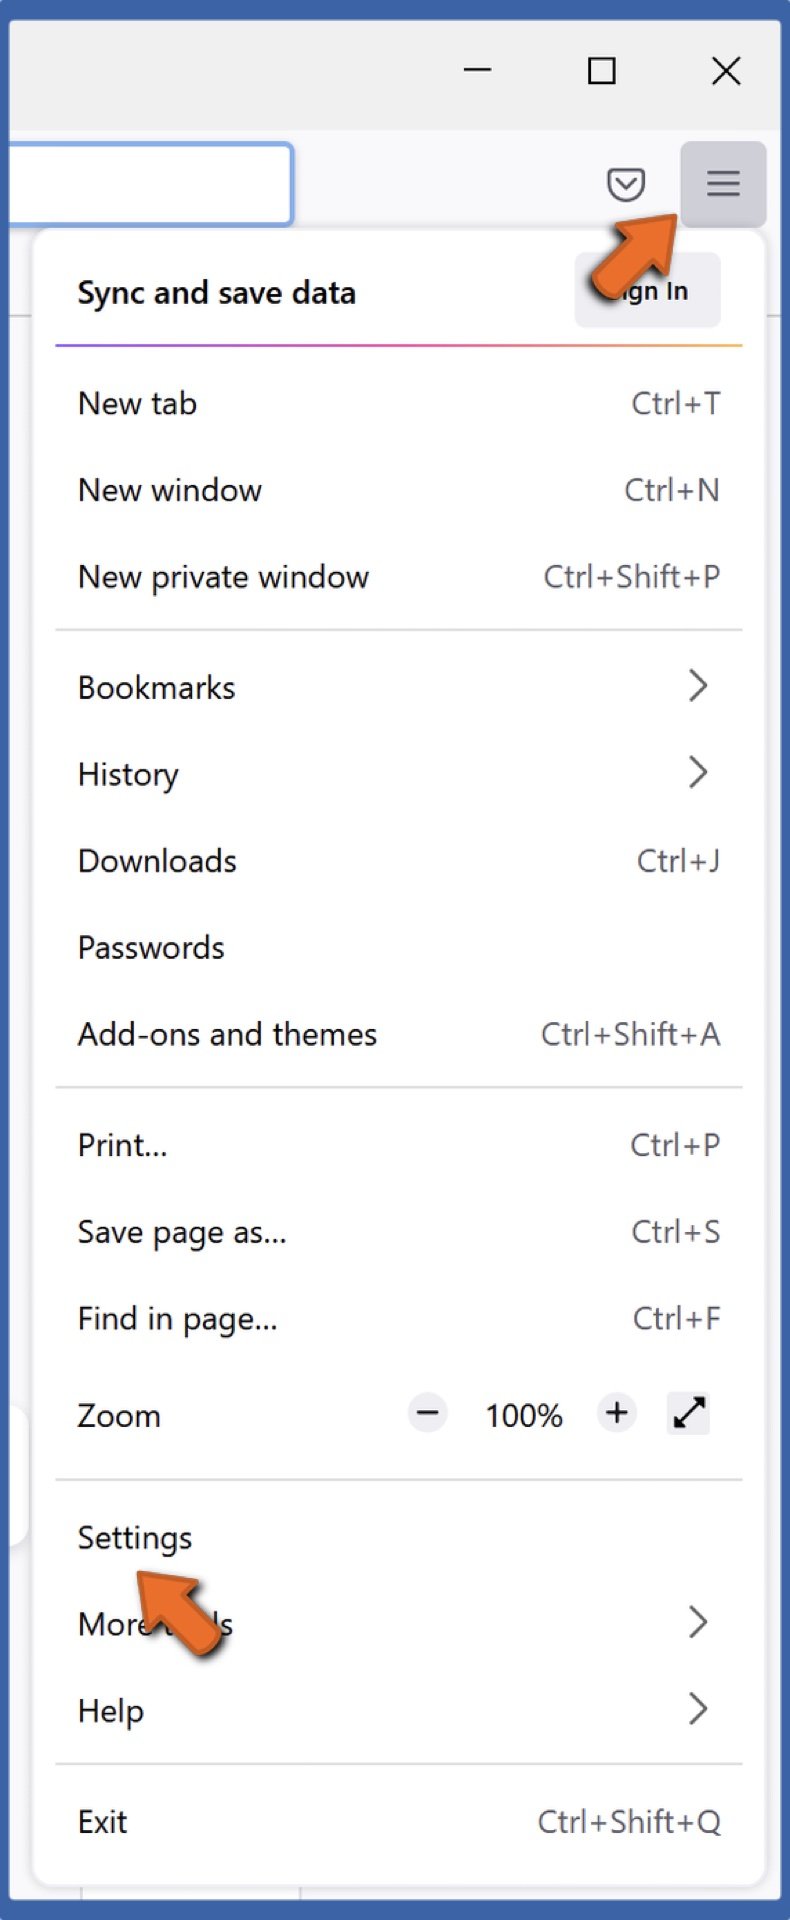
1. Open Mozilla Firefox. Open the Application Menu and select Settings.
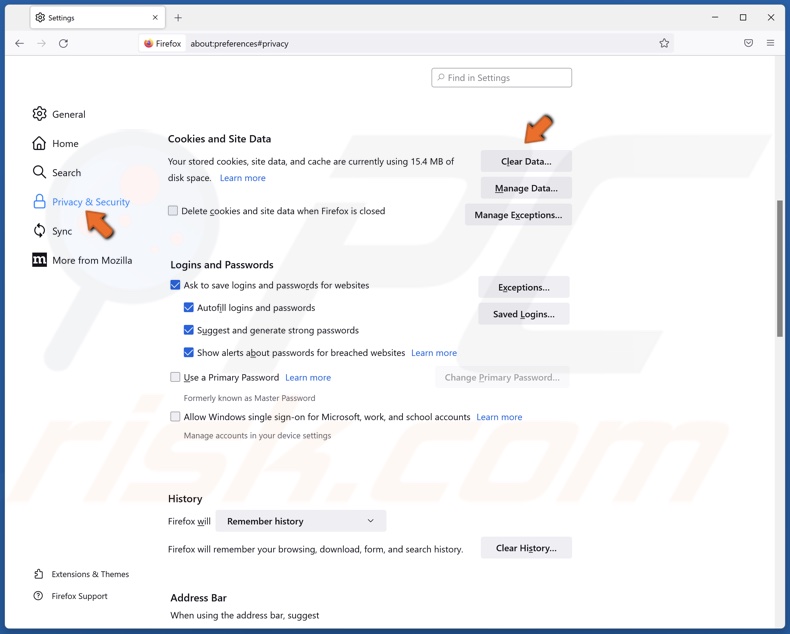
2. Select the Privacy & Security panel.
3. Scroll down and, in the Cookies and Site Data section, click Clear Data.
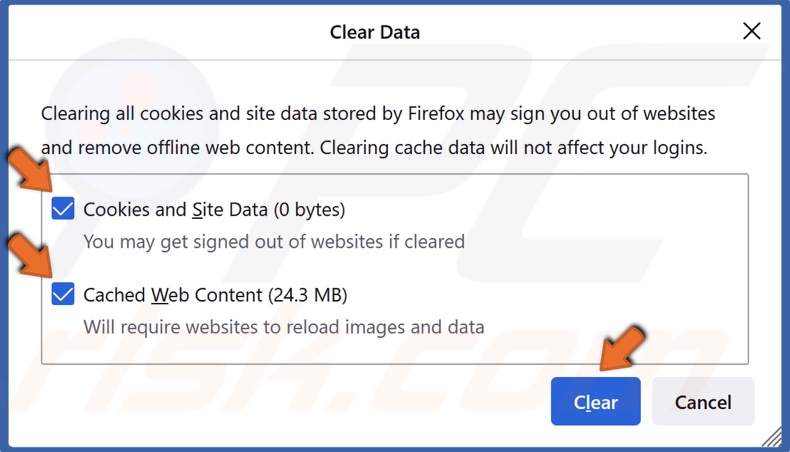
4. Mark the checkboxes next to Cookies and Site Data and Cached Web Content and click Clear.
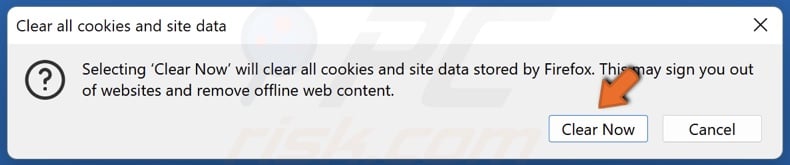
5. Click the Clear Now button.
Clear Browsing Data in Microsoft Edge
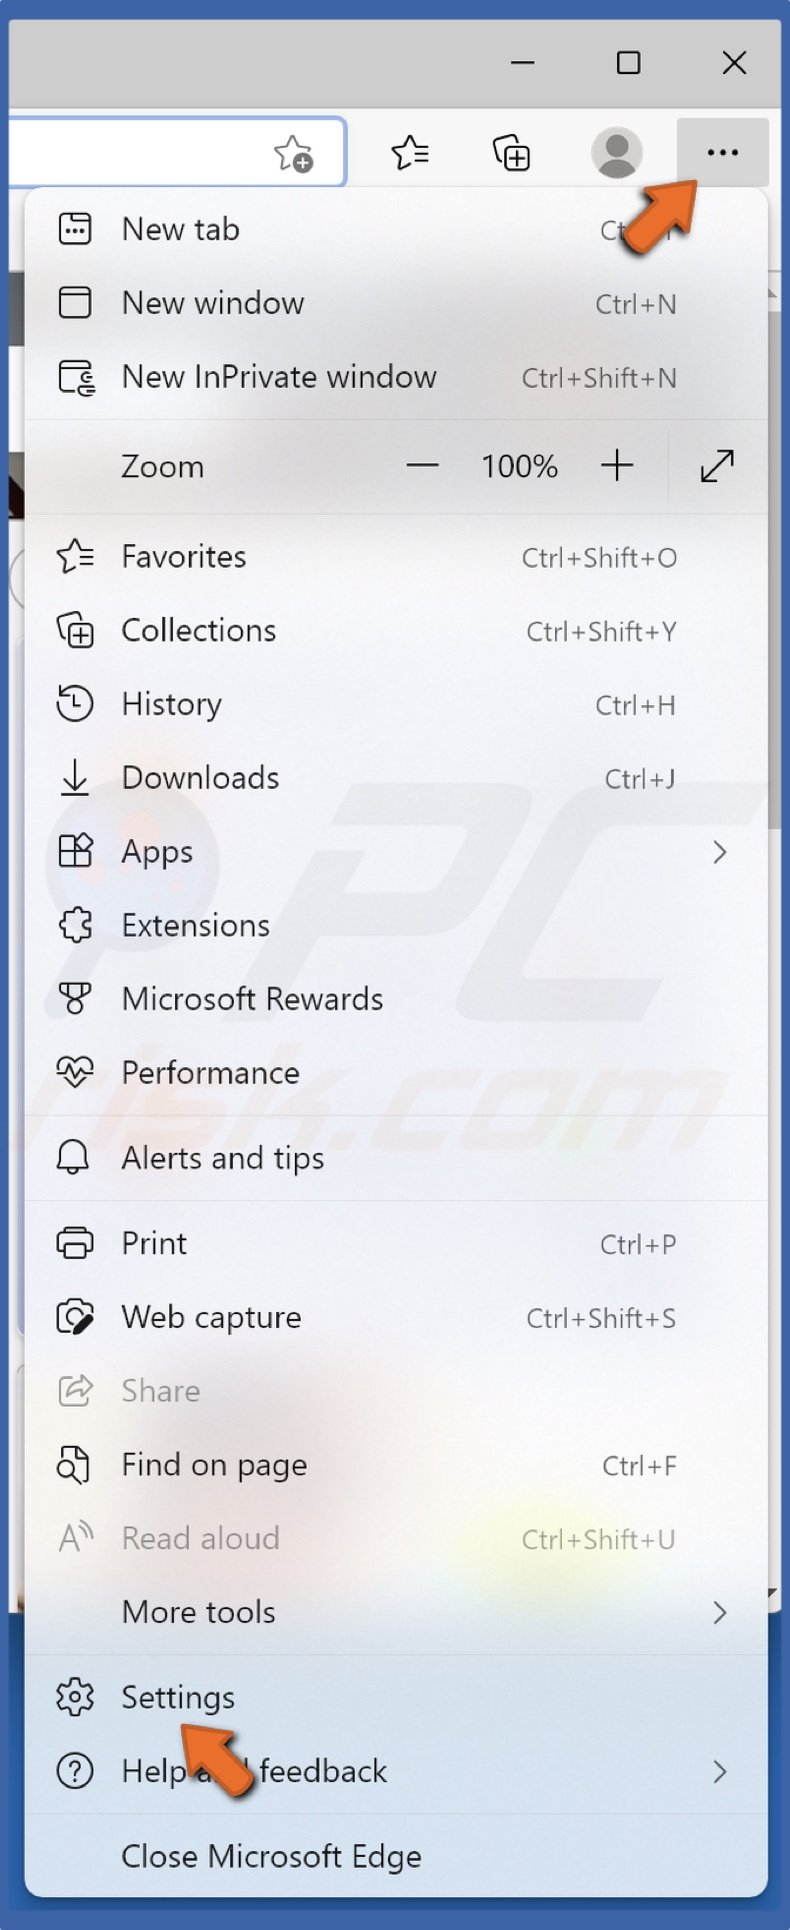
1. Open Microsoft Edge. Open the Menu and select Settings.
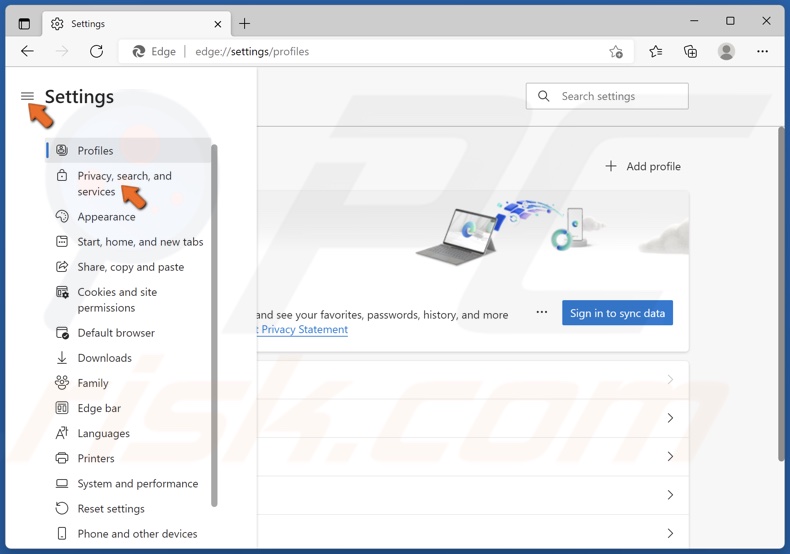
2. In the right pane, click Privacy, search, and services.

3. Under Clear browsing data, click the Choose what to clear button.
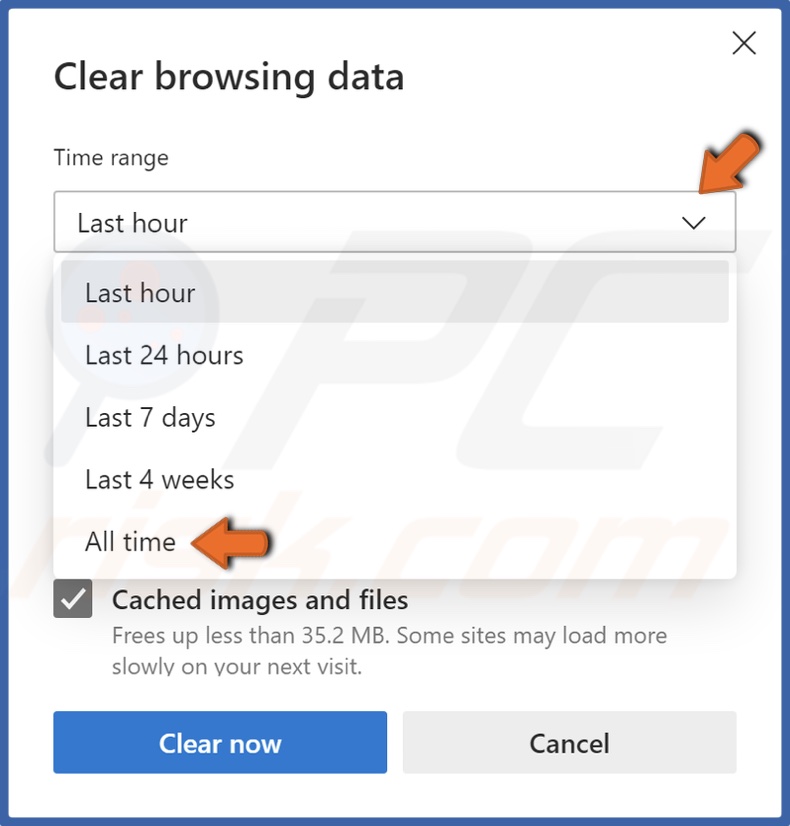
4. Open the Time range drop-down menu and select All time.

5. Mark the checkboxes next to Cookies and other site data and Cached images and files.
6. Click the Clear now button.
Method 3. Use a Virtual Private Network (VPN)
There are many VPN services to choose from, so choose one that works for you best. Furthermore, you can get a dedicated VPN desktop application or a VPN browser extension for your specific web browser.
Add a VPN Extension to Google Chrome
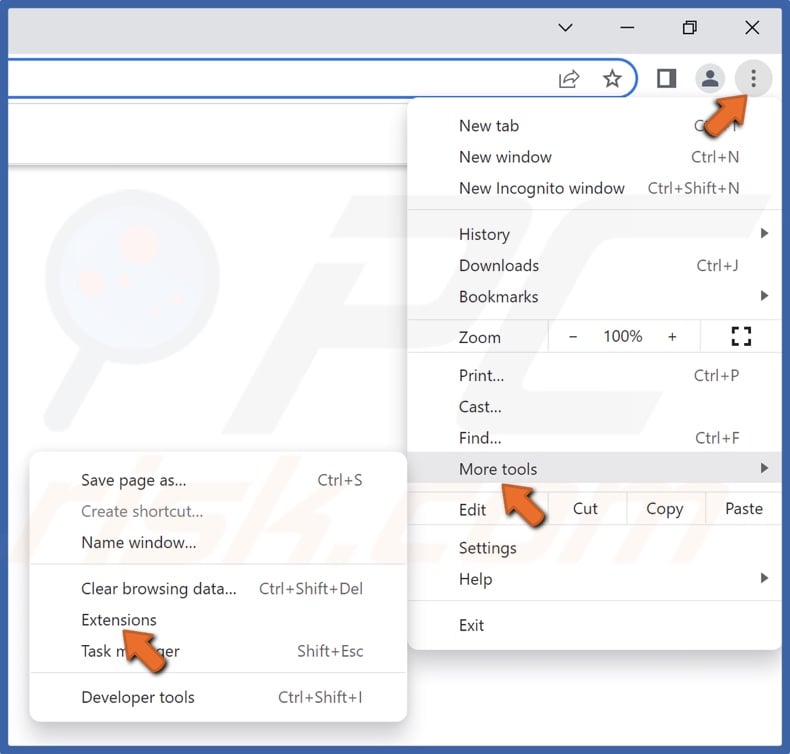
1. Open Google Chrome. Click the ellipsis at the top-right corner, select More tools and click Extensions.
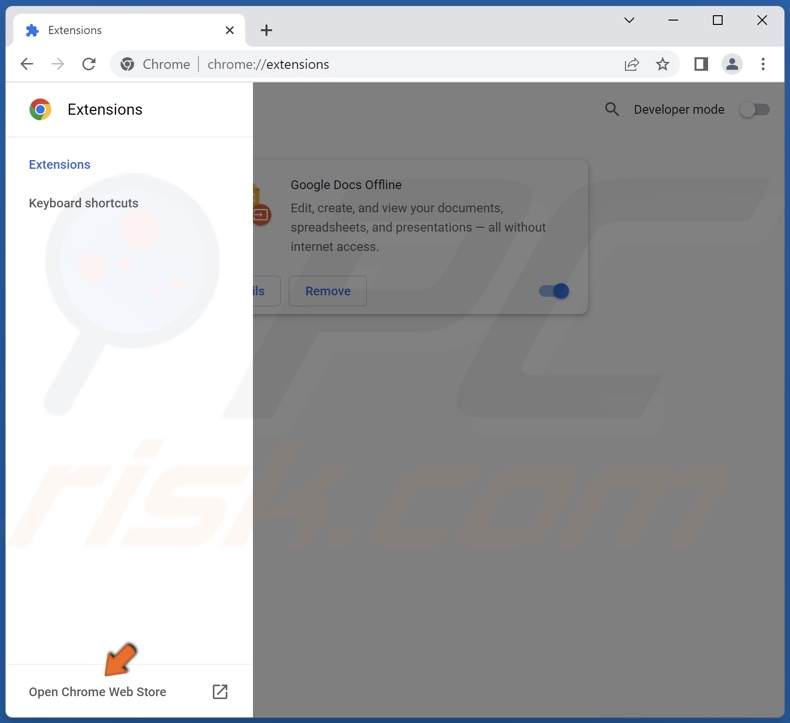
2. In the right pane, click Open Chrome Web Store.
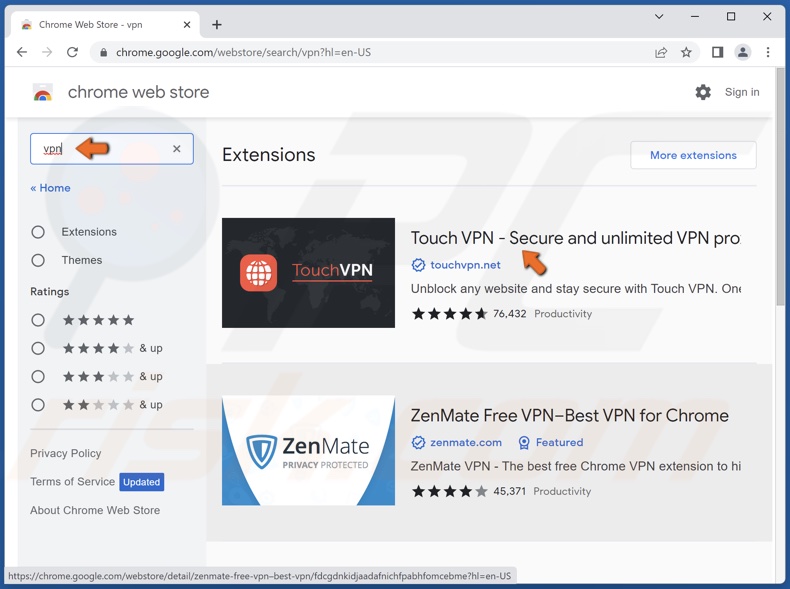
3. Type in VPN in the search bar and press Enter.
4. Select a VPN extension and click it.
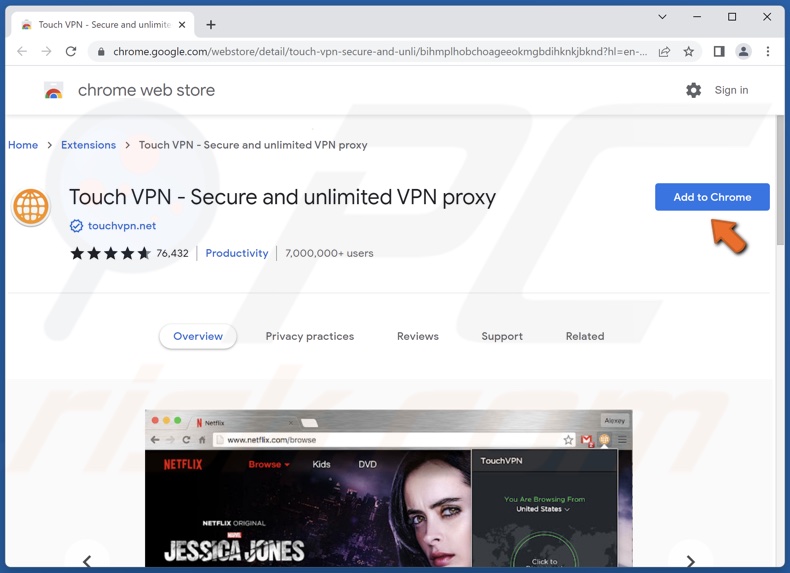
4. Click Add to Chrome.
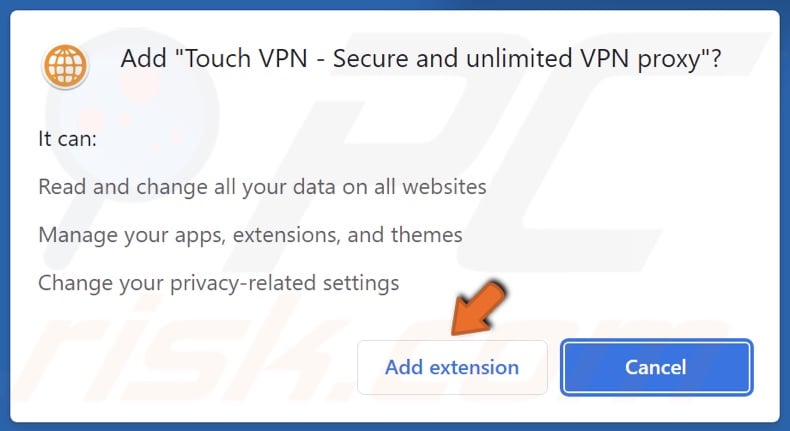
5. Click Add extension to confirm the action.
Add a VPN Extension to Mozilla Firefox
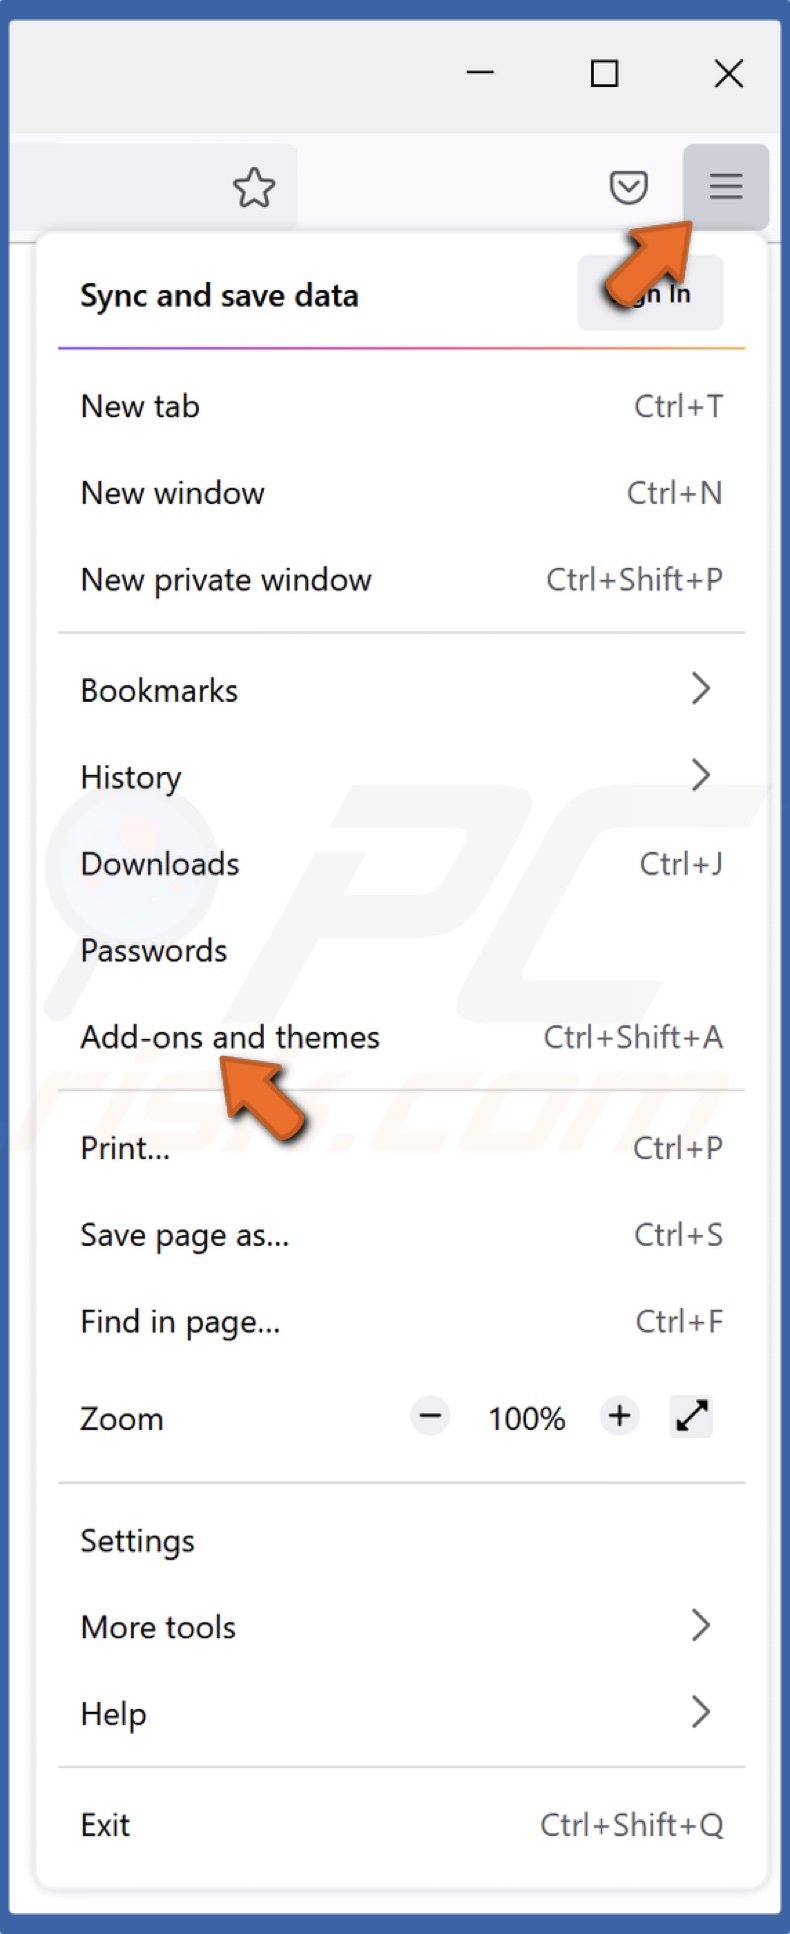
1. Open Mozilla Firefox. Open the Application Menu and click Add-ons and themes.
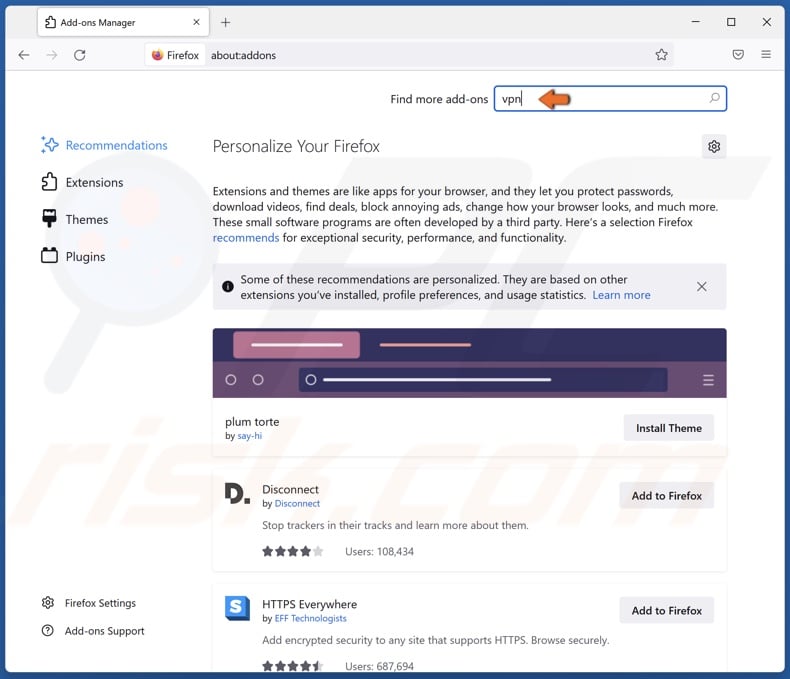
2. Type in VPN in the search bar and press Enter.
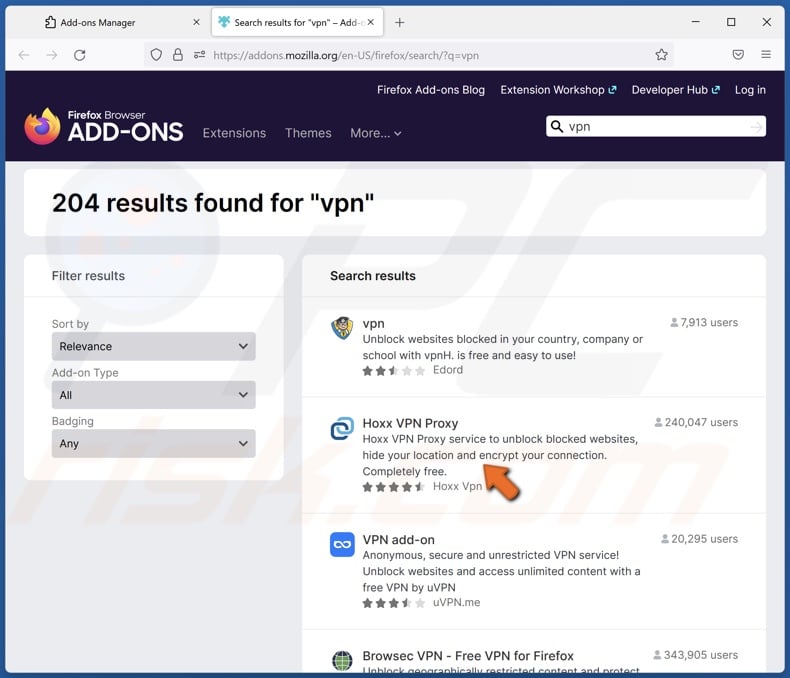
3. Select a VPN extension and click it.
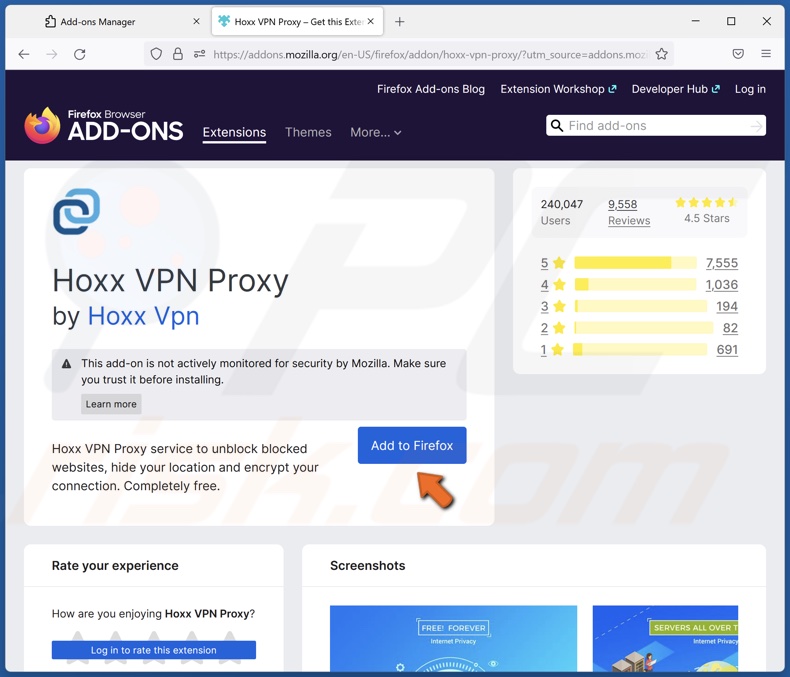
4. Click Add to Firefox.
5. Click Add to confirm the action.
Add a VPN Extension to Microsoft Edge
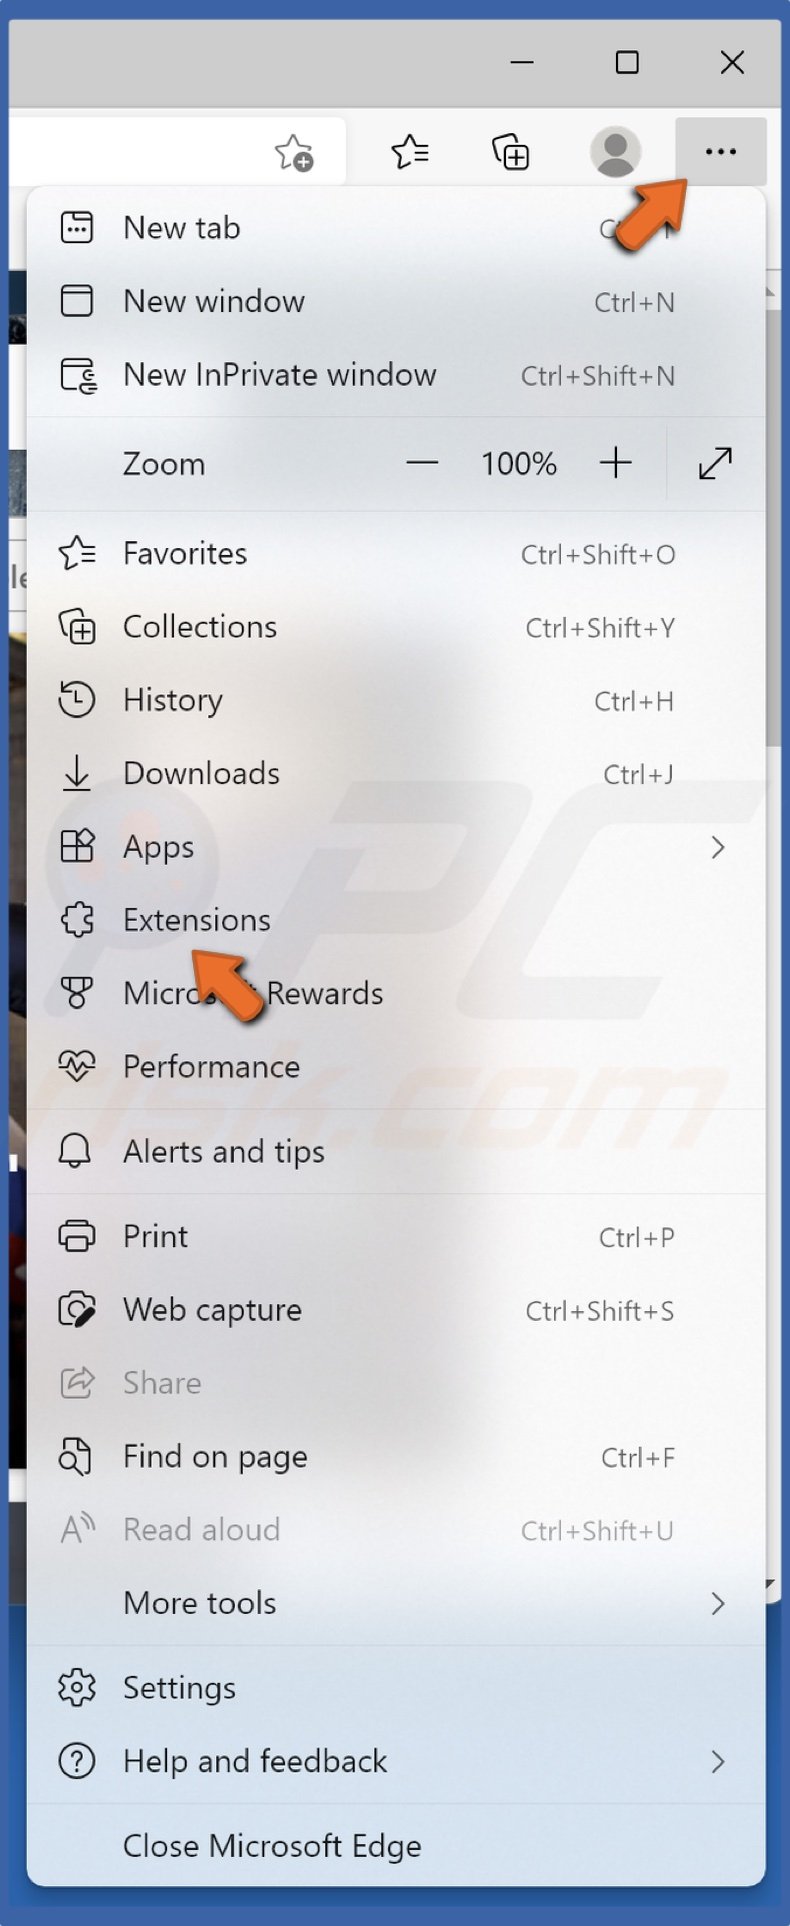
1. Open Microsoft Edge. Open the Menu and click Extensions.
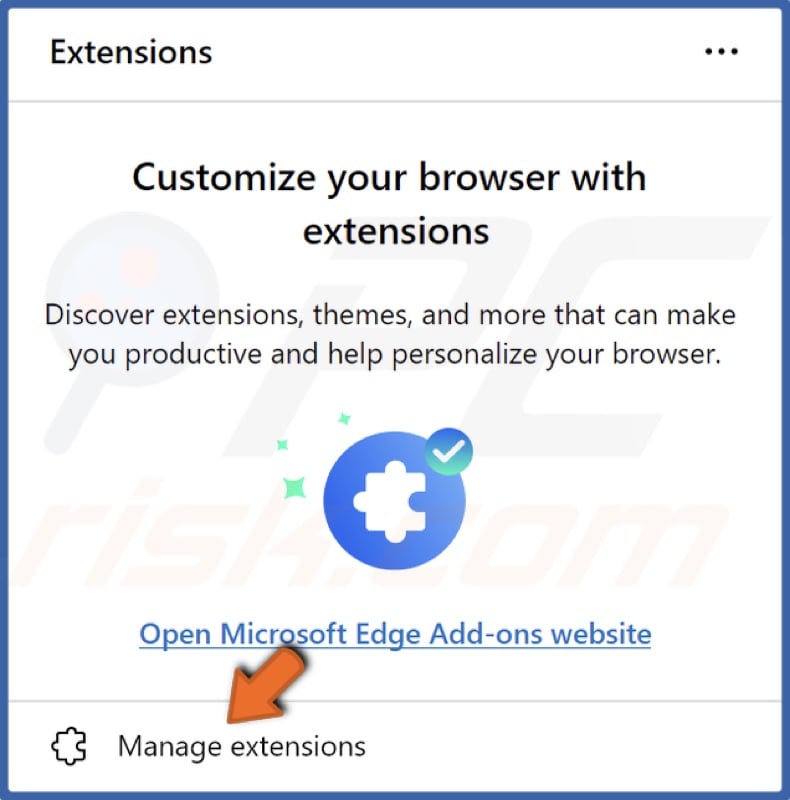
2. Click Manage extensions.
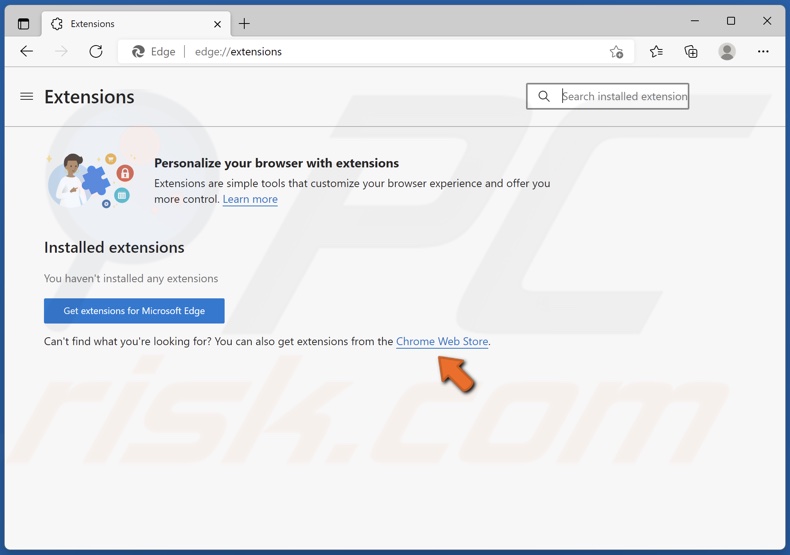
3. Select Chrome Web Store.
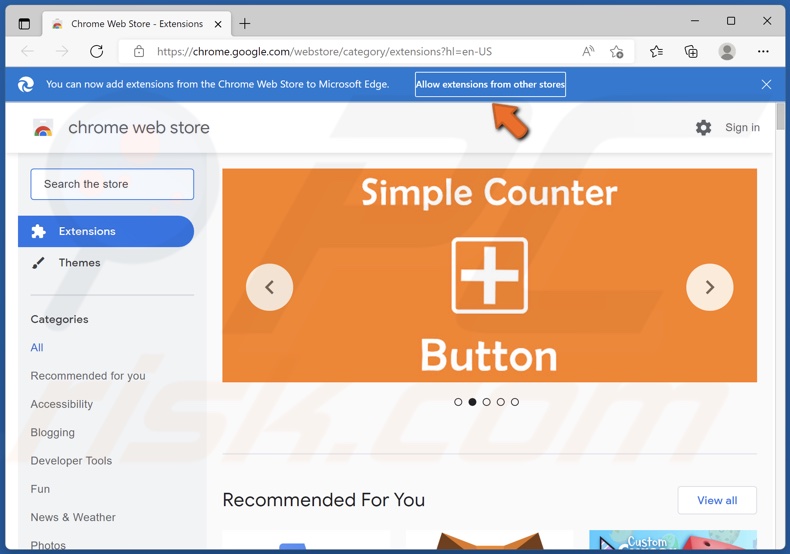
4. Click Allow extensions from other stores.
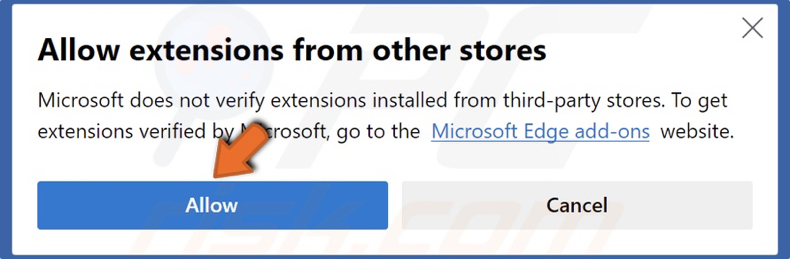
5. Click Allow to confirm the action.
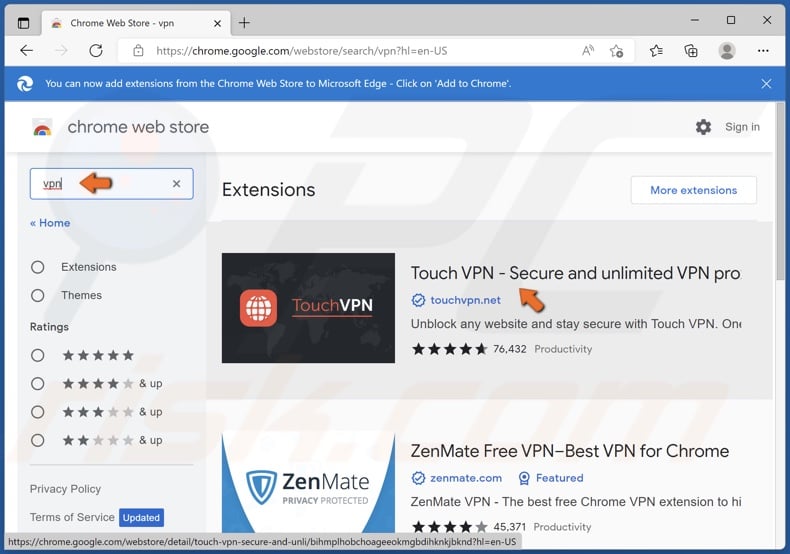
6. Type in VPN in the search bar and press Enter.
7. Select a VPN extension and click it.
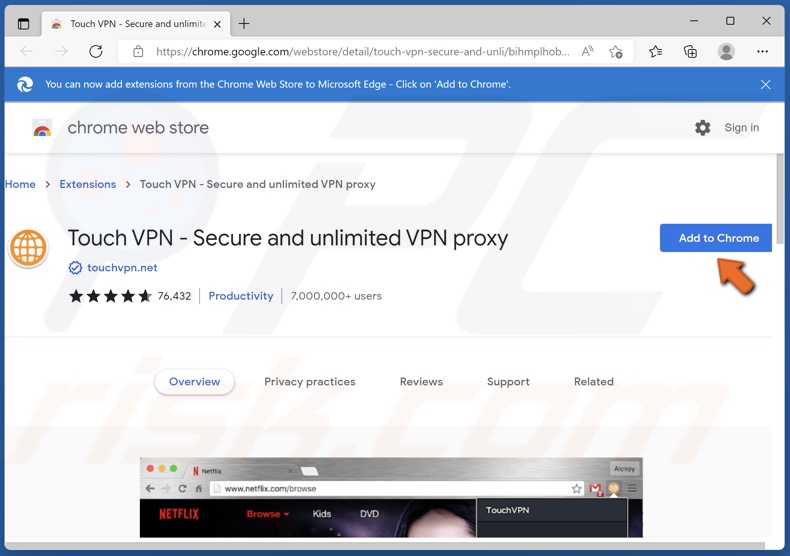
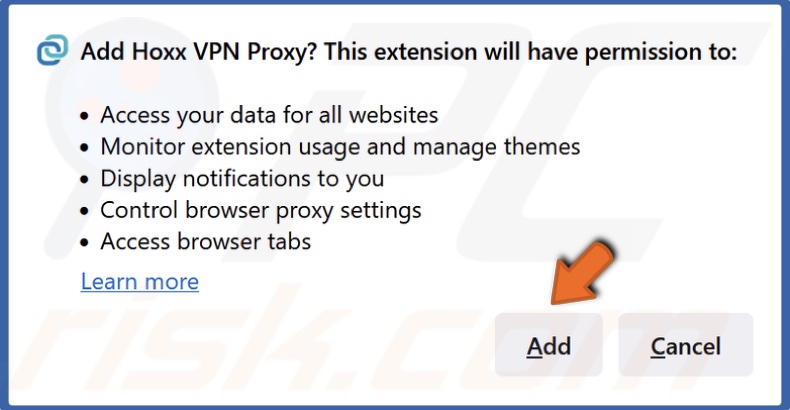
8. Click Add to Chrome (the extension will be added to Microsoft Edge).
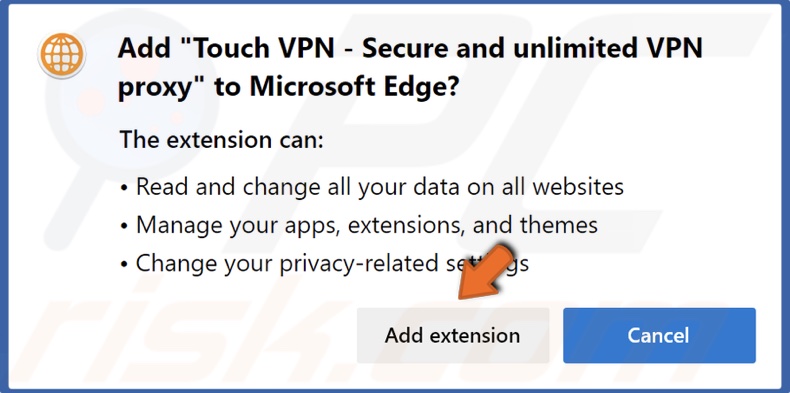
9. Click Add extension to confirm the action.
Share:

Rimvydas Iliavicius
Researcher, author
Rimvydas is a researcher with over four years of experience in the cybersecurity industry. He attended Kaunas University of Technology and graduated with a Master's degree in Translation and Localization of Technical texts. His interests in computers and technology led him to become a versatile author in the IT industry. At PCrisk, he's responsible for writing in-depth how-to articles for Microsoft Windows.
▼ Show Discussion