[FIX] Operation could not be completed (error 0x00000709)

Get Free Scanner and check your computer for errors
Fix It NowTo fix found issues, you have to purchase the full version of Combo Cleaner. Free trial available. Combo Cleaner is owned and operated by Rcs Lt, the parent company of PCRisk.com read more.
How to Fix Error 0x00000709 When Selecting Default Printer
If you can’t set your default printer and get an “Operation could not be completed (error 0x00000709)” message, follow the instructions provided in this article to fix the problem.
When you set a default printer, all print jobs are automatically sent to the selected printer, and you don’t have to select a printer each time you want to print. However, Windows may fail to change the default printer and throw the 0x00000709 error in some cases.
The full error message reads as follows:
Operation could not be completed (error 0x00000709). Double check the printer name and make sure that the printer is connected to the network.
This error mainly occurs when more than one printer is connected to a computer. It may also occur when a printer is shared over a network.
What Causes Error 0x00000709
- Incorrect Windows Registry settings.
- Allowing Windows to manage the default printer automatically.
- The cumulative update KB5006670 for Windows 10. Uninstalling this update should solve the problem.
Video on How to Fix “Operation could not be completed (error 0x00000709)”
Table of Contents:
- Introduction
- Method 1. Run the Printer Troubleshooter
- Method 2. Disable Windows Automatic Printer Management
- Method 3. Set Default Printer via Windows Registry Editor
- Video on How to Fix “Operation could not be completed (error 0x00000709)”
Download Computer Malware Repair Tool
It is recommended to run a free scan with Combo Cleaner - a tool to detect viruses and malware on your device. You will need to purchase the full version to remove infections. Free trial available. Combo Cleaner is owned and operated by Rcs Lt, the parent company of PCRisk.com read more.
Method 1. Run the Printer Troubleshooter
1. Hold down Windows+R keys to open Run.
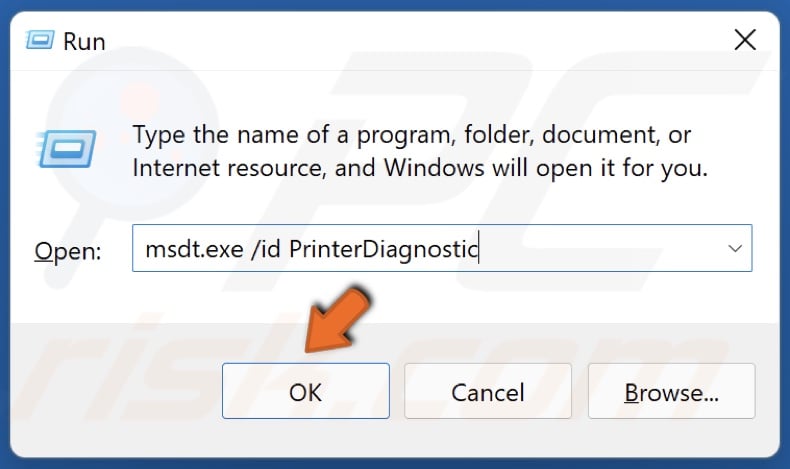
2. In the Run dialog box, type in msdt.exe /id PrinterDiagnostic and click OK.
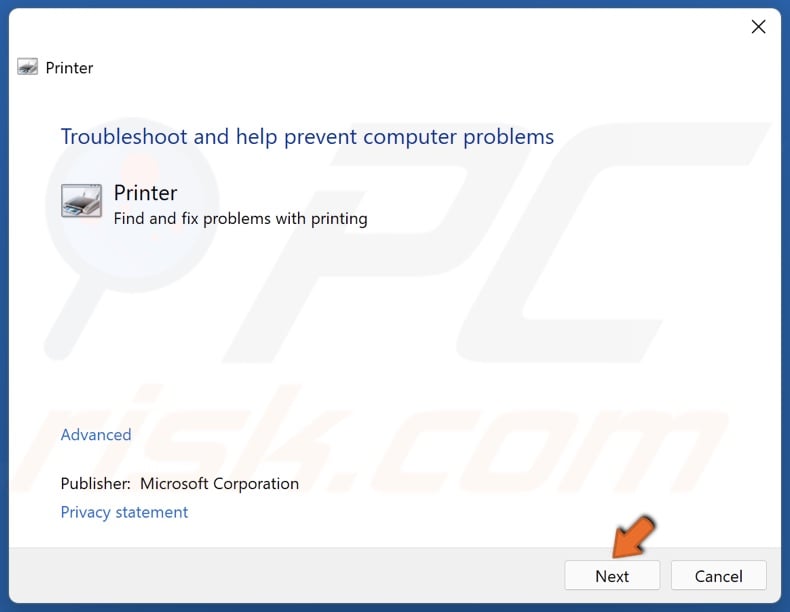
3. In the Printer Troubleshooter window, click Next.
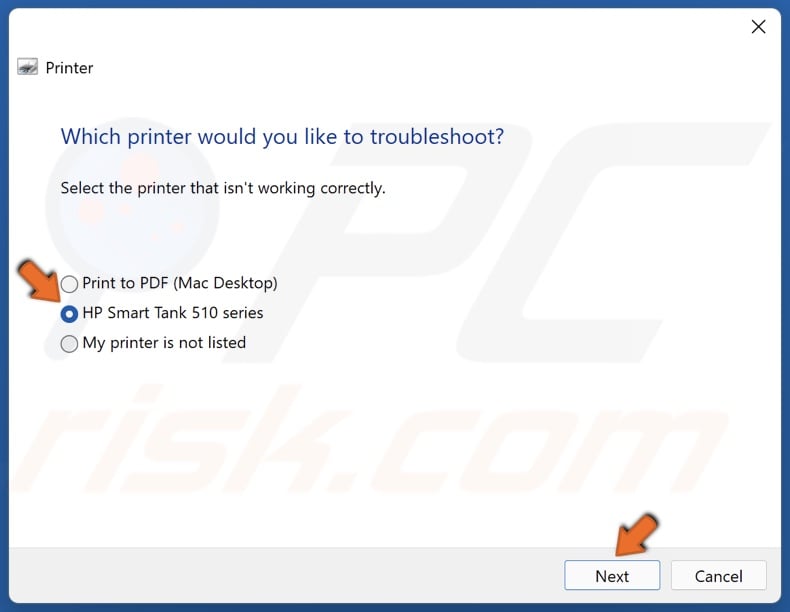
4. Select the printer and click Next.
5. The troubleshooter will identify the problem and provide a fix.
Method 2. Disable Windows Automatic Printer Management
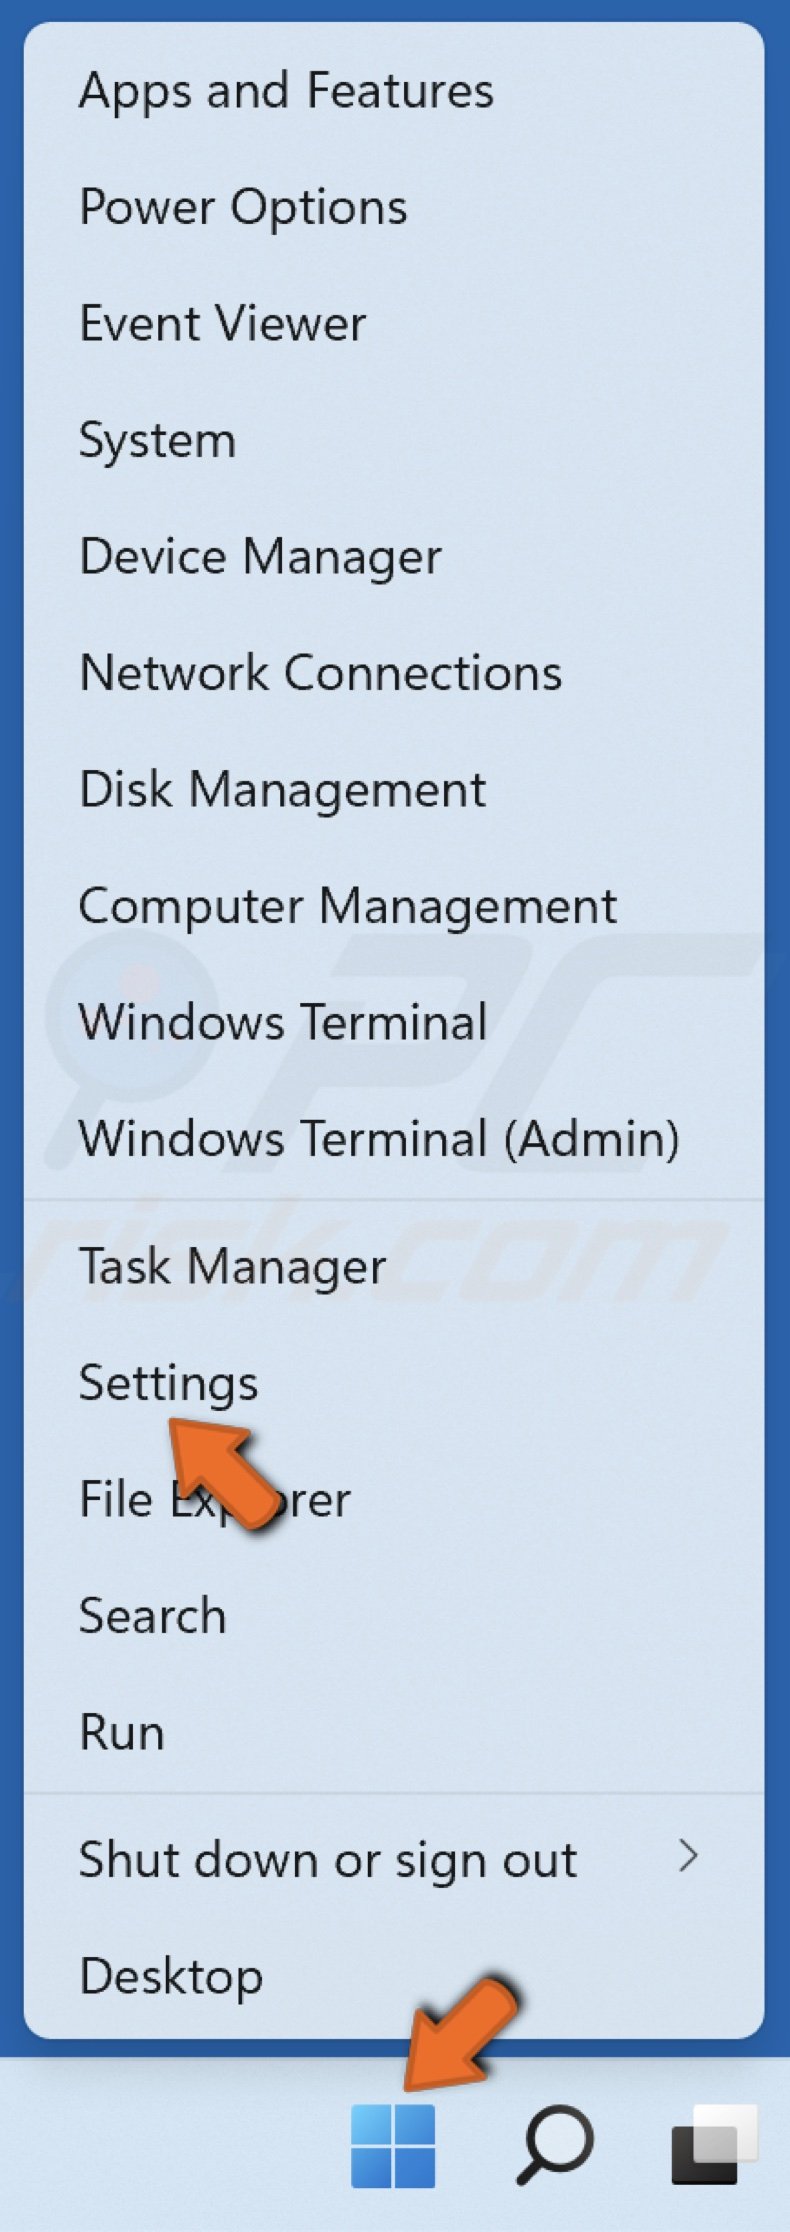
1. Right-click Start and click Settings.
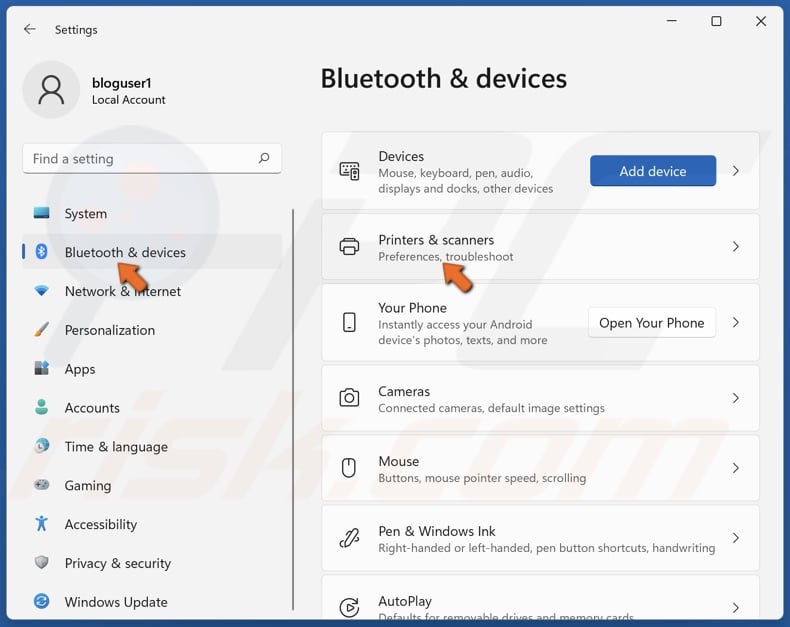
2. In the left pane, select Bluetooth and devices.
3. Select Printers & scanners.
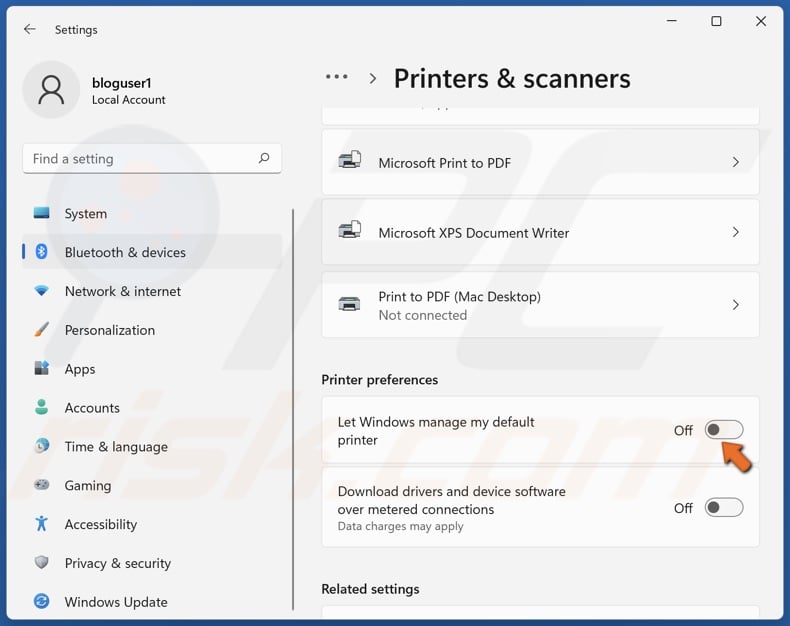
4. In the Printer preferences section, toggle off the, Let Windows manage my default printer, option.
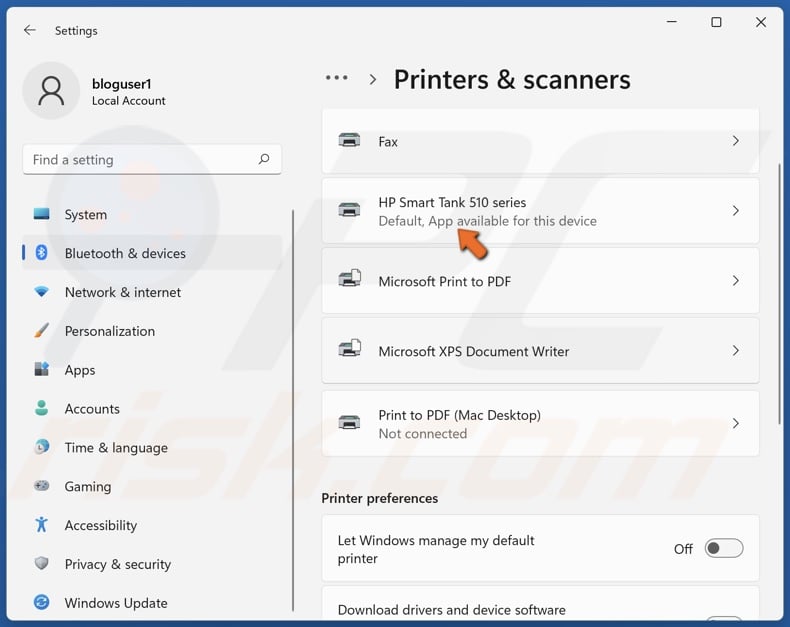
5. Then, select the printer.
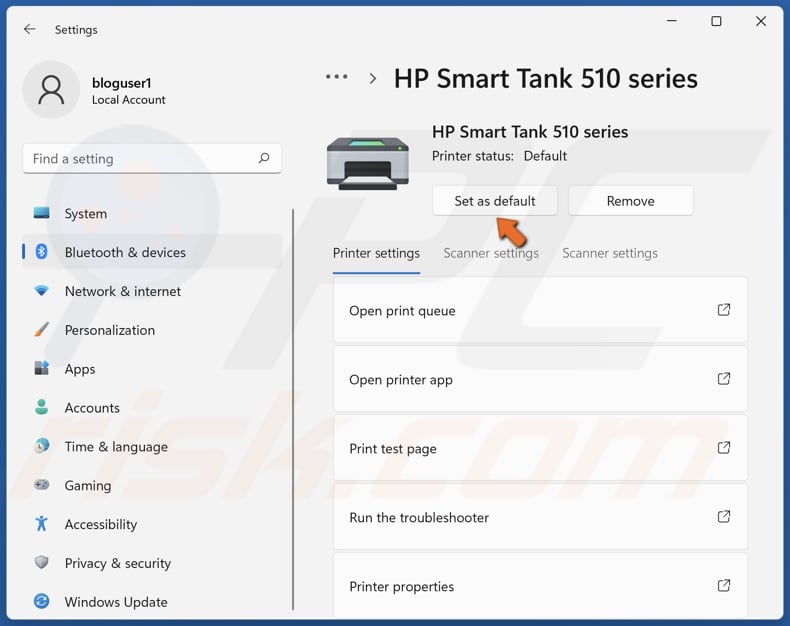
6. Click Set as default.
Method 3. Set Default Printer via Windows Registry Editor
Before going through the steps, you need to know the exact name of your printer.
1. Right-click Start and click Settings.
2. In the left pane, select Bluetooth and devices.
3. Select Printers & scanners.
4. Check the name of your printer.
5. Hold down Windows+R keys to open Run.
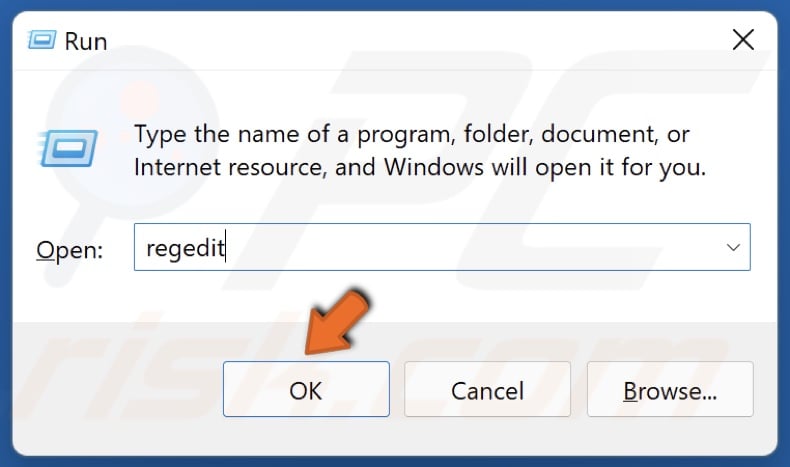
6. In the Run dialog box, type in regedit and click OK.
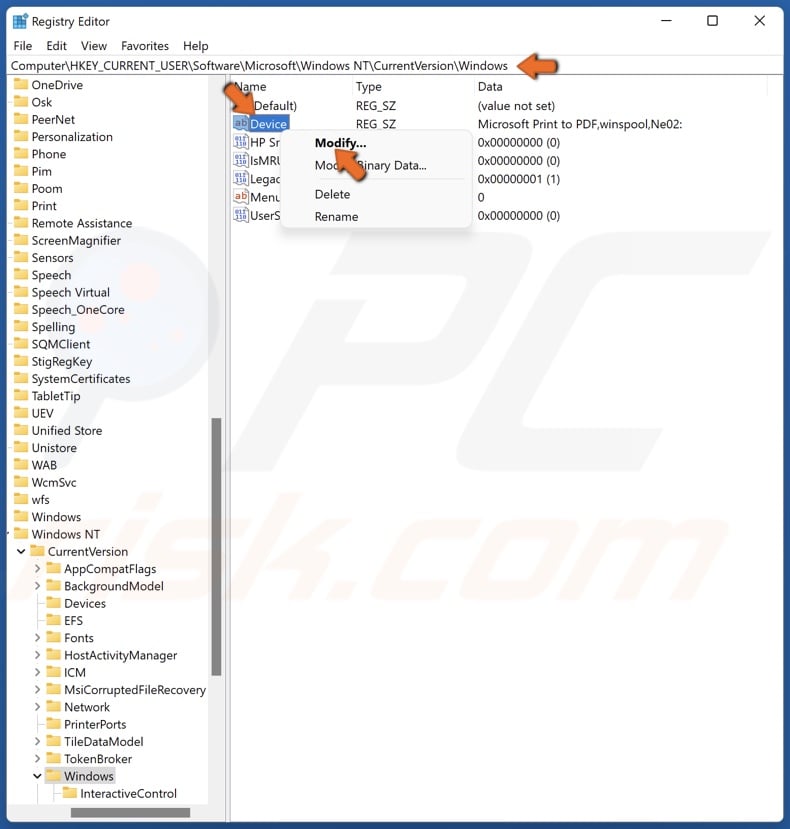
7. In the Windows Registry Editor, navigate to HKEY_CURRENT_USER\Software\Microsoft\WindowsNT\CurrentVersion\Windows
8. Right-click Device and click Modify.
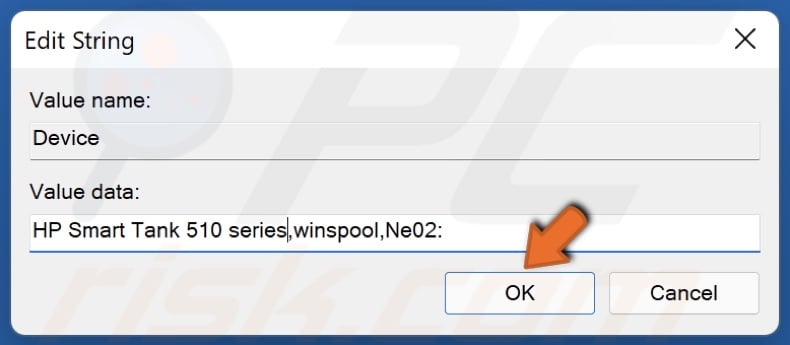
9. In the Value data section, type in your printer name and click OK. The value data is separated by a comma into three parts. You only need to change the part at the front, which is the printer name.
10. If you get a Cannot edit Device: Error writing the value’s new contents error, perform the following steps.
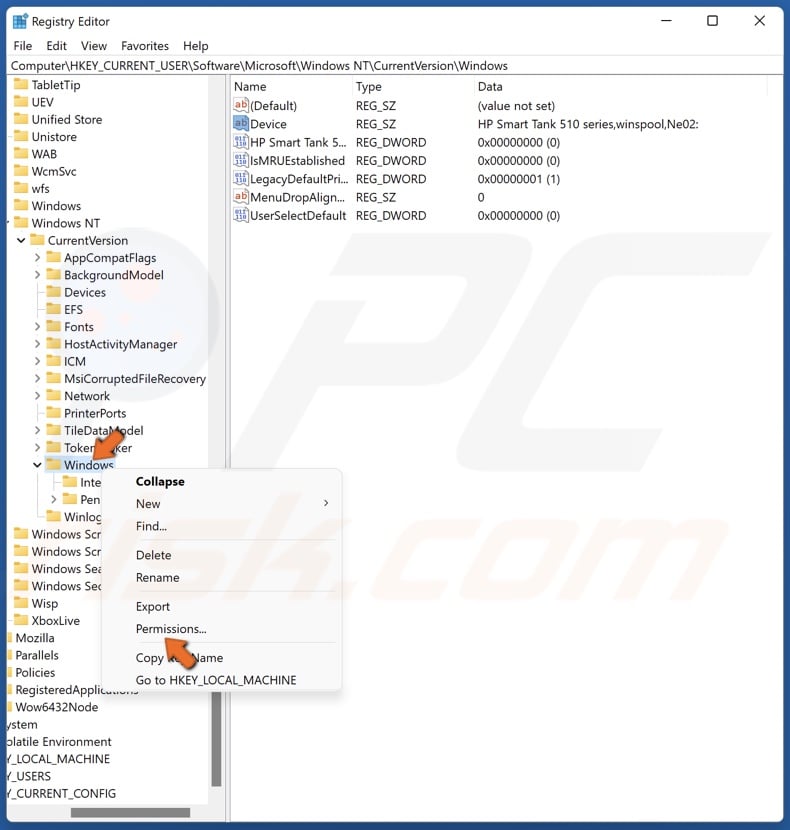
11. Right-click the Windows key in the left pane and click Permissions.
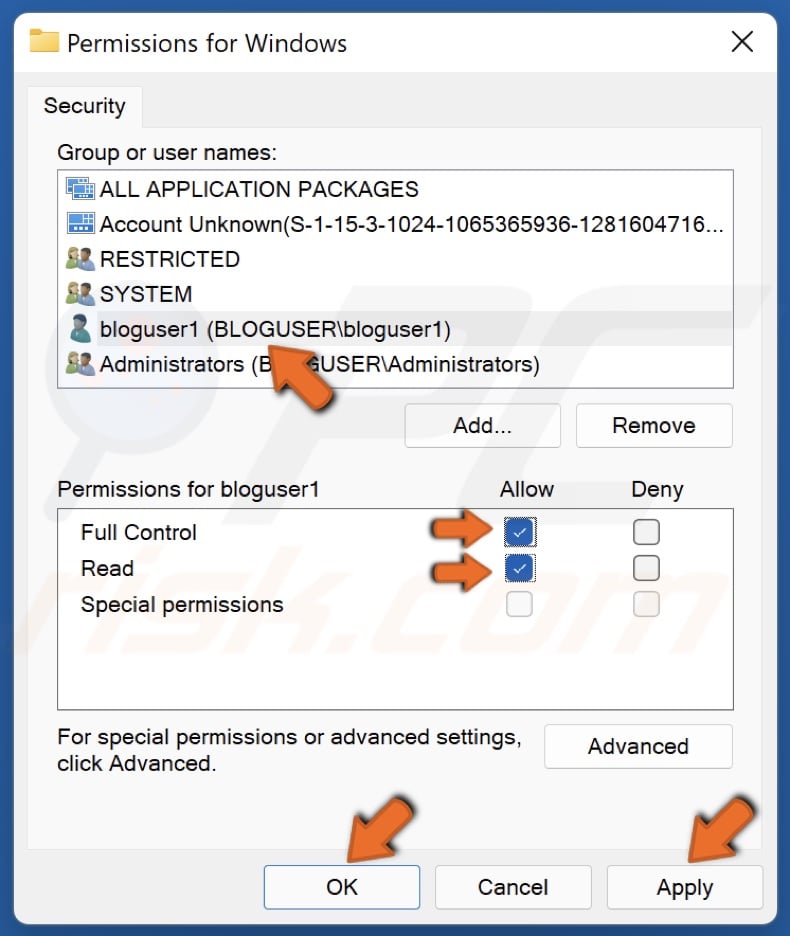
12. Select your administrator account, and tick Allow for Full Control and Read.
13. Click Apply and click OK to save the changes.
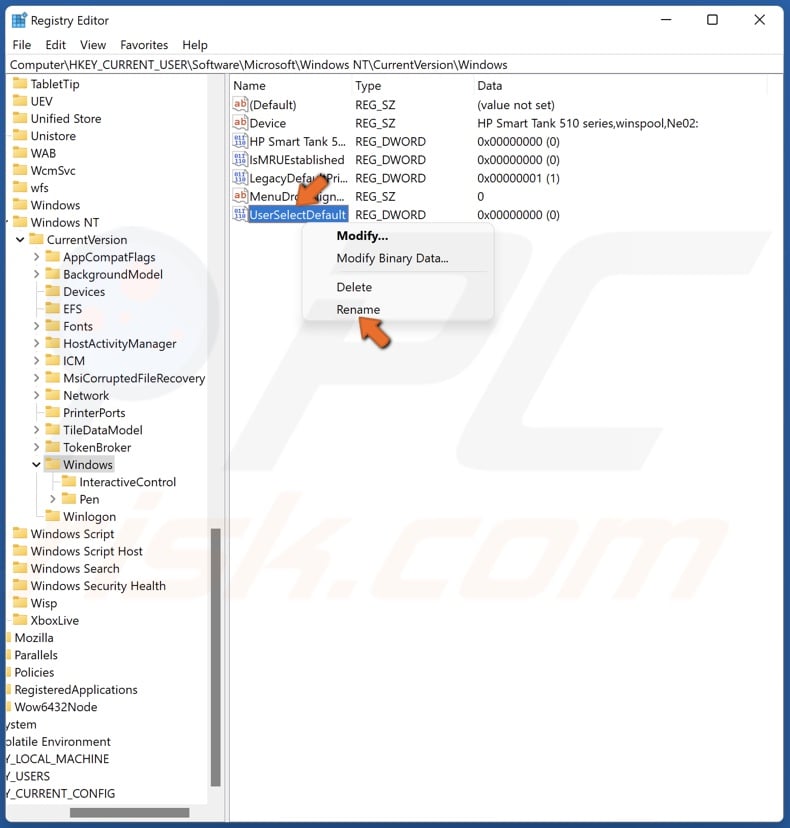
14. Right-click UserSelectDefault and click Rename.
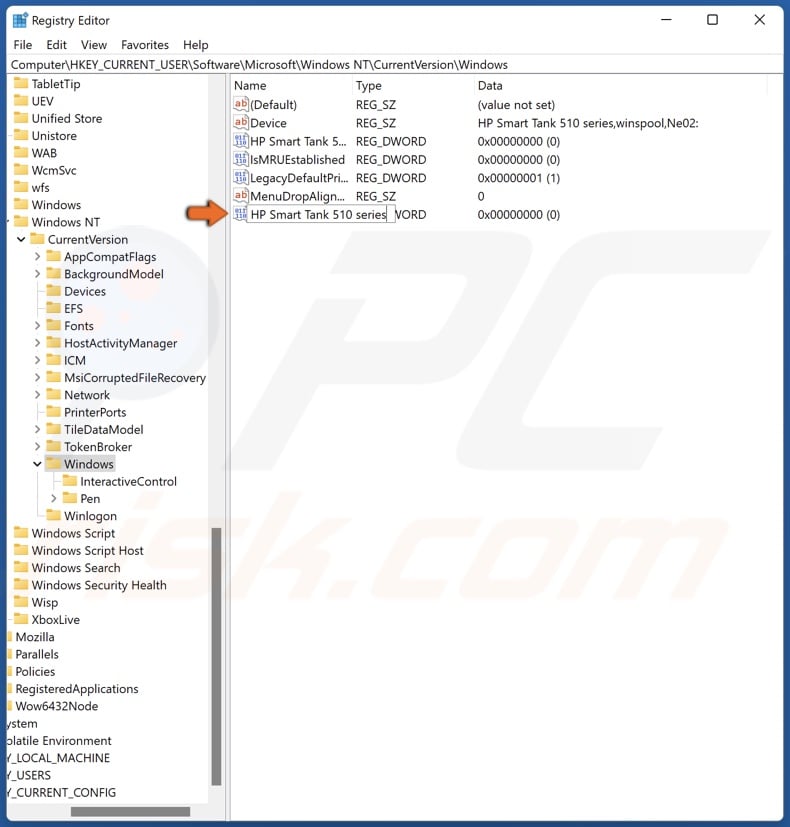
15. Rename it to the name of your printer.
Share:

Rimvydas Iliavicius
Researcher, author
Rimvydas is a researcher with over four years of experience in the cybersecurity industry. He attended Kaunas University of Technology and graduated with a Master's degree in Translation and Localization of Technical texts. His interests in computers and technology led him to become a versatile author in the IT industry. At PCrisk, he's responsible for writing in-depth how-to articles for Microsoft Windows.
▼ Show Discussion