Fix "Http/1.1 Service Unavailable" Error

Get Free Scanner and check your computer for errors
Fix It NowTo fix found issues, you have to purchase the full version of Combo Cleaner. Free trial available. Combo Cleaner is owned and operated by Rcs Lt, the parent company of PCRisk.com read more.
How to Fix "Http/1.1 Service Unavailable" Error on Windows 11
Many Windows users report getting an "Http/1.1 Service Unavailable" error when accessing a website. This article will provide you with several methods to fix this error.
What Is Error "Http/1.1 Service Unavailable"
This error message means that your computer can't properly connect to a website's backend because either your Internet connection or the website was configured incorrectly. Nevertheless, this error may also occur due to other reasons.
Error "Http/1.1 Service Unavailable" often occurs when trying to visit websites such as AOL, Hulu, Webex, and the MS Outlook web app, among others. It's worth noting that this error occurs more frequently on Mozilla Firefox but may also occur on Google Chrome.
What Causes Error "Http/1.1 Service Unavailable"
- Outdated web browser. Due to some updates on the website's end, your outdated web browser can't connect to the website.
- Web browser cache. A corrupted browser cache often causes connection issues.
- Windows add-ons. Windows may enable some system add-ons onto your Internet connection that may interfere with the website and prevent you from connecting to it.
- Internet misconfiguration. Misconfigured Internet settings may result in a limited bandwidth.
- DNS issues. If the default Windows DNS server is down, your Internet configuration may not work.
- Website backend issues. Issues with themes and add-ons enabled on the website may prevent your PC from establishing a reliable connection.
- Low website resources. You may get this error if the website is low on recourses and the traffic exceeds the number of online users.
- Low disk space. If your system is running out of disk space, your browser may be prevented from loading the website.
Table of Contents:
- Introduction
- Solution 1. Run the Internet Connections Troubleshooter
- Solution 2. Clear Web Browser Cache
- Solution 3. Clear SSL State
- Solution 4. Disable Proxy Server
- Solution 5. Set Internet Options to Default
- Solution 6. Change the DNS Server Address
- Solution 7. Perform DNS Flush
- Solution 8. Perform Disk Cleanup
- Video Guide on How to Fix "Http/1.1 Service Unavailable" Error
Download Computer Malware Repair Tool
It is recommended to run a free scan with Combo Cleaner - a tool to detect viruses and malware on your device. You will need to purchase the full version to remove infections. Free trial available. Combo Cleaner is owned and operated by Rcs Lt, the parent company of PCRisk.com read more.
Solution 1. Run the Internet Connections Troubleshooter
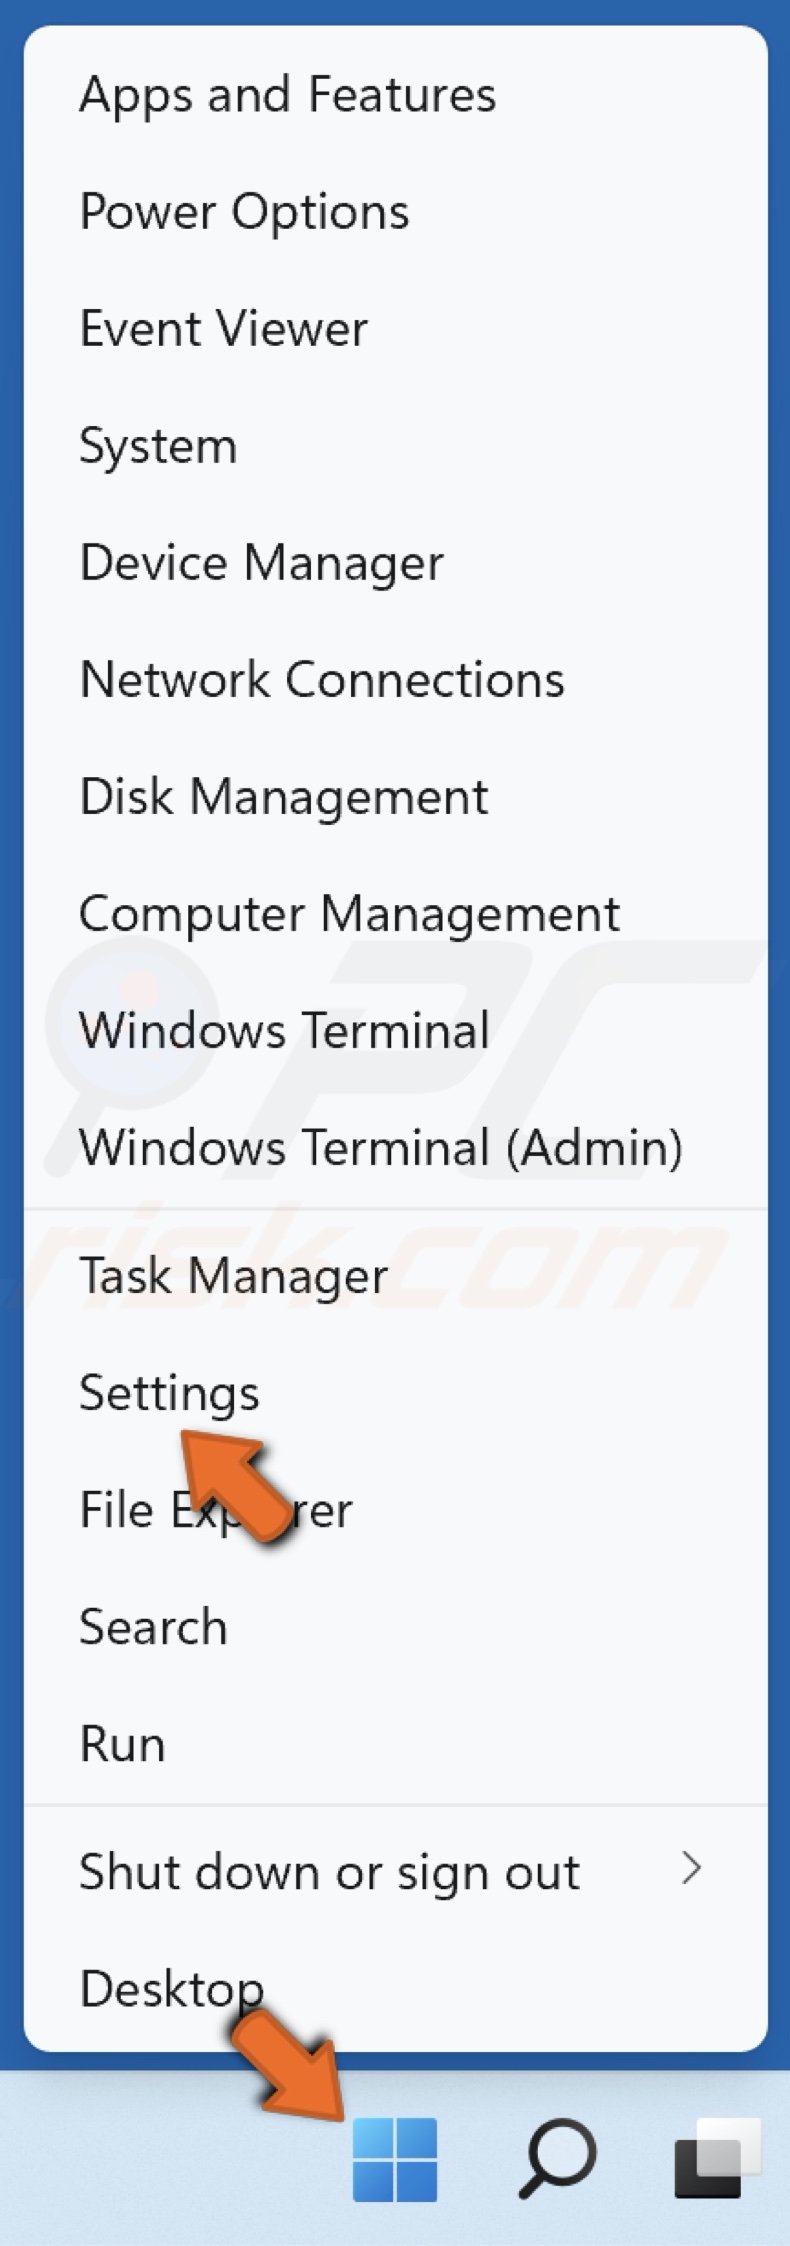
1. Right-click the Start menu button and select Settings.
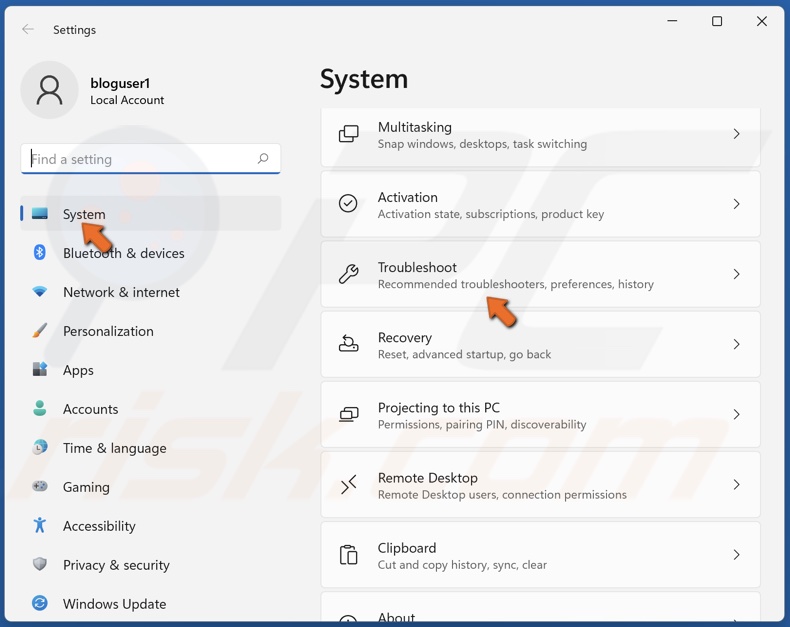
2. Select System and scroll down.
3. Select Troubleshoot.
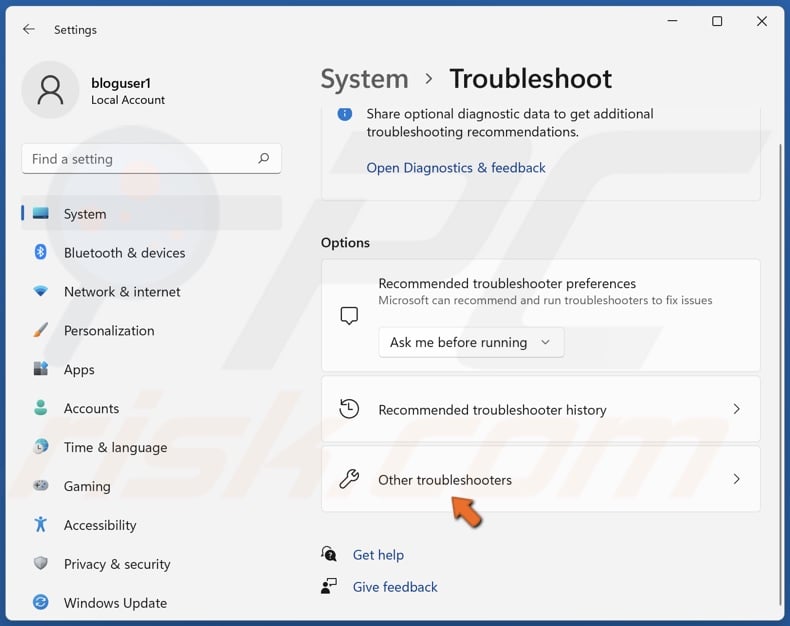
4. Select Other troubleshooters.
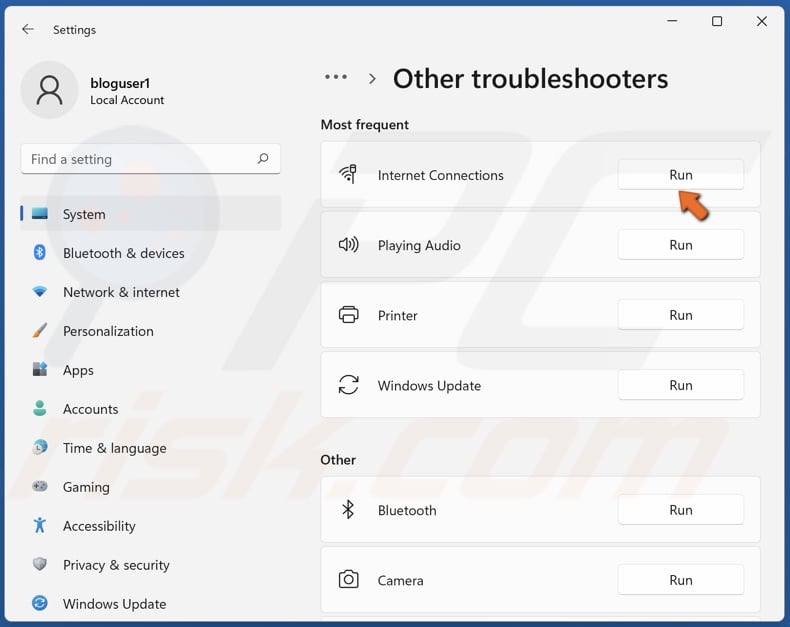
5. Run the Internet Connections troubleshooter.
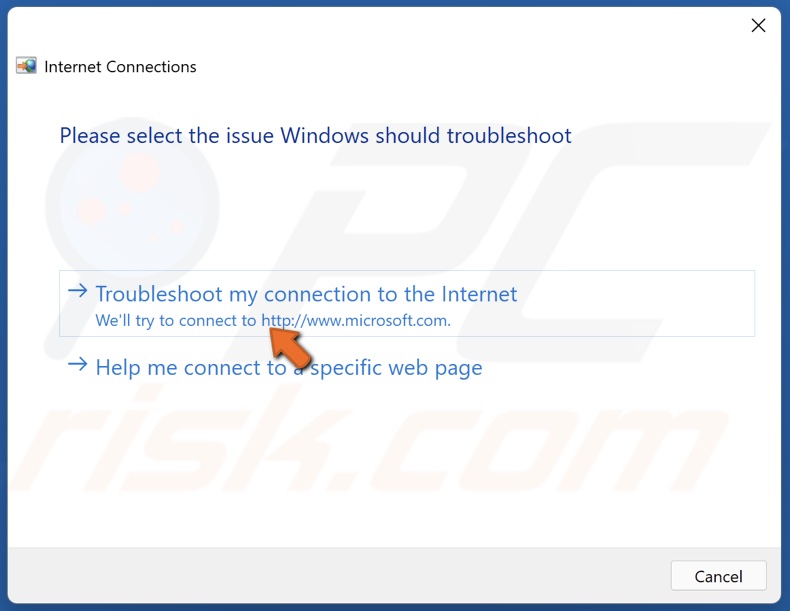
6. Click Troubleshoot my connection to the Internet. The troubleshooter will identify the issues and suggest fixes.
Solution 2. Clear Web Browser Cache
Clear the Cache in Google Chrome
1. Open Google Chrome.
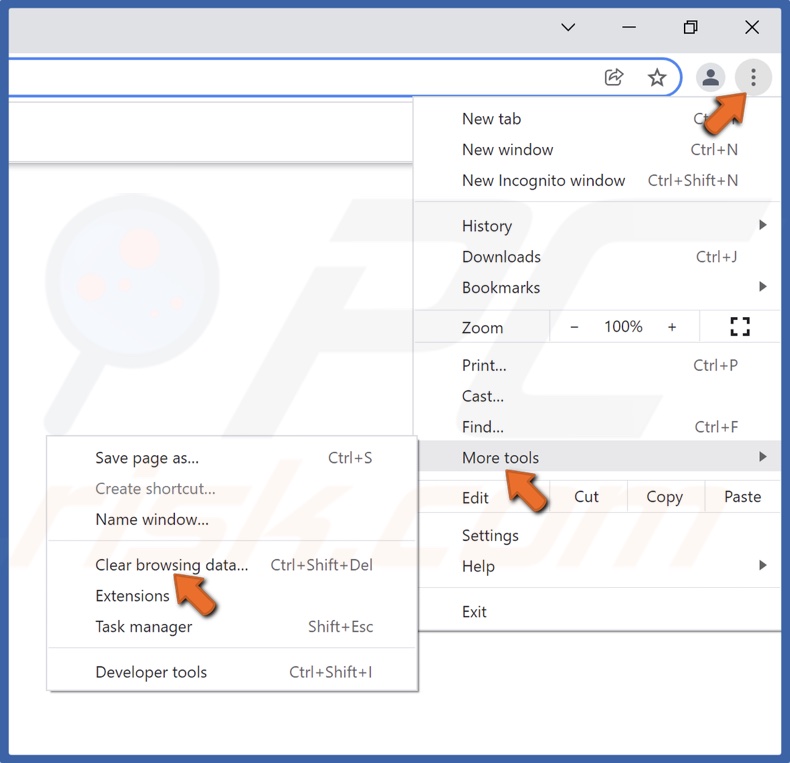
2. Open the More menu, navigate to More tools, and click Clear browsing data.
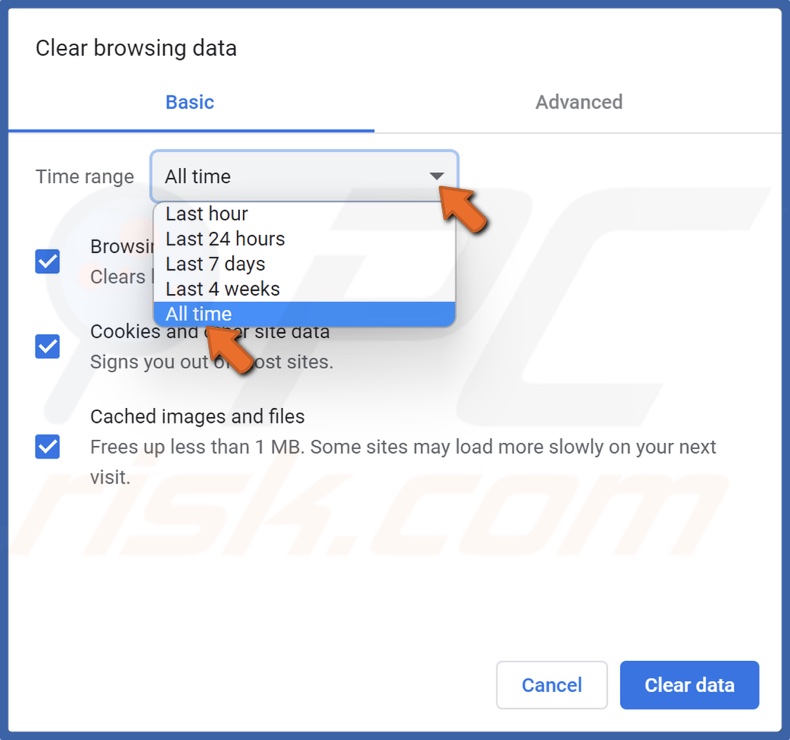
3. Open the Time range drop-down menu and select All time.
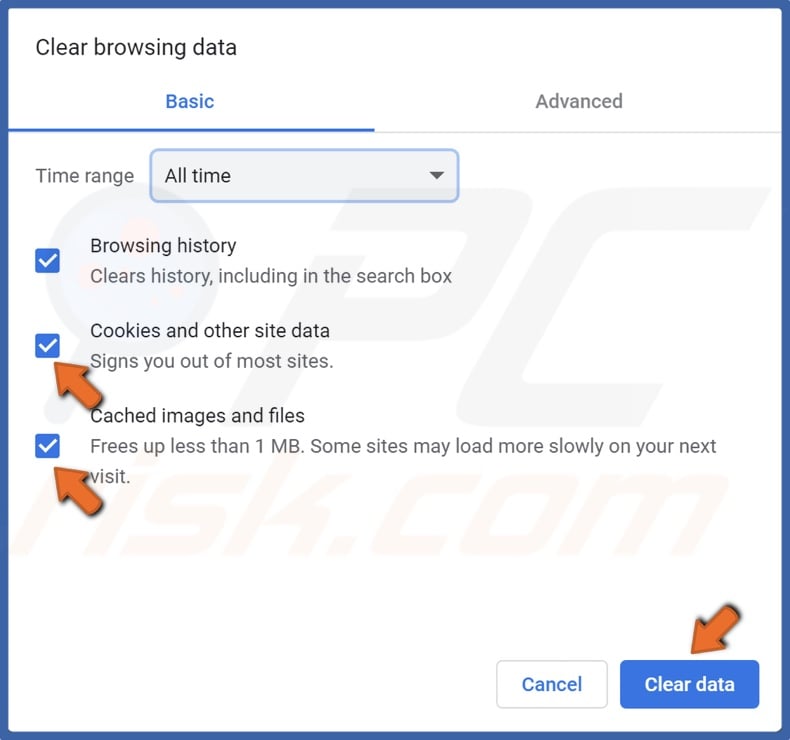
4. Then, mark the checkboxes next to Cookies and other site data and Cached images and files, and click Clear data.
Clear the Cache in Mozilla Firefox
1. Open Mozilla Firefox.
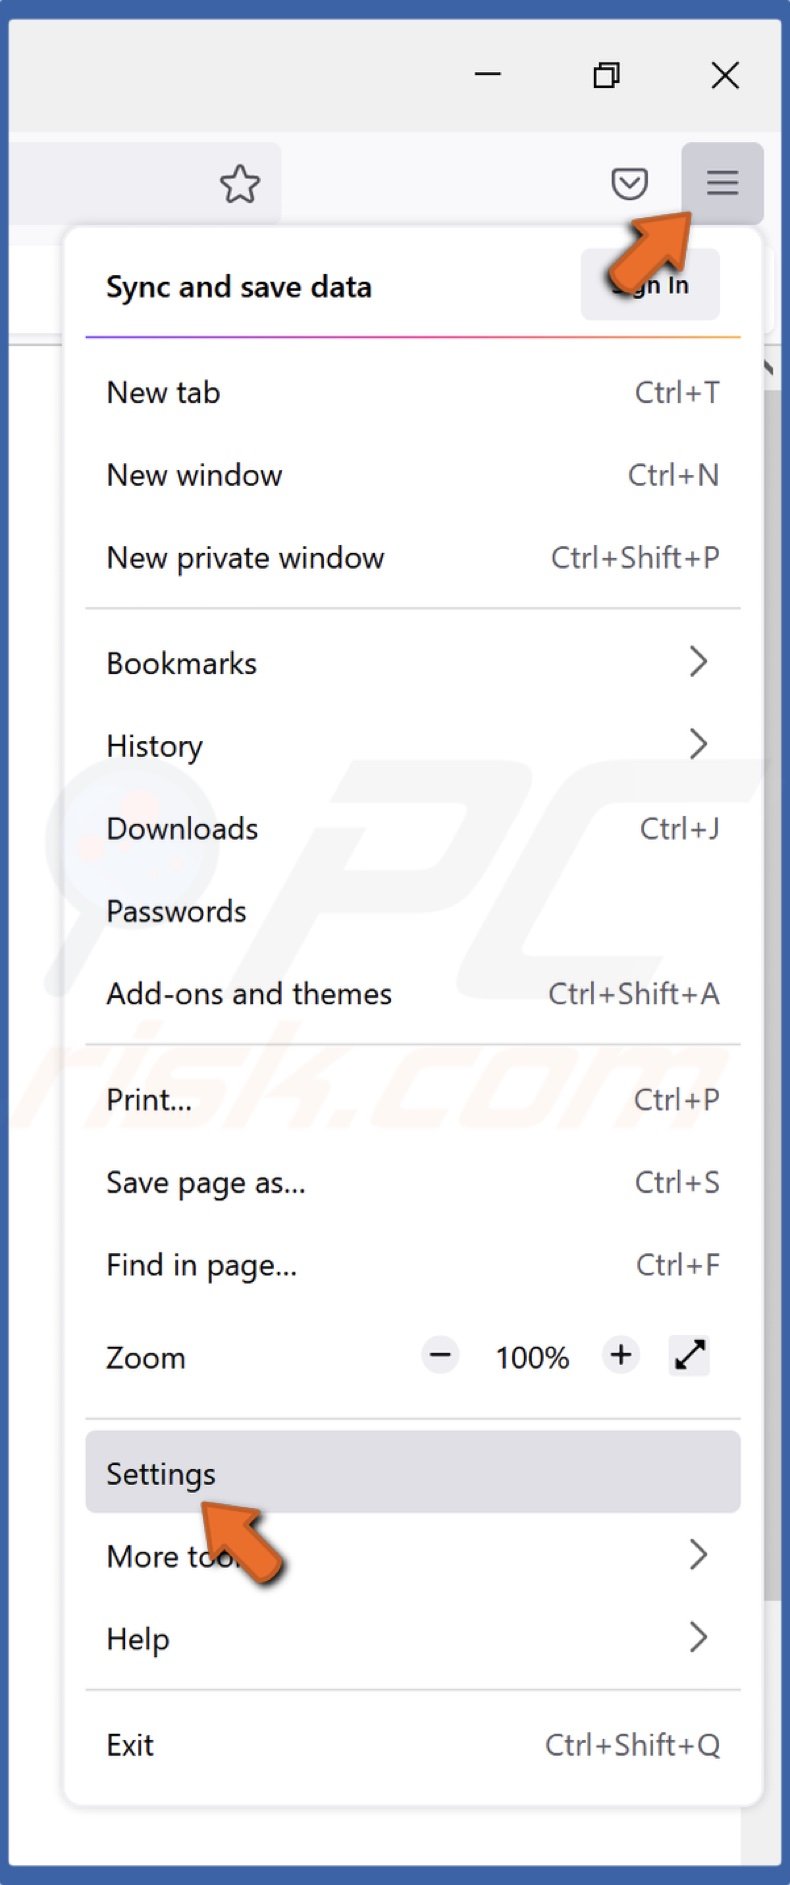
2. Open the Menu and select Settings.
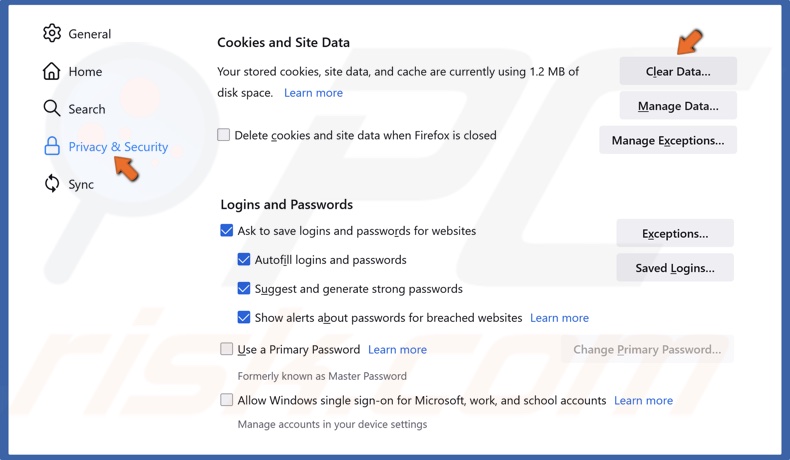
3. Select the Privacy & Security panel.
4. Scroll down and in the Cookies and Site Data section, click Clear Data.
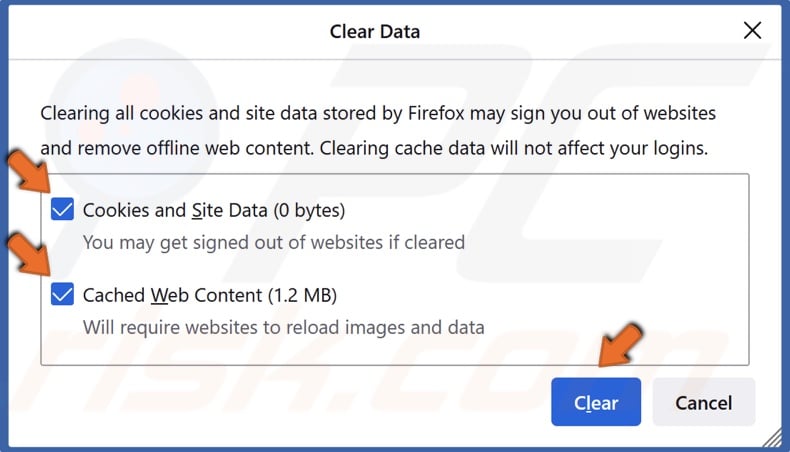
5. Mark the checkboxes next to Cookies and Site Data and Cached Web Content and click Clear.

6. Then, click the Clear Now button.
Solution 3. Clear SSL State
1. Hold down Windows+R keys to open Run.
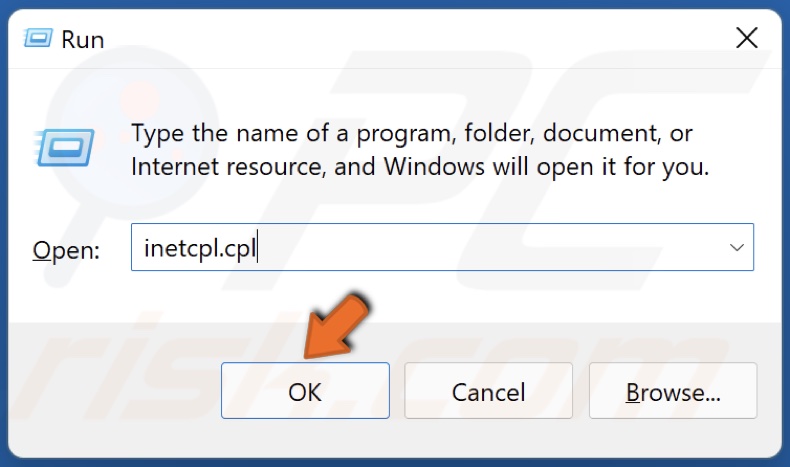
2. In the Run dialog box, type in inetcpl.cpl and click OK.
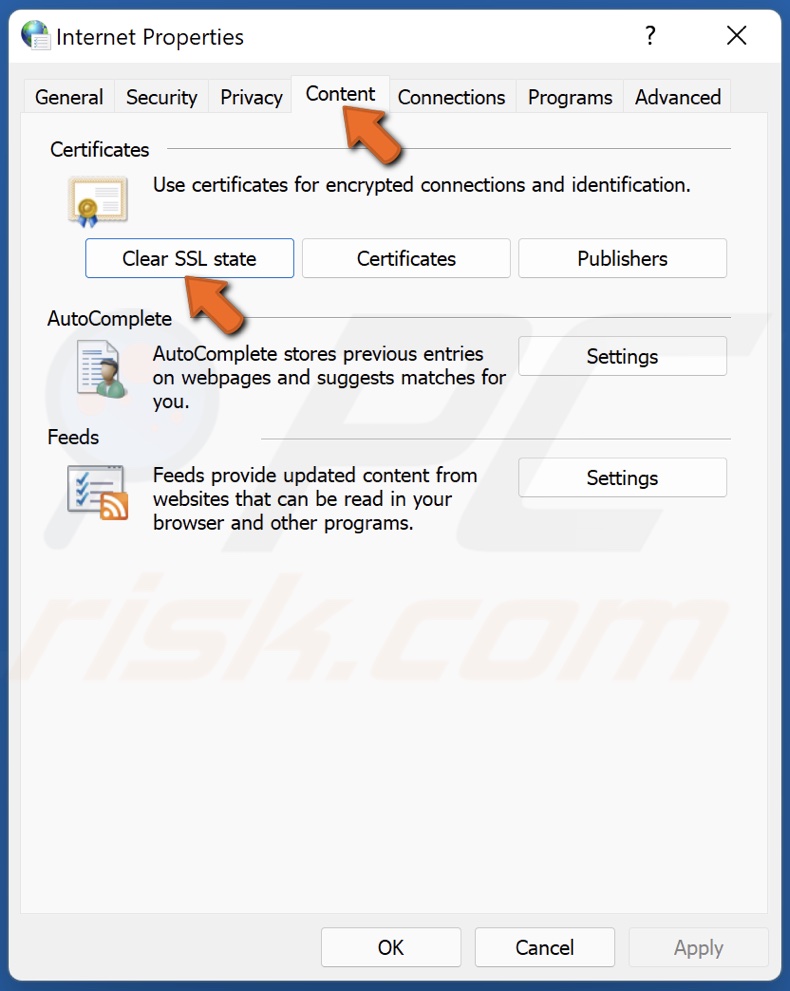
3. In the resulting Internet Properties window, select the Content tab.
4. Under the Certificates section, click Clear SSL state.
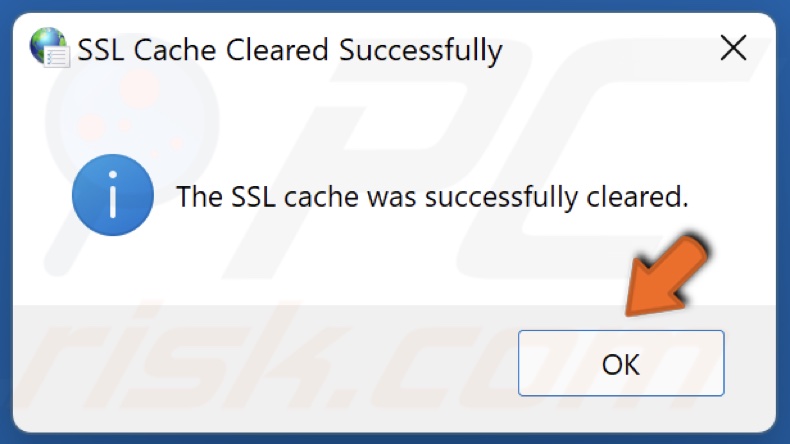
5. Once, the SSL cache was successfully cleared, click OK.
Solution 4. Disable Proxy Server
1. Hold down Windows+R keys to open Run.
2. In the Run dialog box, type in inetcpl.cpl and click OK.
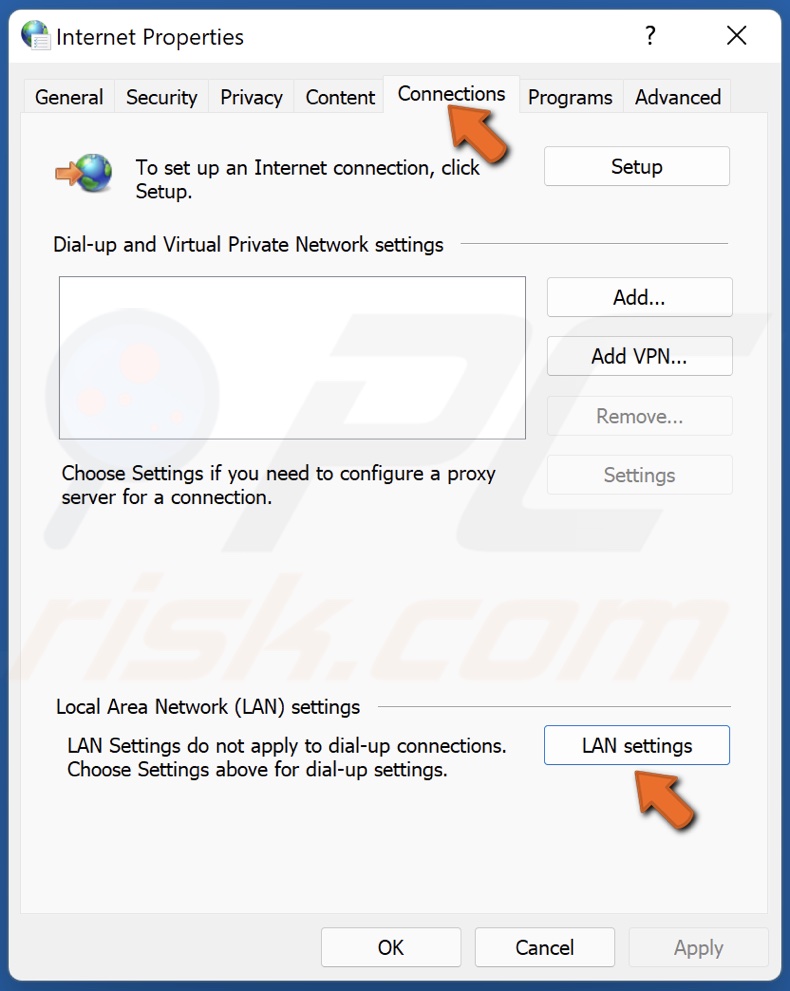
3. In the resulting Internet Properties window, select the Connections tab.
4. Click LAN settings.
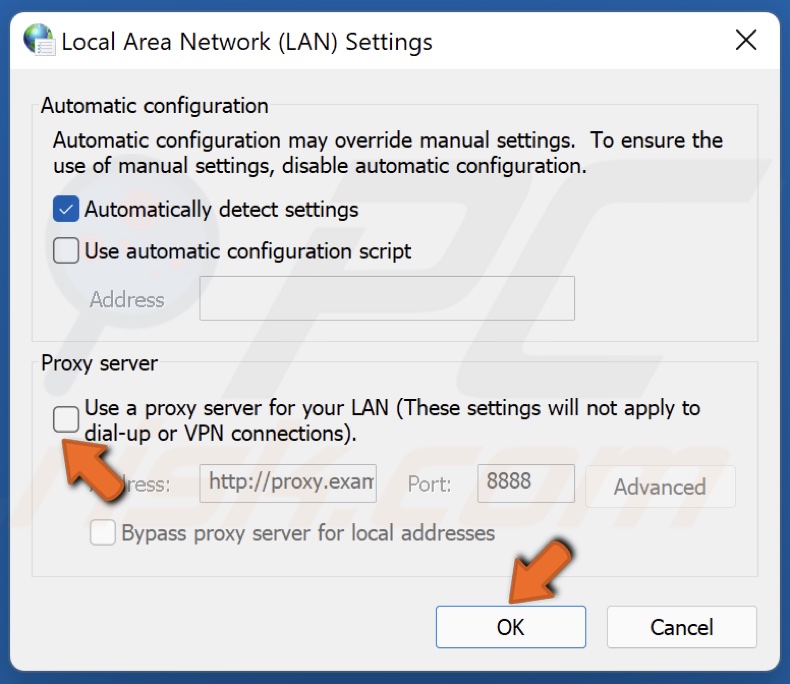
5. Under the Proxy server section, uncheck the checkbox next to Use a proxy server for your LAN option and click OK.
Solution 5. Set Internet Options to Default
1. Hold down Windows+R keys to open Run.
2. In the Run dialog box, type in inetcpl.cpl and click OK.
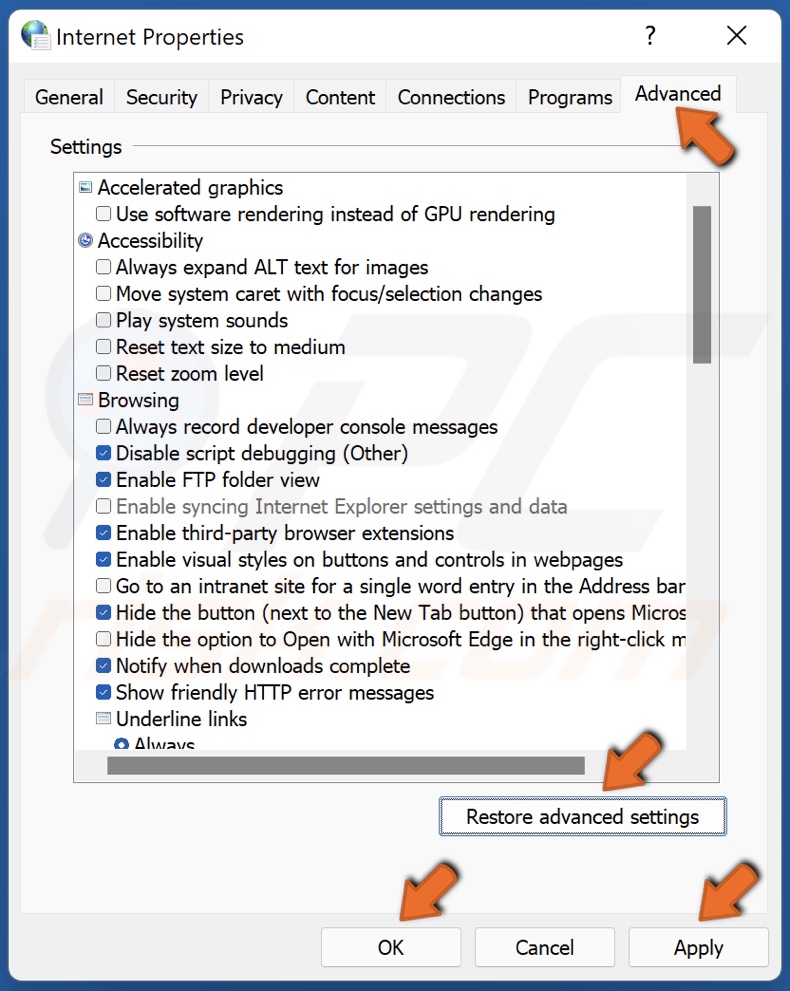
3. In the resulting Internet Properties window, select the Advanced tab.
4. Click Restore advanced settings.
5. Click Apply and click OK.
Solution 6. Change the DNS Server Address
1. Hold down Windows+R keys to open Run.
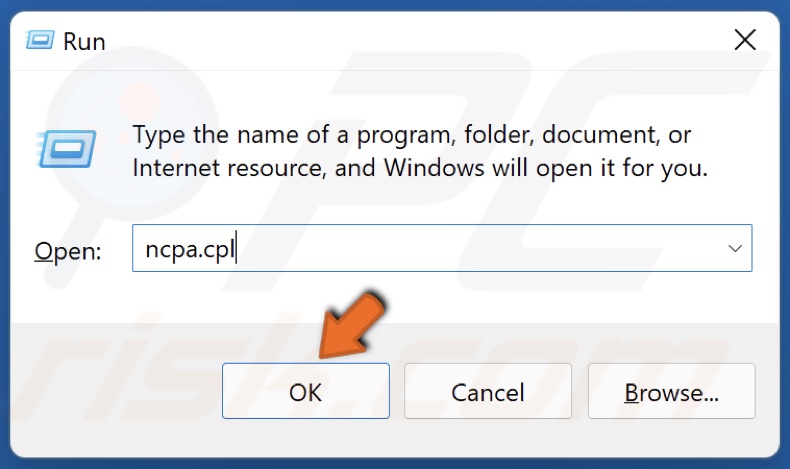
2. In the Run dialog box, type in ncpa.cpl and click OK.
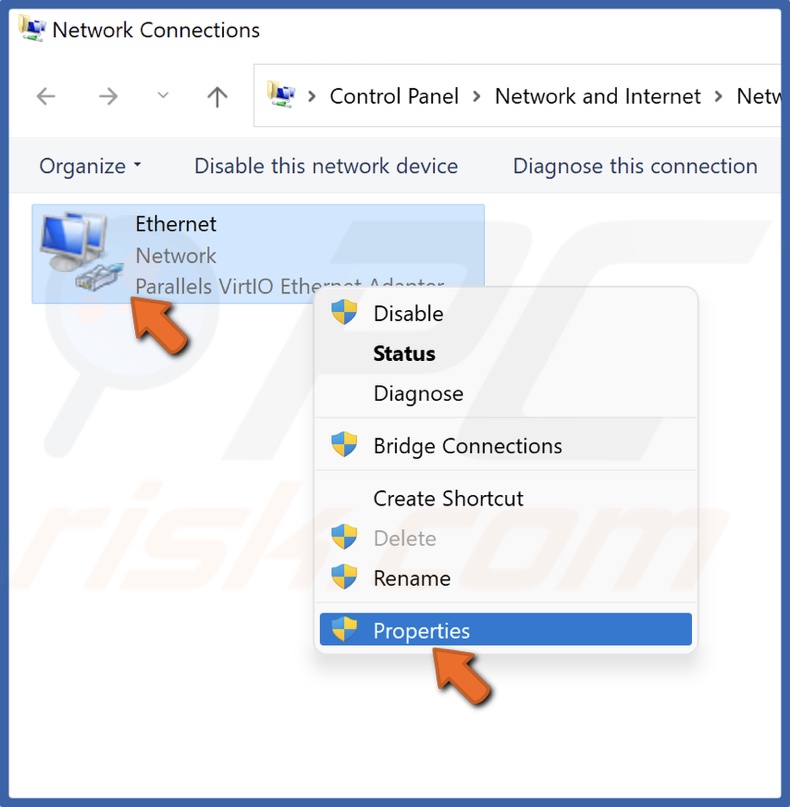
3. Right-click your network adapter and click Properties.
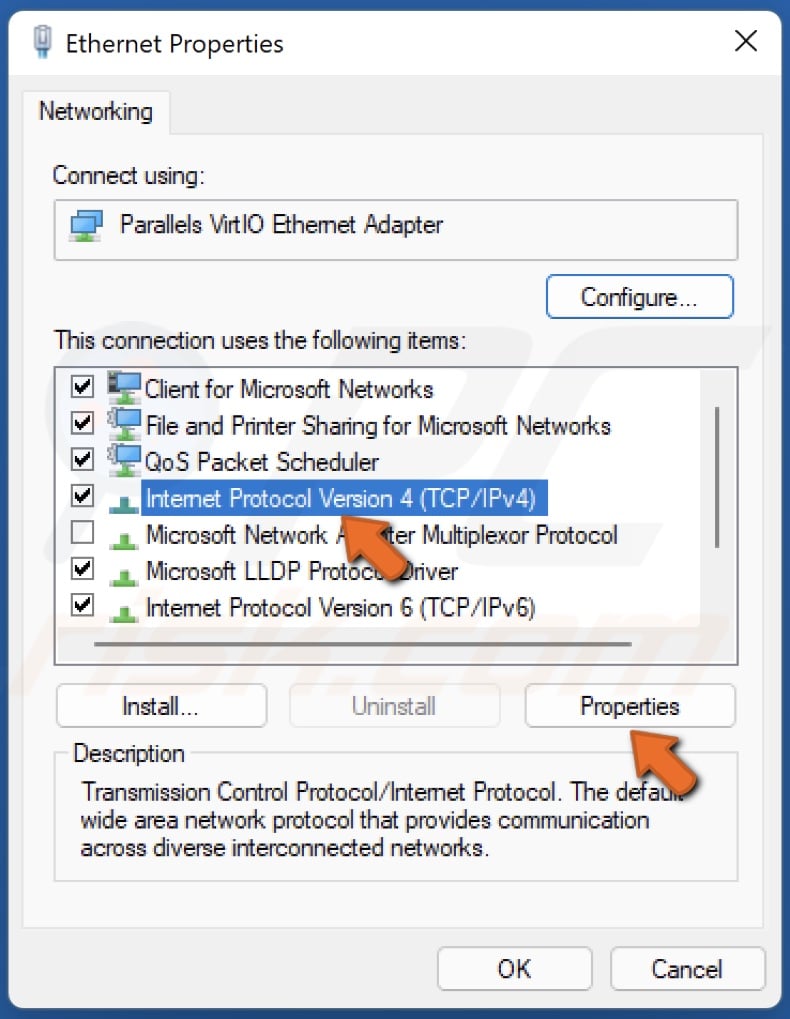
4. Select Internet Protocol Version 4 (TCP/IPv4) and click Properties.
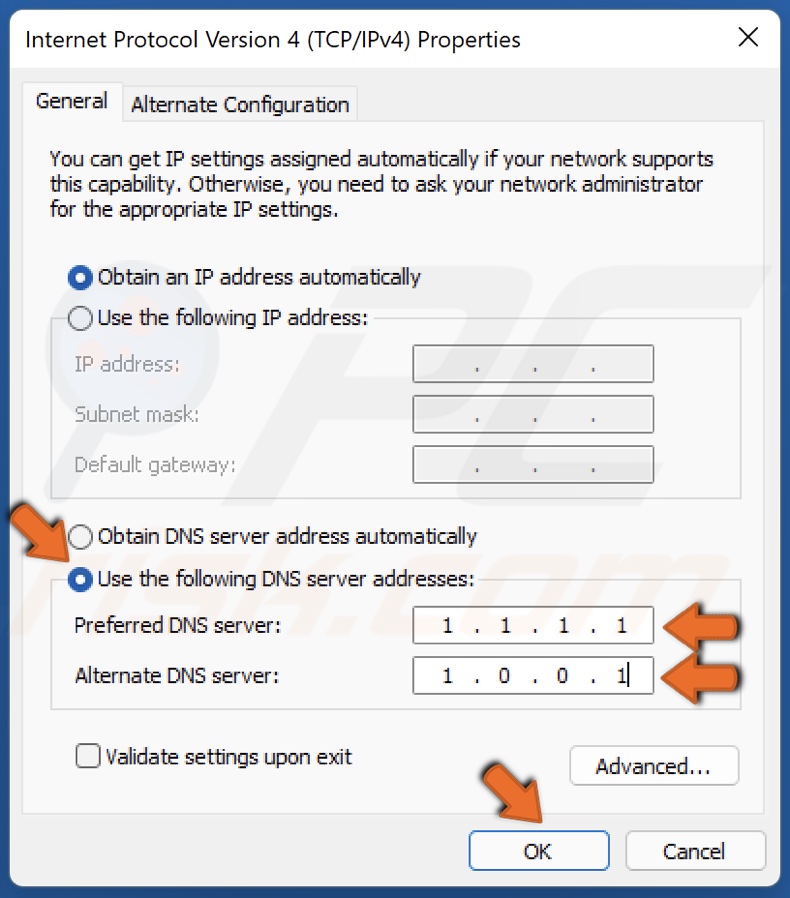
5. Tick the Use the following DNS server addresses option.
6. Enter the following addresses (or your preferred DNS addresses):
- In the Preferred DNS server, type in 1.1.1.1
- In the Alternate DNS server, type in 1.0.0.1
7. Click OK to save settings.
8. Restart your PC for the changes to take effect.
Solution 7. Perform DNS Flush
1. Hold down Windows+R keys to open Run.
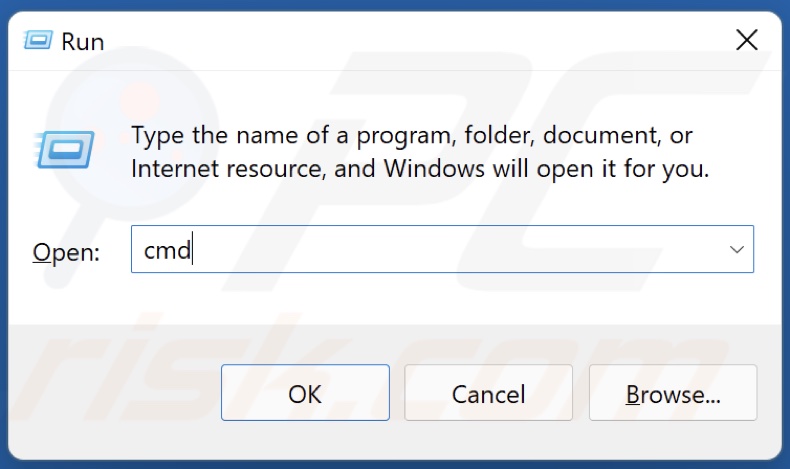
2. In the Run dialog box, type in CMD and hold down Ctrl+Shift+Enter keys to open Command Prompt as administrator.
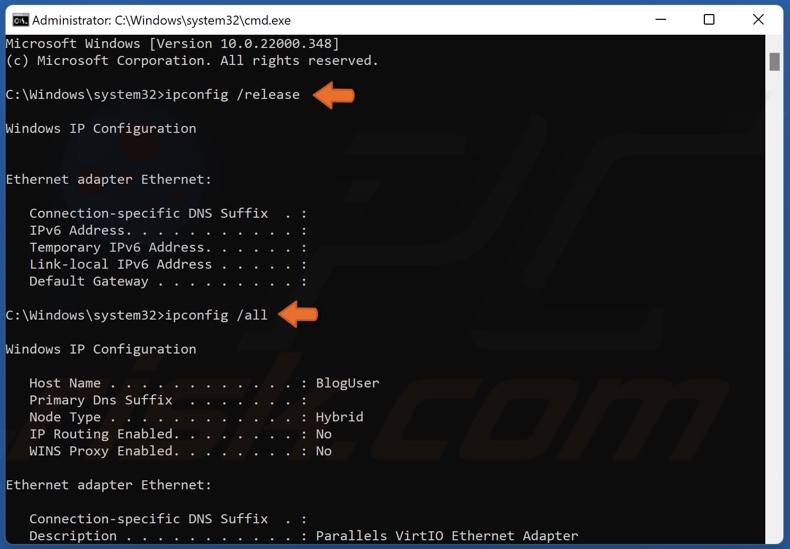
3. In the Command Prompt window, type in the commands listed below and press Enter after typing in each one.
- ipconfig /release
- ipconfig /all

- ipconfig /flushdns
- ipconfig /renew
- netsh winsock reset
4. After running the commands above, restart your PC.
Solution 8. Perform Disk Cleanup
1. Hold down Windows+R keys to open Run.
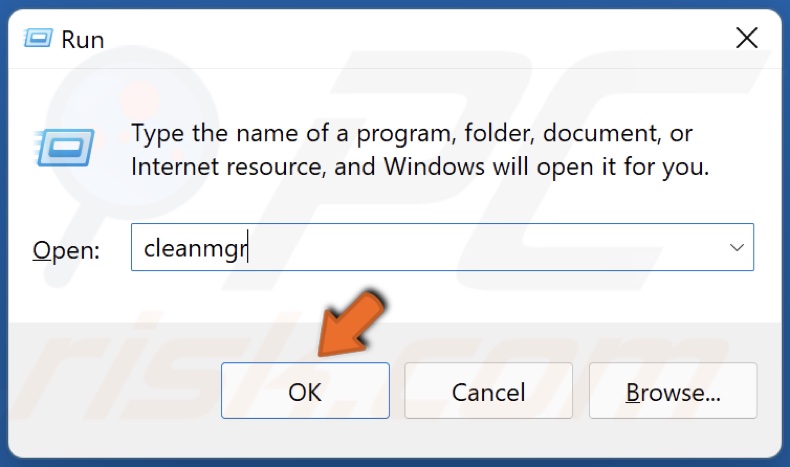
2. In the dialog box, type in cleanmgr and click OK.
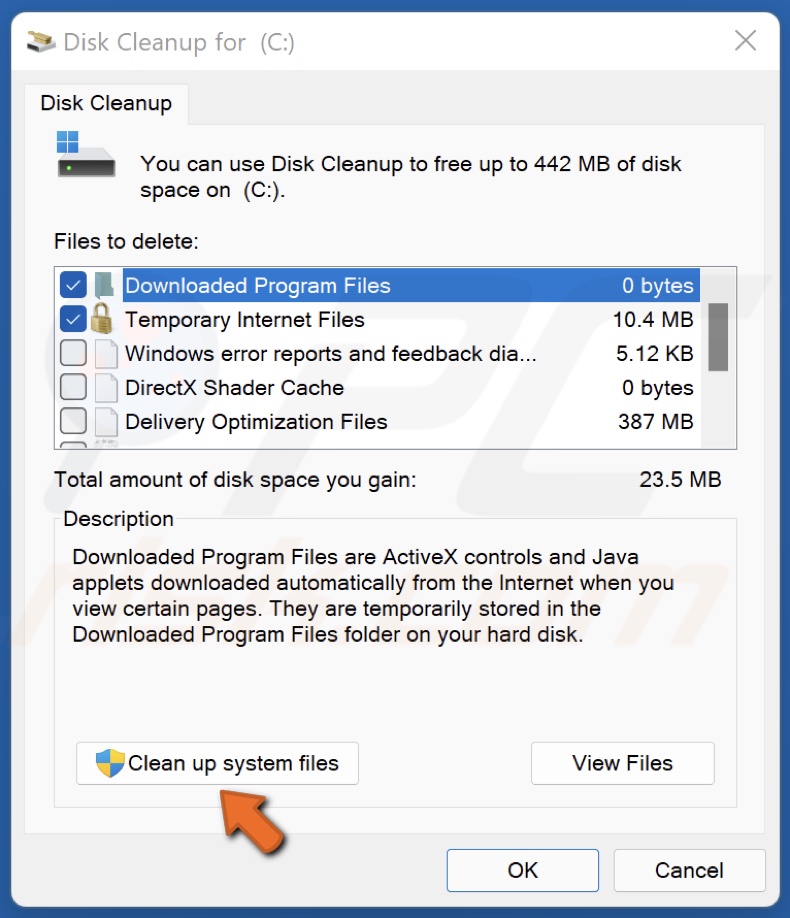
3. Click Clean Up System Files.
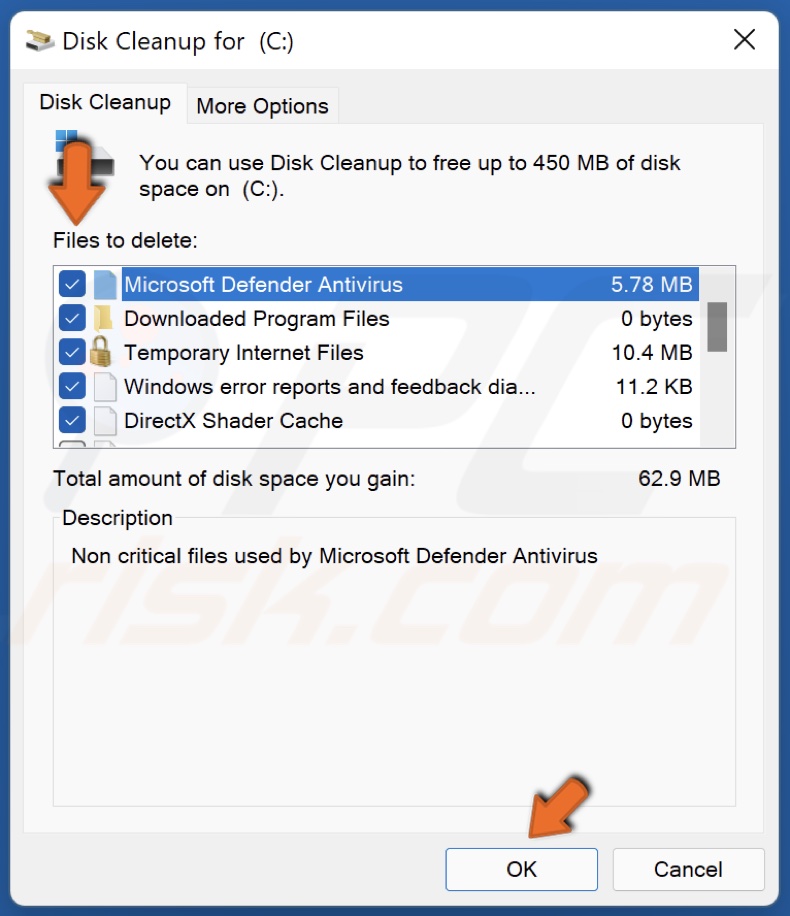
4. Tick the checkboxes of the locations you want to be cleaned.
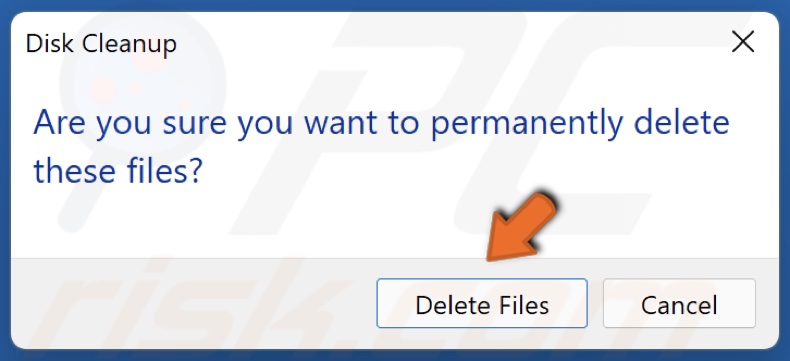
5. Click OK and click Delete Files.
6. Wait for the cleaning process to complete.
Share:

Rimvydas Iliavicius
Researcher, author
Rimvydas is a researcher with over four years of experience in the cybersecurity industry. He attended Kaunas University of Technology and graduated with a Master's degree in Translation and Localization of Technical texts. His interests in computers and technology led him to become a versatile author in the IT industry. At PCrisk, he's responsible for writing in-depth how-to articles for Microsoft Windows.
▼ Show Discussion