How to Fix Origin Error: 327684:1

Get Free Scanner and check your computer for errors
Fix It NowTo fix found issues, you have to purchase the full version of Combo Cleaner. Free trial available. Combo Cleaner is owned and operated by Rcs Lt, the parent company of PCRisk.com read more.
How to Fix Origin Error 327684:1 on Windows 11
Origin Error: 327684:1 occurs when Origin is running and prevents you from downloading, installing, and updating games. This article provides several solutions to fix this error.

What Is Error 327684:1
Origin error 327684:1 may occur while downloading, installing, or updating a game or game DLC using the Origin client. The full error message says the following:
An unexpected error has occurred. Please try again in a few moments. Error: 327684:1
This error can occur with any game on Origin. However, this error is more prominent in EA’s games, such as Battlefield 2042, Anthem, Apex Legends, Mass Effect, and Sims 4.
What Causes Error 327684:1
- Admin permissions. Error 327684:1 can occur if the Origin client can’t access files that require administrative privileges.
- Missing Visual C++ Redistributable. This error can also occur due to a corrupted or missing Visual C++ Redistributable installation shipped with a particular game. The solution is to install Visual C++ Redistributable manually.
- Corrupted cache. You may get this error if the Origin cache on your PC has been corrupted. The solution is to delete all files in Origin’s cache folder.
- Corrupted installation. This error may occur if the installation of the game you’re trying to launch or Origin was corrupted. The solution is to reinstall Origin or the game. Also, you can try repairing the game’s installation.
- Windows Firewall. Error 327684:1 may also occur if your Windows Defender Firewall (or third-party Firewall) blocks Origin from connecting to its servers. To fix the error, you may temporarily disable your Firewall.
To fix this error, try the solutions provided below, but before you do, try updating your Origin client and Windows operating system.
Video Guide on How to Fix Origin Error 327684:1
Table of Contents:
- Introduction
- Solution 1. Run Origin as Administrator
- Solution 2. Repair the Game
- Solution 3. Install/Reinstall Visual C++ Redistributable
- Solution 4. Clear Origin Cache
- Solution 5. Reinstall Origin
- Solution 6. Turn off Windows Defender Firewall
- Video Guide on How to Fix Origin Error 327684:1
Download Computer Malware Repair Tool
It is recommended to run a free scan with Combo Cleaner - a tool to detect viruses and malware on your device. You will need to purchase the full version to remove infections. Free trial available. Combo Cleaner is owned and operated by Rcs Lt, the parent company of PCRisk.com read more.
Solution 1. Run Origin as Administrator
1. Open Origin.
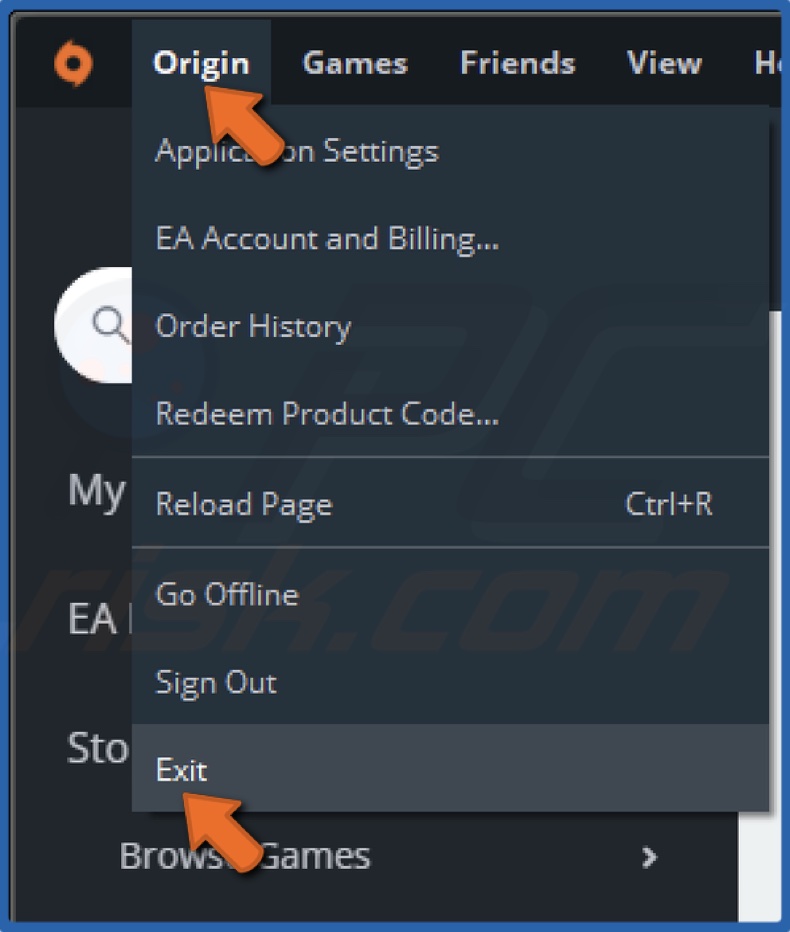
2. Open the Origin drop-down menu in the toolbar and click Exit.
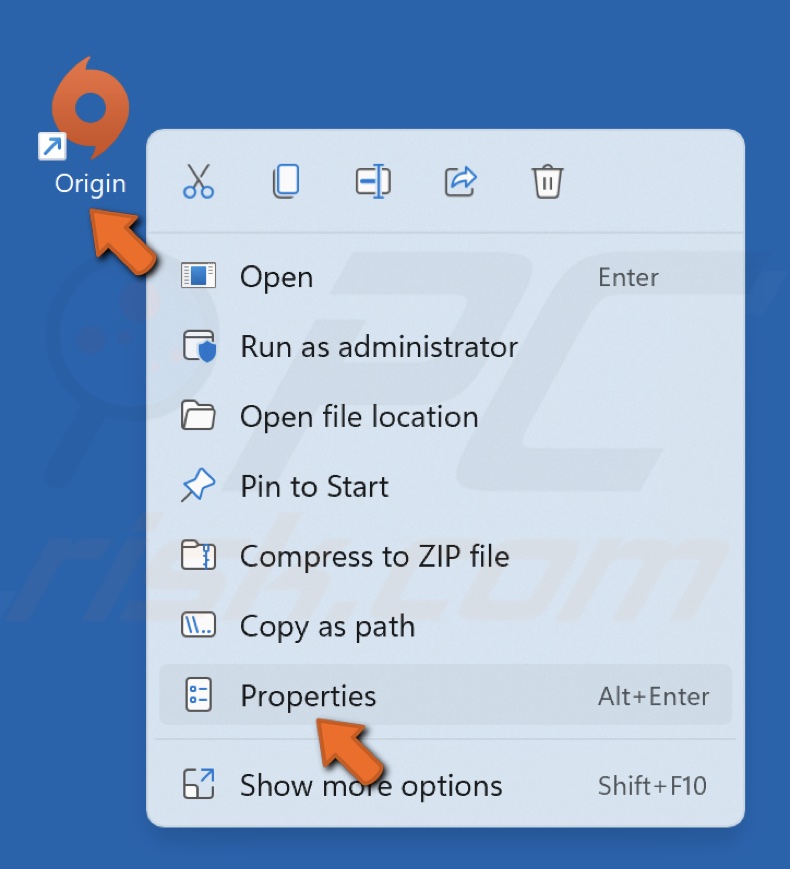
3. Right-click the Origin desktop shortcut and click Properties.
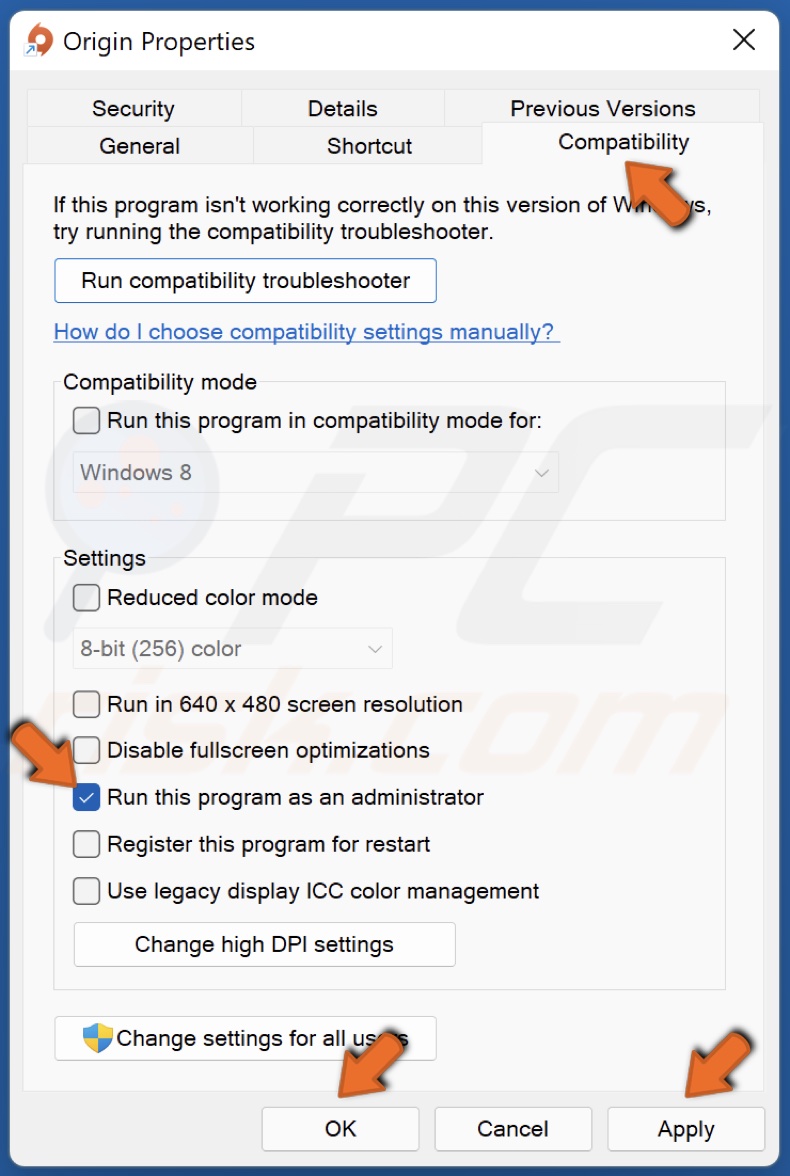
4. Navigate to the Compatability tab.
5. Mark the checkbox next to the Run this program as an administrator option.
6. Click Apply and click OK.
Solution 2. Repair the Game
1. Open Origin.
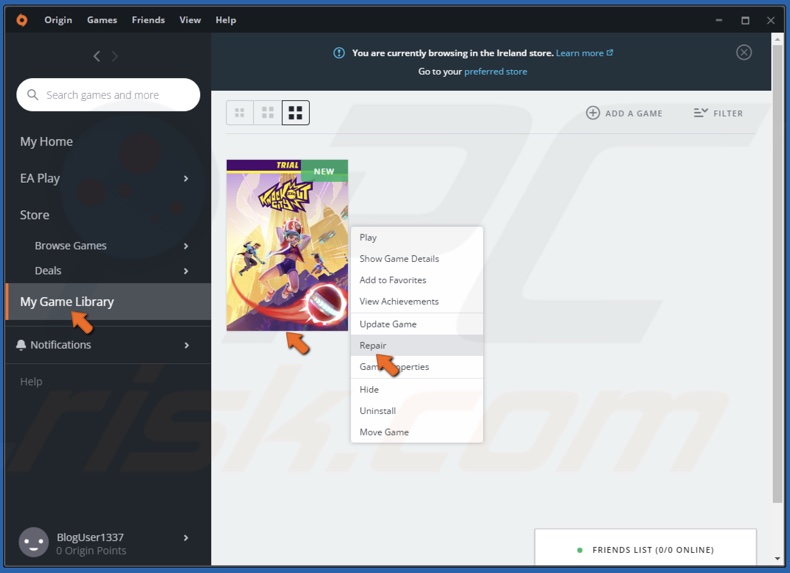
2. Navigate to the Game Library.
3. Right-click the game experiencing Error 327684:1 and click Repair.
4. Allow Origin to verify game file integrity.
Solution 3. Install/Reinstall Visual C++ Redistributable
1. Hold down Windows+R keys to open Run.

2. In the Run dialog box, type in C:\Program Files (x86)\Origin Games and click OK.
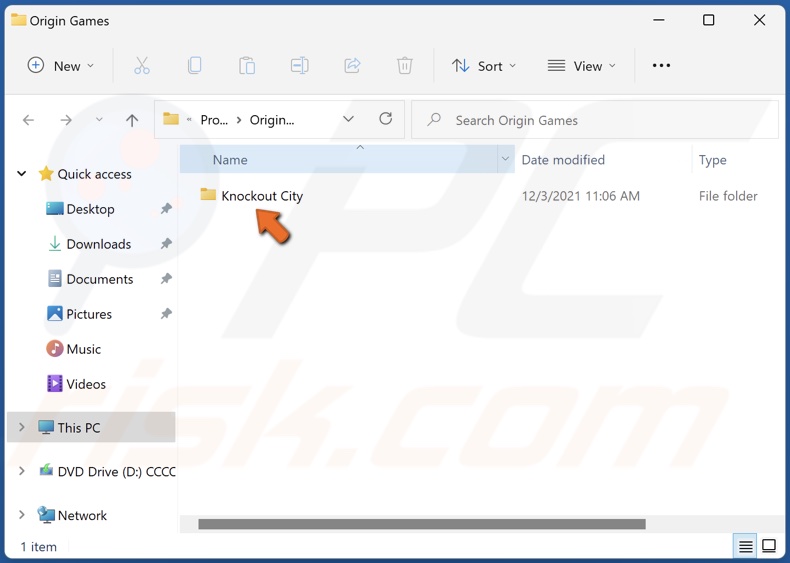
3. Access the game’s (that throws Error 327684:1) folder.

4. Find the location of the Visual C++ Redistributable.
5. If you run the 64-bit version of Windows, run (both) vc_redist.x64.exe and vc_redist.x86.exe. But, if you run the 32-bit version of Windows, run vc_redist.x86.exe only. Running them will install the Visual C++ Redistributable.
Solution 4. Clear Origin Cache
1. Open Origin, open the Origin drop-down menu and click Exit.
2. Hold down Windows+R keys to open Run.
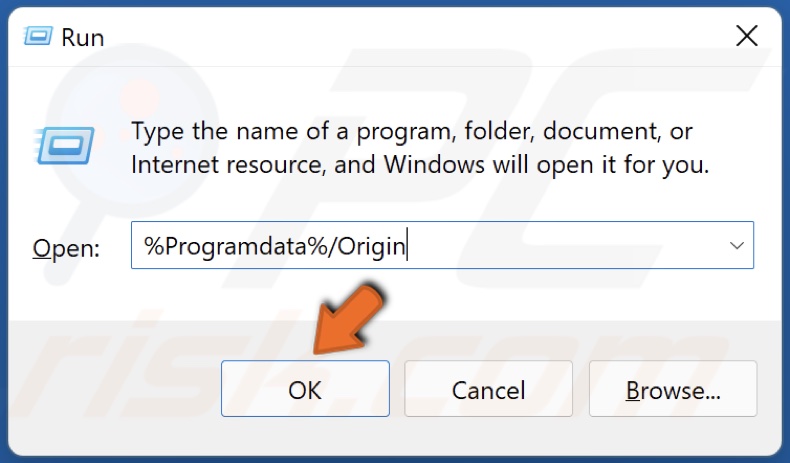
3. In the Run dialog box, type in %Programdata%/Origin and click OK.
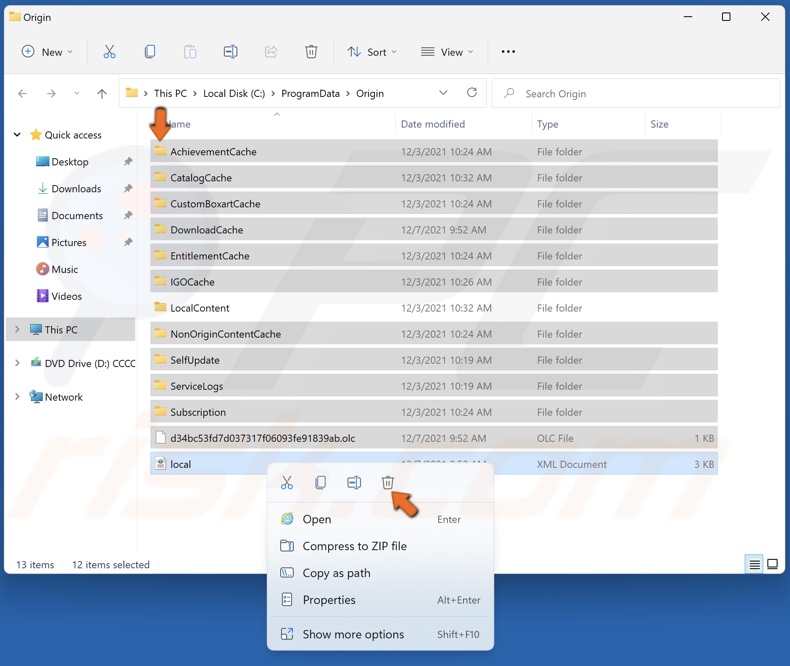
4. Select all files except the LocalContent folder, which contains game data.
5. Right-click the selected files and click Delete.
6. Then, hold down Windows+R keys to open Run.
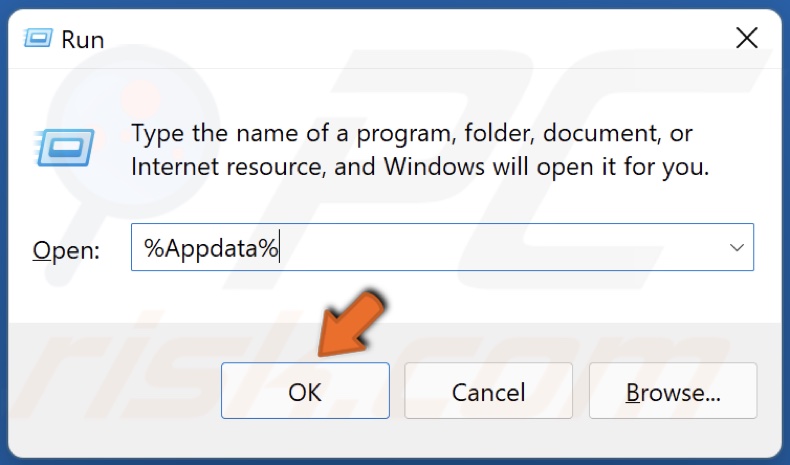
7. In the Run dialog box, type in %Appdata% and click OK.
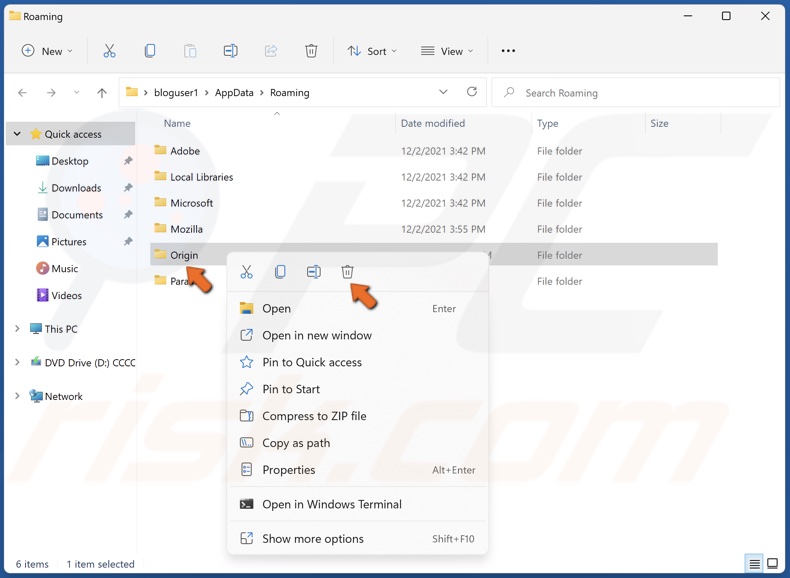
8. In the resulting Roaming folder, find the Origin folder, right-click it and click Delete.
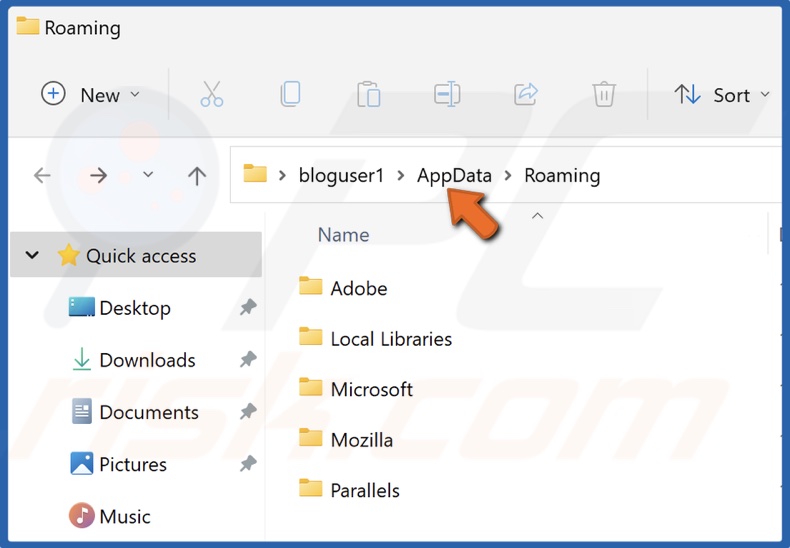
9. Then, in the address bar, click AppData.
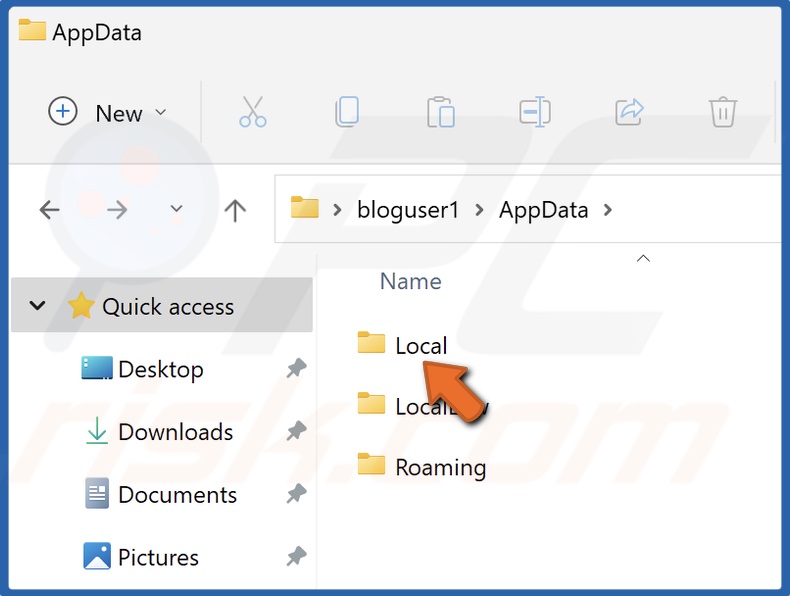
10. Access the Local folder.
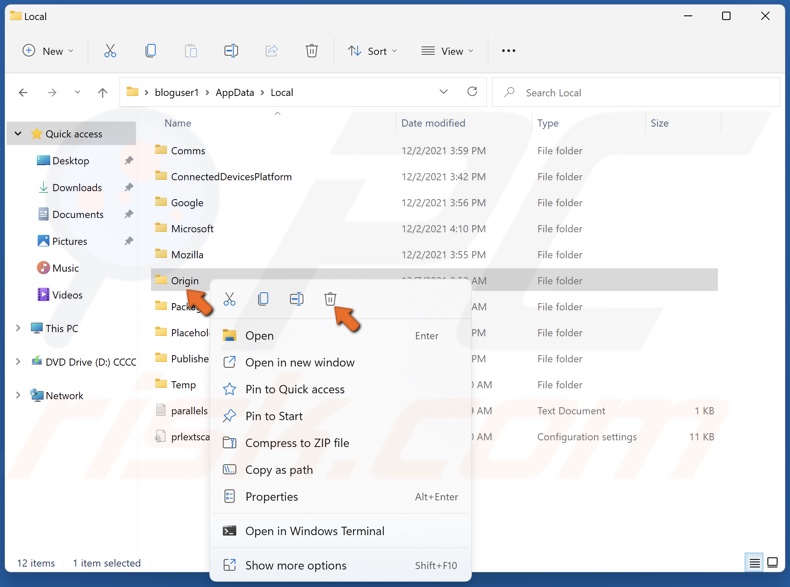
11. Like before, find the Origin folder, right-click it and click Delete.
12. Then, launch Origin.
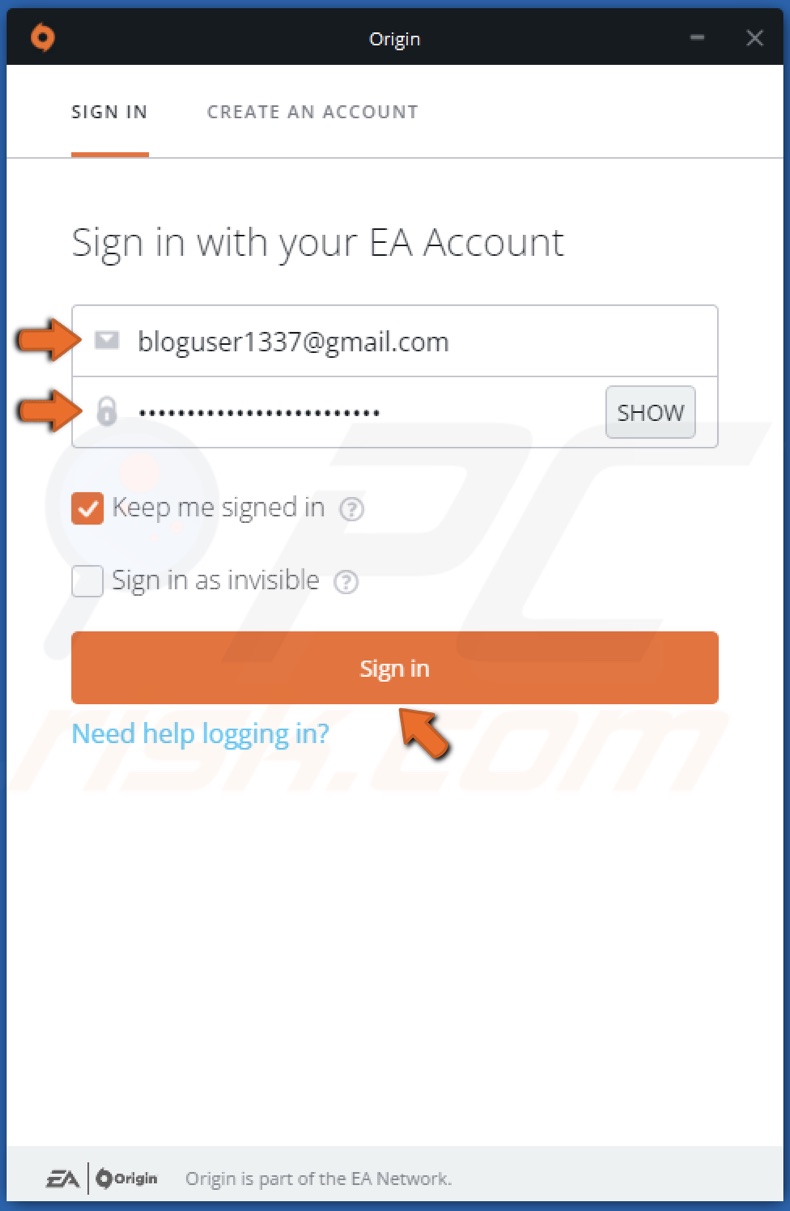
13. Enter your login credentials and click Sign in.
Solution 5. Reinstall Origin
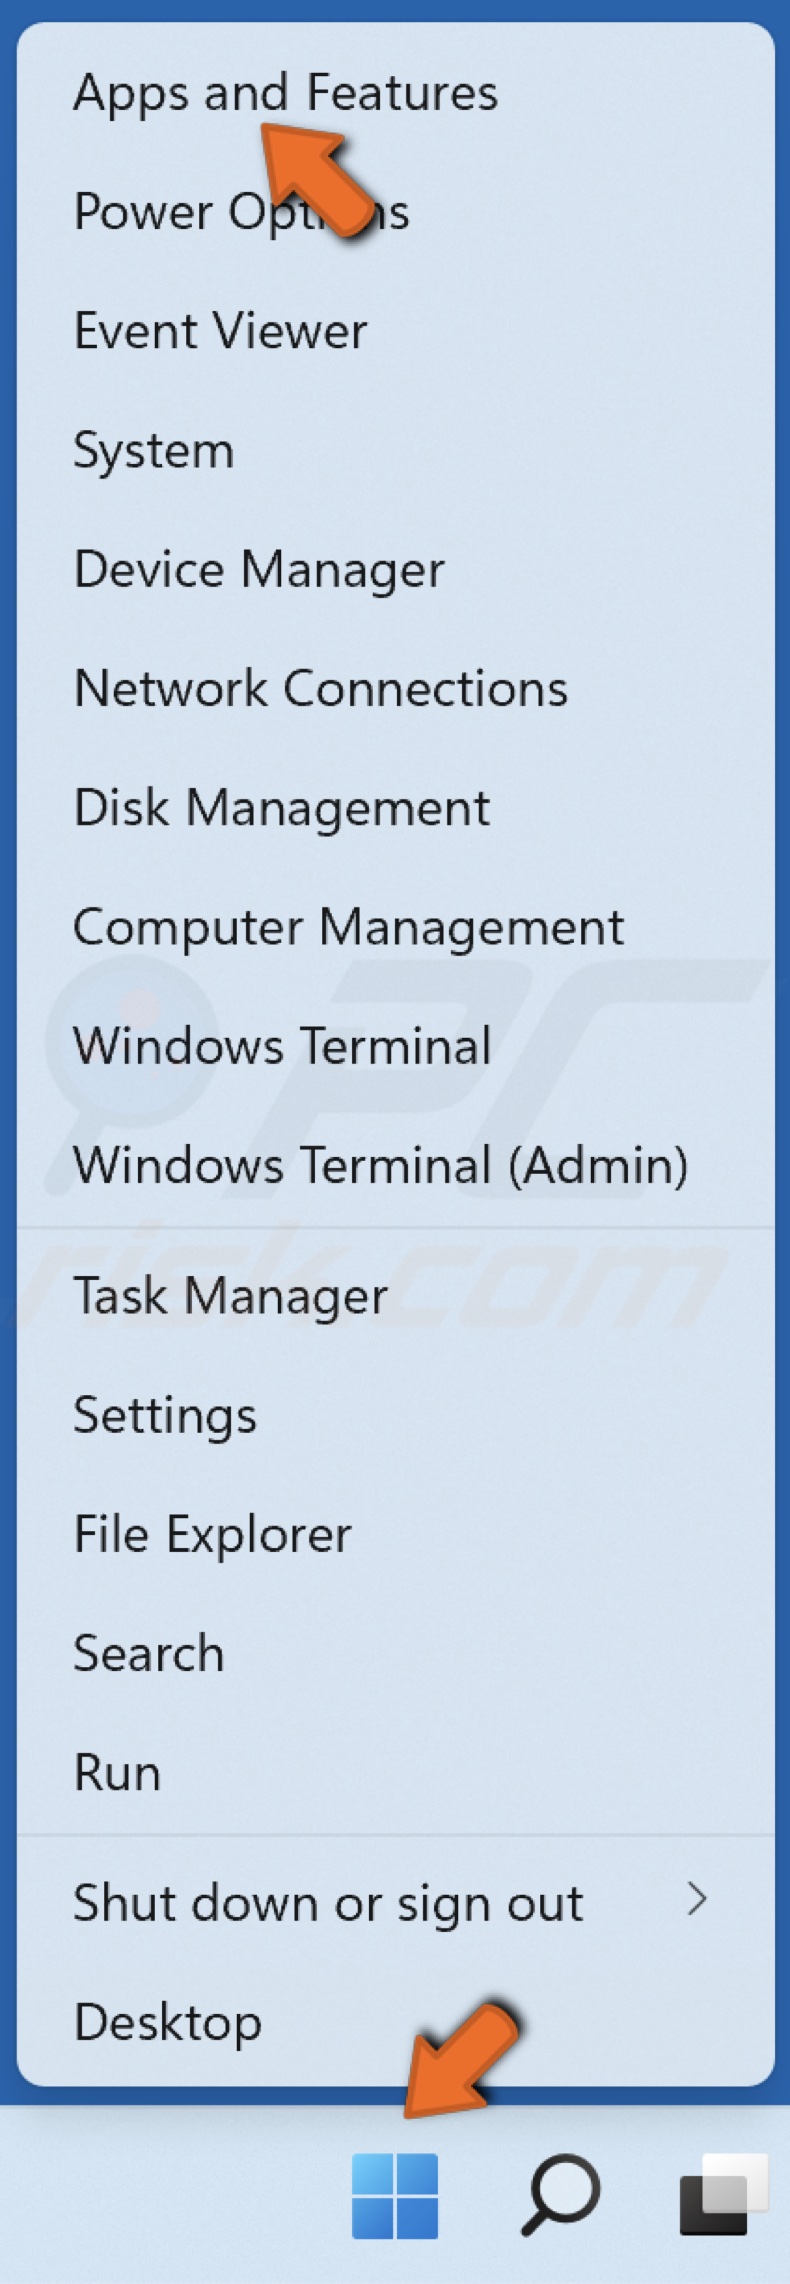
1. Right-click the Windows Start menu button and click Apps and Features.
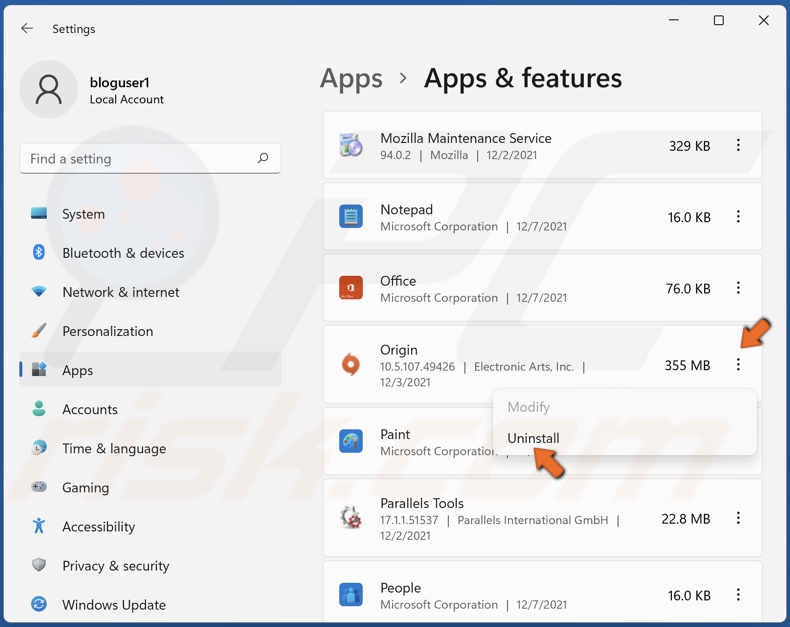
2. Scroll through the applications list and find Origin.
3. Select Origin and click Uninstall.
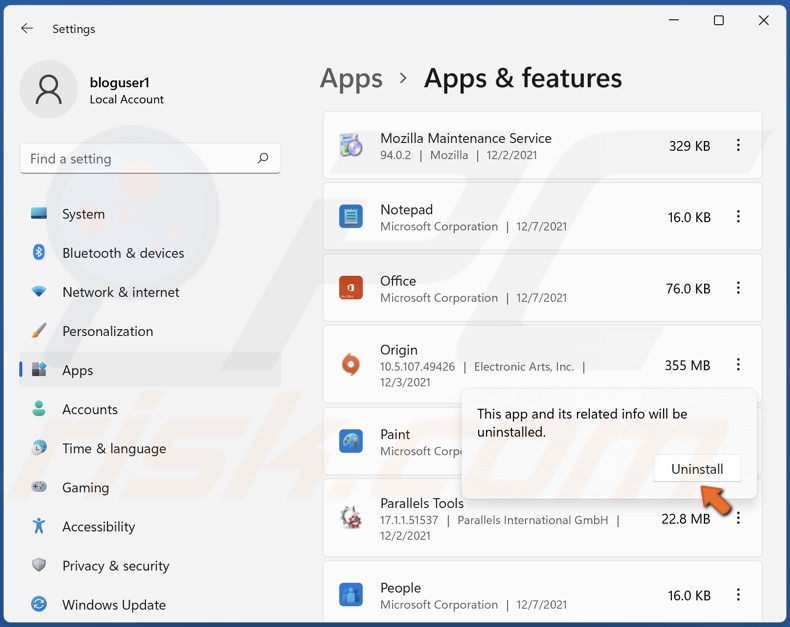
4. Then, click Uninstall again.
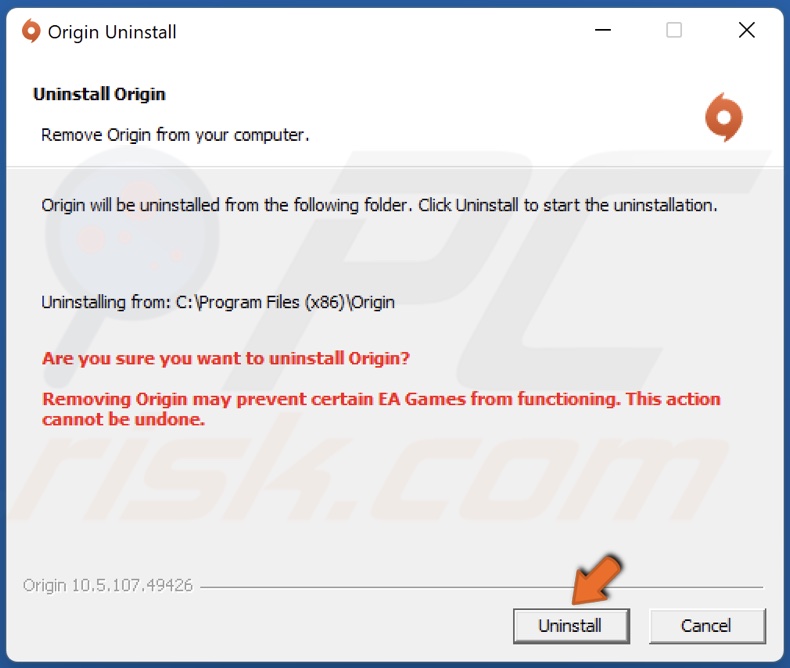
5. Then, click Uninstall.
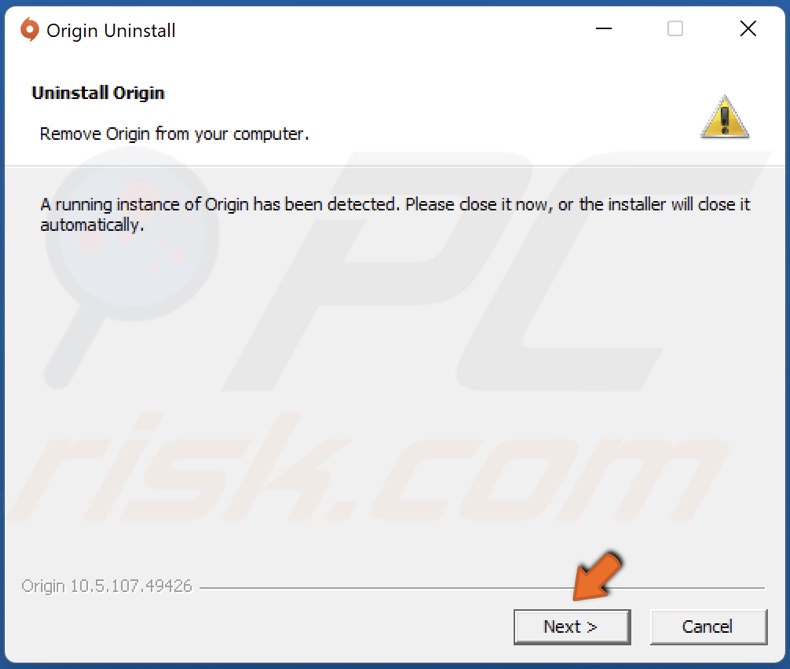
6. Click Next.
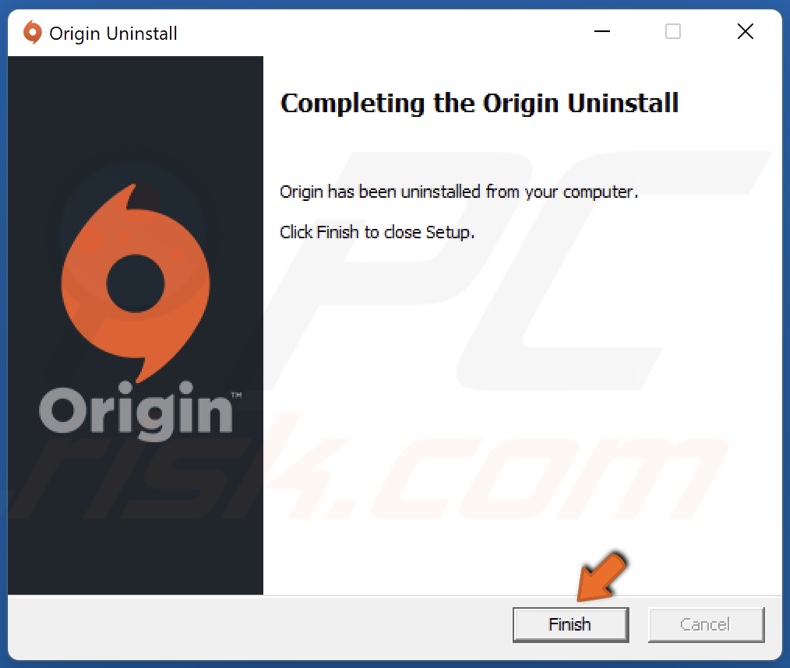
7. Click Finish once the removal is complete.

8. Then, open your web browser and go to the Origin download page.
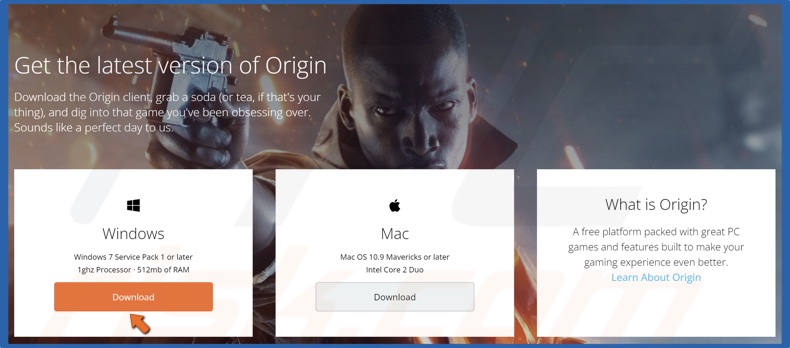
9. Click the Download button for Windows.
10. Run the installer once it’s downloaded.
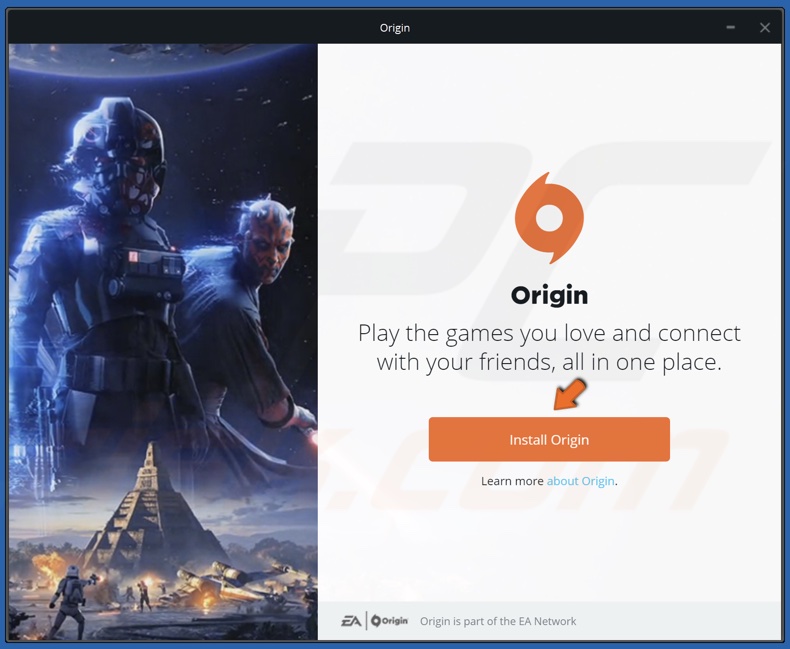
11. Click Install Origin.
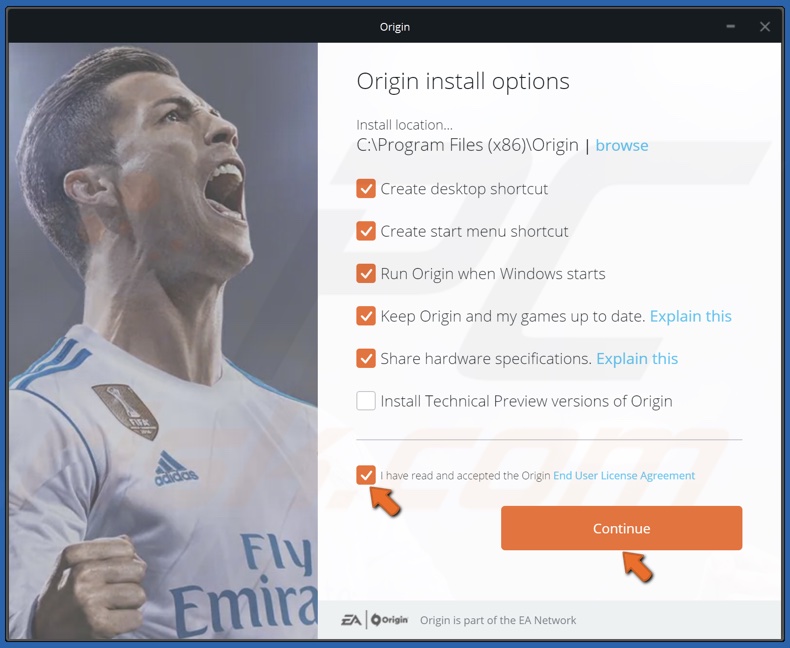
12. Accept the Origin End User License Agreement and click Continue.
13. Lastly, enter your login credentials and click Sign in.
Solution 6. Turn off Windows Defender Firewall
Note that turning off the Windows Firewall should only be done as a temporary solution because turning off the Firewall will leave your computer open to threats.
1. Hold down Windows+R keys to open the Run dialog box.
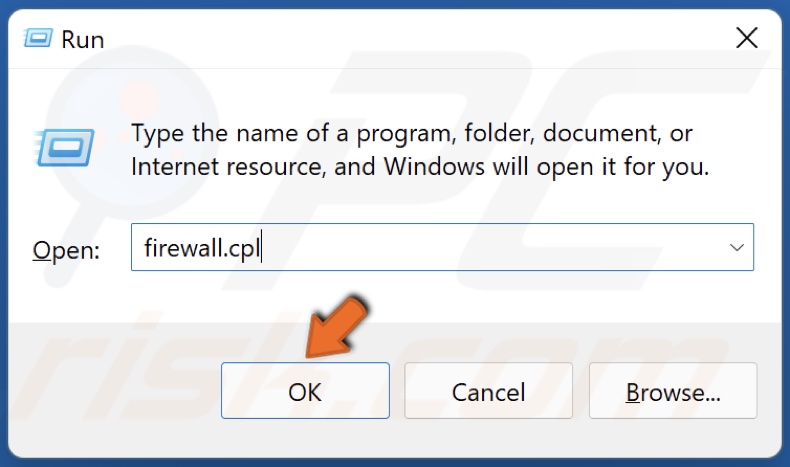
2. In the Run dialog box, type in Firewall.cpl and click OK to open Windows Defender Firewall settings.

3. Click Turn Windows Defender Firewall on or off.
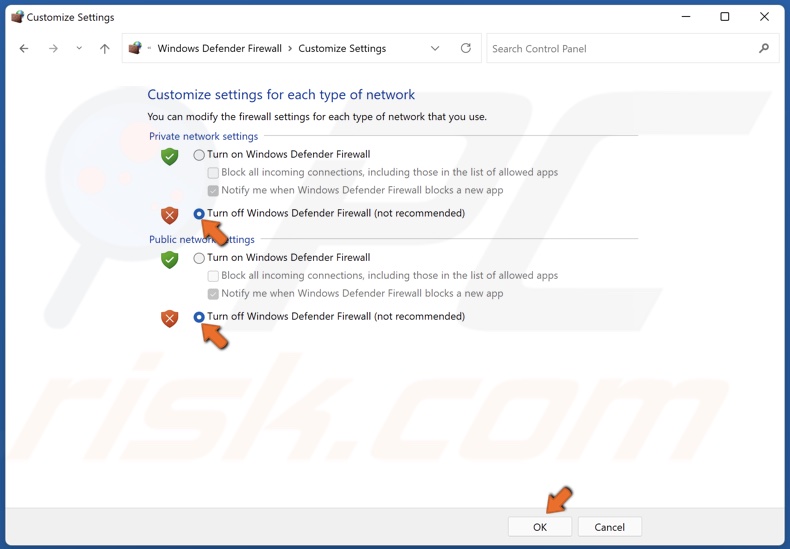
4. Tick the Turn off Windows Defender Firewall checkboxes for both private and public networks.
5. Click OK.
Share:

Rimvydas Iliavicius
Researcher, author
Rimvydas is a researcher with over four years of experience in the cybersecurity industry. He attended Kaunas University of Technology and graduated with a Master's degree in Translation and Localization of Technical texts. His interests in computers and technology led him to become a versatile author in the IT industry. At PCrisk, he's responsible for writing in-depth how-to articles for Microsoft Windows.
▼ Show Discussion