How to Fix "ERR_INTERNET_DISCONNECTED" Error

Get Free Scanner and check your computer for errors
Fix It NowTo fix found issues, you have to purchase the full version of Combo Cleaner. Free trial available. Combo Cleaner is owned and operated by Rcs Lt, the parent company of PCRisk.com read more.
Getting ERR_INTERNET_DISCONNECTED on Google Chrome? Find Out How to Fix It
This is a network connection error you get in Google Chrome when it can’t establish a connection with the website you want to visit.
What is ERR_INTERNET_DISCONNECTED?
ERR_INTERNET_DISCONNECTED doesn’t let Google Chrome pass through and connect to a website. This error code is accompanied by a message stating, “Google Chrome can’t display the webpage because your computer isn’t connected to the internet.” This error code means that Chrome could not establish an Internet connection to the website’s host server.
What Causes This Error?
There are several reasons why you may experience this error:
- Overprotective third-party anti-virus programs and firewall solutions are a known cause of this error as they block connections that they consider unsafe.
- Local Area Network (LAN) or Wireless Connection (Wi-Fi) may also be the root cause of this error. Changes made to LAN may affect your connection settings triggering the error.
- Internet cookies and cache stored in Google Chrome.
How to Fix Error ERR_INTERNET_DISCONNECTED?
Before trying any of our methods, try restarting your router. If that doesn’t work, disable your third-party anti-virus and firewall software temporarily. If that doesn’t fix the issue, try the fixes listed below.
Video Guide on How to Fix ERR_INTERNET_DISCONNECTED Error
Table of Contents:
- Introduction
- Solution 1. Clear Google Chrome Browsing Data
- Solution 2. Run the Internet Connections Troubleshooter
- Solution 3. Disable Proxy Server
- Solution 4. Reinstall the Network Adapter Driver
- Solution 5. Perform a DNS Flush
- Video Guide on How to Fix ERR_INTERNET_DISCONNECTED Error
Download Computer Malware Repair Tool
It is recommended to run a free scan with Combo Cleaner - a tool to detect viruses and malware on your device. You will need to purchase the full version to remove infections. Free trial available. Combo Cleaner is owned and operated by Rcs Lt, the parent company of PCRisk.com read more.
Solution 1. Clear Google Chrome Browsing Data
1. Open Google Chrome.
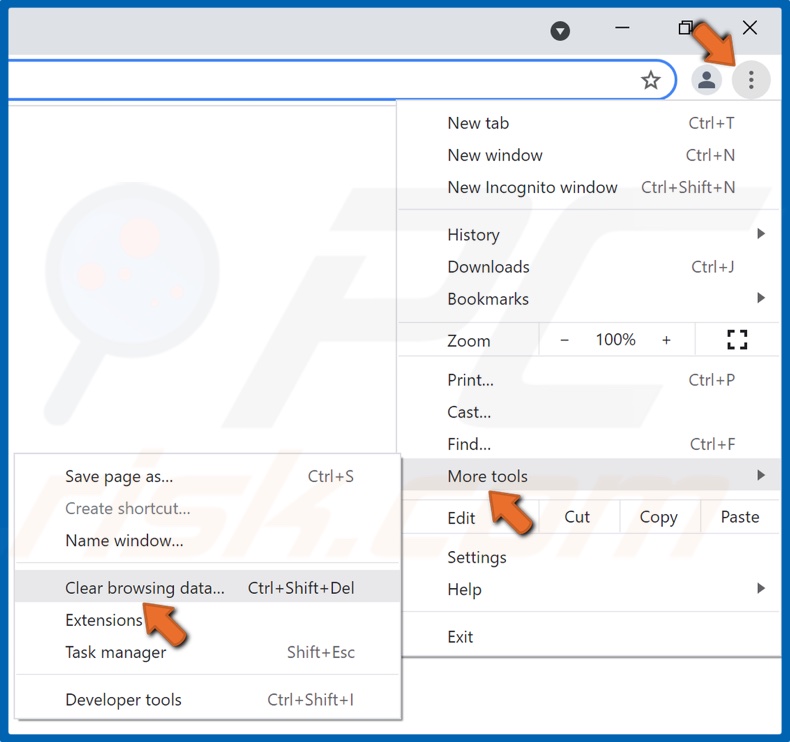
2. At the top-right corner, click the ellipsis, select More tools and click Clear browsing data.
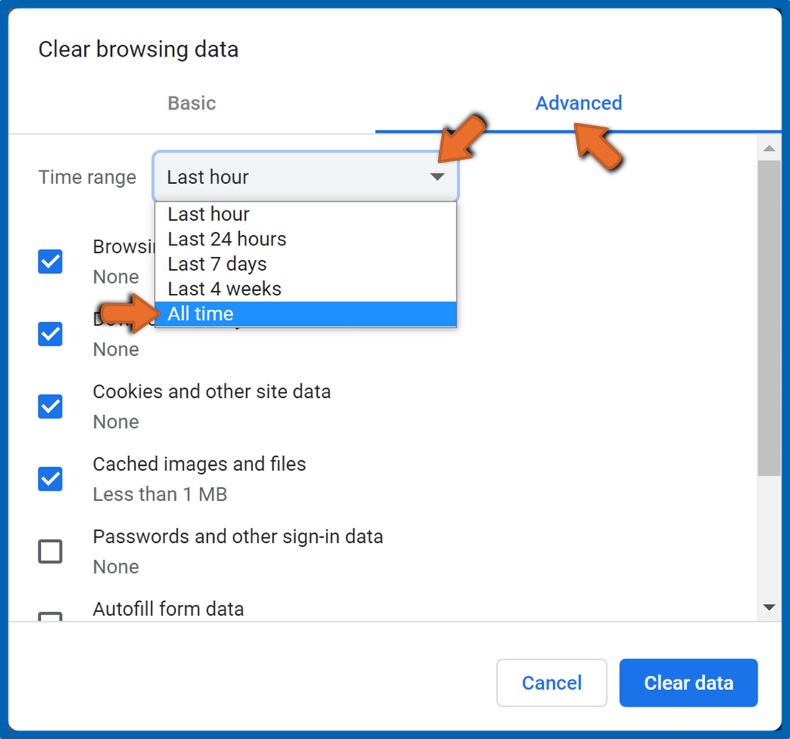
3. Select Advanced.
4. Then, open the Time range drop-down menu and select All time.
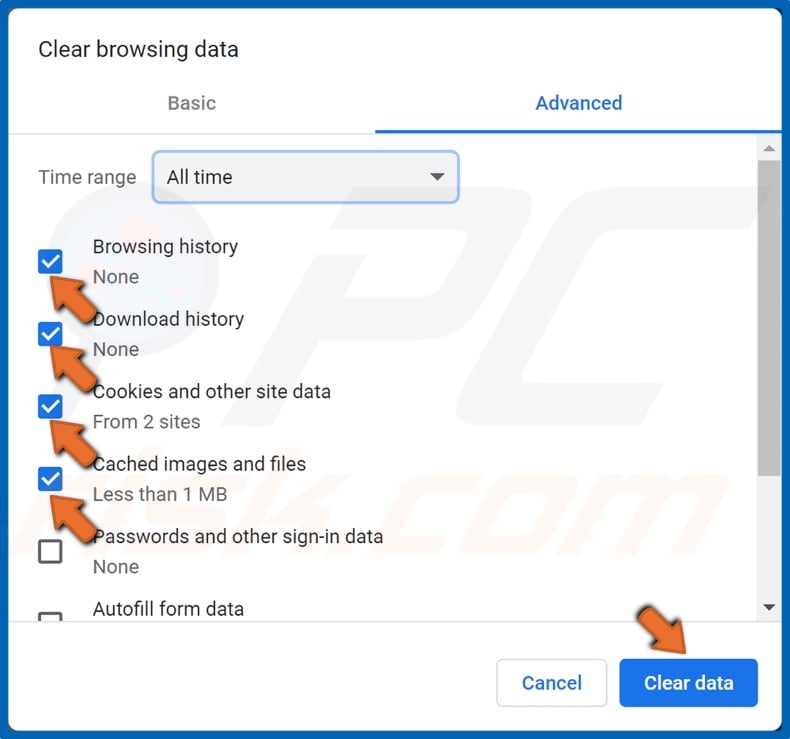
5. Then, tick the Browsing data, Downloads, Cookies and other site data, and Cached images and files.
You might want to keep your Passwords and sign-in data, so we don’t recommend selecting it.
6. Click Clear Data.
Solution 2. Run the Internet Connections Troubleshooter

1. Right-click the Windows Start menu button and click Settings.
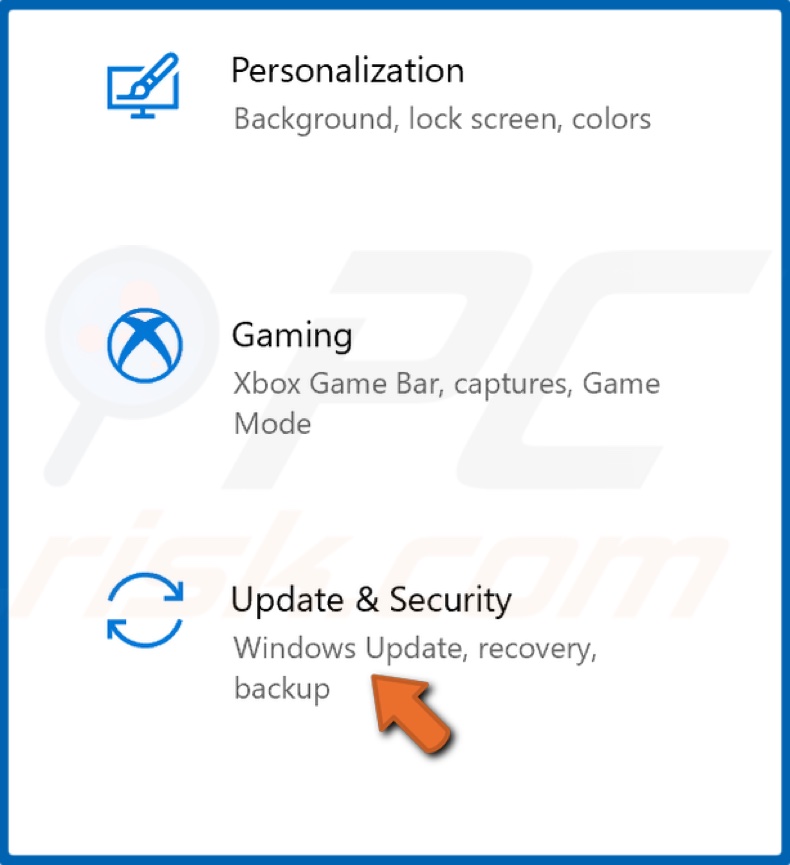
2. Select Update & Security.
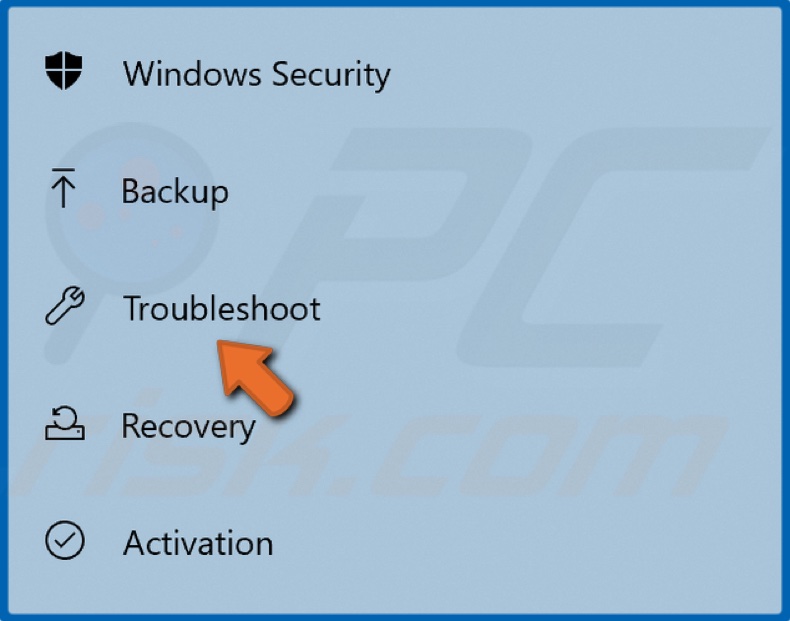
3. In the left pane, select Troubleshoot.
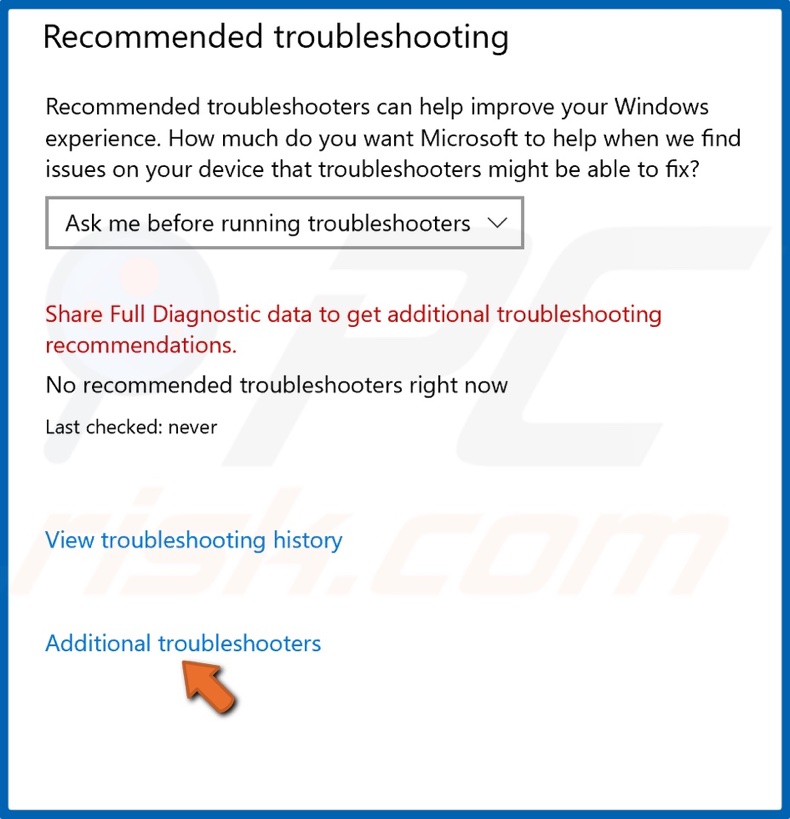
4. Then, click Additional troubleshooters.
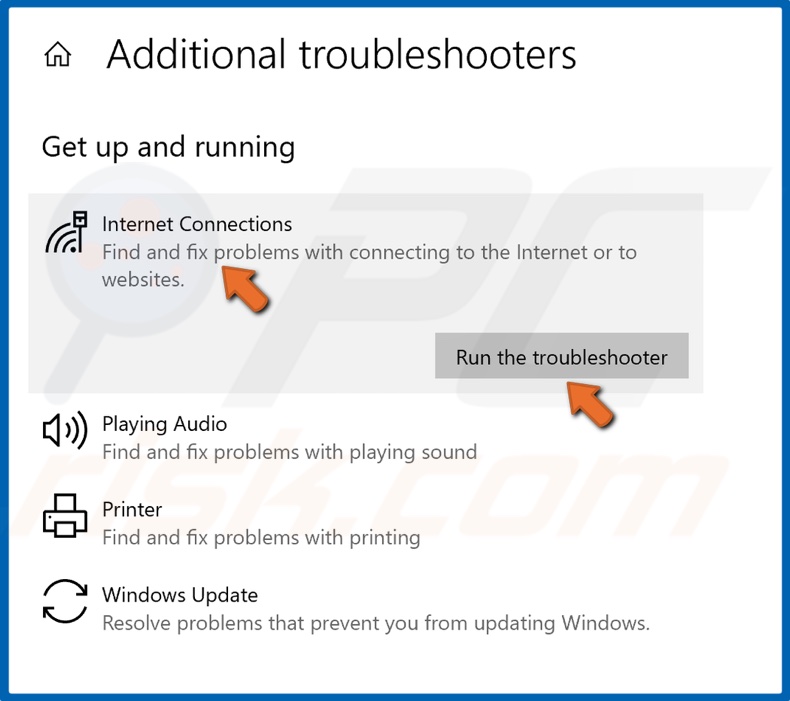
5. Under the Get up and running section, select Internet Connections and click Run the troubleshooter.
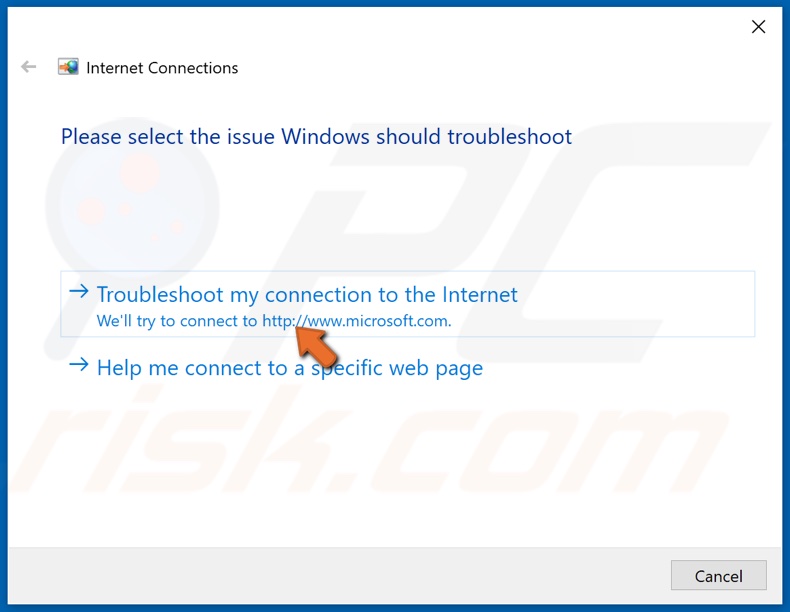
6. Click Troubleshoot my connection to the Internet.
7. The troubleshooter will identify the network issue and apply a fix automatically.
Solution 3. Disable Proxy Server
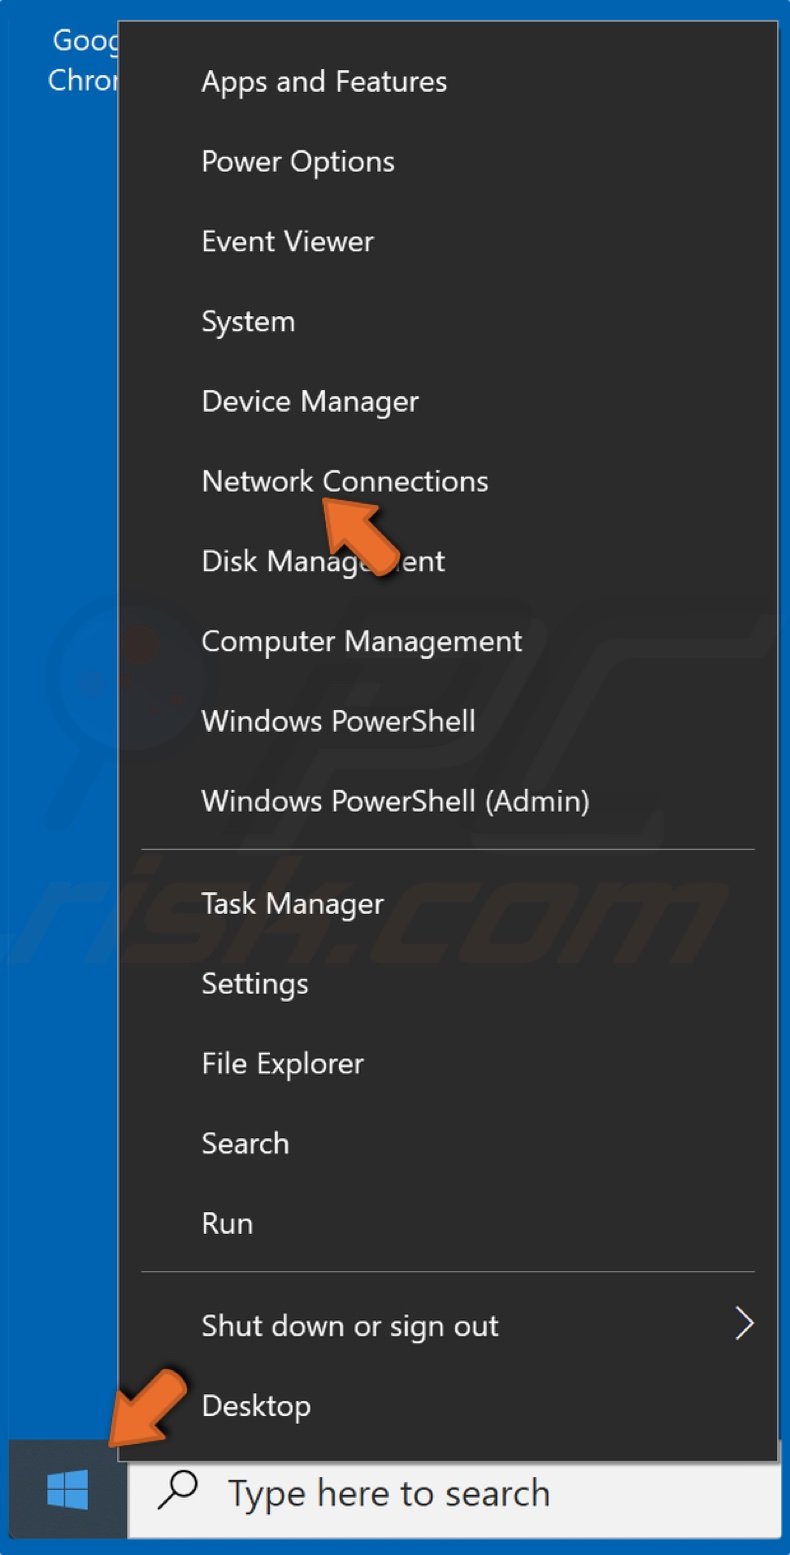
1. Right-click the Windows Start menu button and click Network Connections.
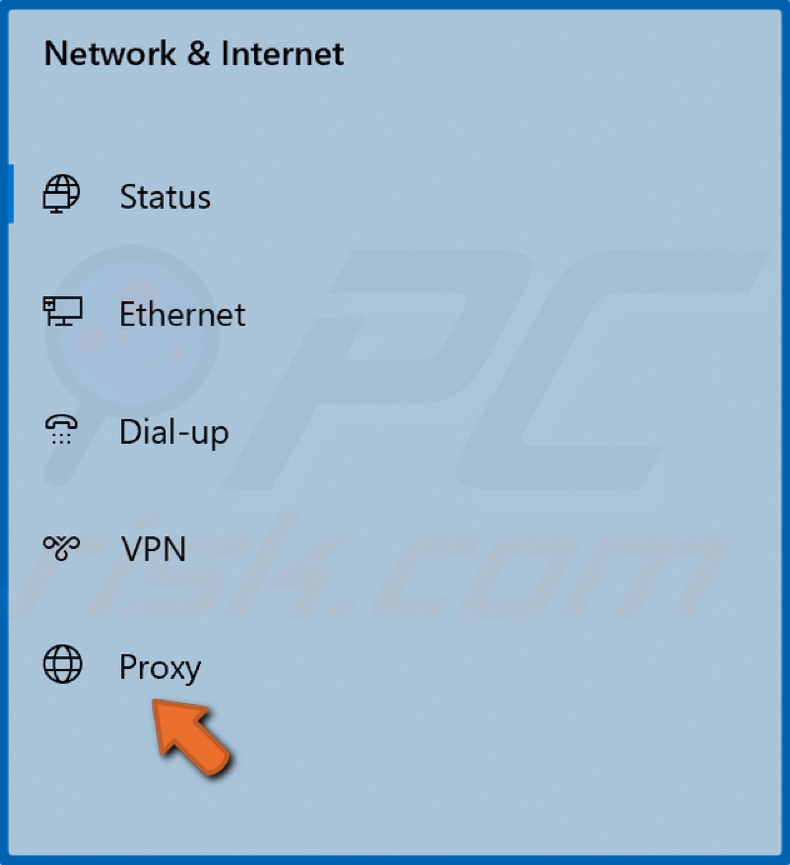
2. In the left pane, select Proxy.
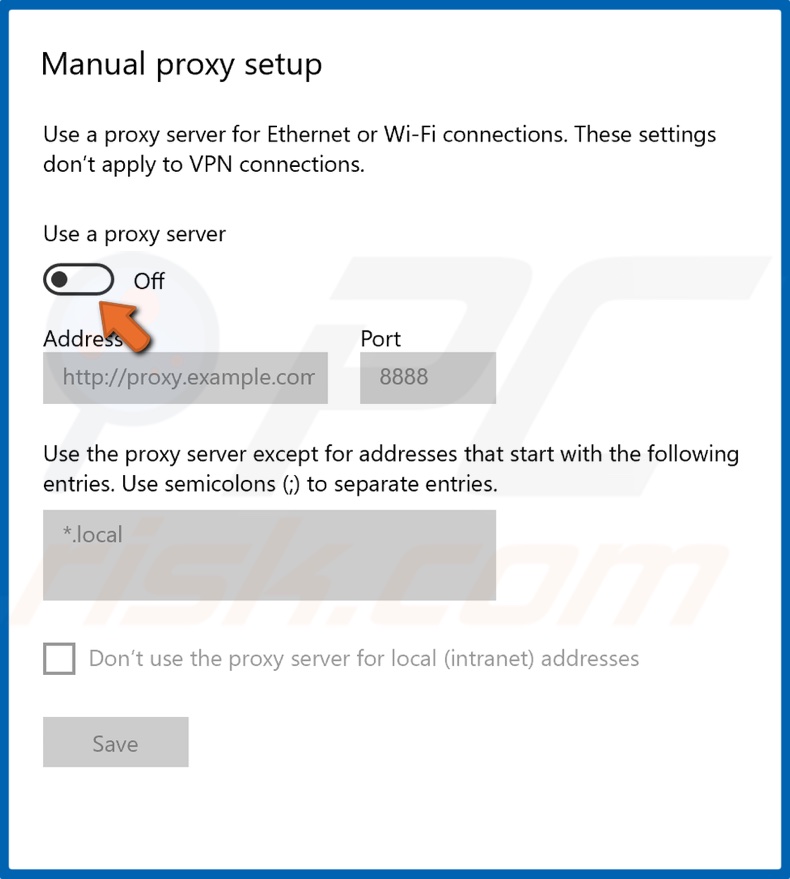
3. Toggle off the Use proxy server option.
Solution 4. Reinstall the Network Adapter Driver
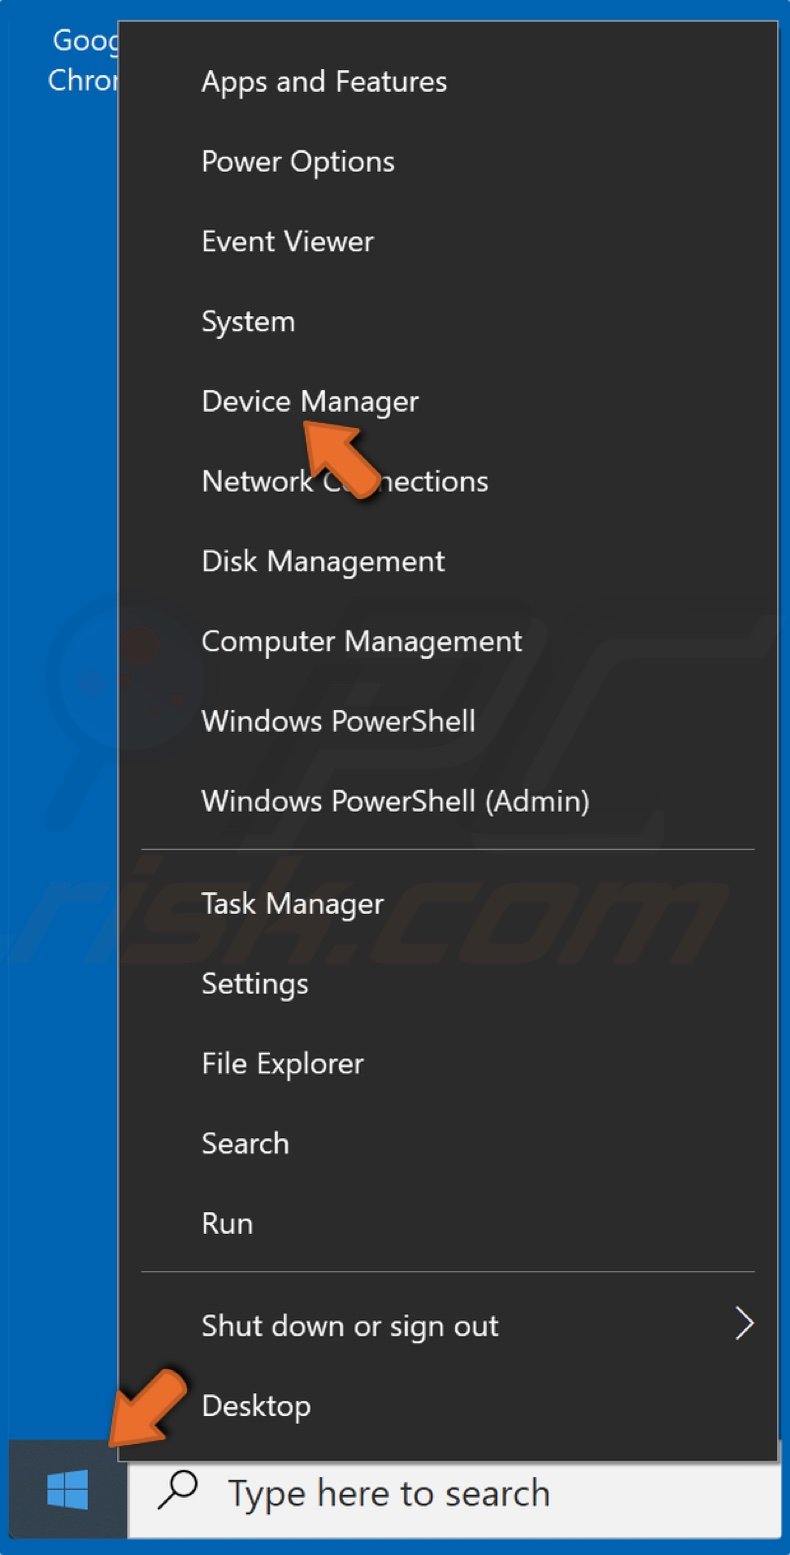
1. Right-click the Windows Start menu button and click Device Manager.

2. Expand the Network adapters list.
3. Right-click your network adapter and click Uninstall Device.
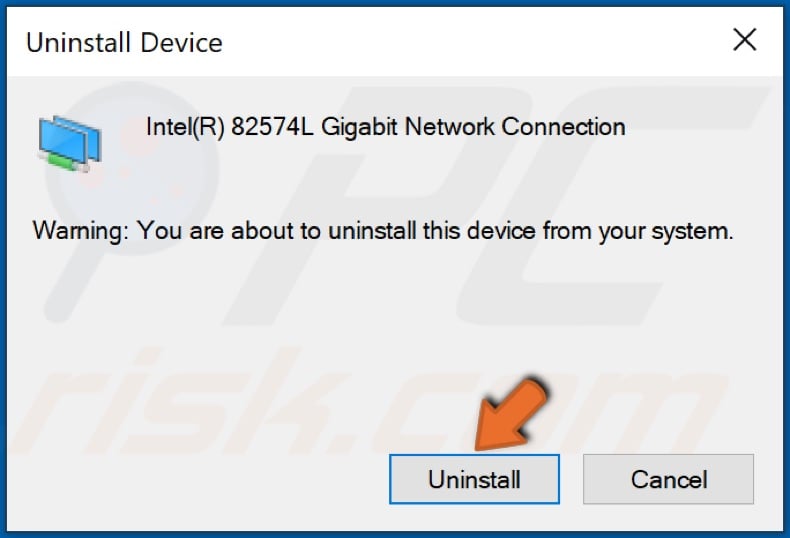
4. Click Uninstall to confirm the action.
5. Restart your computer. When your PC boots up, Windows will reinstall the default driver for your network adapter automatically.
Solution 5. Perform a DNS Flush
1. Hold down Windows+R keys to open Run.
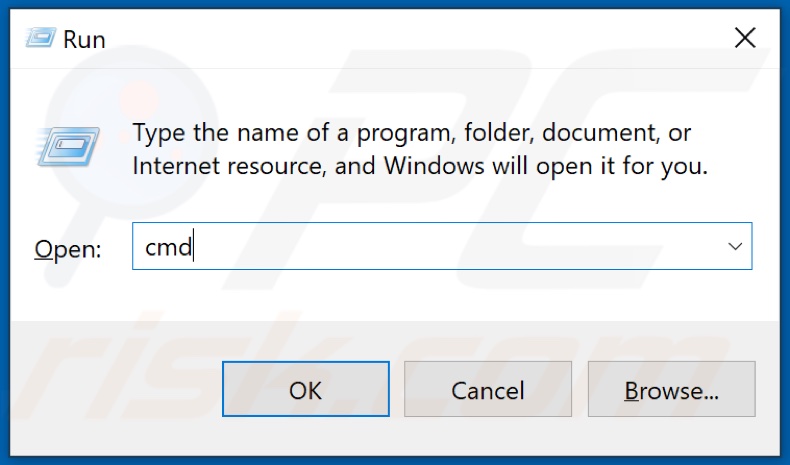
2. In the Run dialog box, type in CMD and hold down Ctrl+Shift+Enter keys to open Command Prompt as administrator.
3. In the Command Prompt window, type in the commands listed below and press Enter after typing in each one.
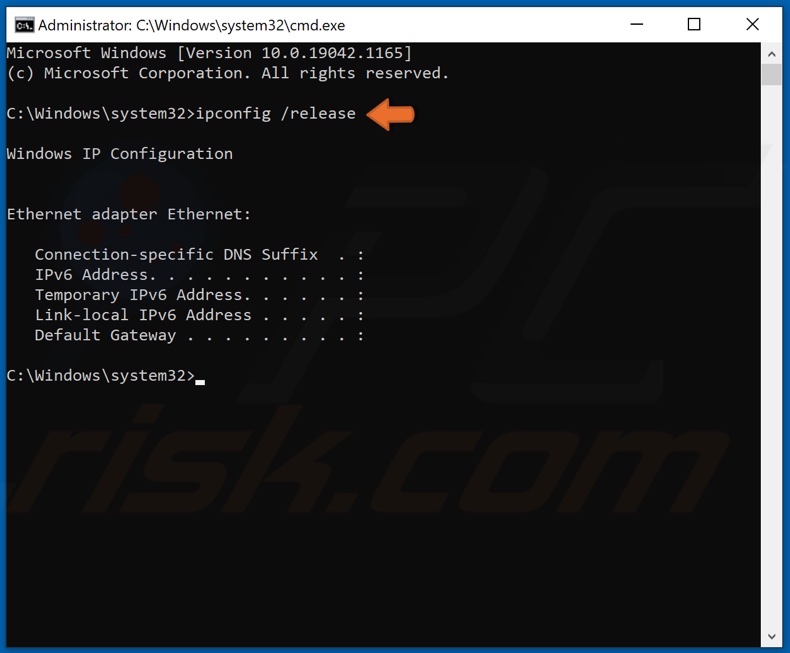
Type in ipconfig /release and press Enter.
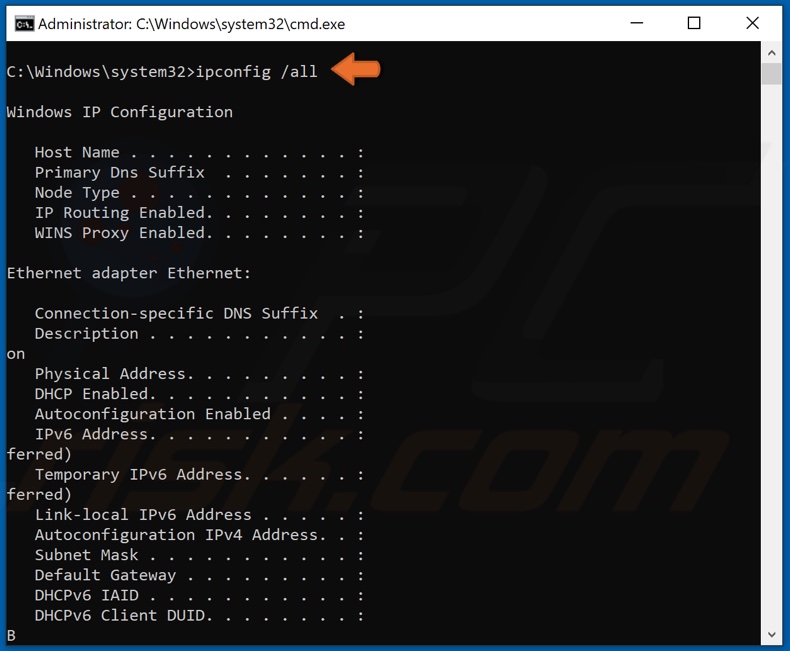
Type in ipconfig /all and press Enter.
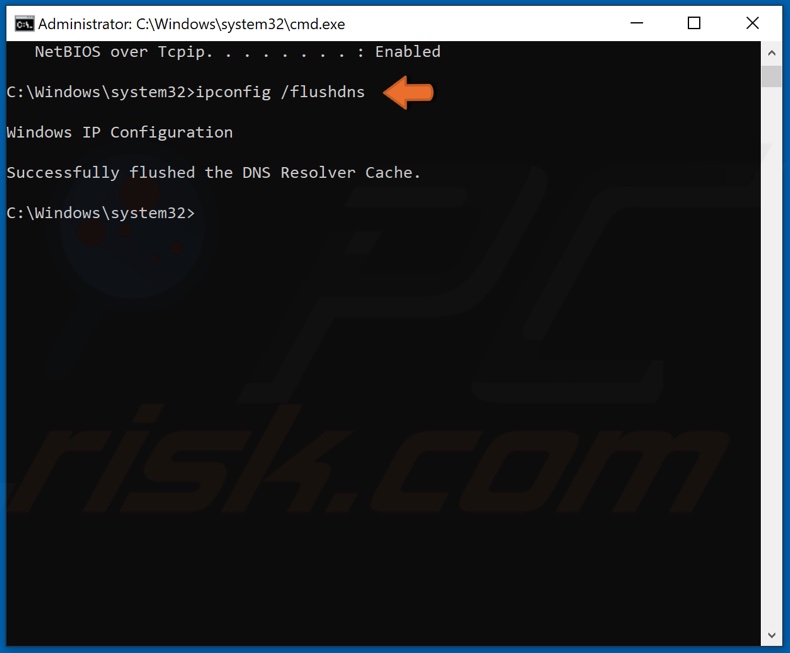
Type in ipconfig /flushdns and press Enter.
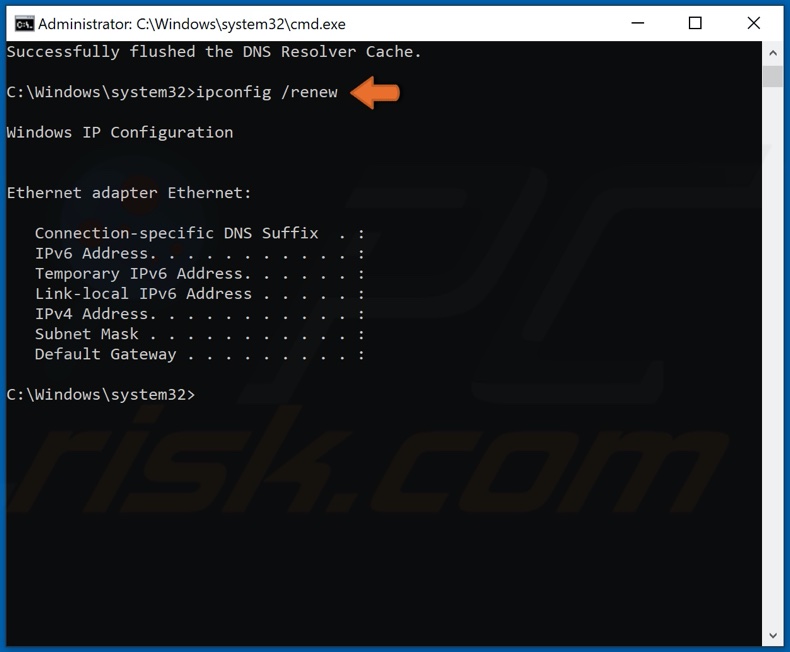
Type in ipconfig /renew and press Enter.
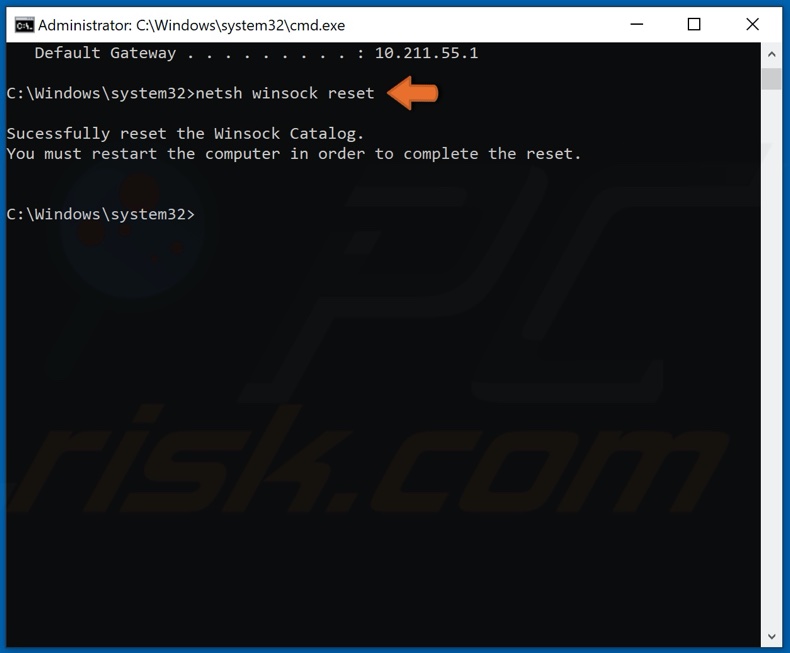
Type in netsh winsock reset and press Enter.
4. After running the commands above, restart your PC.
Share:

Rimvydas Iliavicius
Researcher, author
Rimvydas is a researcher with over four years of experience in the cybersecurity industry. He attended Kaunas University of Technology and graduated with a Master's degree in Translation and Localization of Technical texts. His interests in computers and technology led him to become a versatile author in the IT industry. At PCrisk, he's responsible for writing in-depth how-to articles for Microsoft Windows.
▼ Show Discussion