7 Ways to Fix Skype Camera Not Working

Get Free Scanner and check your computer for errors
Fix It NowTo fix found issues, you have to purchase the full version of Combo Cleaner. Free trial available. Combo Cleaner is owned and operated by Rcs Lt, the parent company of PCRisk.com read more.
How to Fix Skype Webcam Not Working in Windows 10
Skype is still one of the most popular VoIP platforms in the world today. However, sometimes Skype can't find the webcam connected to your desktop PC or laptop. This article is dedicated to helping you fix Skype camera-related issues.

Why Does Skype's Webcam Stop Working?
Your Skype camera may stop working due to many reasons, including outdated webcam drivers, outdated Skype version, hardware issues, misconfigured webcam settings, among others.
However, the two most common reasons your Skype camera may stop working are misconfigured Skype camera settings and outdated camera drivers.
One of the first things you should do is go to your Skype settings and check if the application detects your webcam. If you have two webcams, an integrated webcam, and an external USB camera, all you have to do is select the correct one.
However, If you see a message that reads "no device found, learn more about fixing this issue," then the issue may be related to your webcam's driver, such as they might be outdated or not installed. In such a case, you have to download and install the correct webcam driver.
Video Guide on How to Fix Skype Camera Not Working
Table of Contents:
- Introduction
- Solution 1. Update Skype
- Solution 2. Allow Skype to Use Camera in Privacy Settings
- Solution 3. Make Sure That the Webcam Is Configured Correctly
- Solution 4. Reinstall Skype
- Solution 5. Run the Hardware and Devices Troubleshooter
- Solution 6. Update Webcam Drivers
- Solution 7. Unblock Skype Camera using Windows Registry Editor
- Video Guide on How to Fix Skype Camera Not Working
Download Computer Malware Repair Tool
It is recommended to run a free scan with Combo Cleaner - a tool to detect viruses and malware on your device. You will need to purchase the full version to remove infections. Free trial available. Combo Cleaner is owned and operated by Rcs Lt, the parent company of PCRisk.com read more.
Solution 1. Update Skype
The first and easiest thing you can do to fix the Skype camera not working is to update Skype.

1. Open Skype and click on the ellipsis in the left pane, and select Settings.
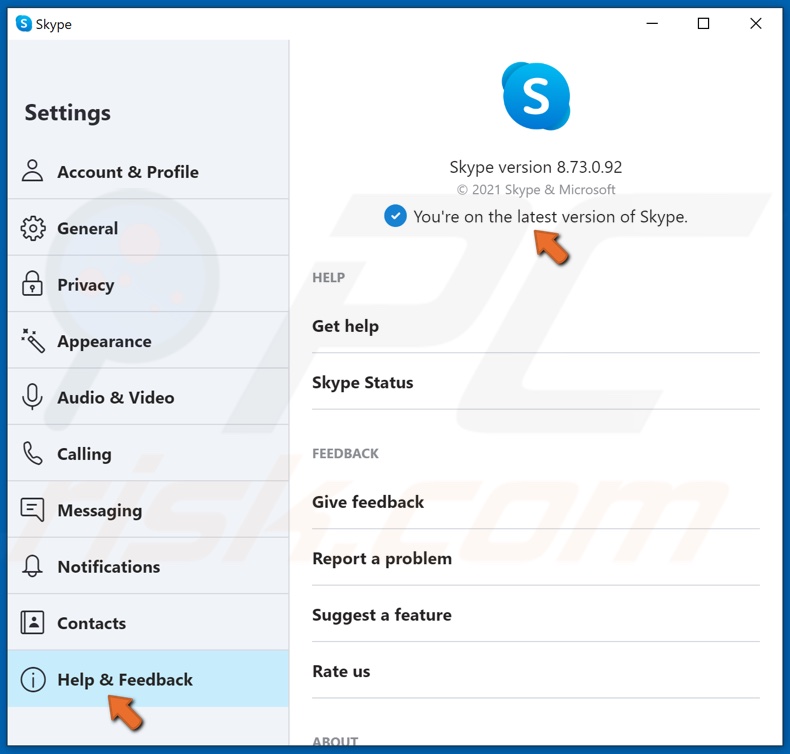
2. Select Help & Feedback in the left pane.
3. Skype will automatically check for updates and install them.
4. If Skype is already up-to-date, then you’ll see a “You’re on the latest version of Skype” message.
Solution 2. Allow Skype to Use Camera in Privacy Settings
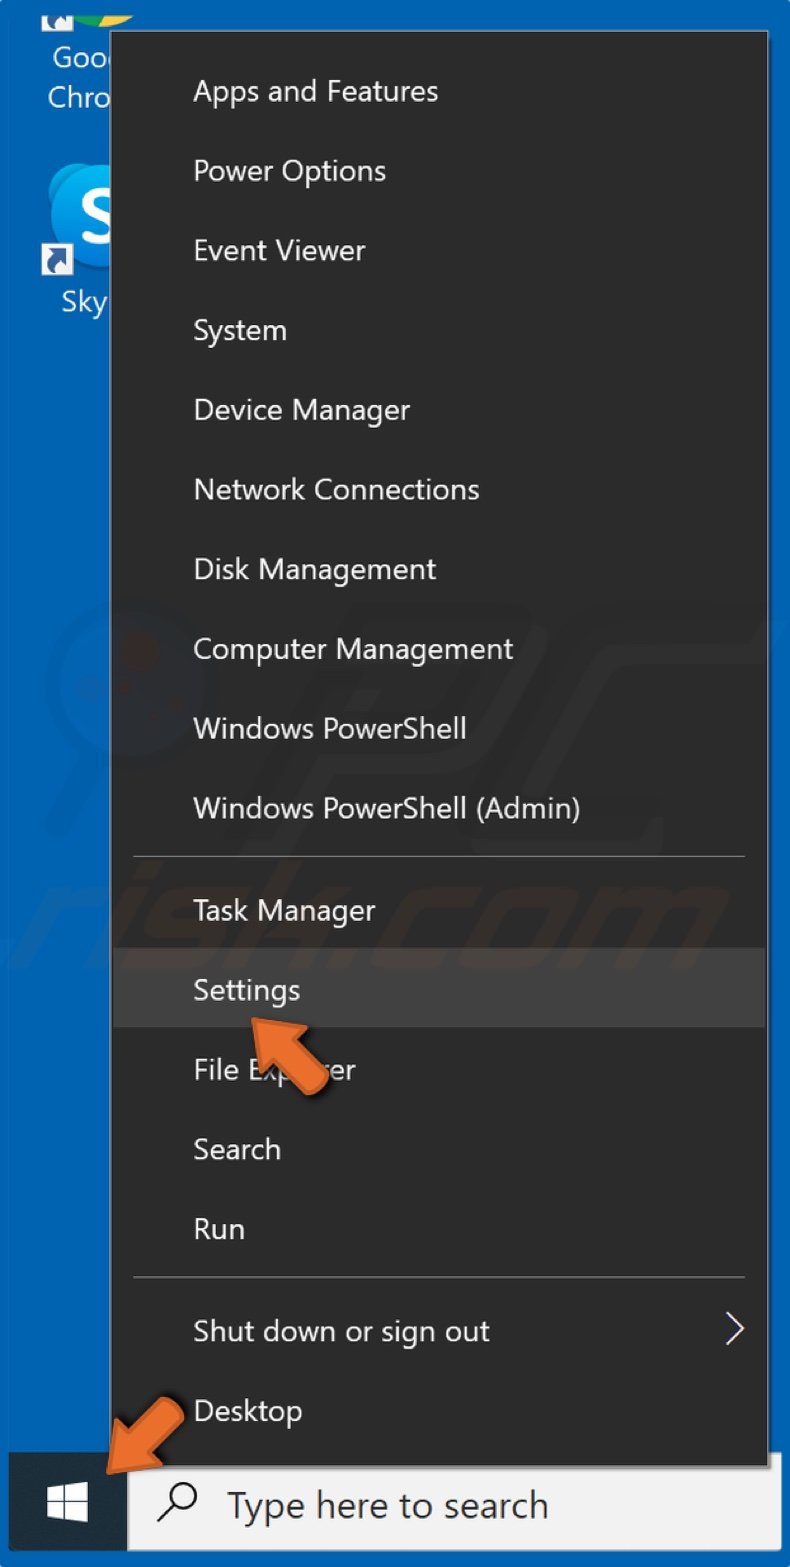
1. Right-click Start and select Settings.
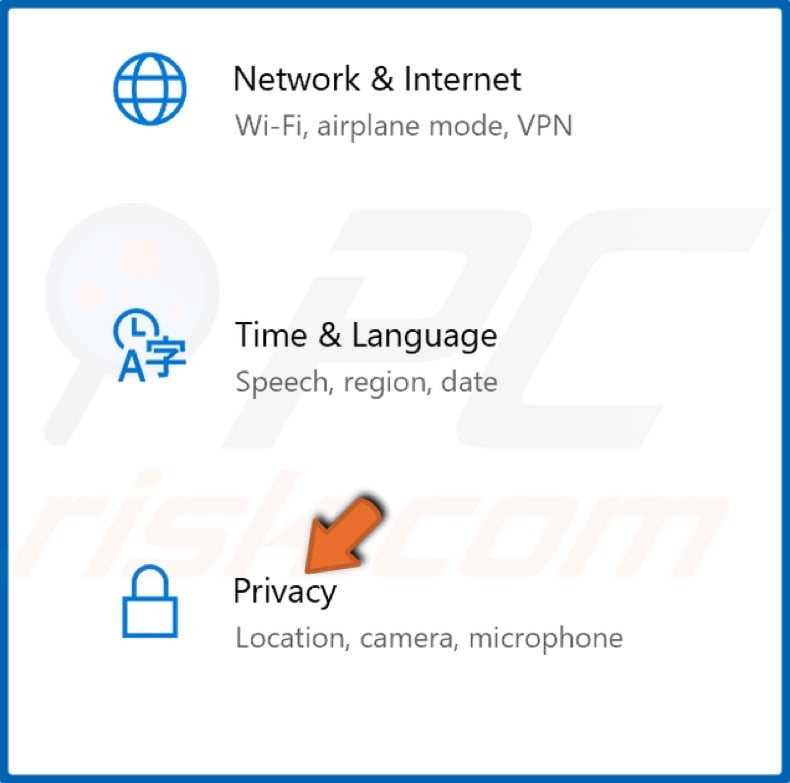
2. Select Privacy.
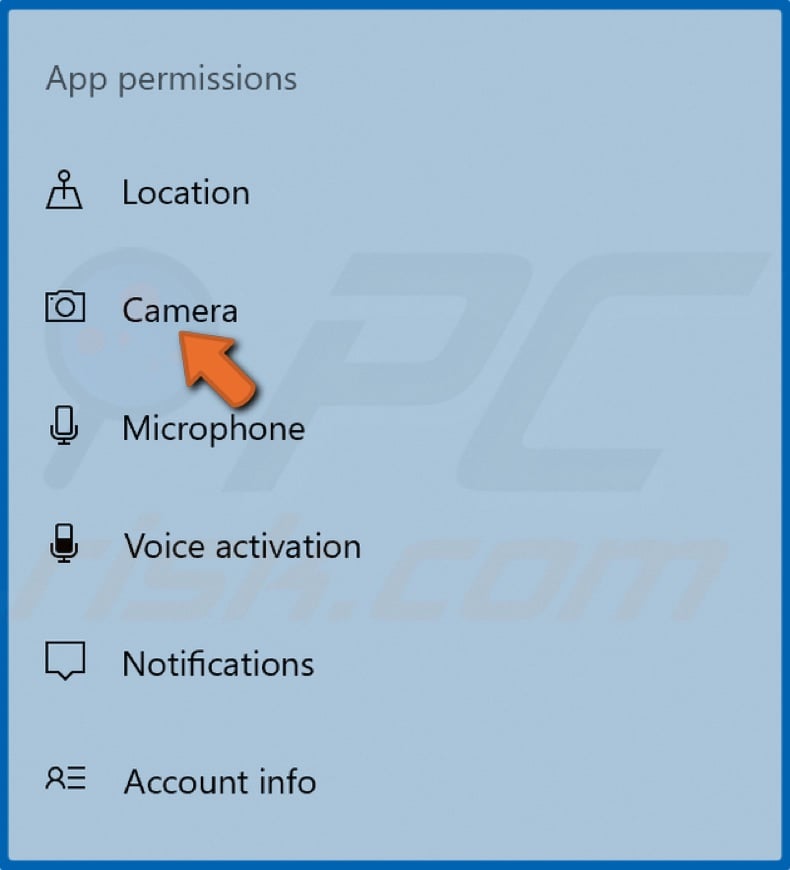
3. Then, select Camera in the left pane.
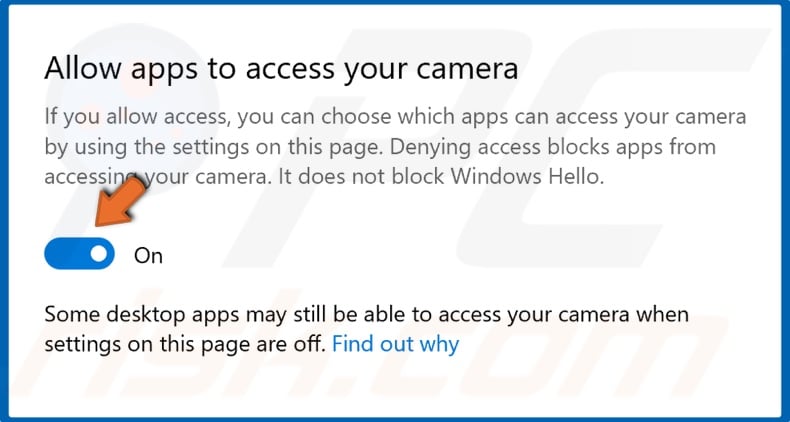
4. In the Camera settings window, make sure that apps are allowed to access your camera.
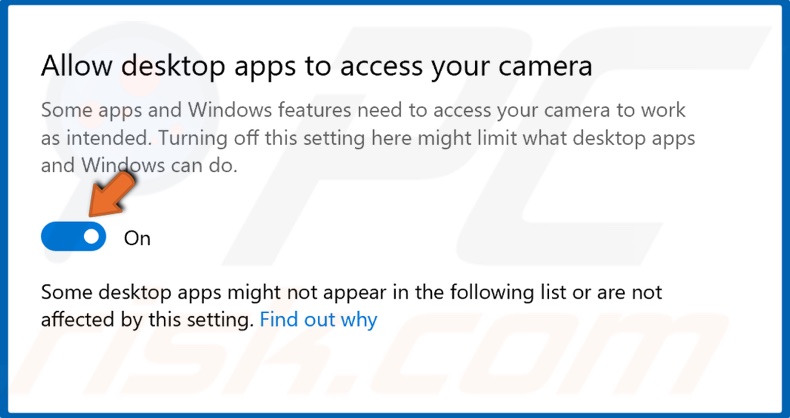
5. then, scroll to the bottom and make sure that desktop apps are allowed to access your camera.
6. Close the Settings window.
Solution 3. Make Sure That the Webcam Is Configured Correctly
Make sure that your Skype camera is configured correctly in Skype’s Settings menu. Make sure that you have the right camera selected. If you did choose the right camera, but there’s still no video, then move on to the next solution.
1. Open Skype and click on the ellipsis in the left pane, and select Settings.
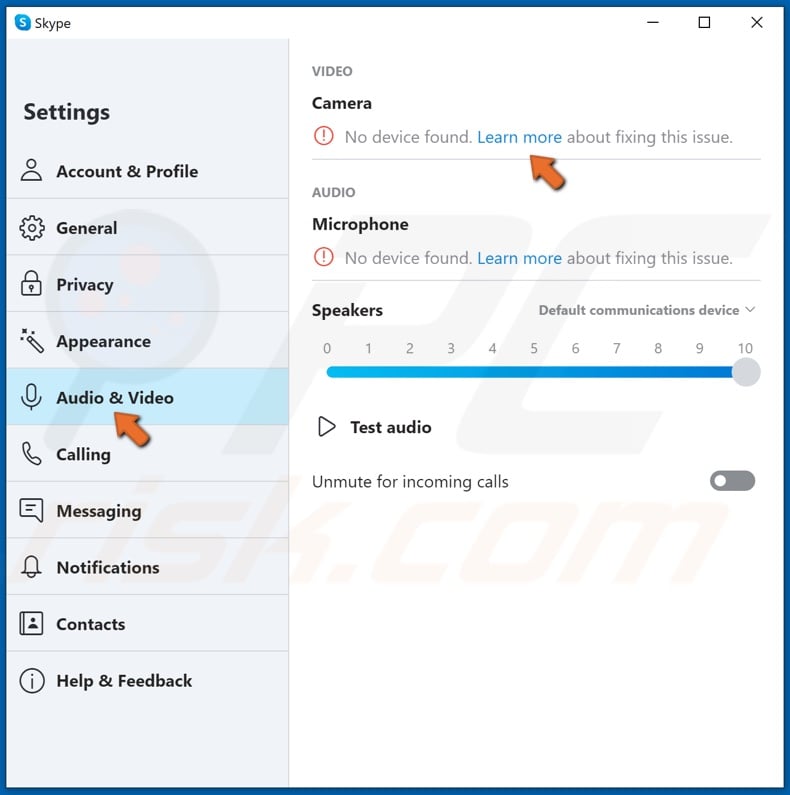
2. Then, select the Audio & Video tab.
3. If it says “No device found. Learn more about fixing this issue”, then this means that Skype couldn’t find your camera. Therefore, you should open your webcam software (if applicable) and enable it. Furthermore, if the webcam has an On/Off switch, make sure to turn it on.
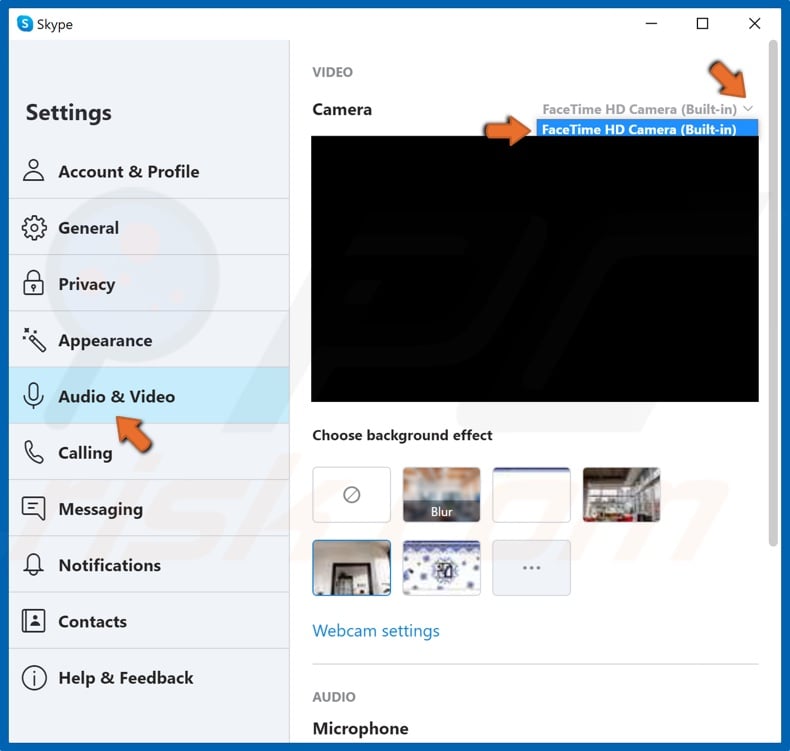
4. If you have two webcams connected to your device, open the Video dropdown menu and select the correct webcam.
Solution 4. Reinstall Skype
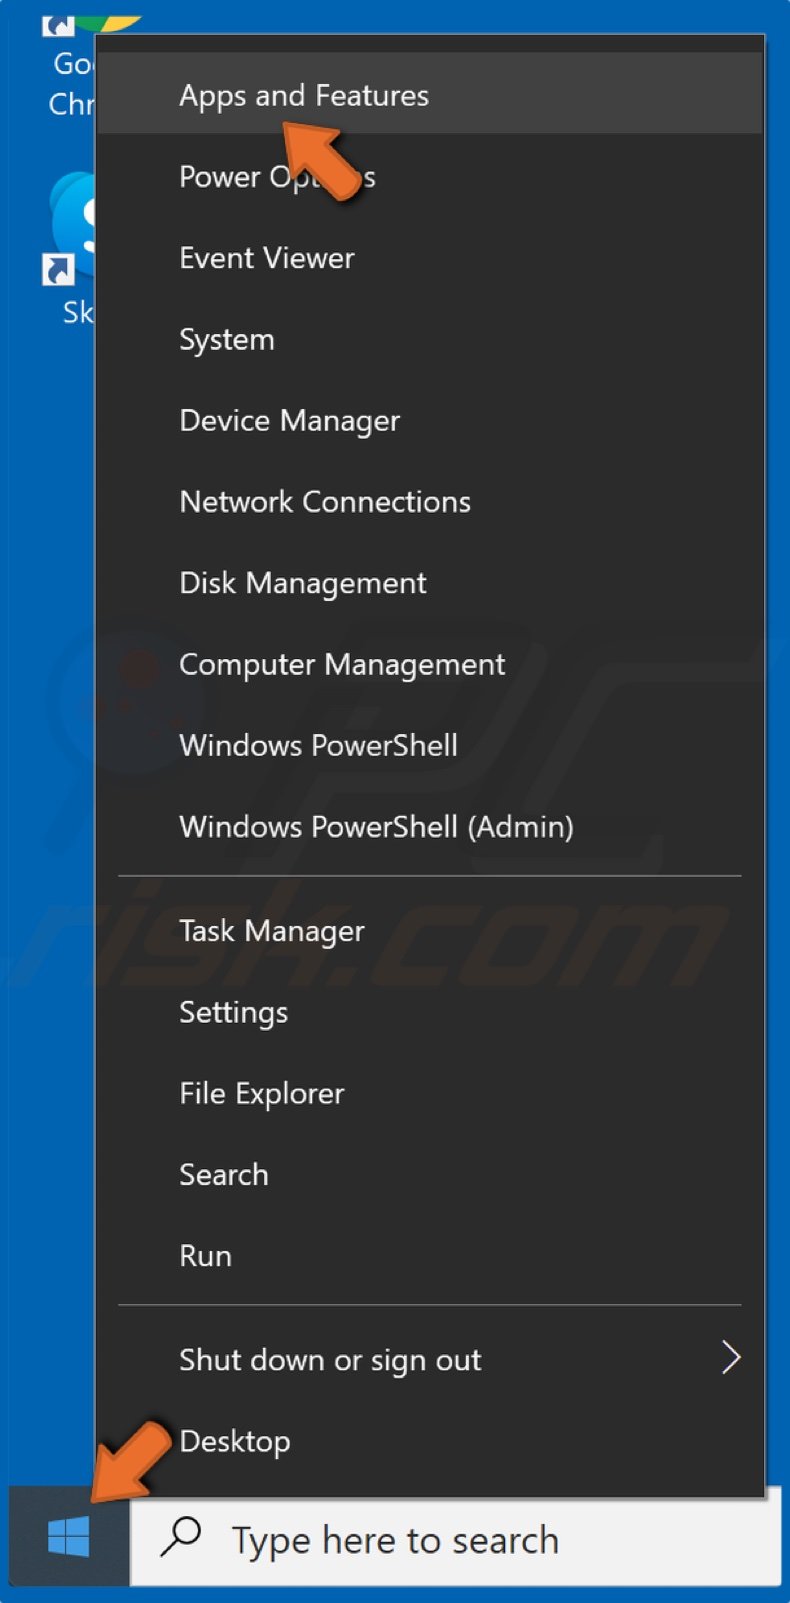
1. Right-click the Start button and select Apps and Features.
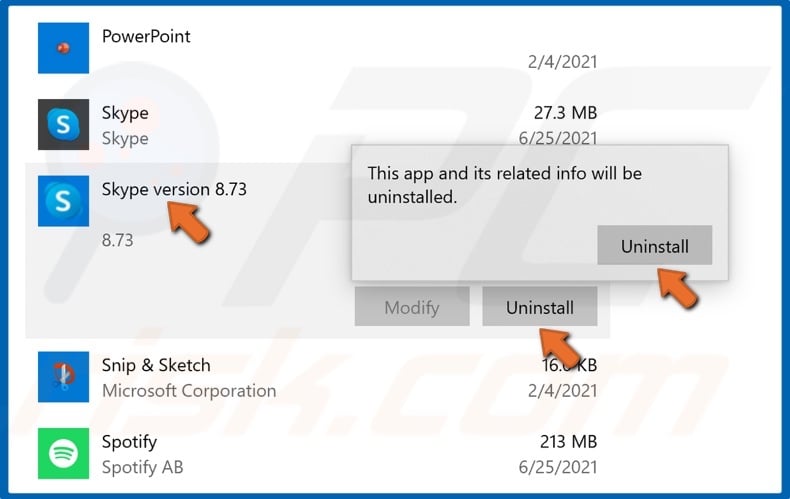
2. Scroll through the apps list and select Skype.
3. Click Uninstall and click Uninstall again.
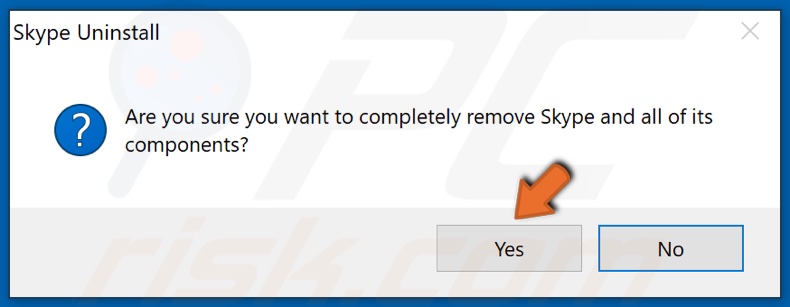
4. Click Yes to confirm the action.
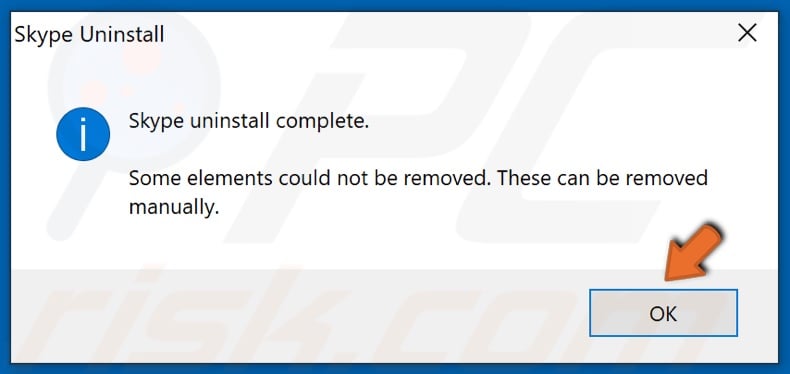
5. Then, click OK.

6. Open your web browser and go to the Skype download page for Windows.

7. Click Get Skype for Windows.
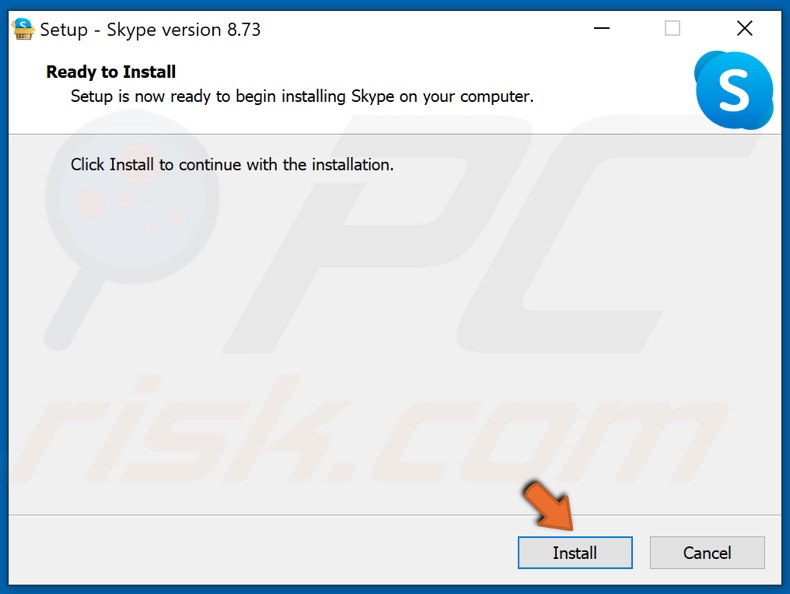
8. Run the installer once it’s downloaded.
9. Click the Install button.
Solution 5. Run the Hardware and Devices Troubleshooter
You can run the Hardware and Devices troubleshooter, which should resolve or at the very least rule out a hardware problem. With the release of Windows 10 v1809, this troubleshooter was hidden but not removed. Therefore, you can run the Hardware and Devices troubleshooter using the elevated Command prompt.
1. Hold down Windows+R keys to open Run.
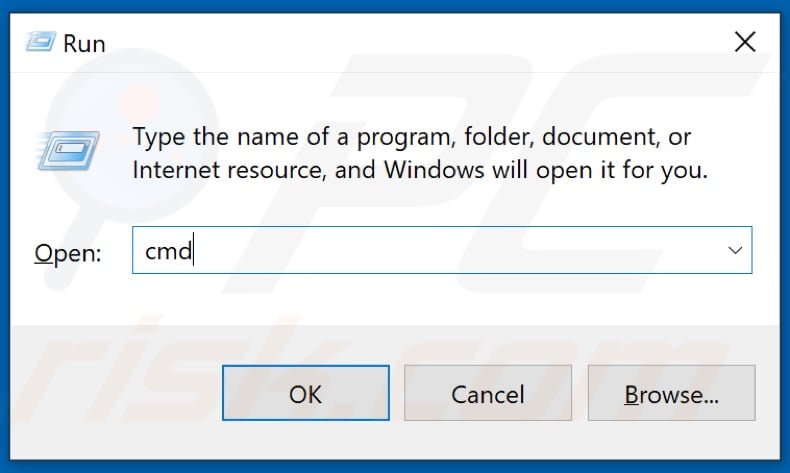
2. Type in CMD and hold down Ctrl+Shift+Enter keys to open the elevated Command prompt.
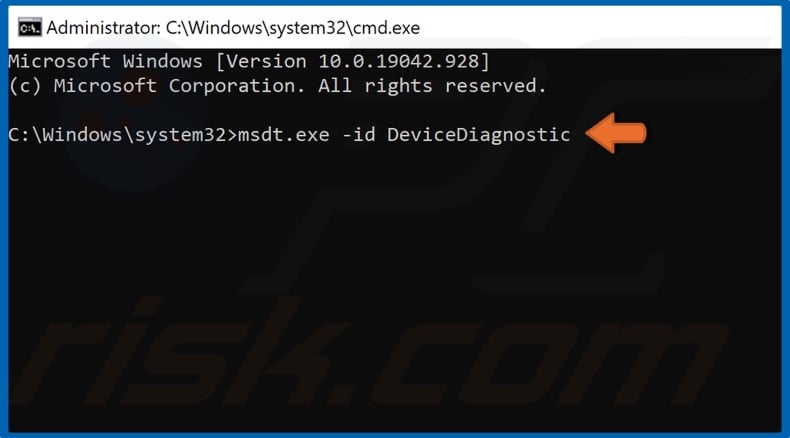
3. Then, type in msdt.exe -id DeviceDiagnostic and hit the Enter key.
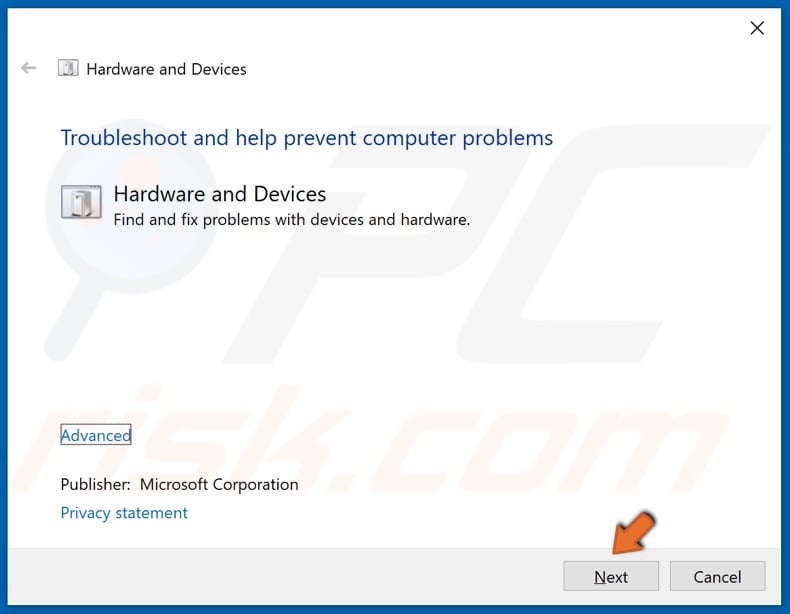
4. Once the Hardware and Device troubleshooter is open, click Next.
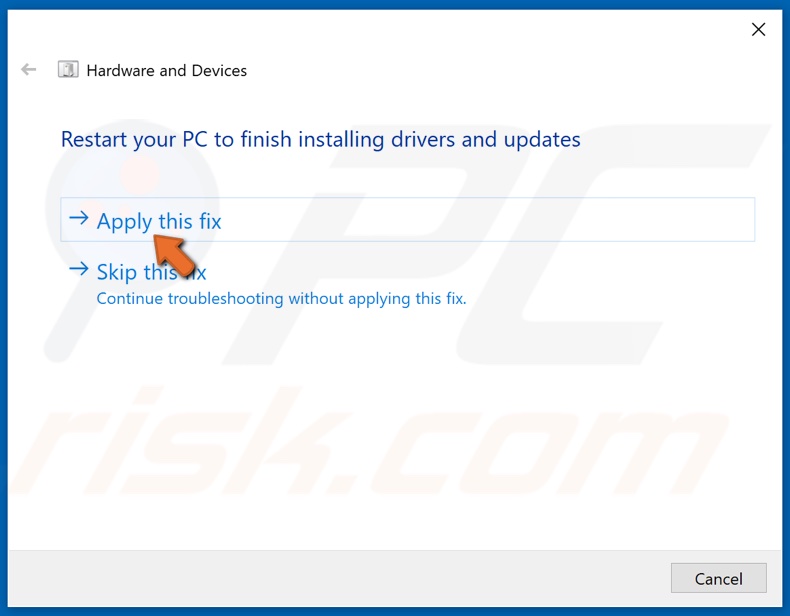
5. Click Apply this fix.
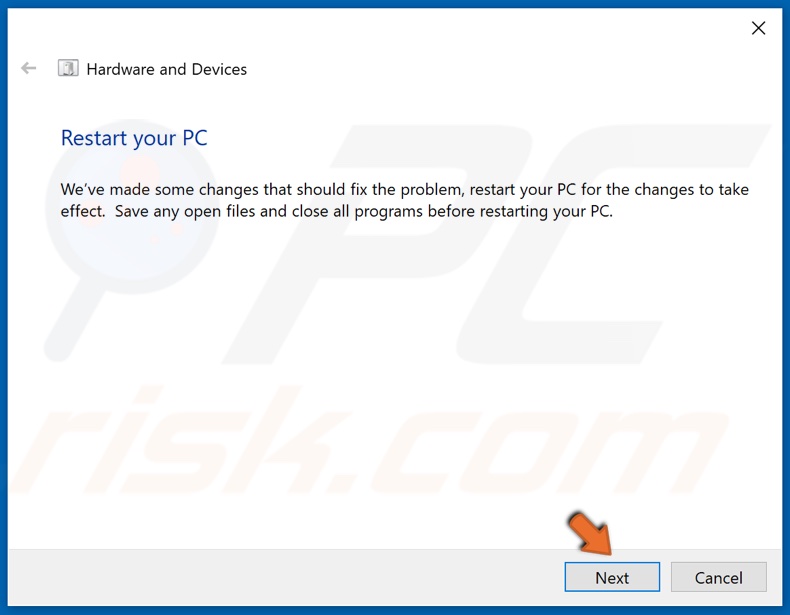
6. Click Next.
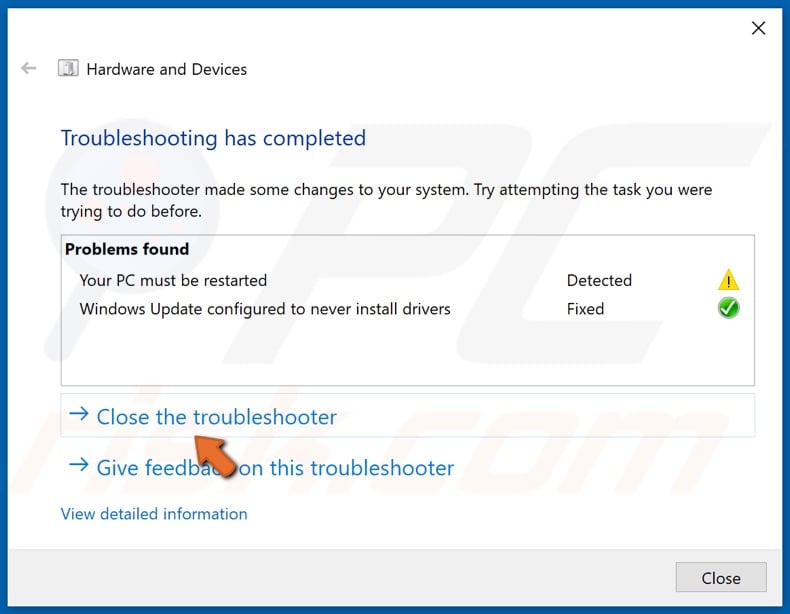
6. Click Close the troubleshooter.
7. Reboot your PC.
Solution 6. Update Webcam Drivers
You should first try updating your webcam driver by downloading it from the manufacturer’s website. However, if it’s not possible, then you can try updating it via Windows Device Manager.
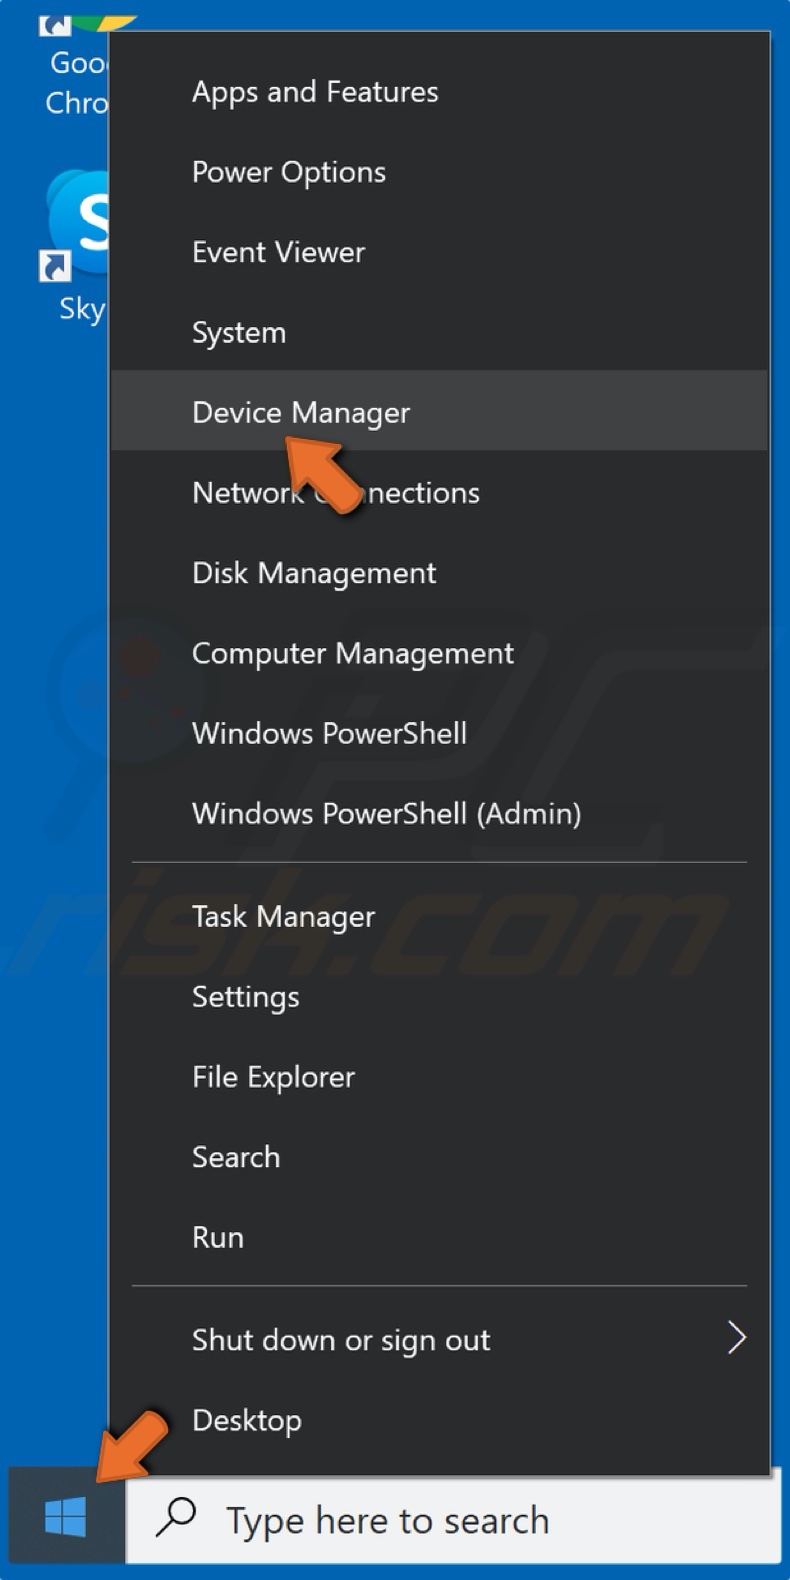
1. Right-click the Start button and select Device Manager.
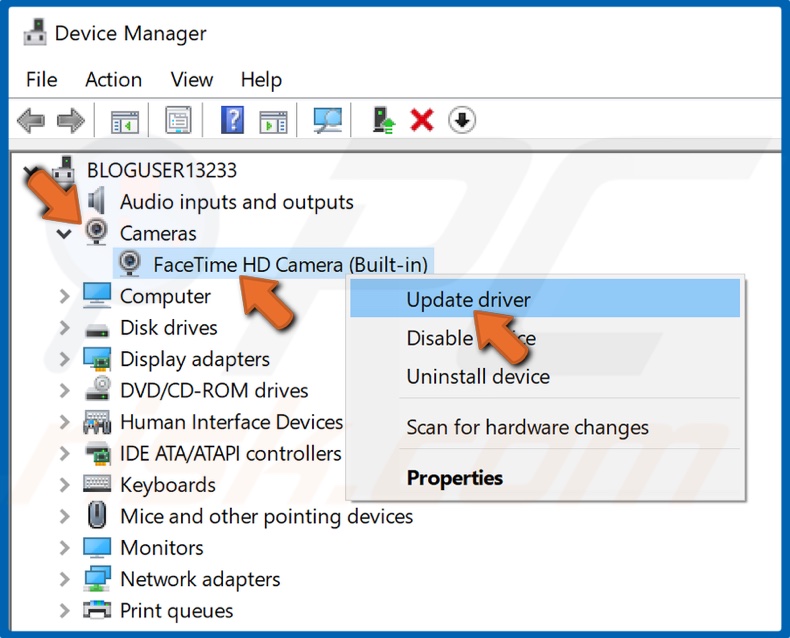
2. In the Device Manager panel, expand the Cameras list and identify your webcam.
3. Right-click the webcam and select Update driver.
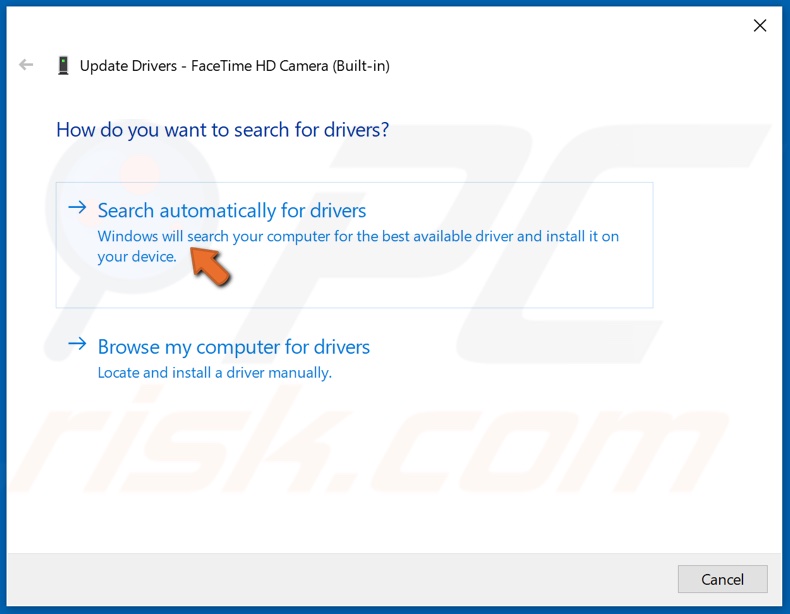
4. Select Search automatically for drivers.
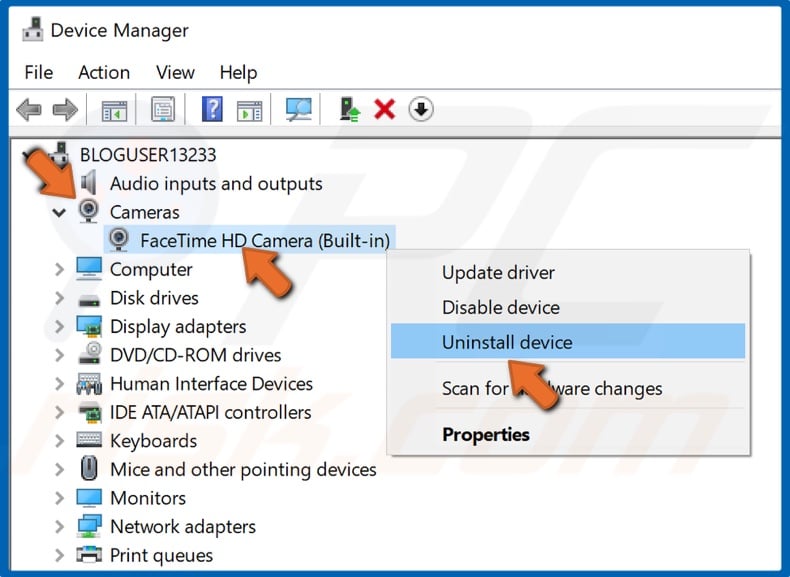
5. If updating doesn’t fix the issue, you may also right-click the webcam and select Uninstall Device.
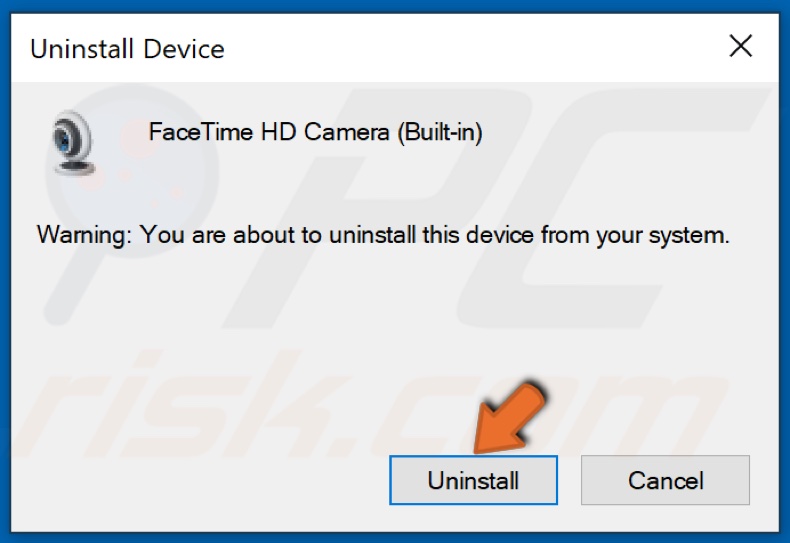
6. Click Uninstall to confirm the action.
7. Then, close the Device Manager and reboot your PC.
8. Once your PC boots up again, it will automatically download and install the driver for your webcam.
Solution 7. Unblock Skype Camera using Windows Registry Editor
1. Hold down Windows+R keys to open Run.
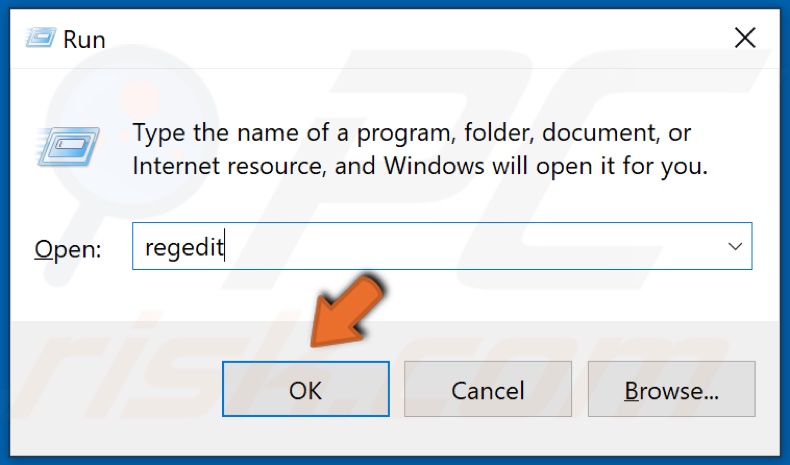
2. In the Run dialog box, type in Regedit, and click OK.

3. Then, In the Registry Editor, navigate to HKEY_LOCAL_MACHINE\SOFTWARE\WOW6432Node\Microsoft\Windows Media Foundation\Platform

4. Right-click Platform and select New, and select DWORD (32-bit) Value.

5. Name the new value “EnterFrameServerMode”
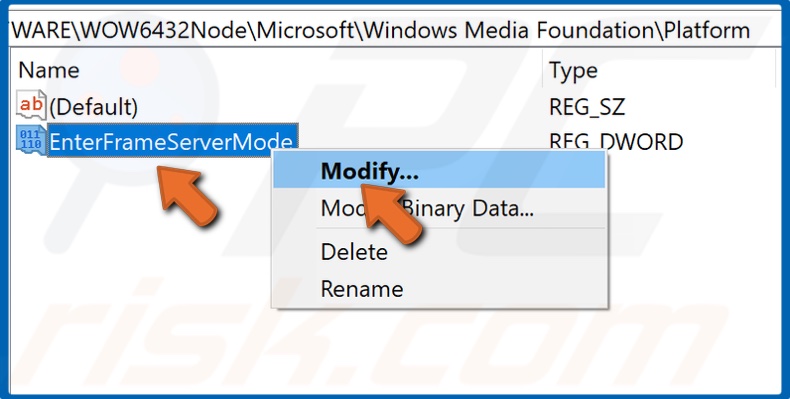
6. Right-click EnterFrameServerMode and click Modify.
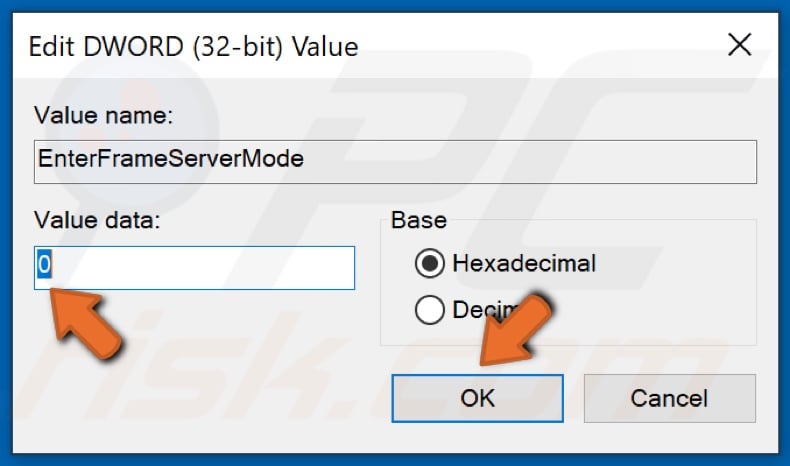
7. Make sure that the Value Data is set to 0 and click OK.
8. Close the Registry Editor and Restart your PC.
9. Open Skype and check if the webcam is working correctly.
Share:

Rimvydas Iliavicius
Researcher, author
Rimvydas is a researcher with over four years of experience in the cybersecurity industry. He attended Kaunas University of Technology and graduated with a Master's degree in Translation and Localization of Technical texts. His interests in computers and technology led him to become a versatile author in the IT industry. At PCrisk, he's responsible for writing in-depth how-to articles for Microsoft Windows.
▼ Show Discussion