How to Fix Avast High CPU and Disk Usage

Get Free Scanner and check your computer for errors
Fix It NowTo fix found issues, you have to purchase the full version of Combo Cleaner. Free trial available. Combo Cleaner is owned and operated by Rcs Lt, the parent company of PCRisk.com read more.
Avast Causing High CPU/Disk Usage Is a Major Problem for Many. This Article Will Show You How to Fix It
Many users see the benefits of using Avast Antivirus, but despite its popularity, its users sometimes experience various issues. In this article, we will tackle Avast using an unreasonable amount of CPU processing power.

Avast’s main process is called avastsvc.exe. You may observe avastsvc.exe CPU usage in the Task Manager. In many cases, CPU usage may hover at over 50% at idle but may jump close to 100% in more extreme cases.
When Avast causes 100% CPU usage, it may, in turn, cause 100% Disk usage, rendering your PC almost unusable. This is not normal behavior, meaning that there’s an underlying cause for this behavior.
What Causes Avast High CPU/Disk Usage?
The most commonly cited reasons for Avast hogging CPU resources include incorrectly configured system settings and corrupt Windows registry entries. To add to that, Avast may promote high CPU usage if Avast is out of date or has been corrupted.
How to Fix the High CPU Usage?
You can decrease Avast’s high CPU usage resulting from corrupt registry keys by repairing and updating Avast. You have an older or low-spec PC, you may overcome Avast’s CPU usage by disabling or removing some of its additional features without affecting its security.
Video Guide on How to Fix Avast High CPU/Disk Usage
Table of Contents:
- Introduction
- Solution 1. Repair and Update Avast
- Solution 2. Remove Avast’s Cleanup Tool
- Solution 3. Remove Unnecessary Avast Features
- Solution 4. Disable Avast Mail Shield
- Solution 5. Erase the Page File on Shutdown With the Registry Editor
- Video Guide on How to Fix Avast High CPU/Disk Usage
Download Computer Malware Repair Tool
It is recommended to run a free scan with Combo Cleaner - a tool to detect viruses and malware on your device. You will need to purchase the full version to remove infections. Free trial available. Combo Cleaner is owned and operated by Rcs Lt, the parent company of PCRisk.com read more.
Solution 1. Repair and Update Avast
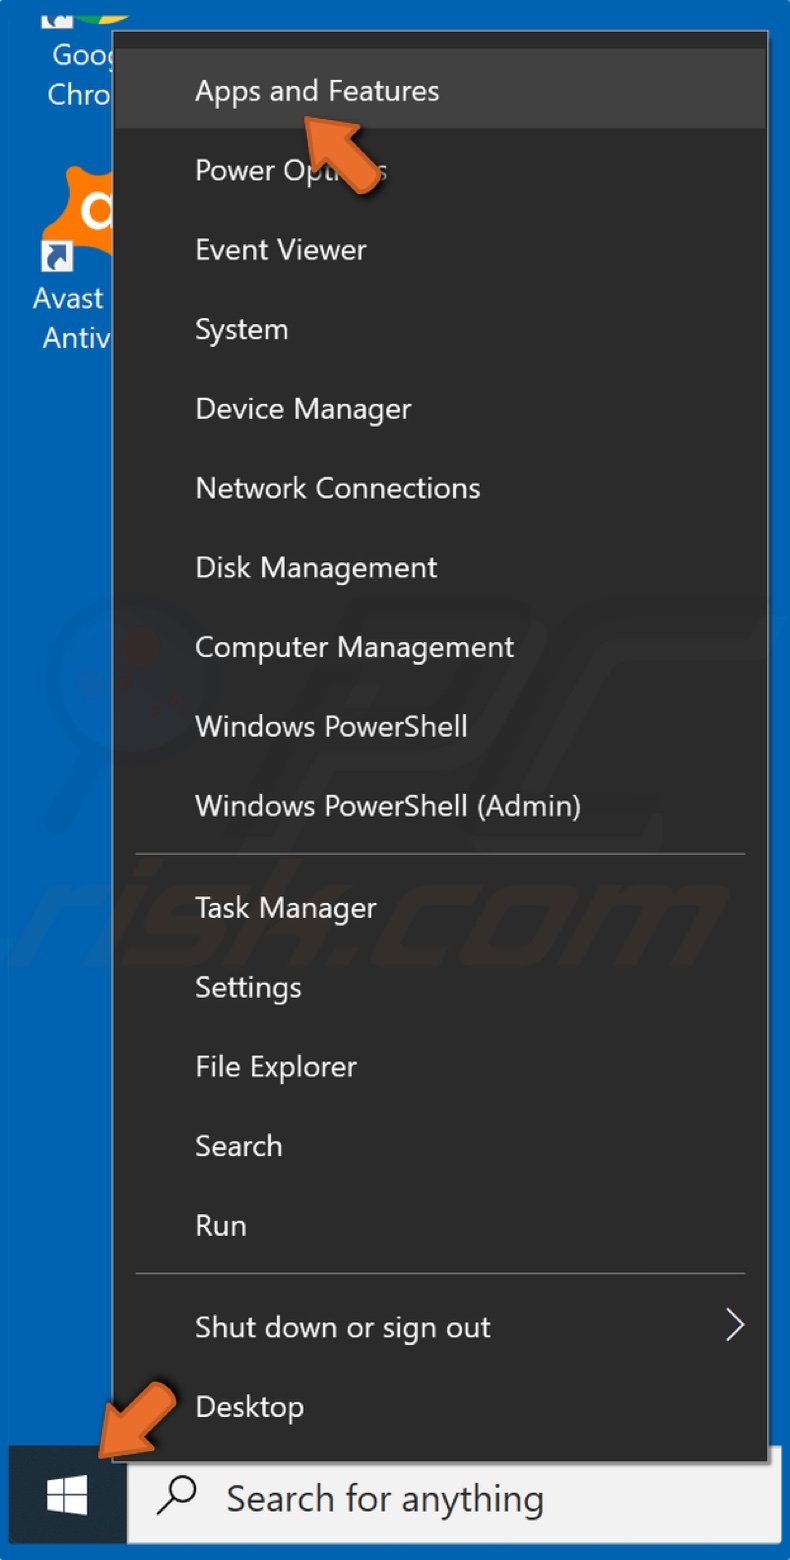
1. Right-click the Start Menu button and click Apps and Features.
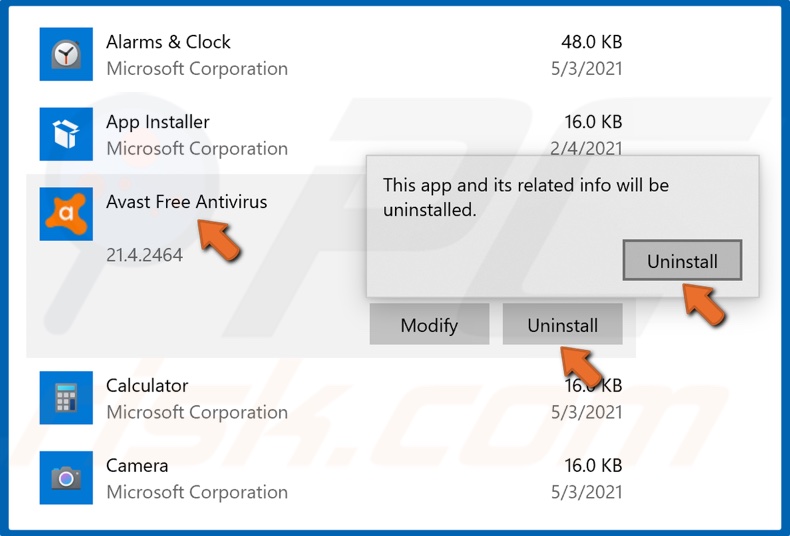
2. Scroll through the applications list and select Avast.
3. Then, click Uninstall and click Uninstall again.
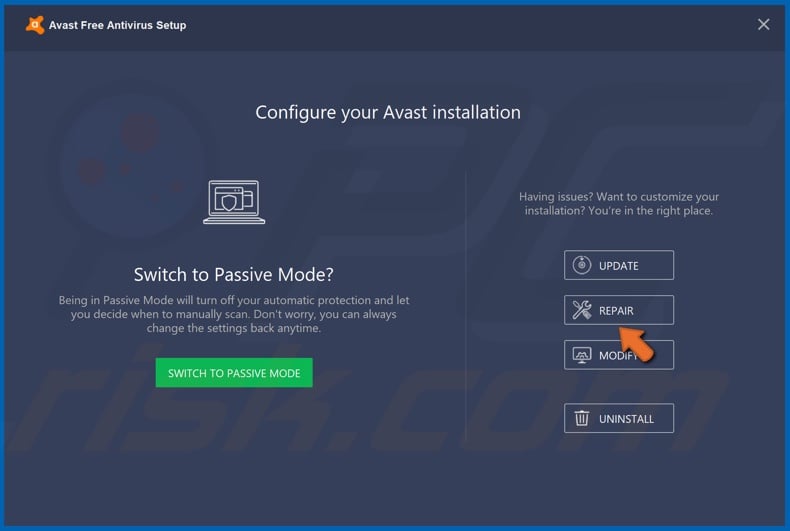
4. Then, click Repair.
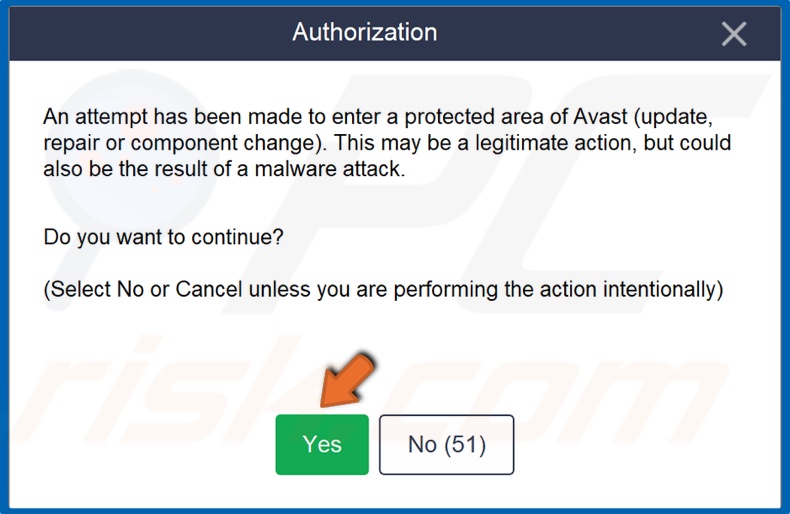
5. Click Yes to confirm the action.
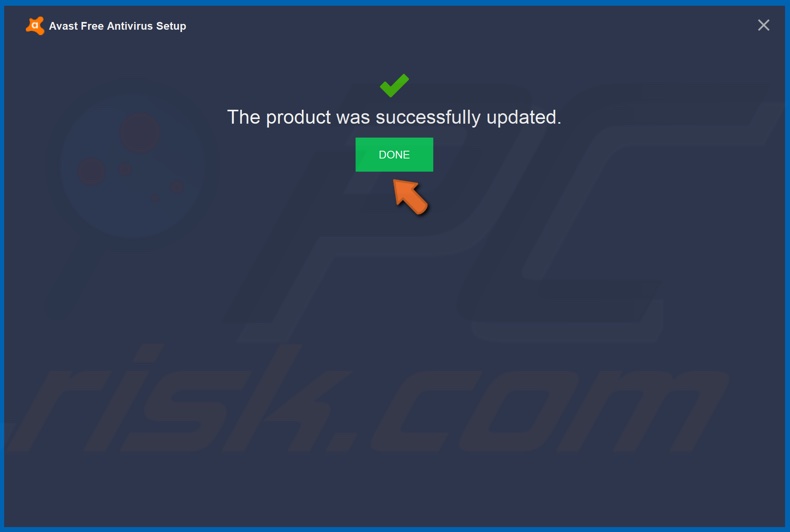
6. Click Done once the process is complete.
7. After the repair, make sure you have the most recent version of Avast.
8. Open Avast.
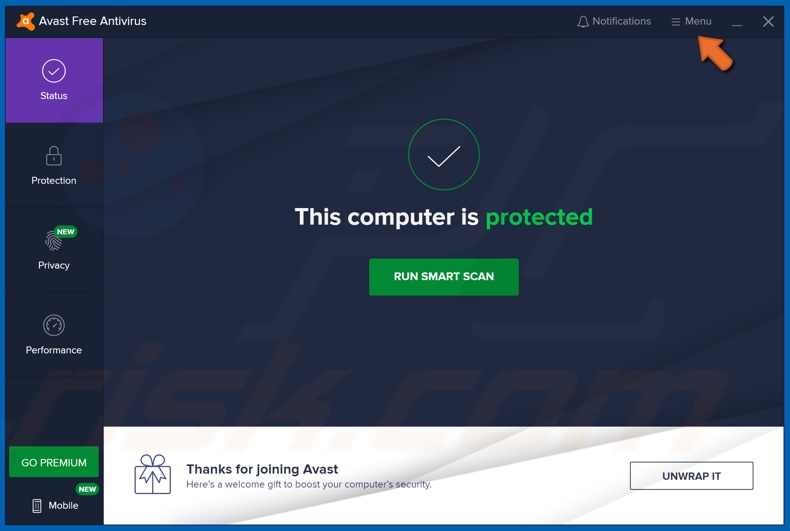
9. Click Menu.
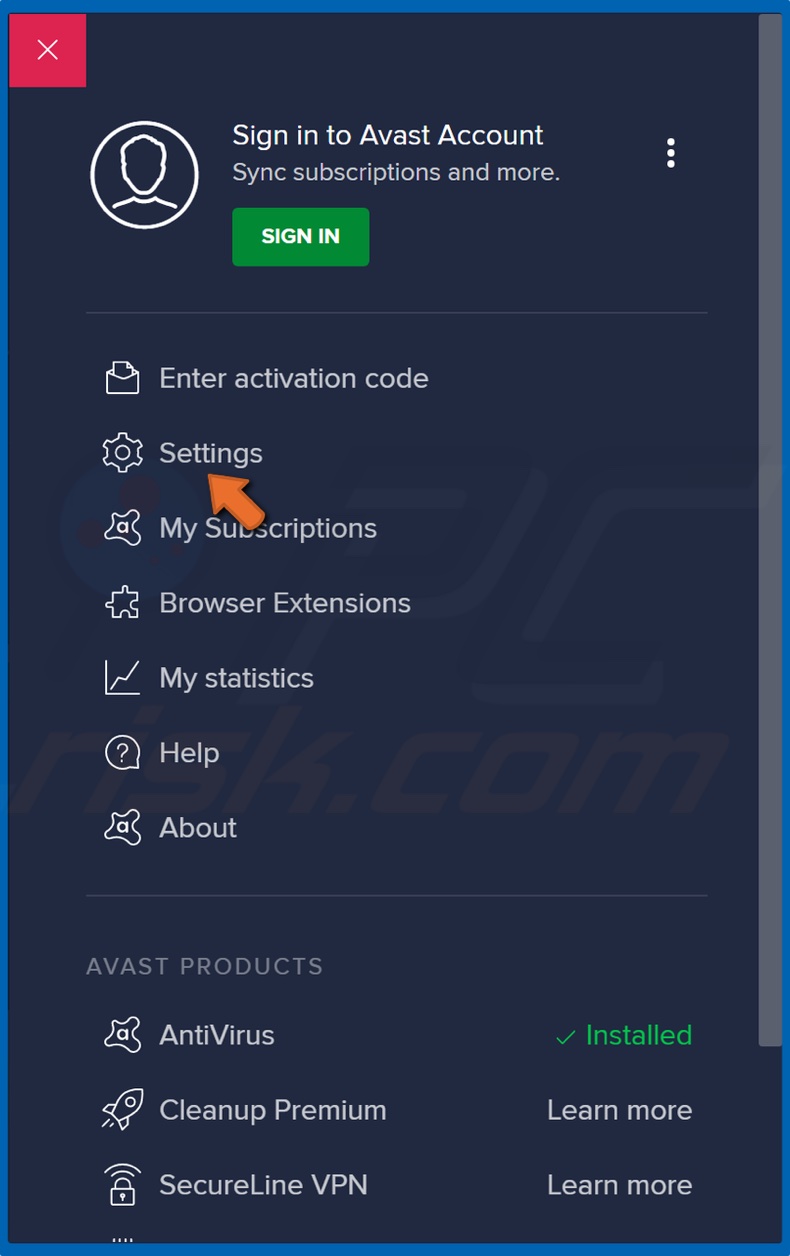
10. Select Settings.
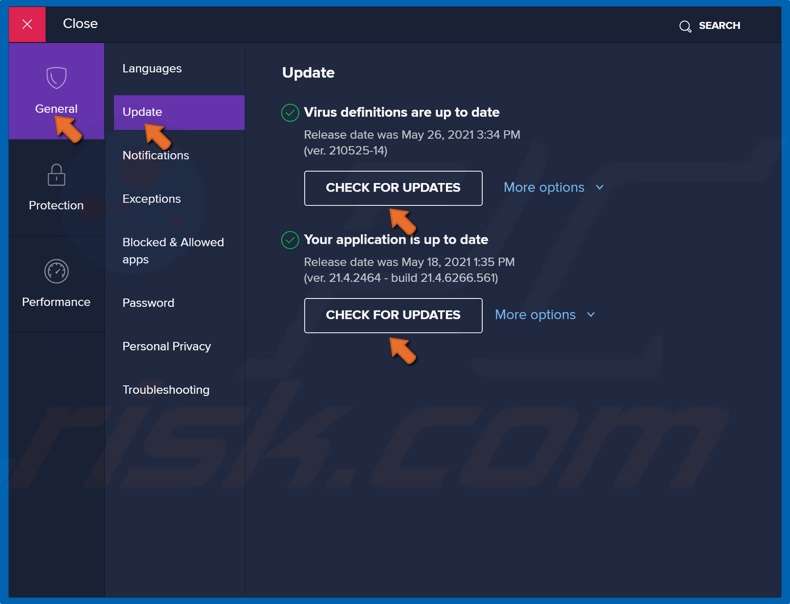
11. Select Update from the General tab.
12. Under the Virus definitions section, click Check for Updates.
13. Lastly, under the Application update section, click Check for Updates.
Solution 2. Remove Avast’s Cleanup Tool
1. Open Avast.
2. Click Menu.
3. Select Settings.
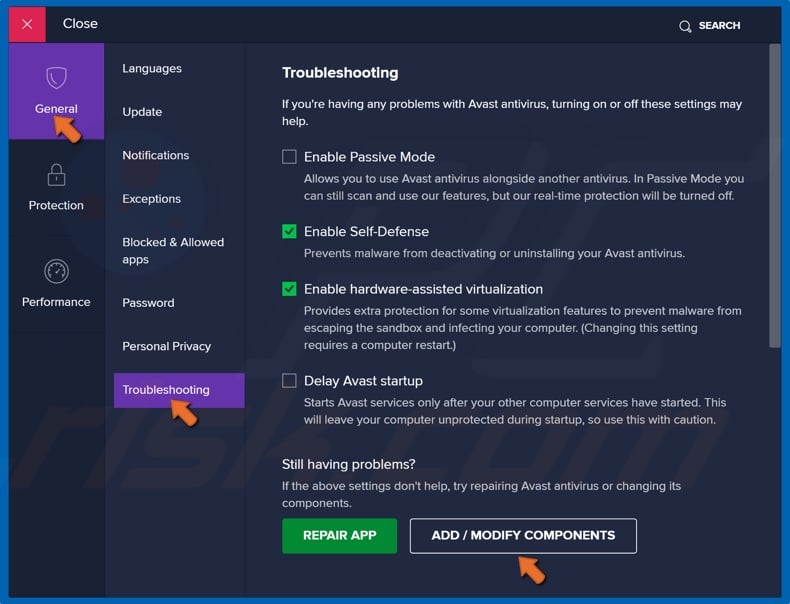
4. Select Troubleshooting.
5. Then, click Add / Modify Components.

6. Uncheck the checkbox next to Cleanup and click Change.
7. Click Yes to confirm the action.
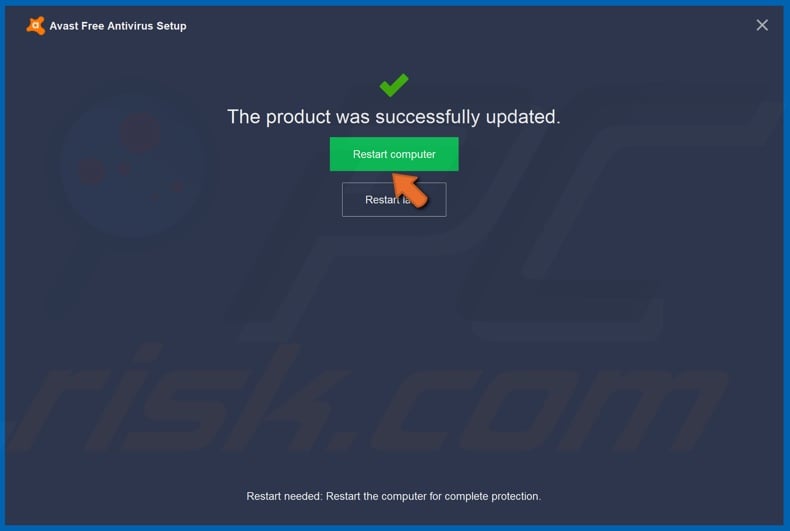
8. Click Restart computer once the process is complete.
Solution 3. Remove Unnecessary Avast Features
1. Open Avast.
2. Click Menu.
3. Select Settings.
4. Select Troubleshooting.
5. Then, click Add / Modify Components.

6. Uncheck the checkboxes next to the features listed below.
- Software Update
- Browser Cleanup
- Rescue Disk
- Wi-Fi Inspector
- Passwords (old)
- Cleanup
- Do Not Disturb Mode
7. Then, click Change.
8. Click Yes to confirm the action.
9. Click Restart computer once the process is complete.
Solution 4. Disable Avast Mail Shield
1. Open Avast.
2. Click Menu.
3. Select Settings.
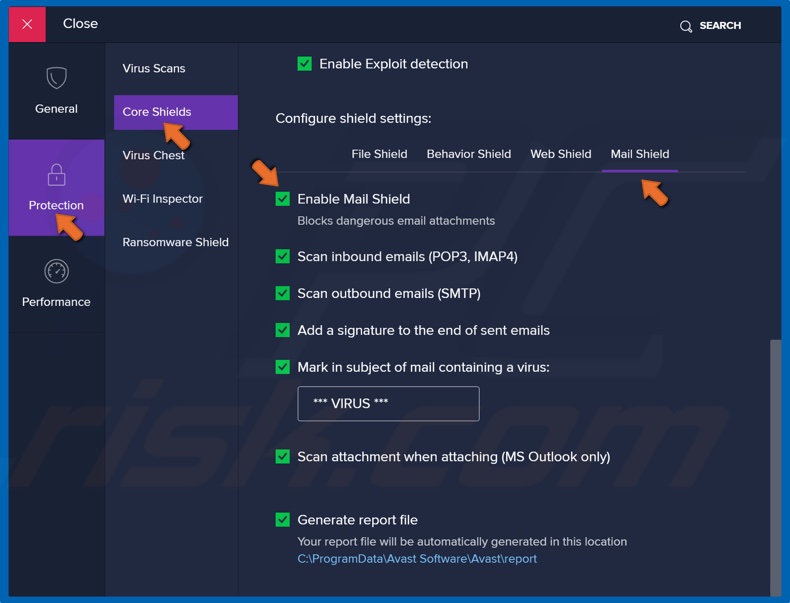
4. Select Protection from the left pane.
5. Then, select Core Shields.
6. Scroll down and select Mail Shield.
7. Uncheck the box next to Enable Mail Shield.

8. Click Stop indefinitely when prompted.
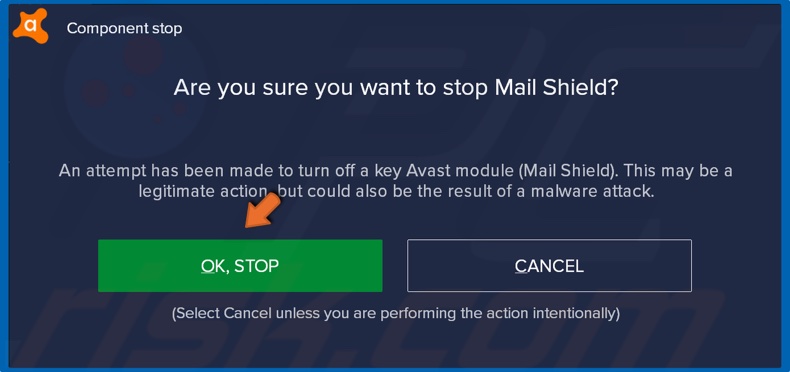
9. Click OK, Stop to confirm the action.
Solution 5. Erase the Page File on Shutdown With the Registry Editor
1. Hold down Windows+R keys to open the Run dialog box.
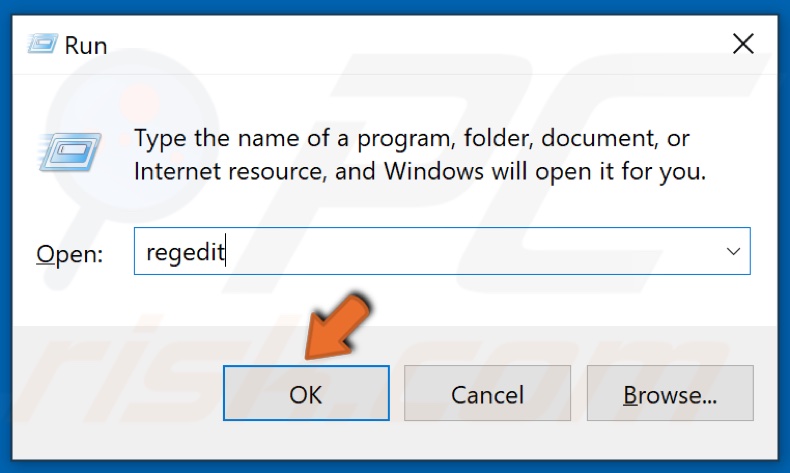
2. In the dialog box, type in Regedit and click OK.
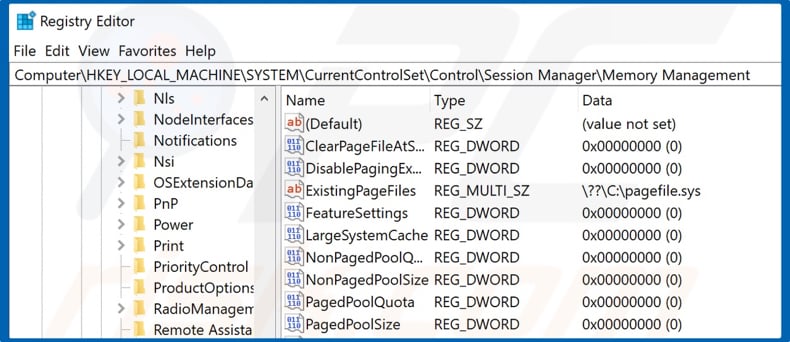
3. Once in Windows Registry Editor, navigate to HKEY_LOCAL_MACHINE\SYSTEM\CurrentControlSet\Control\Session Manager\Memory Management.
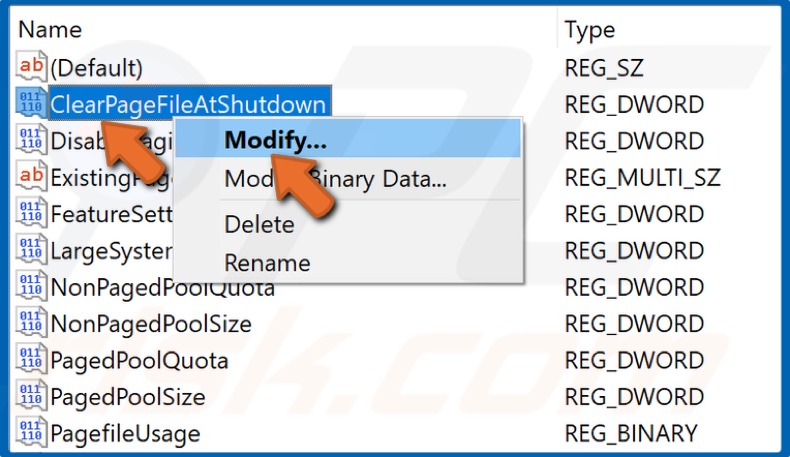
4. Then, on the right pane, right-click ClearPageFileAtShutDown and click Modify.
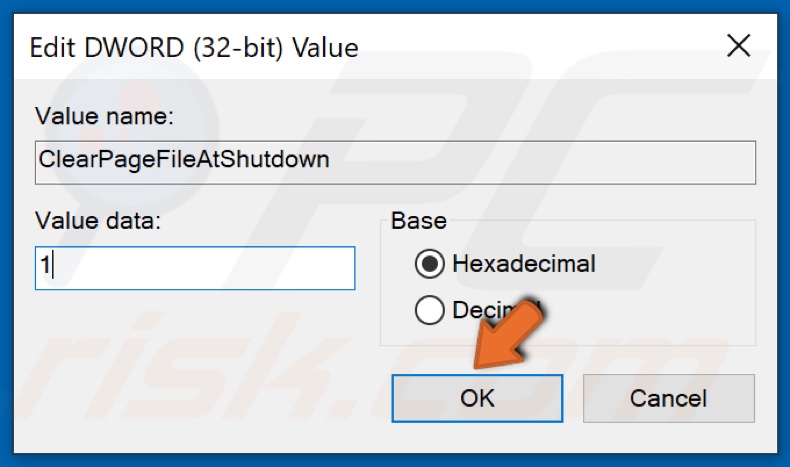
5. Change the Value data from 0 to 1 and click OK.
6. Close the Registry Editor and restart your PC.
Share:

Rimvydas Iliavicius
Researcher, author
Rimvydas is a researcher with over four years of experience in the cybersecurity industry. He attended Kaunas University of Technology and graduated with a Master's degree in Translation and Localization of Technical texts. His interests in computers and technology led him to become a versatile author in the IT industry. At PCrisk, he's responsible for writing in-depth how-to articles for Microsoft Windows.
▼ Show Discussion