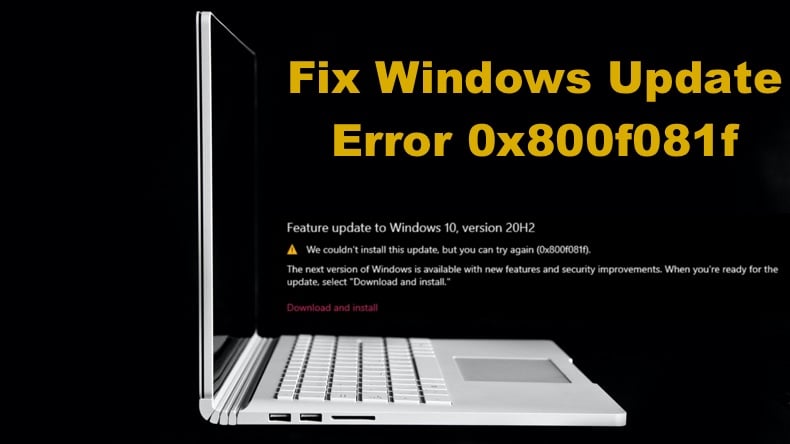
Fix Windows Update Error 0x800f081f

Get Free Scanner and check your computer for errors
Fix It NowTo fix found issues, you have to purchase the full version of Combo Cleaner. Free trial available. Combo Cleaner is owned and operated by Rcs Lt, the parent company of PCRisk.com read more.
How to Fix Update Error 0x800f081f in Windows 10
If you're getting error 0x800f081f when trying to update your operating system, you won't get important system updates. This article will show you several methods to fix this error.
What Causes Error 0x800f081f
You may experience error 0x800f081f due to incompatibility issues caused by Microsoft .NET Framework 3.5. It has been determined that such incompatibilities occur when users enable NET Framework.
In Windows 10, NET Framework works as an on-demand feature, meaning that when the user turns it on, the Windows Update service tries to acquire the binaries of .NET and other files. If your computer has been incorrectly configured, you will get the 0x800f081f error because Windows Update cannot find the necessary files for NET.
If Microsoft NET Framework is the cause of error 0x800f081f, then you may be able to resolve the issue by using an offline NET Framework installer or enabling the currently installed NET Framework version manually. NET Framework can be enabled using a PowerShell Command, the Deployment Image Servicing, and Management tool, or the installation wizard.
Video Guide on How to Fix Windows Update Error 0x800f081f
Table of Contents:
- Introduction
- Solution 1. Run the Windows Update Troubleshooter
- Solution 2. Enable Microsoft .NET Framework using Command Prompt
- Solution 3. Run the System File Checker (SFC) Scan
- Solution 4. Run the Deployment Image & Servicing Management (DISM) Scan
- Solution 5. Configure the Group Policy Setting
- Solution 6. Upgrade Windows 10 Using the Media Creation Tool
- Video Guide on How to Fix Windows Update Error 0x800f081f
Download Computer Malware Repair Tool
It is recommended to run a free scan with Combo Cleaner - a tool to detect viruses and malware on your device. You will need to purchase the full version to remove infections. Free trial available. Combo Cleaner is owned and operated by Rcs Lt, the parent company of PCRisk.com read more.
Solution 1. Run the Windows Update Troubleshooter
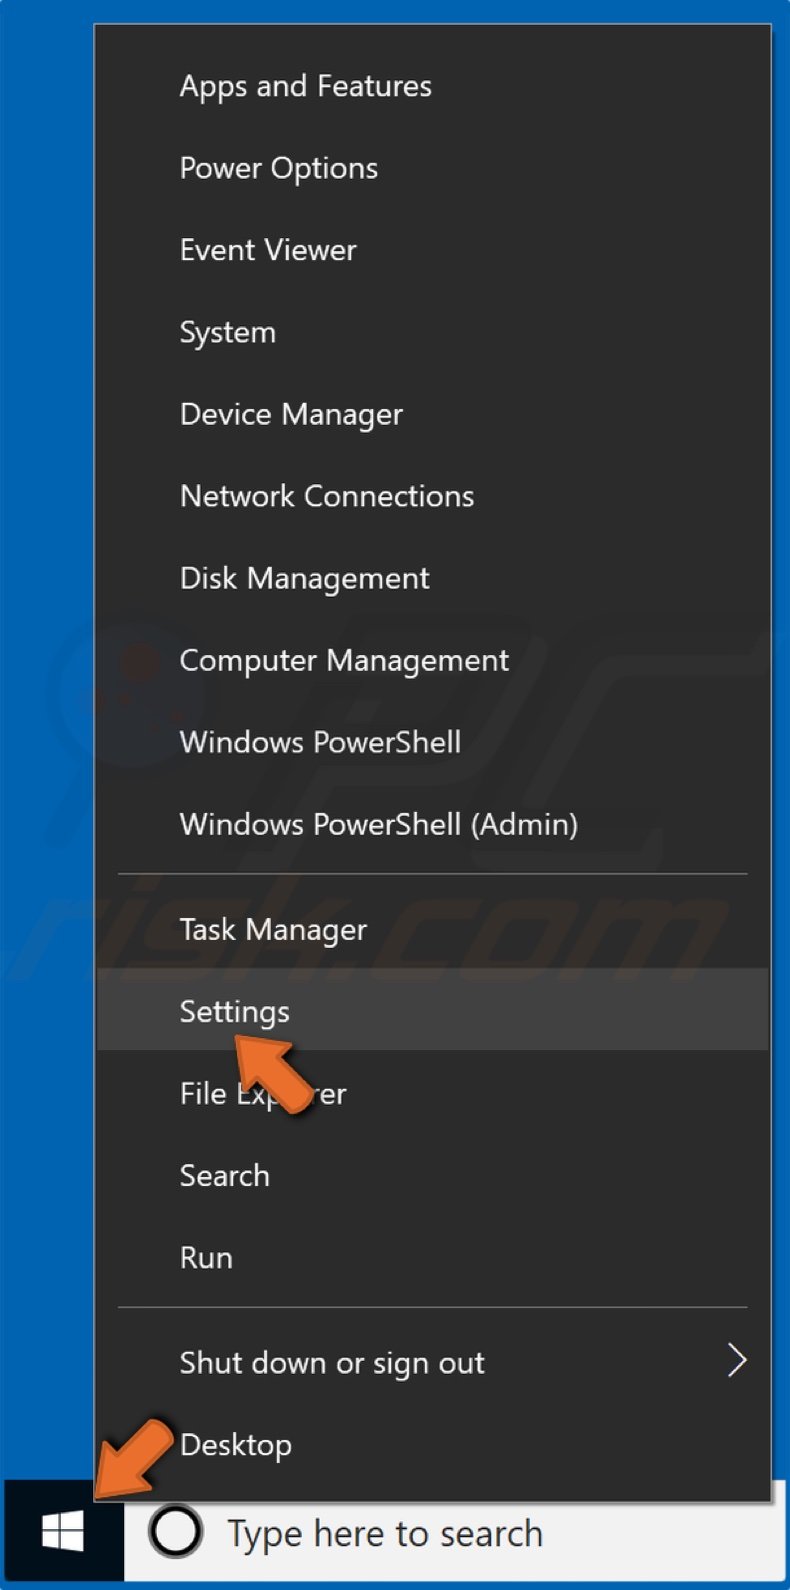
1. Right-click the Start Menu and click Settings.
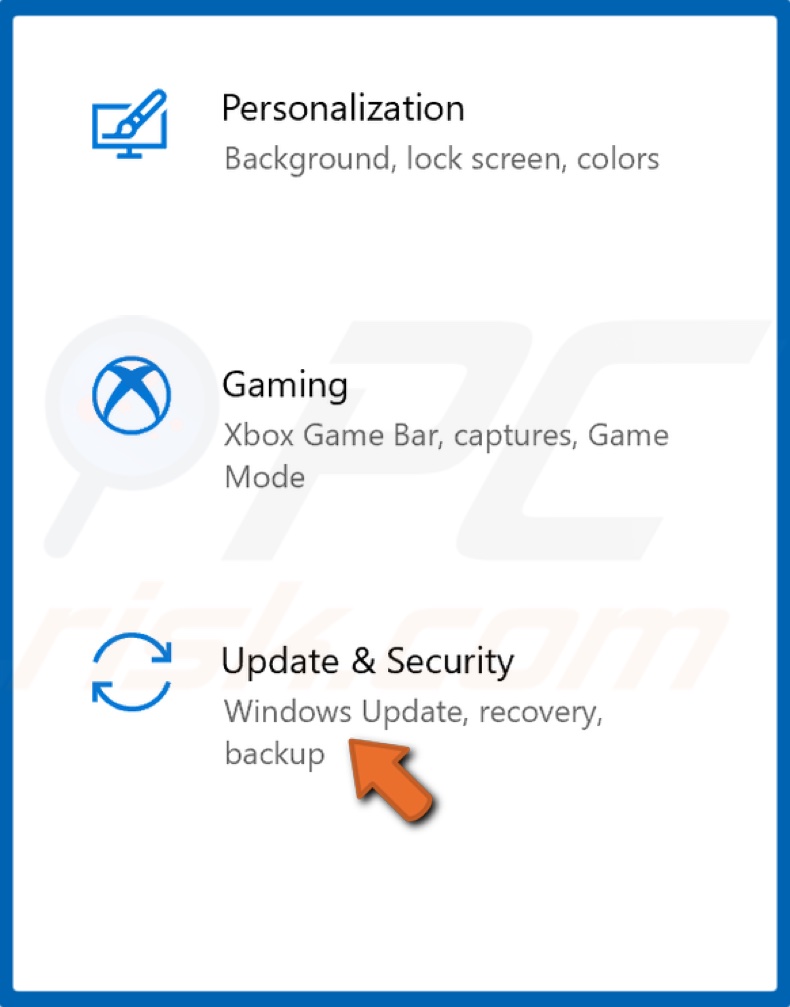
2. Select Update & Security.
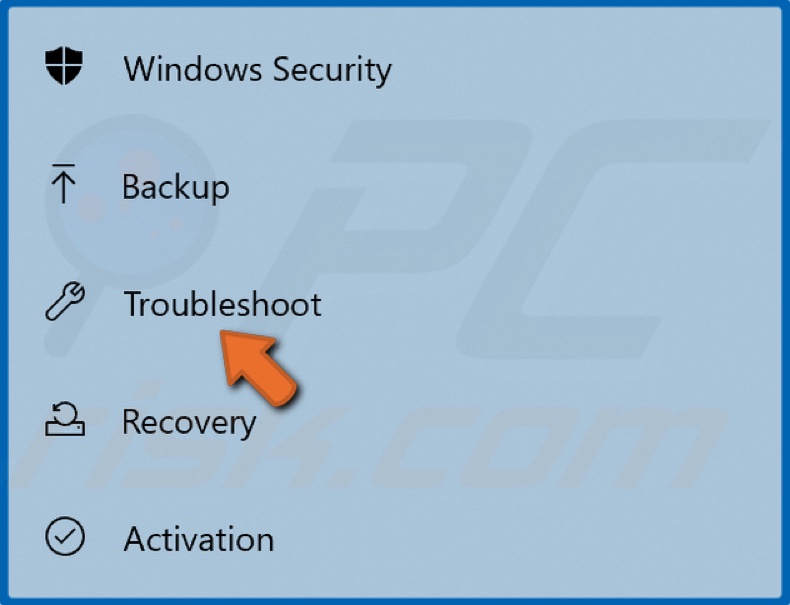
3. Click Troubleshoot.
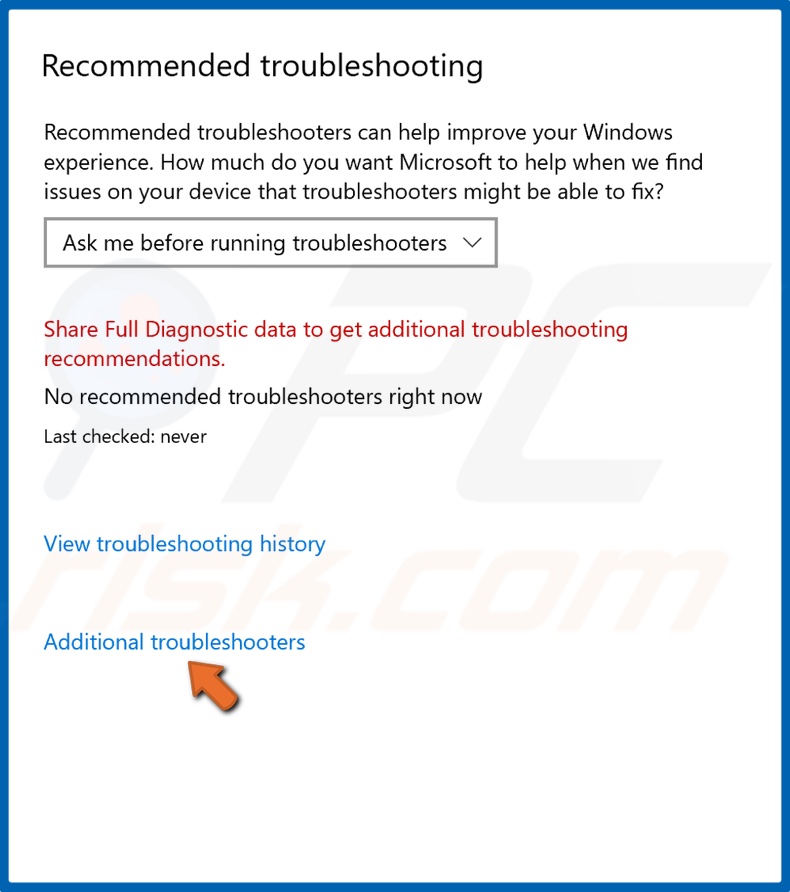
4. Click Additional troubleshooters.
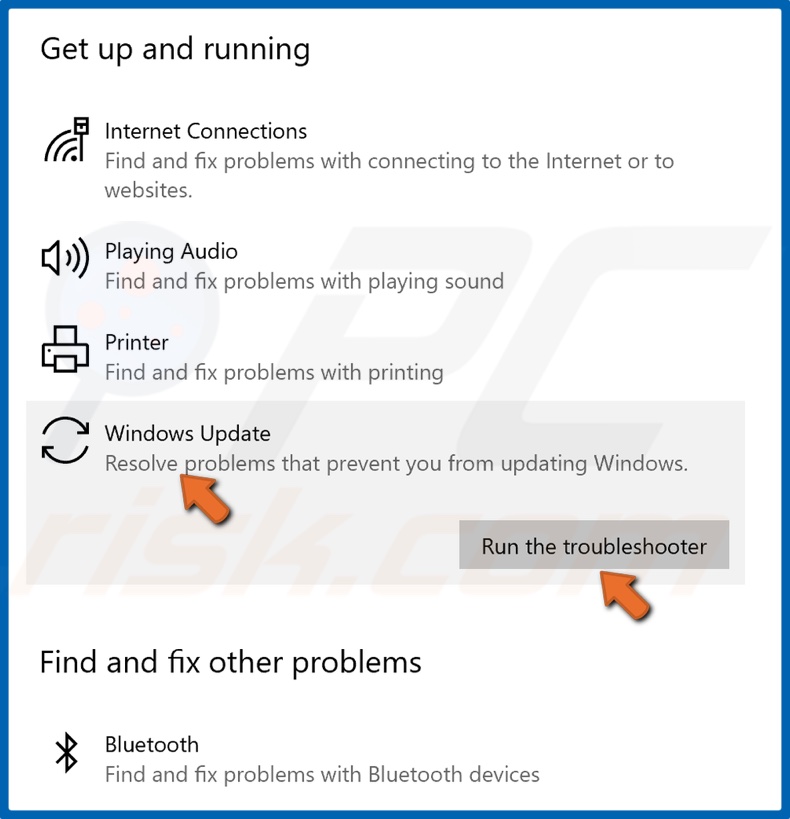
5. Select Windows Update and click Run the troubleshooter.
6. If the troubleshooter detects an issue, it will select and apply a fix automatically.
Solution 2. Enable Microsoft .NET Framework using Command Prompt
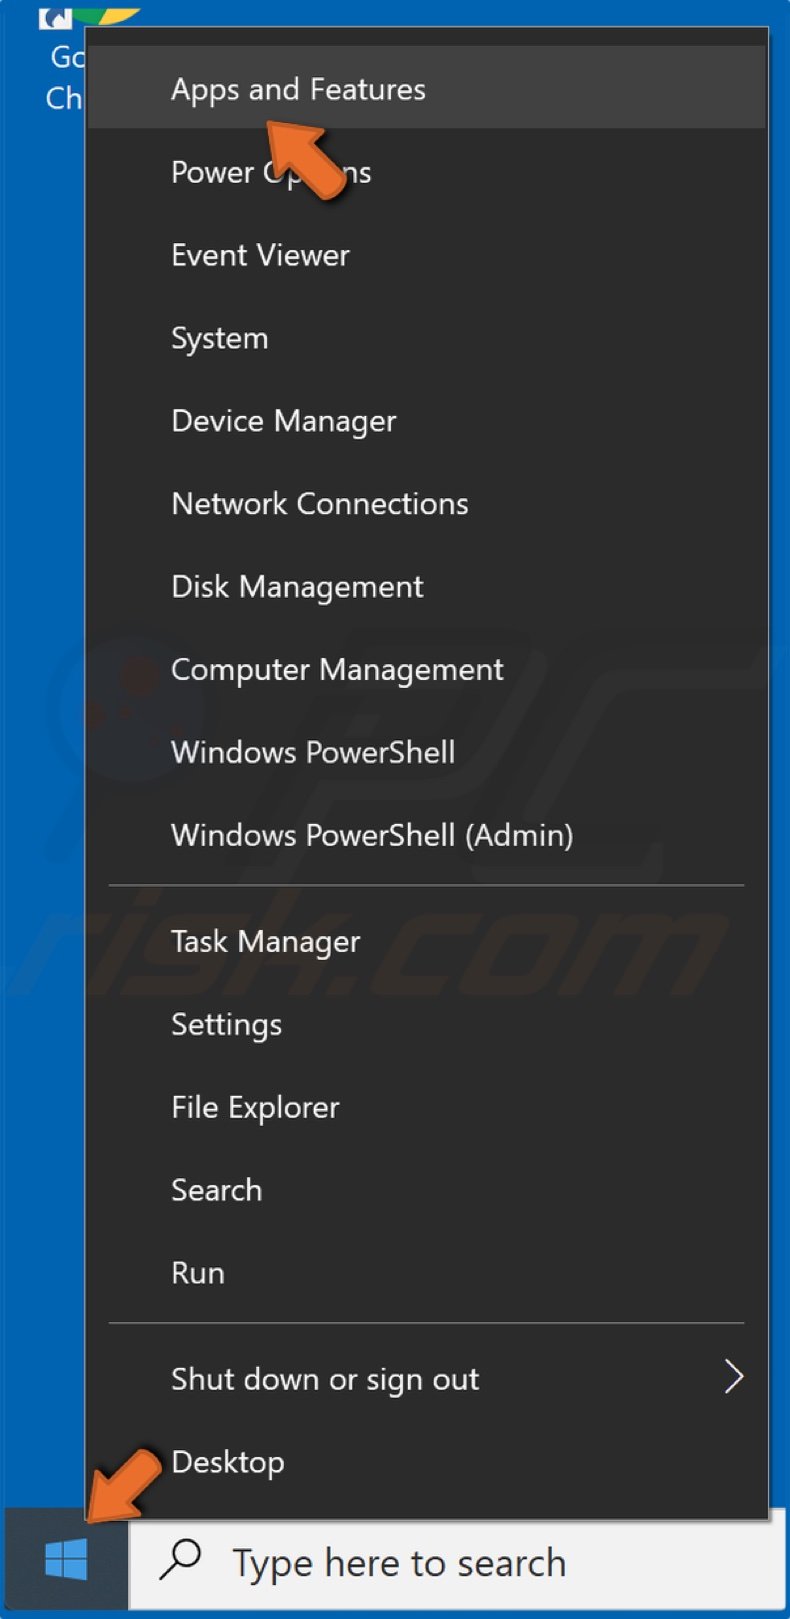
1. Right-click the Start Menu and select Apps and Features.
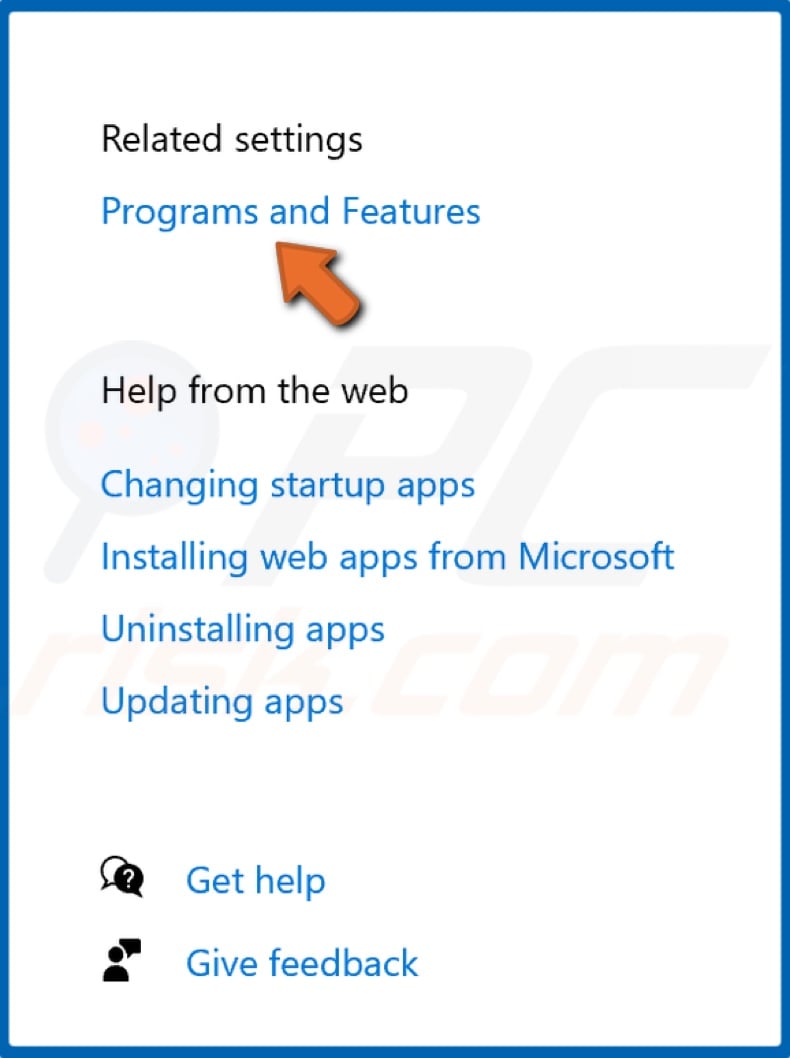
2. At the top-right of the window, select Programs and Features.
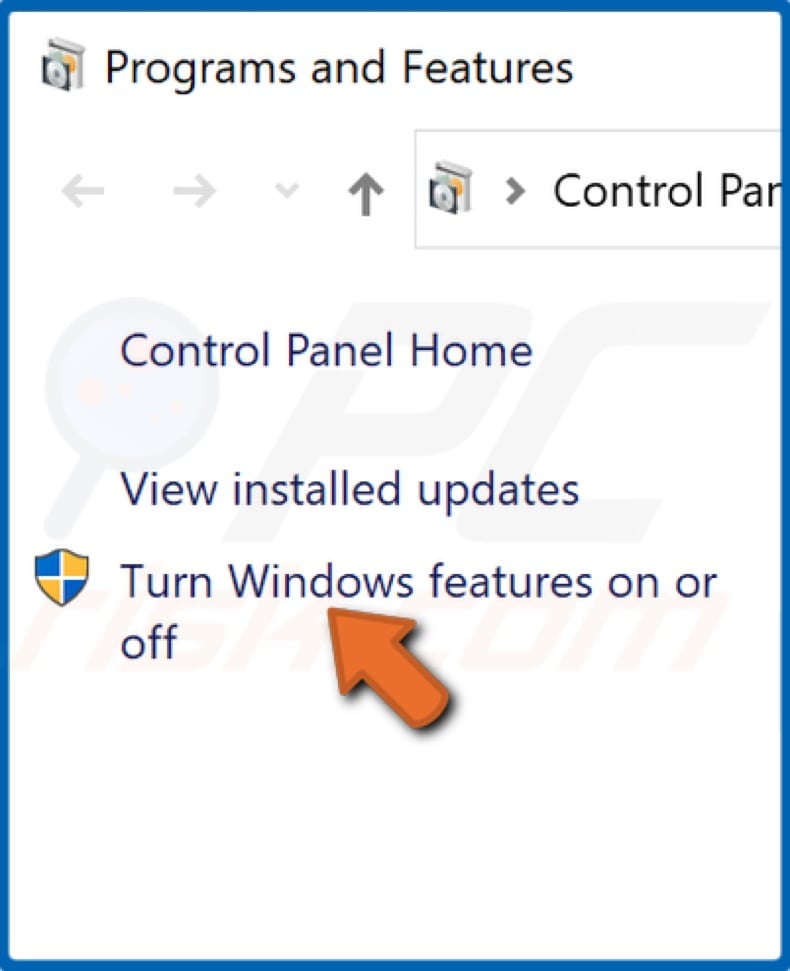
3. In the resulting Programs and Features window, click Turn Windows features on or off.
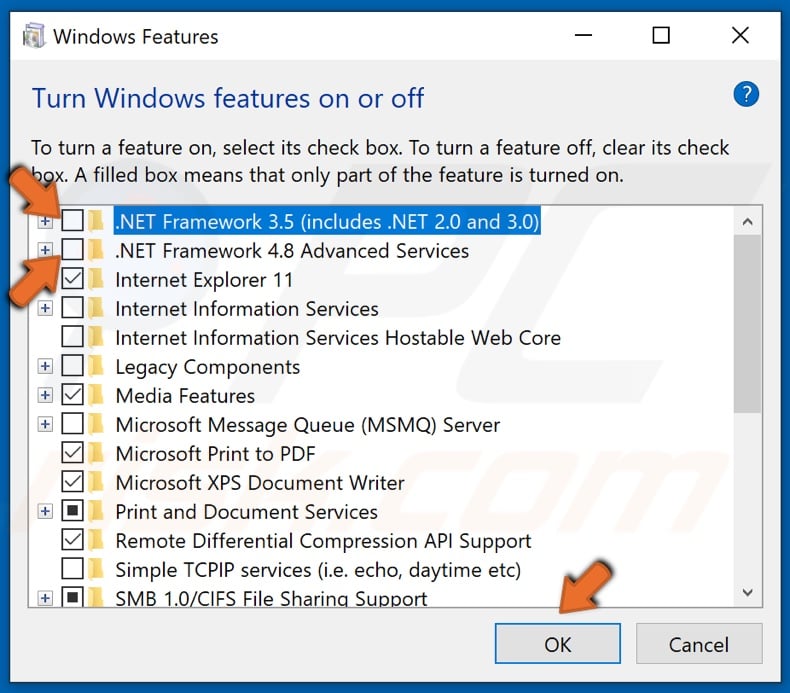
4. Find .NET Framework 3.5 and .NET Framework 4.8.
5. Uncheck the boxes next to .NET Framework 3.5 and .NET Framework 4.8 and click OK to disable them.
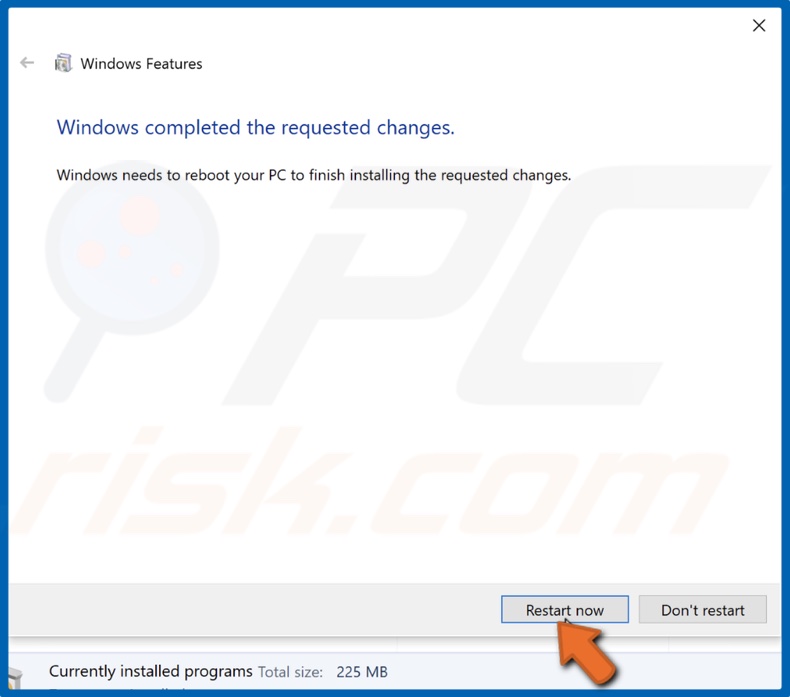
6. Click Restart Now.
7. Return to the Turn Windows features on or off window.
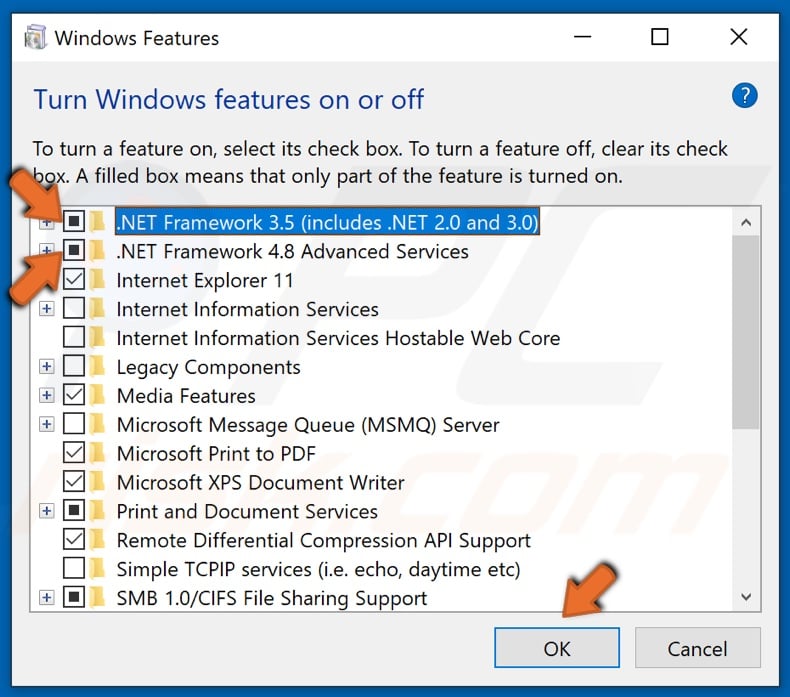
8. Check the boxes next to .NET Framework 3.5 and .NET Framework 4.8 and click OK.
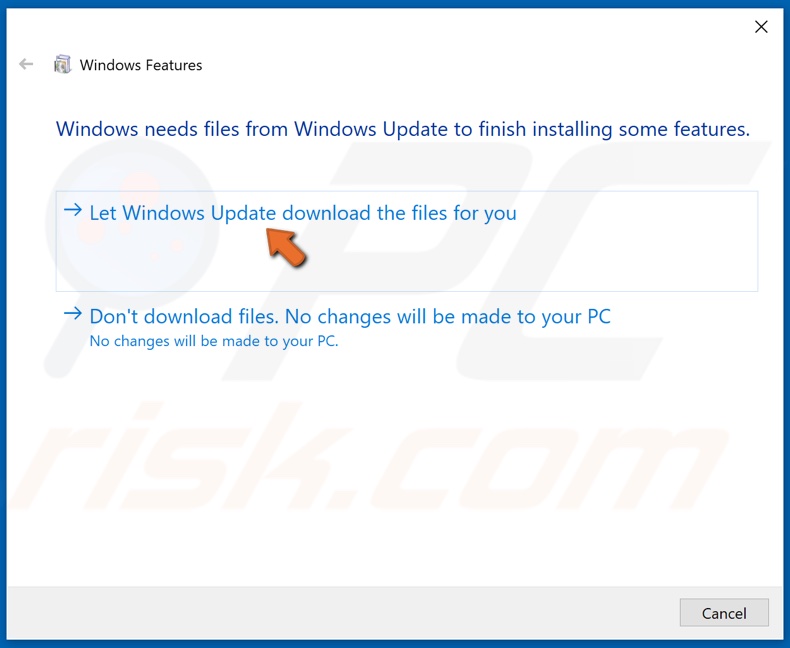
9. Then, click the Let Windows Update download the files for you option.
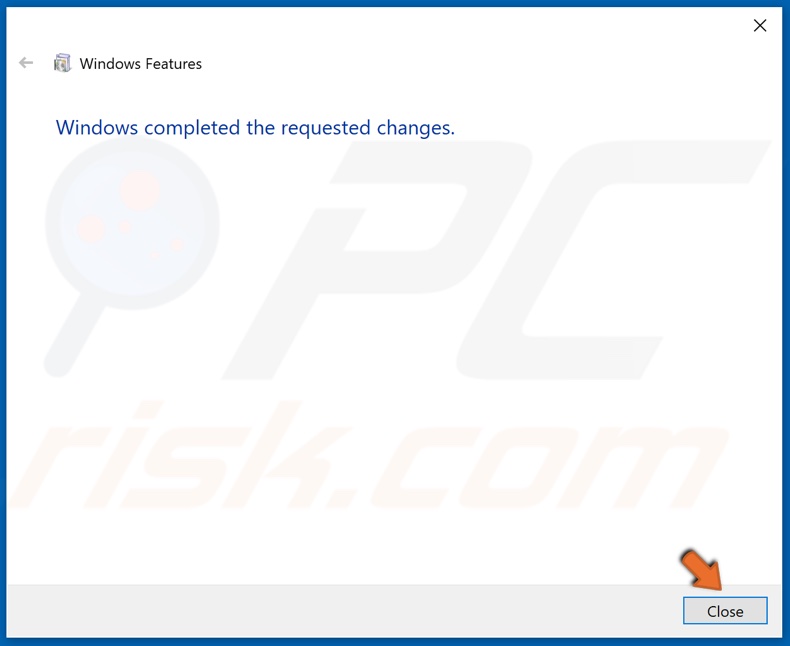
10. Click Close once the requested changes have been completed.

11. Then, Hold down Windows+R keys to open the Run dialog box.
12. Type in CMD in the dialog box, and hold down Ctrl+Shift+Enter to open elevated Command Prompt.
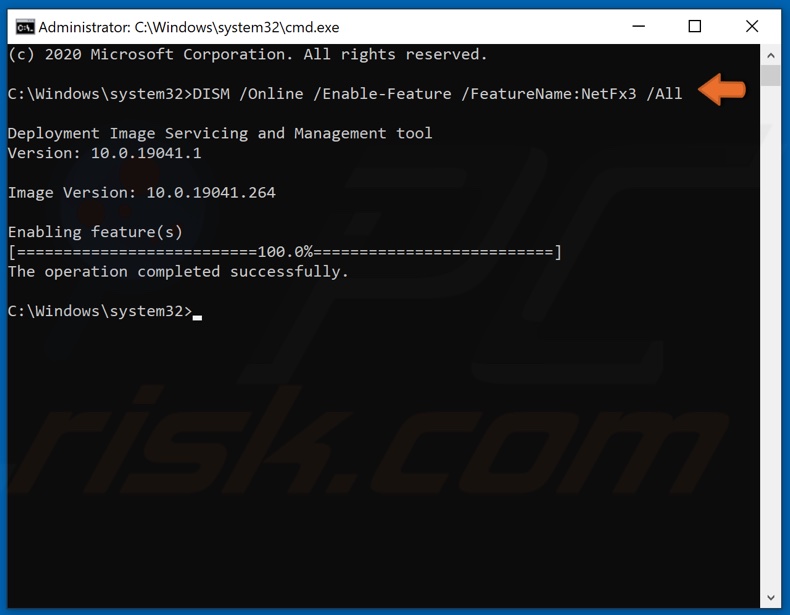
13. In the Command Prompt window, type in DISM /Online /Enable-Feature /FeatureName:NetFx3 /All and hit the Enter key.
14. Close the Command Prompt and try updating Windows.
Solution 3. Run the System File Checker (SFC) Scan
1. Hold down Windows+R keys to open the Run dialog box.
2. Type in CMD in the Run text box and hold down Ctrl+Shift+Enter keys to open the elevated Command Prompt.
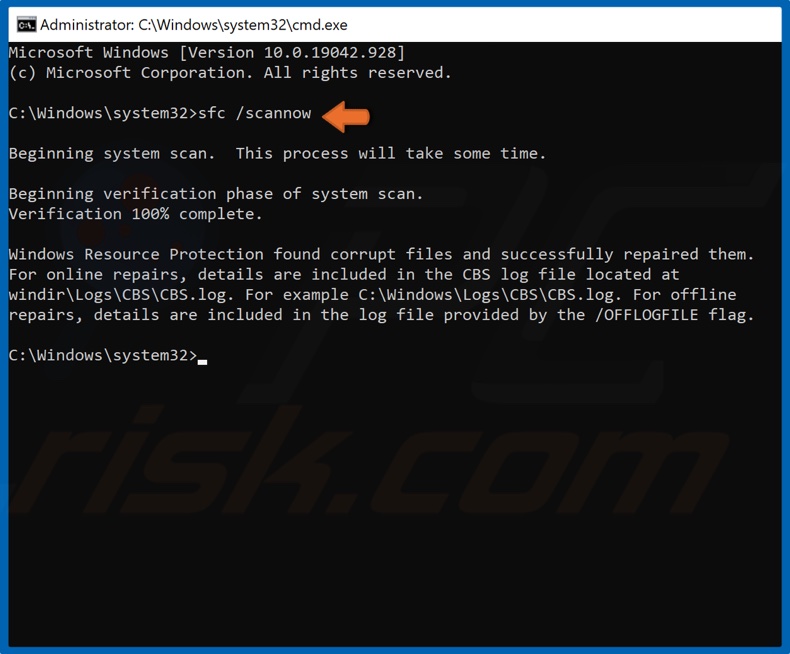
3. In the Command Prompt window, type in SFC /Scannow and hit the Enter key to start the scan.
4. Once the scan has been completed, restart your PC.
Solution 4. Run the Deployment Image & Servicing Management (DISM) Scan
1. Hold down Windows+R keys to open the Run dialog box.
2. Type in CMD in the Run text box and hold down Ctrl+Shift+Enter keys to open the elevated Command Prompt.
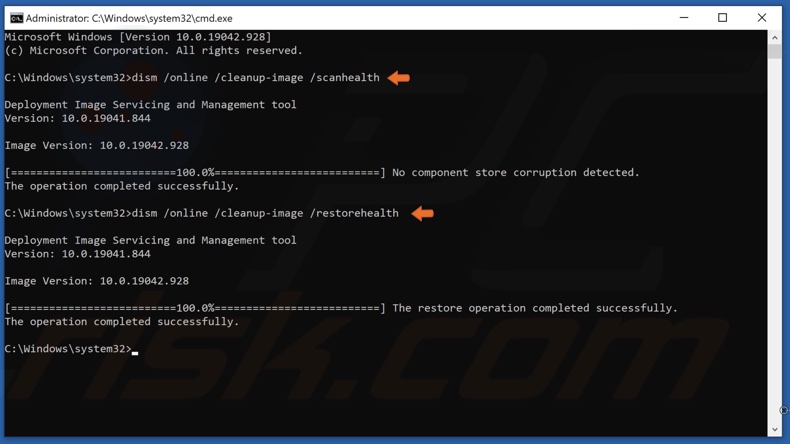
3. In the Command Prompt window, type in DISM /Online /Cleanup-Image /ScanHealth and hit the Enter key. This parameter will scan the component store for corruption.
4. Type in DISM /Online /Cleanup-Image /RestoreHealth and hit the Enter key.
5. Once the process has been completed, try updating Windows 10.
Solution 5. Configure the Group Policy Setting
This solution is not possible on Windows 10 Home Edition since the Home Edition does not have the Group Policy Editor.
1. Hold down Windows+R keys to open the Run dialog box.
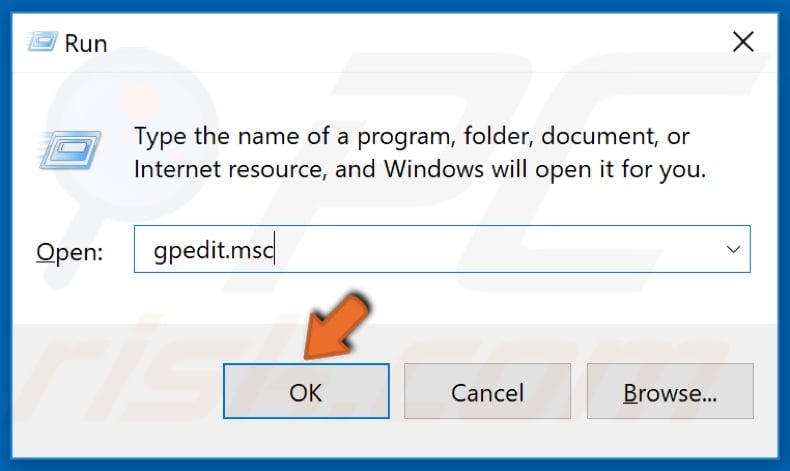
2. In the Run dialog box, type in gpedit.msc and click OK.
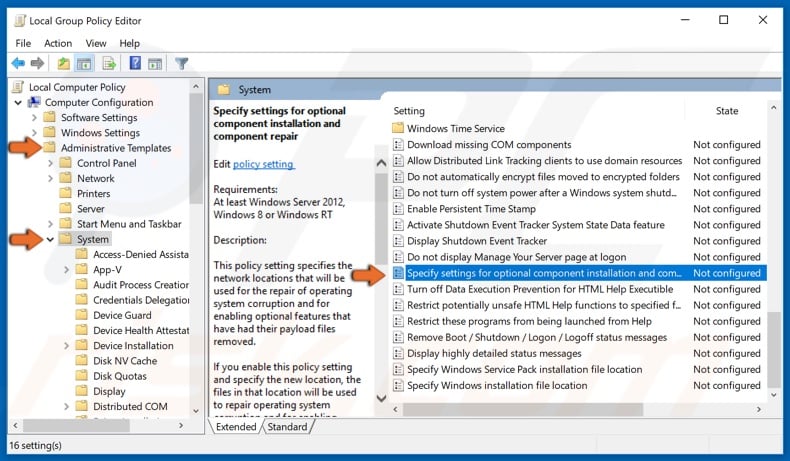
3. In the left pane, expand Administrative Templates.
4. Then, select System.
5. In the right pane, open the Specify Settings for Optional Content Installation.
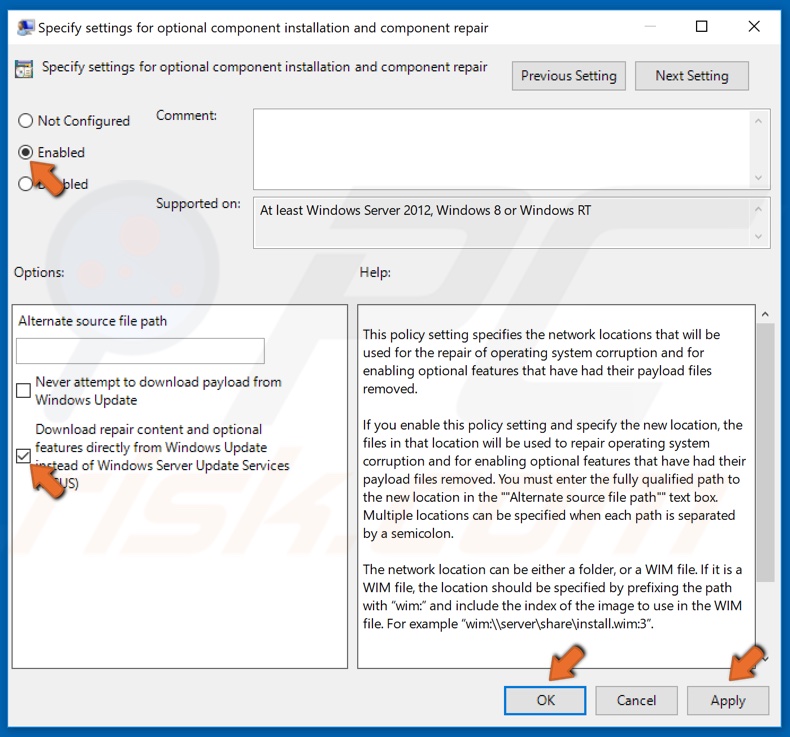
6. At the top-right of the window, select the Enabled option.
7. Then, mark the Download Repair Content and options features directly from Windows Update instead of Windows Server Update Services (WSUS) checkbox.
8. Click Apply and click OK to save the changes.
Solution 6. Upgrade Windows 10 Using the Media Creation Tool
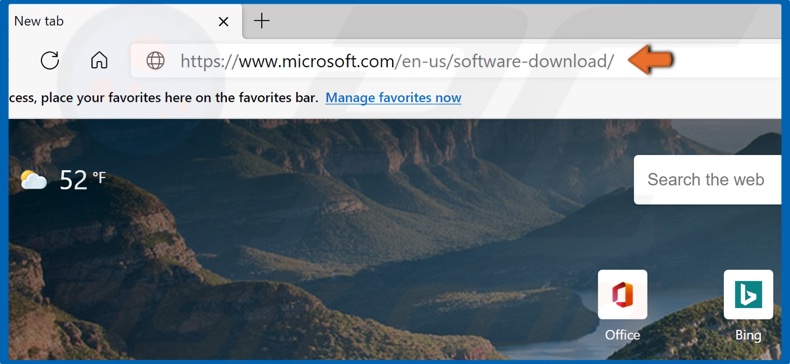
1. Open your web browser, and go to Microsoft's Download Windows 10 web page.
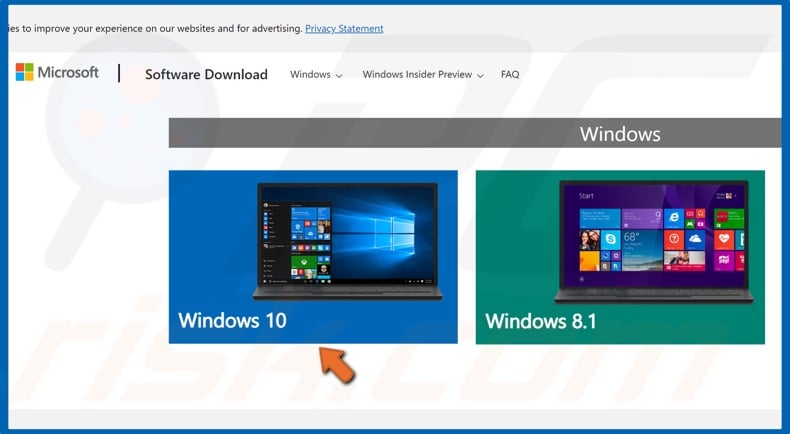
2. Once on the website, select Windows 10.

3. Click Download tool now to get the Media Creation Tool.
4. Run the Media Creation Tool once it's been downloaded.
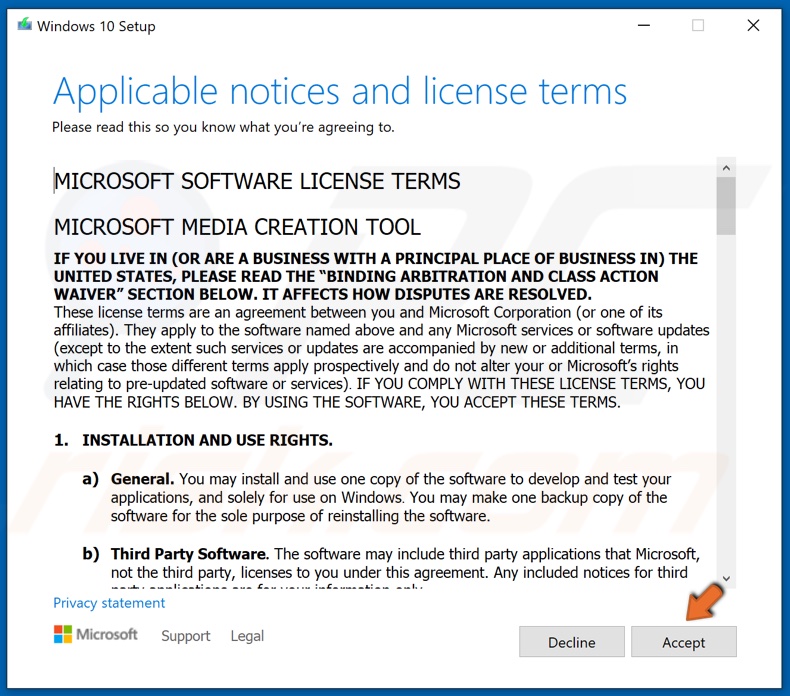
5. Then, Accept the license agreement.
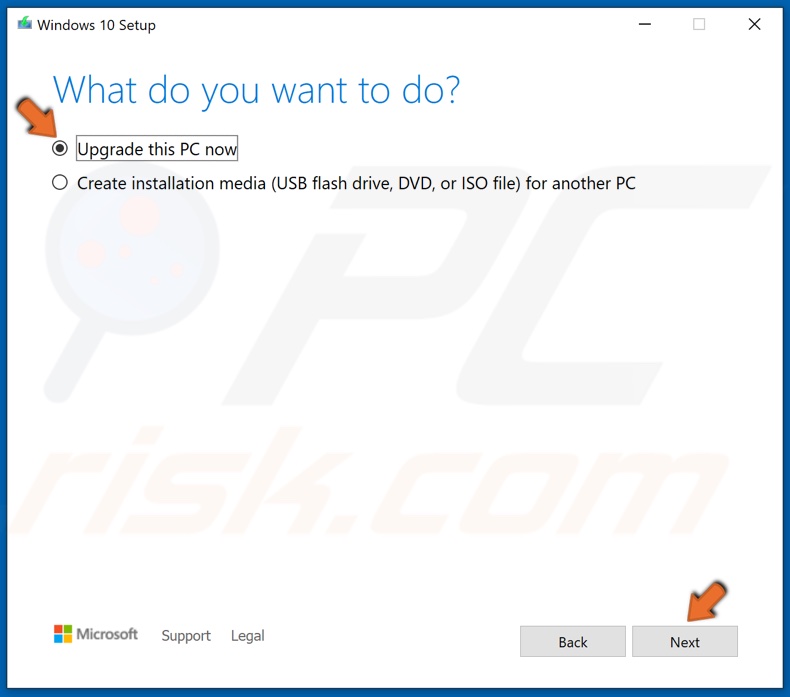
6. Make sure that the Upgrade this PC now is ticked, and click Next.
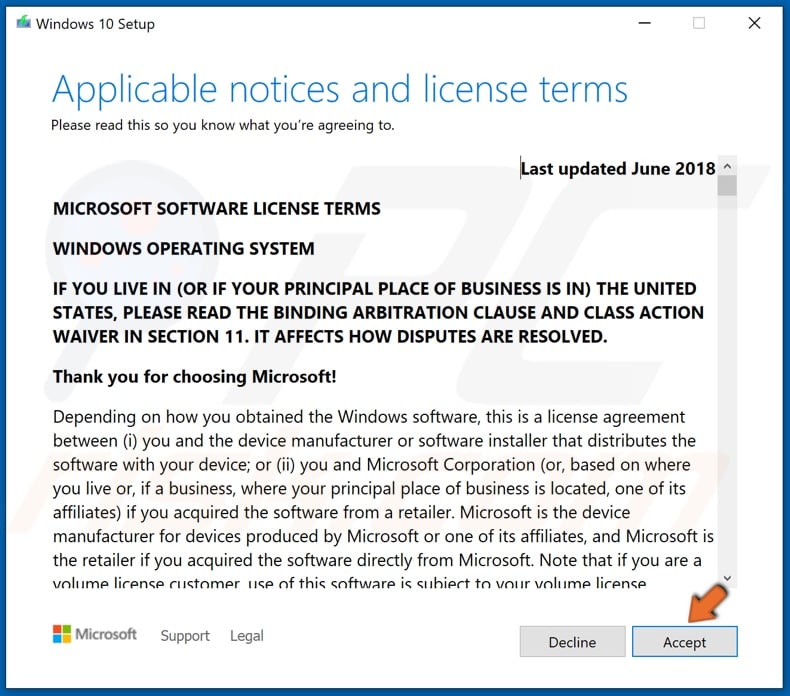
7. Then, Accept the Windows 10 license agreement.
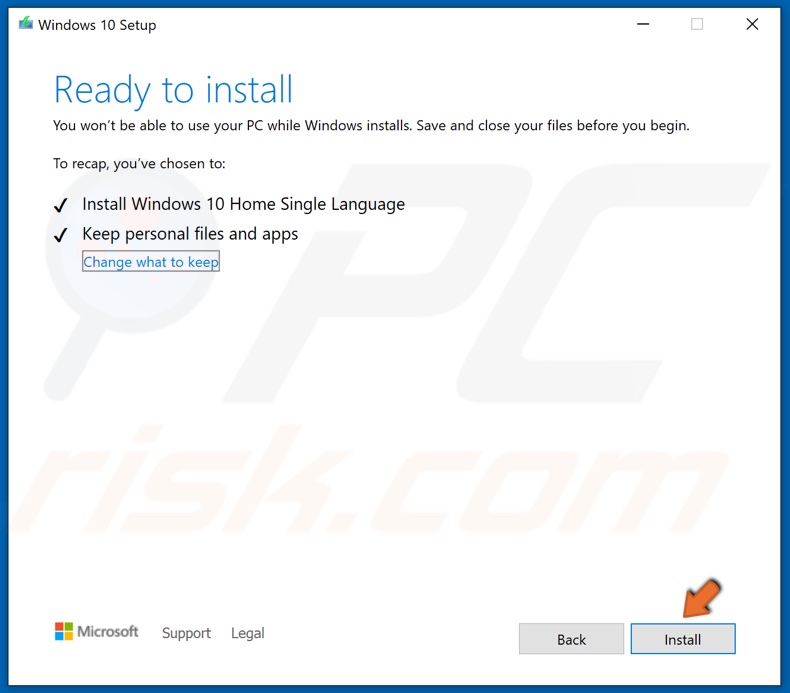
8. You can opt to keep your personal files and apps, but if you want a clean installation of Windows 10, click the Change what to keep button to customize the installation settings.
9. Then, click Install, and the setup will begin installing Windows 10.
Take note that the installation will take some time, and your computer will restart several times throughout the installation.
Share:

Rimvydas Iliavicius
Researcher, author
Rimvydas is a researcher with over four years of experience in the cybersecurity industry. He attended Kaunas University of Technology and graduated with a Master's degree in Translation and Localization of Technical texts. His interests in computers and technology led him to become a versatile author in the IT industry. At PCrisk, he's responsible for writing in-depth how-to articles for Microsoft Windows.
▼ Show Discussion