Fix Service Host SysMain High Disk Usage

Get Free Scanner and check your computer for errors
Fix It NowTo fix found issues, you have to purchase the full version of Combo Cleaner. Free trial available. Combo Cleaner is owned and operated by Rcs Lt, the parent company of PCRisk.com read more.
Service Host SysMain Causing 100% Disk Usage? Find Out How to Fix It
Previously, many Windows 10 users had issues with the Superfetch service causing high disk usage. But this service was replaced with SysMain, which is the same service but with a new name. Many people have noticed that SysMain uses way more disk resources than it should. This article will help you fix SysMain high disk usage.
In the Windows 10 update 1809, Microsoft replaced the Superfetch service with SysMain. So, after Windows 10 version 1809, when the system needed more memory than was available, instead of sending data to the paging file on the hard disk, it compressed the data.
While SysMain is much better than Superfetch in terms of performance, it still has the same issue as Superfetch, which is high disk usage. Under certain conditions, SysMain may start using 100% of your disk, which significantly degrades your computer's overall performance.
Furthermore, high disk usage may not be your only problem. As a result of high disk usage, SysMain ends up using all of your remaining CPU power. Therefore, when you open Task Manager, you may notice your disk or CPU usage at 100%.
So if you're experiencing the problems mentioned above, then you ought to disable SysMain altogether. The good news is that disabling it won't noticeably impact your computer's speed and overall performance.
Video Guide on Fix Service Host SysMain High Disk Usage
Table of Contents:
- Introduction
- Option 1. Disable SysMain Using Windows Services Manager
- Option 2. Disable SysMain Using Command Prompt
- Option 3. Disable SysMain Using Registry Editor
- Option 4. Run Windows Update
- Video Guide on Fix Service Host SysMain High Disk Usage
Download Computer Malware Repair Tool
It is recommended to run a free scan with Combo Cleaner - a tool to detect viruses and malware on your device. You will need to purchase the full version to remove infections. Free trial available. Combo Cleaner is owned and operated by Rcs Lt, the parent company of PCRisk.com read more.
Option 1. Disable SysMain Using Windows Services Manager
1. Hold down Windows+R keys to open the Run dialog box.
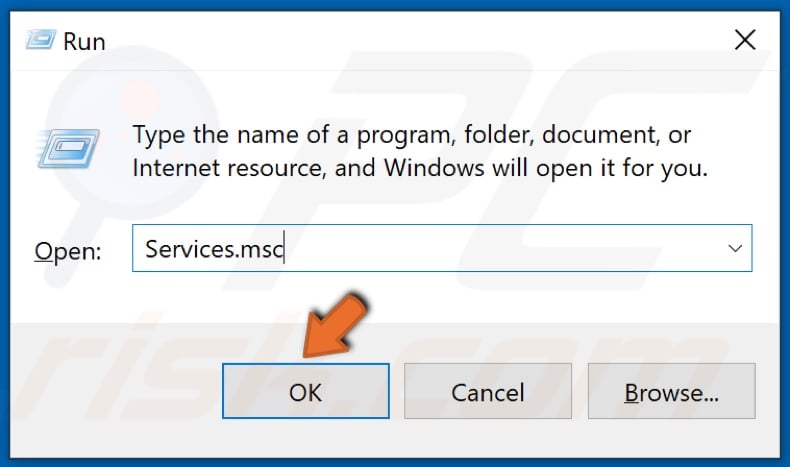
2. In the Run text box, type in Services.msc and click OK.
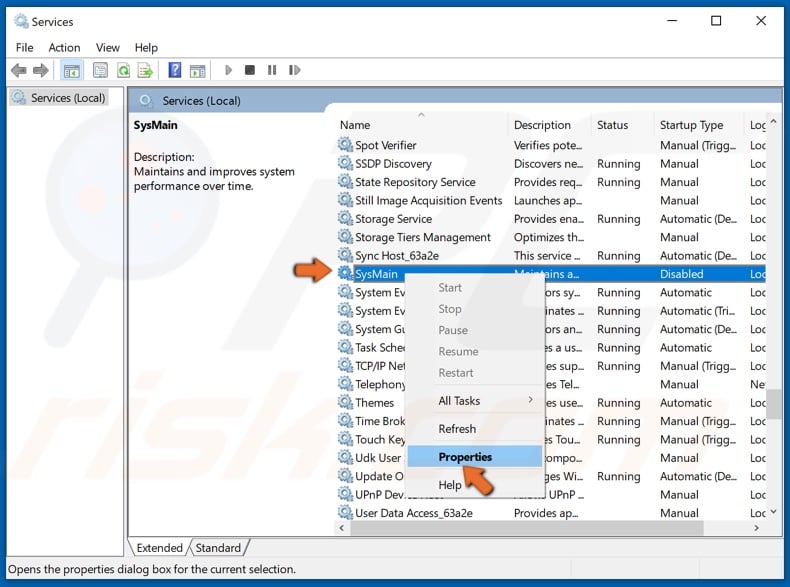
3. Scroll through the services list and locate SysMain.
4. Right-click SysMain and click Properties.
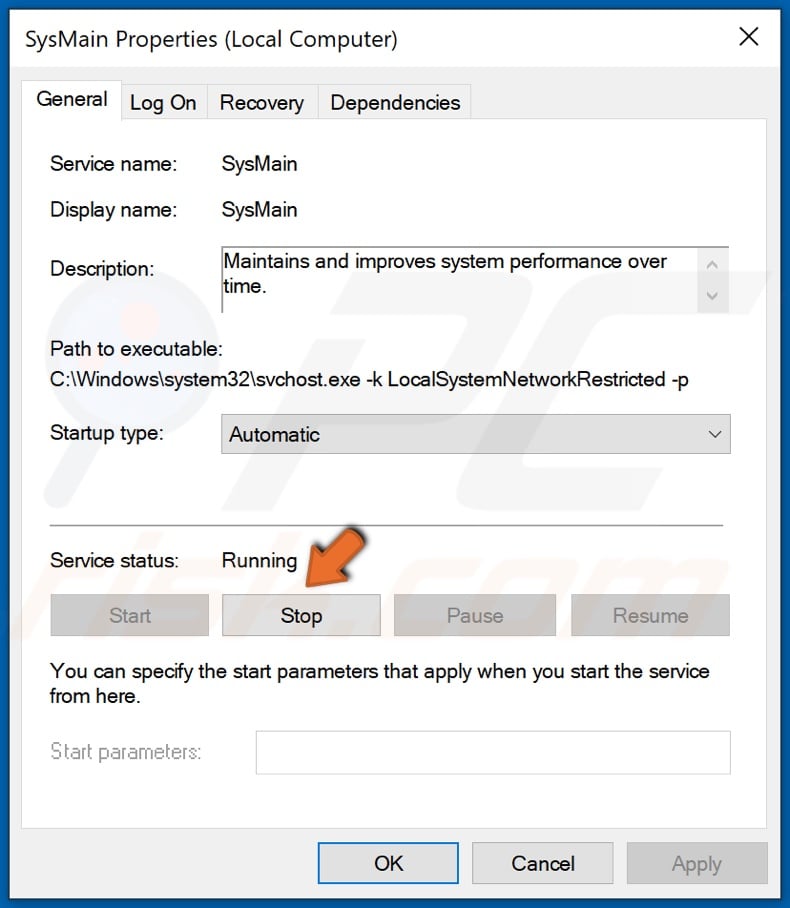
5. Once in SysMain Properties, click the Stop button under the Service status section.
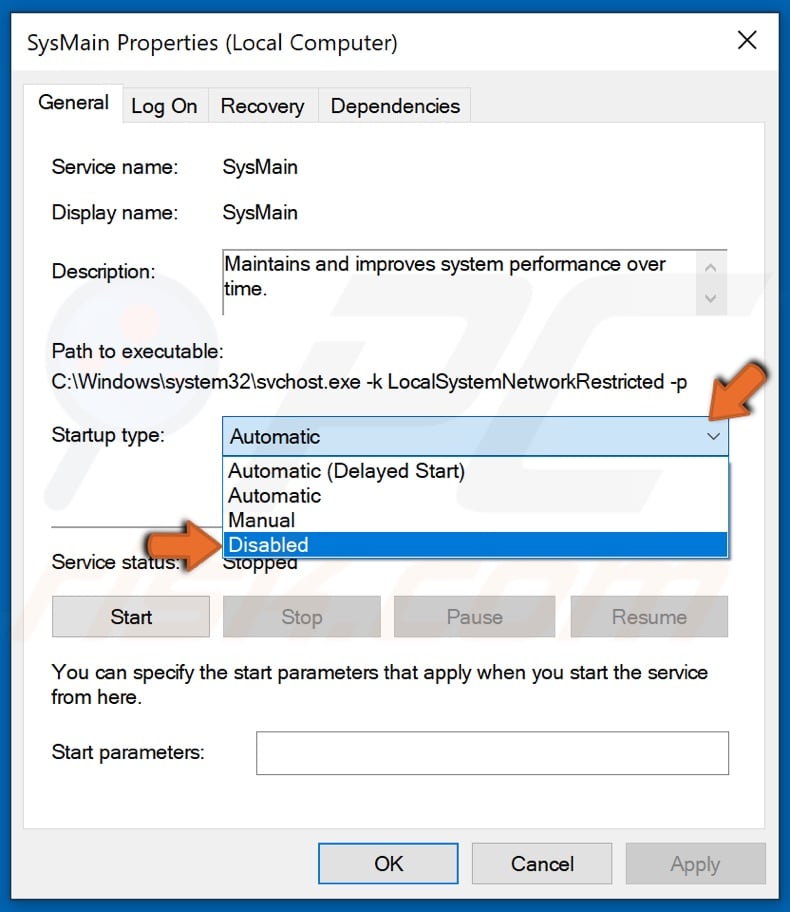
6. Then, Under the Startup type setting, open the drop-down menu and select Disabled.
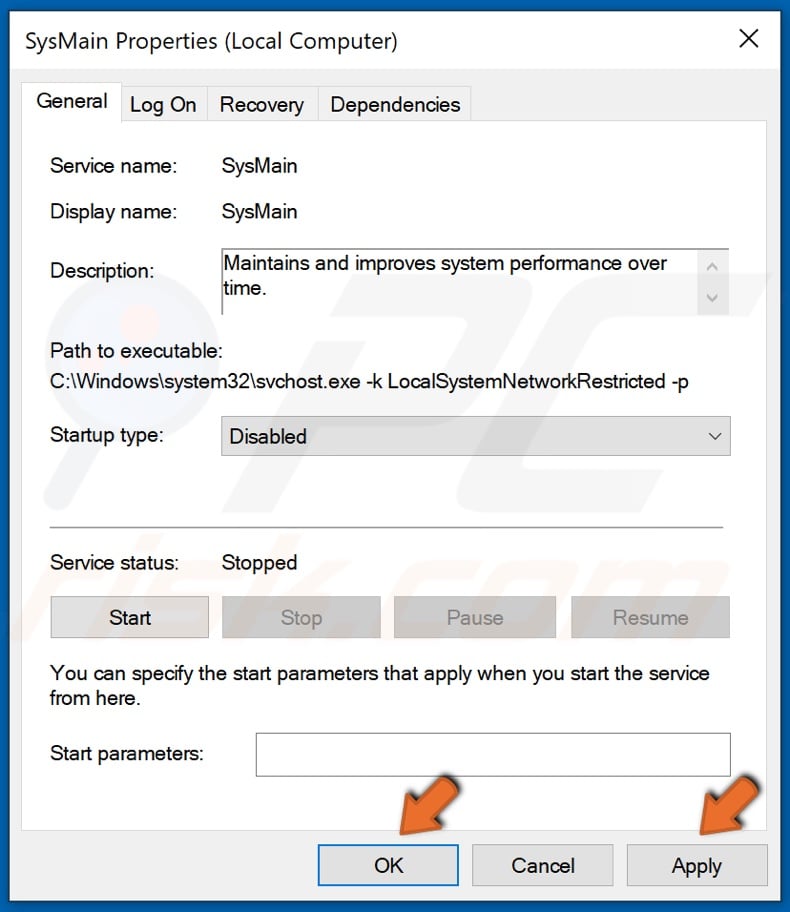
7. Click Apply and click OK.
SysMain is now stopped and will no longer launch on system startup.
Option 2. Disable SysMain Using Command Prompt
1. Hold down Windows+R keys to open Run.
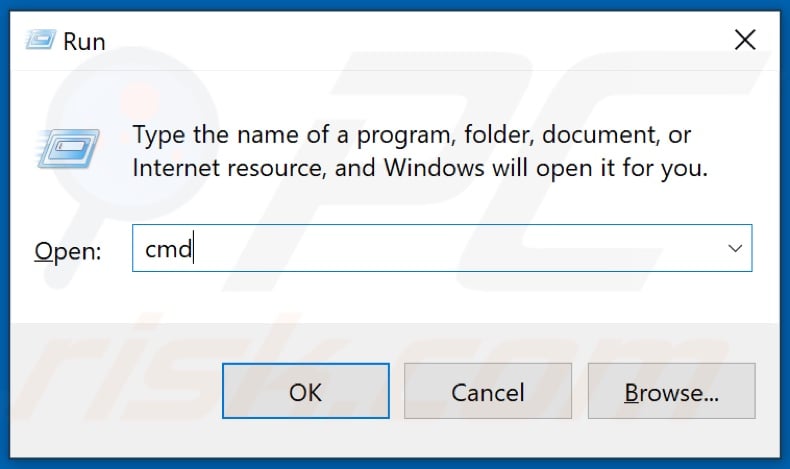
2. Type in CMD in the Run text box and hold down Shift+Ctrl+Enter keys to open the elevated Command Prompt.
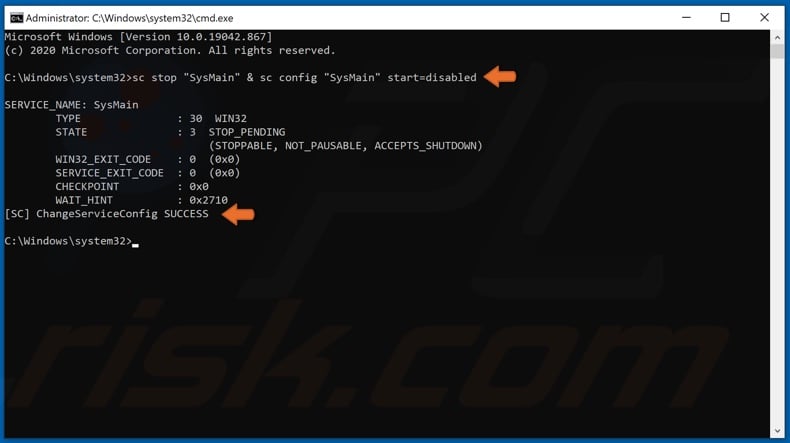
3. In the Command Prompt window, type in sc stop "SysMain" & sc config "SysMain" start=disabled and hit the Enter key. You should get a ChangeServiceConfig SUCCESS message.
Close the Command Prompt and open Task Manager to check if disk/CPU usage has gone down.
Option 3. Disable SysMain Using Registry Editor
1. Hold down Windows+R keys to open Run.
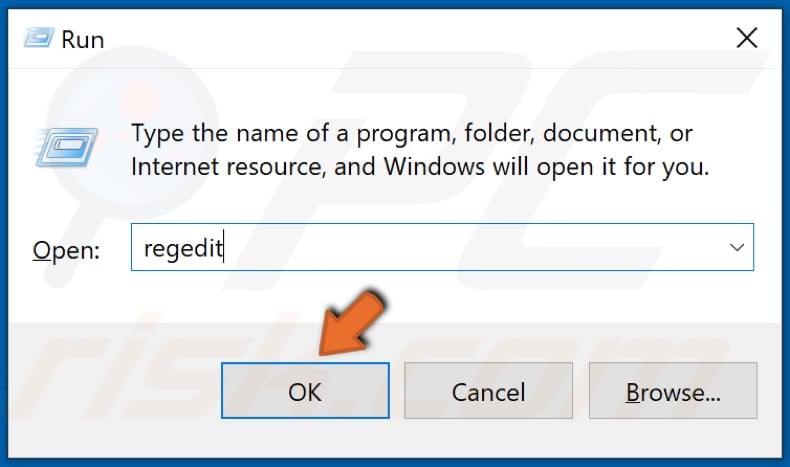
2. In the Run text box, type in Regedit and click OK.
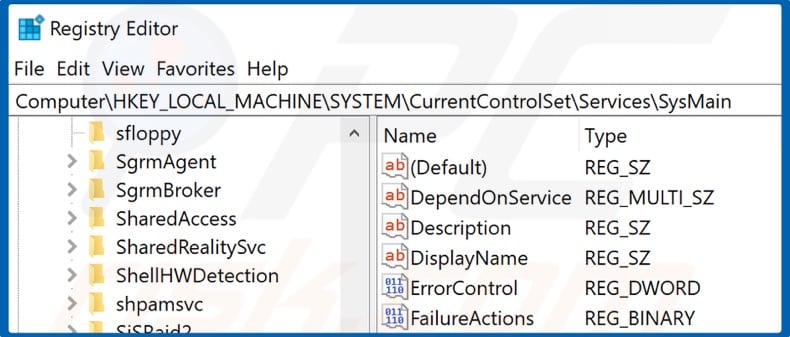
3. Once in the Registry Editor, navigate to KEY_LOCAL_MACHINE\SYSTEM\CurrentControlSet\Services\SysMain

4. In the right pane, right-click Start and click Modify.
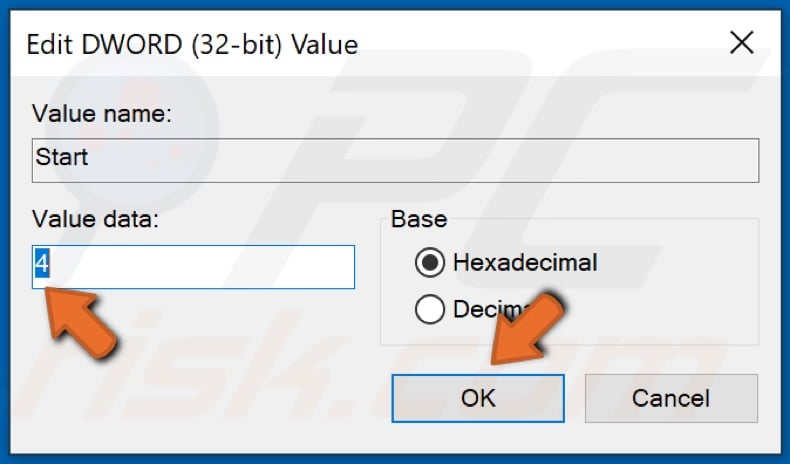
5. In the Value data text box, type in 4.
6. Click OK to save the changes.
Close the Registry Editor and open Task Manager to check if disk/CPU usage has gone down.
Option 4. Run Windows Update
Updating Windows may help in fixing SysMain's high disk usage. Microsoft periodically releases updates that fix bugs, improve system stability, and optimize system performance, so updating Windows is one of the easiest things to do if you want to resolve your high disk usage issue.
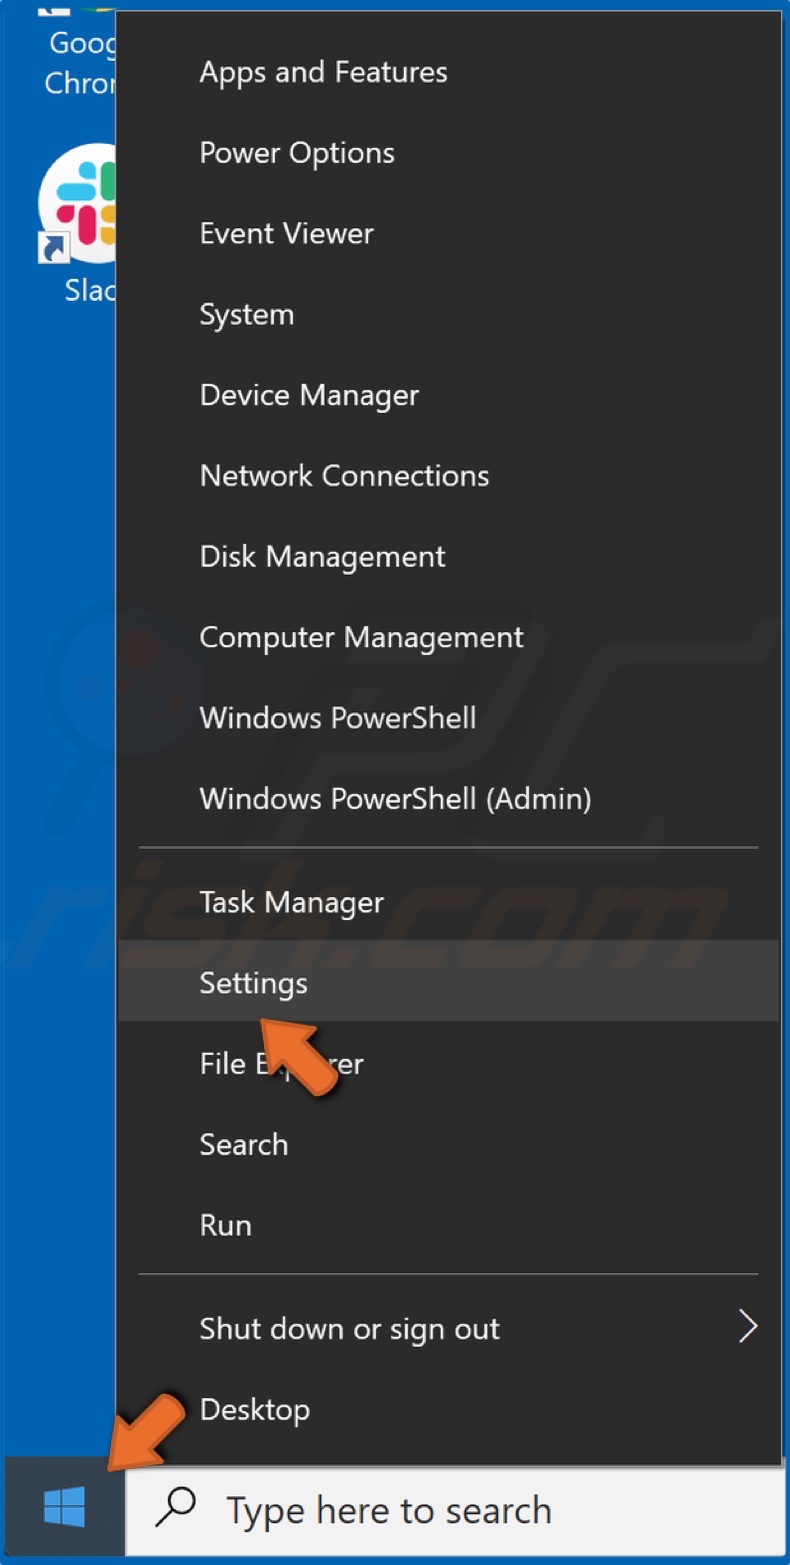
1. Right-click the Start Menu button and select Settings.

2. Then, select Update & Security.
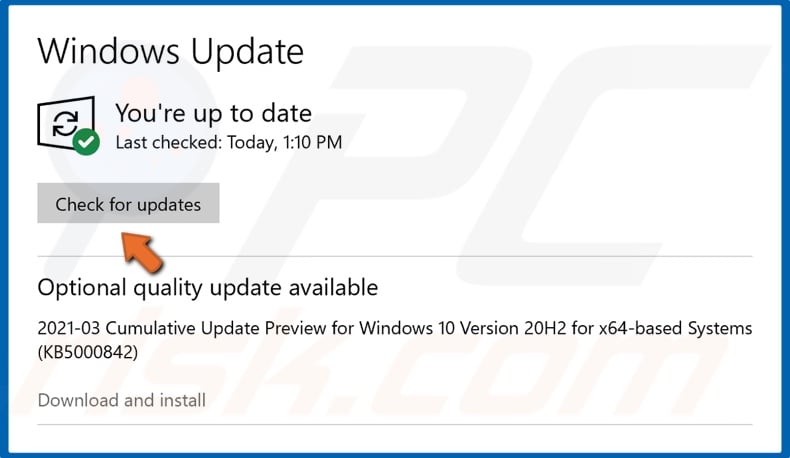
3. Click the Check for updates button.
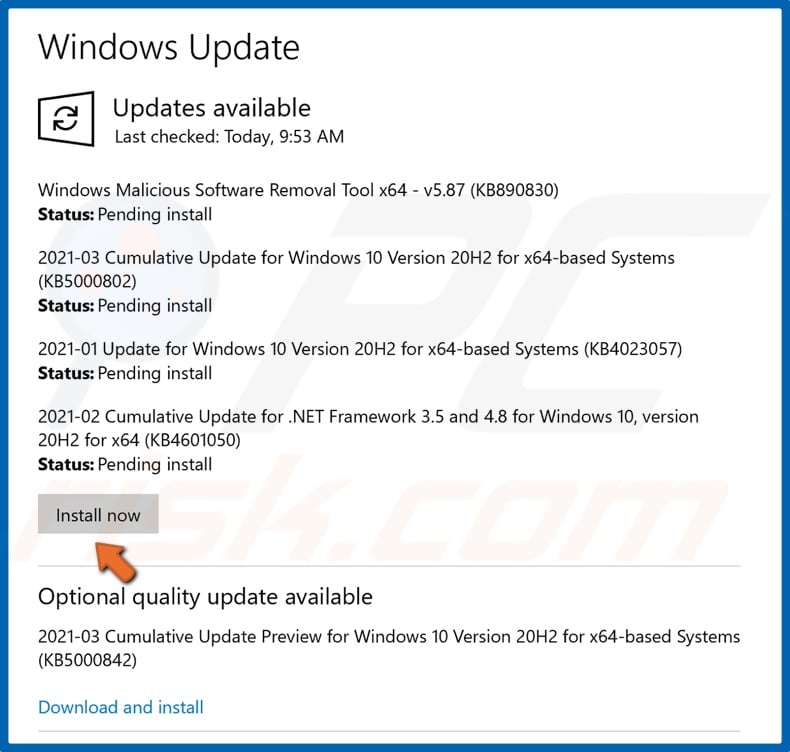
4. If Windows has already checked for updates, click the Install now button.
5. Wait for Windows to download and install the latest updates. Note that the update may take some time, and you will have to restart your computer to finish installing the updates.
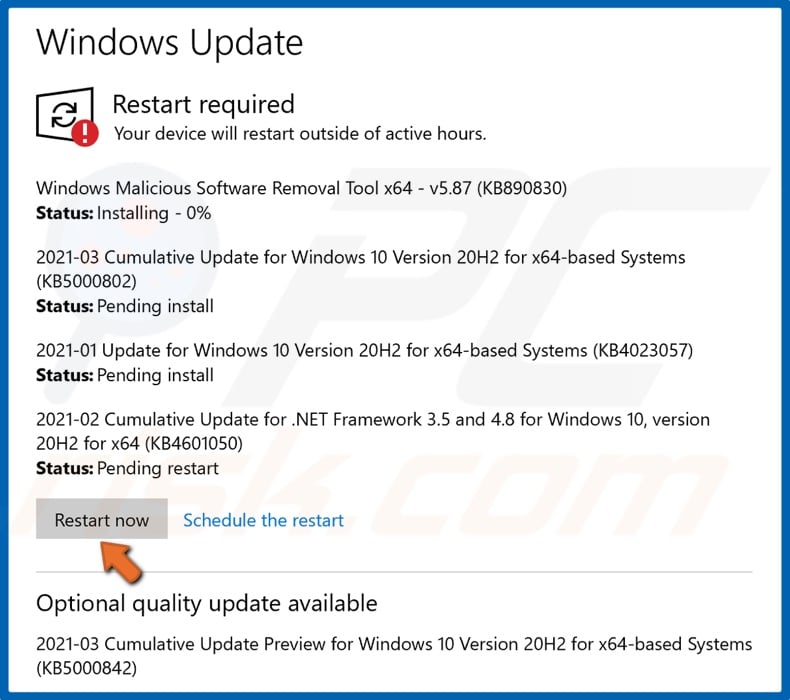
6. Then, click Restart now when prompted, and allow your PC to reboot.
Share:

Rimvydas Iliavicius
Researcher, author
Rimvydas is a researcher with over four years of experience in the cybersecurity industry. He attended Kaunas University of Technology and graduated with a Master's degree in Translation and Localization of Technical texts. His interests in computers and technology led him to become a versatile author in the IT industry. At PCrisk, he's responsible for writing in-depth how-to articles for Microsoft Windows.
▼ Show Discussion