How to Fix Slack Microphone not Working

Get Free Scanner and check your computer for errors
Fix It NowTo fix found issues, you have to purchase the full version of Combo Cleaner. Free trial available. Combo Cleaner is owned and operated by Rcs Lt, the parent company of PCRisk.com read more.
Slack Microphone Not Working? 4 Easy Ways to Fix That
Slack is among the most popular messaging apps used in the business environment. Unfortunately, many users have encountered a problem where Slack's microphone doesn't work. This article is dedicated to fixing the mic issues with Slack.

You may get a message saying that Slack couldn't find your microphone. Some users have reported their microphones stopped working after switching to Slack from a Zoom call. Slack's developers know about this issue and recommend closing Slack completely and opening it up again until the microphone starts working.
Your microphone may not work in Slack, especially if you're using a laptop with an integrated microphone. So try using an external microphone as this has fixed the issue for many users.
We have compiled a list of other possible fixes that may help you fix your microphone not working in Slack.
Video on How to Fix Slack Microphone Not Working
Table of Contents:
- Introduction
- Method 1. Completely Close and Relaunch Slack
- Method 2. Set Your Microphone as the Default Recording Device
- Method 3. Run the Audio Troubleshooter
- Method 4. Update the Audio Drivers
- Video on How to Fix Slack Microphone Not Working
Download Computer Malware Repair Tool
It is recommended to run a free scan with Combo Cleaner - a tool to detect viruses and malware on your device. You will need to purchase the full version to remove infections. Free trial available. Combo Cleaner is owned and operated by Rcs Lt, the parent company of PCRisk.com read more.
Method 1. Completely Close and Relaunch Slack
In many cases, you can fix the Slack microphone not working by restarting the app. All you have to do is completely close Slack so that none of its processes are running in the background and start it again.
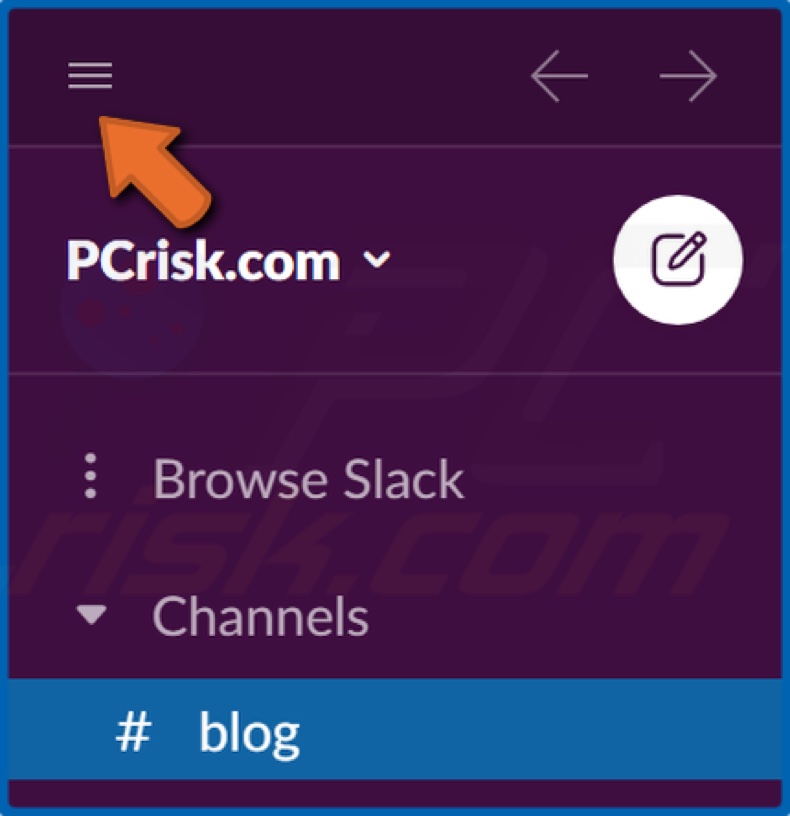
1. While Slack is open, click the Menu button.
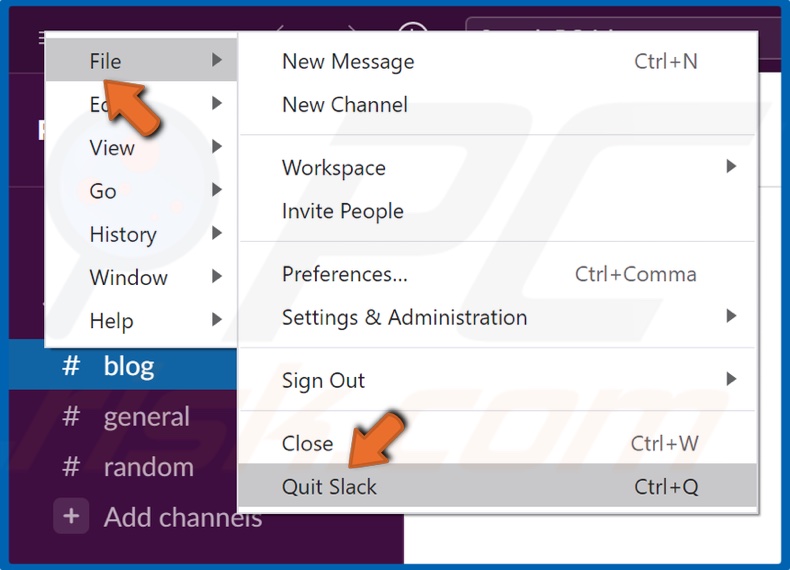
2. Go to File and click Quit Slack.
3. Then, double-click the Slack shortcut to relaunch it.
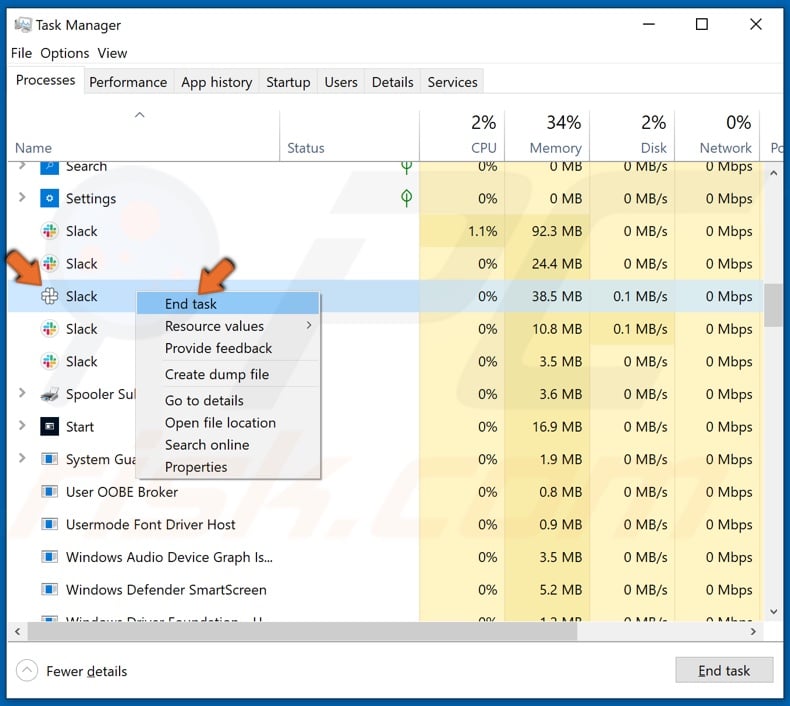
4. Alternatively, hold down Shift+Ctrl+Esc keys to open Task Manager.
5. While in Task Manager, find all Slack processes, right-click them, and click End Task.
6. Then, double-click the Slack shortcut to relaunch it.
You might have to do this multiple times for your microphone to start working again.
Method 2. Set Your Microphone as the Default Recording Device
![]()
1. Right-click the volume icon on the taskbar.
![]()
2. Click Open Sound settings.
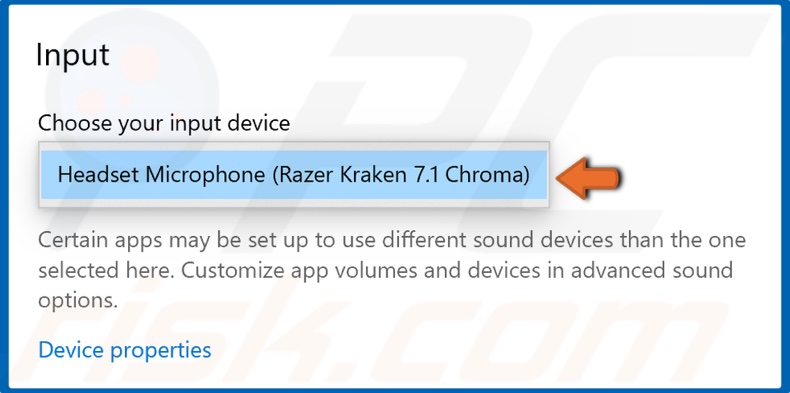
3. Go to the Input section and select the input device from the drop-down menu.
![]()
4. Alternatively, you can right-click the volume icon on the taskbar.
![]()
5. Click Sounds.
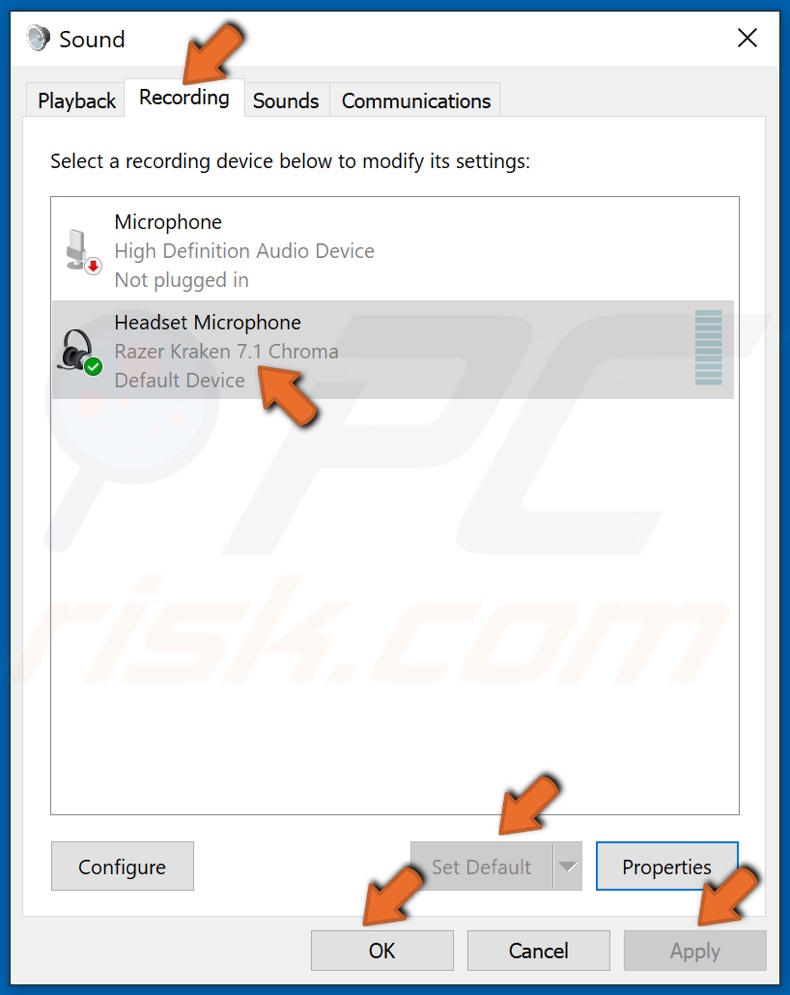
6. In the Sound settings window, select the Recording tab.
7. Select your preferred microphone, right-click it, and select Set as Default.
8. Click Apply and click OK.
Method 3. Run the Audio Troubleshooter
The easiest fix is running the Windows 10 built-in audio troubleshooter, which can automatically detect the problem and apply the fix automatically. The audio troubleshooter features a set of repair strategies for the most common audio-related issues.
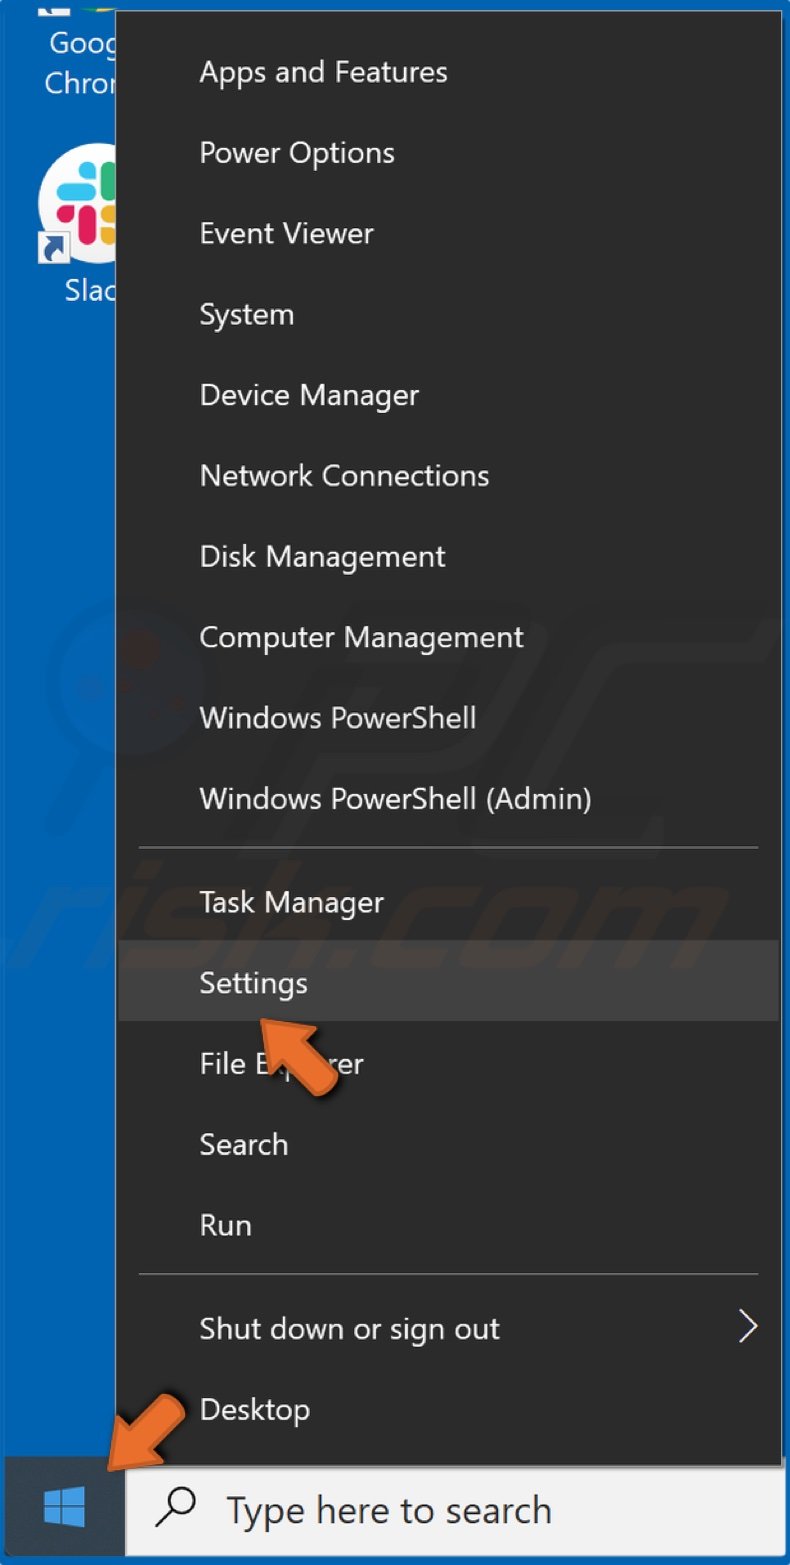
1. Right-click the Start Menu button and click Settings.

2. Click Update & Security.
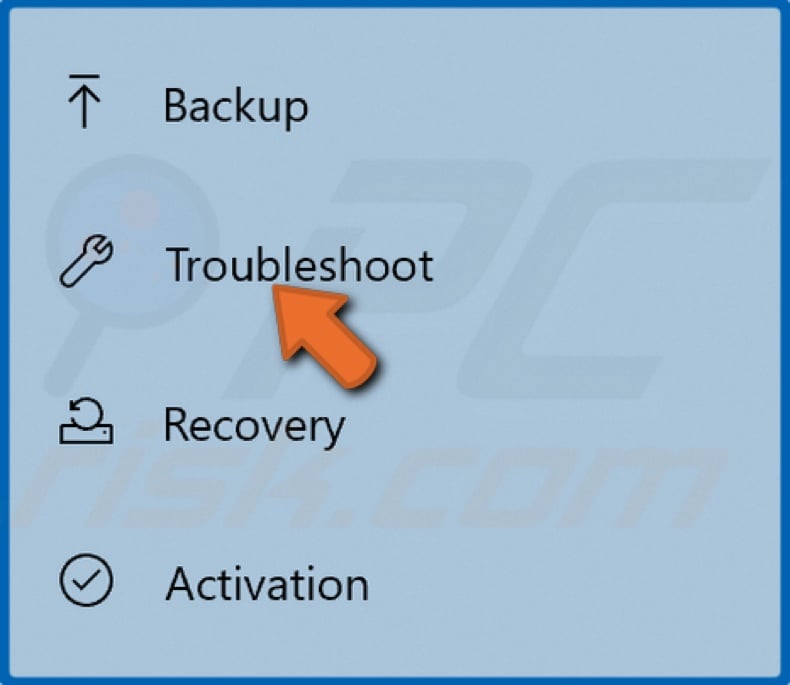
3. Select Troubleshoot.
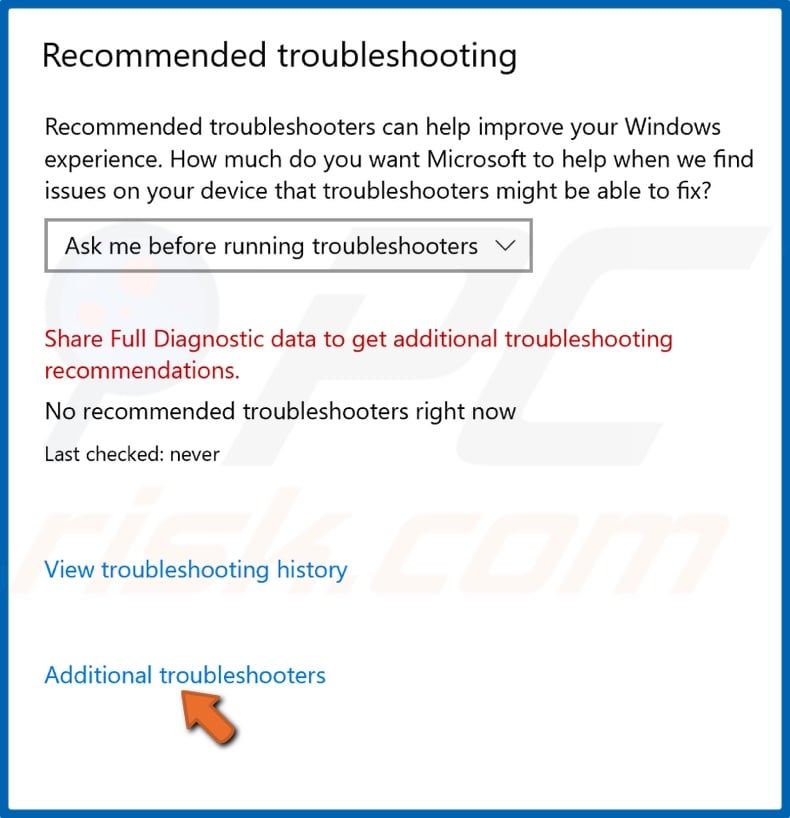
4. Then, click Additional troubleshooters.
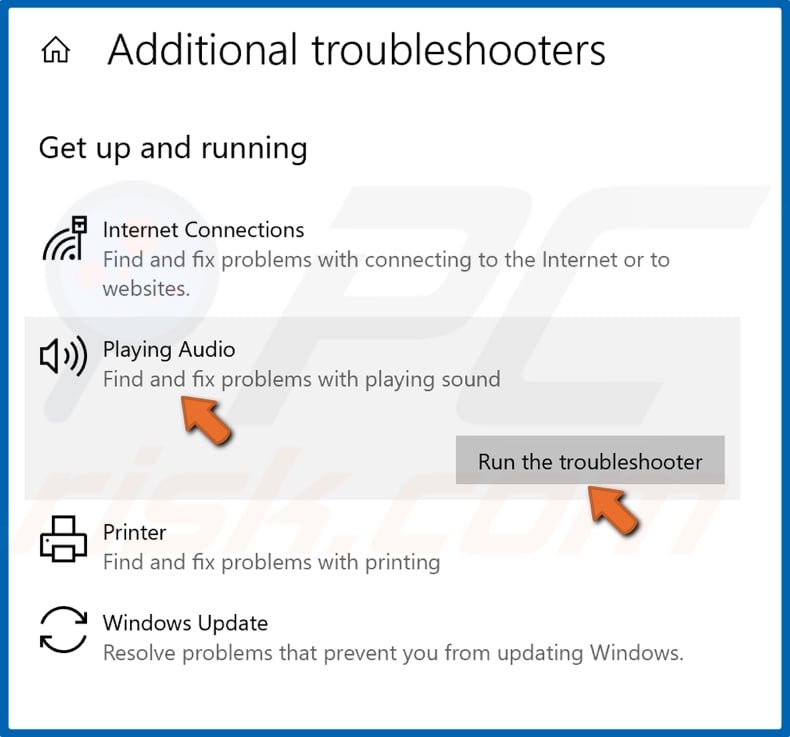
5. go to the Get up and running section, click Playing Audio, and click Run the troubleshooter.
6. Allow the troubleshooter to scan the system for issues.
7. If the troubleshooter finds a problem, it will apply the fix automatically.
8. Reboot your PC.
Method 4. Update the Audio Drivers
Your Slack microphone might not work due to a glitch or bug in the audio drivers. You can try rolling back or uninstalling the audio drivers and installing the newest ones. Windows will automatically install the latest available drivers after you restart your computer.

1. Simultaneously, hold down Windows+R keys to open the Run dialog box.
2. Type in devmgmt.msc in the Run dialog box, and click OK to open the Device Manager.
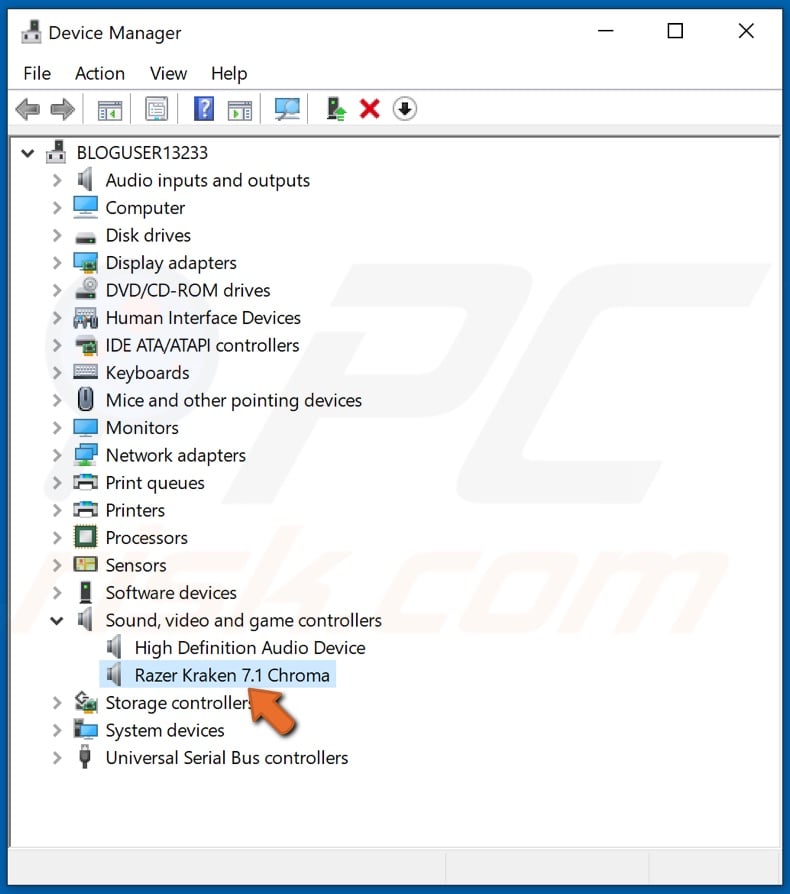
3. In the Device Manager, expand the Sound, video and game controllers menu.
4. Double-click your audio device.
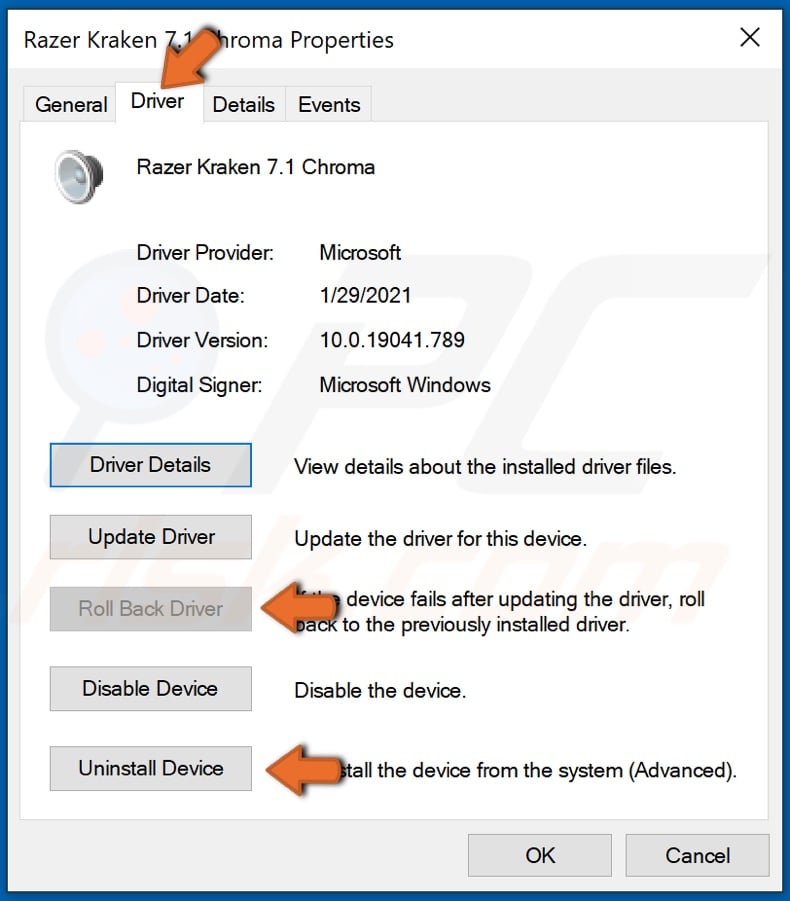
5. Navigate to the Driver tab.
6. Click Roll Back Driver.
7. If this option is unavailable, then click Uninstall Device.
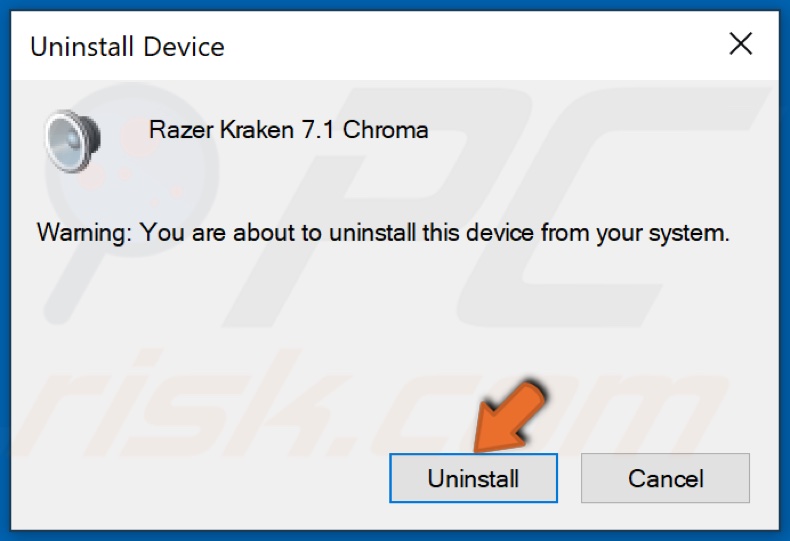
8. Click Uninstall to confirm the action.
9. Reboot your PC and let Windows install the latest available driver version.
Share:

Rimvydas Iliavicius
Researcher, author
Rimvydas is a researcher with over four years of experience in the cybersecurity industry. He attended Kaunas University of Technology and graduated with a Master's degree in Translation and Localization of Technical texts. His interests in computers and technology led him to become a versatile author in the IT industry. At PCrisk, he's responsible for writing in-depth how-to articles for Microsoft Windows.
▼ Show Discussion