Fix Windows Update Error 0x80080008

Get Free Scanner and check your computer for errors
Fix It NowTo fix found issues, you have to purchase the full version of Combo Cleaner. Free trial available. Combo Cleaner is owned and operated by Rcs Lt, the parent company of PCRisk.com read more.
Getting an 0x80080008 Error While Updating Windows 10? Here Are 5 Ways You Can Fix That
In most cases, updating Windows 10 goes like a breeze. Often, we don't even notice when it's updating. However, Windows 10 is plagued by various update-related errors. This article will focus on update error 0x80080008 and will provide you with ways to fix it.
Windows 10 installs updates when they become available, but the installation is not always successful. Update error 0x80080008 may occur during the installation resulting in failure.
Many users reported having experienced Error 0x80080008 when manually checking for updates or installing updates. In Windows 10, this error may occur because the Wups2.dll included in the latest version of Windows Update was installed incorrectly. However, Wups2.dll isn't the only reason.
When the 0x80080008 error occurs, the Windows update process may be stuck, or some Windows update files can't be downloaded or installed successfully.
Rebooting your PC may help but in many cases, users get a "Service registration is missing or corrupt" error preventing them from completing the update process.
One of the things you should do first is to (temporarily) disable your third-party anti-virus software, which may block Windows Update processes from connecting to Microsoft's servers.
Video Guide on How to Fix Windows 10 Update Error 0x80080008
Table of Contents:
- Introduction
- Solution 1. Run Windows Update Troubleshooter
- Solution 2. Run SFC (System File Checker) and DISM (Deployment Image Servicing and Management) Scans
- Solution 3. Restart the Background Intelligent Transfer Service (BITS)
- Solution 4. Reregister Wups2.dll
- Solution 5. Restart Windows Update Services
- Video Guide on How to Fix Windows 10 Update Error 0x80080008
Download Computer Malware Repair Tool
It is recommended to run a free scan with Combo Cleaner - a tool to detect viruses and malware on your device. You will need to purchase the full version to remove infections. Free trial available. Combo Cleaner is owned and operated by Rcs Lt, the parent company of PCRisk.com read more.
Solution 1. Run Windows Update Troubleshooter
As previously mentioned, running the Windows Update troubleshooter fixed the error for some but not for others. Still, running the troubleshooter is one of the most straightforward fixes you can do, so it's worth a shot.
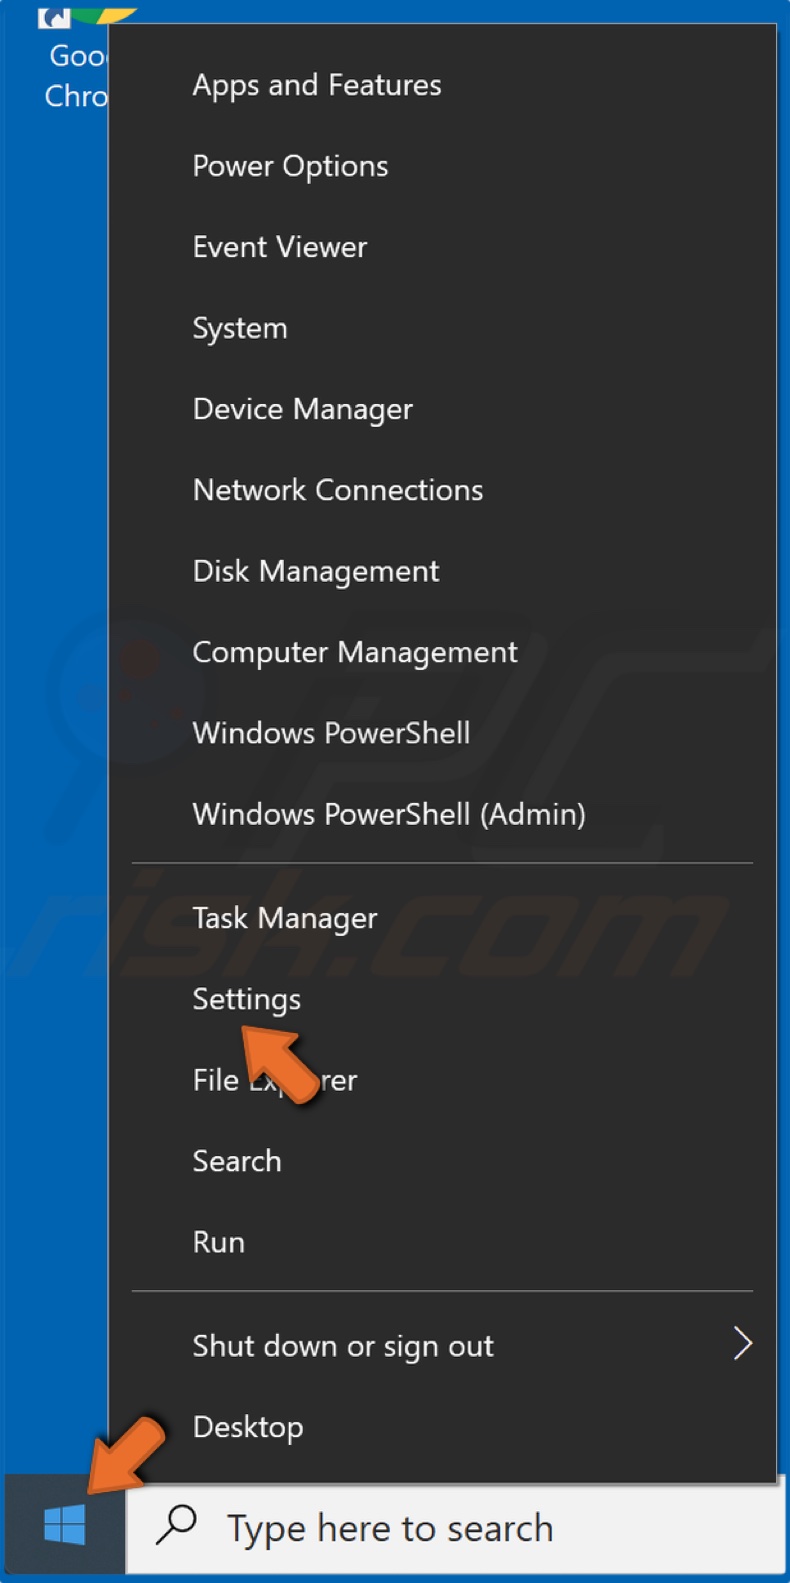
1. Right-click the Start Menu button and click Settings.
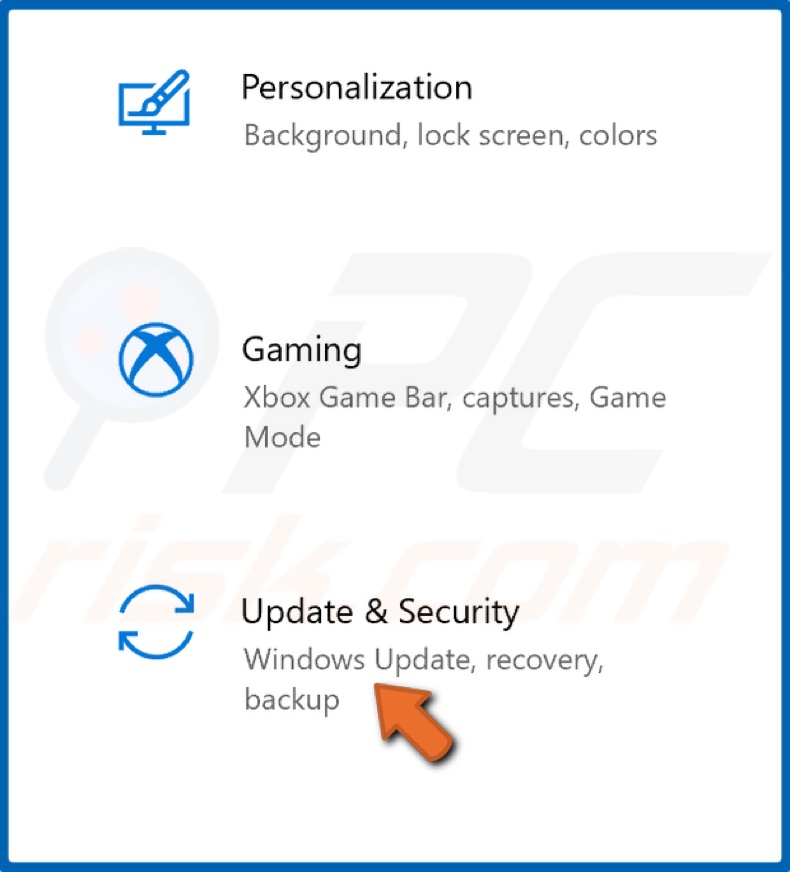
2. Go to Update & Security.
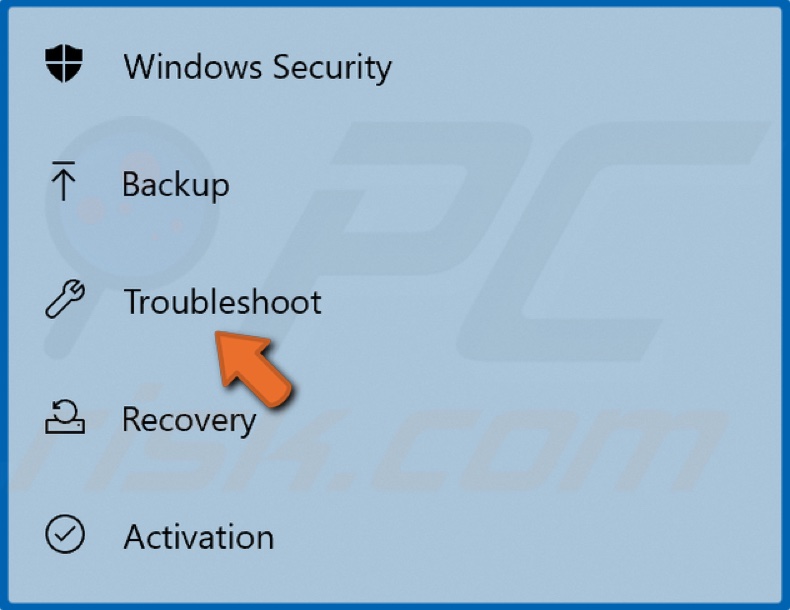
3. Click Troubleshoot.
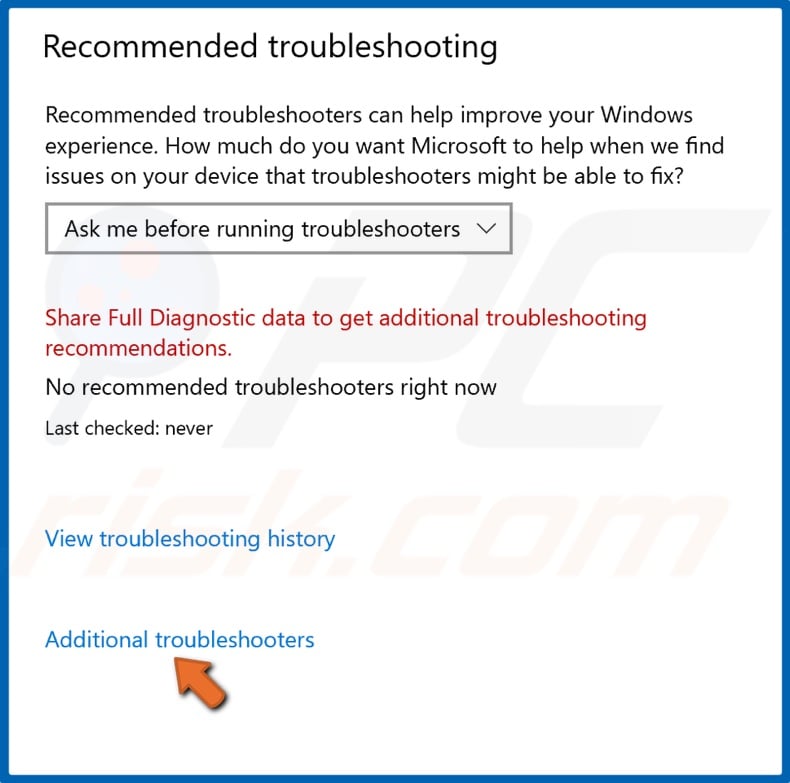
4. Then, select Additional troubleshooters.
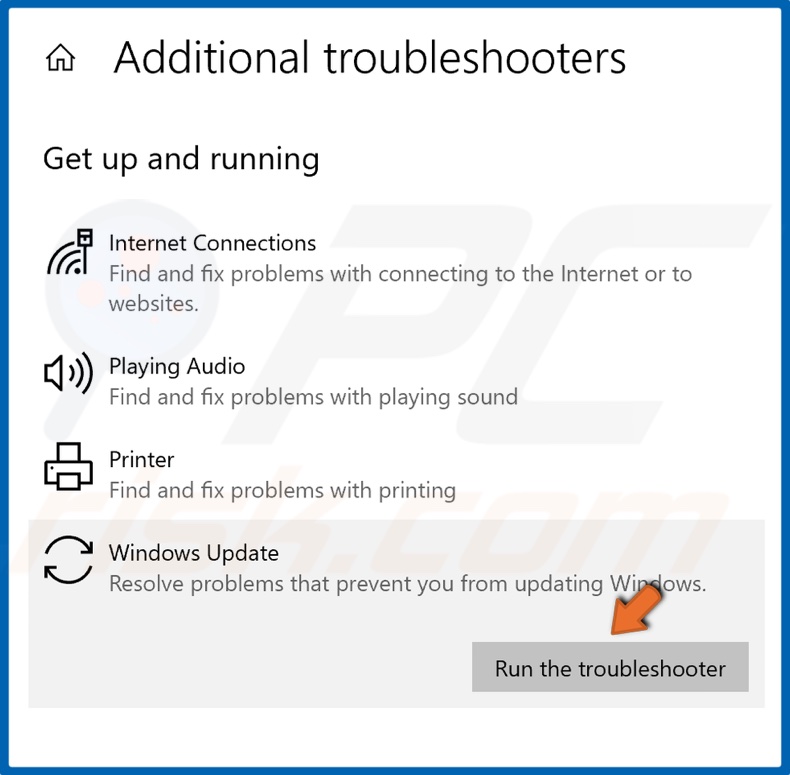
5. Select Windows Update under the Get up and running section.
6. Click Run the troubleshooter.
Allow the troubleshooter to scan your computer for issues. If any problems are found, the troubleshooter will apply the fixes automatically.
Solution 2. Run SFC (System File Checker) and DISM (Deployment Image Servicing and Management) Scans
In some cases, Windows 10 installation files get corrupted on account of an update failure. As a result, attempting to update again may result in Update Error 0x80080008.
In this particular case, running the SFC/scannow command using the Command Prompt may fix the error as SFC checks the system file integrity and fixes all corrupted files.
If the SFC scan didn't fix the issue, then Run DISM (Deployment Image Servicing and Management) scan.
1. Hold down Windows+R keys to open the Run dialog box.
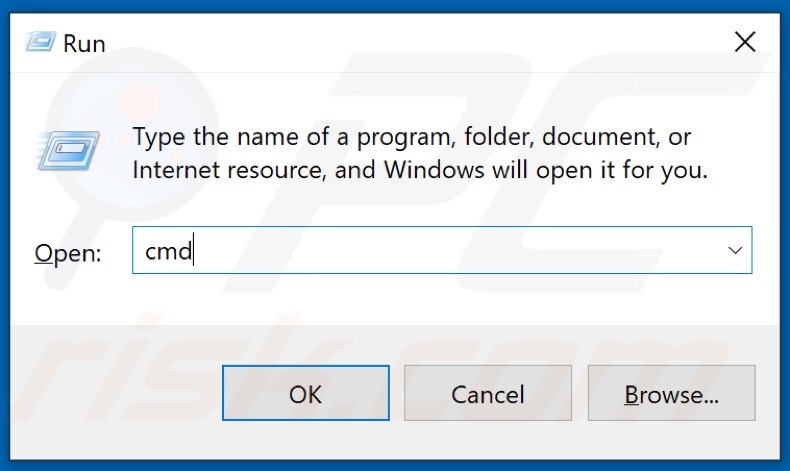
2. In the Run dialog box, type in CMD and hold down Shift+Ctrl+Enter keys to open the elevated Command prompt.

3. Then, In the Command Prompt, type in SFC/scannow and hit the Enter key.
4. Wait for the file verification to complete.
5. Then, type in DISM.exe /Online /Cleanup-image /Restorehealth and hit the Enter key.
6. Wait for the scan to complete.
If you couldn't run the SFC scan, then try rerunning it after running the DISM command.
Solution 3. Restart the Background Intelligent Transfer Service (BITS)
BITS (Background Intelligent Transfer Service) is an essential part of Windows Update. If this service isn't running, then you may get Error 0x80080008. Hence, to fix the issue, you have to restart BITS.
1. Hold down Windows+R keys to open the Run dialog box.
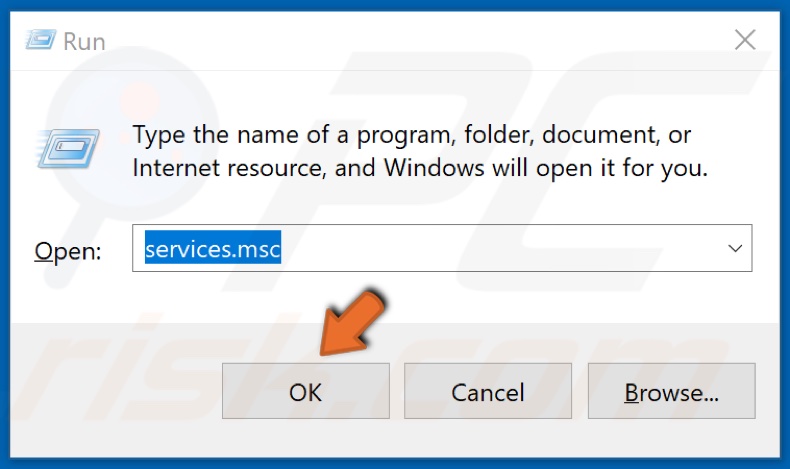
2. In the Run dialog box, type in services.msc and click OK.
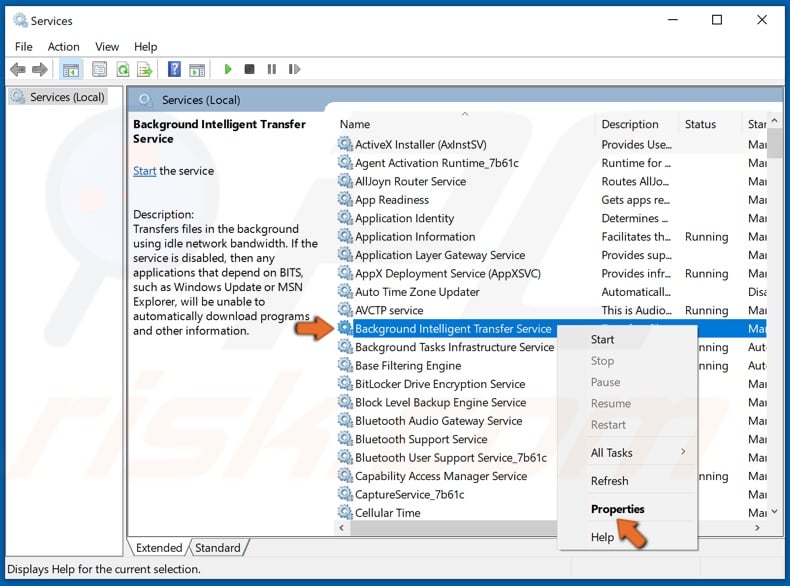
3. In the Services window, locate Background Intelligent Transfer Service, right-click it and click Properties.
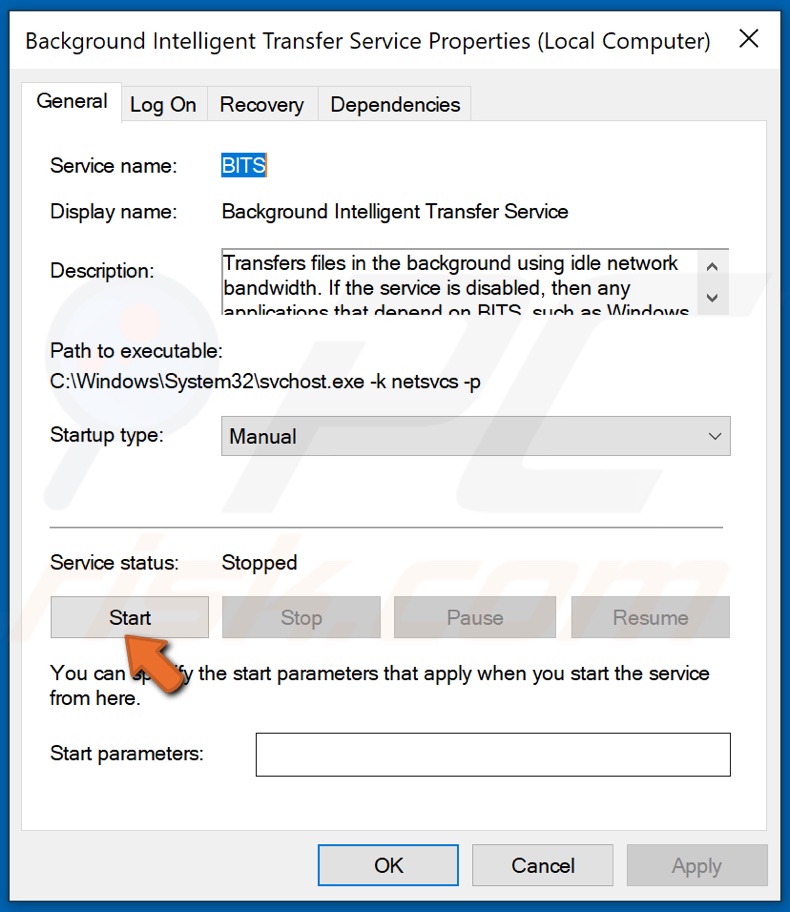
4. If BITS is not running, then click the Start button.

5. Then, select the Recovery tab.
6. Make sure that First failure and Second failure settings are set to Restart the Service.
7. Save the changes by clicking Apply and then OK.
Solution 4. Reregister Wups2.dll
1. Hold down Windows+R keys to open the Run dialog box.
2. In the Run dialog box, type in CMD and hold down Shift+Ctrl+Enter keys to open the elevated Command prompt.
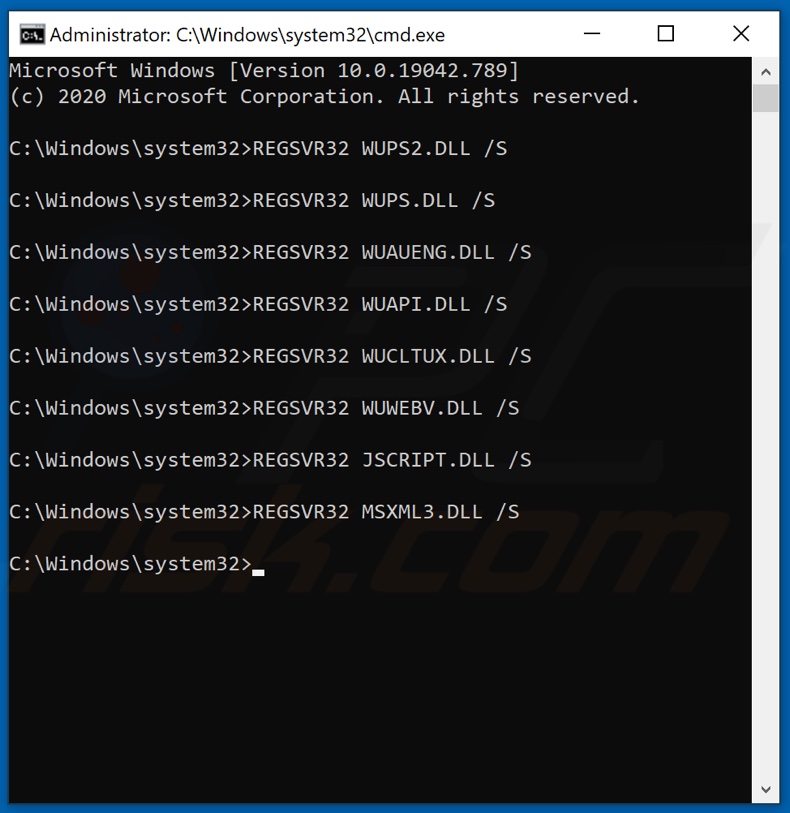
3. Then, Type in the following commands and hit the Enter key after typing in each one.
- REGSVR32 WUPS2.DLL /S
- REGSVR32 WUPS.DLL /S
- REGSVR32 WUAUENG.DLL /S
- REGSVR32 WUAPI.DLL /S
- REGSVR32 WUCLTUX.DLL /S
- REGSVR32 WUWEBV.DLL /S
- REGSVR32 JSCRIPT.DLL /S
- REGSVR32 MSXML3.DLL /S
4. Close the command prompt and reboot your PC.
Solution 5. Restart Windows Update Services
In some cases, you may experience Update Error 0x80080008 due to some Windows Update-related services not running. The solution is to restart these services. To reset the services, you first have to disable BITS, Cryptographic, MSI Installer, and Windows Update services via Command prompt.
Once the services have been disabled, you have to rename SoftwareDistribution and Catroot2 folders to trigger Windows to recreate necessary update components. Then, you can restart the services and try updating Windows.
1. Hold down Windows+R keys to open the Run dialog box.
2. Type in CMD in the dialog box and hold down Shift+Ctrl+Enter keys to open the elevated Command prompt.
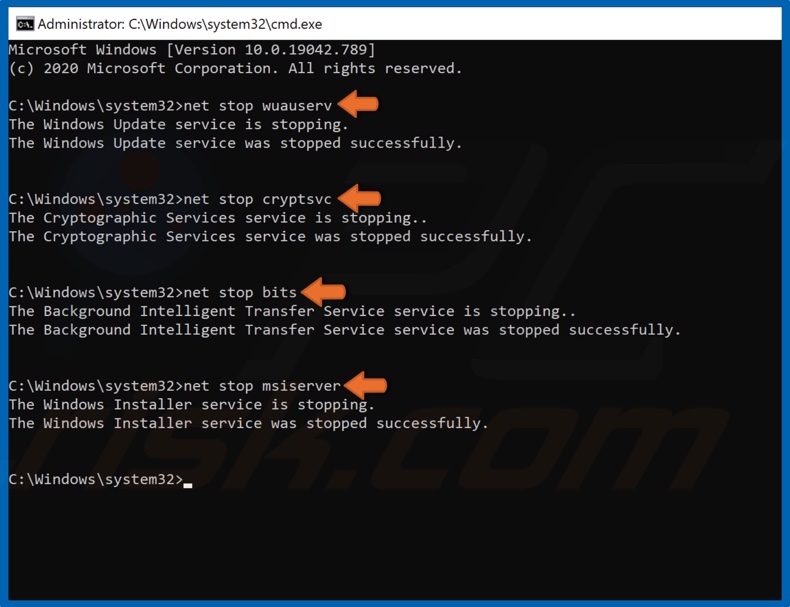
3. Here, you will have to stop BITS, Cryptographic, MSI Installer, and Windows Update services. Type in the commands listed below and hit Enter after entering each one.
- net stop wuauserv
- net stop cryptSvc
- net stop bits
- net stop msiserver
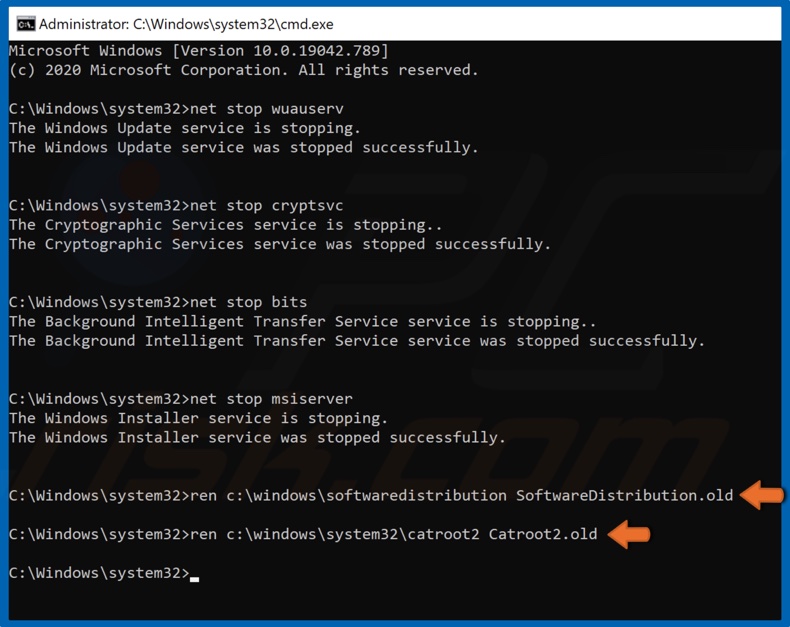
Once the services have been disabled, rename the SoftwareDistribution and Catroot2.
4. Type in ren C:\Windows\SoftwareDistribution SoftwareDistribution.old and hit Enter.
5. Then, type in ren C:\Windows\System32\catroot2 Catroot2.old and hit Enter.
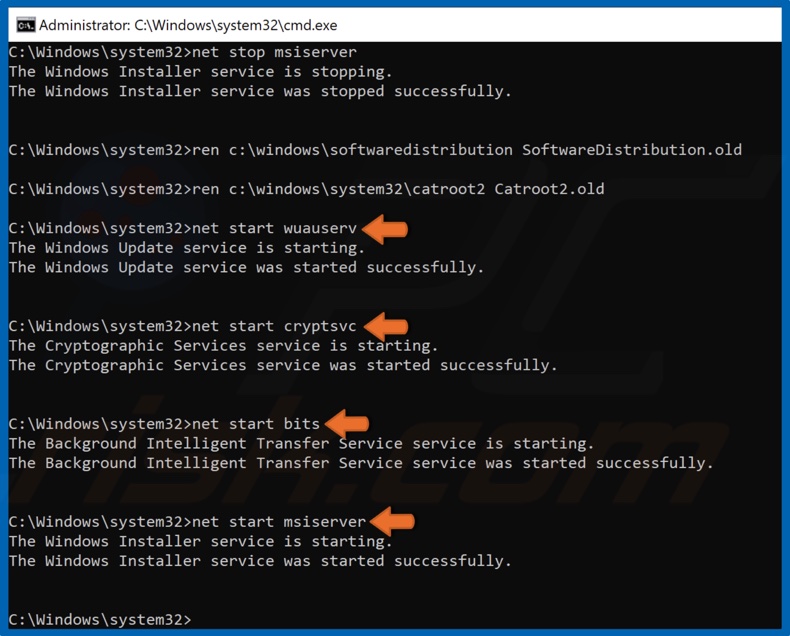
6. Restart BITS, Cryptographic, MSI Installer, and Windows Update services. Type in the commands listed below and hit Enter after entering each one.
- net start wuauserv
- net start cryptSvc
- net start bits
- net start msiserver
Share:

Rimvydas Iliavicius
Researcher, author
Rimvydas is a researcher with over four years of experience in the cybersecurity industry. He attended Kaunas University of Technology and graduated with a Master's degree in Translation and Localization of Technical texts. His interests in computers and technology led him to become a versatile author in the IT industry. At PCrisk, he's responsible for writing in-depth how-to articles for Microsoft Windows.
▼ Show Discussion