How to Fix DISM Error 87 on Windows 10

Get Free Scanner and check your computer for errors
Fix It NowTo fix found issues, you have to purchase the full version of Combo Cleaner. Free trial available. Combo Cleaner is owned and operated by Rcs Lt, the parent company of PCRisk.com read more.
How to Fix DISM Error 87 on Windows 10
DISM (Deployment Image Servicing and Management) is a command-line tool used to service and manage Windows images for Windows PE, Windows Recovery Environment, and Windows setup. However, when trying to use DISM via Command Prompt, you may get the DISM Error: 87.
What Causes Error 87 and How to Fix It?
We have narrowed down the most common causes for DISM error 87. The most common reason for this error is that the command line may not be entered correctly. In many cases, people forget to include spaces between the “/” characters, resulting in the error. Hence, to avoid getting this error, all you need to do is enter the command correctly.
Before the release of the Fall Creators Update in October 2017, Windows 10 had a bug that caused error 87. Therefore, you can fix this error by downloading and installing the latest updates for Windows 10.
Another common reason for error 87 is not running the DISM command in the elevated Command Prompt. In this case, the solution is to run DISM in the elevated Command Prompt.
Lastly, you may get this error by managing or servicing a Windows image that is newer than the version of DISM.
Video Guide on How to Fix DISM Error 87 on Windows 10
Table of Contents:
- Introduction
- Method 1. Use Elevated Command Prompt
- Method 2. Use the Correct Spacing When Entering Commands
- Method 3. Download and Install the Latest Windows 10 Updates
- Method 4. Reset Windows 10 Using Recovery
- Video Guide on How to Fix DISM Error 87 on Windows 10
Download Computer Malware Repair Tool
It is recommended to run a free scan with Combo Cleaner - a tool to detect viruses and malware on your device. You will need to purchase the full version to remove infections. Free trial available. Combo Cleaner is owned and operated by Rcs Lt, the parent company of PCRisk.com read more.
Method 1. Use Elevated Command Prompt
DISM error 87 can occur if you try to run DISM via a regular Command Prompt. As with SFC commands, DISM commands have to be executed using an elevated Command Prompt.
1. Hold down Windows+R keys to open the Run dialog box.
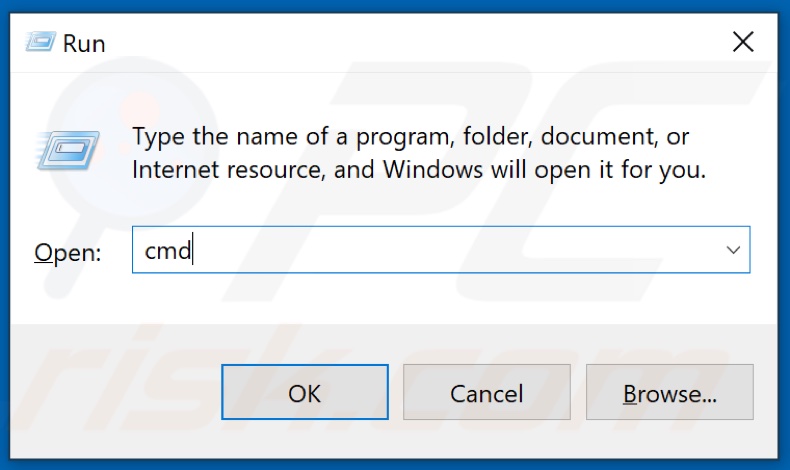
2. Type in CMD and hold down Shift+Ctrl+Enter to open elevated Command Prompt.
3. When UAC (User Account Control) prompts you, click Yes.
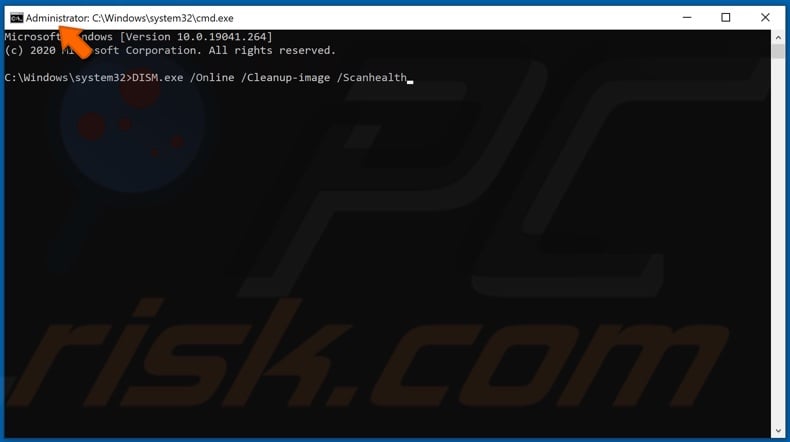
Take a look at the top of the Command Prompt window. If it says Administrator, then this means that the command prompt is running in elevated mode.
4. Once the elevated Command Prompt is opened, type in the DISM command you want.
5. Then, type in the relevant command to you. For example, type in DISM.exe /Online /Cleanup-image /Scanhealth and hit Enter.
Method 2. Use the Correct Spacing When Entering Commands
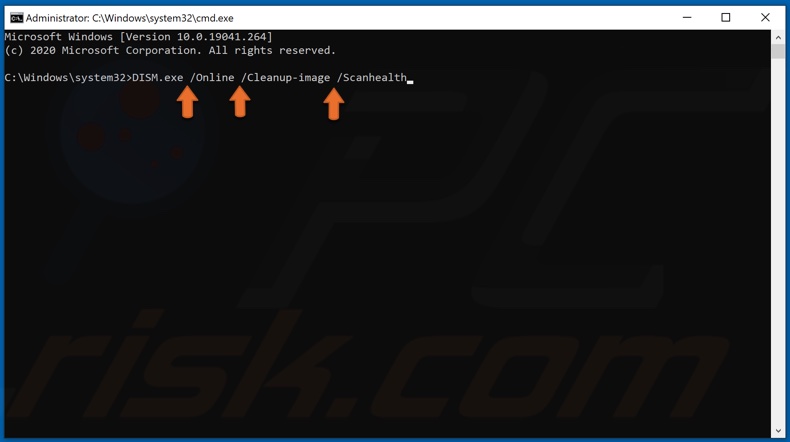
The most common reason for getting error 87 is entering DISM commands incorrectly. Usually, users don’t include spaces between “/”, resulting in the command failing to execute. For example, the correct way to enter a DISM command is by typing in DISM.exe /Online /Cleanup-image /Scanhealth with spaces before each slash and then hitting Enter to execute it.
1. Hold down Windows+R keys to open the Run dialog box.
2. Type in CMD and hold down Shift+Ctrl+Enter keys to open elevated Command Prompt.
3. When UAC (User Account Control) prompts you, click Yes.
4. Type in the command you want to execute. For visualization purposes, let’s type in DISM.exe /Online /Cleanup-image /Scanhealth and hit Enter.
5. When entering a command, make sure to add a space before each slash.
Method 3. Download and Install the Latest Windows 10 Updates
You may get DISM error 87 if you run an outdated version of Windows 10 with a bug that causes DISM commands not to work. The release of the Fall Creator’s Update in October 2017 fixed that bug. So, try updating your Windows 10 to resolve error 87.
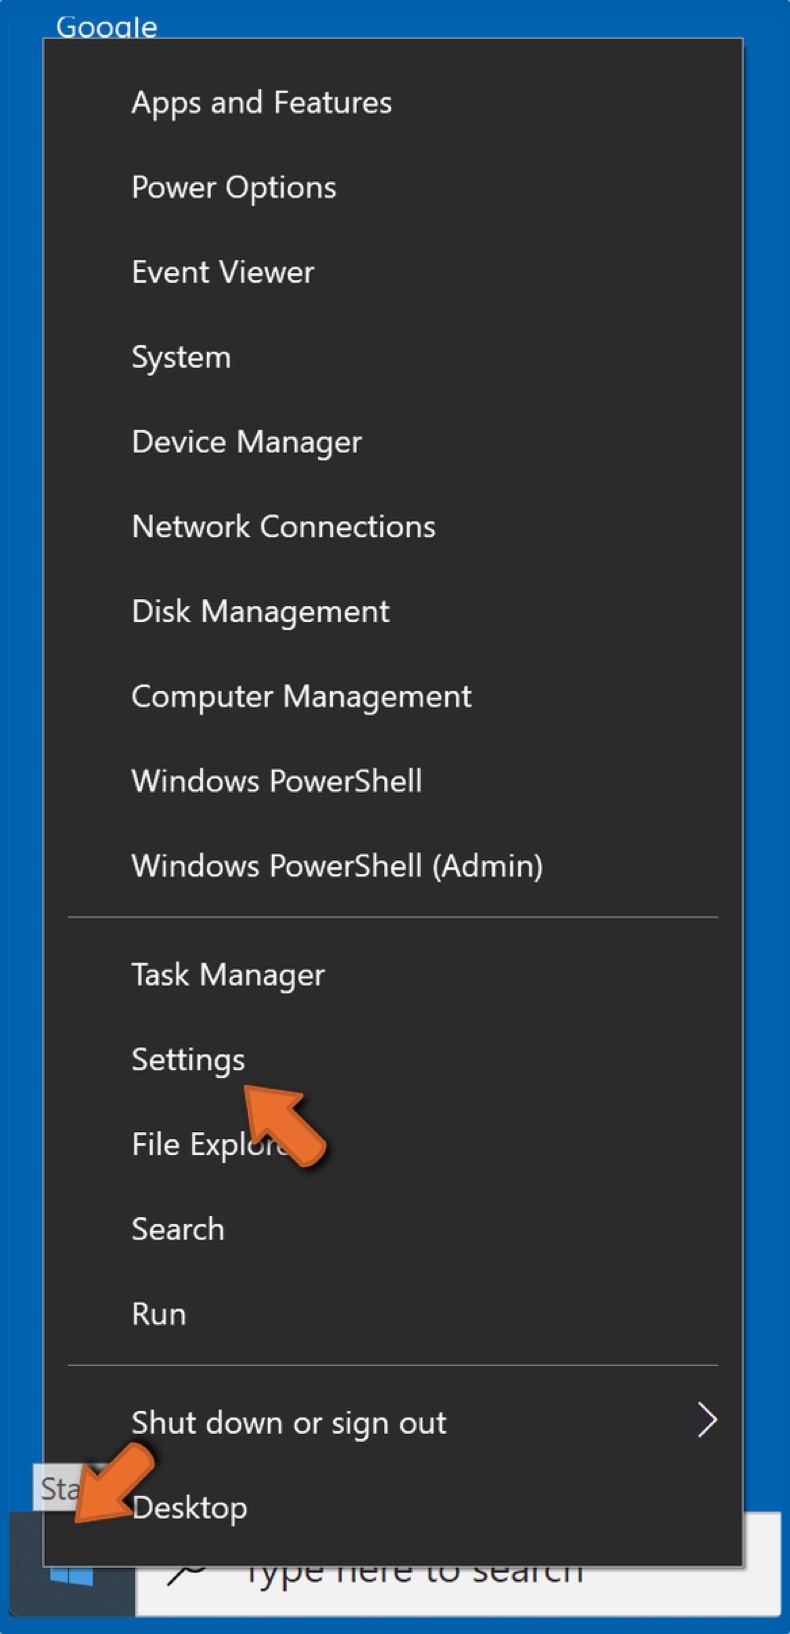
1. Right-click the Start Menu button and click Settings.
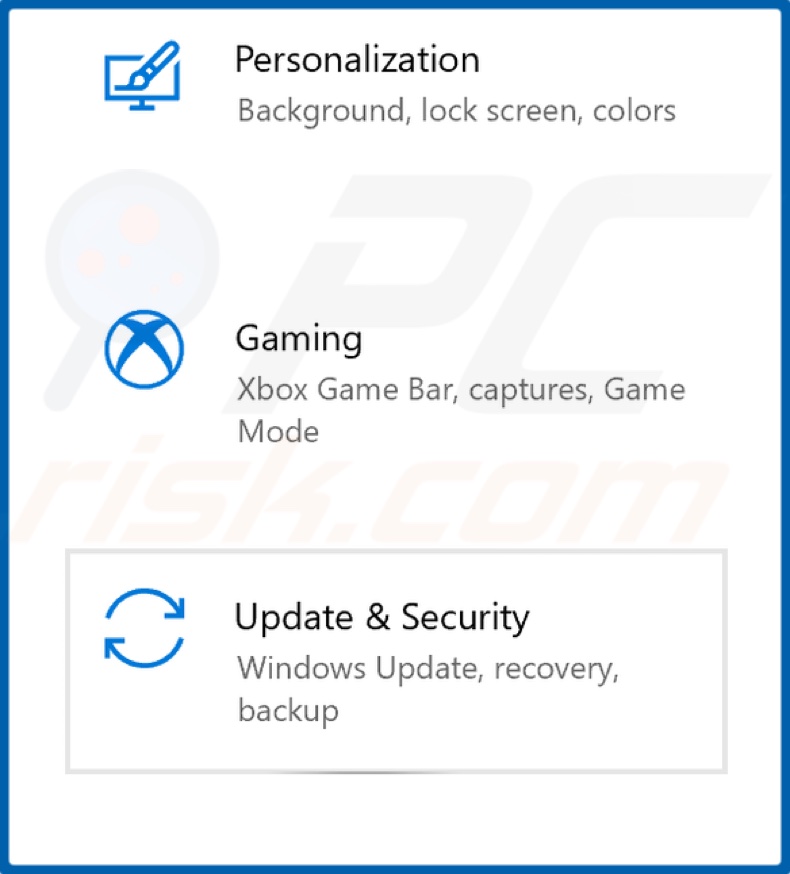
2. Click Update & Security.
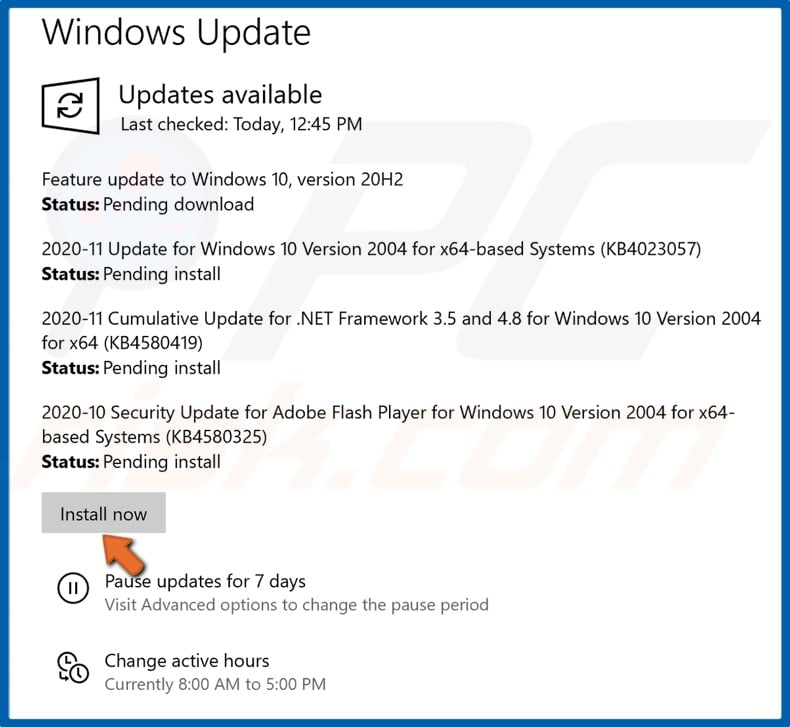
3. Click Install now if you have pending updates.
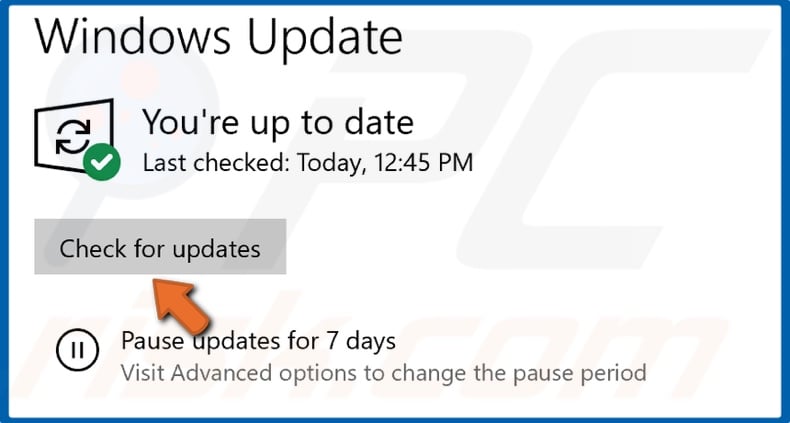
4. Or click Check for Updates to find and install updates.
5. Allow all of the pending updates to install and reboot your computer.
6. Once your computer has rebooted, you shouldn’t get DISM error 87.
Method 4. Reset Windows 10 Using Recovery
If none of the methods work, this might mean that some DISM-related files have been corrupted. Unfortunately, you can’t reinstall DISM alone, so you try reinstalling Windows using Windows Recovery. Note that while you can choose to keep your personal files, the reinstallation process will remove all of your installed applications.
1. Right-click the Start Menu button and click Settings.
2. Click Update & Security.

3. Click Recovery located on the left side of the window.
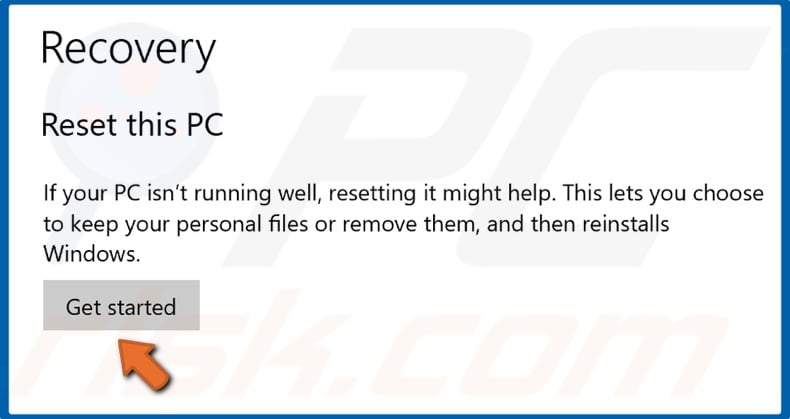
4. Click Get Started.
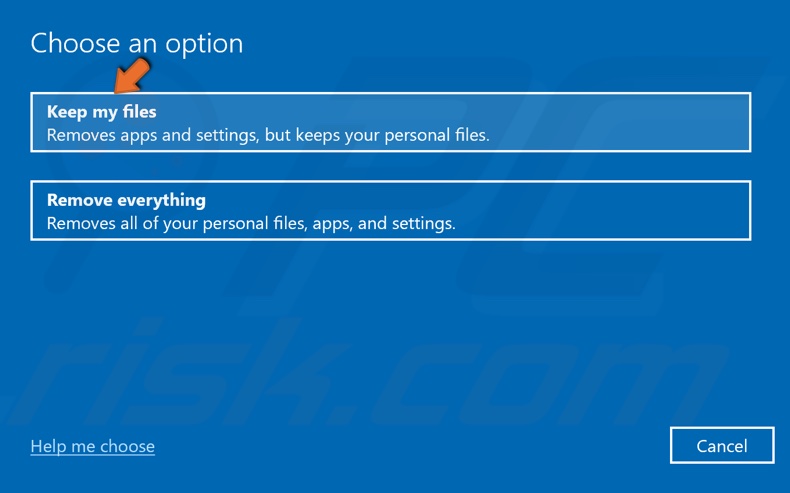
5. Select Keep my files.
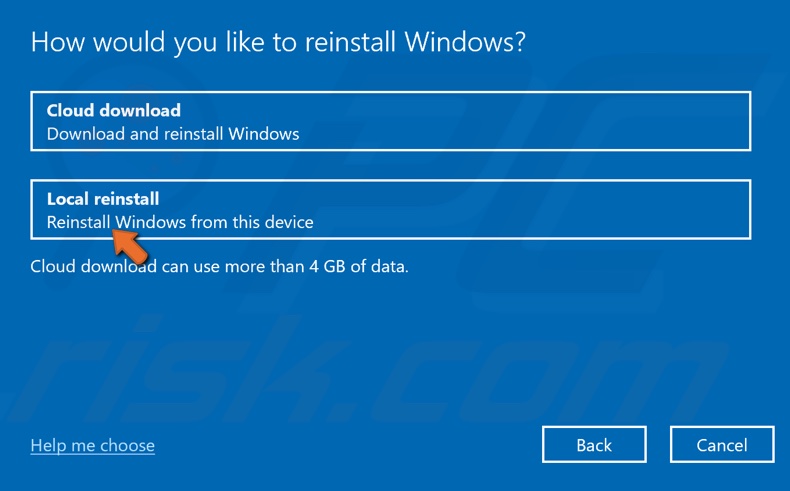
6. Select Local reinstall.
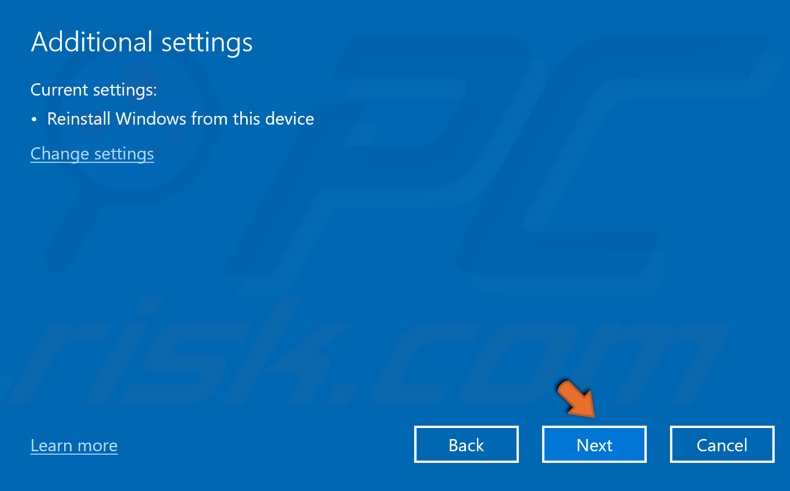
7. Click Next.
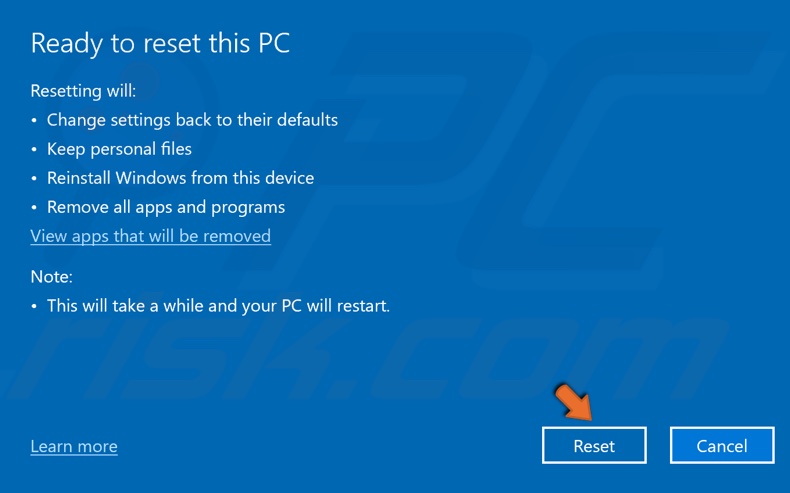
8. Click Reset.
9. Wait for the resetting process to complete.
Share:

Rimvydas Iliavicius
Researcher, author
Rimvydas is a researcher with over four years of experience in the cybersecurity industry. He attended Kaunas University of Technology and graduated with a Master's degree in Translation and Localization of Technical texts. His interests in computers and technology led him to become a versatile author in the IT industry. At PCrisk, he's responsible for writing in-depth how-to articles for Microsoft Windows.
▼ Show Discussion