How to Fix Twitch Black Screen Error

Get Free Scanner and check your computer for errors
Fix It NowTo fix found issues, you have to purchase the full version of Combo Cleaner. Free trial available. Combo Cleaner is owned and operated by Rcs Lt, the parent company of PCRisk.com read more.
4 Ways You Can Fix Twitch Black Screen Error
Twitch is a well-known live video streaming service, and its main focus is on video game live streaming, music broadcasting, and creative content. Many users have reported that they can’t watch streams, and all they can see is a black screen. Here, we will provide you with proven methods to resolve this issue.
Despite Twitch being a stable platform with frequent updates, it has a long-standing issue that causes the video stream window to show nothing but a black screen. The chat still works, you can see other users’ profiles and hear audio, but you can’t see the stream video feed. This issue often plagues Android users and Google Chrome users that use the desktop version.
What Causes the Black Screen Issue?
- Your Google Chrome browser’s cache and/or cookies might be corrupted or broken.
- Hardware acceleration may conflict with an application or service.
- The black screen might be the result of a Twitch server going down.
- There might be an issue with your IP address, causing a network issue resulting in the black screen.
- Twitch requires a particular DNS to run the stream, so if your DNS settings have been changed, you get the black screen error.
- Your router might block JavaScript or fail to allocate proper network configurations.
Fortunately, you can fix Twitch’s black screen using the methods provided below.
Video on How to Fix Twitch Black Screen Error:
Table of Contents:
- Introduction
- Method 1. Turn Hardware Acceleration off in Google Chrome
- Method 2. Enable Transport Layer Security (TLS)
- Method 3. Set Cloudflare DNS
- Method 4. Reset Network Configuration
- Video on How to Fix Twitch Black Screen Error
Download Computer Malware Repair Tool
It is recommended to run a free scan with Combo Cleaner - a tool to detect viruses and malware on your device. You will need to purchase the full version to remove infections. Free trial available. Combo Cleaner is owned and operated by Rcs Lt, the parent company of PCRisk.com read more.
Method 1. Turn Hardware Acceleration off in Google Chrome
If you watch Twitch using Google Chrome, then disable Use hardware acceleration when available option.
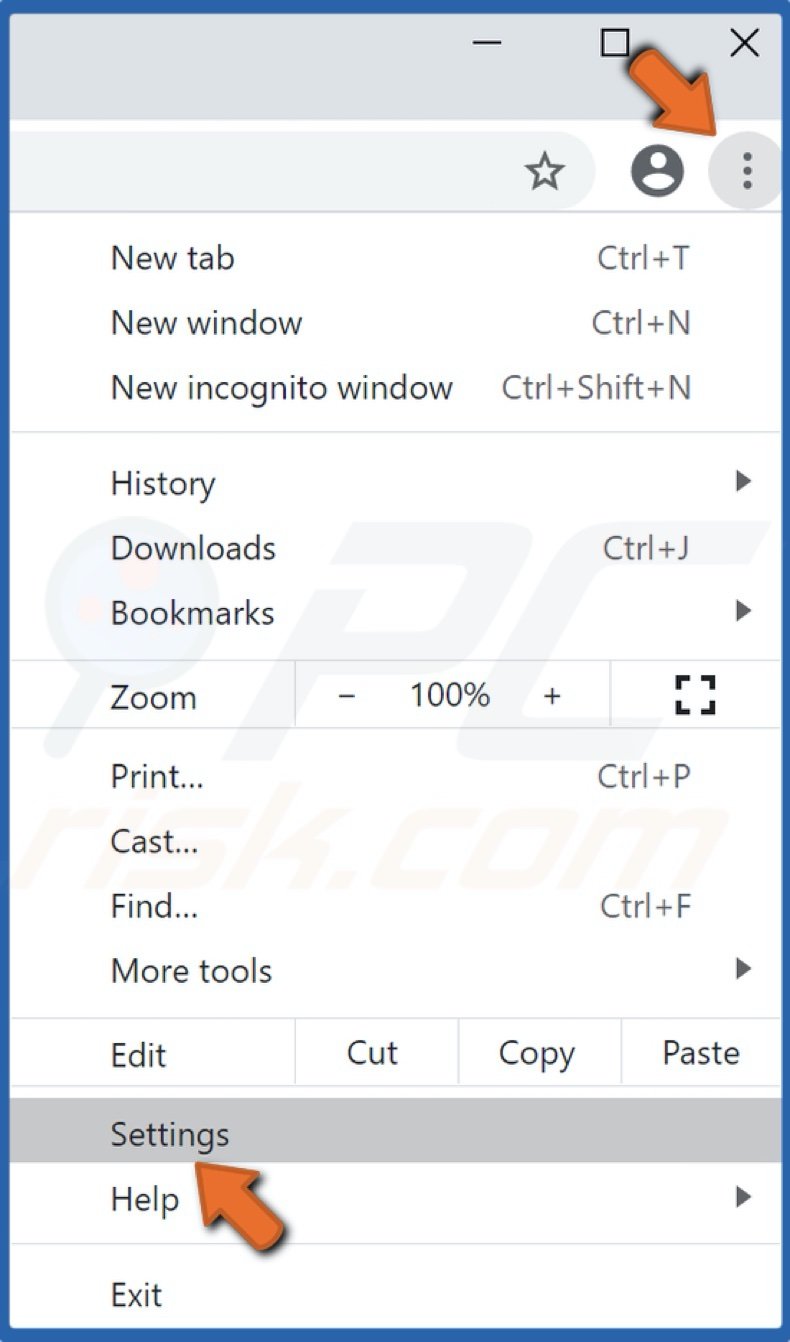
1. Open Google Chrome and click the Menu icon at the top right corner of the window.
2. In the drop-down menu, click Settings.
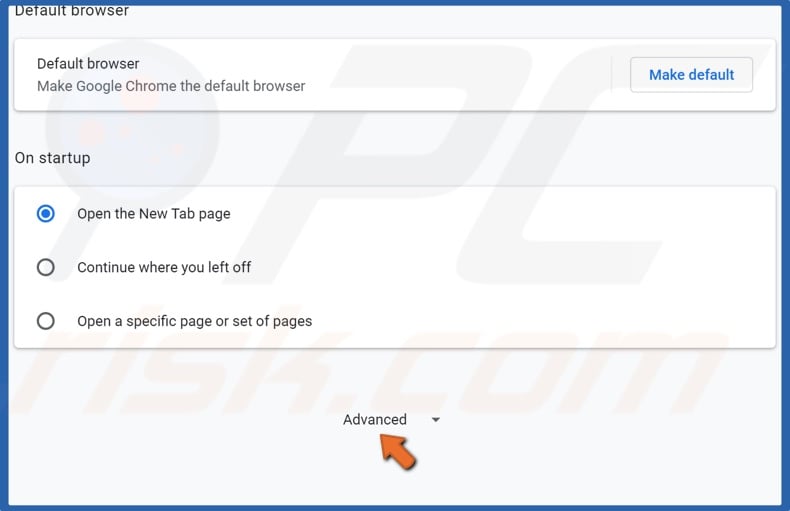
3. In the Settings menu, scroll down and click Advanced.
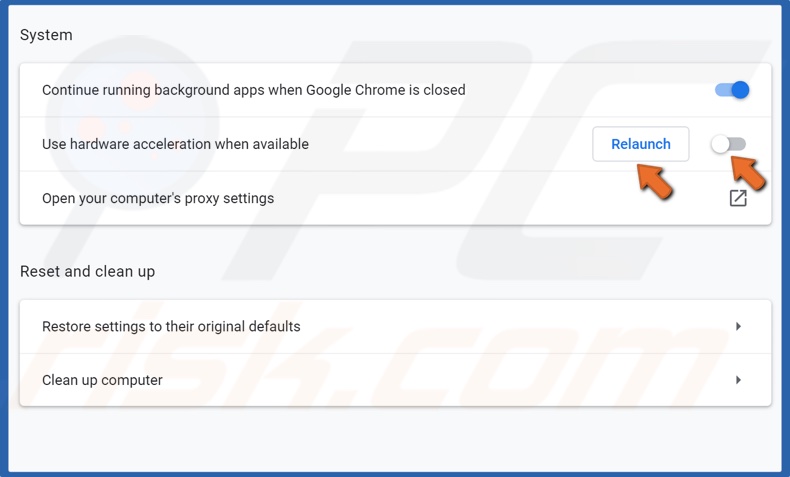
4. Scroll down to the bottom again, and toggle Use hardware acceleration when available option off.
5. Click the Relaunch button for the changes to take effect.
Method 2. Enable Transport Layer Security (TLS)
If TLS has been disabled, You won’t be able to watch streams on Twitch.
1. Hold down Windows+R keys to open Run.
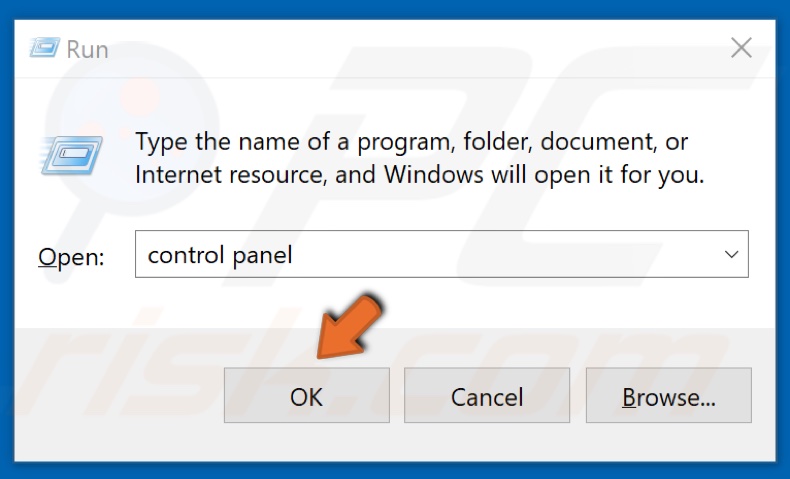
2. Type in Control Panel and click OK.
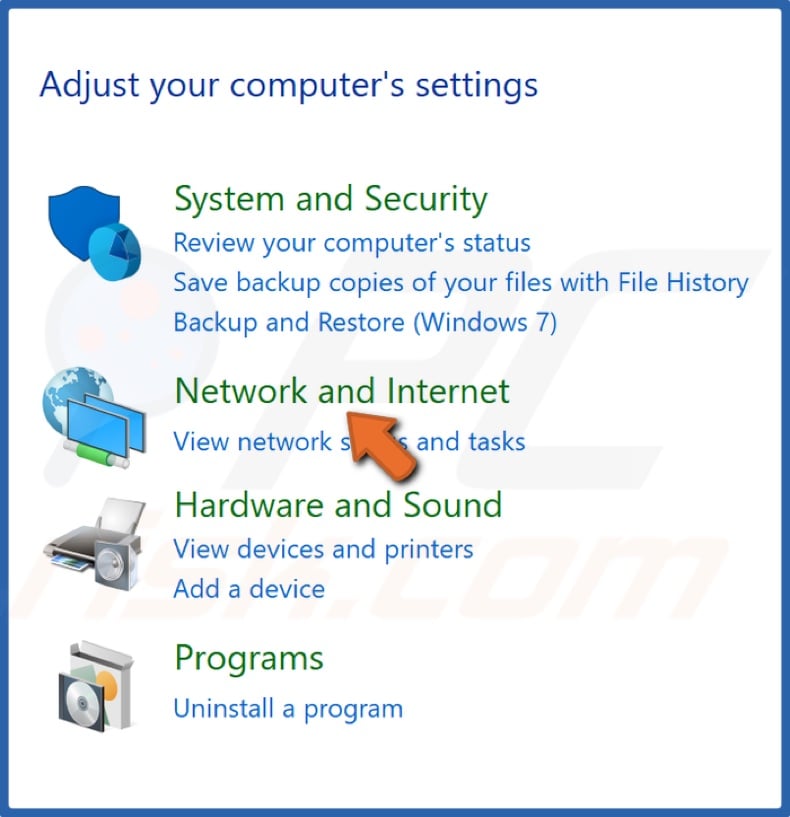
3. Select Network and Internet.
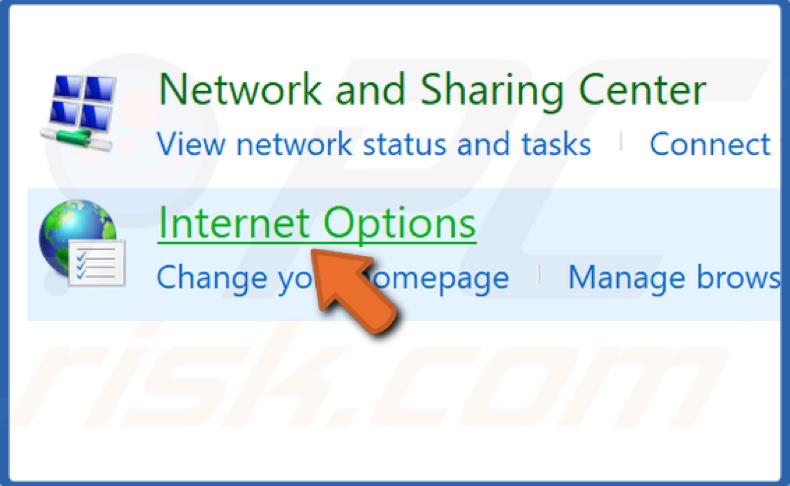
4. Click Internet Options.
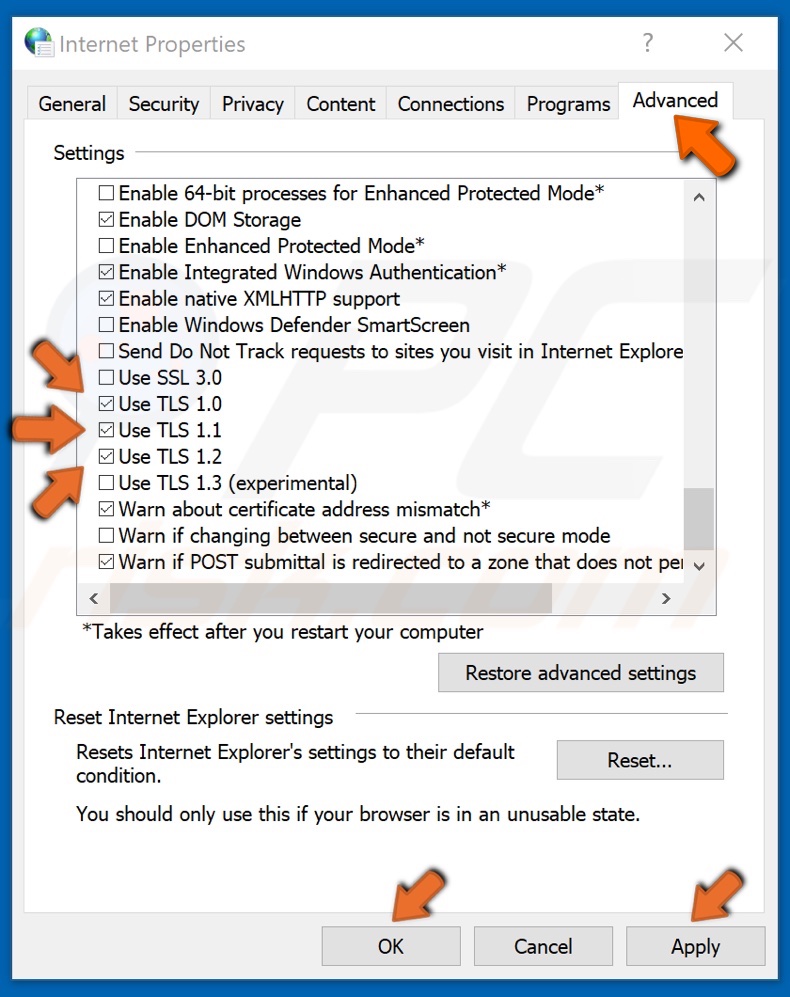
5. Select the Advanced tab, tick all TLS options. Then, click Apply and click OK.
Method 3. Set a custom DNS
1. Hold down Windows+R keys to open Run.
2. Type in Control Panel and click OK.
3. Once in the Control Panel, click Network and Internet.
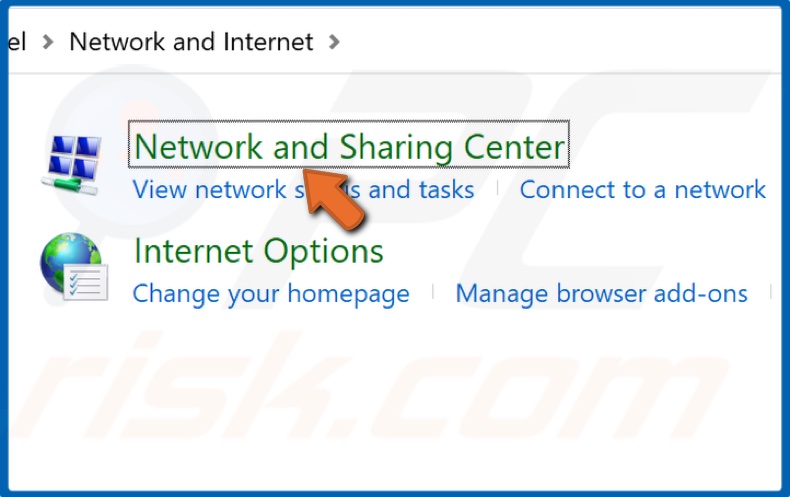
4. Select Network and Sharing Center.
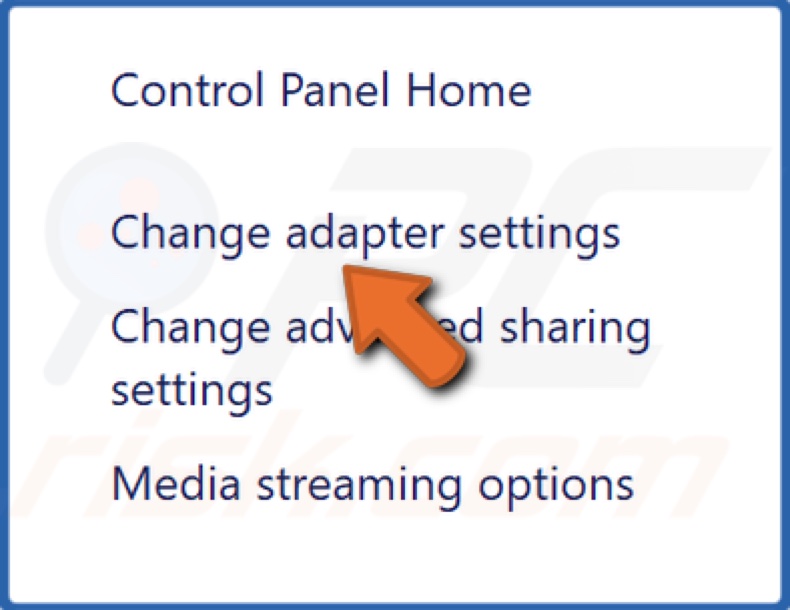
5. Click Change adapter settings.
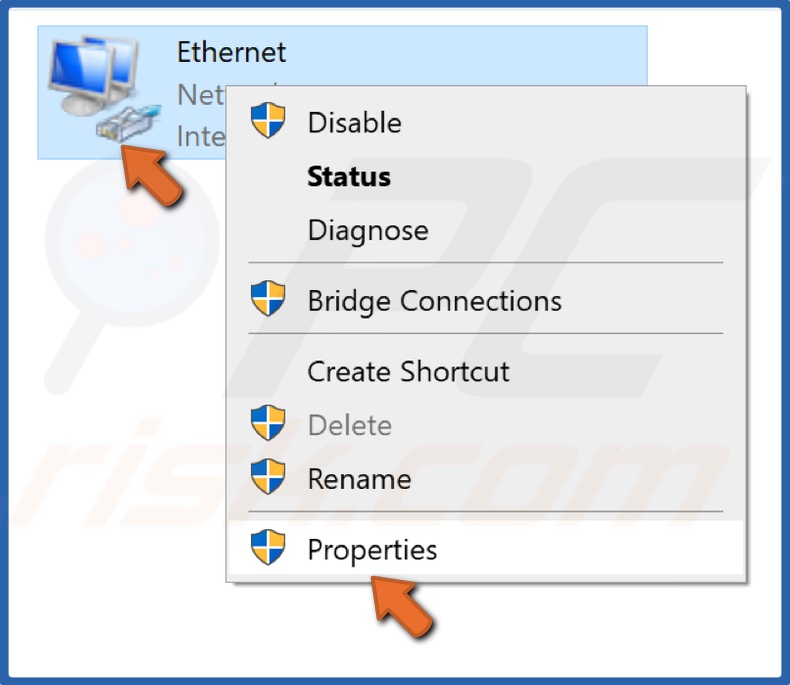
6. Right-click your network device and select Properties.
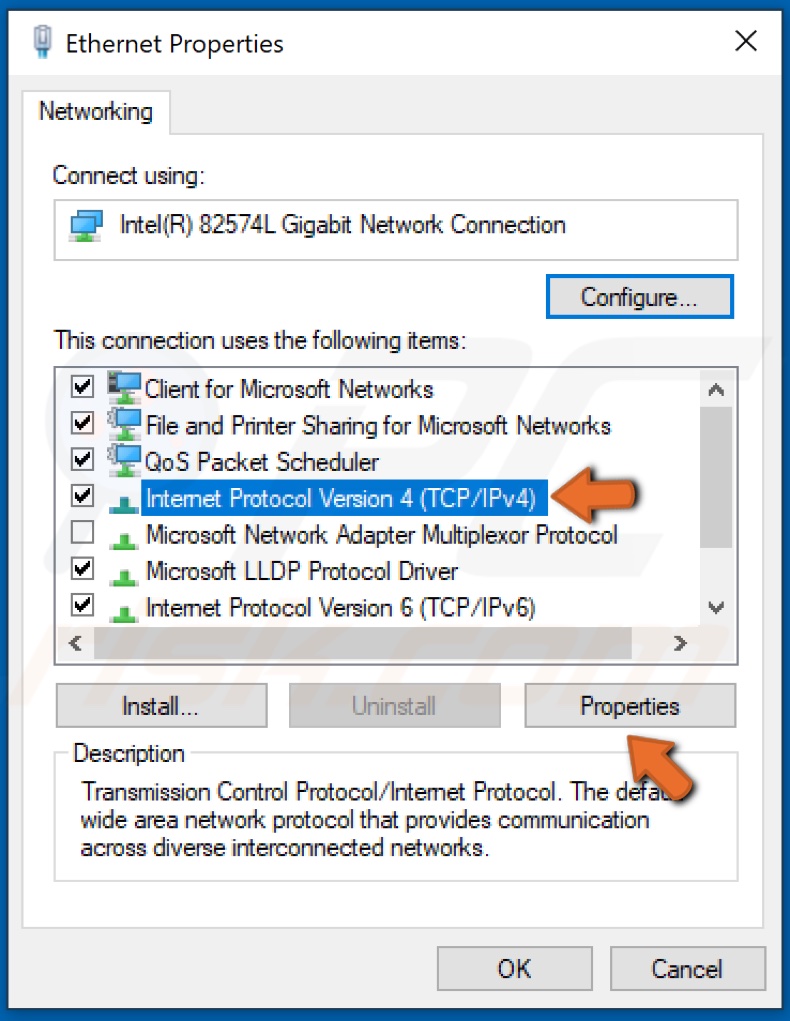
7. Select Internet Protocol Version 4 (TCP/IPv4) and click Properties.
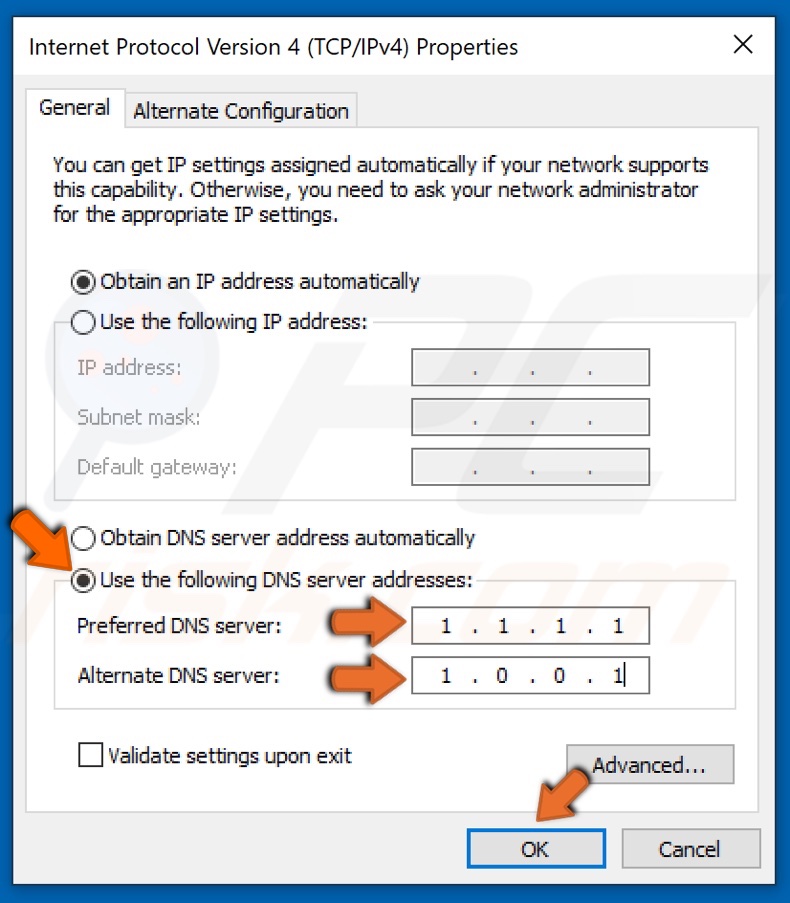
8. Tick the Use the following DNS server address, and enter the following addresses:
10. In the Preferred DNS server, type in 1.1.1.1
11. In the Alternate DNS server, type in 1.0.0.1
12. Click OK to save settings.
13. Restart your PC for the changes to take effect.
Method 4. Reset Network Configuration
1. Hold down Windows+R keys to open Run.
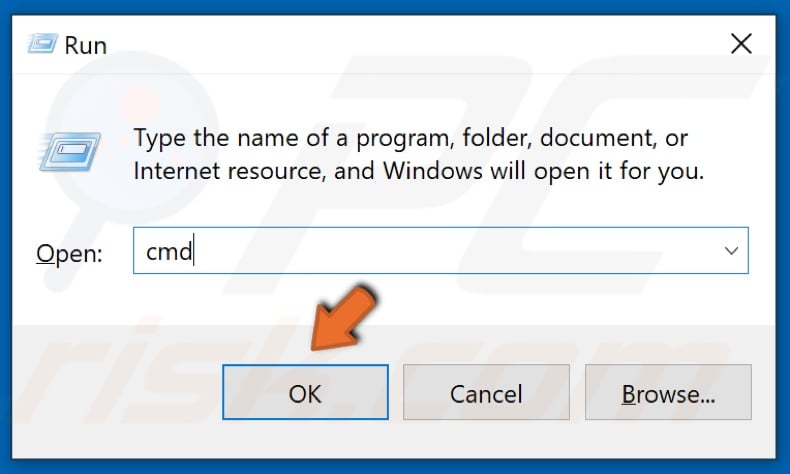
2. Type in CMD and hold down Shift+Ctrl+Enter keys to open the Command prompt with administrative privileges.
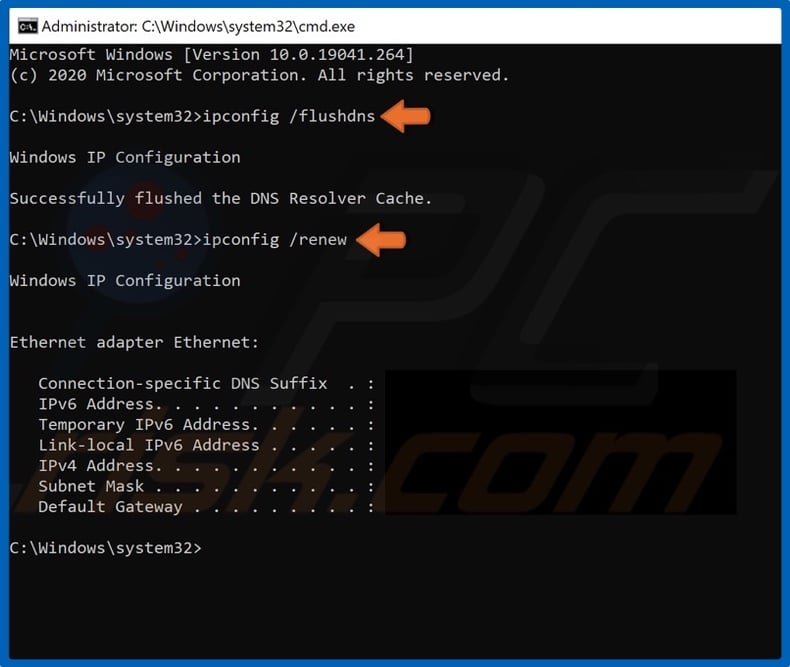
3. Type in the ipconfig /flushdns command and hit Enter to execute it.
4. Then, type in the ipconfig /renew command and hit Enter to execute it.
5. Restart your PC for the changes to take effect.
Share:

Rimvydas Iliavicius
Researcher, author
Rimvydas is a researcher with over four years of experience in the cybersecurity industry. He attended Kaunas University of Technology and graduated with a Master's degree in Translation and Localization of Technical texts. His interests in computers and technology led him to become a versatile author in the IT industry. At PCrisk, he's responsible for writing in-depth how-to articles for Microsoft Windows.
▼ Show Discussion