How to Fix "Failed to connect to a Windows service" Error on Windows 10

Get Free Scanner and check your computer for errors
Fix It NowTo fix found issues, you have to purchase the full version of Combo Cleaner. Free trial available. Combo Cleaner is owned and operated by Rcs Lt, the parent company of PCRisk.com read more.
How to Fix the "Failed to connect to a Windows service" Error in Windows 10
Windows services run in the background and are launched through Service Control Manager that users can use to start/stop and manage all services. For example, you can instruct a service to run when the Windows operating system starts or trigger the service manually.
You may have encountered the "Failed to connect to a Windows service" error. As this is only the headline of the error message, further details might say that the Group Policy Client service, System Event Notification service, or other Windows service is failing to connect. There is no single solution to this problem because it largely depends on the specific service mentioned in the error message.
In this guide, we focus on the problem relating to the Group Policy Client service. To fix the problem, you might need to edit Windows Registry, perform a clean boot, and turn off the fast startup feature.
Read the guide below and try each method to see which works.
Video Showing How to Fix "Failed to connect to a Windows service" Error:
Table of Contents:
- Introduction
- Edit Windows Registry
- Perform a Clean Boot
- Reset Winsock
- Turn off the Fast Startup Feature
- Video Showing How to Fix "Failed to connect to a Windows service" Problem
Download Computer Malware Repair Tool
It is recommended to run a free scan with Combo Cleaner - a tool to detect viruses and malware on your device. You will need to purchase the full version to remove infections. Free trial available. Combo Cleaner is owned and operated by Rcs Lt, the parent company of PCRisk.com read more.
Edit Windows Registry
Windows Registry is a collection of databases of configuration settings in Microsoft Windows operating systems. Note that incorrectly changing Windows Registry can damage the operating system irreversibly.
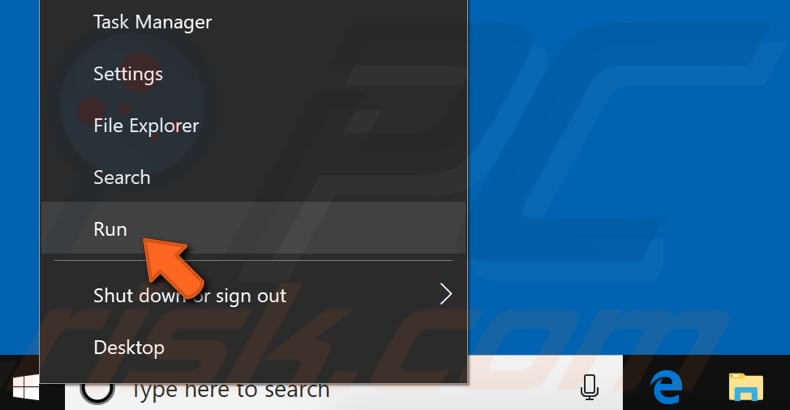
To open Registry Editor, open the Run dialog box. Press Windows Windows key + R or right-click Start and select "Run".
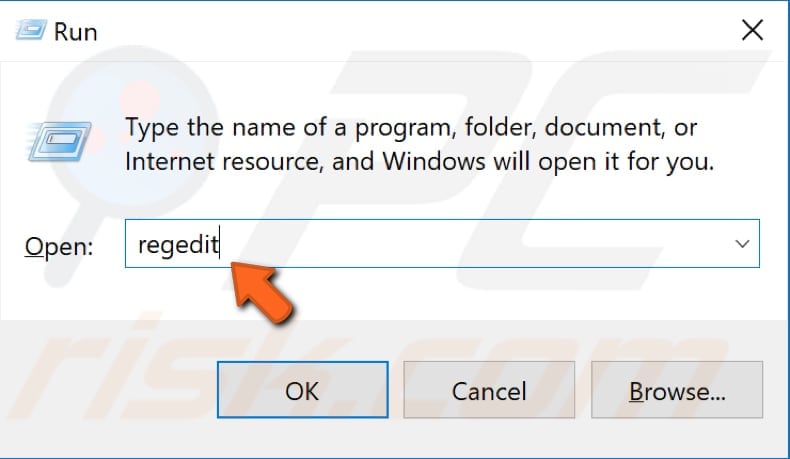
Now type the "regedit" command and press Enter or click "OK".
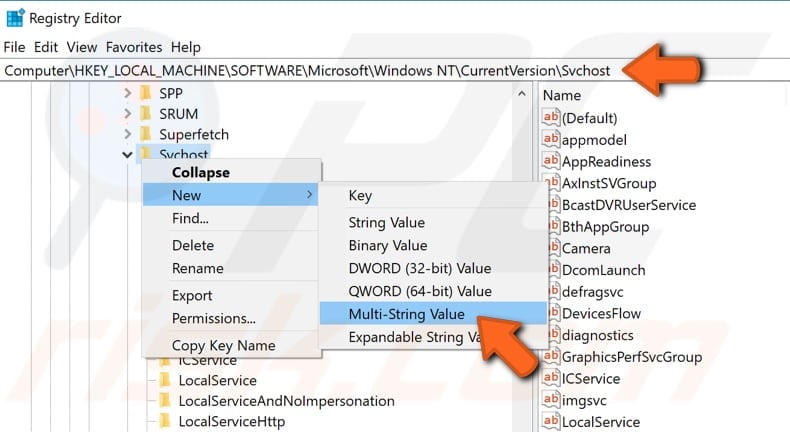
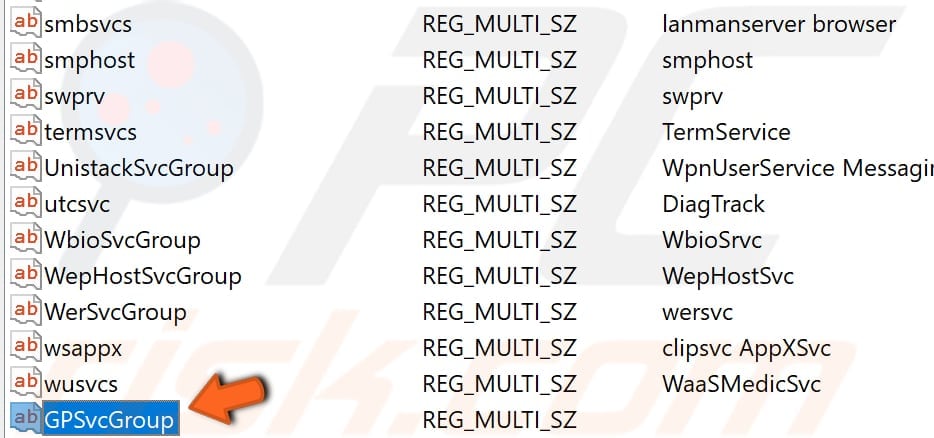
Now follow this path: "HKEY_LOCAL_MACHINE\SOFTWARE\Microsoft\Windows NT\CurrentVersion" and find and select the SvcHost key. Check if you see "GPSvcGroup" within the SvcHost key on the right pane.
If not, create it manually by right-clicking the SvcHost key and selecting "New", and then "Multi-String Value".
A new multi-string value will be created. Name this new multi-string value as "GPSvcGroup" by right-clicking it and selecting "Rename". Name it as GPSvcGroup and press Enter.
Now double-click the newly-created GPSvcGroup multi-string value and type "GPSvc" in its Value data field. Click "OK" to save the changes.

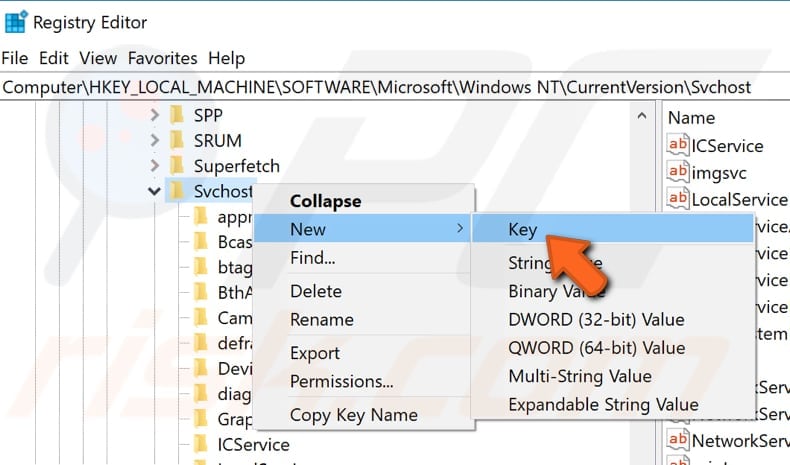
Right-click the Svchost key, select "New" and click "Key". Name the newly created key as "GPSvcGroup".
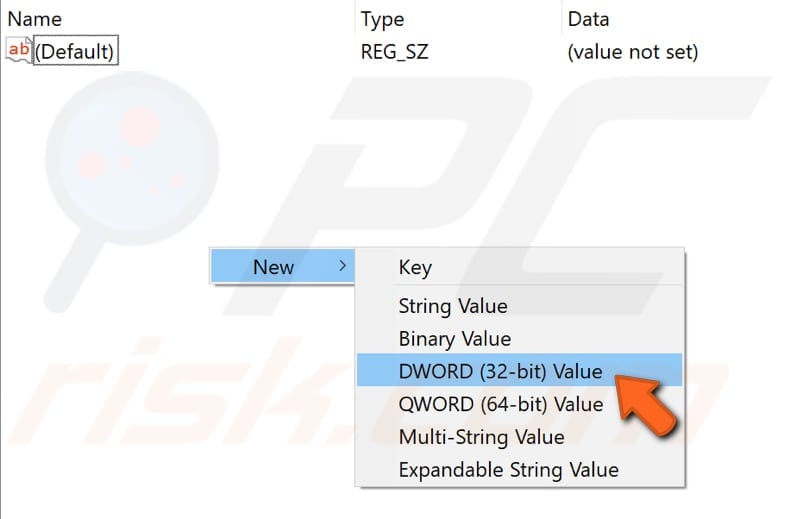
Now create several DWORD (32-bit) values on the right pane, in the GPSvcGroup key. Right-click the background of the right pane when the GPSvcGroup key is selected. Select "New", and then "DWORD (32-bit) Value". Repeat this twice. Two new DWORD (32-bit) values should now be created.
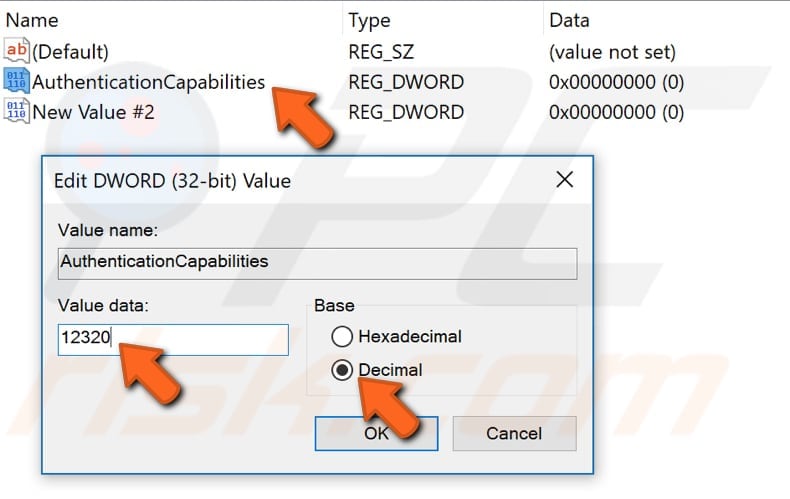
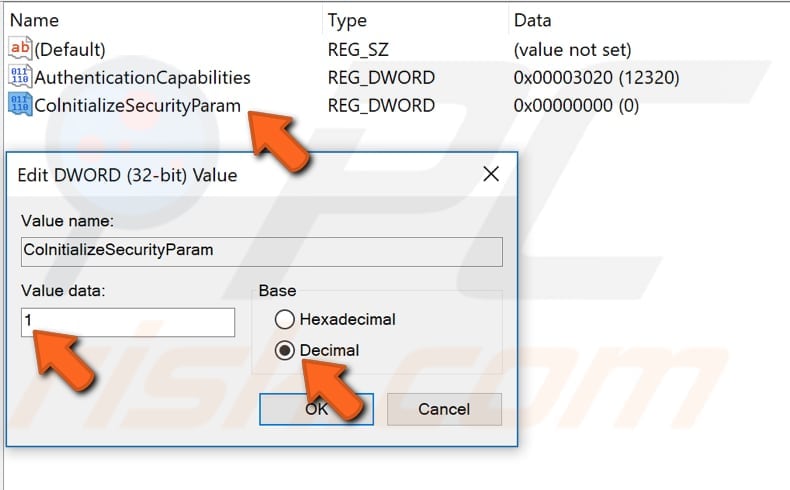
Right-click the first value, select "Rename", and name it "AuthenticationCapabilities". Double-click the AuthenticationCapabilities REG_DWORD and set "Value data" to "12320". Select the "Decimal" option under the Base section. Click "OK" to save the changes.
Rename the second newly-created value to "CoInitializeSecurityParam", double-click it, and set "Value data" to "1". Select the "Decimal" option under the Base section. Click "OK" to save the changes.
Now close the Registry Editor and restart your computer. Check if the "Failed to connect to a Windows service" Group Policy Client service problem persists.
Perform a Clean Boot
If the first method does not solve the problem, you can perform a Clean Boot. When you start Windows using a normal startup operation, several applications and services start automatically and then run in the background. These programs include basic system processes, antivirus software, system utility applications, and other previously installed software. These applications and services can cause software conflicts.
A clean boot starts Windows using a minimal set of drivers and startup programs. This helps to eliminate software conflicts that occur when you install a program or update. A program or service launched on system startup may be causing the "Failed to connect to a Windows service" Group Policy Client service problem.
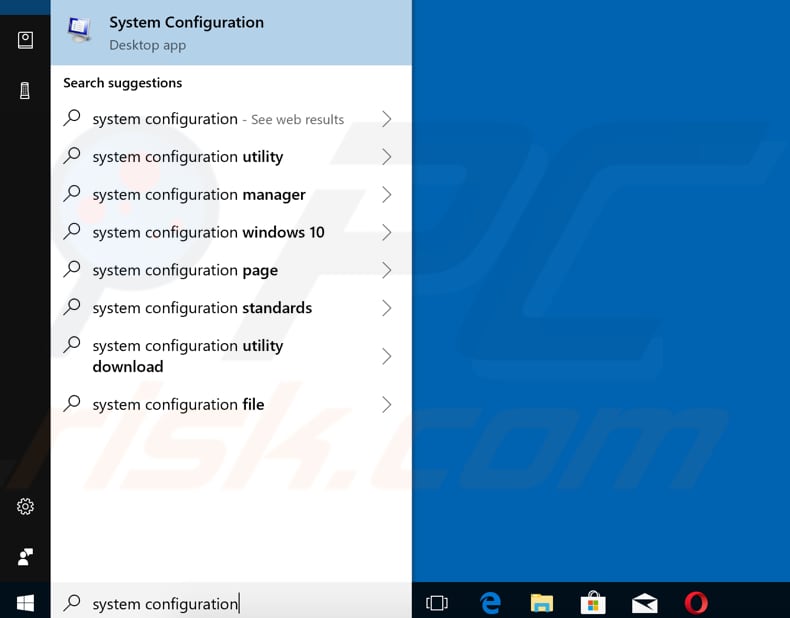
To perform a clean boot, type "system configuration" in Search and click the "System Configuration" result.
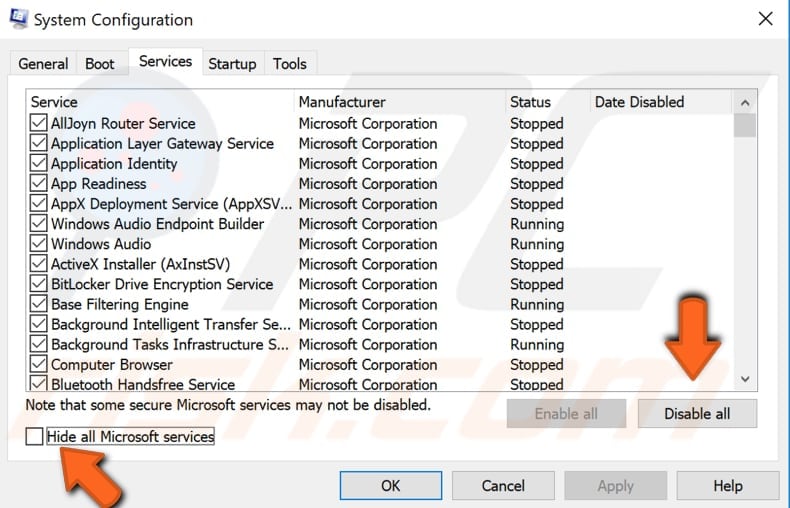
In the System Configuration window, click on the "Services" tab and mark the "Hide all Microsoft services" checkbox. Then, click on "Disable all".
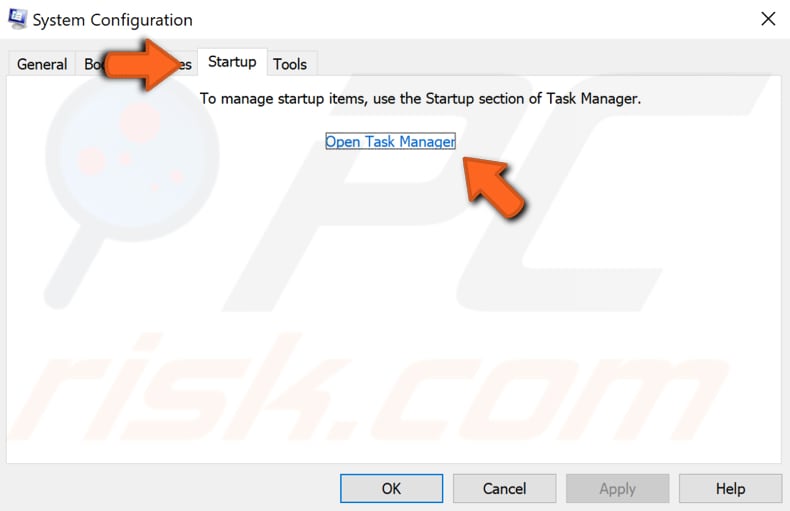
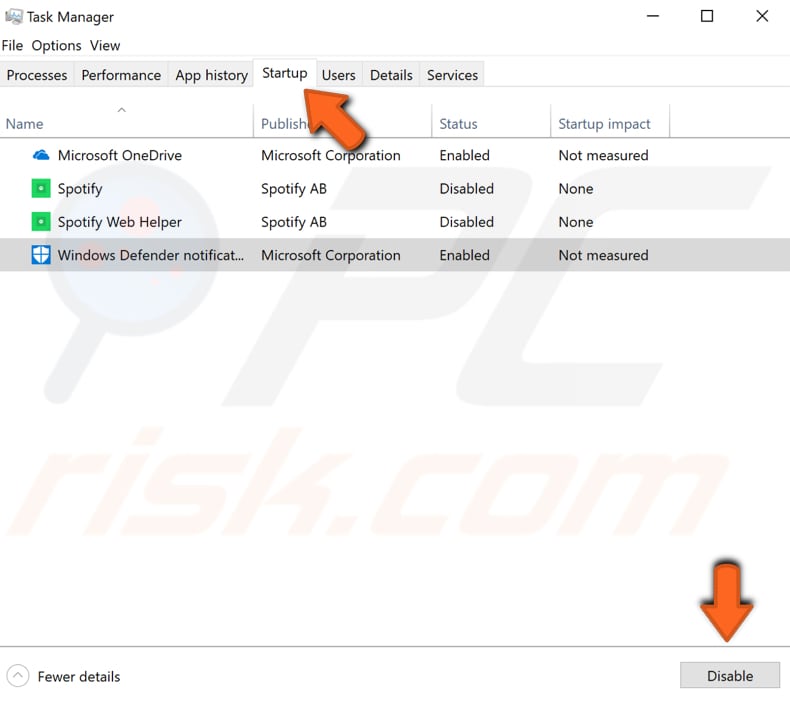
Click the "Startup" tab and click "Open Task Manager".
Under the Task Manager Startup tab, select the first application and click "Disable". Disable all applications one by one, repeating this step. Once all programs are disabled, close Task Manager and click "OK" in the System Configuration Startup tab.
Restart the computer and check if the "Failed to connect to a Windows service" persists.
Reset Winsock
You can also try to reset the Winsock Catalog by using one of the netsh commands. Netsh is a command-line scripting utility that allows you to, locally or remotely, display or modify the network configuration of a computer that is currently running. Netsh also provides a scripting feature to run a group of commands in batch mode against a specified computer.
For this method, you will need to open an elevated Command Prompt. Type "command prompt" in Search and right-click on the "Command Prompt" result. Choose "Run as administrator" to run it with administrative privileges.
When you select "Run as administrator", a User Account Control prompt will appear asking if you allow the Command Prompt to make changes to your computer. Click "Yes".

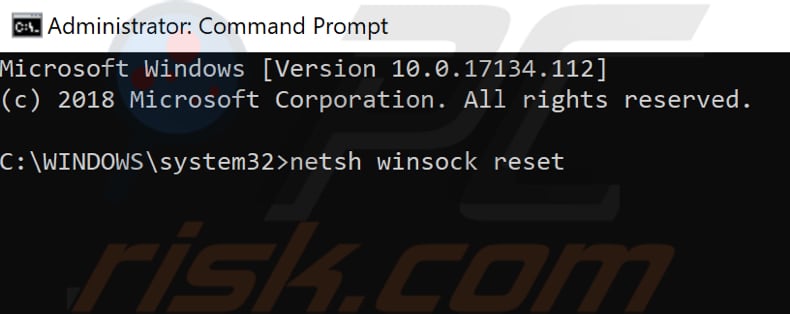
Now type the following command and press Enter: "netsh winsock reset". Close Command Prompt and restart the computer.
Turn off Fast Startup Feature
Fast startup is a feature on Windows 8 and 10 that provides a faster boot time when starting up your computer. It is a useful feature and one that most people use without knowing. However, some people disable it immediately when they receive a new Windows computer. Leaving fast startup enabled should not harm your PC since it is a Windows feature. However, it might cause the "Failed to connect to a Windows service" problem.
To disable Fast Startup, go to Search and type "power". Click on the "Choose power plan" result to open it.

In the Power Options window, click "Choose what the power buttons do".

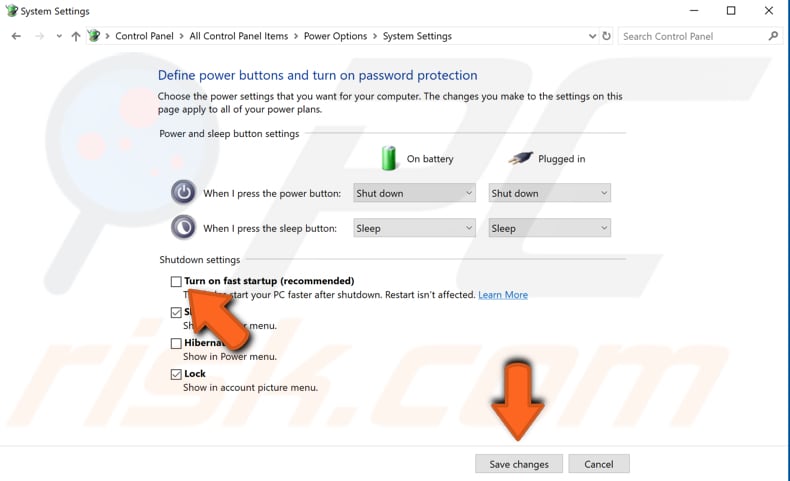
Click on "Change settings that are currently unavailable" and then uncheck the "Turn on fast startup (recommended)" option (if it is enabled). Click "Save changes", restart the computer, and check if the problem is now solved.
We hope that one of the solutions above was effective in solving this problem.
Share:

Rimvydas Iliavicius
Researcher, author
Rimvydas is a researcher with over four years of experience in the cybersecurity industry. He attended Kaunas University of Technology and graduated with a Master's degree in Translation and Localization of Technical texts. His interests in computers and technology led him to become a versatile author in the IT industry. At PCrisk, he's responsible for writing in-depth how-to articles for Microsoft Windows.
▼ Show Discussion