How to Enable DLNA Streaming Server on Windows 10

Get Free Scanner and check your computer for errors
Fix It NowTo fix found issues, you have to purchase the full version of Combo Cleaner. Free trial available. Combo Cleaner is owned and operated by Rcs Lt, the parent company of PCRisk.com read more.
How to Enable DLNA Streaming Server on a Windows 10 PC
Digital Living Network Alliance (DLNA) is used for multimedia DLNA certified devices to communicate with each other when connected to a local/home network. In this article, we will show you how to set up DLNA on your Windows PC.
There are many DLNA certified devices, including PCs, storage servers, smartphones, tablets, TV sets, game consoles, digital cameras, etc. All can display and upload photos, play movies, download and play music, send photos, etc.
Suppose you have two DLNA certified devices such as a Blu-ray player and a PC. In that case, you will be able to access multimedia files, including music, photos, and videos, on your computer and stream them through your Blu-ray player.
Many third-party software packages are available on the Internet that can turn on the DLNA streaming feature on your computer. However, they are usually not needed to enable the DLNA streaming server since you can set it up using the built-in Windows DLNA option.
Video Showing How to Enable DLNA Streaming Server:
Table of Contents:
- Introduction
- How to Enable DLNA Streaming Server
- How to Turn on Indexing
- Video Showing How To Enable DLNA Streaming Server
Download Computer Malware Repair Tool
It is recommended to run a free scan with Combo Cleaner - a tool to detect viruses and malware on your device. You will need to purchase the full version to remove infections. Free trial available. Combo Cleaner is owned and operated by Rcs Lt, the parent company of PCRisk.com read more.
How to Enable DLNA Streaming Server?
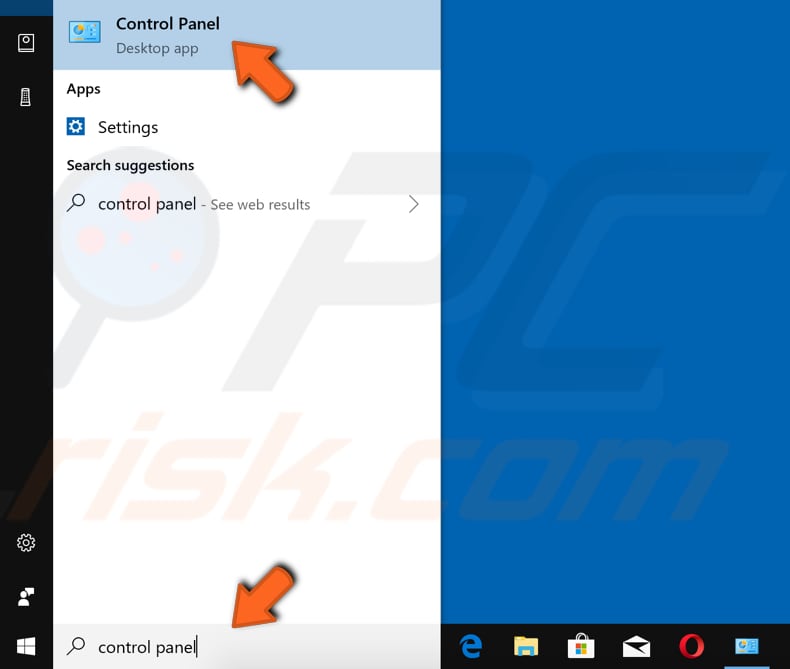
First, open Control Panel by typing "control panel" in Search and clicking the Control Panel result.
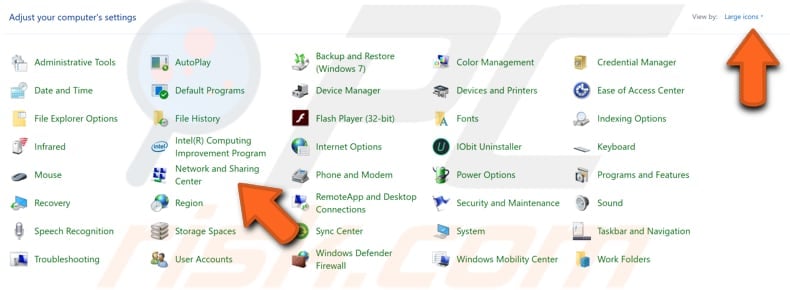
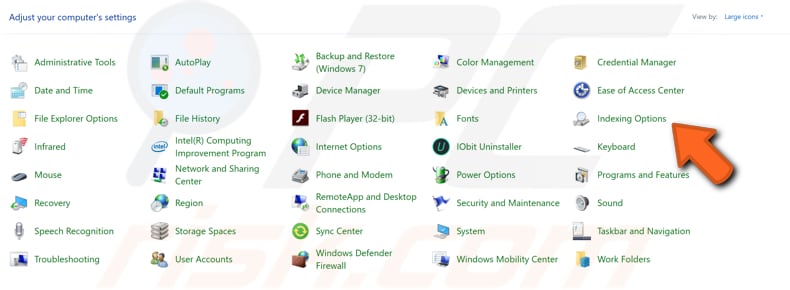
Now find the "Network and Sharing Center" option and click it. If you do not see the Control Panel as shown here, choose to view by "Large icons" on the top-right corner.
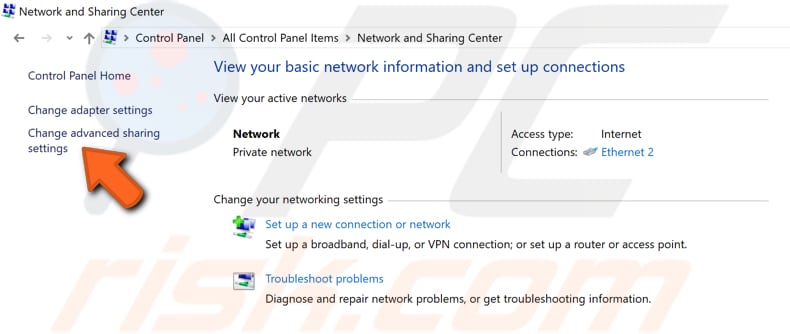
In the Network and Sharing Center window, click the "Change advanced sharing settings" on the left pane.
Now click "All Networks" to see more available options.
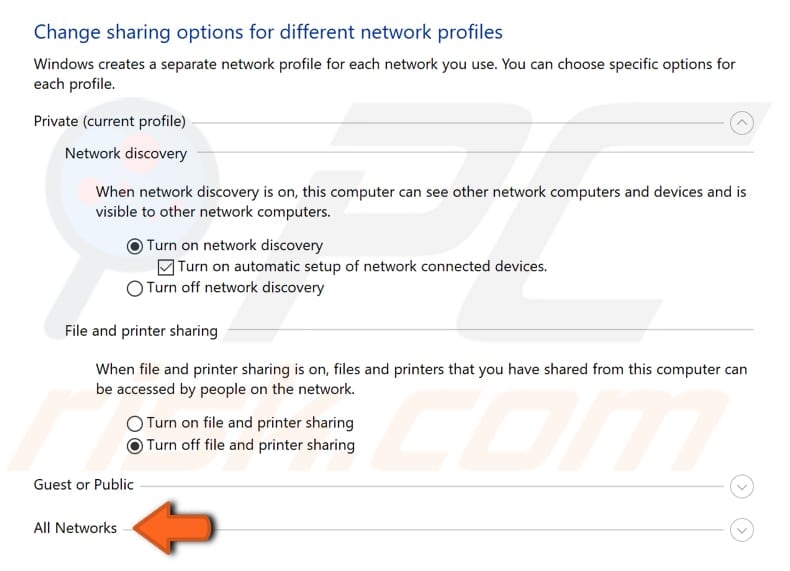
You should now be able to find the "Choose media streaming options..." option - click it.
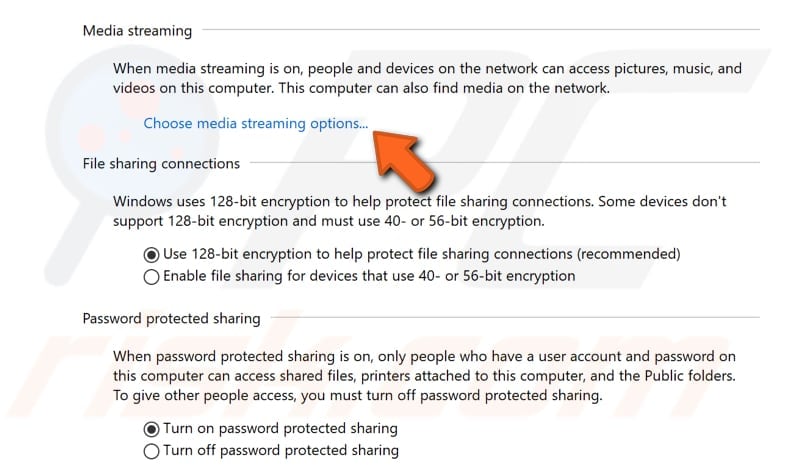
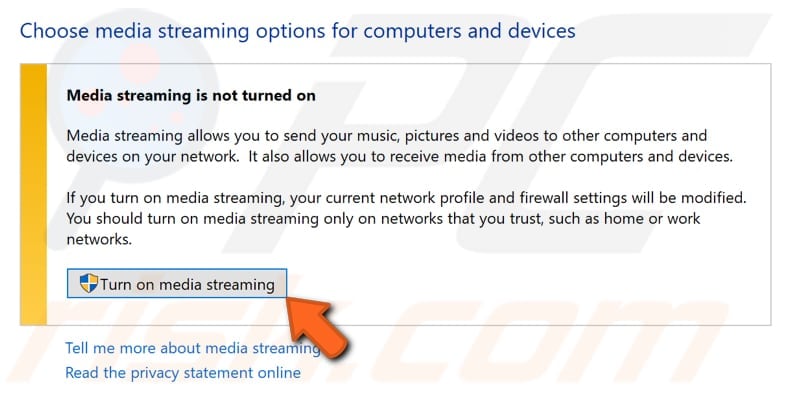
You should see a window that states that media streaming is not turned on. Click the "Turn on media streaming" button.
Now you can start adjusting streaming options for computers and devices. However, the default options should be fine, and you will not need to adjust these.
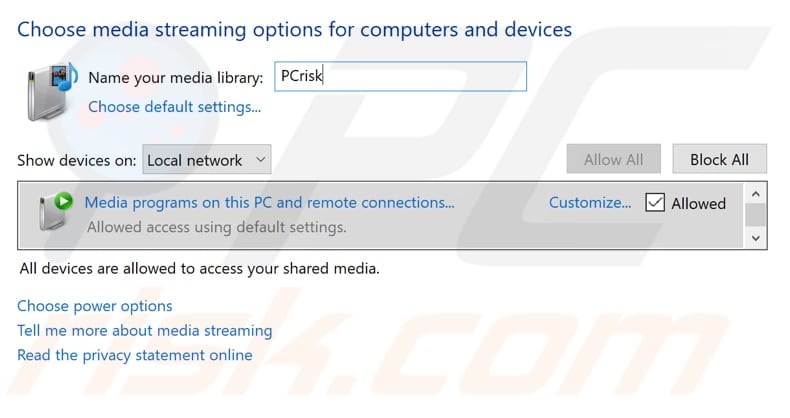
Now your music, photos, and videos should be visible to any streaming device supported by DLNA.
How to Turn on Indexing
If you cannot enable the media streaming option in Control Panel, this is probably because Windows Indexing is turned off. The Indexing service is used to improve search performance on computers and corporate computer networks.
To check if Indexing is enabled, open Windows Services. You can modify a service's settings for security, troubleshooting, and performance-related reasons.
Press Windows (Win) key + R, or simply right-click Start and select "Run" from the contextual menu. In the Run dialog box, type "services.msc" and press Enter or click "OK".

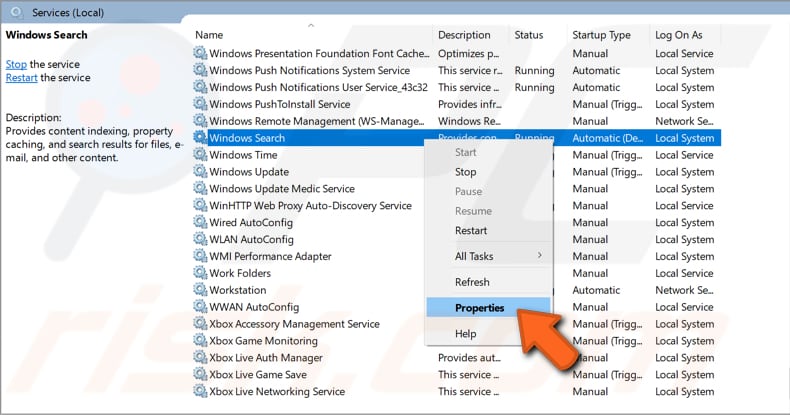
You will see a list of Windows services, find Windows Search service, right-click it and select "Start" from the contextual menu if it is 'stopped'.
To ensure that it will be disabled the next time you start your computer, right-click it again and select "Properties".
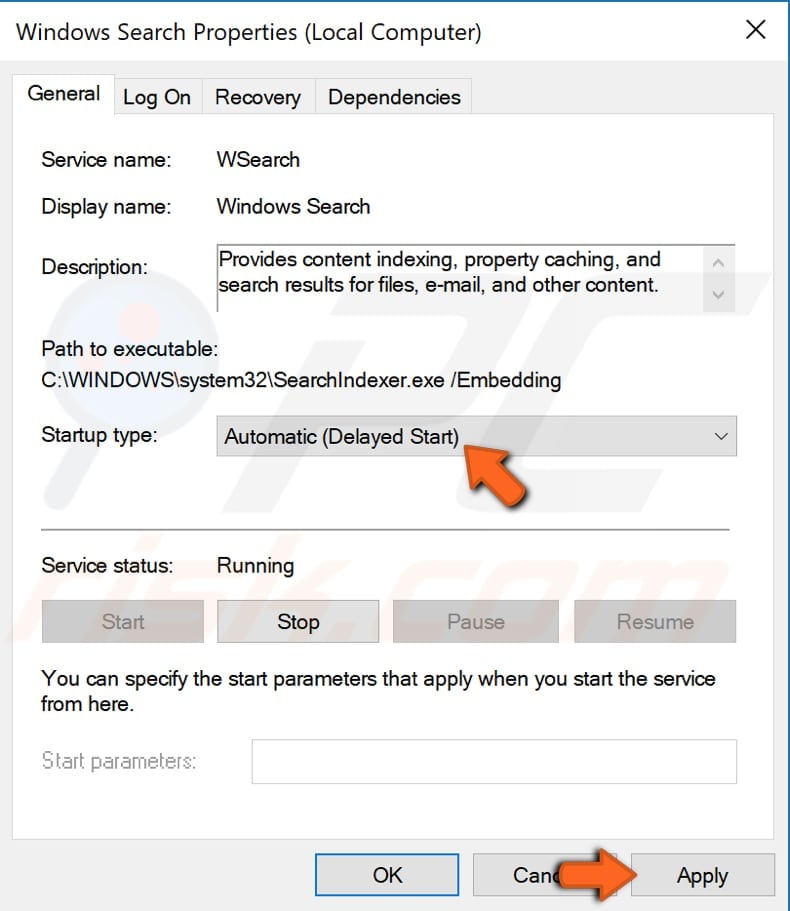
Make sure that the "Startup type" is set to "Automatic (Delayed Start)". Click "Apply" to save the changes (if any were made).
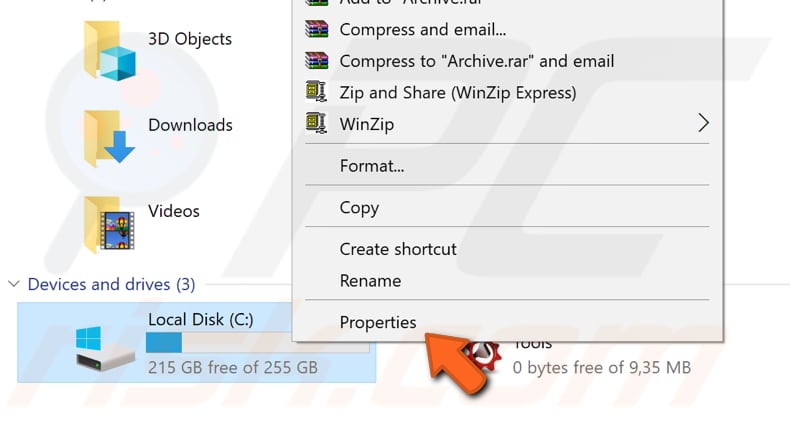
Also, if the media that you want to stream is stored on your Local Disk (C:) or any other disk, go to This PC and right-click your Local Disk, select "Properties" from the contextual menu.
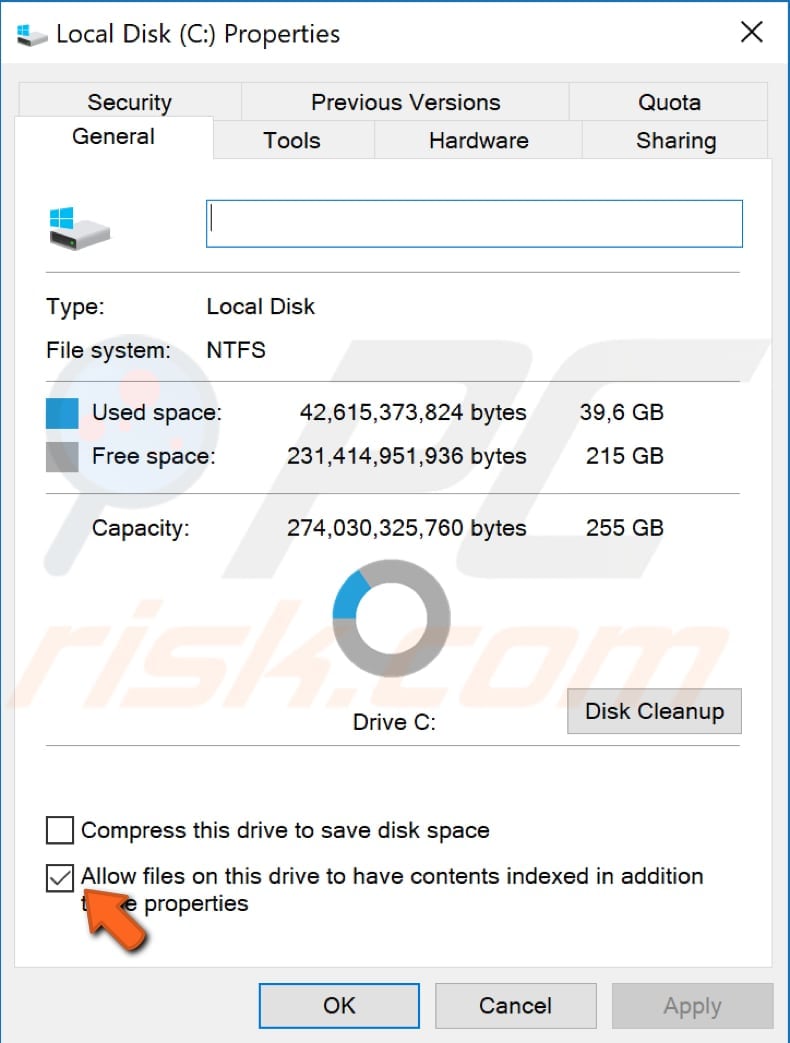
Ensure that the "Allow files on this drive to have contents indexed in addition to file properties" checkbox is ticked and click "Apply" if any changes were made.
If this does not solve the problem, go to Control Panel again and click "Indexing Options".
Now click the "Modify" button.
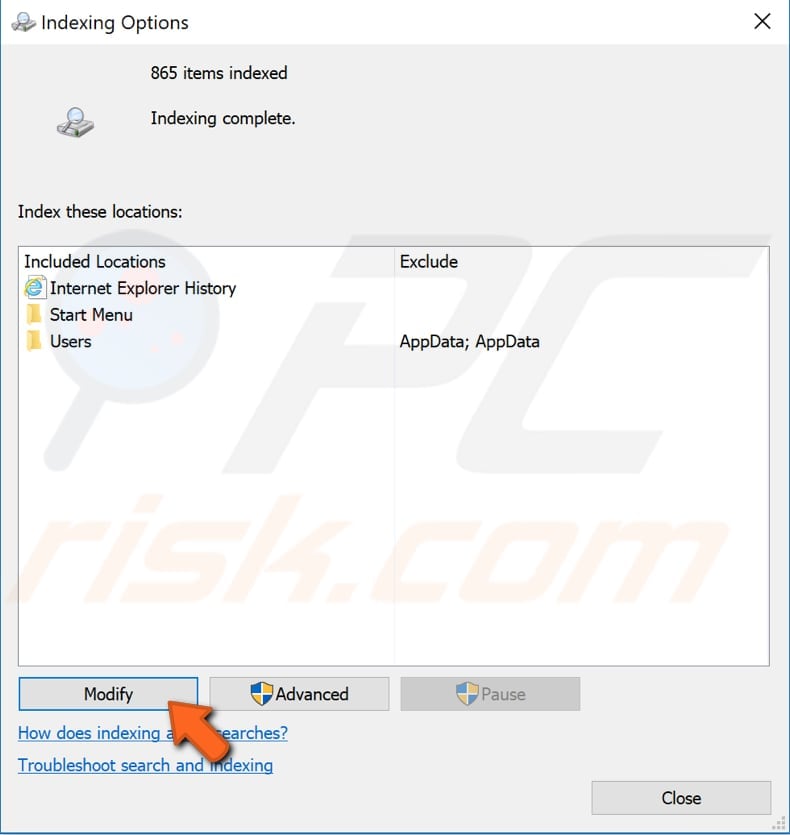
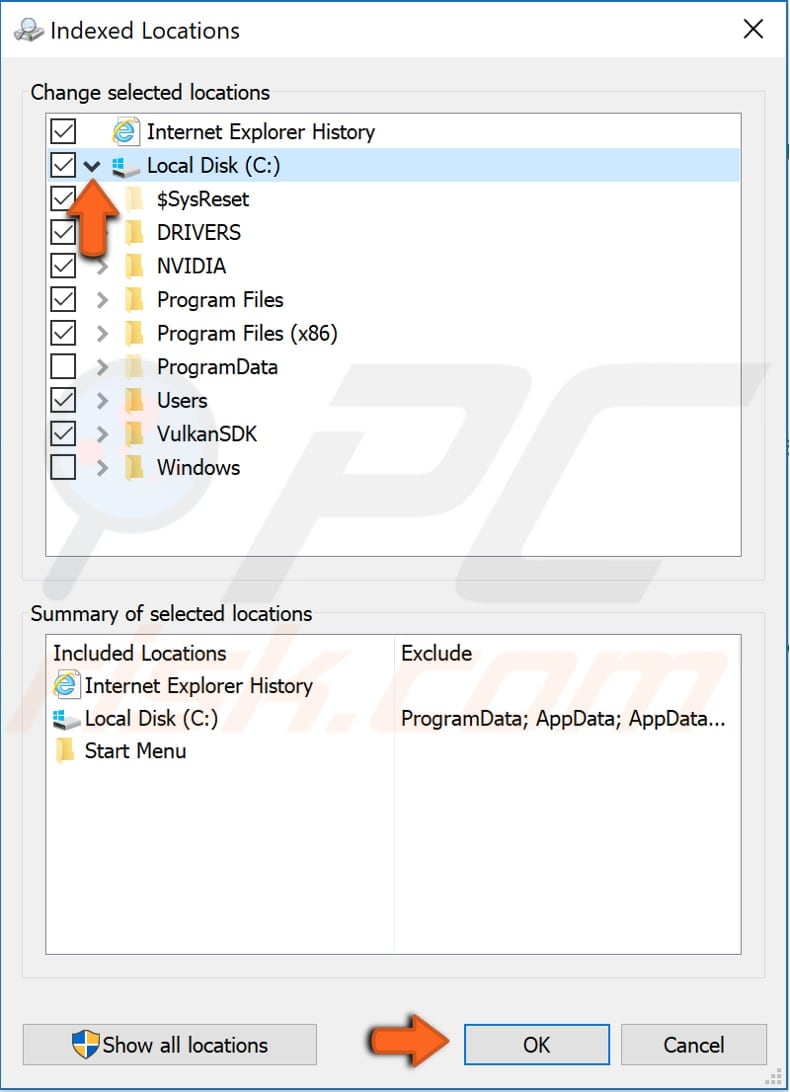
You will see a list of indexed locations. Ensure that the location where your media is stored is selected to be an indexed location.
Additionally, expand the indexed location and ensure that a folder containing your media is also selected to be indexed. Click "OK" and check if you are now able to turn on media streaming.
We hope that this guide was helpful, and you can now enable the DLNA streaming server on a Windows 10 computer. If there is something we missed or you would like to add something, do not hesitate to share it with us by leaving a comment in the section below.
Share:

Rimvydas Iliavicius
Researcher, author
Rimvydas is a researcher with over four years of experience in the cybersecurity industry. He attended Kaunas University of Technology and graduated with a Master's degree in Translation and Localization of Technical texts. His interests in computers and technology led him to become a versatile author in the IT industry. At PCrisk, he's responsible for writing in-depth how-to articles for Microsoft Windows.
▼ Show Discussion