Fix "System and compressed memory" High CPU Usage

How to Fix "System and compressed memory" Process High CPU Usage
You may have noticed high CPU usage due to the "System and compressed memory" process. This process is responsible for RAM (Random Access Memory) management and compression of files and folders. This article features instructions on how to fix this problem.
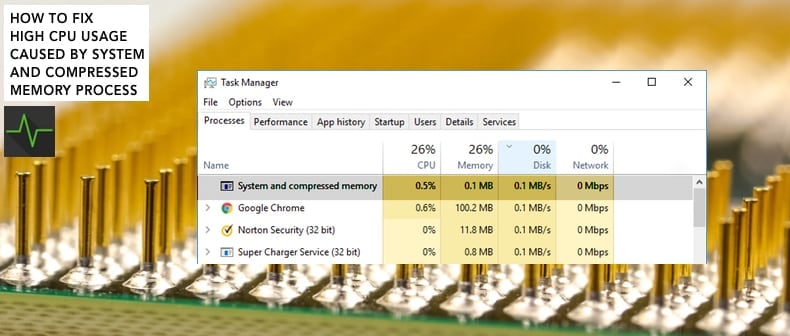
Normally, the "System and compressed memory" process should not use extensive CPU resources. However, CPU utilization can sometimes spike dramatically - even up to 100%.
The most common reasons for high CPU usage by the "System and compressed memory" process are problems with virtual memory settings, or certain Windows features triggering this abnormal behavior.
To fix this problem and lower CPU usage, you might need to check Virtual Memory settings, disable full memory diagnostic entry, disable the Superfetch service, adjust visual effects performance, scan the system for malware, run the system maintenance troubleshooter, and perform a clean boot.
The guide below describes various methods to solve the problem and lower the high CPU usage by the "System and compressed memory" process.
Video Showing How to Fix "System and compressed memory" High CPU Usage:
Table of Contents:
- Introduction
- Disable Full Memory Diagnostic Task
- Check Virtual Memory Settings
- Disable Superfetch Service
- Run System Maintenance Troubleshooter
- Perform a Clean Boot
- Adjust Performance Options
- Check Your RAM
- Video Showing How to Fix "System and compressed memory" High CPU Usage
Download Computer Malware Repair Tool
It is recommended to run a free scan with Combo Cleaner - a tool to detect viruses and malware on your device. You will need to purchase the full version to remove infections. Free trial available. Combo Cleaner is owned and operated by Rcs Lt, the parent company of PCRisk.com read more.
Disable Full Memory Diagnostic Task
Here, we describe how to disable Full Memory Diagnostic using Task Scheduler. Windows Task Scheduler is a component of Microsoft Windows that provides the ability to schedule the launch of programs or scripts at predefined times or after specified intervals.
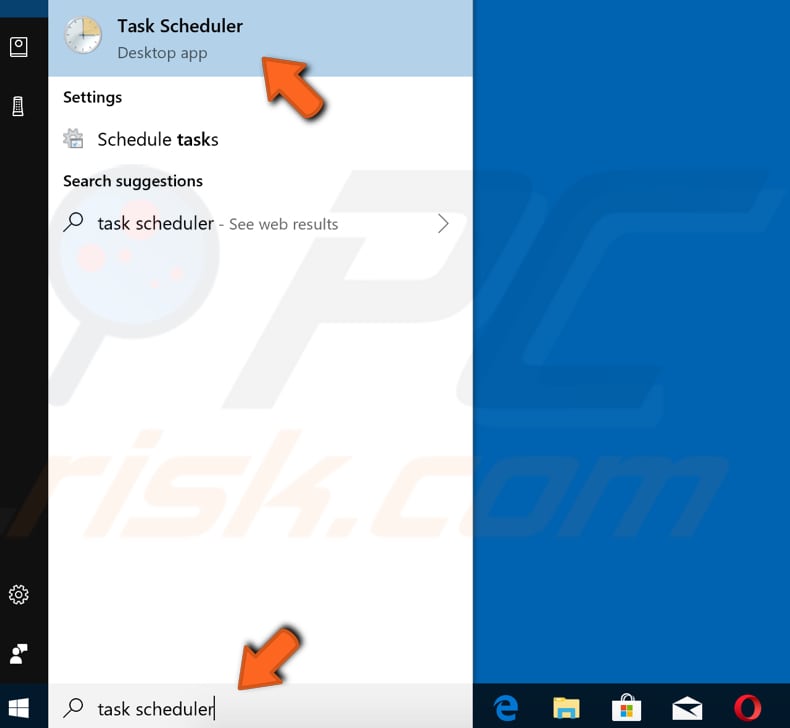
To launch Task Scheduler, type "task scheduler" in Search and click the "Task Scheduler" result.
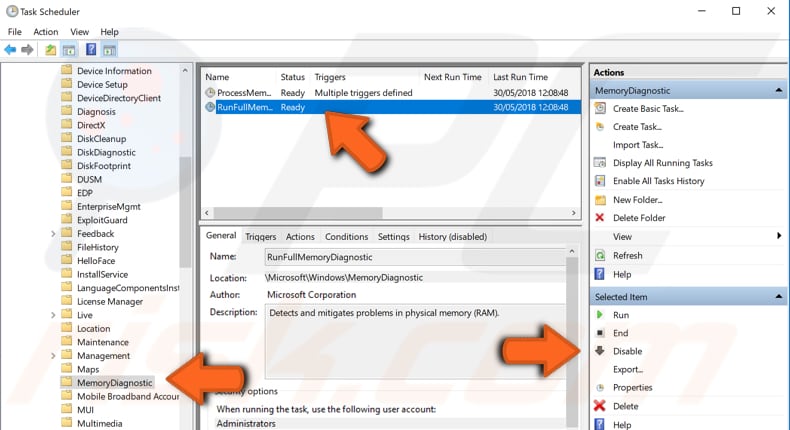
Now follow this path by taking the actions described on the right pane: "Task Scheduler Library -> Microsoft -> Windows". Find "MemoryDiagnostic" under the Windows directory and select it.
Click the "RunFullmemoryDiagnostic" task on the middle pane and click "Disable" on the right pane. Restart your computer and see if the "System and compressed memory" process is still causing high CPU usage.
Check Virtual Memory Settings
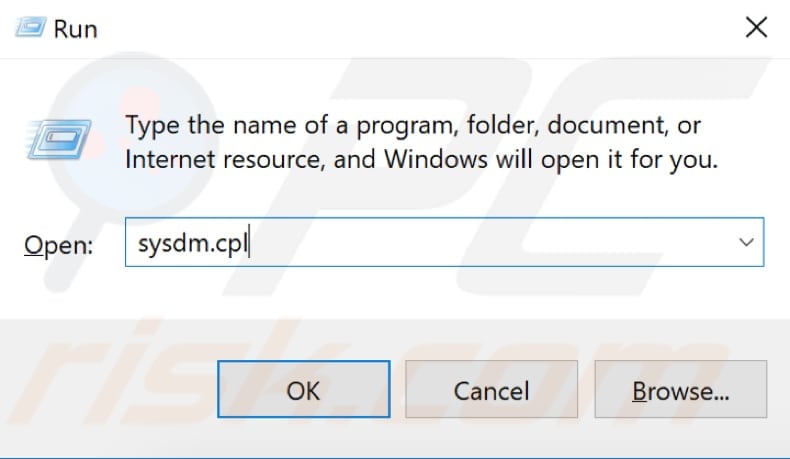
In this method, you will need to check Virtual Memory settings and whether automatic paging file size managing is enabled. Open the Run dialog box by pressing Win (Windows key) + R or by typing "run" in Search and clicking the Run result.
In the Run dialog box, type "sysdm.cpl" and click "OK" or press Enter on your keyboard.
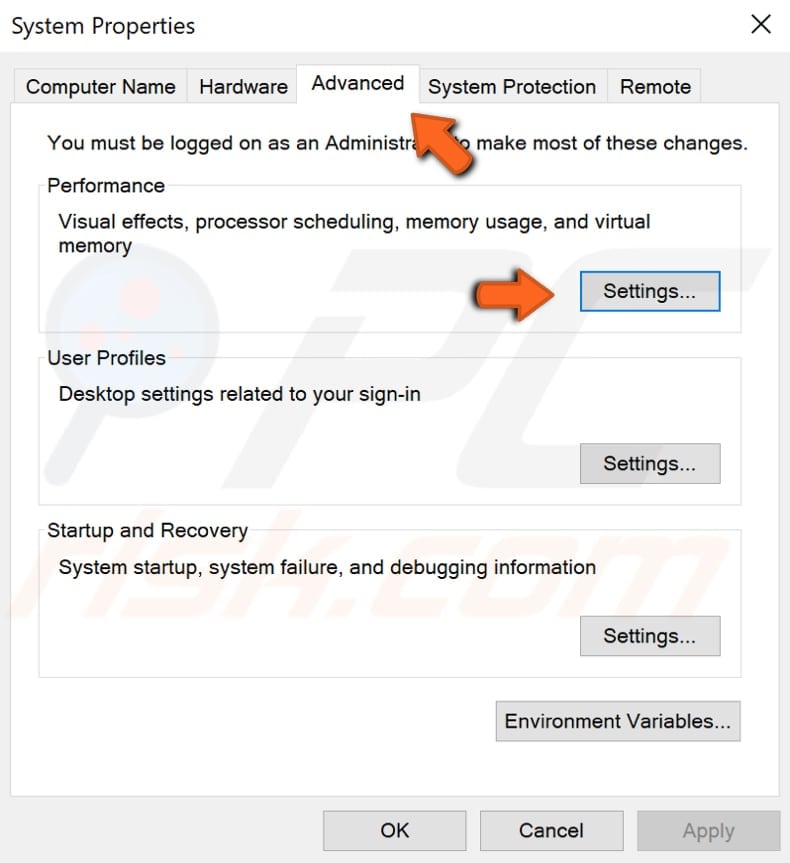
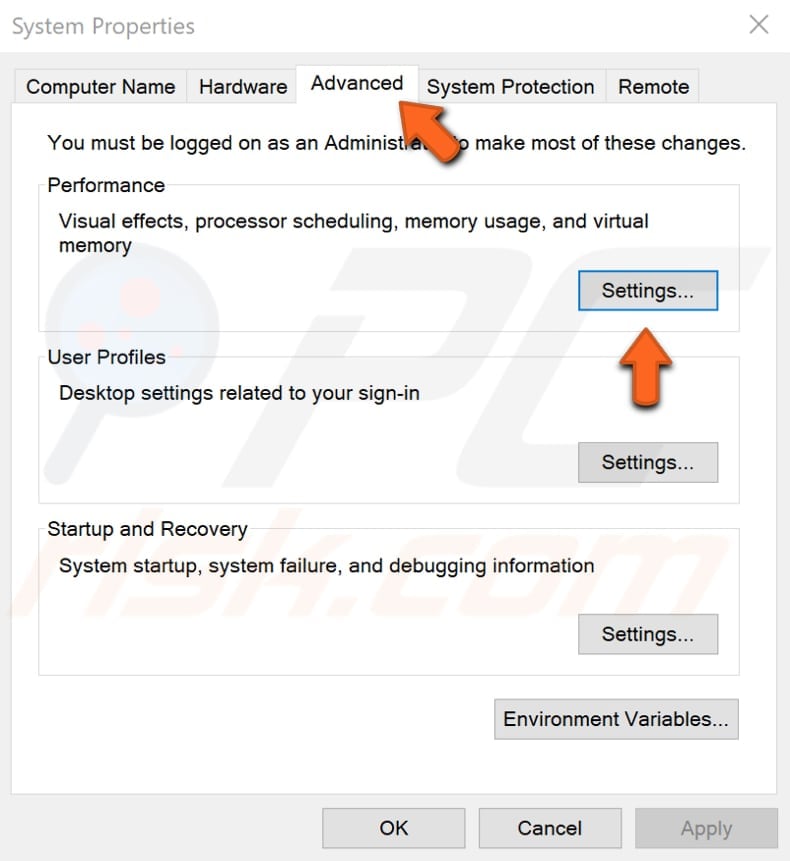
In the System Properties window, select the "Advanced" tab and click "Settings..." under Performance.
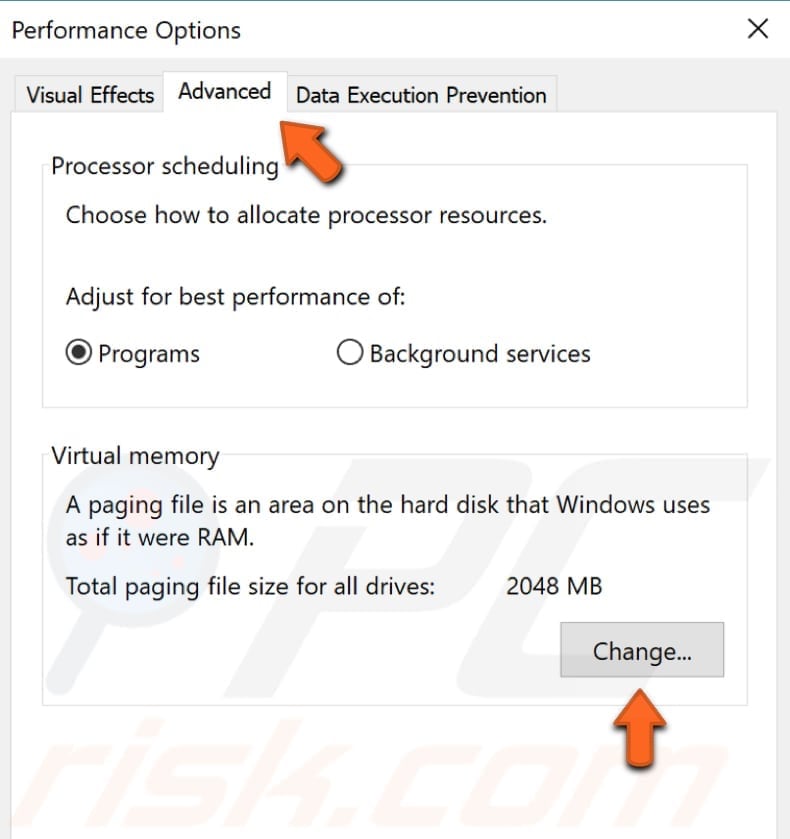
Now select the "Advanced" tab once again and click "Change..." under Virtual memory.
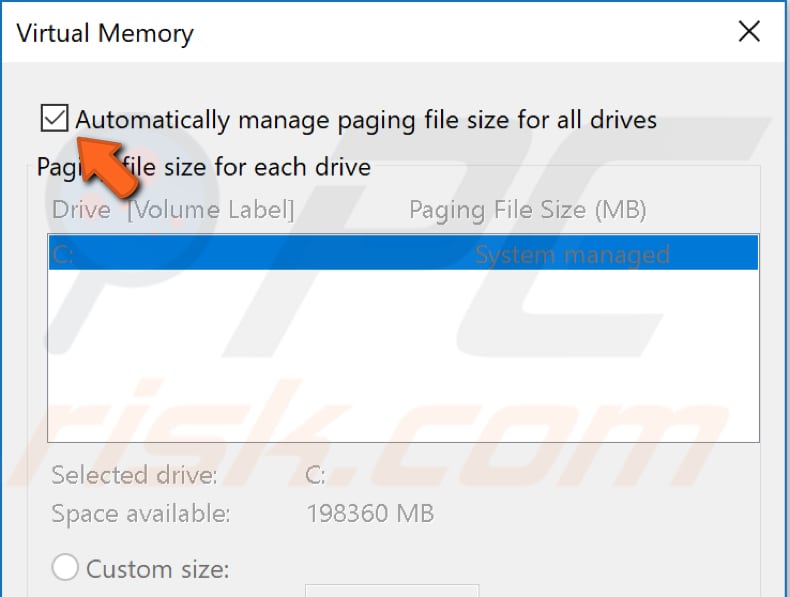
Make sure that the "Automatically manage paging file size for all drives" checkbox is ticked. If not, tick it and click "OK" to save the changes.
Restart your computer and see if the "System and compressed memory" process is still causing high CPU usage.
Disable Superfetch Service
Superfetch is a Windows service that is intended to speed up application launching and improve system responsiveness. It caches data so that it can be immediately available to your application. Superfetch achieves this by preloading frequently used programs into RAM so that they are not required to be called from the hard drive. This can sometimes affect performance and slow down the system.
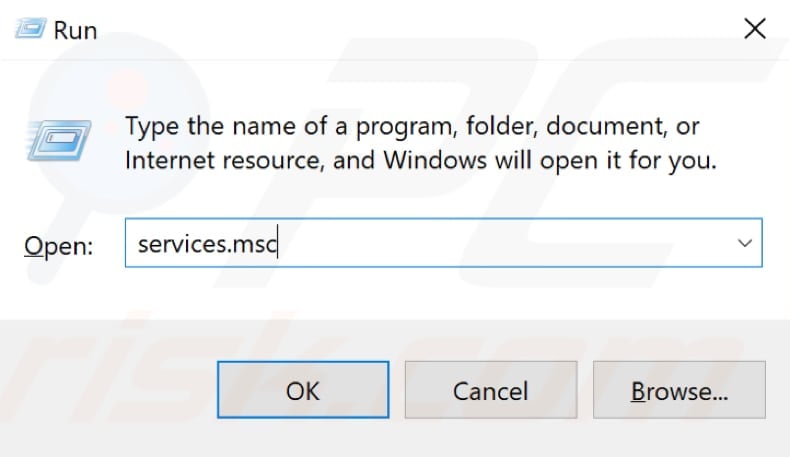
To disable Superfetch, open the Run dialog box and type "services.msc". Press Enter on the keyboard or click "OK".
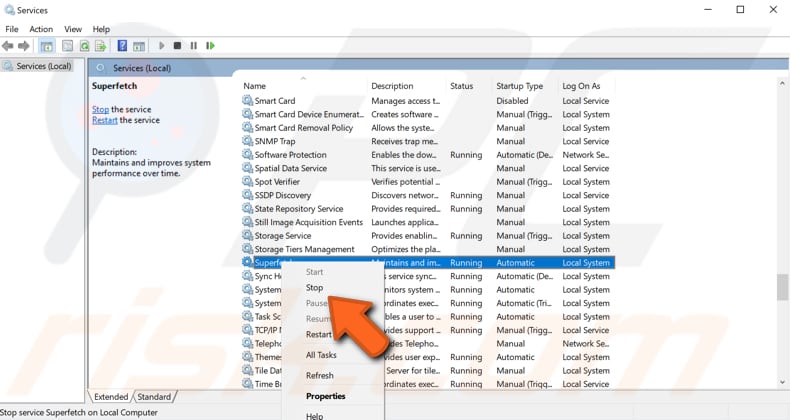
In the Services window, you will see a list of local services. Scroll down to find "Superfetch" and right-click it. Select "Stop" from the drop-down menu to stop the Superfetch service. See if the 'System and compressed memory' process is still causing high CPU usage.
If this does not solve the problem, you might want to re-enable the Superfetch service: repeat the steps, but select "Start" where you previously selected "Stop".
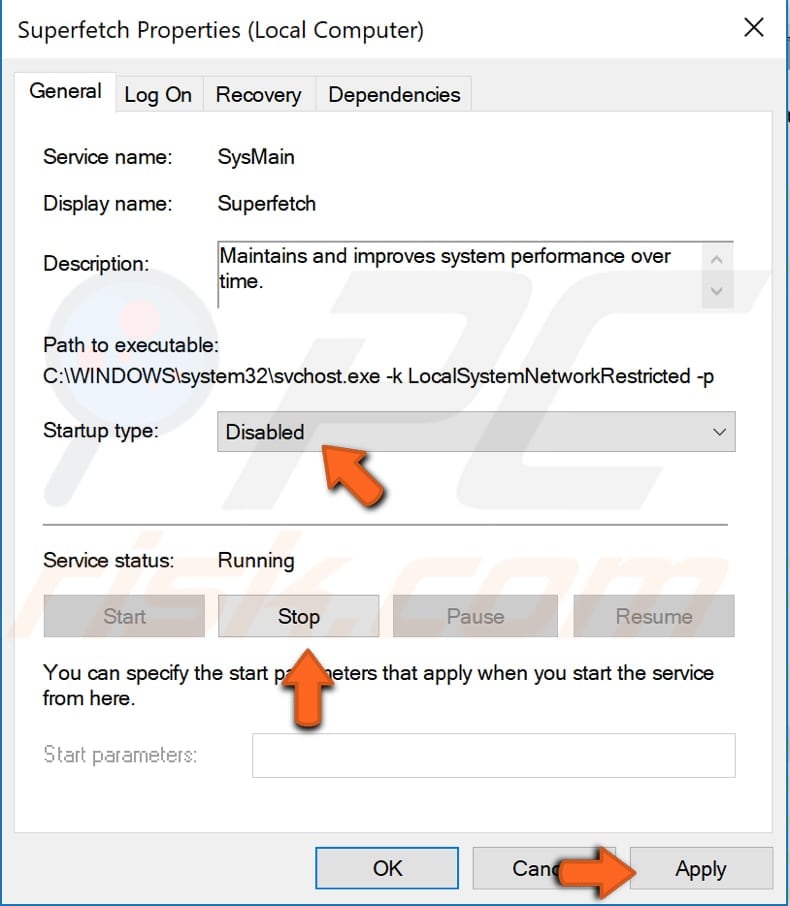
If you want to disable the Superfetch service permanently, right-click it and select "Properties". In the Superfetch Properties (Local Computer) window, set "Startup type" to "Disabled", click "Stop" and "Apply" to save the changes.
If you want to re-enable it, change it from "Disabled" to "Automatic", click "Stop", and then "Apply".
Run System Maintenance Troubleshooter
System Maintenance Troubleshooter is a Windows tool that automatically fixes any detected problems relating to maintenance tasks. It fixes broken shortcuts, disk volume errors, unused desktop icons, etc.
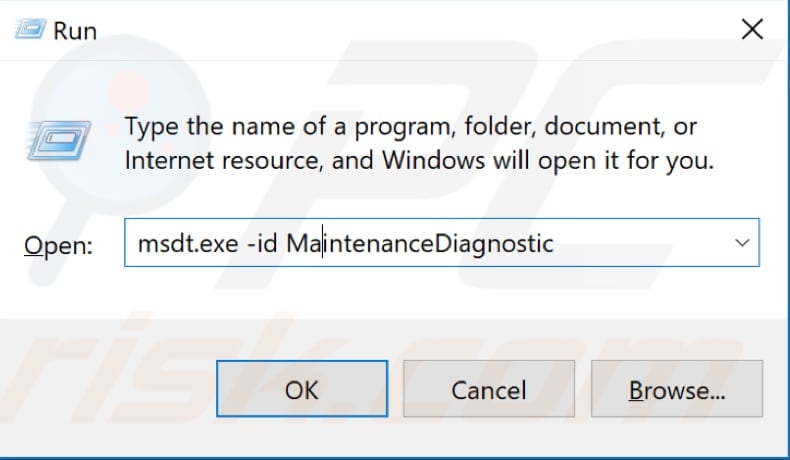
To run the System Maintenance Troubleshooter, open the Run dialog box (by pressing Windows key + R) and type "msdt.exe -id MaintenanceDiagnostic". Press Enter to run it.
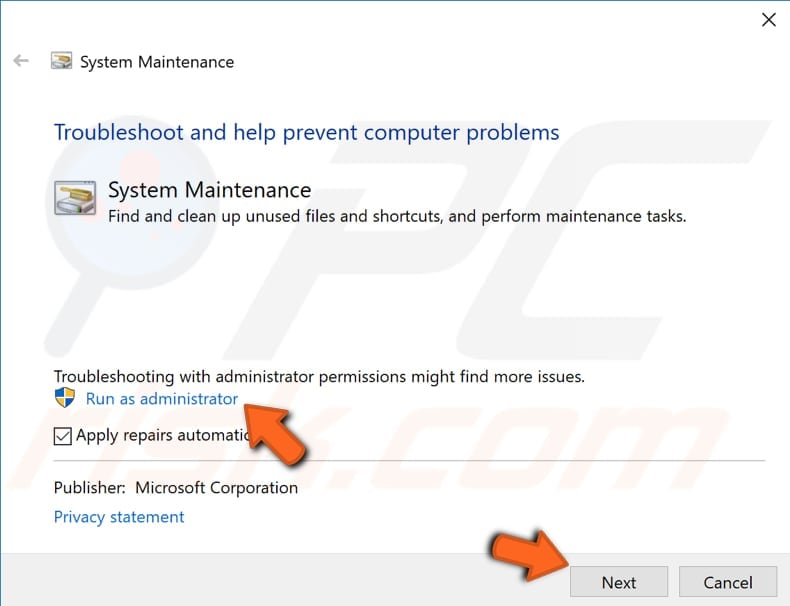
Before you start troubleshooting maintenance problems, remember that you will need to use your administrator account to run System Maintenance Troubleshooter.
In the System Maintenance window, click "Advanced", click "Run as administrator", click "Next", and then and follow the instructions.
Perform a Clean Boot
When you start Windows using a normal startup operation, several applications and services start automatically and then run in the background. These programs include basic system processes, antivirus software, system utility applications, and other previously installed software. These applications and services can cause software conflicts.
A clean boot is performed to start Windows using a minimal set of drivers and startup programs. This helps eliminate software conflicts that occur when you install a program or an update, or when you run a program in Windows.
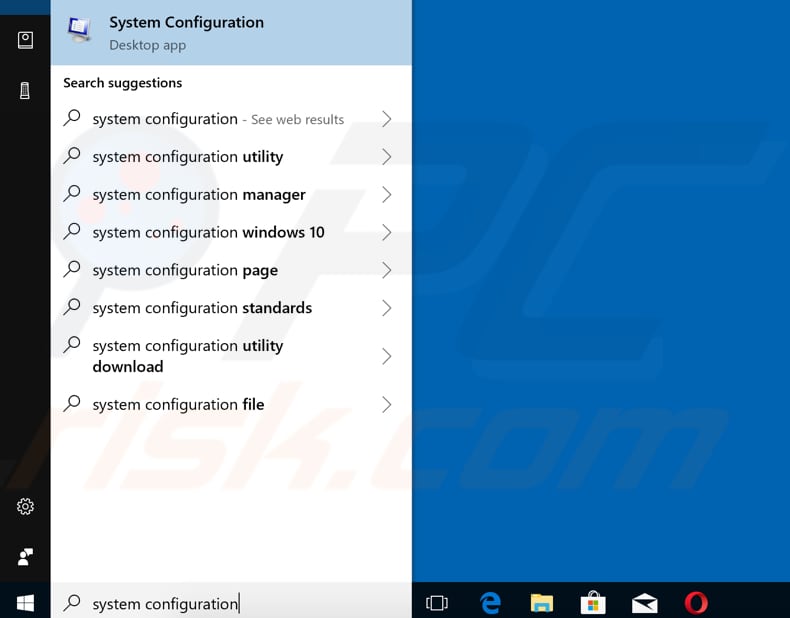
To perform a clean boot, type "system configuration" in Search and click on the "System Configuration" result.
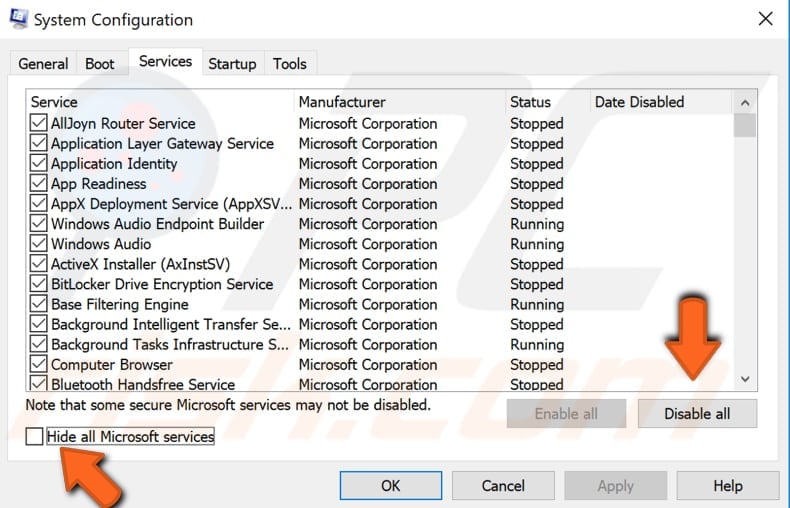
In the System Configuration window, click on the "Services" tab and mark the "Hide all Microsoft services" checkbox. Then, click on "Disable all".
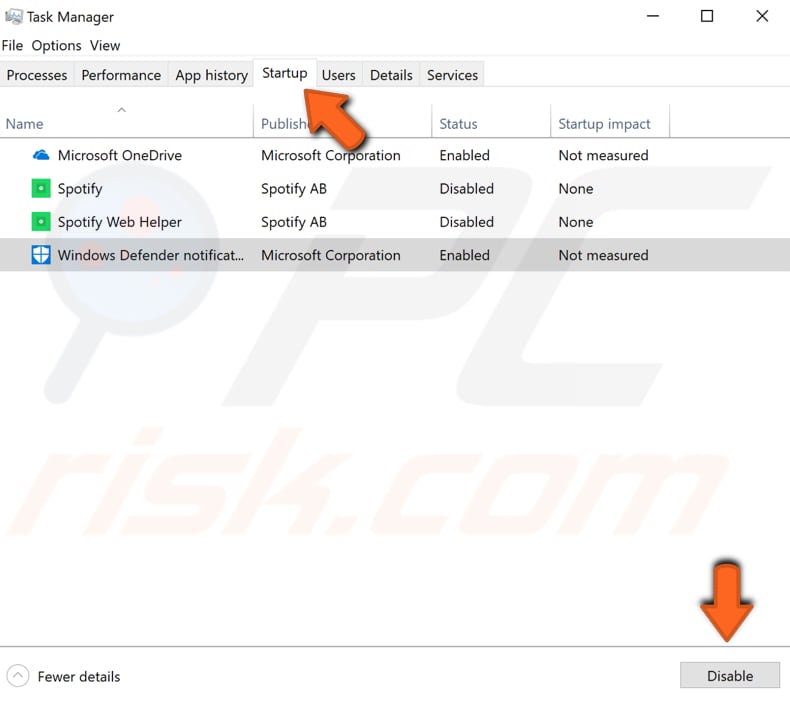
Click the "Startup" tab and click "Open Task Manager".

Under the Task Manager Startup tab, select the first application and click "Disable" to disable it. Disable all applications one by one, repeating this step. When all programs are disabled, close Task Manager and click "OK" in the System Configuration Startup tab.
Restart your computer and see if the problem with the high CPU usage caused by the "System and compressed memory" process persists.
If you can start Windows with a clean boot, you know that one of the programs launched at system startup is causing the problem. Find out which one by disabling and re-enabling them individually using the above steps and uninstall it (or keep it disabled).
Adjust Performance Options
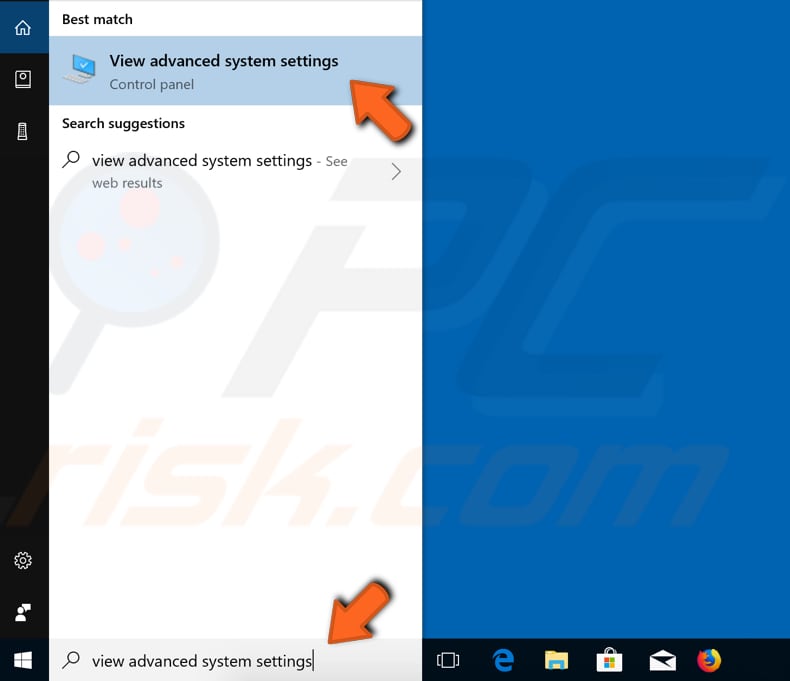
Select the settings you want to use for the best appearance and performance of Windows on your computer. Type "advanced system settings" in Search and click the "View advanced system settings" result to open it.
In the System Properties window under the "Advanced" tab, click "Settings..." - this will open the Performance Options window.
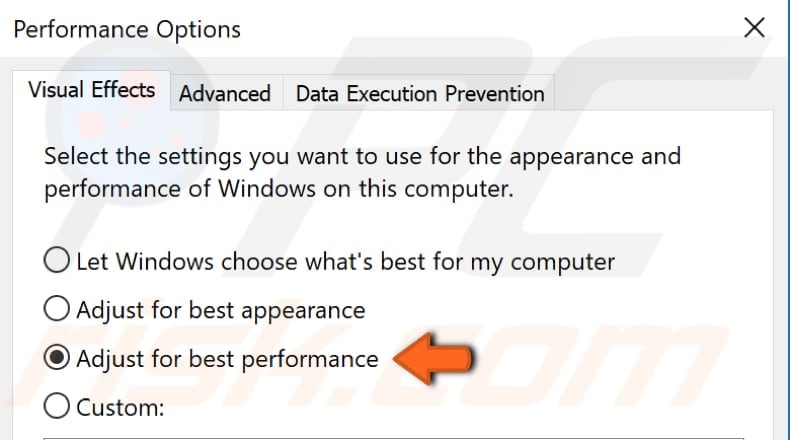
In the Performance Options window, you will be automatically directed to the Visual Effects tab. Select the "Adjust for best performance" option and click "Apply" to save the changes. Restart the computer and see if the problem with high CPU usage caused by the "System and compressed memory" process persists.
Check Your RAM
As mentioned in our introduction, the high CPU usage problem might be caused by Random Access Memory (RAM) issues. It is possible that the RAM chip is not connected properly or the slot (or chip) is dusty. If you know how to detach and reattach RAM, remove the RAM chip, clear any dust and replace it.
Do not do this when your computer is turned on or connected to the power source. When you have finished, turn the computer on and see if the high CPU usage problem persists.
If none of the above methods solve the problem, the Windows operating system may be checking for updates, thus causing a problem with high CPU usage. In this case, simply wait for the checking process to finish, and the CPU usage should return to normal. If unnecessary programs are running, uninstall them.
Try to close programs that you are not using and keep CPU usage as low as possible.
Share:

Rimvydas Iliavicius
Researcher, author
Rimvydas is a researcher with over four years of experience in the cybersecurity industry. He attended Kaunas University of Technology and graduated with a Master's degree in Translation and Localization of Technical texts. His interests in computers and technology led him to become a versatile author in the IT industry. At PCrisk, he's responsible for writing in-depth how-to articles for Microsoft Windows.
▼ Show Discussion