How to Fix External Hard Drive Not Showing Up on Windows 10

Get Free Scanner and check your computer for errors
Fix It NowTo fix found issues, you have to purchase the full version of Combo Cleaner. Free trial available. Combo Cleaner is owned and operated by Rcs Lt, the parent company of PCRisk.com read more.
How to Fix External Hard Drive Not Showing Up on Windows 10
An external hard drive is connected outside of the computer, thus making it portable and easily transported, stored, and connected to other systems. Unfortunately, an external hard drive may not show up in Windows when it's connected. This article will show you how to fix this issue.
The advantages of external drives are that they are portable and can provide additional mass storage. External hard drives provide excellent additional storage, especially if you use a laptop computer since it is more difficult to replace a hard drive in a laptop (for one with larger storage capacity) than a desktop.
You may already have an external hard drive but experience problems accessing it in the Windows operating system. Connecting an external hard drive should be simple, but it might not appear when connected to the computer as Windows might not detect it.
This is a common problem that can be straightforward to resolve. Follow the guide below to make your external hard drive/s visible in Windows.
Video Tutorial on How to Fix External Hard Drive Not Showing Up
Table of Contents:
- Introduction
- Run Windows Troubleshooters
- Update or Reinstall Device Driver
- Try a Different USB Port
- Disable USB Selective Suspend Setting
- Use Disk Management Tool
- Video Tutorial on How to Fix External Hard Drive Not Showing Up
Download Computer Malware Repair Tool
It is recommended to run a free scan with Combo Cleaner - a tool to detect viruses and malware on your device. You will need to purchase the full version to remove infections. Free trial available. Combo Cleaner is owned and operated by Rcs Lt, the parent company of PCRisk.com read more.
Run Windows Troubleshooters
Firstly, run the Windows Hardware and USB troubleshooter. Windows includes several troubleshooters designed to diagnose and automatically fix various computer problems.
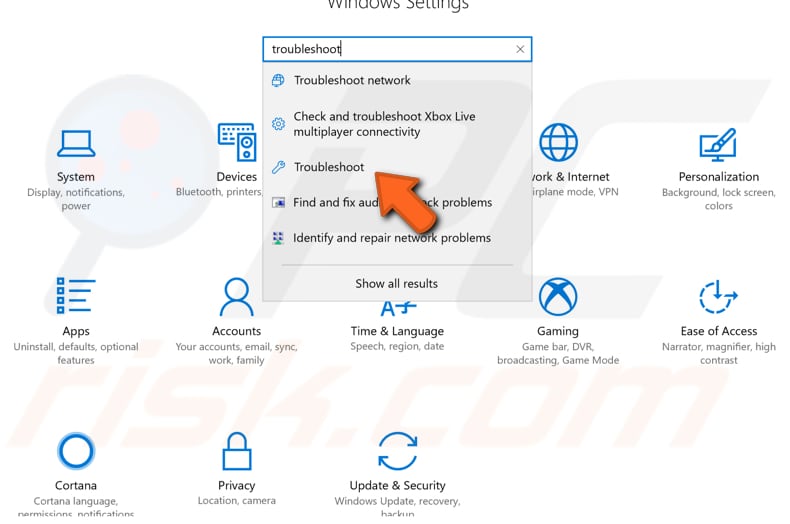
To start troubleshooting, go to Settings and type "troubleshoot", select "Troubleshoot" from the list.
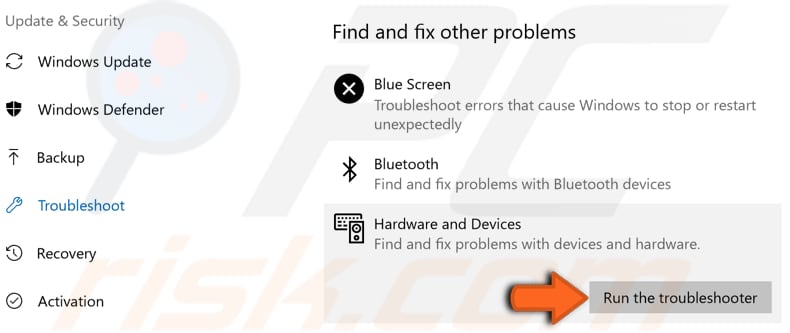
Find the "Hardware and Devices" troubleshooter under "Find and fix other problems", select it and click the "Run the troubleshooter" button. It will start looking for problems relating to hardware and devices.
Hopefully, running this troubleshooter will help you solve this problem, and your external hard drive will appear.
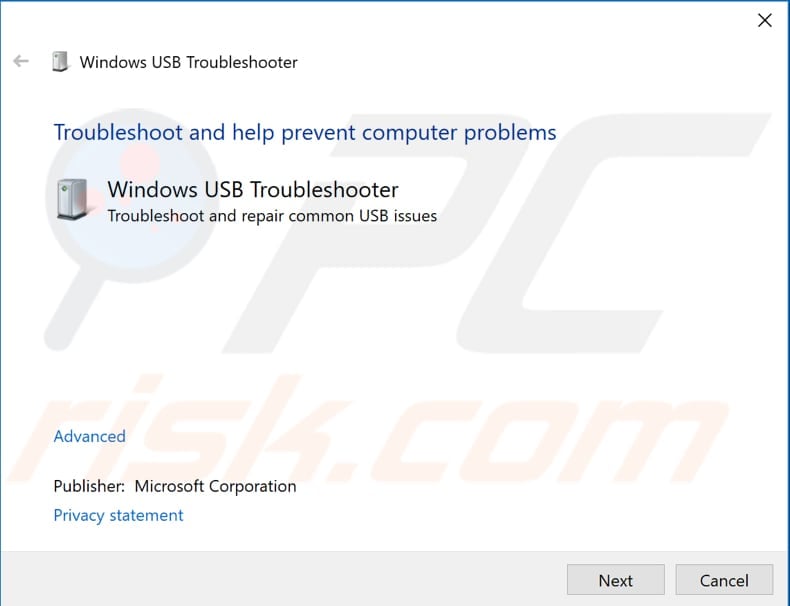
Additionally, we recommend that you run the USB troubleshooter, which fixes problems with USB audio, storage, and print devices (such as thumb drives, USB hard drives, and USB printers). To run this troubleshooter, you must first download it from Microsoft official site.
Download the troubleshooter and run it - see if it finds and fixes any problems relating to external hard drives that are not appearing.
Update Or Reinstall Device Driver
A device driver informs the operating system and other software about how to interact with particular hardware. If the appropriate driver is not installed, the device might not function properly. To reinstall an external disk driver you will need to use Device Manager.
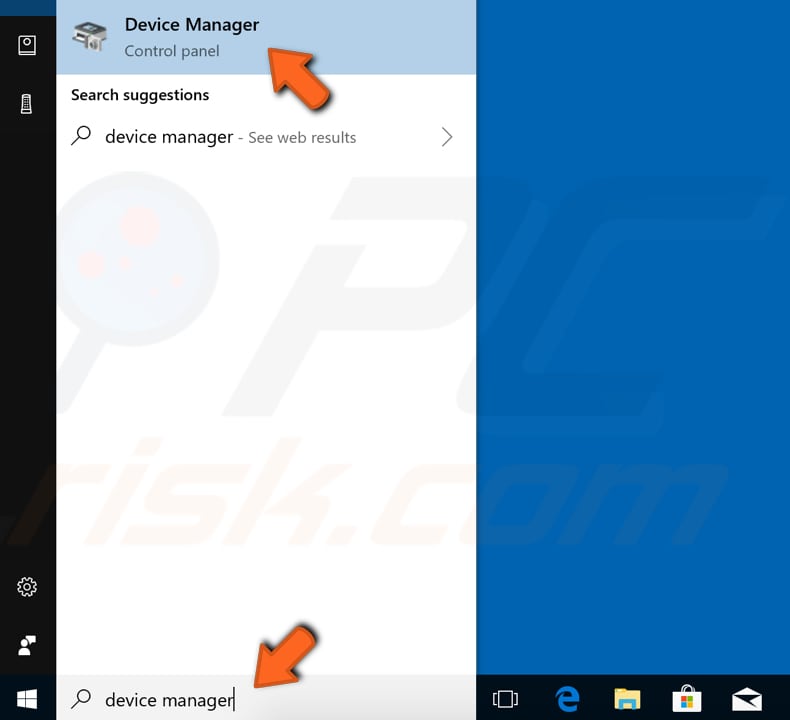
To open Device Manager, right-click the Start button and select "Device Manager" result from the contextual menu or type "device manager" in Search and click the "Device Manager" result.
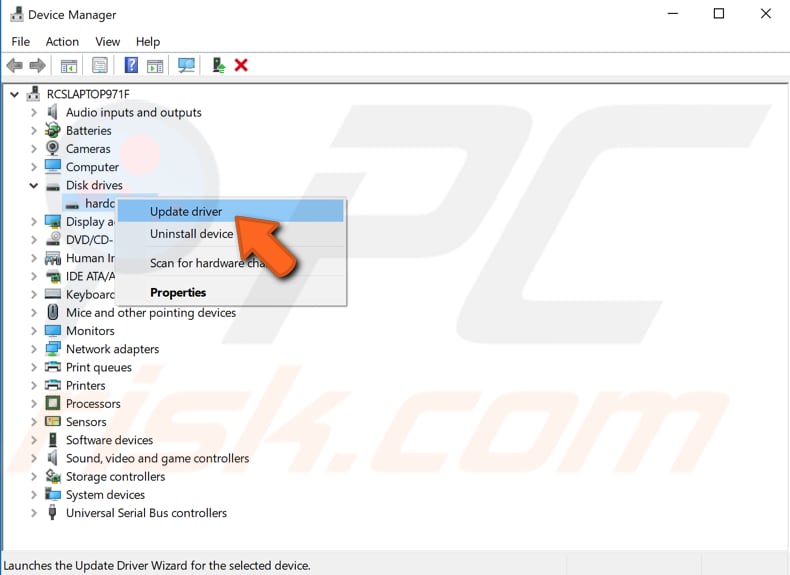
In Device Manager, you will see a list of devices connected to your computer. Find your external hard drive device (it should be under "Disk drives" or "Universal Serial Bus controllers") and right-click it. Then select "Update driver" from the contextual menu.
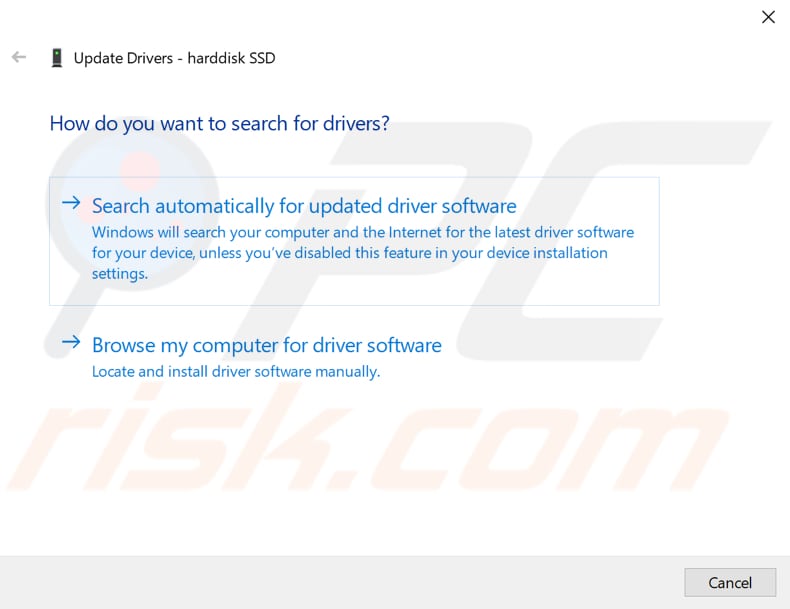
You will be asked to search for updated driver software automatically or to browse your computer for driver software. If you select the first option, Windows will search your computer and the Internet for the latest driver software for your device.
If you select the second option, you must locate and install the drivers manually. Using this option requires having previously downloaded drivers on your computer or USB flash drive. We recommend that you select the first option and follow the instructions.
If the first option does not solve the problem, download the latest drivers from your external hard drive manufacturer's website.
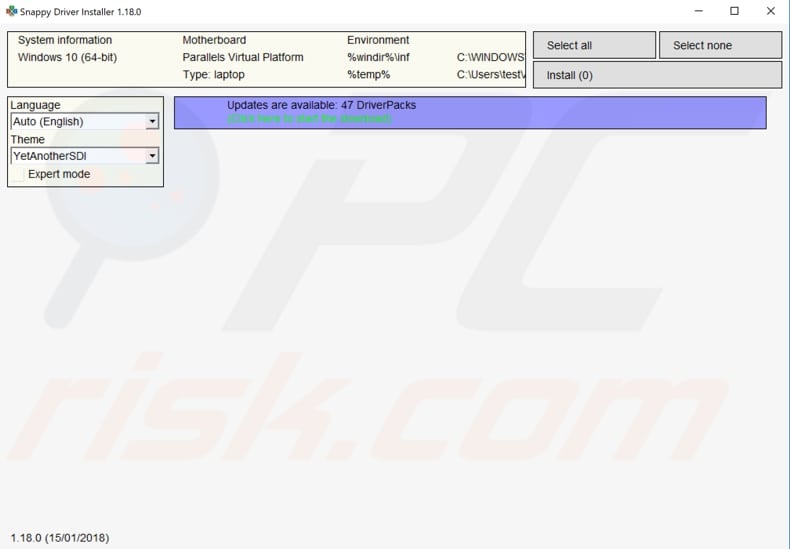
You can also use third-party software to update your drivers automatically. We recommend Snappy Driver Installer (SDI), a powerful free driver updater for Windows. You can download Snappy Driver Installer from here.
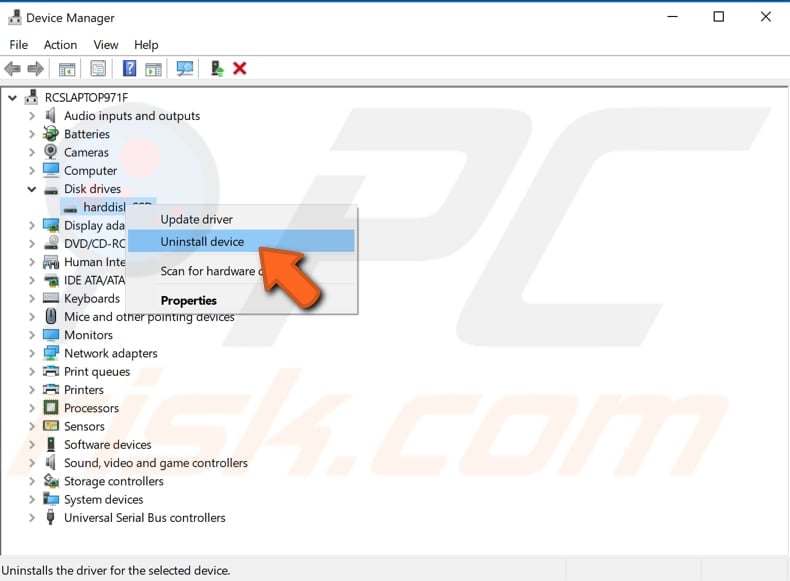
If updating drivers did not solve the problem, you might want to try to reinstall them. To do this, right-click your external hard drive device in Device Manager and select "Uninstall device" option from the contextual menu.
You will be asked to confirm the uninstallation. Click "OK". Mark the "Delete the driver software for this device" checkbox if you see this option. Restart the computer, and Windows will reinstall the missing drivers automatically.
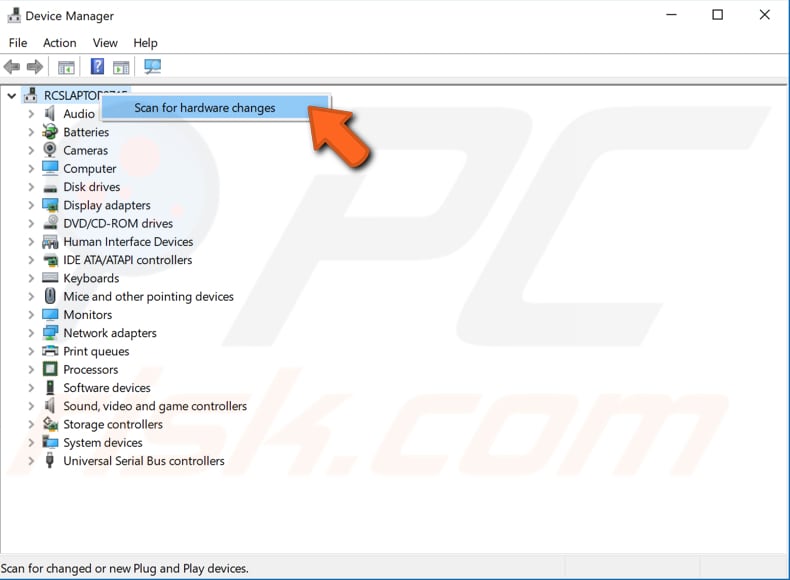
If Windows does not install the missing (uninstalled) drivers, go to Device Manager, right-click your computer name, and select "Scan for hardware changes". This should detect any missing drivers and install them.
Try a Different USB Port
It is possible that the USB port you are using to connect your external hard drive is not functioning properly, and why Windows does not show the drive when connected. Changing the USB port might solve the problem, especially if there are different USB ports on your computer, such as USB 2.0 and 3.0.
Some users have reported that connecting their external drive to USB 2.0 rather than USB 3.0 solved the problem and the external drive appeared. If you are using a USB Hub to connect an external hard drive, use a USB port directly on your computer.
Disable USB Selective Suspend Setting
The Power Plan feature in Windows 10 is not new since it was also available in earlier operating system versions. Power Plan is a collection of hardware and system settings that manage how your computer uses power. In this case, we will change the advanced power settings and disable the USB selective suspend setting.
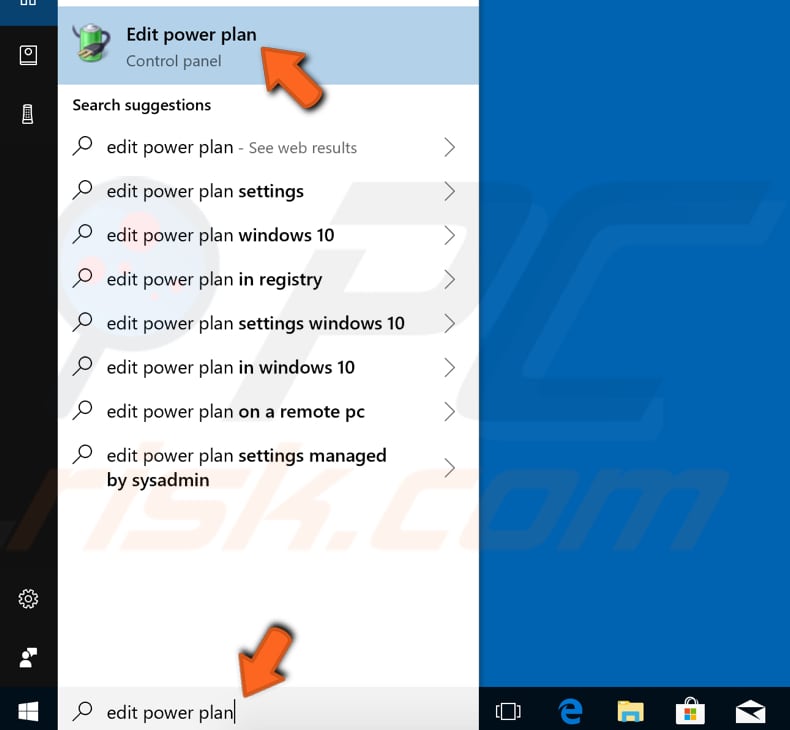
Type "edit power plan" in Search and click the "Edit power plan" result.
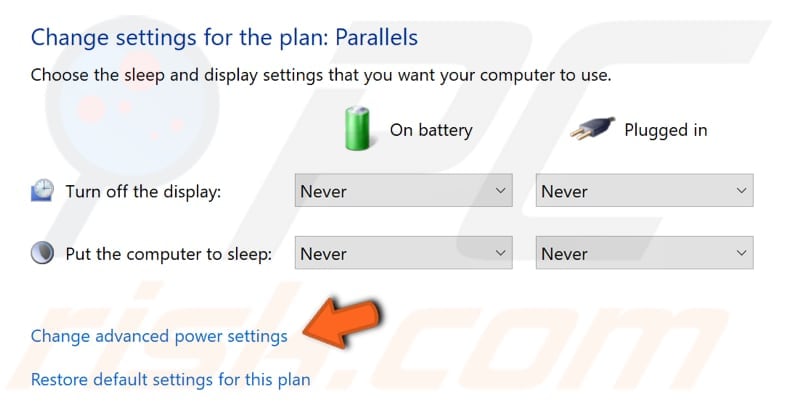
In the Edit Plan Settings window, you will be able to edit the settings of the power plan you are currently using. If you want to edit another plan, you can use the next window. Find and click "Change advanced power settings".
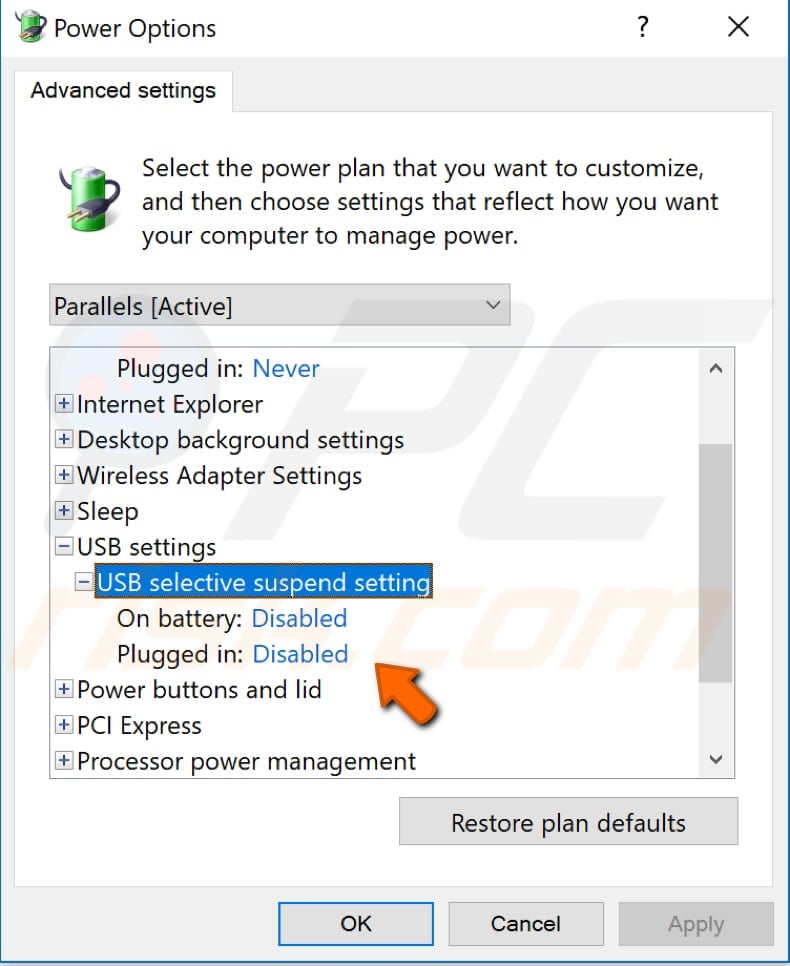
In the Power Options window, find the "USB settings", expand it by clicking the "+" or simply double-clicking USB settings. Do the same to "USB selective suspend setting", and you will see whether this setting is enabled on both plugged (mains) and battery, or if it is disabled. If it is enabled, change the battery and plugged to "Disabled". Click "Apply" to save the changes, connect your external hard drive, and see if it appears.
Use Disk Management Tool
The Disk Management tool allows users to manage internal and external hard drives, flash drives, and optical disk drives. This tool can be used to format, partition drives, assign drive letters, and more. If you are experiencing problems while trying to connect your external drive, the Disk Management tool might help you to solve the problem.
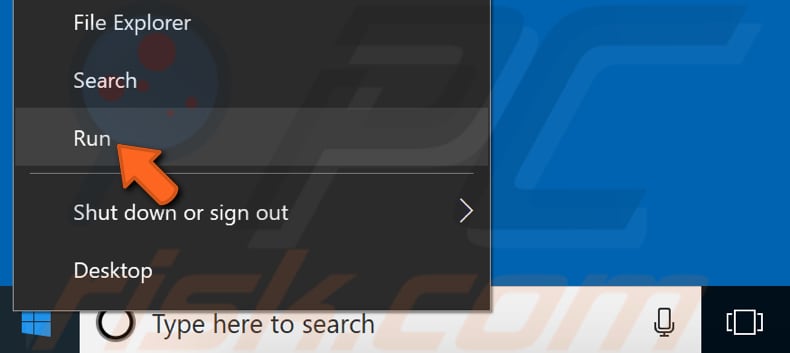
To open the Disk Management tool, launch the Run dialog box by right-clicking Start and selecting the Run option from the contextual menu, or simply press Windows key + R.
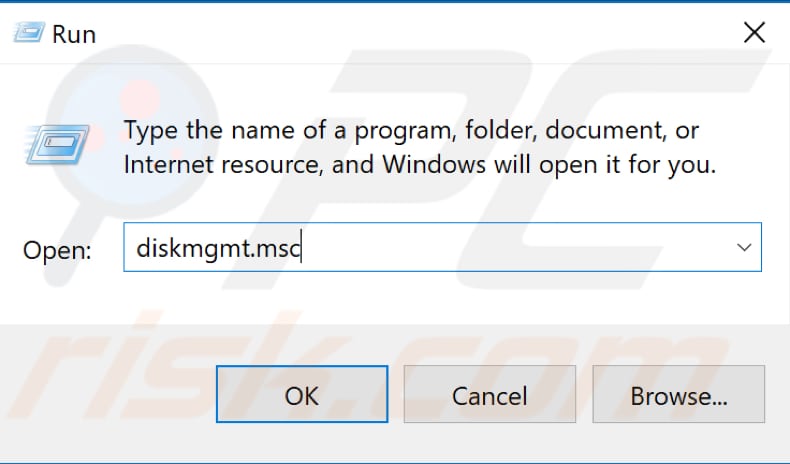
Once the Run dialog box is open, type the "diskmgmt.msc" command and press Enter or click "OK".
If there a drive does not appear in File Explorer when you connect it to your computer, and Disk Management tool shows its status as "Not Initialized", it is possible that the drive does not have a valid disk signature and was never formatted and initialized.
If this is the case, right-click the drive and select the "Initialize Disk" option. Note: this option will erase all data stored on your external hard drive.

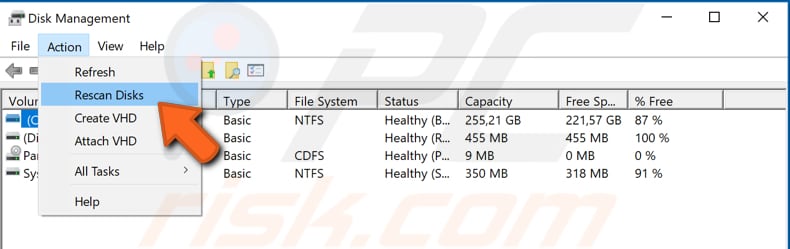
If your external hard drive status is "Offline", simply right-click it and select the "Online" option. You can also try to unplug the external hard drive and plug it back in again. Then click "Action" and select the "Rescan Disks" option.
You can also shut down your computer and turn off your external hard disk (if you are using the one with a power cord), and then turn your computer on again and reconnect the external hard drive.
Try to connect the external hard drive to another computer. If it does not appear on the other computer, you know something is wrong with the external hard drive and not the computer or operating system.
We hope this guide was helpful and you could solve the problem with your external hard drive. If you know of other solutions to this problem not mentioned in our guide, please share them with us by leaving a comment below.
Share:

Rimvydas Iliavicius
Researcher, author
Rimvydas is a researcher with over four years of experience in the cybersecurity industry. He attended Kaunas University of Technology and graduated with a Master's degree in Translation and Localization of Technical texts. His interests in computers and technology led him to become a versatile author in the IT industry. At PCrisk, he's responsible for writing in-depth how-to articles for Microsoft Windows.
▼ Show Discussion