Can't Open File Explorer. How to Fix It?

Get Free Scanner and check your computer for errors
Fix It NowTo fix found issues, you have to purchase the full version of Combo Cleaner. Free trial available. Combo Cleaner is owned and operated by Rcs Lt, the parent company of PCRisk.com read more.
File Explorer Not Opening? How to Fix in Windows 10
File Explorer (formerly Windows Explorer) is a graphical user interface (GUI) component of Windows operating systems that allows access, management, and editing of files, folders, and other content stored on a computer. Unfortunately, for some users, File Explorer won't open no matter what they do. If you're having the same problem, this article will help you fix it.

In Windows 10, OneDrive is a part of File Explorer, and there is a Quick access feature allowing you to access frequently-used files and folders (or you can simply pin them with this status manually). Another useful feature in File Explorer is that you can use apps to share files and photos directly by selecting the files you wish to share and clicking the 'Share' tab. This tab then allows you to choose an app for sharing your files. The new File Explorer also has many other features.
File Explorer is an essential and component of Windows 10, which would be difficult to use without it. Not being able to open File Explorer can thus be very inconvenient. The guide below describes several methods to address this problem.
Video Showing How to Fix File Explorer if It Won't Open:
Table of Contents:
- Introduction
- Restart File Explorer
- Clear File Explorer History
- Edit Registry
- Disable Windows Search
- Unplug HDMI Cable or Check Second Display
- Run System Restore
- Video Showing How to Fix File Explorer if It Won't Open
Download Computer Malware Repair Tool
It is recommended to run a free scan with Combo Cleaner - a tool to detect viruses and malware on your device. You will need to purchase the full version to remove infections. Free trial available. Combo Cleaner is owned and operated by Rcs Lt, the parent company of PCRisk.com read more.
Restart File Explorer
Start with the simplest solution: restart File Explorer using Task Manager. Task Manager helps to close programs and stop processes from running (when exiting normally does not work).
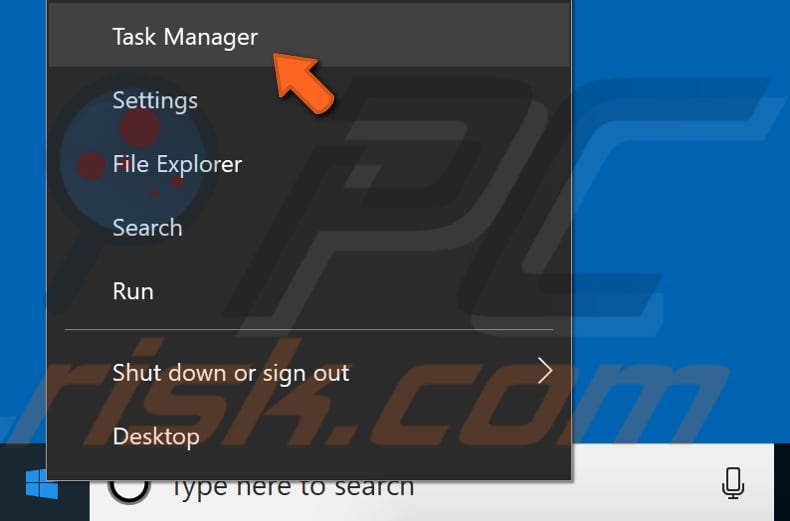
To open it, press the Ctrl + Shift + Esc keys on the keyboard, or right-click Start and select "Task Manager" from the contextual menu.
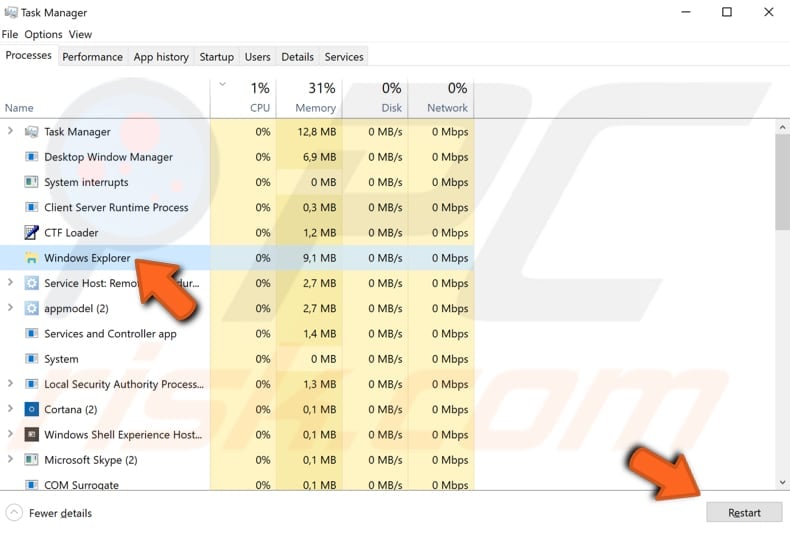
In Task Manager, you will see a list of services and programs that are currently running. Find "Windows Explorer" and click/select it.
Find the "Restart" button in the bottom-right corner and use it to restart File Explorer. See if this solves the problem and if you can now use File Explorer without any problems.
Clear File Explorer History
File Explorer keeps a list of files and folders that you have recently opened or frequently used. Clearing File Explorer history deletes information about files and folders that the Windows operating system saves as history lists.
Some users have reported that clearing File Explorer history solved the problem. In this method, we clear File Explorer history and create a new File Explorer shortcut.
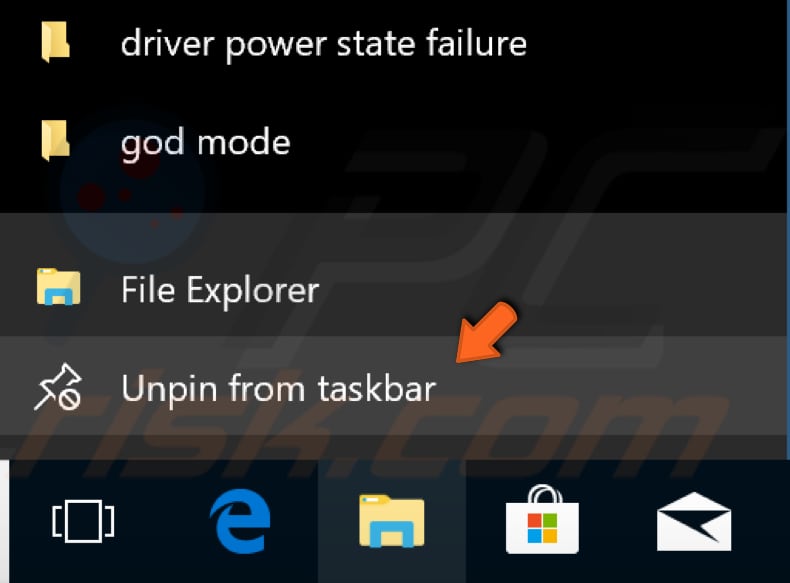
First, unpin File Explorer from the Windows Taskbar by right-clicking the File Explorer icon and selecting the "Unpin from taskbar" option from the contextual menu.
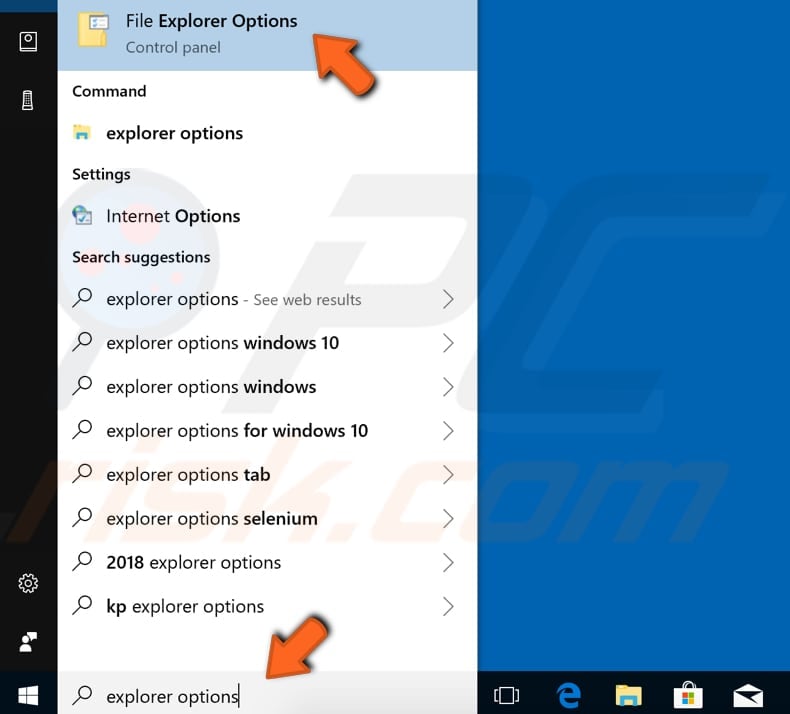
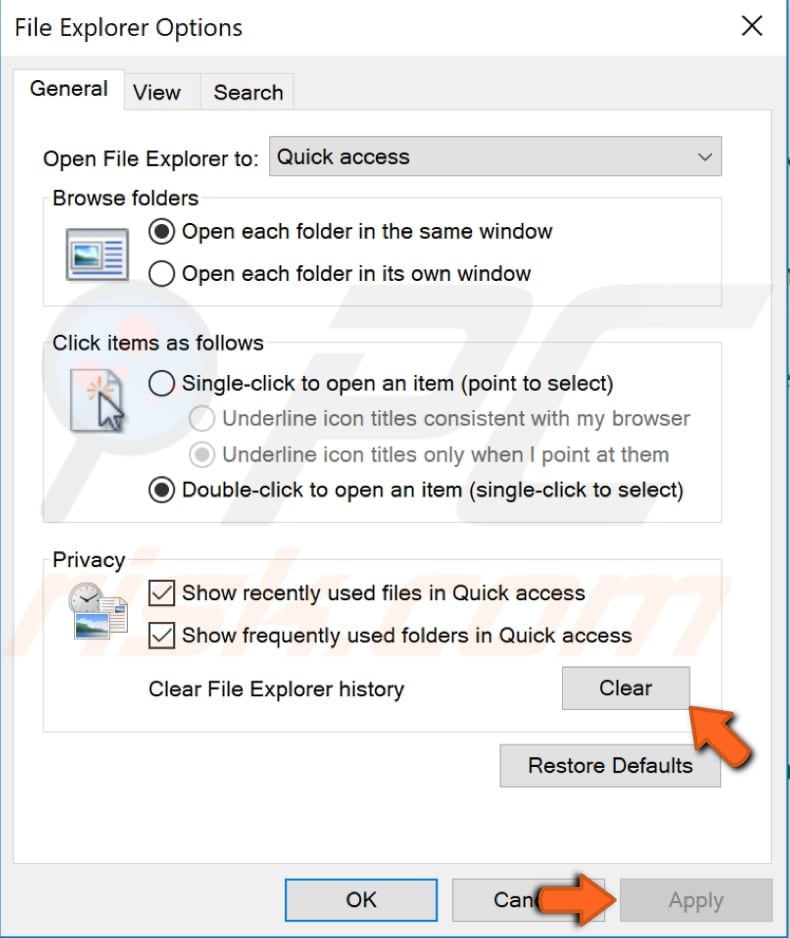
To clear File Explorer history, type "explorer options" in Search and click the File Explorer Options result.
In the File Explorer Options window General tab, find the "Clear" button next to "Clear File Explorer history" and click it. This will clear the File Explorer history.
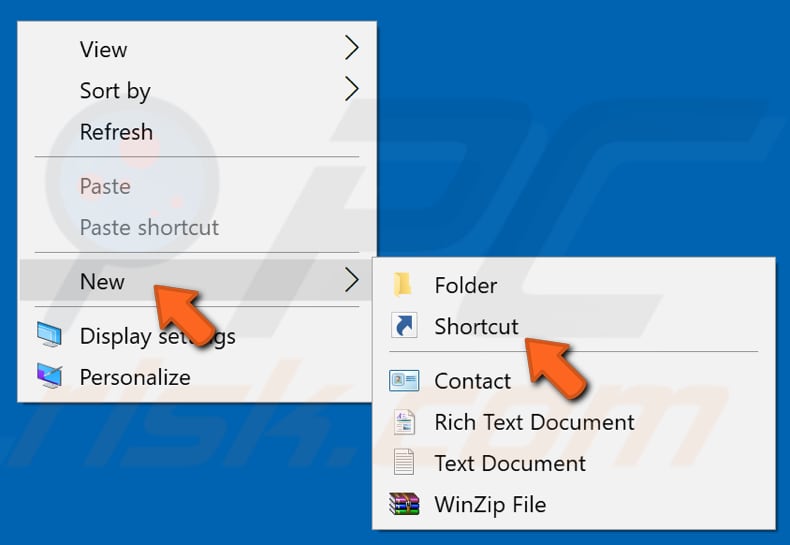
Now create a new File Explorer shortcut by right-clicking the desktop background empty space. Select "New", and then "Shortcut".
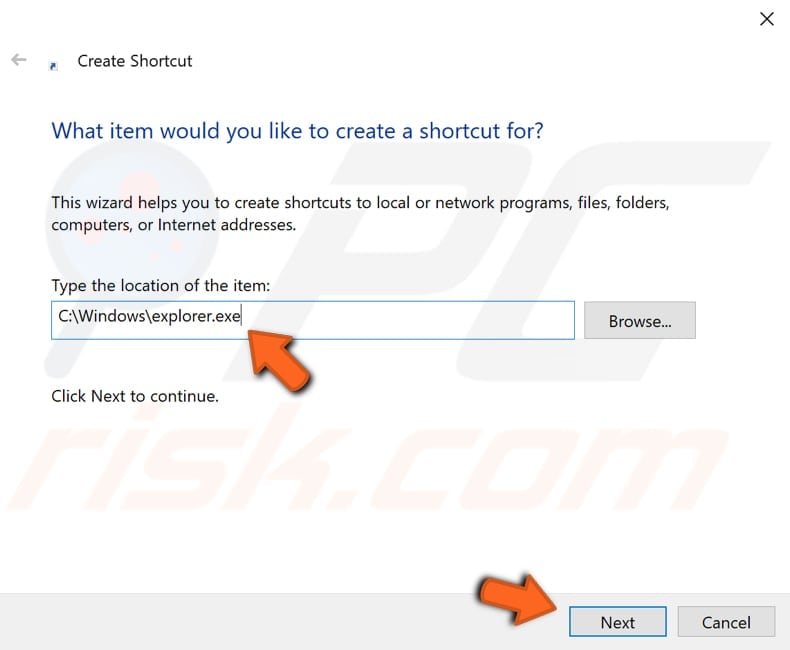
Type (or copy from this guide) the location of the item, which is "C:\Windows\explorer.exe". Click "Next" to continue.
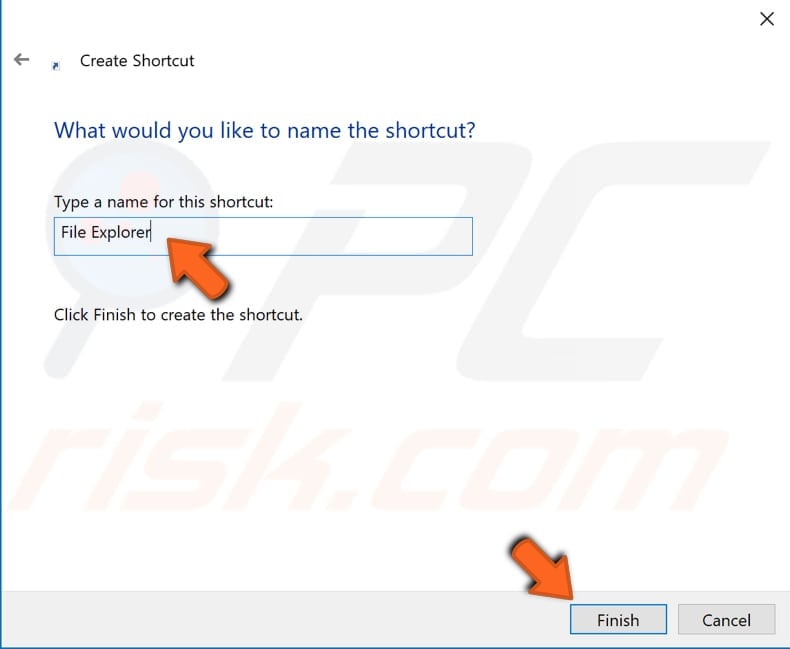
Now, type a name for this shortcut and click "Finish". The shortcut for File Explorer will be placed on the desktop.
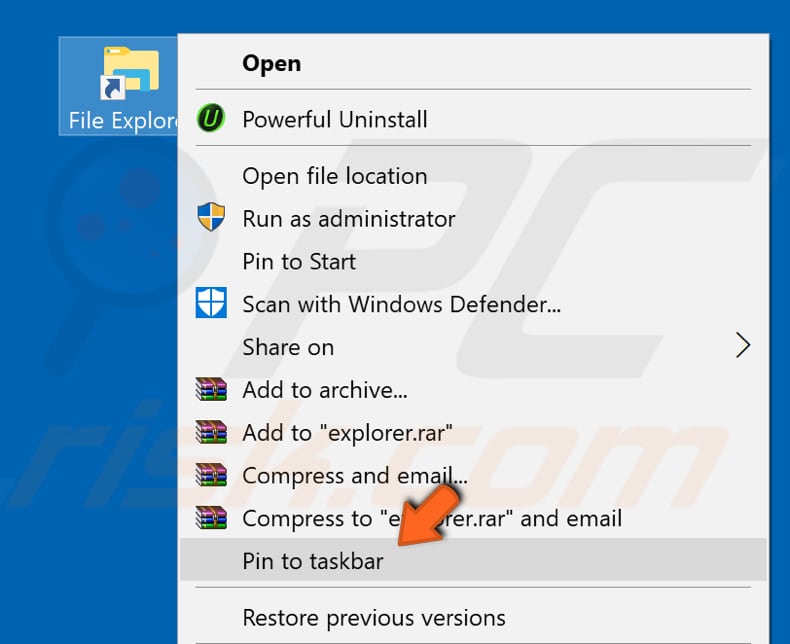
Find the new File Explorer shortcut on the desktop and right-click it. Select the "Pin to taskbar" option from the contextual menu. This will pin a newly created File Explorer icon to the Taskbar.
By performing these steps, you will clear the File Explorer history and replace the old shortcut with a new one. See if this fixes the File Explorer problem.
Edit Registry
Windows Registry is a collection of databases of configuration settings in Microsoft Windows operating systems. To edit the registry, use Windows Registry Editor. Some users have reported that removing "BagMRU" and "Bags" folders from the Windows Registry solved the problem.
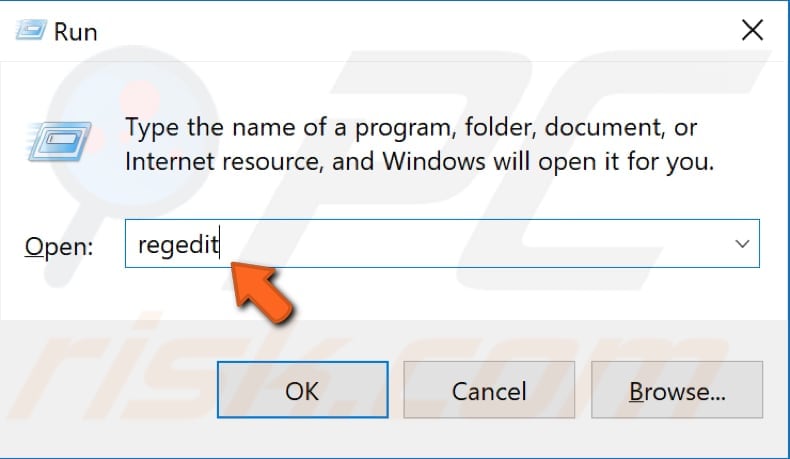
To open the Registry Editor, open the Run dialog box (press Windows Windows key + R or right-click Start and select "Run") and type "regedit". Press Enter or click "OK".
NOTE: Editing Registry can be risky, and deleting the wrong registry entries can lead to serious problems, such as computer malfunctions, etc.
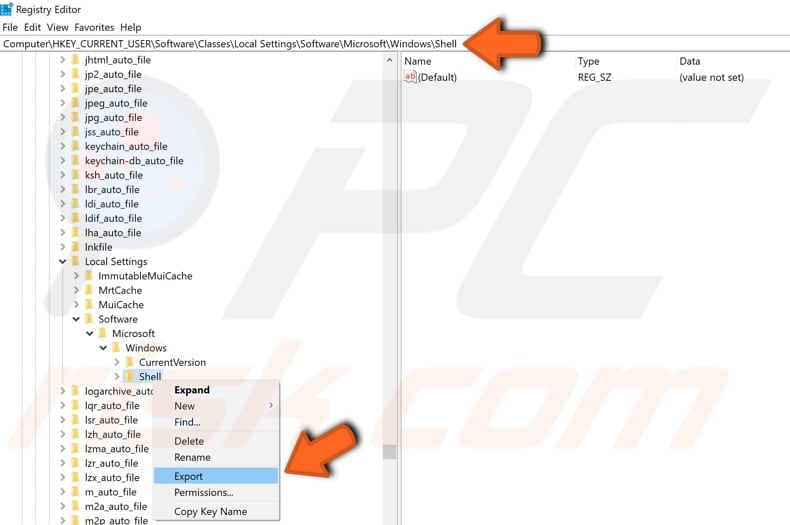
Once Registry Editor is open, follow this path: "HKEY_CURRENT_USER\SOFTWARE\Classes\Local Settings\Software\Microsoft\Windows\Shell". You can copy it and paste it into Registry Editor's upper bar if you wish.
Right-click the "Shell" entry and select "Export" from the drop-down menu. Select where you wish to save this entry in case of problems.
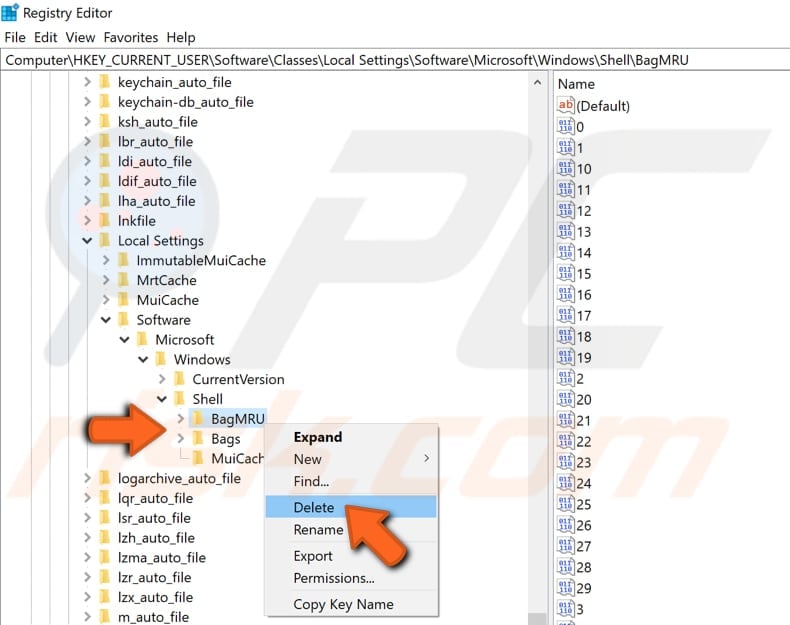
Now expand the "Shell" entry, find "BagMRU" and "Bags" folders, right-click each, and select "Delete" from the contextual menu. Close Registry Editor, restart the computer, and see if you can now open File Explorer.
Disable Windows Search
Windows Search is a Windows service that allows users to quickly find and search for files on their computers. It is a search platform created by Microsoft that swiftly finds the most common file and data types. Before Windows Search, this function was known as Windows Desktop Search or WDS.
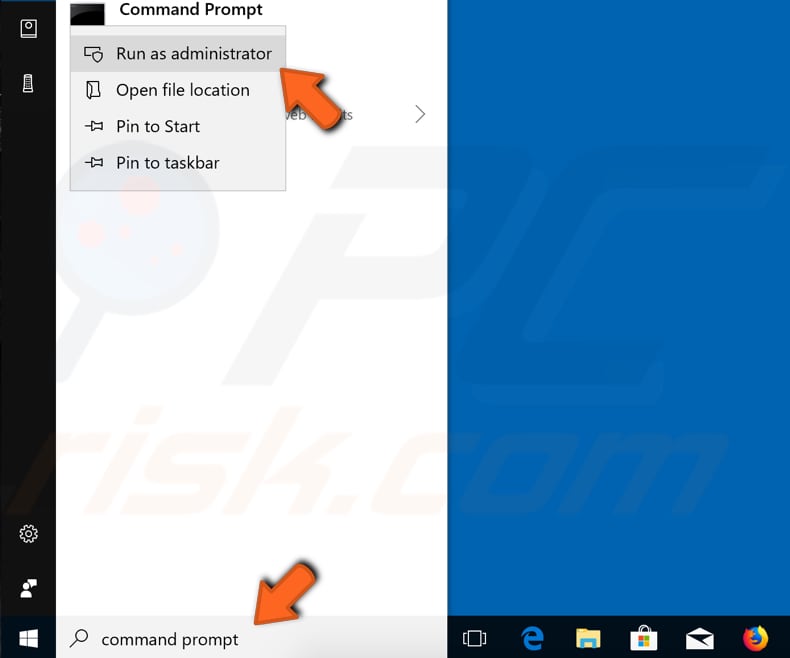
To disable Windows Search, execute a command using an elevated Command Prompt. To open it, type "command prompt" in Search and then right-click on the "Command Prompt", select "Run as administrator" from the drop-down menu to run Command Prompt with administrator privileges.
In the Command Prompt window, type the net.exe stop "Windows search" command and press Enter on the keyboard to execute it. Close Command Prompt and see if you are now able to open File Explorer.

Unplug HDMI Cable or Check Second Display
HDMI (High-Definition Multimedia Interface) provides an interface between audio and video sources such as video display devices and other compatible components. Some device examples that can be a part of HDMI connectivity are computer and video monitors, video projectors, HD and Ultra HD TVs, Blu-ray players, digital cameras, camcorders, etc. There are several HDMI versions that have identical connectors but different capabilities.
Some users using an extended desktop view have reported that unplugging the HDMI cable from their port solved the problem - users were unable to open File Explorer until they unplugged the HDMI cable from their computer. We recommend that you try this method as a possible simple fix.
In addition, check your second display (if you are using one). It is possible that File Explorer is loading (working) on a second display that is turned off and causing problems when trying to open it.
Run System Restore
Finally, we recommend that you perform a System Restore using restore points. A restore point is a collection of important system files stored by System Restore on a given date and time.
If you have any system restore points created before you started having issues with File Explorer, you might be able to fix the problem by performing a System Restore.
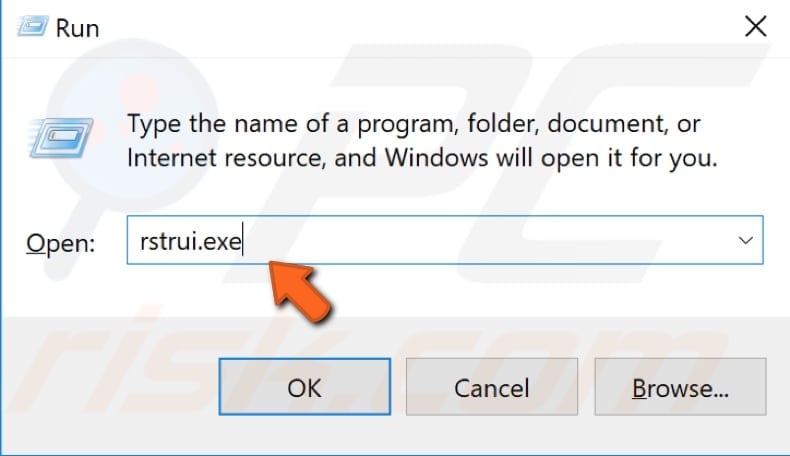
To restore your system, launch Run. To start it, press the Windows Key + R and type "rstrui.exe". In the Run dialog box, press Enter or click "OK".
In the System Restore window, click "Next".

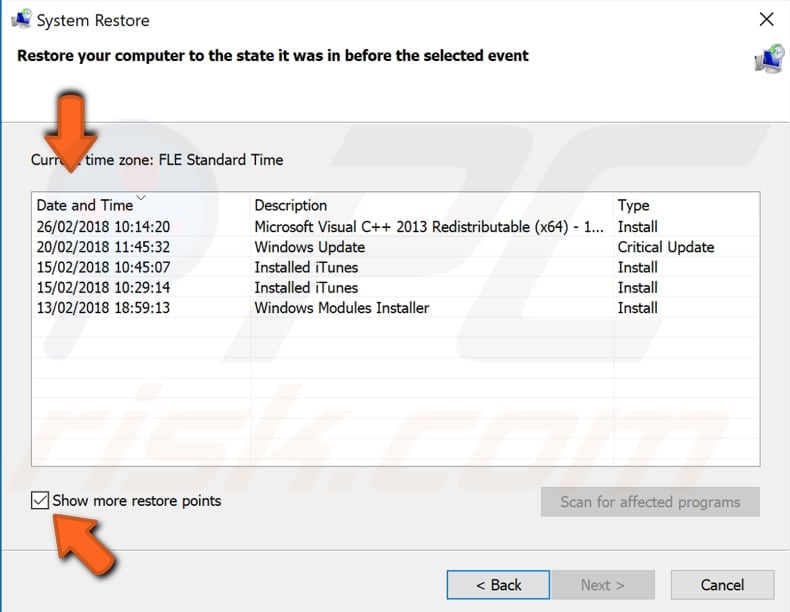
If there are restore points created, you will see a list of them. Mark the "Show more restore points" checkbox, which should display more restore points. Select the most appropriate restore point (depending on the time created, etc.) and click "Next".
Do not select a restore point at a time when File Explorer was not working.
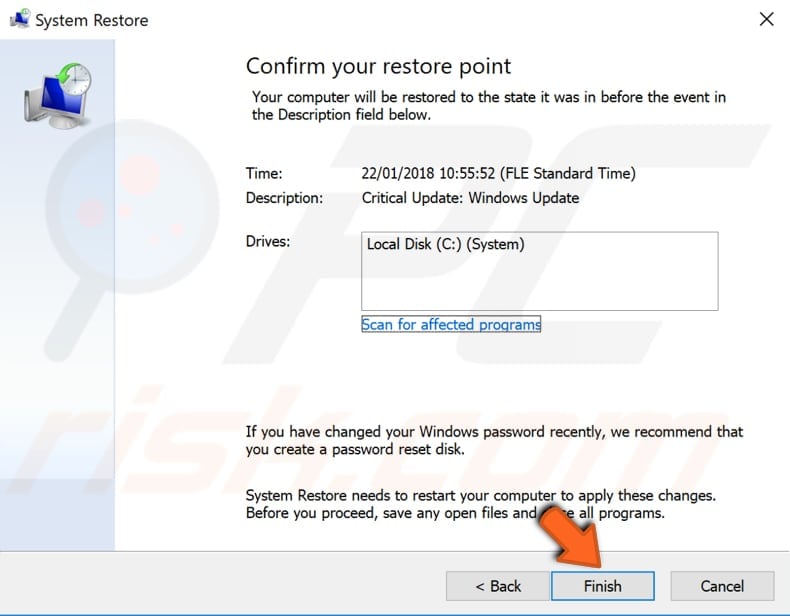
Confirm the restore point. Your computer will be restored to the state before the event detailed in the "Description" field. If you are happy with your choice, click "Finish" and begin the system restore process.
We hope you could fix File Explorer using the above methods, and you can open File Explorer without problems. If you know of another method that fixed File Explorer not mentioned in our guide, please share it with us by leaving a comment in the section below.
Share:

Rimvydas Iliavicius
Researcher, author
Rimvydas is a researcher with over four years of experience in the cybersecurity industry. He attended Kaunas University of Technology and graduated with a Master's degree in Translation and Localization of Technical texts. His interests in computers and technology led him to become a versatile author in the IT industry. At PCrisk, he's responsible for writing in-depth how-to articles for Microsoft Windows.
▼ Show Discussion