FIX: File Explorer Keeps Crashing on Windows 10

Get Free Scanner and check your computer for errors
Fix It NowTo fix found issues, you have to purchase the full version of Combo Cleaner. Free trial available. Combo Cleaner is owned and operated by Rcs Lt, the parent company of PCRisk.com read more.
How to Fix File Explorer Crashing on Windows 10
Windows File Explorer is an integral component of Windows 10 that allows users to access files using a graphical user interface. If File Explorer on your PC constantly crashes, read the instructions found below to fix that.

Many users have reported having a particular problem with File Explorer: it crashes constantly. In other words, File Explorer keeps crashing when users search files, browse File Explorer, manage their files, etc.
The good news is that there are ways to solve this problem for you, and that's precisely what we are going to show you in this article. Read the guide below and try out our provided methods. Hopefully, one of them will solve this File Explorer issue.
Video Showing How to Fix File Explorer Crashing on Windows 10
Table of Contents:
- Introduction
- Clear File Explorer History
- Launch Folder Windows in a Separate Process
- Uninstall Foxit PhantomPDF
- Run System File Checker
- Execute Netsh Winsock Reset Command
- Update Your Windows Operating System
- Open File Explorer to This PC
- Video Showing How to Fix File Explorer Crashing on Windows 10
Download Computer Malware Repair Tool
It is recommended to run a free scan with Combo Cleaner - a tool to detect viruses and malware on your device. You will need to purchase the full version to remove infections. Free trial available. Combo Cleaner is owned and operated by Rcs Lt, the parent company of PCRisk.com read more.
Clear File Explorer History
File Explorer keeps a list of files and folders that you have recently opened or frequently used. Clearing File Explorer history deletes the information about those files and folders that Windows operating system saved in this history list. Some users reported that clearing File Explorer history helped them to prevent the File Explorer from crashing.
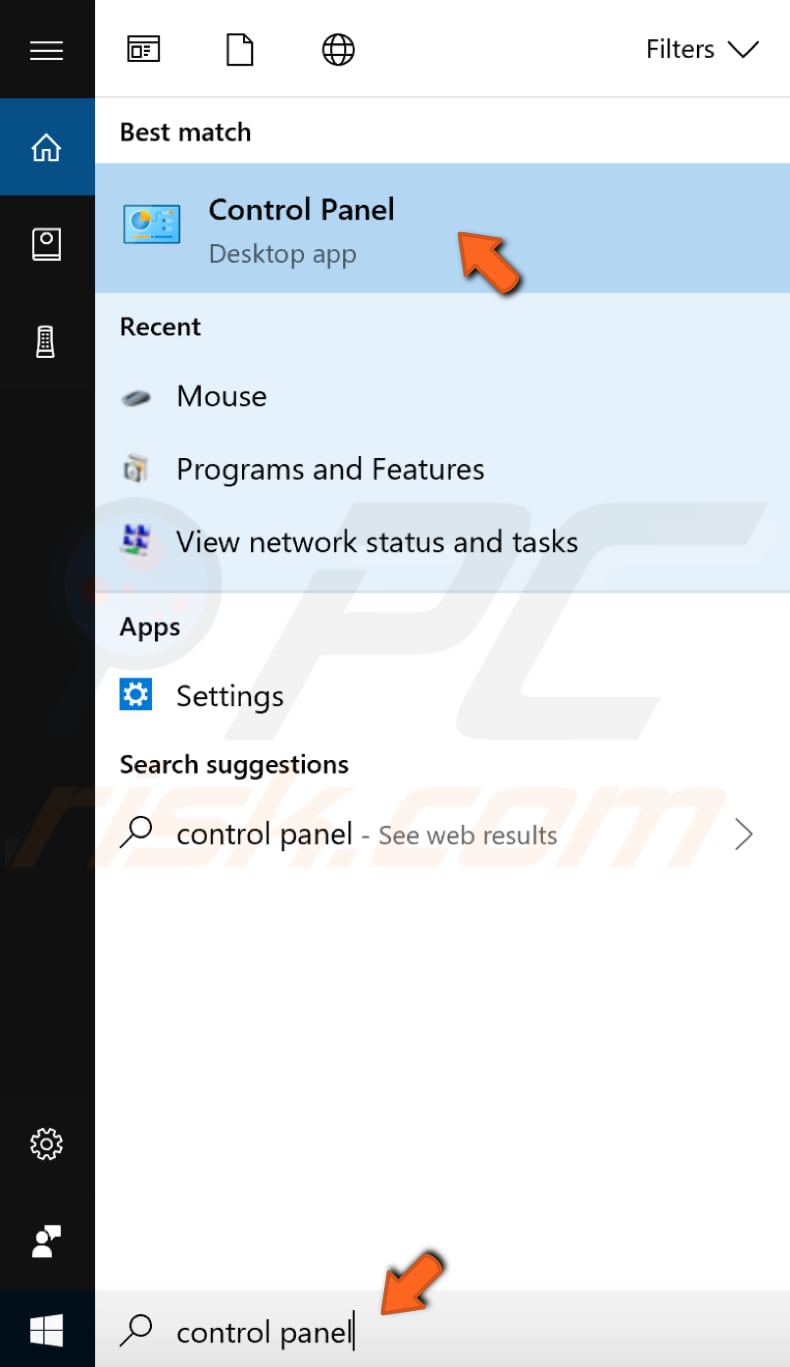
To clear File Explorer history, type "control panel" in Search and click the Control Panel result.
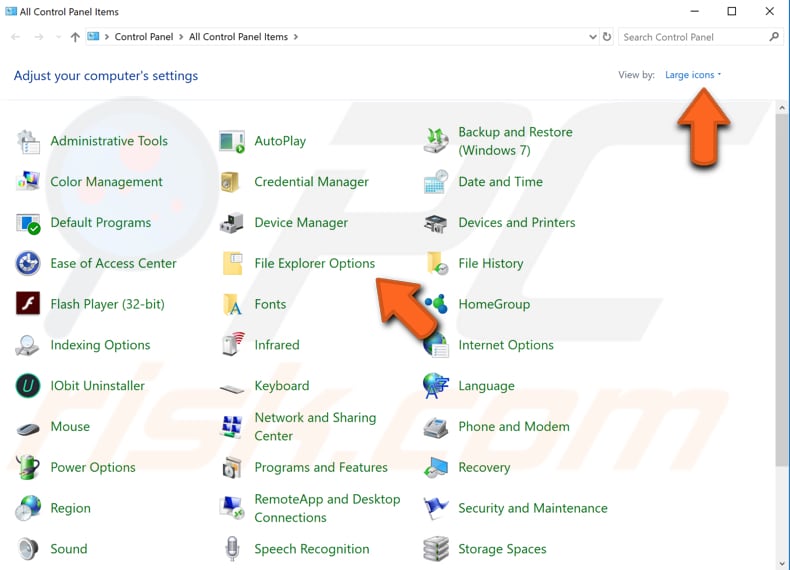
Find "File Explorer Options" in the list and click it. If you see the list differently, choose to view the Control Panel's menu by small or large icons.
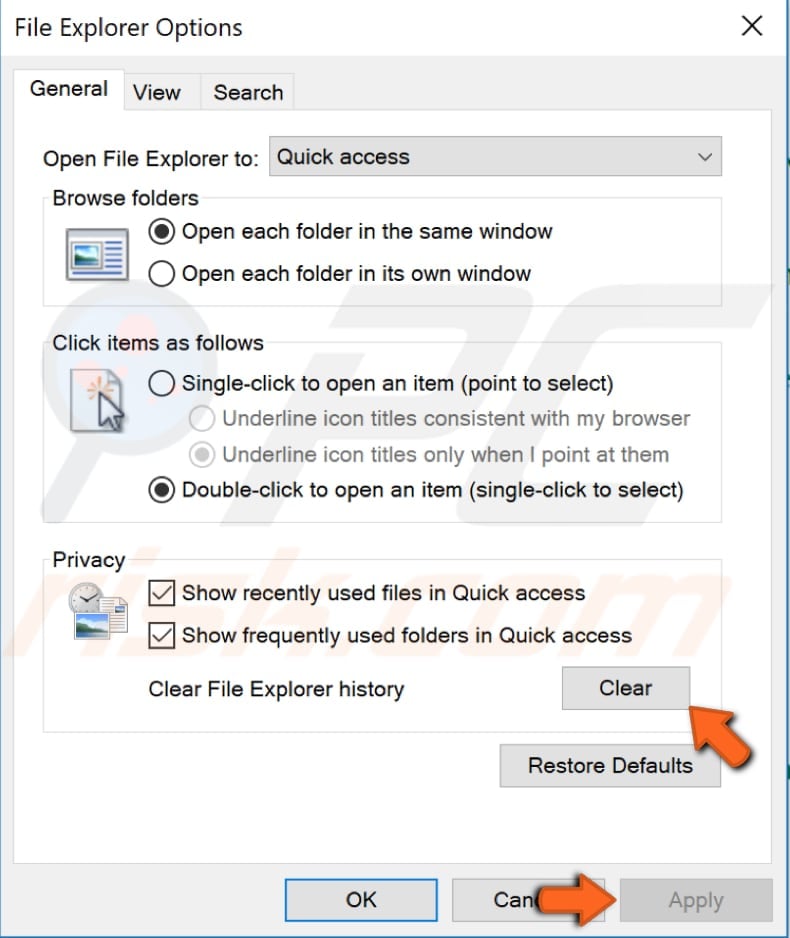
In the File Explorer Options window, find the "Clear" button and click it. By clicking it, you will clear the File Explorer history. See if this fixed the problem.
Launch Folder Windows in a Separate Process
This setting controls whether each folder window is opened as a separate explorer task or not. If one window crashes, then other open windows should be not affected and remain open. However, having this setting enabled may take more systems resources to keep each folder open.
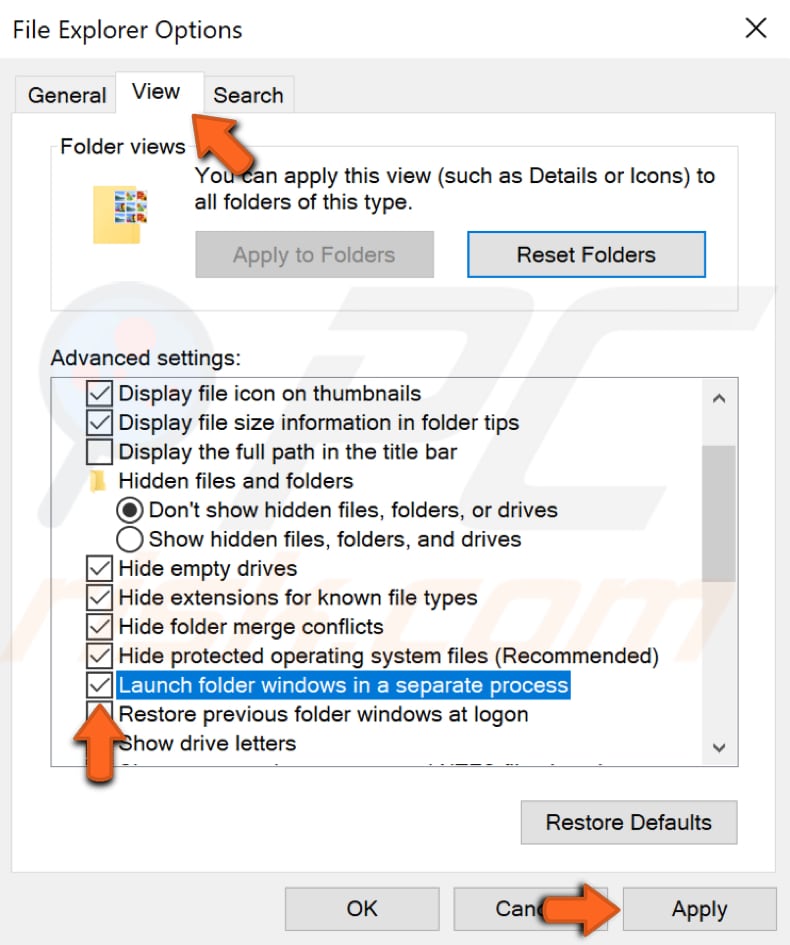
To enable this setting, go to Control Panel and select "File Explorer Options" again. Once you are in the File Explorer Options window, select the "View" tab and then find the "Launch folder windows in a separate process" setting under "Advanced settings" and enable it by checking the checkbox near it.
Click "Apply" and "OK" to save the changes made and to exit this window. See if enabling this setting solves the problem and prevents File Explorer from crashing.
Uninstall Foxit PhantomPDF
Foxit PhantomPDF is a PDF converter and editor, and it's possibly one of the best PDF converters out there. However, some users reported that it causes problems with File Explorer. If you are using the Foxit PhantomPDF software, then we recommend trying to uninstall it.
Go to Settings and select "Apps", find the installed Foxit Phantom PDF software, and uninstall it. See if this solves the problem with the Windows File Explorer.
If this solves the problem, we recommend you switch to another PDF editing/converting tool. If it wasn't the culprit of this problem, then install it again and try other solutions mentioned below.
Run System File Checker
System File Checker (SFC) is a utility in Windows that allows users to scan for corruptions in Windows system files and restore corrupted files. To run it, you need to open Command Prompt first.
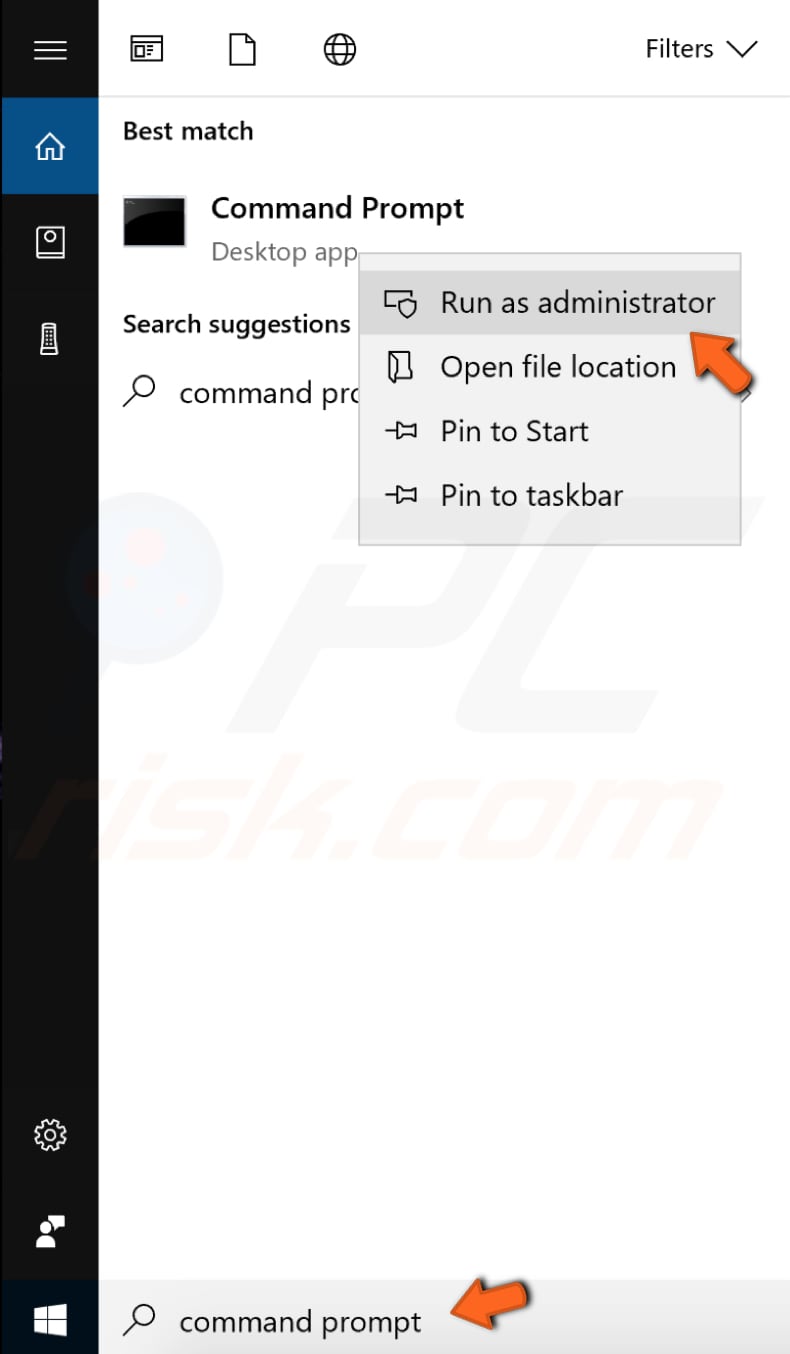
To open it, type "command prompt" in Search and then right-click on the "Command Prompt", select "Run as administrator" from the dropdown menu to run Command Prompt with administrator privileges.
You must run an elevated Command Prompt to be able to perform an SFC scan.
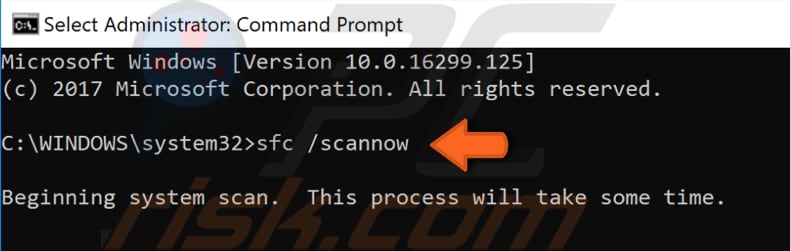
In opened Command Prompt window, type "sfc /scannow" and press Enter on your keyboard to execute this command. System File Checker will start, and it should take some time to complete the scan.
Wait for the scanning process to complete and restart your computer to see if the problem with the Windows File Explorer still persists. We recommend you run the SFC scan several times, even if it finds and fixes any corrupted files the first time you run it.
Execute Netsh Winsock Reset Command
You will need to execute a different command in Command Prompt. Open Command Prompt as administrator again and type the "netsh winsock reset" command. It is a command that you can use on all Microsoft Windows versions which resets winsock catalog to its default settings or a clean state.
Press Enter to execute and restart your computer. See if this solves the issue with the Windows File Explorer.

Update Your Windows Operating System
Another thing you might want to try is to update your current version of Windows. Checking for updates for the whole Windows operating system is usually a good idea, and it might help solve this File Explorer problem.
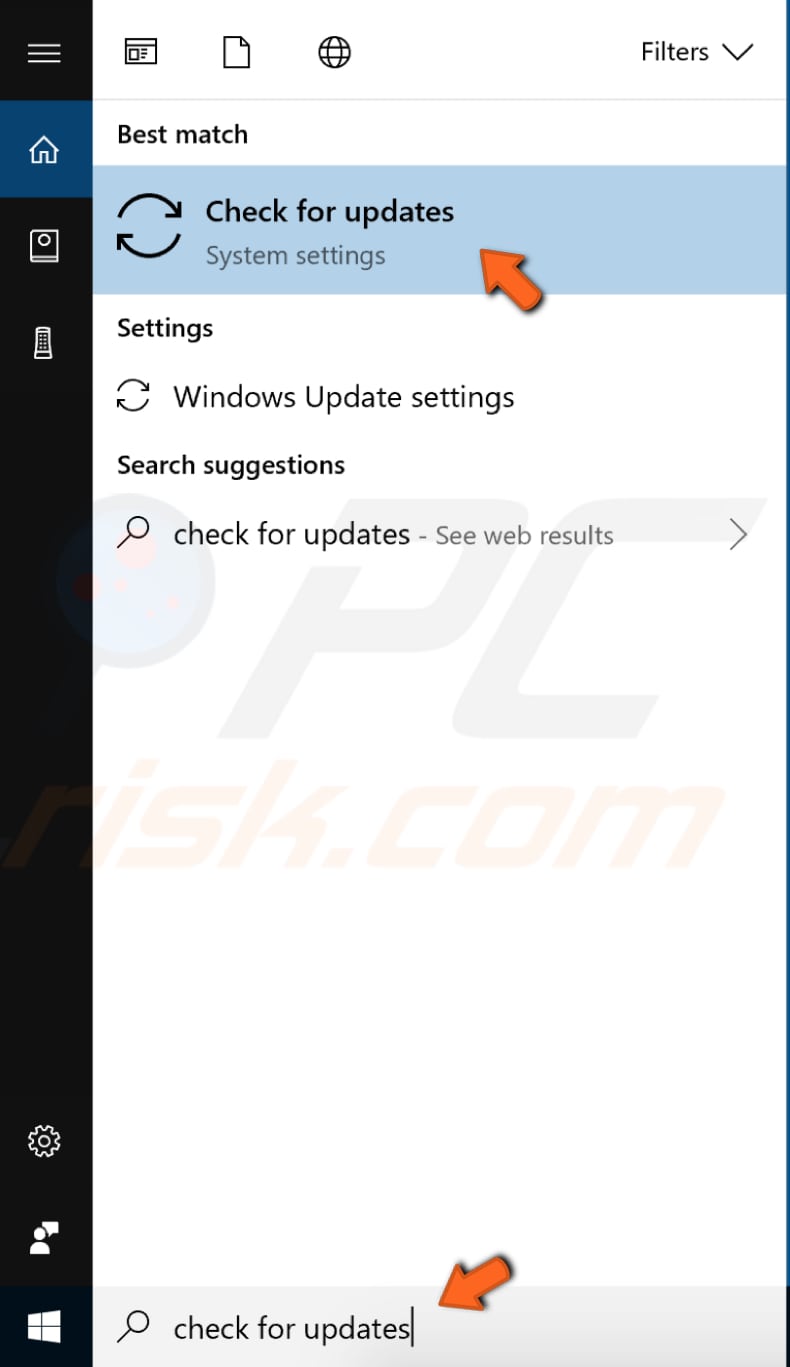
To check for Windows Updates, type "check for updates" in Search and click the "Check for updates" result.
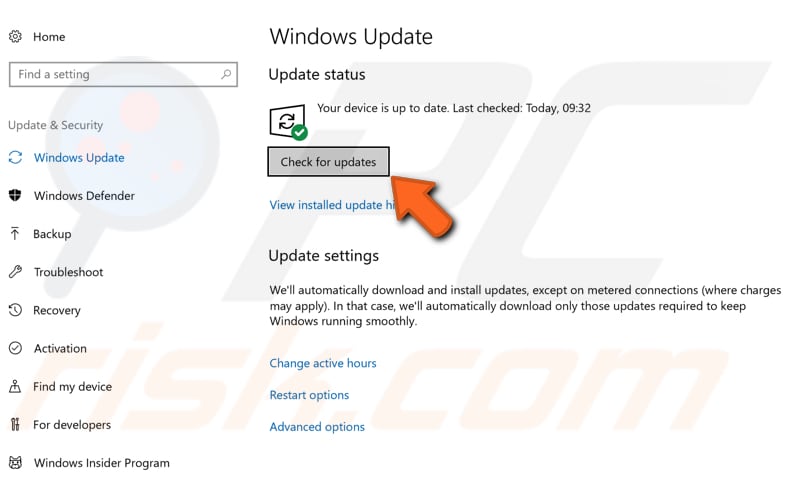
You should be automatically directed to the Windows Update section. Click "Check for updates", and Windows will start checking for updates. If there are updates available, then install them and try checking for updates again to ensure that you have the latest updates on your operating system.
After the updates are installed, see if you are still having problems with File Explorer.
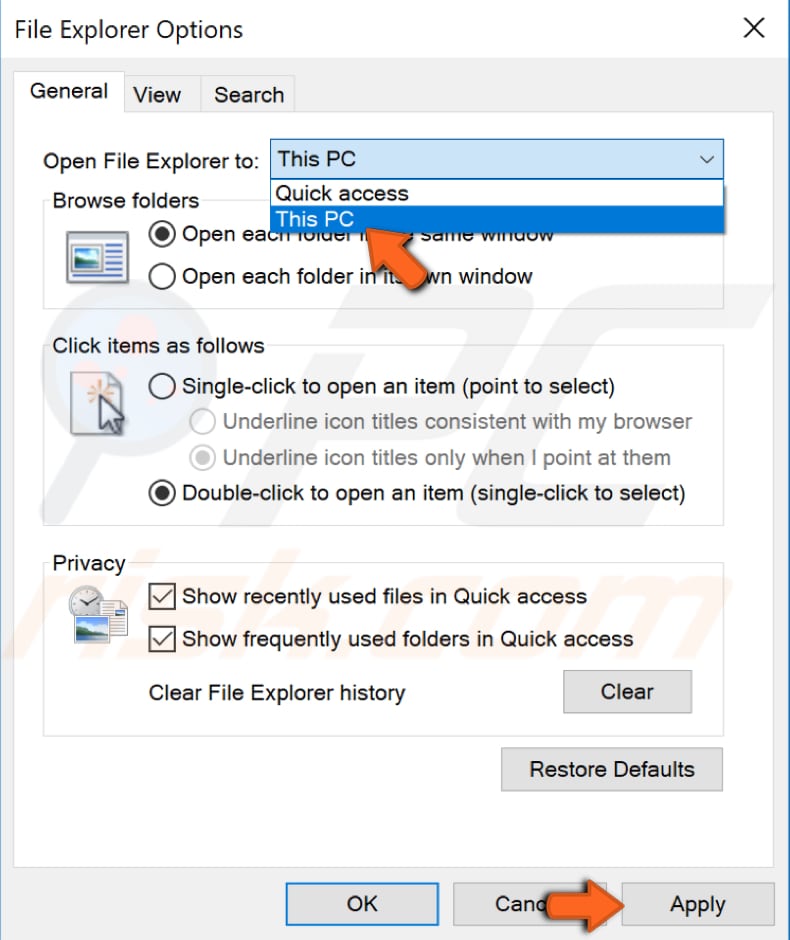
Open File Explorer to This PC
By default, File Explorer opens to Quick Access, and Quick Access can sometimes cause File Explorer crashes. To avoid the Windows File Explorer crashes, we recommend changing File Explorer settings to open File Explorer to This PC and not the Quick Access.
To do so, open the File Explorer Options window again (go to Control Panel and select "File Explorer Options"). Once you are in the File Explorer Options window and its General tab, find "Open File Explorer to:" and change it to "This PC". Click "Apply" to save the changes and "OK" to exit.
See if this helped to prevent File Explorer from crashing.
We hope that at least one of our provided methods solved the File Explorer problem, and you are now able to use your Windows operating system without any issues related to its File Explorer.
Share:

Rimvydas Iliavicius
Researcher, author
Rimvydas is a researcher with over four years of experience in the cybersecurity industry. He attended Kaunas University of Technology and graduated with a Master's degree in Translation and Localization of Technical texts. His interests in computers and technology led him to become a versatile author in the IT industry. At PCrisk, he's responsible for writing in-depth how-to articles for Microsoft Windows.
▼ Show Discussion