How to Fix CRITICAL PROCESS DIED on Windows 10

Get Free Scanner and check your computer for errors
Fix It NowTo fix found issues, you have to purchase the full version of Combo Cleaner. Free trial available. Combo Cleaner is owned and operated by Rcs Lt, the parent company of PCRisk.com read more.
How to Fix CRITICAL PROCESS DIED on Windows 10
The CRITICAL PROCESS DIED (CRITICAL_PROCESS_DIED) error occurs when a process necessary to run the Windows operating system ends. This guide will show you how to fix this error.

Stop Code CRITICAL PROCESS DIED is a type of Blue Screen of Death (BSOD) error. This error is accompanied by a message that says, "Your PC ran into a problem and needs to restart. We're just collecting some error info, and then we'll restart for you."
The CRITICAL PROCESS DIED error occurs when a process necessary to run Windows abruptly ends. This error may occur due to any critical Windows system process stopping.
Disk-related issues may cause this error, particularly if the disk has bad sectors. You may also get this error if there's something wrong with your random access memory (RAM) or if there are hardware or software compatibility issues on your system. A virus (or viruses) on your computer might also cause this error.
Video Tutorial on How to Fix CRITICAL PROCESS DIED Error
Table of Contents:
- Introduction
- Method 1. Run SFC Scan
- Method 2. Run DISM Scan
- Method 3. Run Full System Scan
- Method 4. Update Your Drivers
- Method 5. Restore Your System Using Restore Point
- Method 6. Check Your Disk for Errors
- Method 7. Perform Clean Boot
- Method 8. Uninstall Latest Updates
- Video Tutorial on How to Fix CRITICAL PROCESS DIED Error
Download Computer Malware Repair Tool
It is recommended to run a free scan with Combo Cleaner - a tool to detect viruses and malware on your device. You will need to purchase the full version to remove infections. Free trial available. Combo Cleaner is owned and operated by Rcs Lt, the parent company of PCRisk.com read more.
Method 1. Run SFC Scan
System File Checker (SFC) is a utility in Windows that allows users to scan for corruptions in Windows system files and restore corrupted files.
To run it, you need to open Command Prompt first. To open it, type "command prompt" in Search and then right-click on the "Command Prompt", and select "Run as administrator" from the dropdown menu to run Command Prompt with administrator privileges.
You must run an elevated Command Prompt to be able to perform an SFC scan.

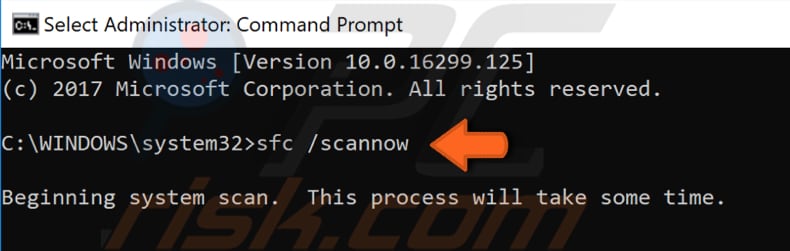
In opened Command Prompt window, type "sfc /scannow" and press Enter on your keyboard to execute this command. System File Checker will start, and it should take some time to complete the scan. It should take about 15 minutes.
Wait for the scanning process to complete, and if there were any problems to fix and it fixed them, it should show you the message "Windows Resource Protection found corrupt files and successfully repaired them". Restart your computer to see if your mouse is working correctly.
Method 2. Run DISM Scan
If the SFC scan did not help fix the problem (or you could not run the SFC scan), try running the DISM scan. DISM stands for Deployment Image Servicing and Management, and it can be used to repair and prepare Windows images, including the Windows Recovery Environment, Windows Setup, and Windows PE.
To run the DISM scan, you need to open Command Prompt as administrator again and type in this command: "DISM /Online /Cleanup-Image /RestoreHealth". Press Enter on your keyboard to execute it.

When the DISM scan is finished, check if the problem still persists. If this did not help, try running the SFC scan again if you could not run it the first time.
Method 3. Run Full System Scan
Malware may cause various issues on your computer, and if SFC and DISM scans couldn't fix the CRITICAL PROCESS DIED error, try performing a full system scan and see if it detects any malware on your computer.
You can use Windows Defender (a built-in antivirus program), which protects your computer against viruses, spyware, and other malicious software. Or you can use any other third-party antivirus.
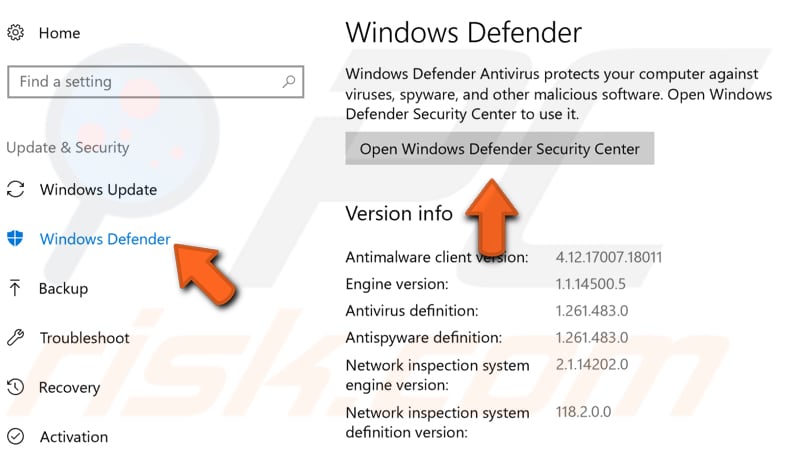
To run a full system scan using Windows Defender, type "defender" in Search and click on the "Windows Defender settings" result. In Windows settings, click on "Open Windows Defender Security Center".
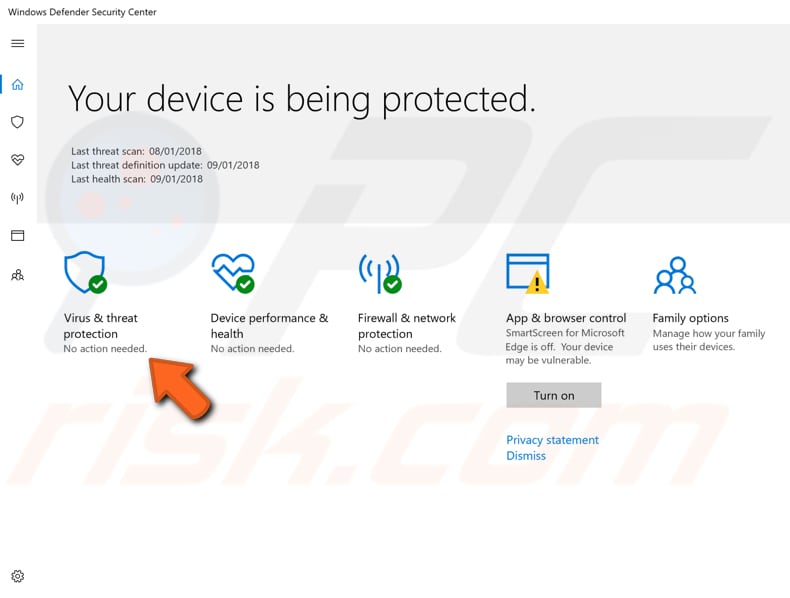
Then click on "Virus & threat protection".
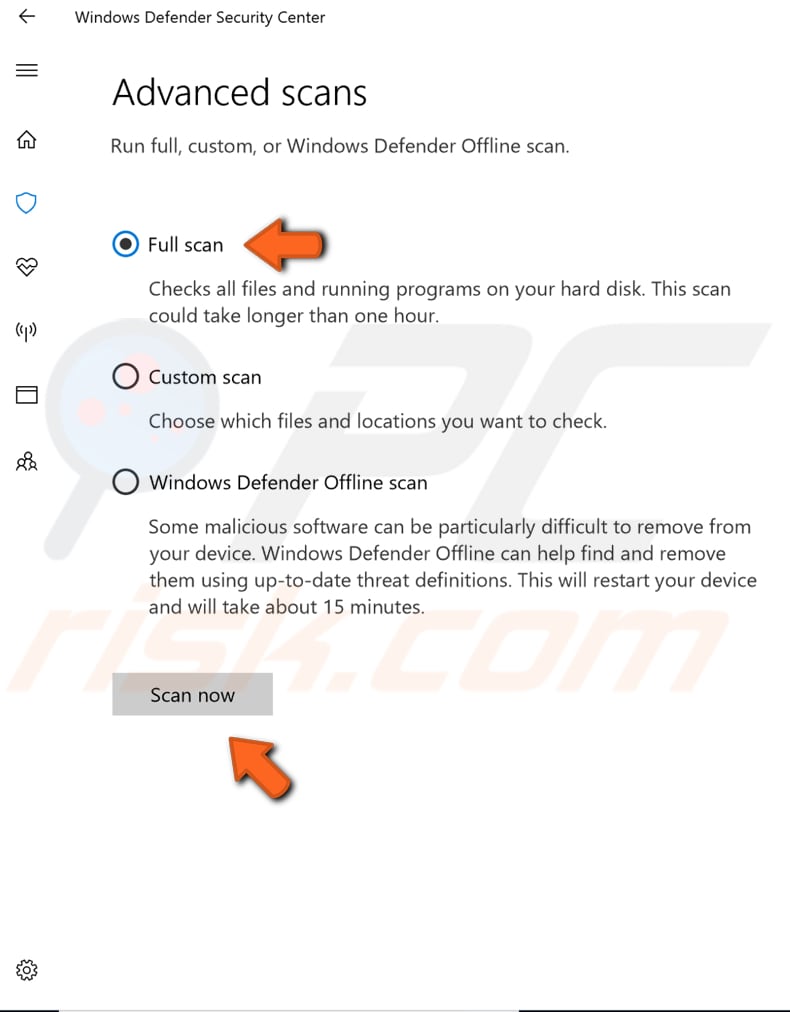
In the Virus & threat protection window, click on "Advanced scan".
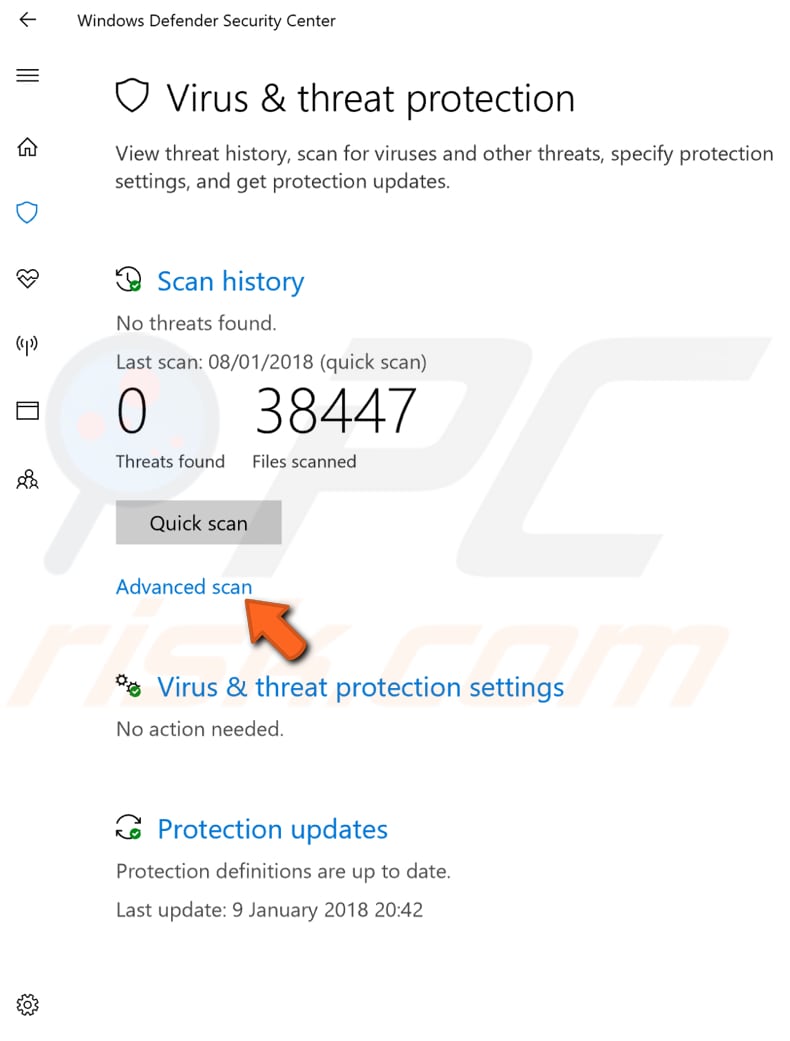
Select "Full scan" and click on "Scan now". This will start scanning your system for malware. When the scan is finished, restart your computer and see if this fixed the CRITICAL PROCESS DIED error.
Method 4. Update Your Drivers
This error might be caused by old or incorrect drivers. In this case, you need to get updated/new drivers for your hardware. There is an easy way to do this automatically with Snappy Driver Installer. You will need a computer with a working internet connection to download it.
Snappy Driver Installer (SDI) is a powerful free driver updater tool for Windows that can store its entire collection of drivers offline. You can download Snappy Driver Installer from here.

You can also update your drivers manually, but you will need a computer with a working internet connection or to have your drivers on a USB drive.
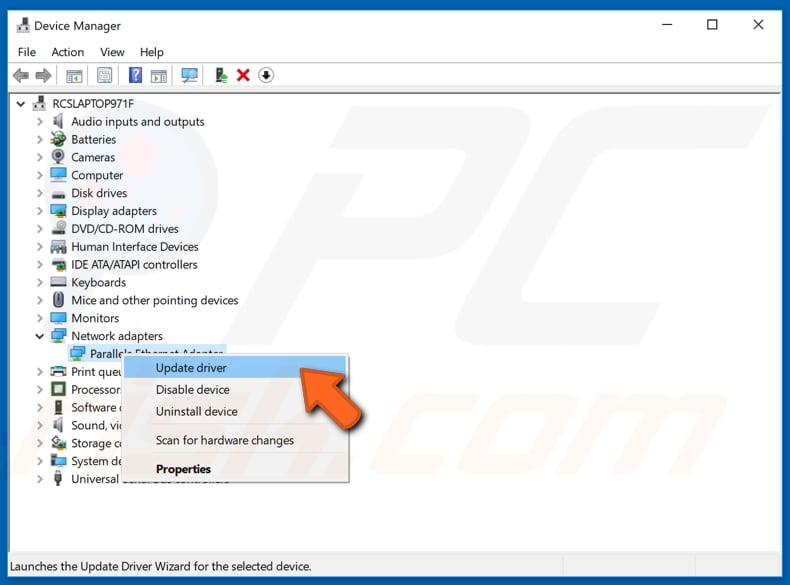
Go to your device manufacturer's website and download the latest driver. Copy that driver into your USB drive. Go to Device Manager (type "device manager" in Search and open it). Expand your hardware device section, select your driver, right-click on it, then choose "Update Driver".
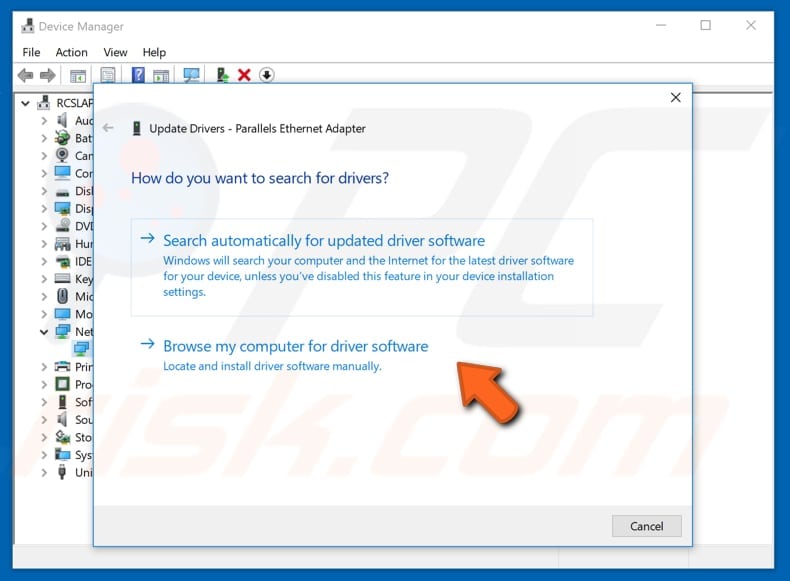
You will be asked how to search for drivers and given two options - to search automatically for updated driver software and to browse your computer for driver software. Choose the option which suits you the best and follow the instructions. Repeat this method for all of your drivers.
Method 5. Restore Your System Using Restore Point
The System Restore tool creates restore points. A restore point is a collection of important system files stored by System Restore on a given date and time. System Restore reverts everything to a saved restore point, but first, you must have one recorded. If a restore point does not exist on your computer, System Restore has nothing to revert to.
To use this tool, you must have created restore points. With a created restore point, this feature will bring your system back to the previous working state without affecting your files and data.
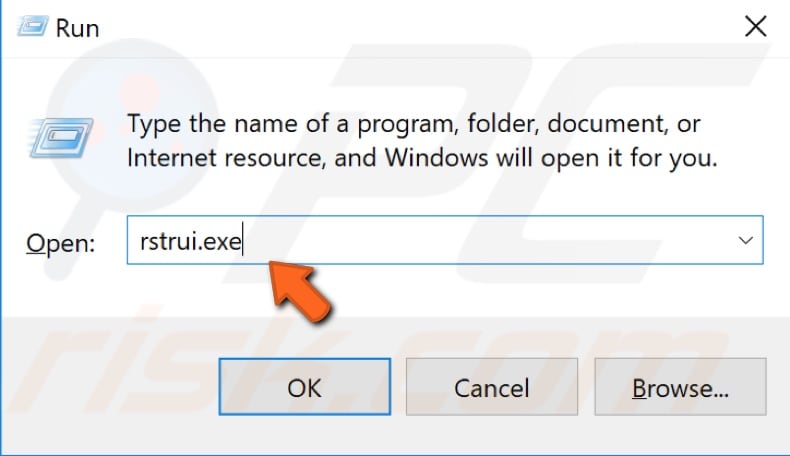
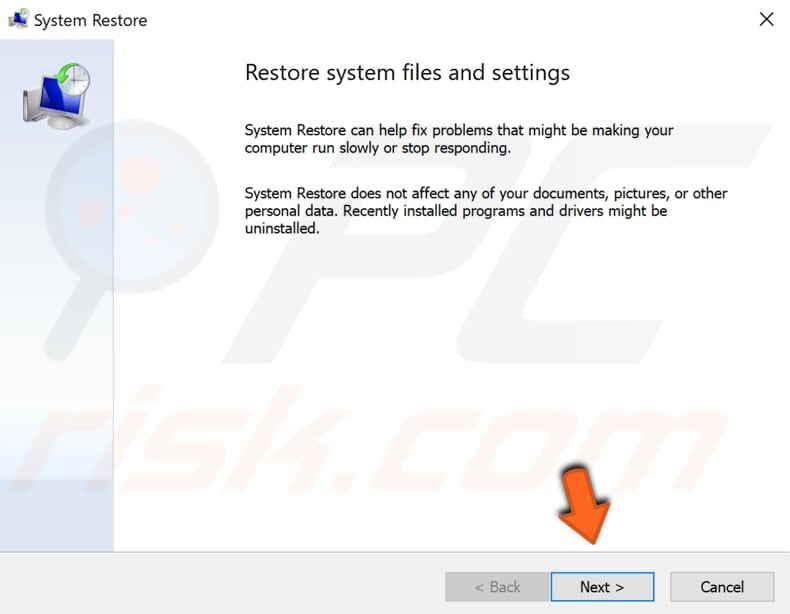
To restore your system, you will need to launch Run. To start it, press Windows Key + R and type "rstrui.exe" in the Run dialog box, press Enter, or click "OK".
In opened System Restore window, click "Next".
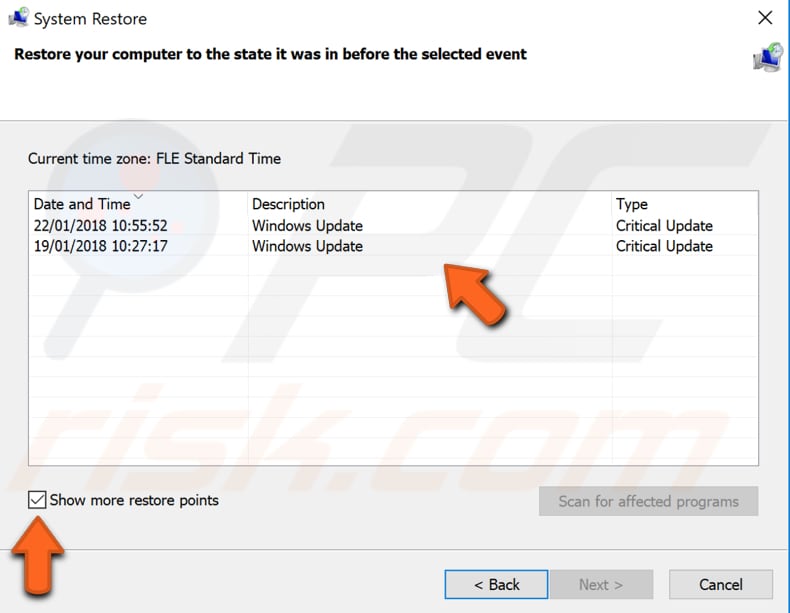
If there are restore points created, then you will see a list of restore points. Mark the "Show more restore points" checkbox, which should reveal more restore points. Select the restore point which suits you the best (depending on the time created etc.) and click "Next".
Do not select a Restore Point where you have already started to get the CRITICAL PROCESS DIED error. You certainly don't want to get back to that.
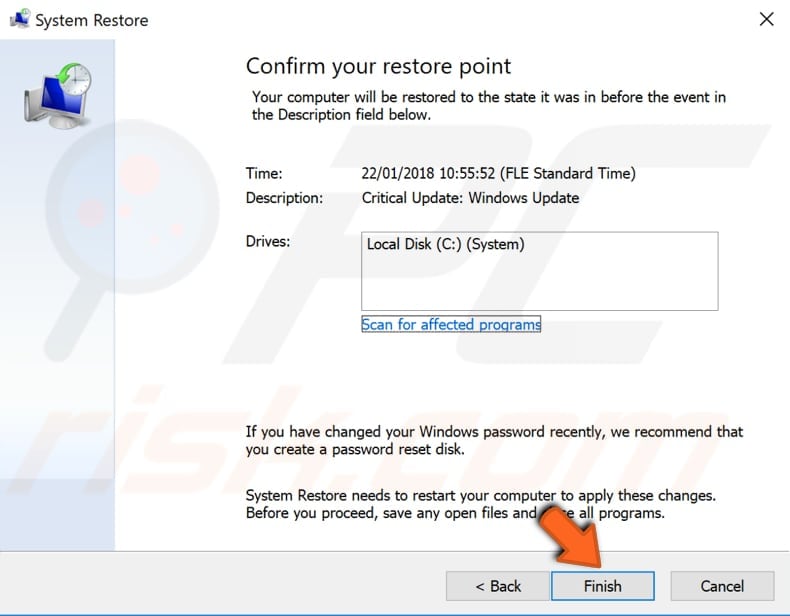
Click "Finish", and your computer will be restored to the state it was before the event in the "Description" field below.
Method 6. Check Your Disk for Errors
It is always a good idea to periodically check your disk for errors. There is a built-in Windows tool to check the integrity of disks. It examines disks and corrects many types of common errors. You can run this tool from the command line or through a graphical interface.
To run it from the command line, open Command Prompt, type "command prompt" and right-click on the "Command Prompt" result, select "Run as administrator" from the dropdown menu.

Type the "chkdsk C: /f" command in the Command Prompt window and press Enter on your keyboard. Replace "C" with the letter of your hard drive if it is not the C: drive you want to scan (or your Windows operating system is on another drive) on your computer.
The "chkdsk C: /f" command detects and repairs logical issues affecting your drive. To repair the physical problems, run the "chkdsk C: /r" command.

Method 7. Perform Clean Boot
When you start Windows using a normal startup operation, several applications and services start automatically and then run in the background. These programs include basic system processes, antivirus software, system utility applications, and other previously installed software. These applications and services can cause software conflicts.
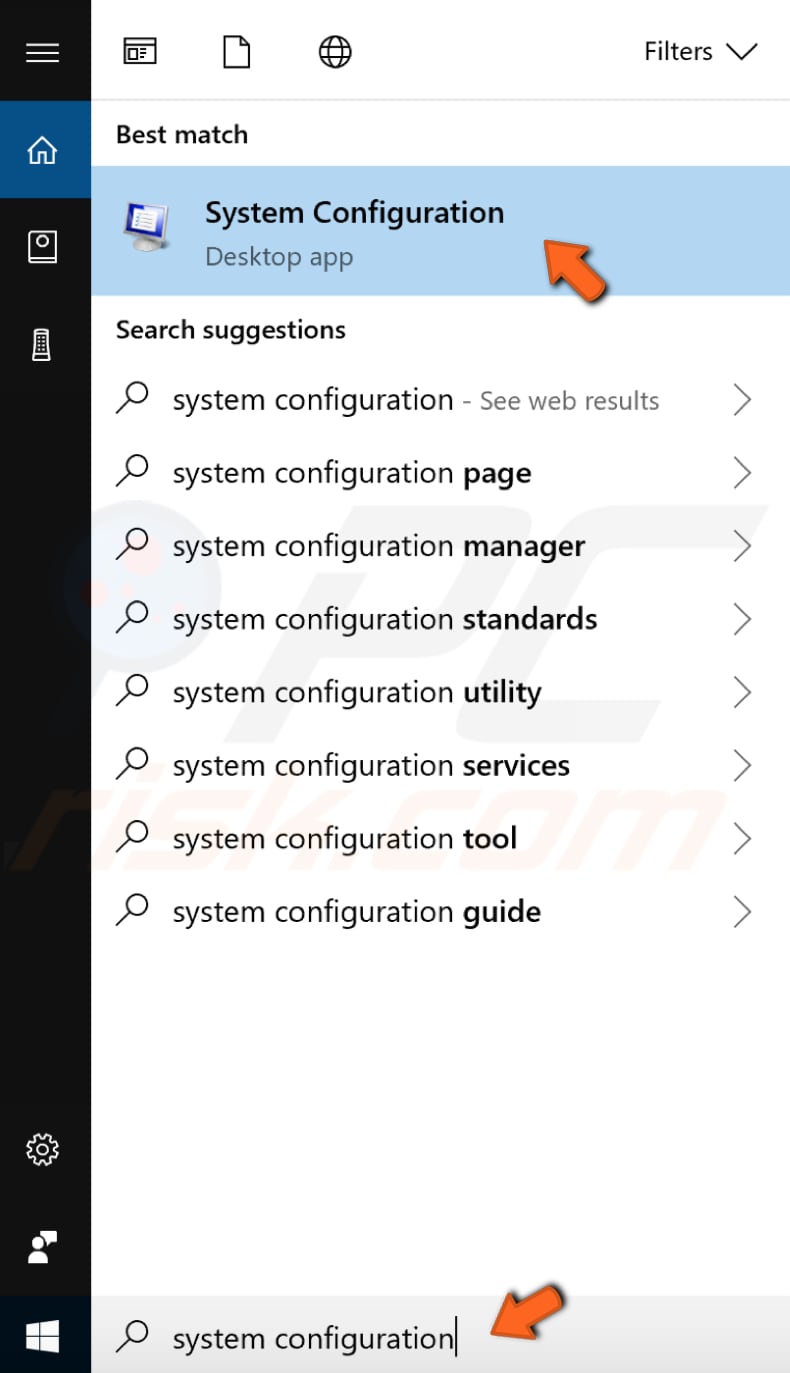
A clean boot is performed to start Windows by using a minimal set of drivers and startup programs. This helps eliminate software conflicts that occur when you install a program or an update or when you run a program in Windows. Type "system configuration" in Search and click on the "System Configuration" result to perform a clean boot.
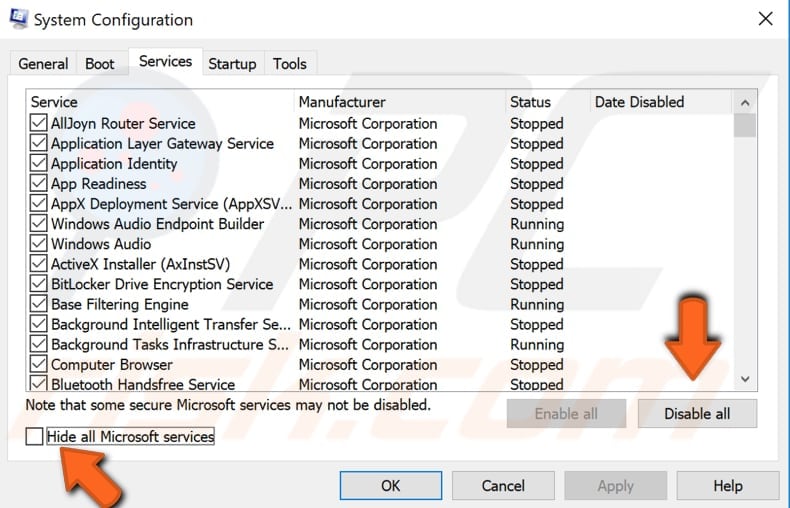
In opened System Configuration window, click on the "Services" tab and then mark the "Hide all Microsoft services" checkbox. Then click on "Disable all".
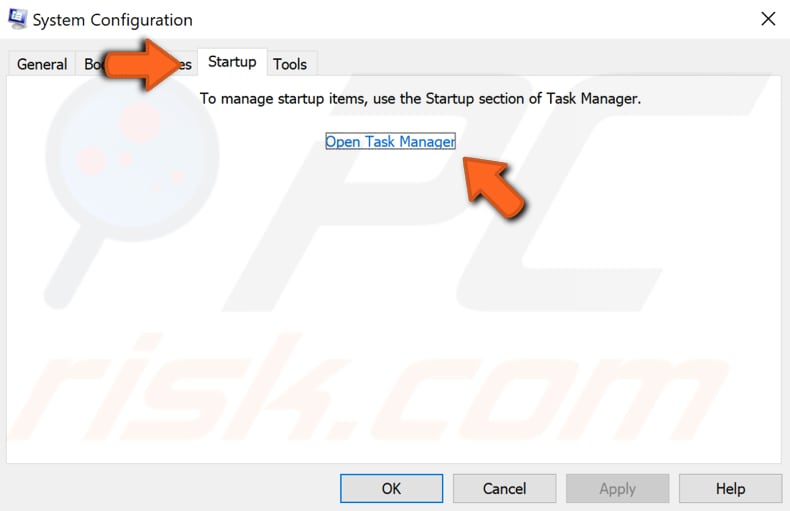
Then click on the "Startup" tab and click on "Open Task Manager".
Under Task Manager's Startup tab, select the first application and click "Disable" to disable it. Disable all applications one by one by repeating this step. Once you disabled all programs, close Task Manager and click "OK" in the System Configuration's Startup tab and restart your computer to see if this helped fix the issue.

Your computer will run only with default applications and services. If this helped, it means that one of the disabled applications is causing the error.
To find that application, you need to repeat the steps mentioned above, enable startup services and enable applications one by one until you find it. You need to restart your computer after enabling the application or service to apply changes.
Once you find the problematic application, you can keep it disabled, update it, reinstall it or totally remove it from your Windows operating system.
Method 8. Uninstall Latest Updates
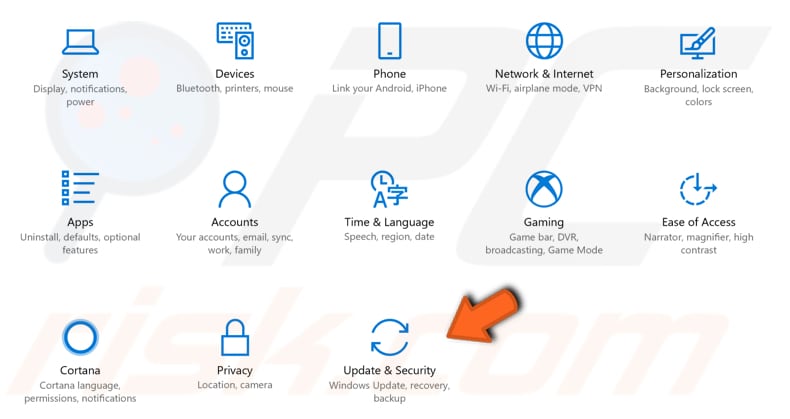
Sometimes the latest (recently) installed updates can cause this CRITICAL PROCESS DIED error. Usually, these updates are necessary for the system to run correctly, but they could also cause some problems. If that is the case, you should uninstall your latest Windows 10 updates from your Windows operating system. To uninstall updates, go to Settings and click on "Update & Security".
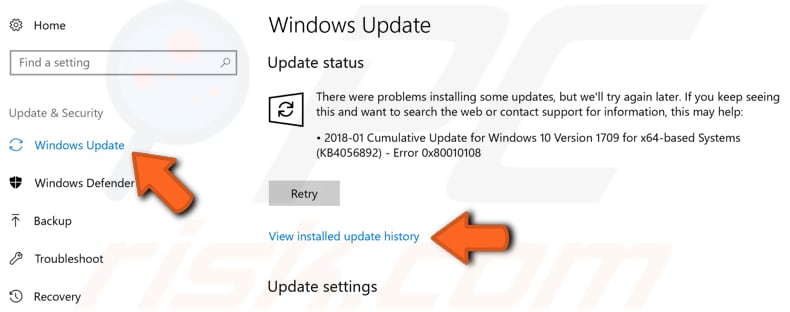
In the Update & Security menu, ensure that you are on the 'Windows Update' section and click on "View installed update history".
Once you are in installed update history, click on "Uninstall updates".

You will see a list of installed updates. Select the update you want to uninstall and click "Uninstall".

That's it. We hope that at least one of the methods described above helped you to fix the CRITICAL PROCESS DIED error, and you can use your Windows operating system without any problems.
Share:

Rimvydas Iliavicius
Researcher, author
Rimvydas is a researcher with over four years of experience in the cybersecurity industry. He attended Kaunas University of Technology and graduated with a Master's degree in Translation and Localization of Technical texts. His interests in computers and technology led him to become a versatile author in the IT industry. At PCrisk, he's responsible for writing in-depth how-to articles for Microsoft Windows.
▼ Show Discussion