How to Electronically Sign a PDF [Complete Guide]

Get Free Scanner and check your computer for errors
Fix It NowTo fix found issues, you have to purchase the full version of Combo Cleaner. Free trial available. Combo Cleaner is owned and operated by Rcs Lt, the parent company of PCRisk.com read more.
How to Electronically Sign a PDF in Windows & MacOS?
Are you tired of printing out documents and having to scan them back to add your signature? There are many ways to sign them virtually. This guide will show you how to sign your documents virtually (without the inconvenience of printing, signing, and scanning) before sending them.
Virtual signing is a great shortcut, especially when you have many documents to sign. Firstly, be aware that there are two completely different signatures: electronic and digital.
An electronic signature is a broad category, which includes just a simple image of your signature, whereas a digital signature is far more sophisticated and secure.
A digital signature is your identity, which is cryptographically attached to a document and cannot be forged. Do not confuse these two since this article is about electronic signatures, which are more for personal use.
Video Showing How to Electronically Sign Documents on Windows:
Showing How to Electronically Sign Documents on Mac:
Table of Contents:
- Introduction
- Signing documents on Mac
- Signing documents on Windows
- Signing documents online with eSign
- Signing documents on your iPhone or iPad using Mail
- Signing documents on your iPhone or iPad Using Adobe Fill & Sign
- Video showing how to electronically sign documents on Windows
- Video showing how to electronically sign documents on Mac
Download Computer Malware Repair Tool
It is recommended to run a free scan with Combo Cleaner - a tool to detect viruses and malware on your device. You will need to purchase the full version to remove infections. Free trial available. Combo Cleaner is owned and operated by Rcs Lt, the parent company of PCRisk.com read more.
Signing documents on Mac
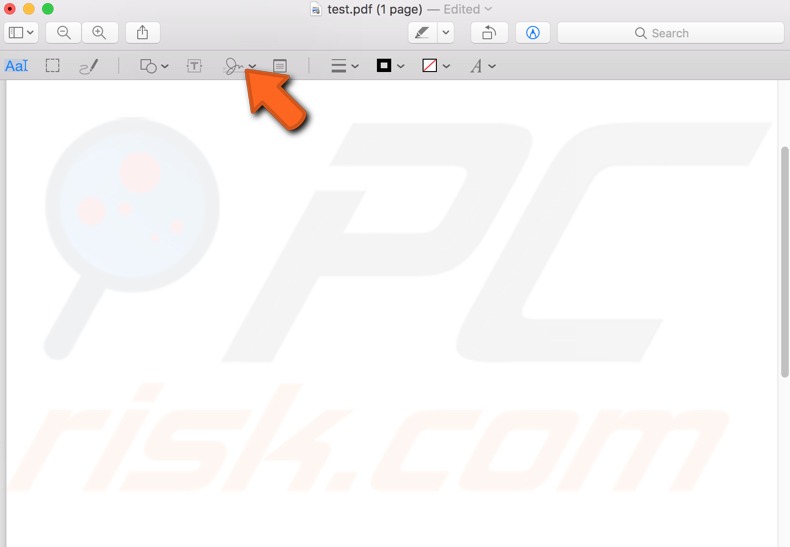
You do not need any third-party application for this option. To sign documents with Mac, you can use Preview, an application included with your operating system. First, open your PDF (or another document) with the Preview app. Then, click the “Show Markup Toolbar” icon.

New toolbar will appear, click the “Sign” icon.
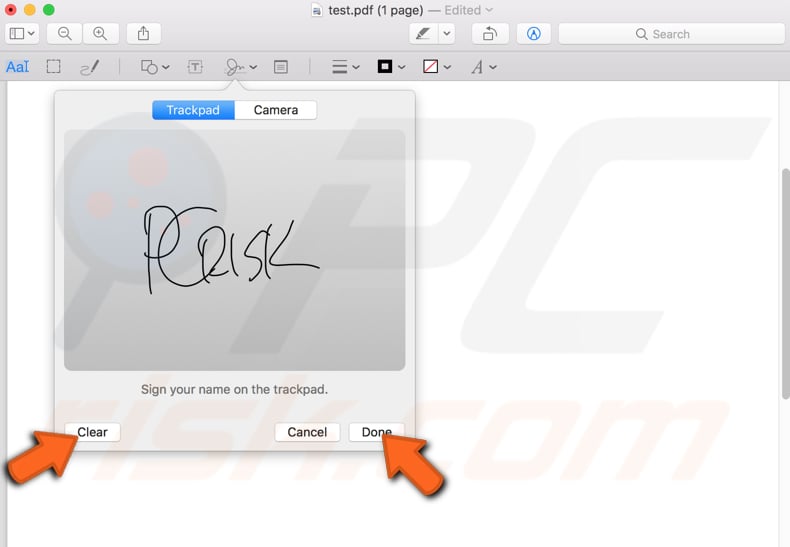
Now you see two options: you can create your signature by dragging your finger on your trackpad, or you can sign your paper document and then capture it with camera. Click “Click Here to Begin” and start creating your signature with your finger.

You can try as many times as you need to refine your signature. Just click “Clear” and try again. When you are happy with it, press any key on your keyboard and then click “Done”.
Now you have your signature ready. You can remove it or create a new one. If not, Preview will remember your current signature.
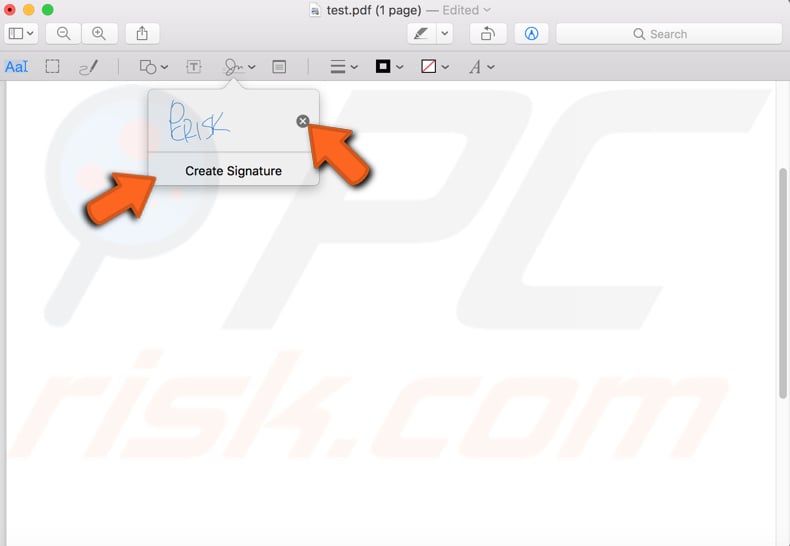
You can drag and drop your signature wherever you need it, or resize it as you wish.
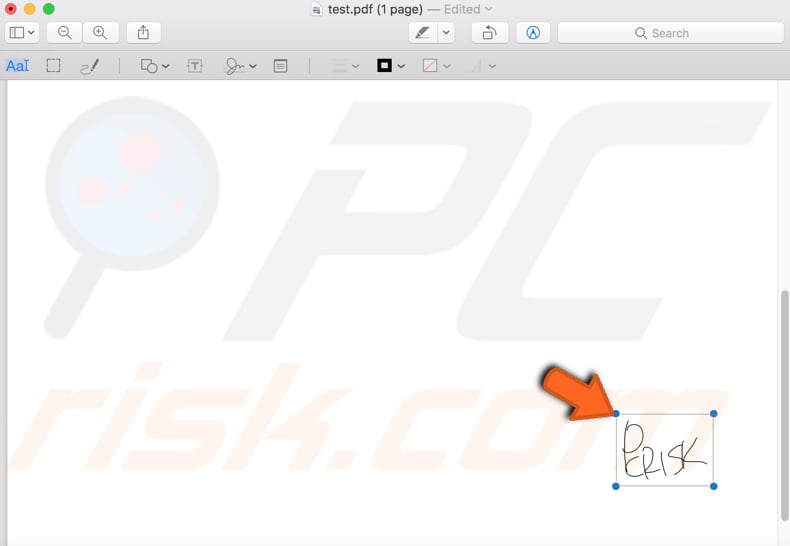 You can draw your signature with the “Sketch” tool and draw shapes with the shape tool, etc. The tools you might need are on the same toolbar as the “Sign” tool. When you are finished, click on “File” and then “Save”.
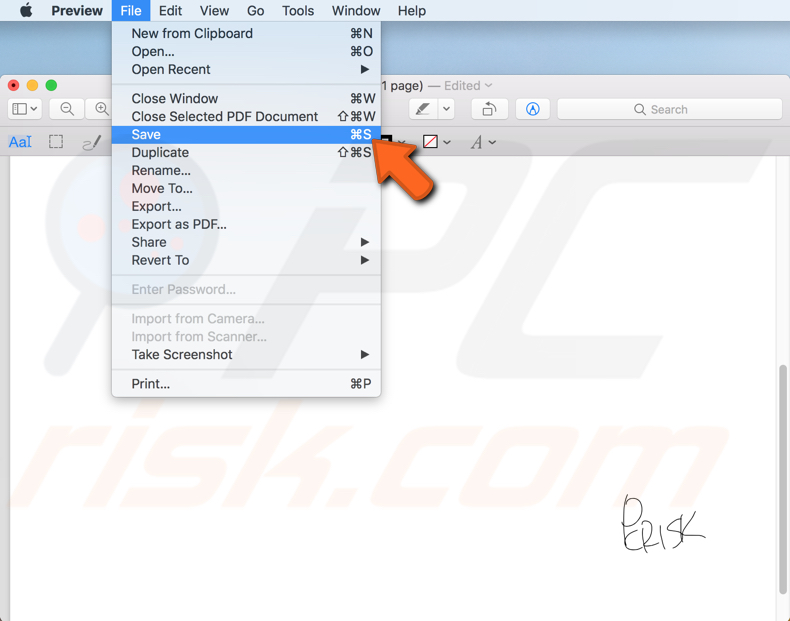
Signing documents on Windows
For this option, you will need Adobe Reader - a free PDF reader, which you can use for signing your documents. There are other programs you could use, but this is probably the best option. You can download it from the official Adobe website. To start signing your documents, open your PDF file and click on the “Fill & Sign” icon on the right-hand side. You may need to scroll down a little to find this icon.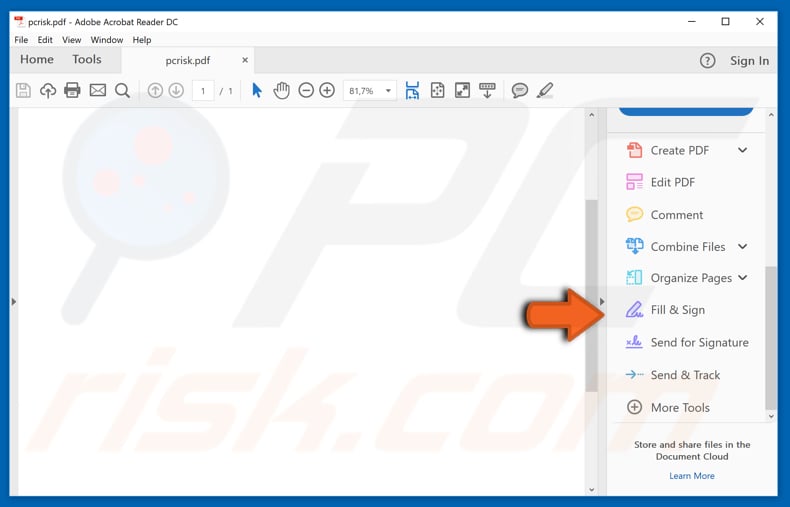
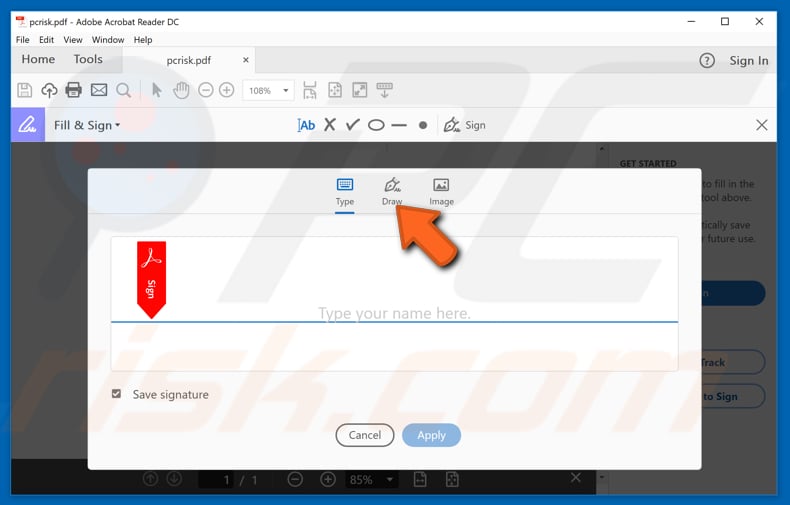
Then click the “Sign” icon and choose ‘’Add Signature” option.
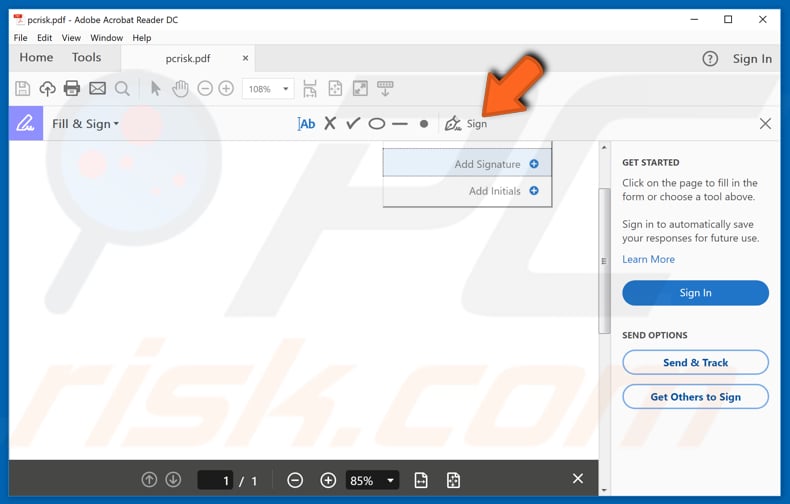
Adobe Reader will ask you to type your name. You can choose this option as a signature, but this is probably not the best way, since Adobe Reader will just convert your typed name into a signature. Nevertheless, try it first, as it might fit your needs. The “Image” option allows you to upload a scanned signature image and import it to Adobe Reader as your signature. You can also use the “Draw” option. Click the “Draw” icon.
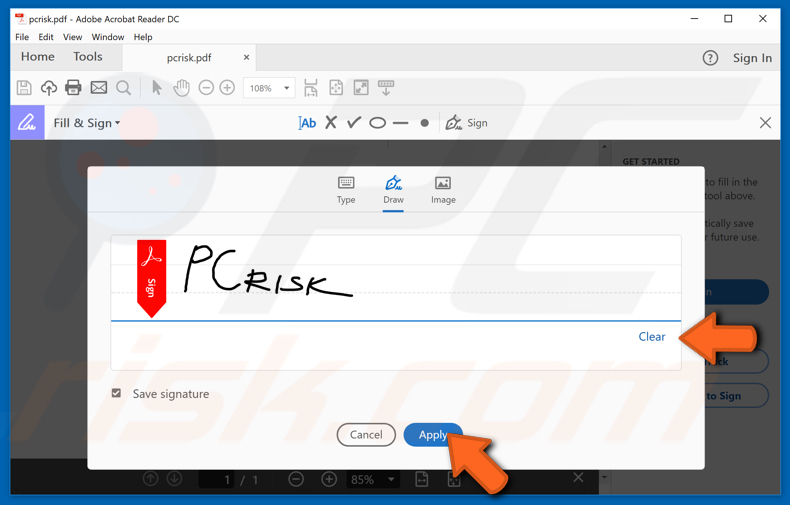
You can draw your signature with your mouse, or if you are using laptop, use the trackpad. Try to get the signature you need. You can try as many times as you wish. Use the “Clear” button to start over. When you are satisfied, click “Apply”. If you save your signature, you will find it in your “Sign” menu the next time you use Adobe Reader.
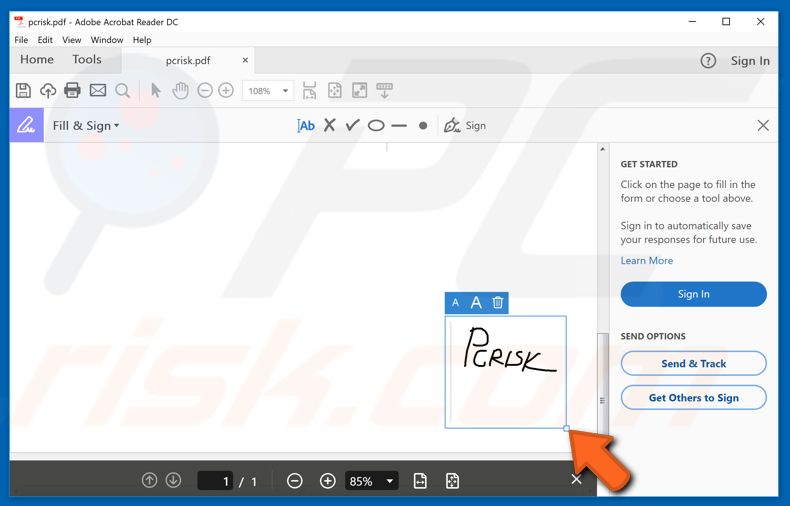
Now your signature is ready to use. You can place it wherever you need, resize, or delete.
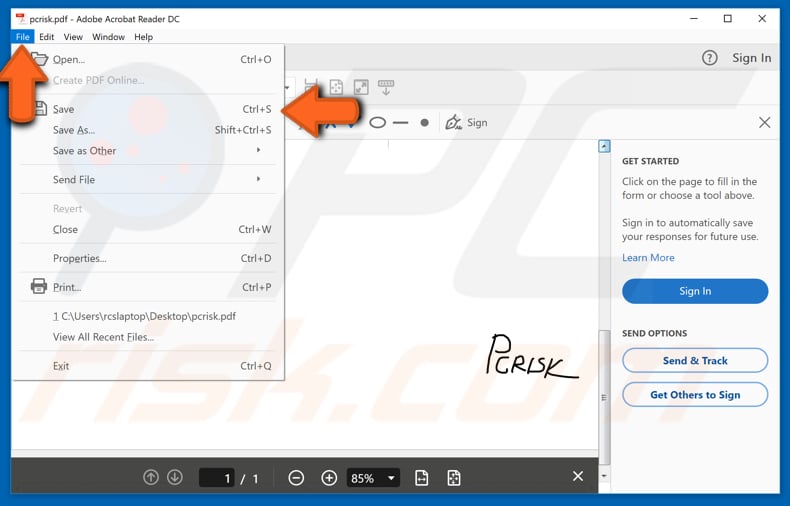
To save your signed PDF document, click “File” and then “Save” or “Save As…”
Signing documents online with eSign
To sign your documents online. Visit this site:
When you open the page, click “Drop PDF here”. Find the file you need on your computer and upload it. You can also upload your file from Dropbox or Google Drive.
Now choose how you want to sign your document. You can draw it using your mouse or trackpad. Upload a scanned signature from your computer or take a picture of your signature with a camera. In this article we are going to use the “Draw” option.

When you have your signature, click “Save”, or you can redraw your sign if you are not satisfied with the result by clicking “Clear” and drawing again.

Click “Place signature” and then click on your signature to place it on uploaded PDF document.
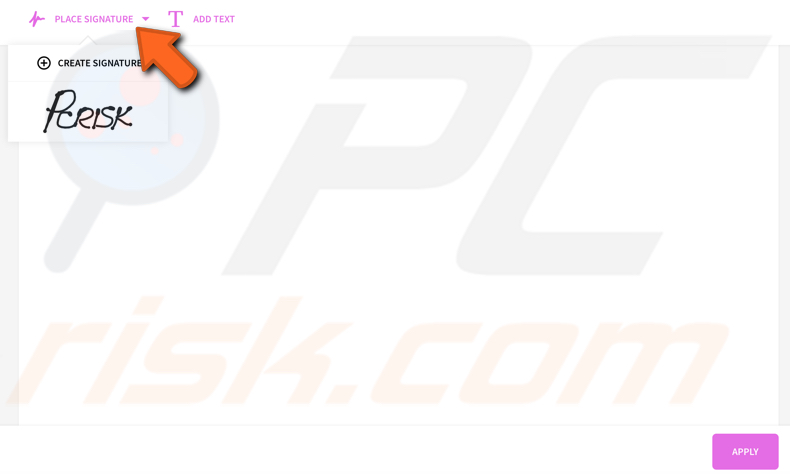
You can resize your signature, move it across your PDF or add text to it. When you are finished click “Apply” to apply the changes to your document.

Your file is ready to be downloaded. You can download it directly to your computer, save it to Dropbox, or save it to Google Drive. If you need to sign more than one document, choose the “Start over” option and repeat these simple steps again. 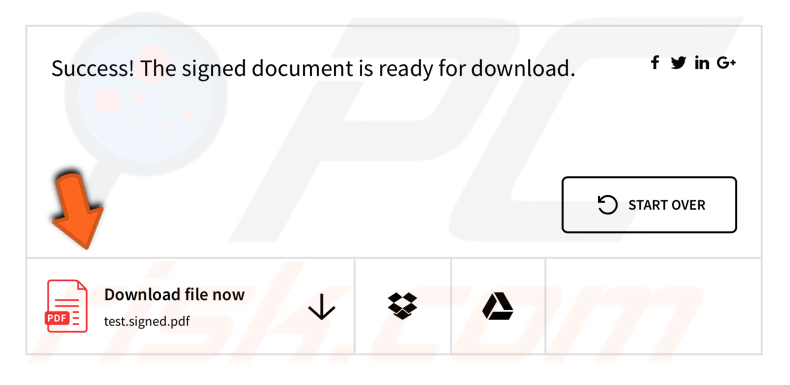
Signing documents on your iPhone or iPad Using Mail
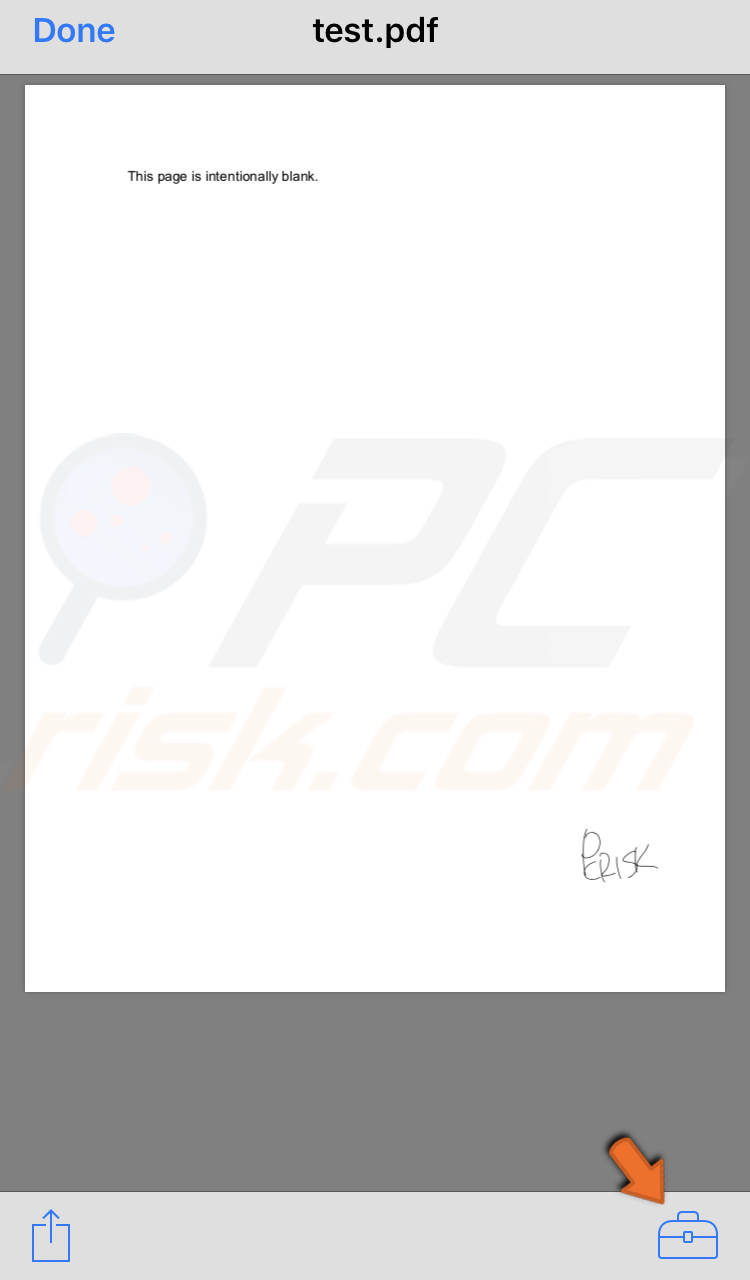
If you do not have access to your computer but have your phone, no problem. Sign documents on your iPhone using the “Markup and Reply” feature in the iOS Mail app. If, say, you received a PDF file and you need to sign it, go to “Mail” and open an email with attached PDF file. Tap to open.

Tap the “Markup and Reply” icon. You will see it at the bottom.
You can now sign your document. Tap the “Sign” icon at the bottom to start creating your signature.
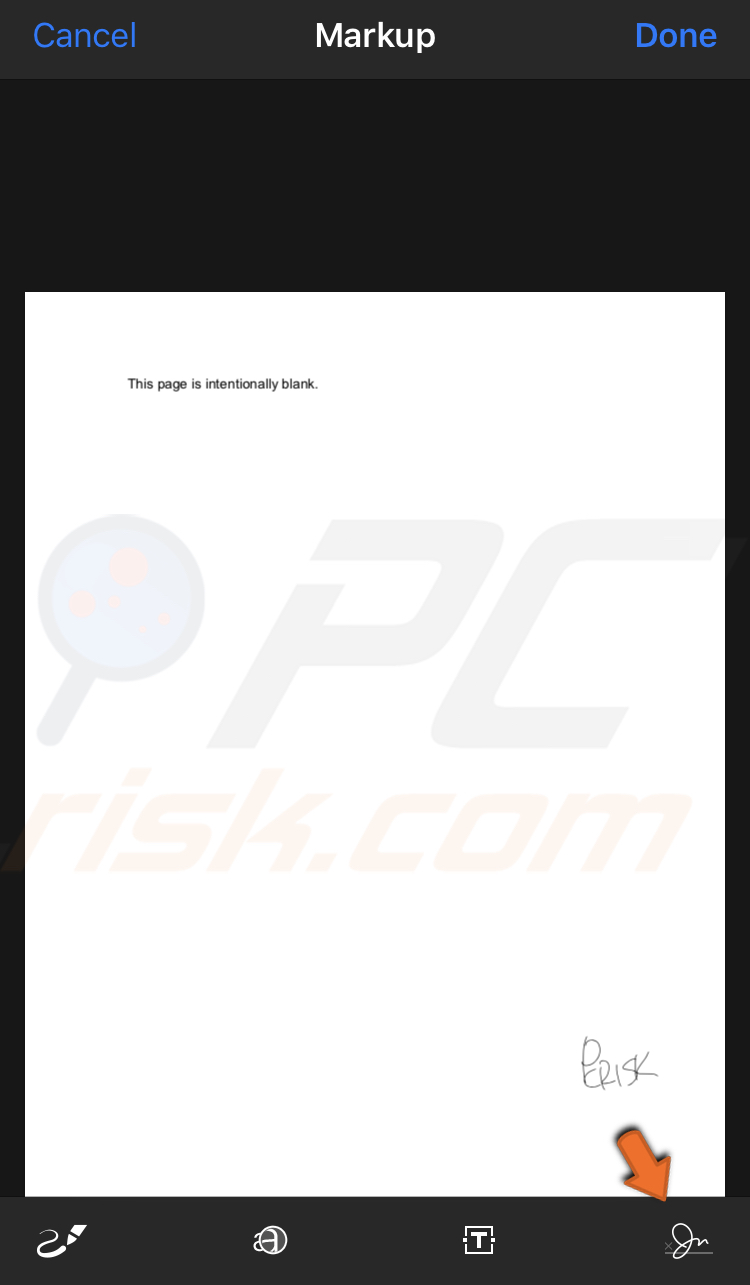
Use your finger to sign. Once you have finished, click “Done”. Or start over by clicking “Clear”.

Now you can place your finished signature anywhere on the document. You can also change the signature size and color if you wish. When you are finished click “Done” again. Your file is automatically attached to a reply message and ready to send.

Signing documents on your iPhone or iPad Using Adobe Fill & Sign
To sign documents in this way, you need to have the Adobe Fill & Sign app on your iPhone. You can download it free from the App Store. This is a useful and easy-to-use app. Once you have it, you can start signing your documents.
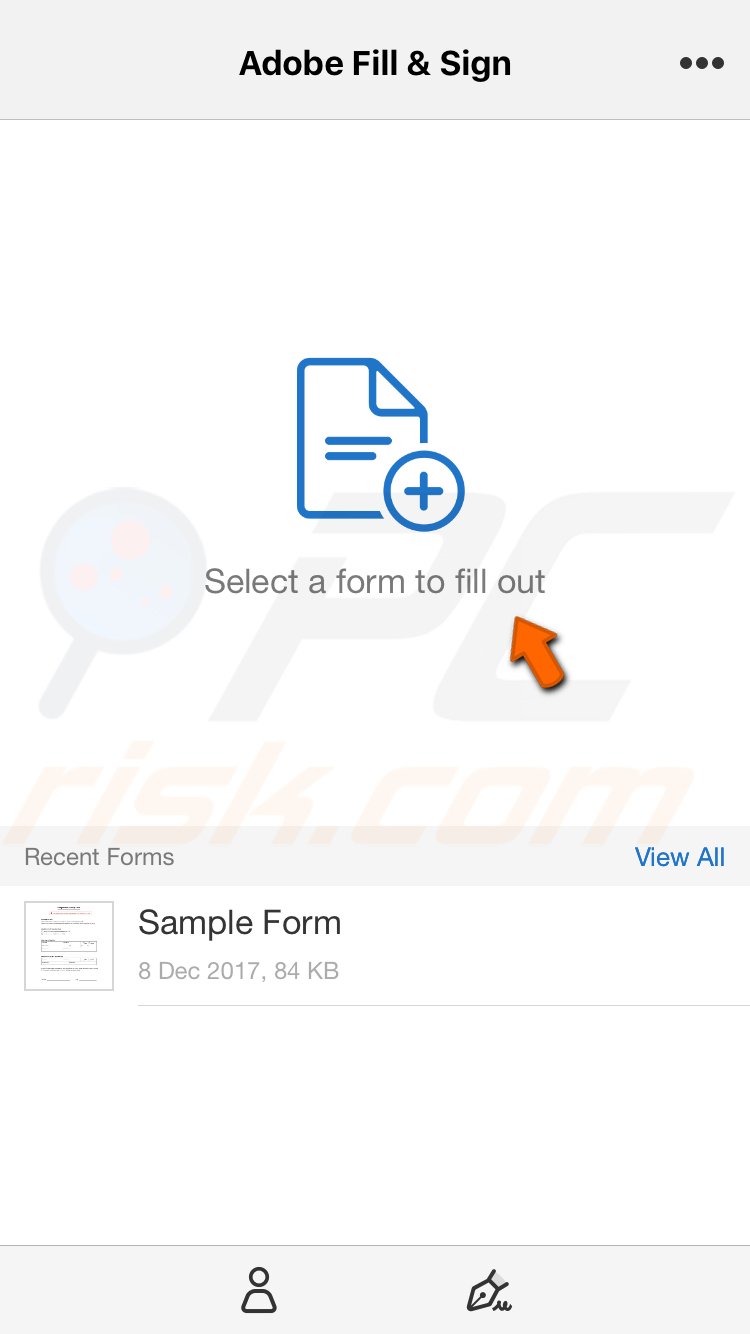
To get a PDF document from another app into Adobe Fill & Sign, find that document in that app, tap the “Share” button, and then select Adobe Fill & Sign app. Alternatively, look for that document by opening Adobe Fill & Sign app and choosing “Select a form to fill out”.
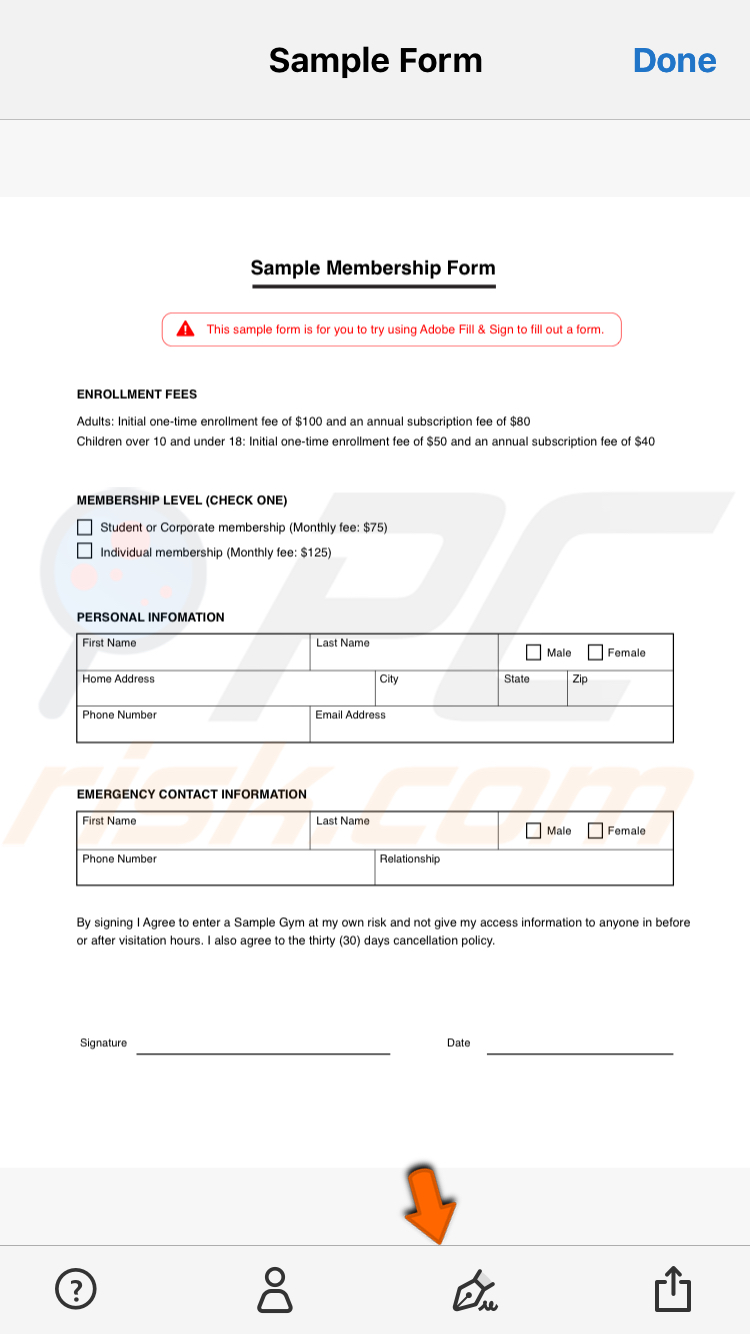
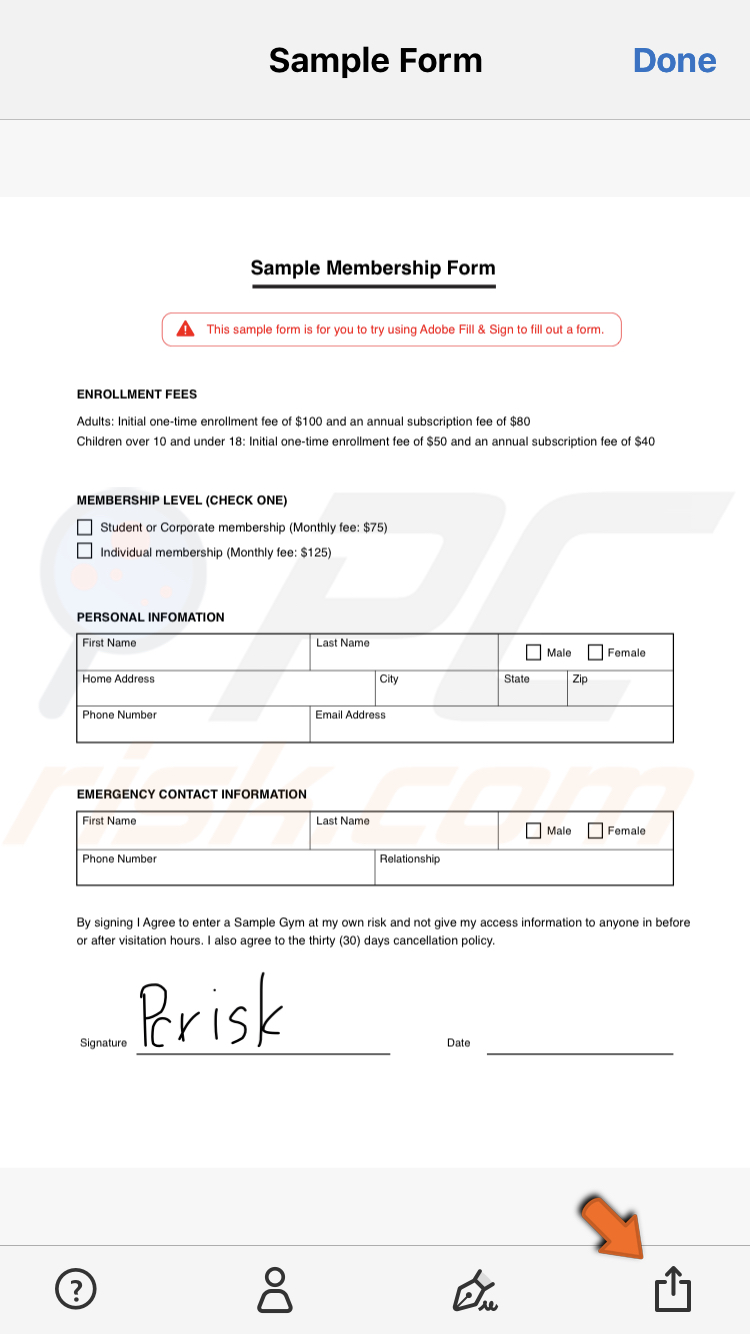
We chose “Sample Form” as an example. To start creating your signature, tap the pen icon at the bottom and then tap “Create Signature”.
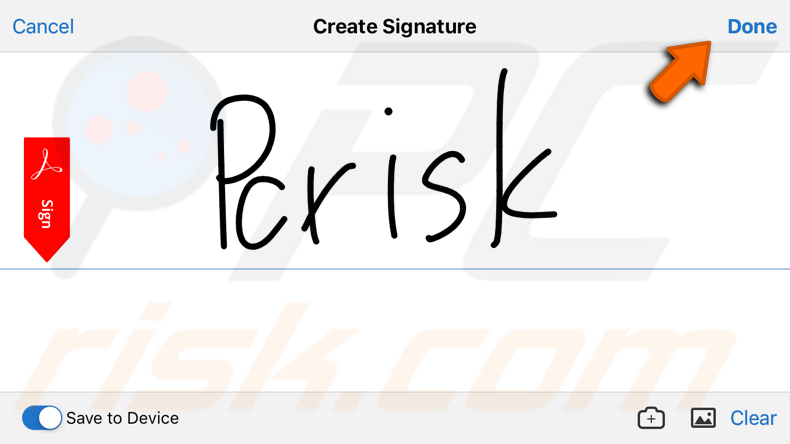
Use your finger to create your signature. You can take a picture of your signature and import it or use an already existing image from your phone as your signature. Once you are finished, tap “Done”.
Place your signature anywhere you need. Resize it if you need to using the arrows.
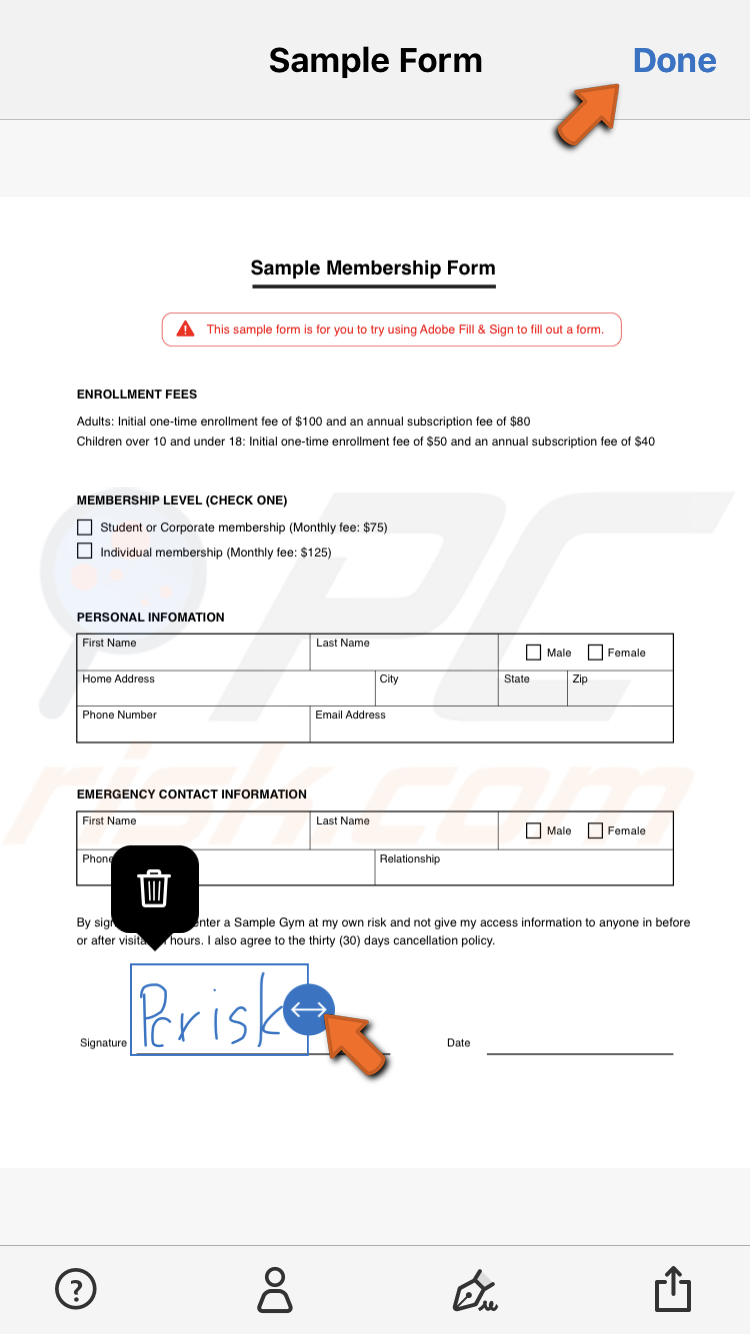
When you are finished, click “Done” and the document will be saved or tap the “Share” icon to choose your next action.
We hope this article helped you to sign some documents and save time!
Share:

Rimvydas Iliavicius
Researcher, author
Rimvydas is a researcher with over four years of experience in the cybersecurity industry. He attended Kaunas University of Technology and graduated with a Master's degree in Translation and Localization of Technical texts. His interests in computers and technology led him to become a versatile author in the IT industry. At PCrisk, he's responsible for writing in-depth how-to articles for Microsoft Windows.
▼ Show Discussion