Fix fseventsd high CPU and high memory usage on your Mac

Get Free Scanner and check your computer for errors
Fix It NowTo fix found issues, you have to purchase the full version of Combo Cleaner. Free trial available. Combo Cleaner is owned and operated by Rcs Lt, the parent company of PCRisk.com read more.
7 ways to stop fseventsd from hogging your Mac’s resources
Have you noticed your Mac slowing down? Is the fseventsd process using a lot of CPU and memory? Then, you stumbled upon the right troubleshooting guide.
fseventsd stands for File System Events Daemon. A daemon is just a background process that runs without user interaction.
On a Mac, fseventsd tracks everything that happens with files: creating, deleting, copying, or moving them. This applies to files on your main hard drive, external drives, network servers, or cloud services.
fseventsd is crucial for Finder, Time Machine, Spotlight, iCloud, and other macOS features. For example, when you move a file to a different folder, fseventsd notices this change and informs other processes that need to know about it.
Usually, fseventsd doesn't use much of your Mac's resources. However, certain situations can make it consume high amounts of CPU and memory, such as:
- Copying or moving a large number of files.
- Spotlight having trouble indexing a disk.
- A disk's file system is corrupted.
- There is a hardware issue with a disk.
- Your Mac has malware.
Follow this guide to learn more about the fseventsd process and how to fix related problems on your Mac.
Video on Fix fseventsd high CPU and high memory usage on your Mac
Table of Contents:
- Introduction
- Method 1. Check if fseventsd is using too much CPU and memory
- Method 2. Force quit fseventsd
- Method 3. Update the Mac operating system
- Method 4. Run Disk First Aid to fix disk problems
- Method 5. Reindex Spotlight
- Method 6. Clear out your Mac
- Method 7. Scan for malware
- Method 8. Restart Time Machine
- Video on Fix fseventsd high CPU and high memory usage on your Mac
Download Computer Malware Repair Tool
It is recommended to run a free scan with Combo Cleaner - a tool to detect viruses and malware on your device. You will need to purchase the full version to remove infections. Free trial available. Combo Cleaner is owned and operated by Rcs Lt, the parent company of PCRisk.com read more.
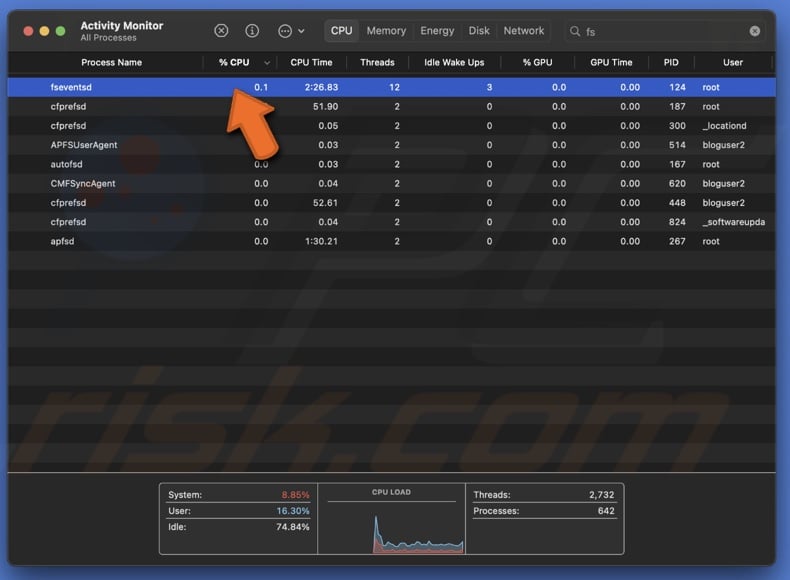
Check if fseventsd is using too much CPU and memory
You can easily check if you think fseventsd uses too many resources. Here's how:
1. Open Activity Monitor.
2. Click the "CPU" or "Memory" tab.
3. The processes will be listed from highest to lowest usage. If they're not, click the arrow next to the column header to sort them.
4. Find "fseventsd" in the list. If it's near the top, check its CPU or memory usage. It should use only a small fraction of a percent of CPU cycles. If it's using more, there might be a problem.
Force quit fseventsd
1. Open Activity Monitor on your Mac.
2. Find and select "fseventsd" in the list of processes.
3. Click the X button in the toolbar to quit it.
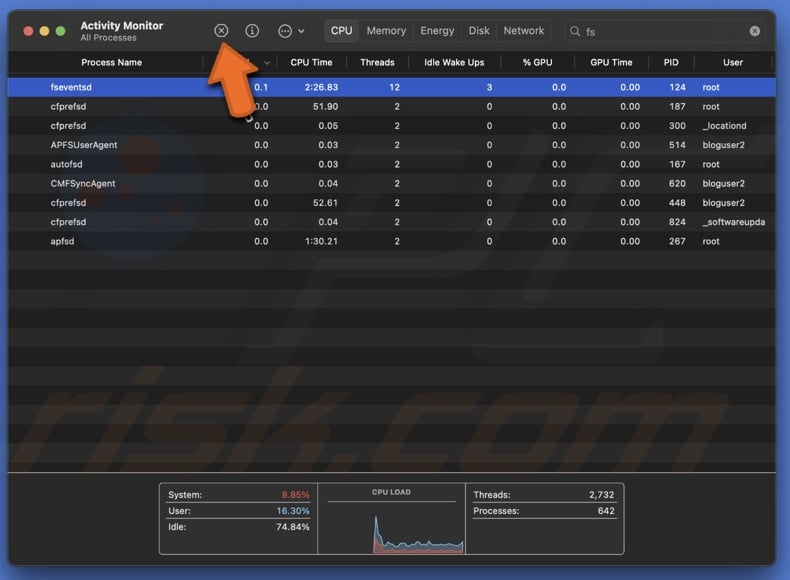
4. fseventsd will automatically restart itself.
If this doesn't solve the problem, restart your Mac.
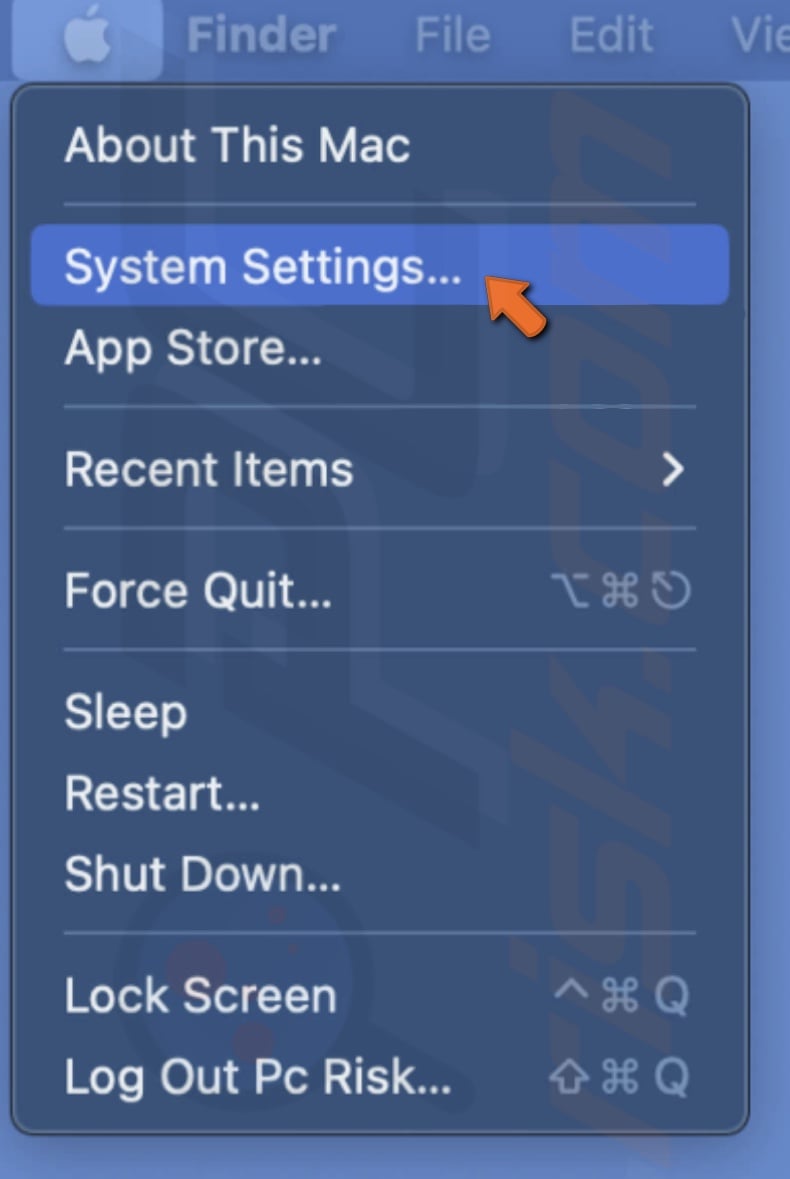
Update the Mac operating system
If your Mac is running slow due to fseventsd using too many resources, it might be a bug in macOS. Here's how to check for an update to fix this issue:
1. Open "System Settings" on your Mac from the Apple menu.
2. Go to "General".
3. Click on "Software Update".
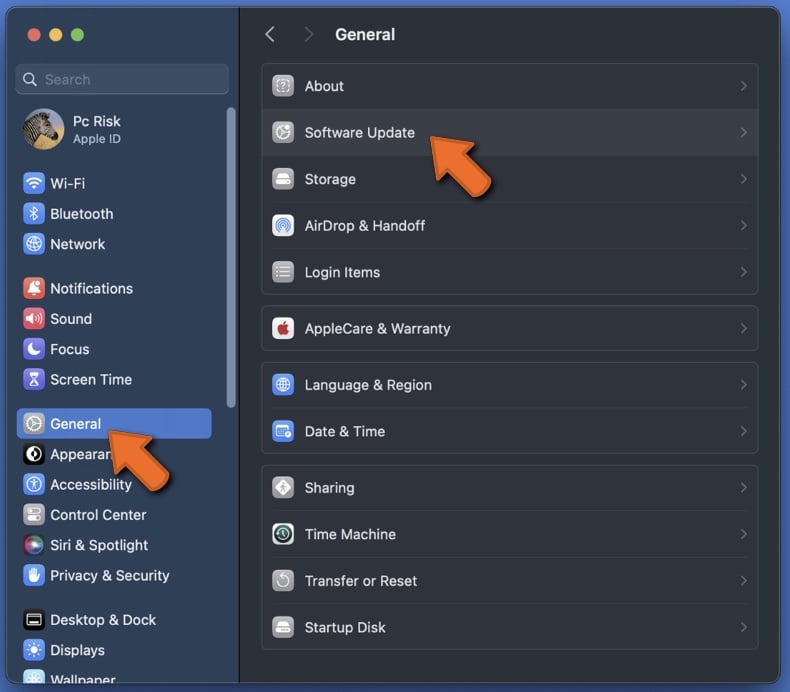
4. If an update is available, follow the on-screen instructions to install it.
Run Disk First Aid to fix disk problems
If you're having trouble with a specific disk, like your startup disk or an external one, you can use Disk Utility to try and fix it.
1. Open the Disk Utility app.
2. In the sidebar, choose the disk you want to repair.
3. Click the "First Aid" button in the toolbar and confirm the action. Let the process complete.
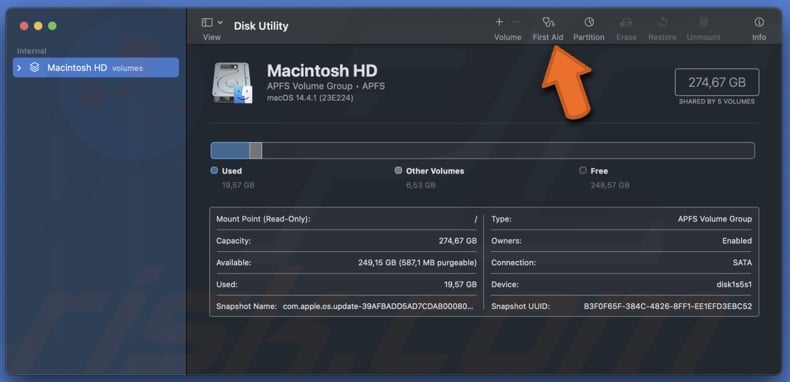
4. Once Disk Utility finishes the repair, close the application.
Reindex Spotlight
If you're having trouble with Spotlight, you can try reindexing it. Here's how you can do it:
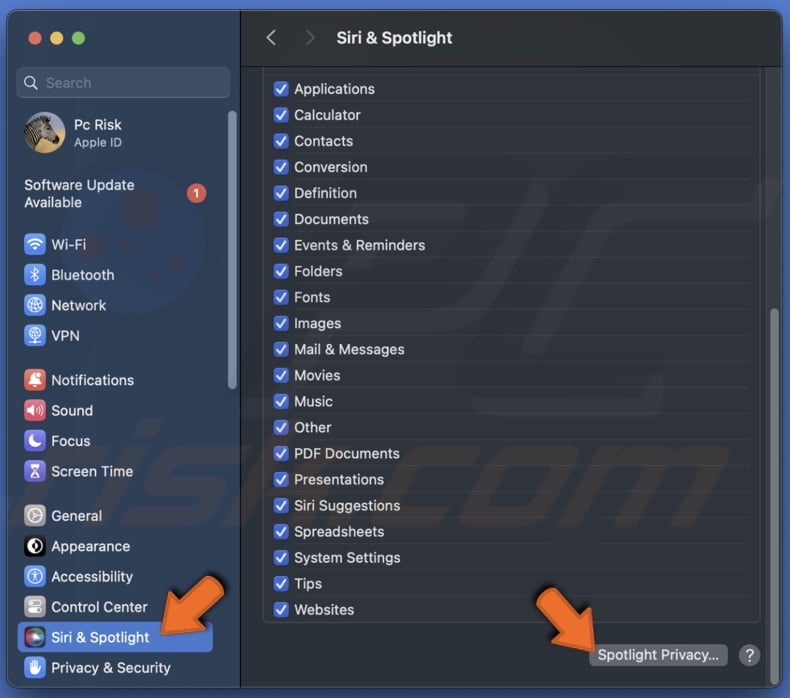
1. Go to Mac's System Settings and select "Siri & Spotlight".
2. Scroll to the bottom and click on "Spotlight Privacy". Drag the disk of folder into the window that you're trying to access that's causing the problem.
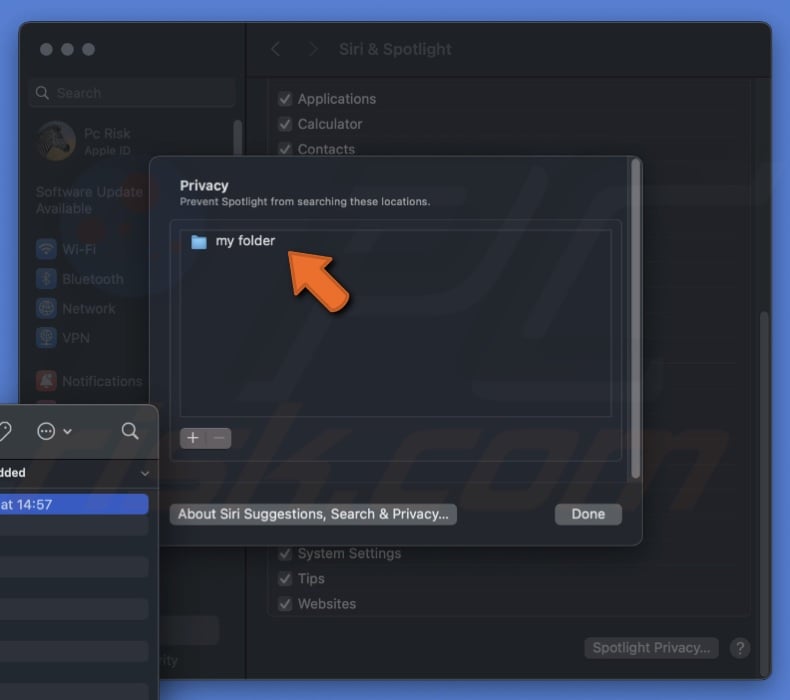
3. Click "Done" and exit System Settings.
4. Wait for a few seconds. Open System Settings again, return to "Spotlight Privacy", select the disk, and click the "-" button to remove it.
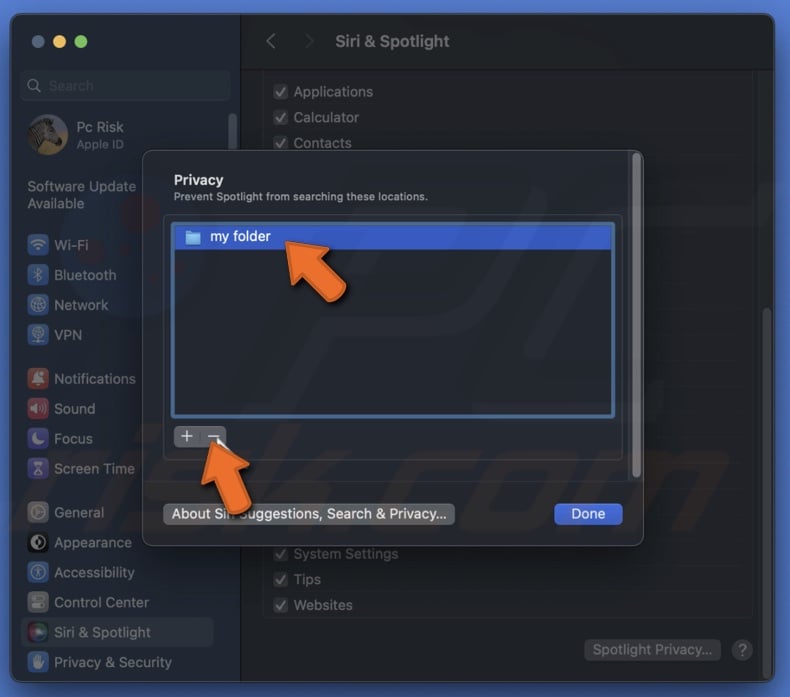
5. Click "Done" and exit System Settings. Spotlight will now start reindexing the disk.
These steps should help Spotlight work better.
Clear out your Mac
Sometimes, problems with fseventsd on your Mac can be caused by junk files that have become corrupt or are conflicting with other files. To fix this, you need to clear out all the junk files. These junk files include:
- Temporary files that should have been deleted but weren't.
- Old cache files.
- Settings files for apps that are no longer on your Mac.
Finding and deleting these files manually can take a long time. Luckily, you don't have to do it yourself. Combo Cleaner can help you clean your Mac quickly and easily. Here's how you can use it to clear out junk files:
1. Download Combo Cleaner from here. Follow the instructions to install it on your Mac.
2. Once installed, open the Combo Cleaner.
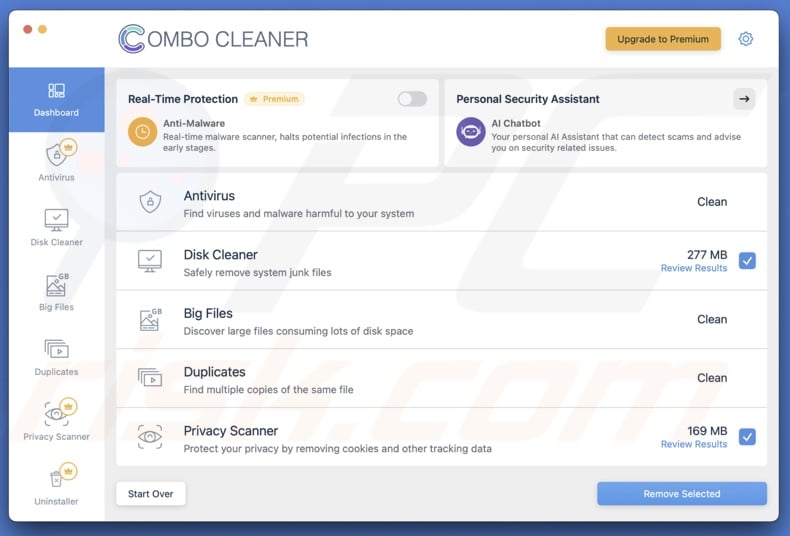
3. In Combo Cleaner, select the "Disk Cleaner" tab. Click the "Start Scan" button to start scanning your Mac.
4. Review the list and remove unnecessary stuff after completing the scan.
5. Then, go to the "Big Files", "Duplicates", and "Uninstaller" tabs and do the same to remove junk files.
Following these steps, you can easily remove unnecessary junk files and help resolve issues with fseventsd on your Mac.
Scan for malware
Malware can sometimes cause fseventsd to use a lot of CPU and memory. If other solutions haven't worked, you should scan your Mac for viruses and malware using a specialized tool like Combo Cleaner.
This tool scans your Mac for suspicious files and checks them against a database of known threats. You can choose between a full, quick, or custom scan.
1. Open the Combo Cleaner and go to the "Antivirus" tab.
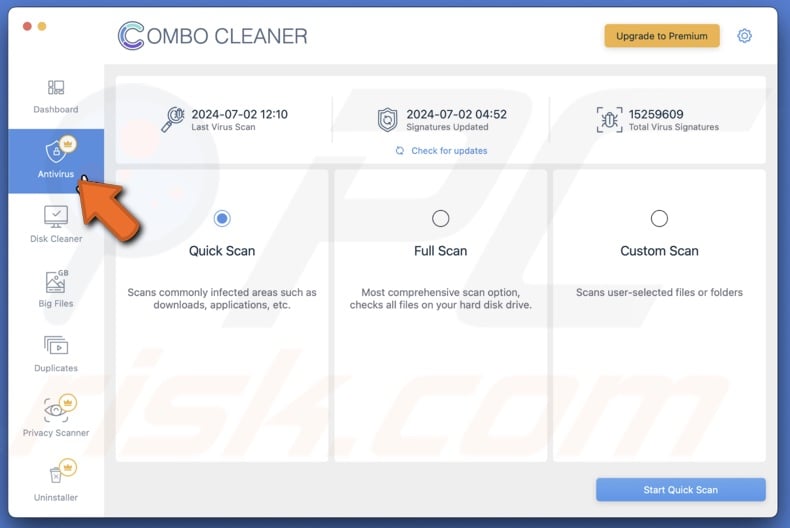
3. Select which scan you want to do. You need to have a premium plan for the full and custom scans.
4. If malware is detected, click "Remove".
Restart Time Machine
If Time Machine is causing your computer to slow down because it's using too much CPU and RAM, you can restart it to solve the problem. Here's how to do it:
1. Open the Apple menu and click "System Settings".
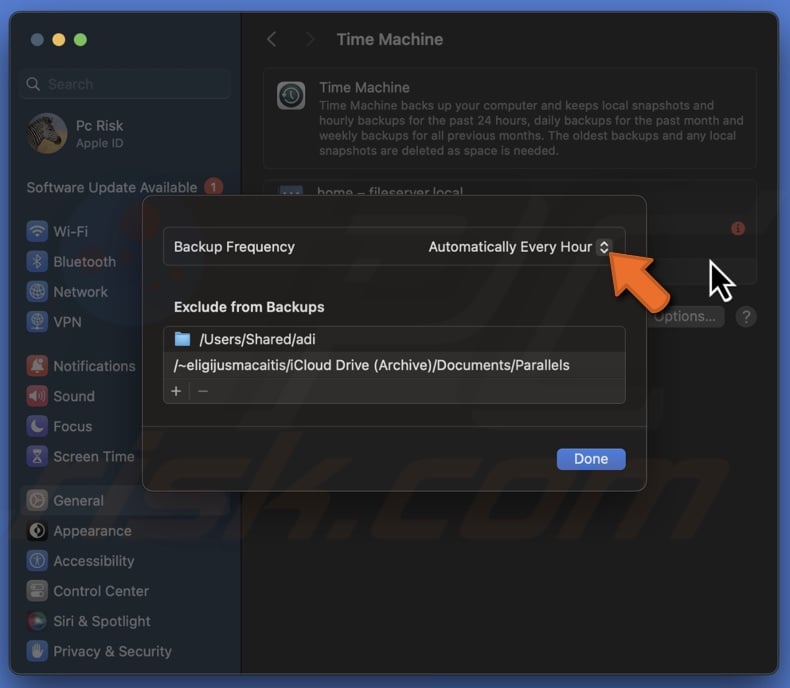
2. Go to "General" and then select "Time Machine". Alternatively, you can open Time Machine and choose "Open Time Machine Settings…".

3. Click on "Options" and set the "Backup Frequency" to "Manually".
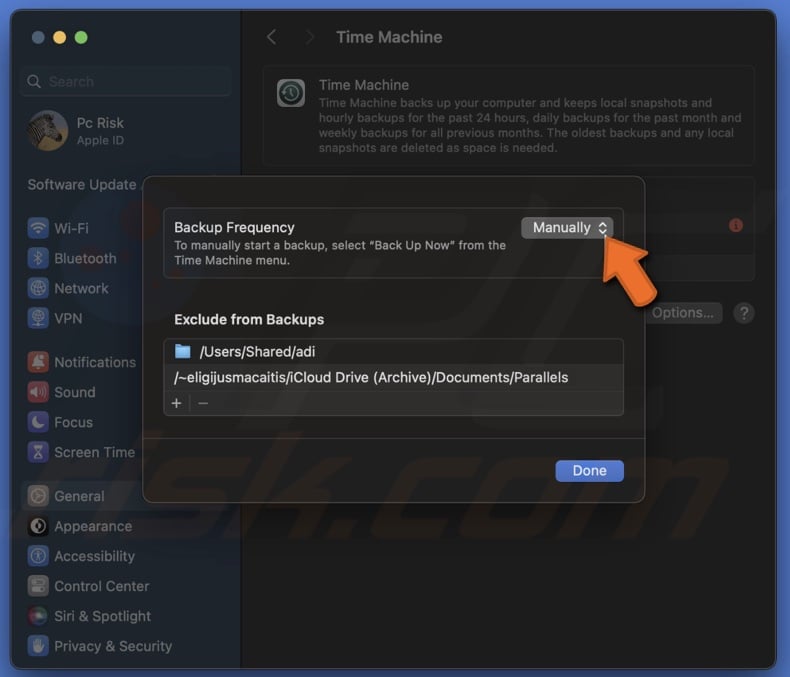
4. Close the System Settings window.
5. Open System Settings again.
6. Return to the "Time Machine" settings and change the "Backup Frequency" to one of the automatic options.
By following these steps, you should see an improvement in your computer's performance when using Time Machine.
Hope these solutions helped fix the problem related to fseventsd. If not, contact Apple support for further assistance.
Share:

Karolina Peistariene
Author of how-to guides for Mac users
Responsible for collecting, analyzing, and presenting problem-solving solution articles related to macOS issues. Years of macOS experience combined with solid research and analyzing skills help Karolina provide readers with working and helpful solutions as well as introduce various features Mac has to offer.
▼ Show Discussion