Can't restore your iPad? Here's 9 ways how to fix Error 4013

(updated)
Get Free Scanner and check your computer for errors
Fix It NowTo fix found issues, you have to purchase the full version of Combo Cleaner. Free trial available. Combo Cleaner is owned and operated by Rcs Lt, the parent company of PCRisk.com read more.
Troubleshooting error "iPad Could Not be Restored"
When you try to update or restore your iPad to a previous state, you might see the error message "The iPad could not be restored. An unknown error occurred (4013)". This guide will help you understand why this error happens and how to solve it.
Error 4013 usually appears during an update or restore process. It often means there's a problem with the connection between your iPad and the computer. It could be due to software issues, faulty cables, or even hardware problems.
Before diving in, make sure you have some time. Sometimes, fixing these issues can take a few tries, but with my help, you'll have your iPad working again soon. So, let's get started and get rid of this annoying error!
Video on Can't restore your iPad? Here's 9 ways how to fix Error 4013
Table of Contents:
- Introduction
- What can cause this error?
- Method 1. Force restart your iPad
- Method 2. Update iTunes or Finder to the latest version
- Method 3. Update your iPad
- Method 4. Check your USB cable and connector
- Method 5. Clean up iPad storage
- Method 6. Temporarily turn off your antivirus or VPN
- Method 7. Try a different device
- Method 8. Factory reset your iPad
- Method 9. Restore your iPad in DFU mode
- Video on Can't restore your iPad? Here's 9 ways how to fix Error 4013
Download Computer Malware Repair Tool
It is recommended to run a free scan with Combo Cleaner - a tool to detect viruses and malware on your device. You will need to purchase the full version to remove infections. Free trial available. Combo Cleaner is owned and operated by Rcs Lt, the parent company of PCRisk.com read more.
What can cause this error?
- A damaged USB cable or a faulty port on your computer can disrupt the connection between your iPad and the computer, leading to Error 4013.
- Minor issues in iTunes or the iPad's operating system can prevent proper updates or restorations.
- In some cases, Error 4013 can indicate more serious problems with the iPad's internal components.
- Overly aggressive antivirus software might mistakenly block the iOS restoration process, causing Error 4013.
- If there isn't enough free space on your iPad, the update or restoration process might fail, resulting in restoration failure.
Force restart your iPad
This simple action can reset the device's memory and software processes, providing a fresh start and potentially resolving the problem without further intervention.
iPads without a Home button:
1. Press and quickly release the volume button closest to the top button.
2. Press and quickly release the volume button farthest from the top button.
3. Press and hold the Top button until your iPad restarts and the Apple logo appears.
iPads with a Home button:
1. Press and hold both the Top button and the Home button simultaneously.
2. Keep holding the buttons until you see the Apple logo on the screen.
Update iTunes or Finder to the latest version
Since iTunes and Finder are essential for updating or restoring your device, having the latest version is crucial. Updating iTunes is free and can often solve this issue.
If downloaded from the iTunes Download page:
1. Launch the iTunes app on your computer.
2. Make sure your iPad is connected to the computer.
3. Click on the "Help" option in the menu at the top of the iTunes window.

4. In the menu, you should see the "Check for Updates". Click it.
5. If an update is released, a prompt will appear. Click on "Download iTunes" to get the latest version.
If downloaded from the Microsoft Store:
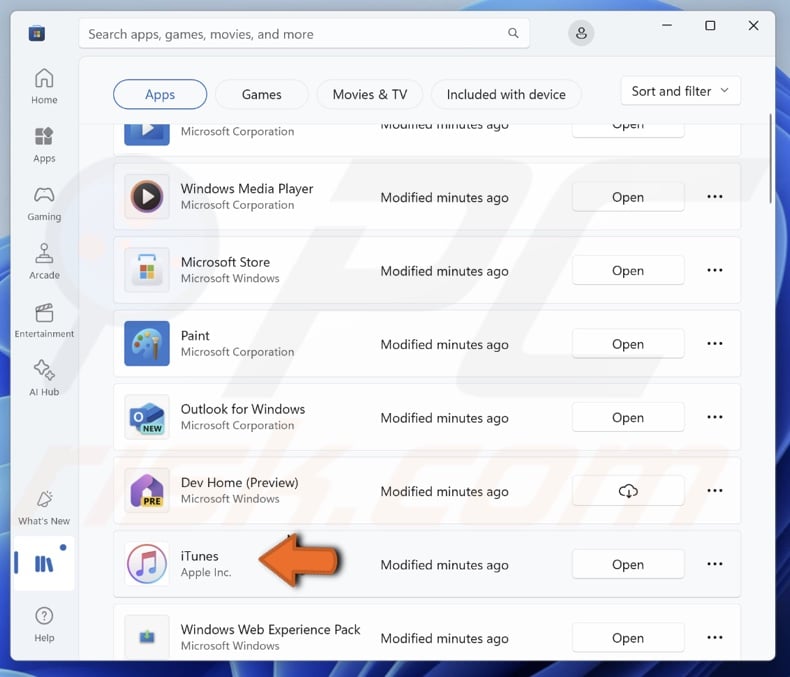
1. Open the Microsoft Store on your PC.
2. Click the "Library" icon.
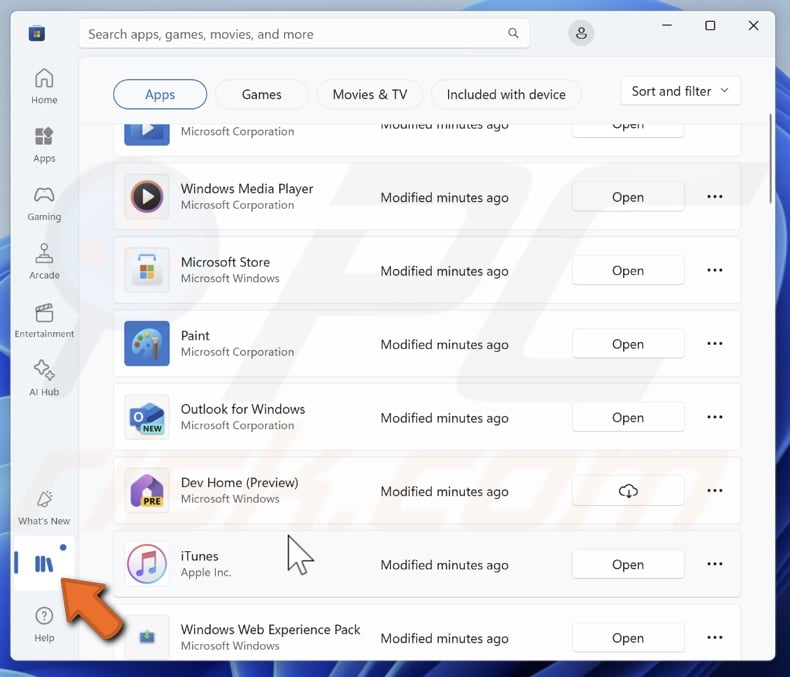
3. Here you'll see if any updates for iTunes are available.
If you're using Finder:
You can update Finder by updating the operating system. So make sure macOS is updated.
Update your iPad
An update can fix bugs, improve system stability, and ensure compatibility with iTunes or Finder, which are essential for a successful restore process.
1. Open the device Settings on your iPad.
2. Tap on "General" in the menu and select "Software Update".
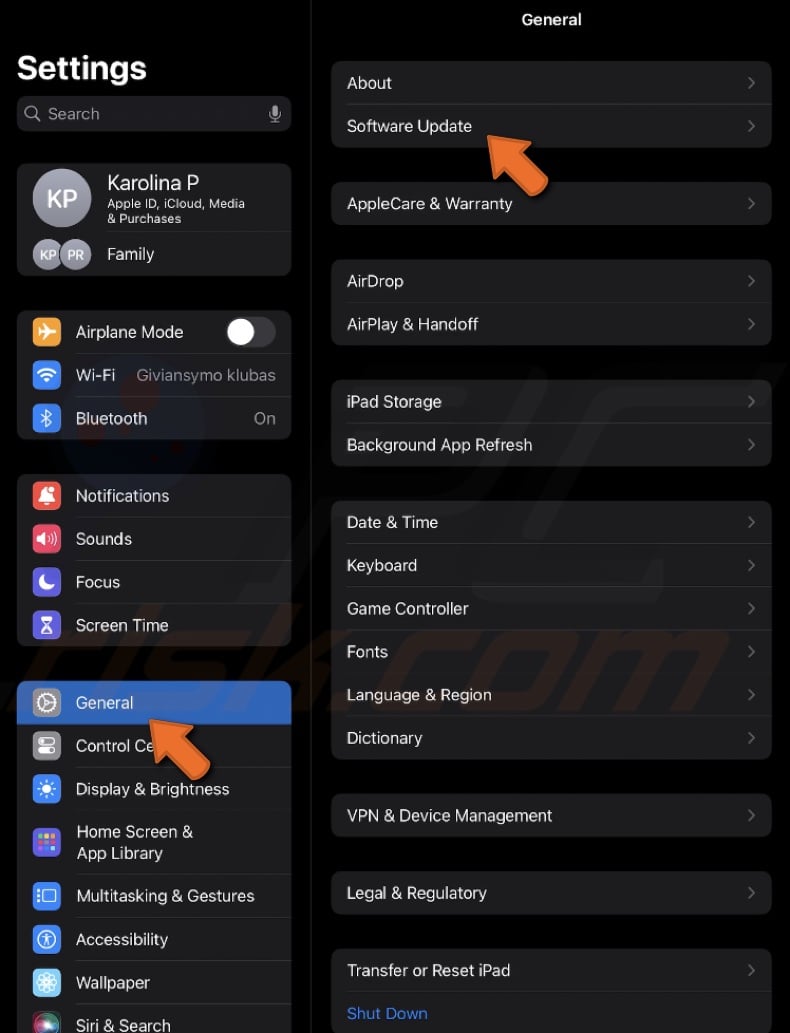
3. If an update is released, tap "Download and Install".
Check your USB cable and connector
Make sure you're using the correct cable for your iPad, ideally the one that came with it. It should be an Apple-certified Lightning or USB-C cable. Make sure the cable is in good condition and not damaged.
If you're not sure, try using a different cable if you have one. Cables from well-known brands are usually reliable, but be cautious with very cheap ones from the store. They might only be suitable for charging and not for data transfer, which is what you need.
- Use the USB cable that came directly from Apple.
- Make sure the cable fits securely when you plug it in.
- Unplug and then plug the cable back in to ensure it's connected properly. If that doesn't help, switch to a different USB port on your computer.
- Try connecting your iPad to a different computer to see if that works.
Clean up iPad storage
Even though current iPads come with a lot of storage, it's still possible to run out of space. When your device is too full, you might not be able to update it, which can cause errors like 4013.
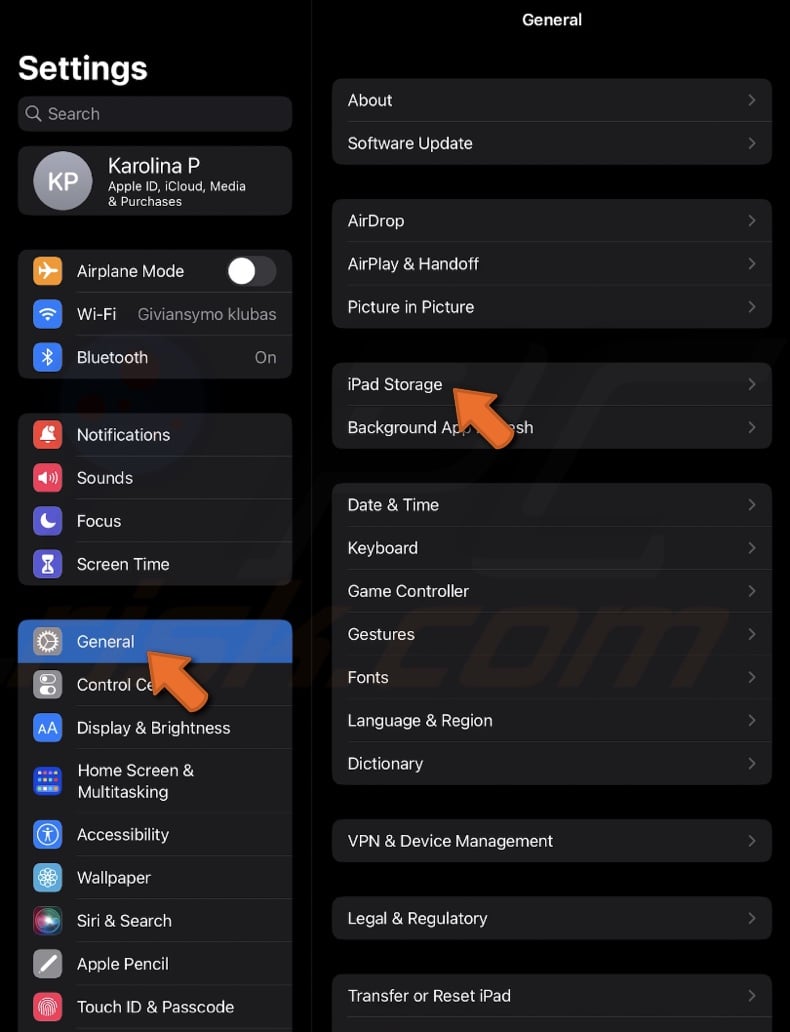
1. Find and open the Settings app on your iPad.
2. Go to "General" settings.
3. Select the "iPad Storage" option.
4. Look through your apps and decide which ones you no longer use. You can either offload or delete these apps to free up space. Offloading an app removes the app but keeps its data. Deleting an app removes both the app and its data.
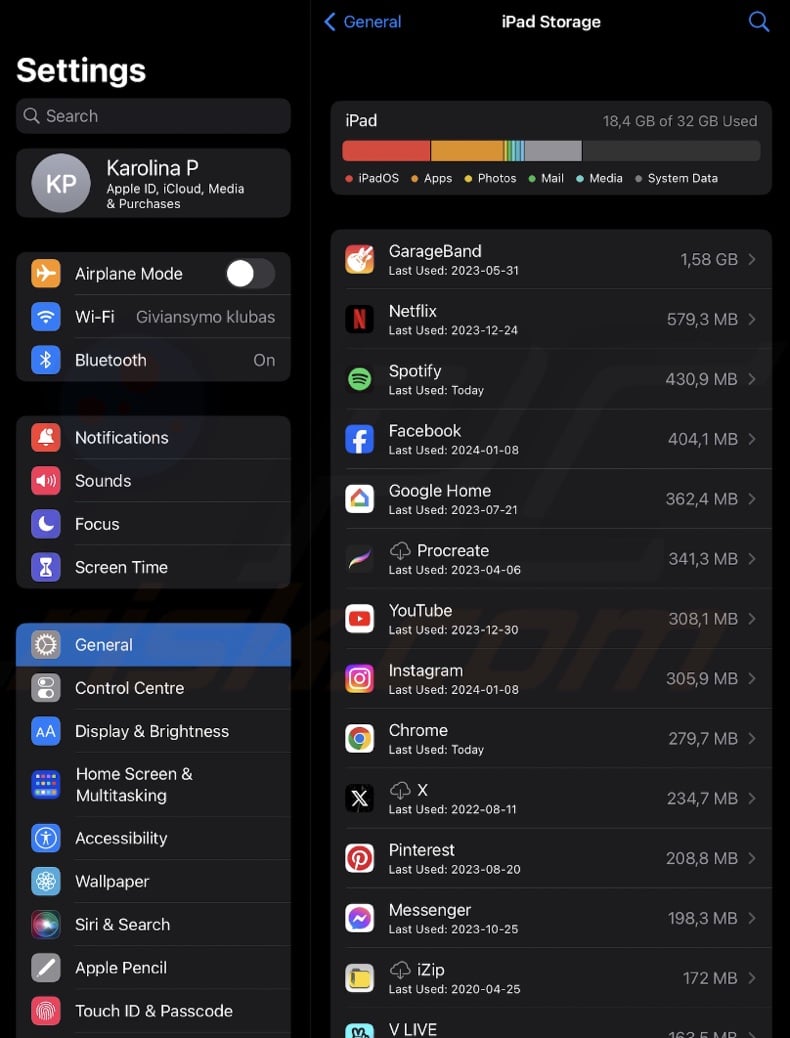
5. If some apps take up a lot of space, you can clear their data to free up more space.
Temporarily turn off your antivirus and VPN
Sometimes, antivirus programs, VPNs, or other security tools on your computer can interfere with iTunes or Finder when you're trying to update or restore your iPad. These programs might block the communication between a PC or Mac and your device.
1. Right-click the antivirus icon and look for an option to disable or pause the antivirus protection. You can also select the option to turn it off temporarily. You might need to specify a time period for how long it should be disabled.
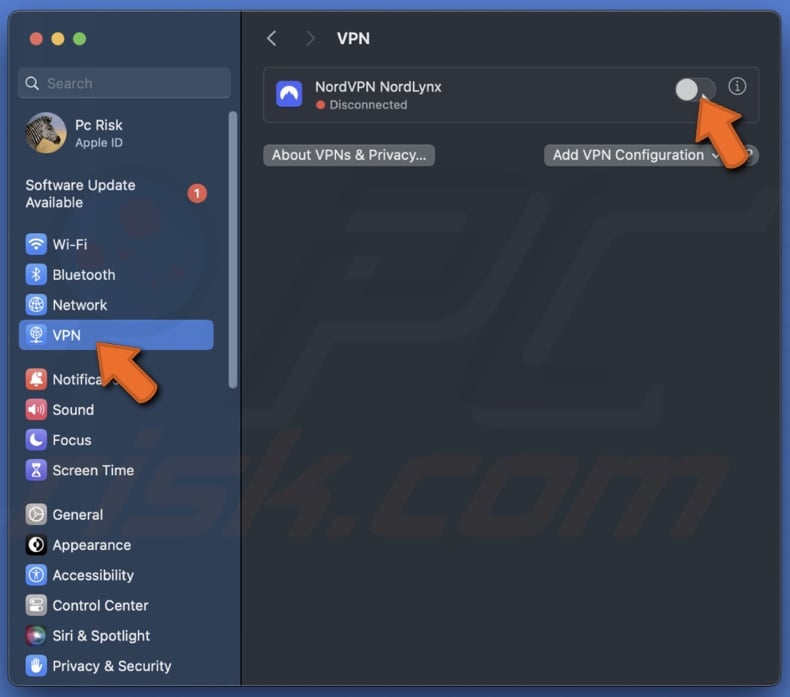
2. Locate the VPN software, right-click on the icon, and select the option to disconnect the VPN. You can also go to "System Settings" on your Mac, select "VPN," and turn it off.
3. Open the iTunes app or Finder and try to update or restore your iPad again.
4. Once you have finished updating or restoring your device, return to your antivirus and VPN software and turn them back on.
Try a different device
When you see the "iPad Could Not be Restored" Error 4013, it might be due to a problem with your current computer or USB port. Trying a different PC or Mac can help identify whether the issue is with your iPad or the computer itself.
1. Borrow or use a different computer than the one you initially tried.
2. Connect your iPad to this new computer using a proper cable.
3. Follow the usual steps to update your iPad on this Mac or PC.
4. If you can update the iPad, the problem will likely be with your original computer.
If the update still doesn't work and you've tried different cables, the issue is probably with your iPad.
Factory reset your iPad
Resetting the iPad to factory settings can get rid of the error you're facing. This process will return your iPad to its original settings, just like when you first set it up.
Make sure to back up important data before starting, as this process will erase everything on your device.
1. Go to your iPad's home screen and tap the "Settings" icon.
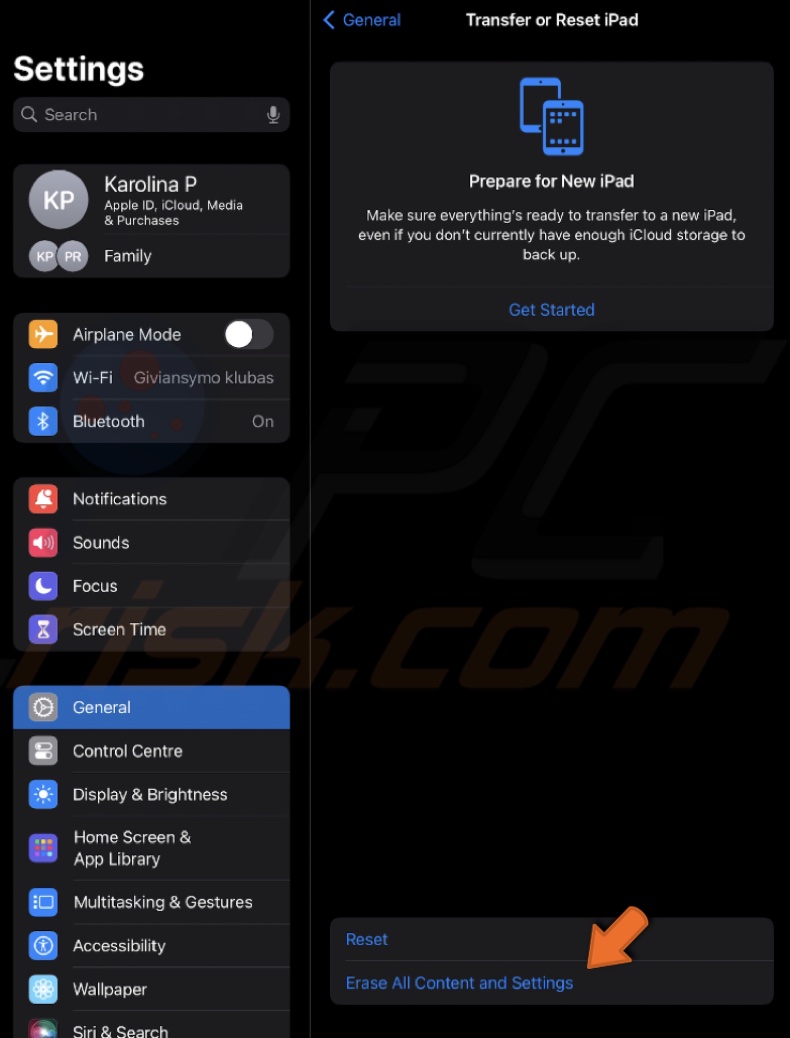
2. In the Settings app, tap on "General".
3. Scroll to the bottom and choose "Reset or Transfer iPad".
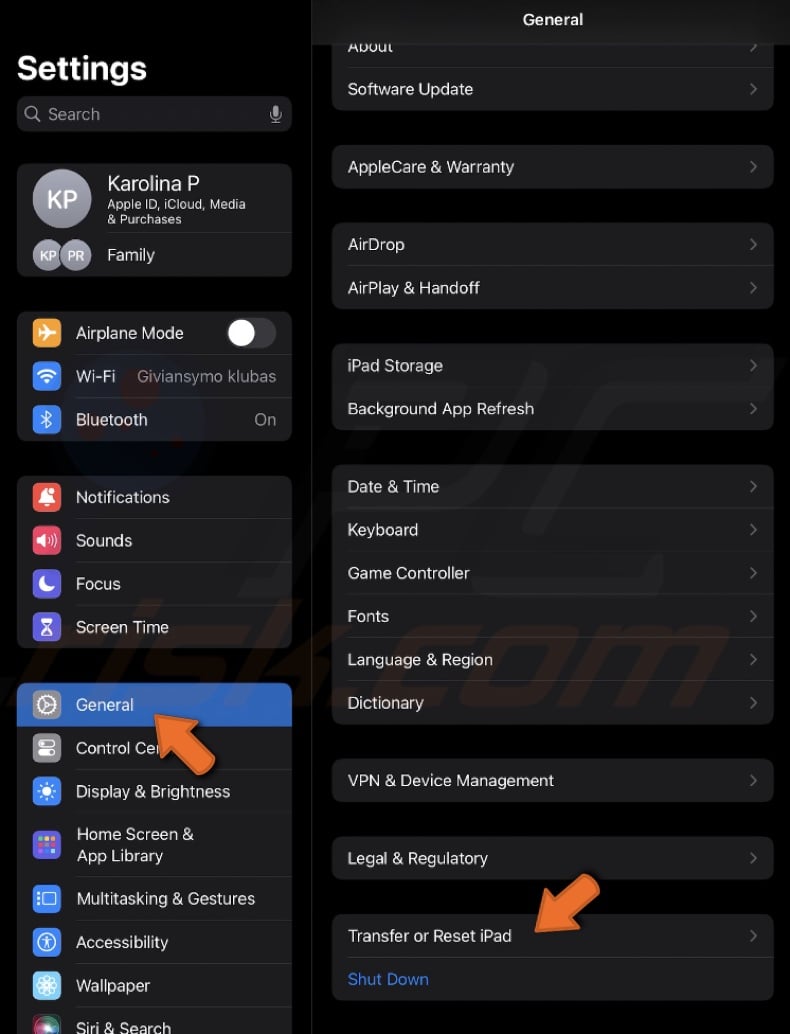
4. Choose "Erase All Content and Settings".
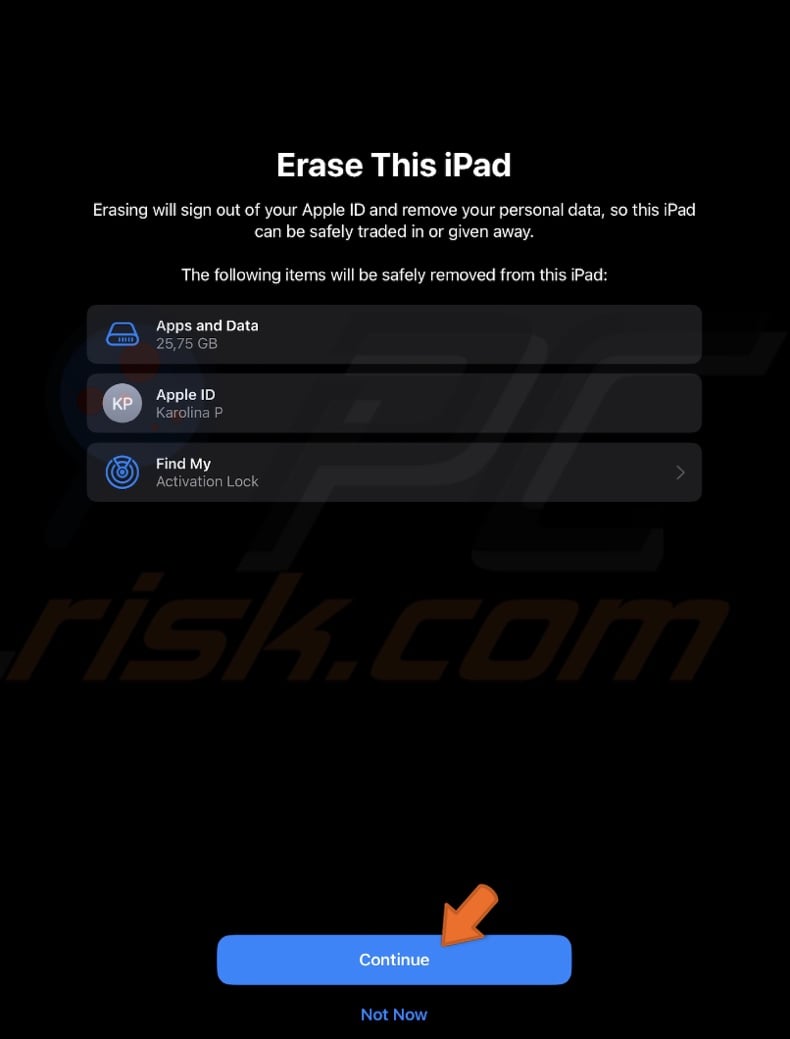
5. Enter your passcode to proceed, tap "Continue", and follow the instructions.
After the reset, your iPad will restart, and the error 4013 should be fixed.
Restore your iPad in DFU mode
Restoring your iPad in DFU (Device Firmware Update) mode is a more advanced method that can often fix error 4013. This process will completely erase your iPad and install the latest iOS version.
Make sure to back up all your data before starting, as this will remove everything from your device.
Perform DFU on iPad with Face ID:
1. Use a proper cable to connect your iPad to your computer.
2. Press and hold the Power button for 3 seconds. While the Power button is pressed, press the Volume Down button. Do not release the Power button!
3. Keep holding both the Power and Volume Down buttons for 10 seconds. If your iPad restarts, start over and try again.
4. Let go of the Power button, but keep pressing the Volume Down button for an extra 5 seconds.
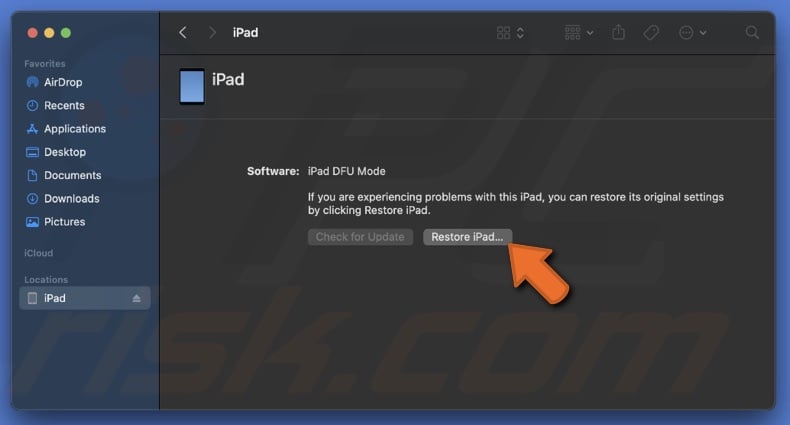
5. Your iPad should now be in DFU mode. On your computer, click "Restore iPad" to complete the process.
Perform DFU on iPad with the Home button:
1. Use a USB cable to plug your iPad into a PC or a Mac.
2. Press and hold the Power button for 3 seconds.
3. While holding the Power button, press and hold the Home button as well. Do not release the Power button!
4. Keep holding both the Power and Home buttons for 10 seconds. If your iPad restarts, start the process again.
5. After 10 seconds, let go of the Power button and make sure to continue holding the Home button for another 5 seconds.
6. Your iPad should now be in DFU mode. The screen will remain black.
7. A message will appear on your PC or Mac asking if you want to restore your device. Click on "Restore iPad".
If none of the above solutions work, I recommend that you contact Apple Support for further assistance.
Share:

Karolina Peistariene
Author of how-to guides for Mac users
Responsible for collecting, analyzing, and presenting problem-solving solution articles related to macOS issues. Years of macOS experience combined with solid research and analyzing skills help Karolina provide readers with working and helpful solutions as well as introduce various features Mac has to offer.
▼ Show Discussion