An error occurred during an update on Mac? 8 ways to fix!

Get Free Scanner and check your computer for errors
Fix It NowTo fix found issues, you have to purchase the full version of Combo Cleaner. Free trial available. Combo Cleaner is owned and operated by Rcs Lt, the parent company of PCRisk.com read more.
8 fixes for "an error occurred while preparing the installation"
Facing the "an error occurred while preparing the installation" message on your Mac can be frustrating. Don't worry, though; this guide is designed to help you through it step by step.
Usually, this error message pops up when you're trying to install a new macOS update. The good news is there are also multiple ways to fix it, and I'll walk you through eight different solutions.
Dealing with technical issues can be a headache, but I'm here to make the process as smooth as possible. By the end of this guide, you should be able to tackle the error and finally install the update. Let's dive into the solutions and get the installation process running.
Video on An error occurred during an update on Mac? 8 ways to fix!
Table of Contents:
- Introduction
- Method 1. Check disk space on your Mac
- Method 2. Check the internet connection
- Method 3. Restart macOS
- Method 4. Set the date and time correctly
- Method 5. Verify the macOS Software Updates server status
- Method 6. Start your Mac in Safe Mode
- Method 7. Use Disk Utility
- Method 8. Reset to factory settings and reinstall macOS
- Video on An error occurred during an update on Mac? 8 ways to fix!
Download Computer Malware Repair Tool
It is recommended to run a free scan with Combo Cleaner - a tool to detect viruses and malware on your device. You will need to purchase the full version to remove infections. Free trial available. Combo Cleaner is owned and operated by Rcs Lt, the parent company of PCRisk.com read more.
Check disk space on your Mac
First, ensure you have enough disk space on your Mac, especially if you encounter an installation error. Insufficient disk space is often overlooked but can be the root cause of such issues.
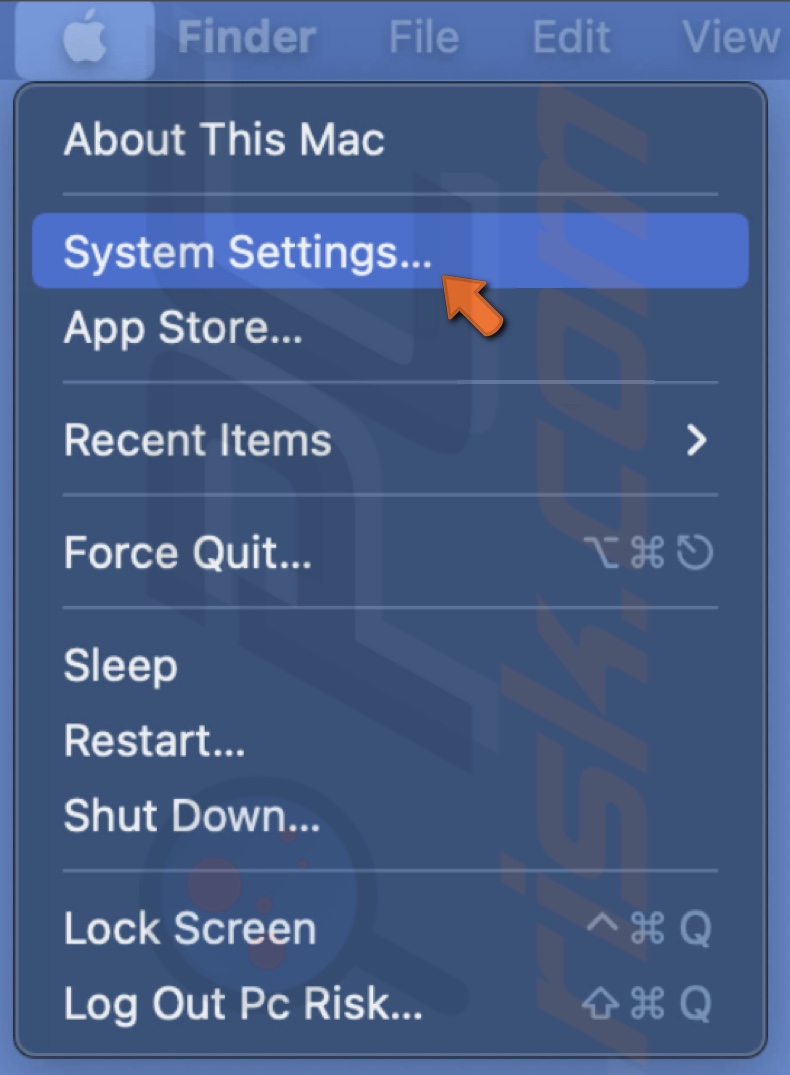
1. Hit the Apple menu and select "System Settings".
2. Choose "General", and from there, click on "Storage".
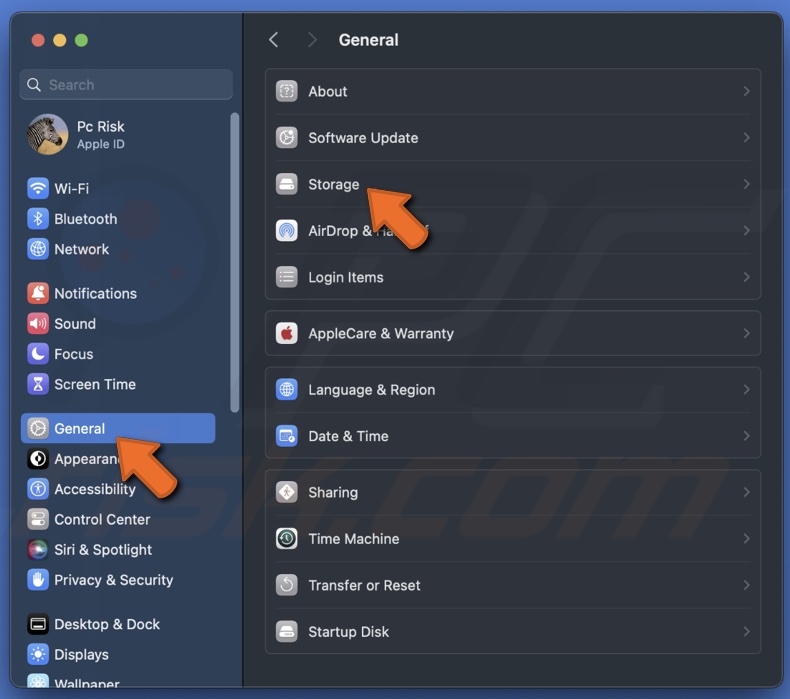
3. You'll see a clear overview of your disk space, including how much is in use and how much is available.
4. Consider cleaning up if space is tight and might hinder your installation process. Look through your files and apps to identify what you no longer need.
Deleting unnecessary apps and files can free up a significant amount of space. Sometimes, emptying the Trash can recover a good chunk of disk space.
Check the internet connection
A stable internet connection is key to ensure a smooth installation process. A shaky or slow connection could halt the download and installation, potentially leading to errors.
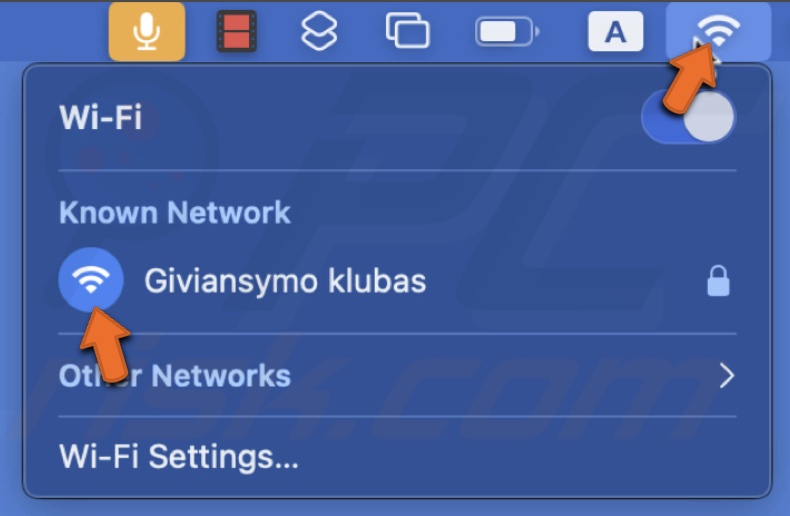
1. Before you start, check if your Mac is connected to a dependable Wi-Fi network. If you're unsure about your current network's reliability, consider switching to a network you know is stable.
2. You can quickly check your connection strength by looking at the Wi-Fi icon in the menu bar. A full signal indicates a strong connection. If the signal seems weak, try moving closer to your Wi-Fi router or removing any objects that could interfere with the signal.
3. If your connection seems weaker than usual, restart your Wi-Fi router. Simply unplug it, wait for a minute, and then plug it back in.
4. You can also restart your Mac to refresh its network settings.
Restart macOS
A simple and often effective solution is just a restart away. Restarting your Mac can fix minor software glitches affecting your device, including those pesky ones hindering the software installation process. It clears temporary files, frees up used memory, and gives your Mac a clean slate from which to work.
1. Click on the Apple icon at your screen's top left corner.
2. From the drop-down menu, choose the "Restart" option. This action prompts your Mac to begin the restarting process.
Set the date and time correctly
Let's make sure your Mac's date and time settings are spot-on! Sometimes, if these aren't accurate, they can mess with things like installing new software.
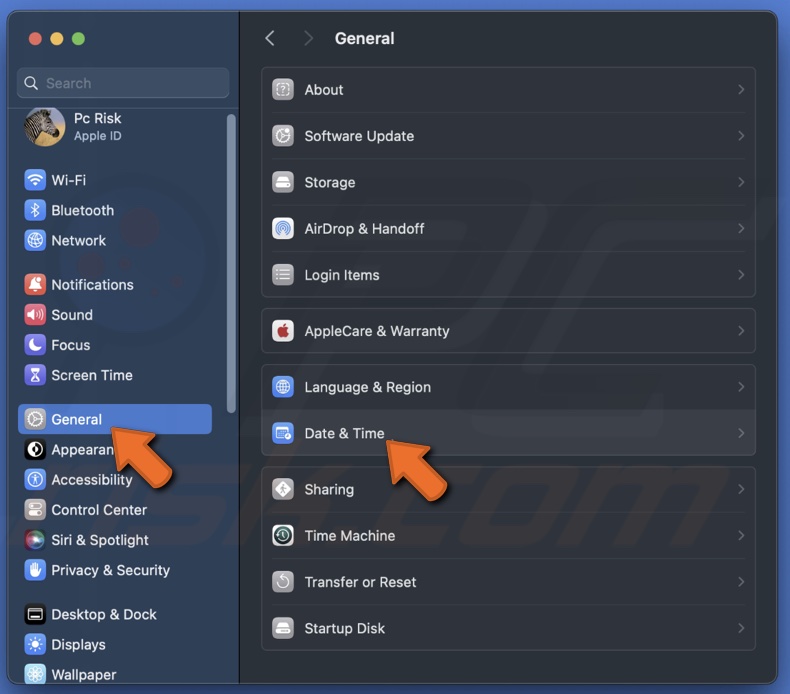
1. Start by opening System Settings. Click on the Apple menu at the top left corner to find this option.
2. Head over to "General" settings, then click "Date & Time".
3. Take a moment to see if the date and time shown match up with your current region. If the settings are a bit off, manually adjust the date and time to get them just right. Or, select "Set time & date automatically". This lets your Mac adjust the time based on your location.
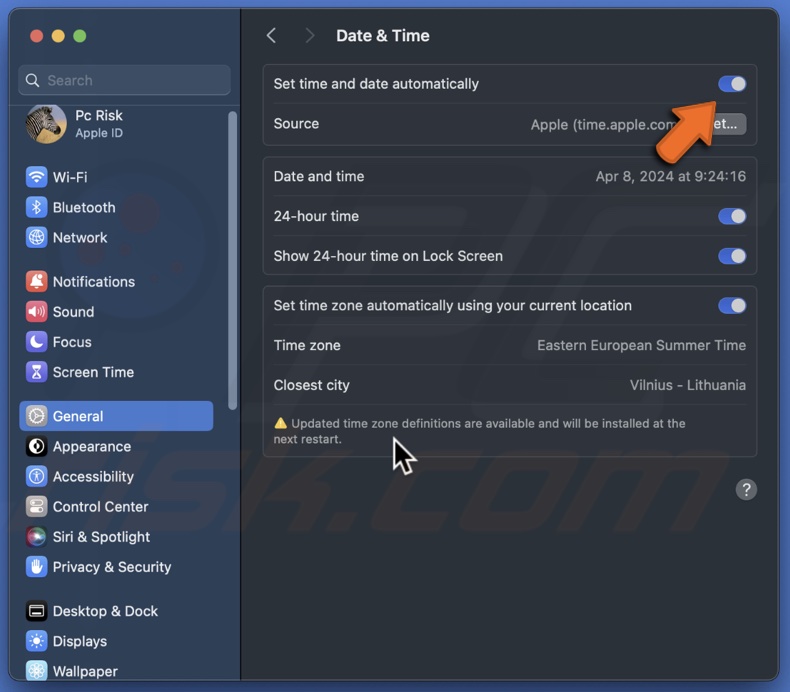
And there you go! Your Mac should now be in perfect harmony with time, making sure everything runs smoothly.
Verify the macOS Software Updates server status
Occasionally, the root of an error might not be on your end but due to Apple's servers experiencing difficulties.
1. Open the Apple System Status page on your browser.
2. Look for the "macOS Software Update" section once you're on the page. What you're looking for is a small dot indicator next to it.
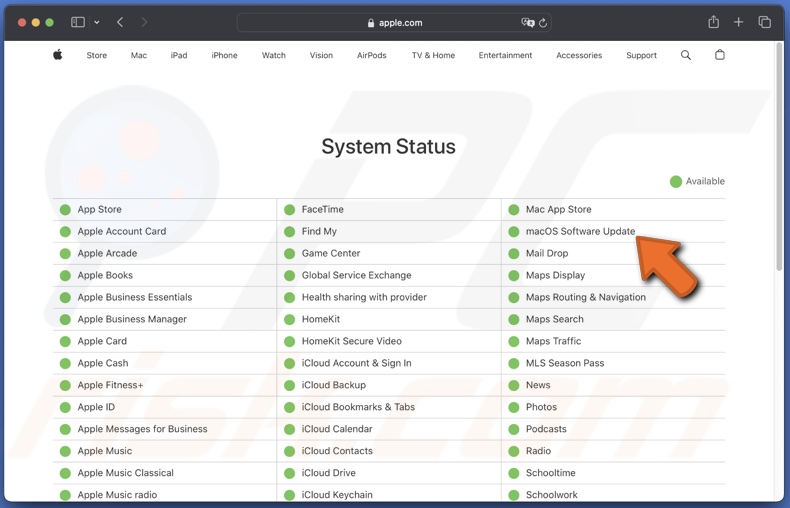
• If you see a green dot, everything is running smoothly, and there are no known issues with Apple's servers that should affect your update process.
• If you see the yellow or red dot, it indicates that Apple is aware of an issue on their end and is currently working towards a resolution.
3. If there's an issue (yellow or red dot), the best course of action is to be patient. These issues are typically resolved swiftly by Apple's team. Plan to recheck the status page after a few hours.
This step ensures you're not troubleshooting needlessly on your side when the solution is simply to wait a little while.
Start your Mac in Safe Mode
When you start macOS in Safe Mode, it loads only the crucial system processes and drivers. This pared-down approach helps pinpoint and address problems caused by incompatible software or drivers that might interfere with macOS during a regular startup.
1. Shut down your Mac.
2. Press the Power button to turn your Mac back on, and immediately press and hold the Shift key. The timing is crucial here—hold the Shift key as soon as you hear the startup chime or see the Apple logo.
3. Keep pressing the Shift key until you see the login window. It could take a few minutes as your Mac performs necessary checks in the background.
4. Once the login window appears, release the Shift key. Safe Mode will be written at the top.

5. Now, you can log in to your Mac and try to install the update.
6. When done, restart your Mac to exit Safe Mode.
You might notice that it takes a bit longer than usual—that's perfectly normal in Safe Mode. Your Mac is busy running diagnostics and turning off unnecessary components for a smoother troubleshooting experience.
Use Disk Utility
If you've tried booting your Mac in safe mode and it hasn't resolved your issue, the next great step is to use Disk Utility. This handy tool is designed to spot and fix various problems, such as disk errors, corrupted files, and permission issues, which could be causing trouble.
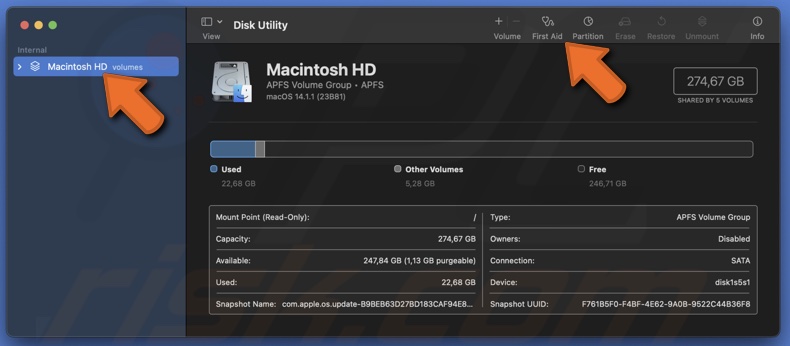
1. Open "Disk Utility" through Spotlight.
2. From the left sidebar, select your disk. It's usually "Macintosh HD".
3. At the top of the window, you'll find the "First Aid" button. Click it.
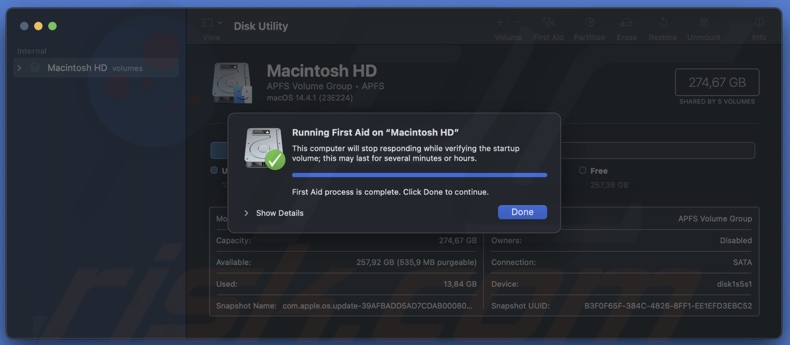
4. A pop-up will appear asking if you want to run First Aid. Click "Run" to confirm.
5. Disk Utility will now start scanning the selected disk for errors. If it finds any, it'll do its best to fix them.
6. After the first aid process is complete, Disk Utility will share a detailed report of what it found and what actions it took. If there were issues it couldn't fix, it might suggest what steps to take next.
Reset to factory settings and reinstall macOS
Sometimes, your Mac may need a fresh start. Reinstalling macOS and restoring to factory settings can give your computer a fresh start.
Before you begin, it's crucial to back up all your important files, photos, and documents. Losing data is no fun, so ensure everything is safely stored. You can secure your data using Time Machine or your preferred backup method. This step is your safety net, so don't skip it!
1. Click on the Apple logo and hit "Restart."
2. As your Mac restarts, press the Command and R keys until the Apple logo appears. It boots your Mac into Recovery Mode.
For Apple Silicon, press the Power button until you see startup options. Select "Options" and click "Continue".
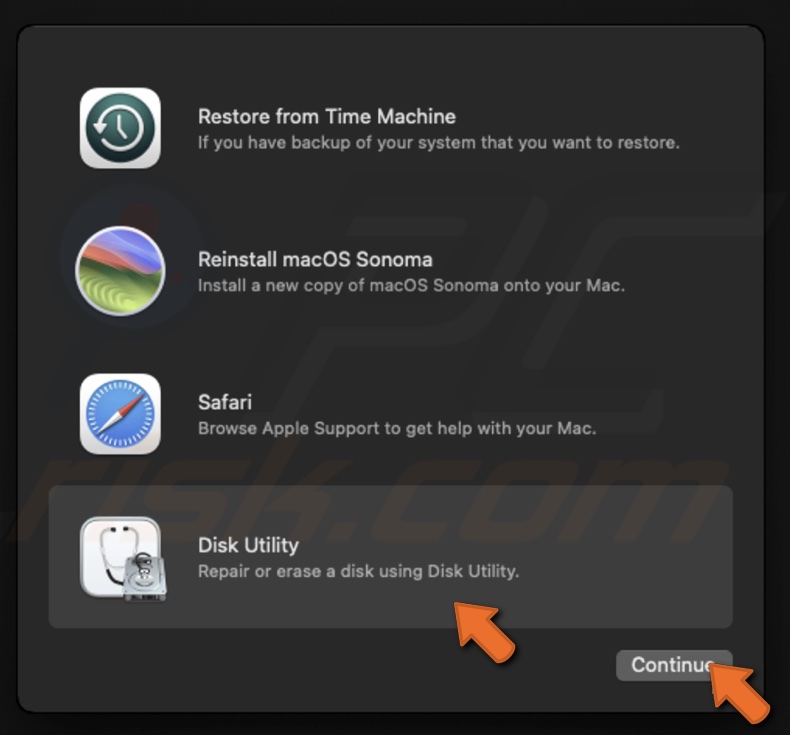
3. Select "Disk Utility" from the macOS Utilities window once in Recovery Mode and click "Continue".
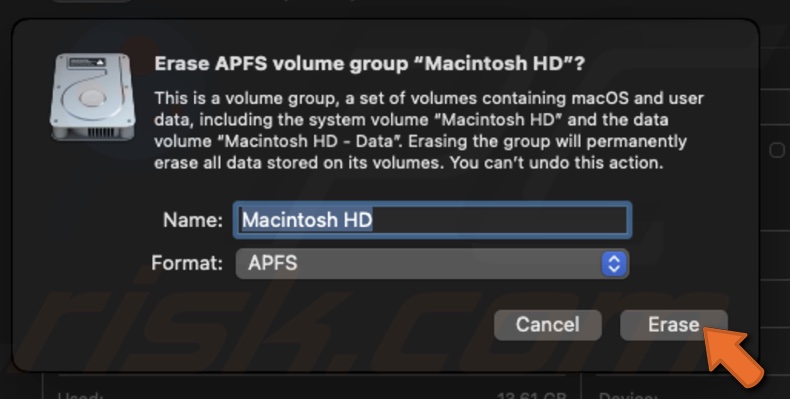
4. Choose your main hard drive (usually named "Macintosh HD") and click "Erase." Choose a format compatible with your Mac (like APFS or Mac OS Extended (Journaled)).
5. After erasing your disk, return to the macOS Utilities window and select "Reinstall macOS".
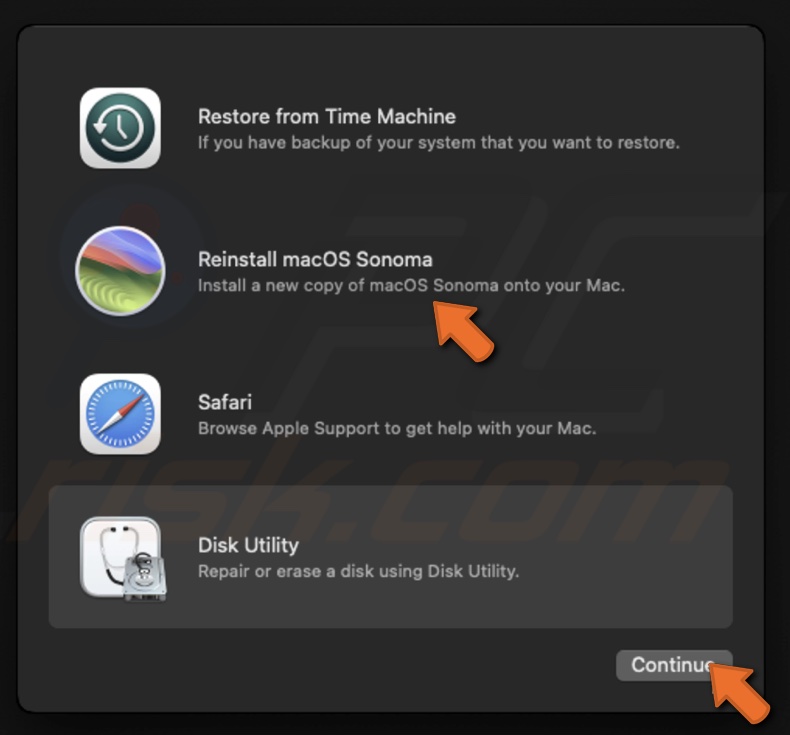
6. Follow the on-screen instructions to install a fresh version of macOS. This process might take some time, so grab a cup of coffee and let your Mac do its thing.
7. Once macOS is reinstalled and you've gone through the setup process, you can restore your files from the backup you made. If you used Time Machine, you could restore during the initial setup process or later by opening Time Machine and selecting the relevant backup.
When your Mac in a clean state and your files back where they belong, check for any macOS updates.
1. Go to the Apple menu and click "System Settings".
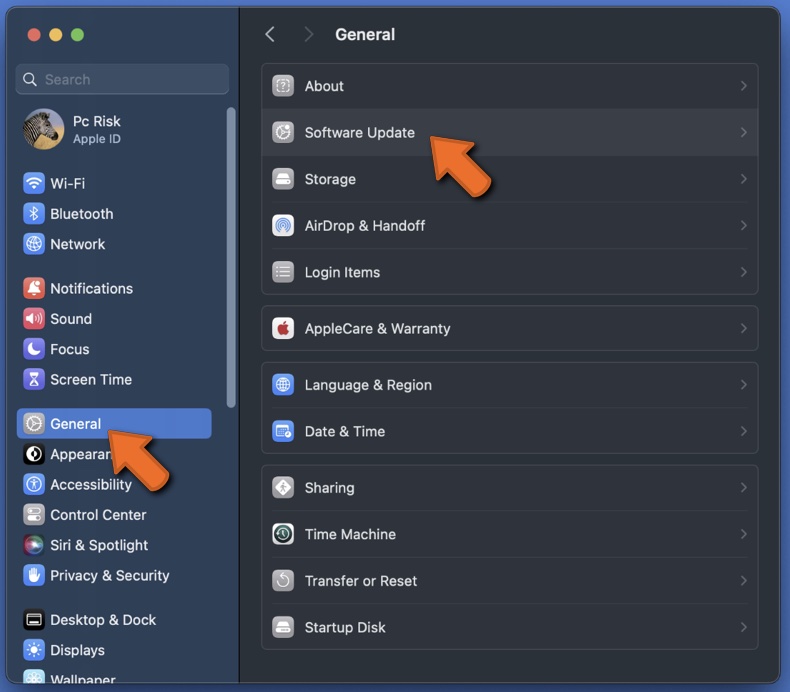
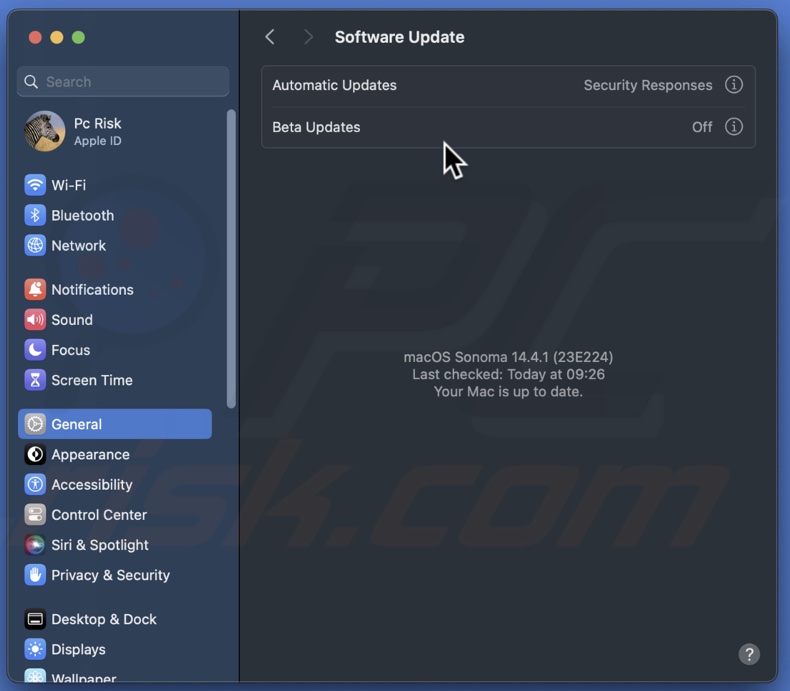
2. Choose "General" and select the "Software Update" option.
3. If an update is available, click "Update Now".
I hope this guide has helped you resolve the problem, and your Mac is now ready to install whatever you need without any hiccups. If you're still experiencing problems, contact Apple support for more information.
Share:

Karolina Peistariene
Author of how-to guides for Mac users
Responsible for collecting, analyzing, and presenting problem-solving solution articles related to macOS issues. Years of macOS experience combined with solid research and analyzing skills help Karolina provide readers with working and helpful solutions as well as introduce various features Mac has to offer.
▼ Show Discussion