Diagnosing and fixing: MacBook Wi-Fi connected, but no internet

Get Free Scanner and check your computer for errors
Fix It NowTo fix found issues, you have to purchase the full version of Combo Cleaner. Free trial available. Combo Cleaner is owned and operated by Rcs Lt, the parent company of PCRisk.com read more.
MacBook connected to Wi-Fi but no internet: 11 fixes
Connectivity problems can be frustrating, but fear not, as this guide is designed to walk you through straightforward troubleshooting steps to help diagnose and resolve the issue.

Resolving internet connectivity issues on your MacBook when it connects to Wi-Fi but has no internet connection can be a systematic process. You can address common issues affecting your network connection by following the steps outlined in this guide, including restarting your MacBook and Router and renewing the DHCP lease.
Advanced troubleshooting steps such as changing DNS servers, using Wireless Diagnostics, and managing USB accessories can help identify and resolve more specific issues.
Whether you're encountering this problem for the first time or looking for a quick solution, follow along to troubleshoot and restore your MacBook's internet connection in no time. Let's get started!
Video on Diagnosing and fixing: MacBook Wi-Fi connected, but no internet
Table of Contents:
- Introduction
- Method 1. Restart your MacBook and the Router
- Method 2. Reconnect to your Wi-Fi
- Method 3. Set date and time to automatic
- Method 4. Update macOS
- Method 5. Change DNS server
- Method 6. Use Wireless Diagnostics
- Method 7. Remove all USB accessories
- Method 8. Renew DHCP lease
- Method 9. Create a new network location
- Method 10. Reset network preferences
- Method 11. Stop mDNSResponder
- Video on Diagnosing and fixing: MacBook Wi-Fi connected, but no internet
Download Computer Malware Repair Tool
It is recommended to run a free scan with Combo Cleaner - a tool to detect viruses and malware on your device. You will need to purchase the full version to remove infections. Free trial available. Combo Cleaner is owned and operated by Rcs Lt, the parent company of PCRisk.com read more.
Restart your MacBook and the Router
Restarting your MacBook allows it to refresh its network settings. It can be particularly helpful if a glitch or temporary issue prevents your MacBook from accessing the internet.
When you restart your Router, it assigns new IP addresses to devices connected to the network. Your MacBook obtains a new IP address during this process, which can help resolve connectivity issues.
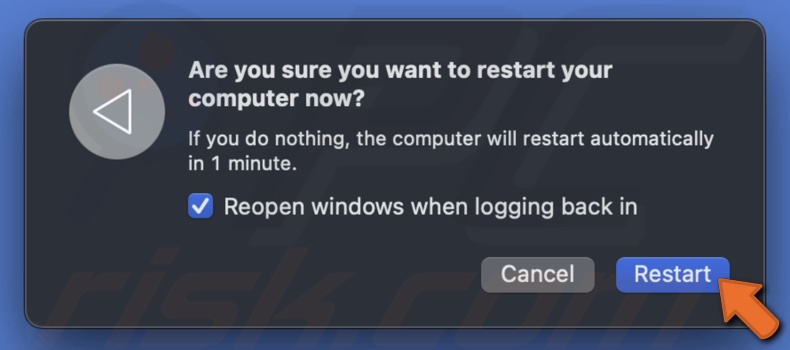
To restart your MacBook, follow the steps below:
1. Click on the Apple logo in the top-left corner.
2. Select "Restart."
To restart your Router, follow the steps below:
1. Unplug the power cable from the back of your Router.
2. Wait for about 10-15 seconds.
3. Plug the power cable back in.
4. Wait for the Router to restart entirely.
Reconnect to your Wi-Fi
Reconnecting allows your MacBook to go through the connection handshake process again. It includes negotiating connection parameters with the Router, and it can help in cases where the initial connection setup had issues.
To reconnect to Wi-Fi, follow the steps below:
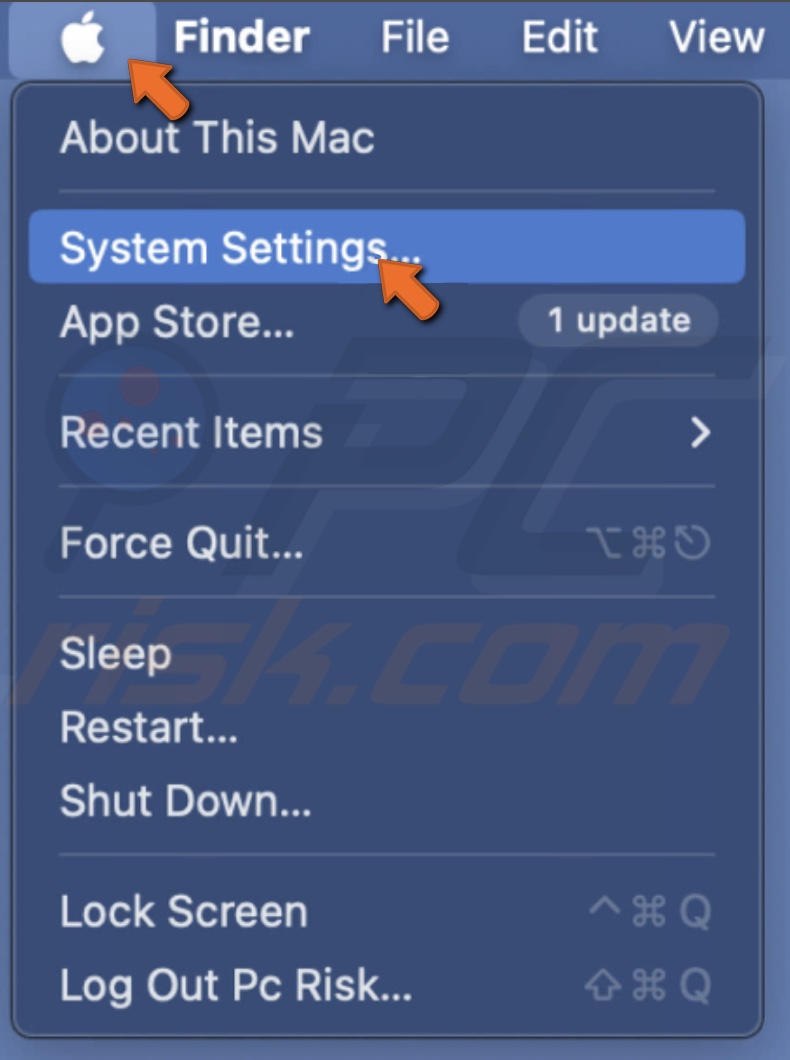
1. Go to the Apple menu and select "System Settings".
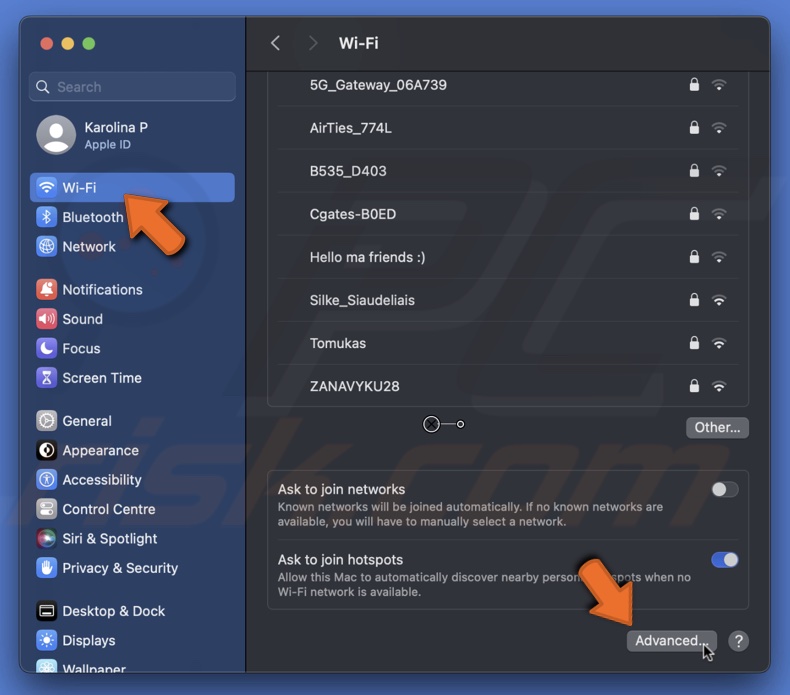
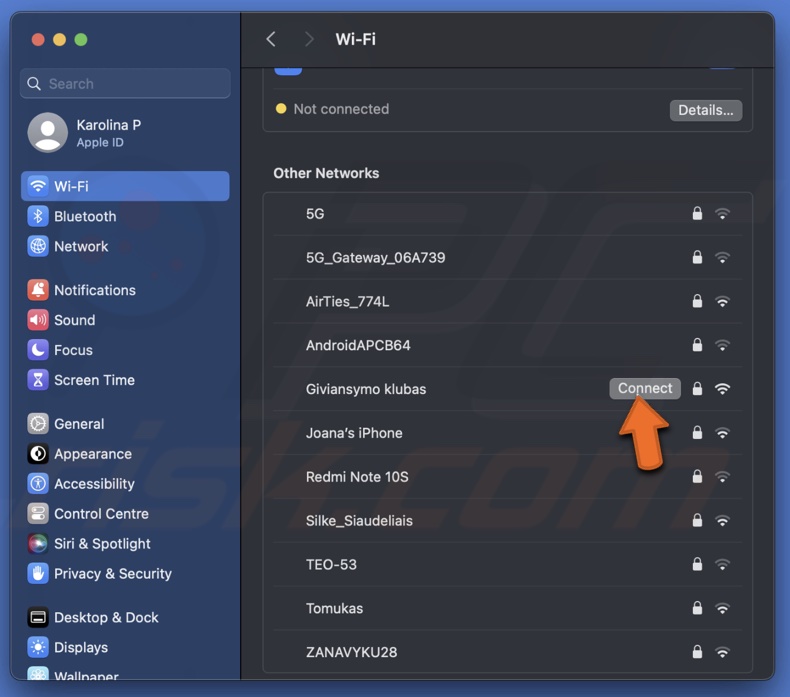
2. Go to "Wi-Fi" settings and scroll to the bottom.
3. Click the "Advanced" button.
4. Click the three-dot button next to your Wi-Fi name and choose "Remove From List".
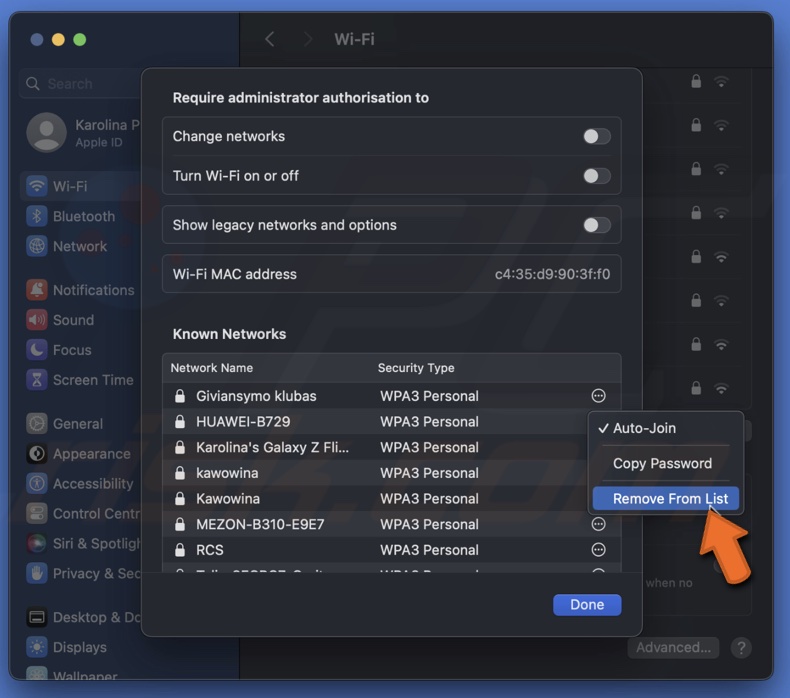
5. Confirm the action and click "Done".
6. Now, connect to your Wi-Fi again.
Set date and time to automatic
If the date and time on your MacBook are significantly incorrect, connection with secure websites may fail due to the certificate being considered expired or invalid.
By setting the date and time to automatic, your MacBook syncs with reliable time servers, ensuring the system clock is accurate. This allows your MacBook to establish secure connections with websites and online services.
To set date and time, follow the steps below:
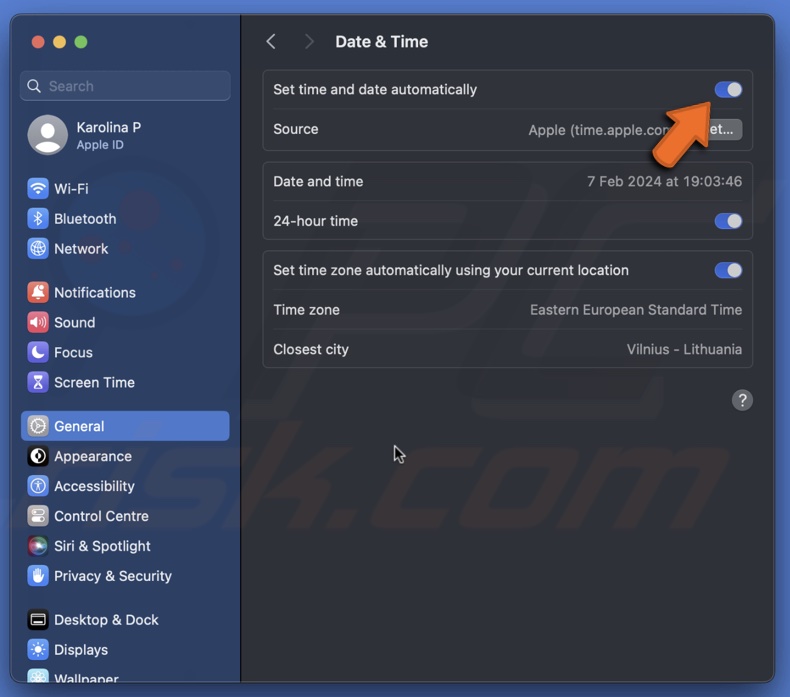
1. Click the Apple logo and go to "System Settings".
2. Go to "General" settings and click "Date & Time".
3. Enable "Set time and date automatically".
Update macOS
If your MacBook is experiencing connectivity issues, especially when connected to Wi-Fi, an update might include fixes or enhancements to the drivers that manage wireless network connections.
These updates can address compatibility issues, improve connection stability, and provide better support for the latest Wi-Fi standards.
To update your Mac, follow the steps below:
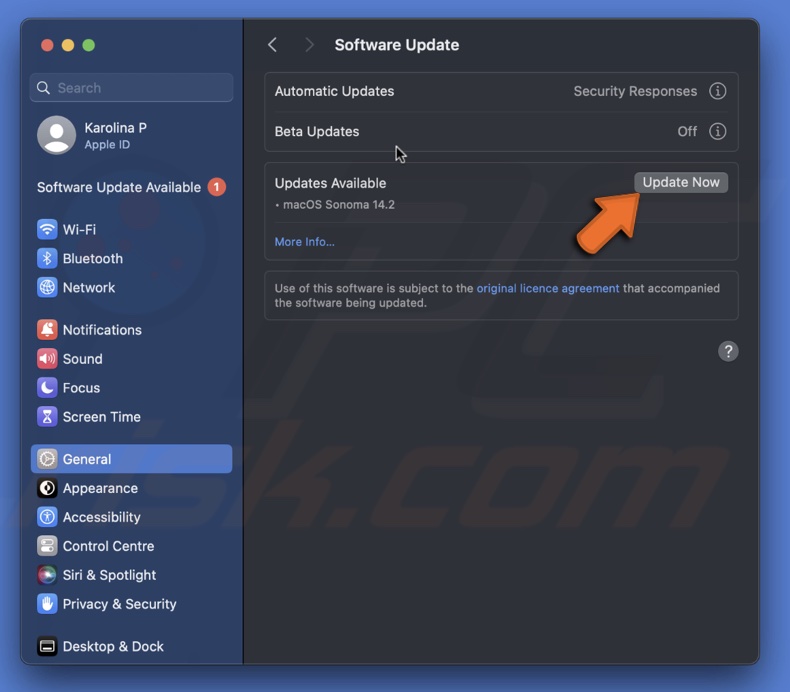
1. Click on the Apple logo and select "System Settings".
2. Choose "General" and go to "Software Update".
3. If an update is available, click "Update Now" to install it.
Change DNS server
The DNS server is responsible for translating human-readable domain names into IP addresses that machines can understand. Suppose the default DNS server assigned by your ISP is experiencing issues or is slow to respond. In that case, it can lead to difficulties in resolving domain names to their corresponding IP addresses.
By switching to a more reliable or faster DNS server, you may improve the speed and efficiency of your MacBook's internet connectivity.
To change the DNS server, follow the steps below:
1. Go to "System Settings" from the Apple menu.
2. Select "Wi-Fi" and click "Details" next to your Wi-Fi name.
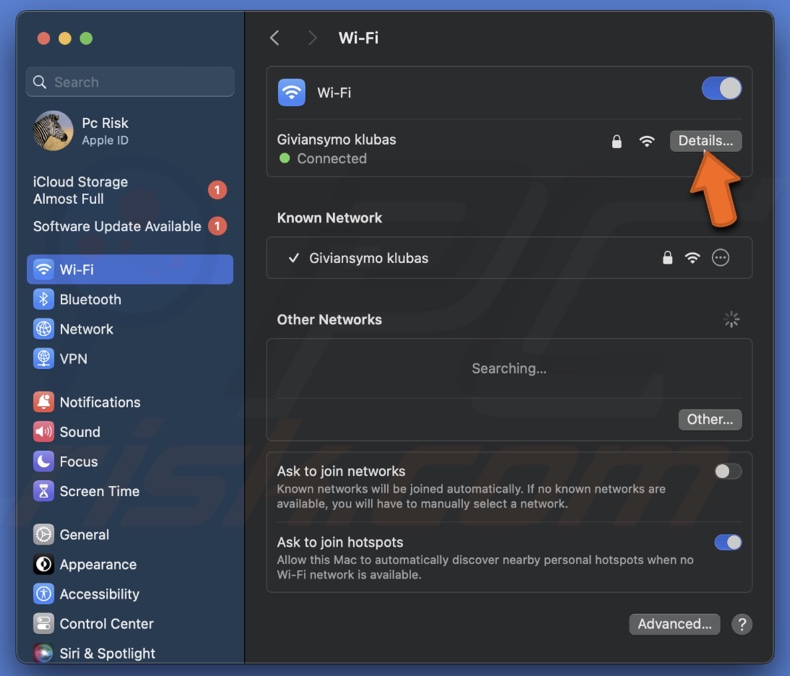
3. Go to the "DNS" tab.
4. Select the current server and hit the minus (-) icon to remove it.
5. Click the plus (+) icon and add servers 8.8.8.8 and 8.8.4.4.
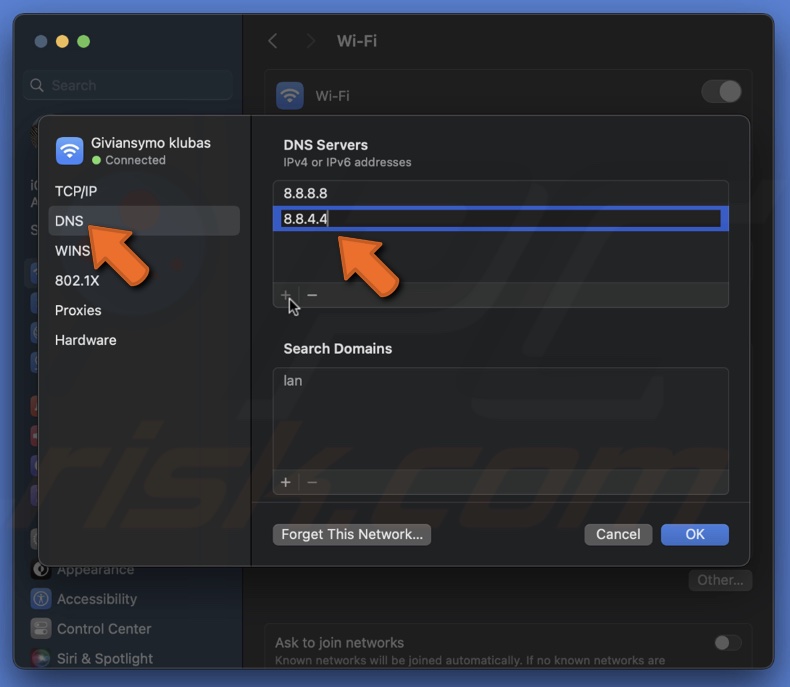
6. When done, click "OK".
Use Wireless Diagnostics
Wireless Diagnostics is a built-in tool on macOS that provides detailed information about your Wi-Fi network, including signal strength, interference, and potential problems. If your MacBook is connected to Wi-Fi but experiences no internet connection, there may be issues with signal strength or interference from other electronic devices.
By using Wireless Diagnostics, you can gain insights into the health of your Wi-Fi connection and pinpoint the cause of your MacBook's internet connectivity issues.
To use Wireless Diagnostics, follow the steps below:
1. Press the Command + Space keys and enter "Wireless Diagnostics".
2. Click "Continue" to run diagnostics.
3. Select "Monitor my Wi-Fi connection" and click "Continue".
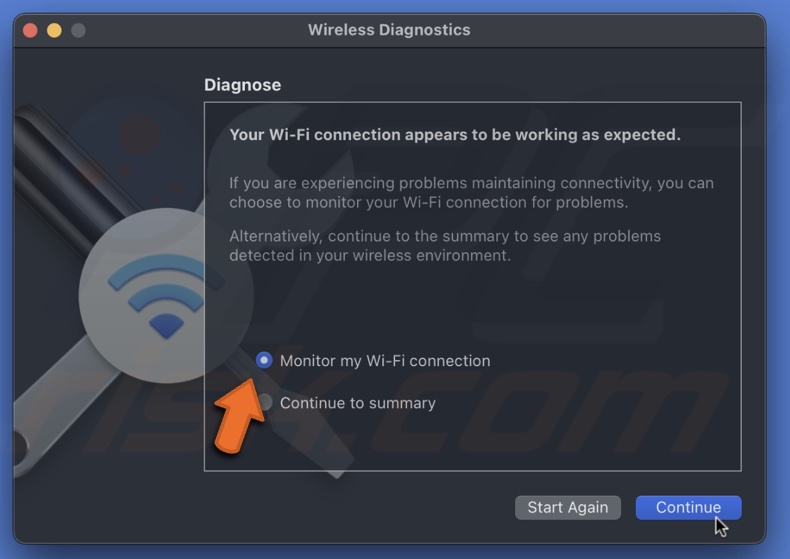
4. Follow the instructions.
Remove all USB accessories
Specific USB devices, such as external hard drives, wireless mice, or keyboards, may emit electromagnetic interference that can affect the performance of your Wi-Fi connection.
Removing these accessories eliminates the possibility of hardware conflicts or interference, allowing you to determine if the issue is related to USB devices affecting the Wi-Fi signal.
1. Disconnect all USB accessories from your MacBook.
2. Restart your MacBook.
3. Reconnect to Wi-Fi and check if the internet connection is restored.
If removing USB accessories resolves the issue, you can reconnect them individually to identify the specific accessory causing the problem.
Renew DHCP lease
Dynamic Host Configuration Protocol (DHCP) is responsible for dynamically assigning IP addresses to devices on a network. If there's a conflict or communication issue between your MacBook and the DHCP server (often your Router), it can result in an incorrect or expired IP address.
Renewing the DHCP lease forces your MacBook to request a new IP address from the DHCP server, potentially resolving connectivity issues caused by address assignment problems.
To renew the DHCP lease, follow the steps below:
1. Open the Apple menu and go to "System Settings".
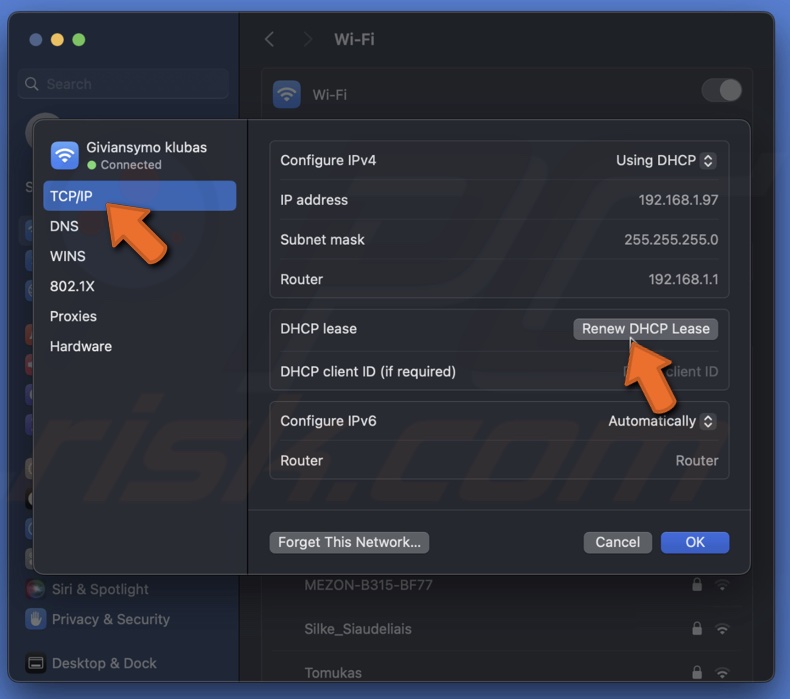
2. Go to "Wi-Fi" and next to your Wi-Fi, click "Details".
3. Choose "TCP/IP" and hit "Renew DHCP Lease".
Create a new network location
Over time, the network configuration settings on your MacBook can become corrupted or misconfigured. It can lead to connectivity issues, including problems obtaining an IP address, DNS resolution, or other network-related settings.
Creating a new network location starts with a fresh set of network configurations, potentially resolving issues that may be present in the current settings.
To create a new network location, follow the steps below:
1. Click the Apple logo and go to "System Settings".
2. Go to "Networks" and click on the drop-down menu.
3. Hover over "Locations" and select "Edit Locations".
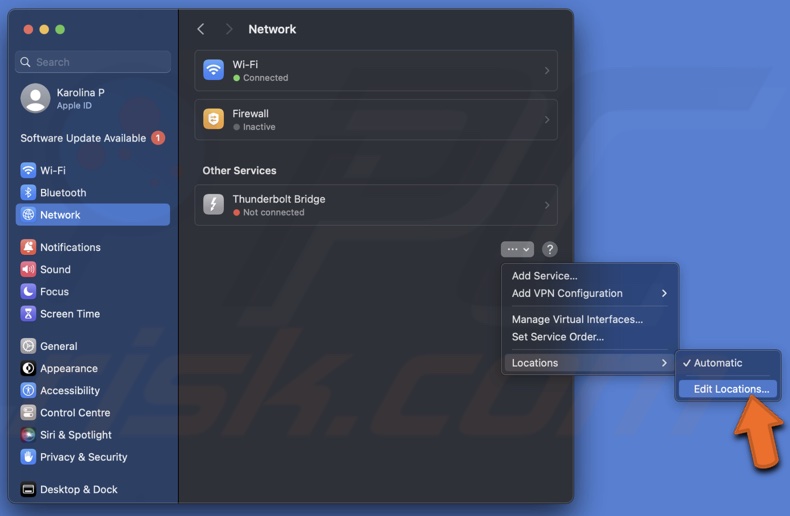
4. Tap the plus (+) button and give it a name, or leave it as it is.
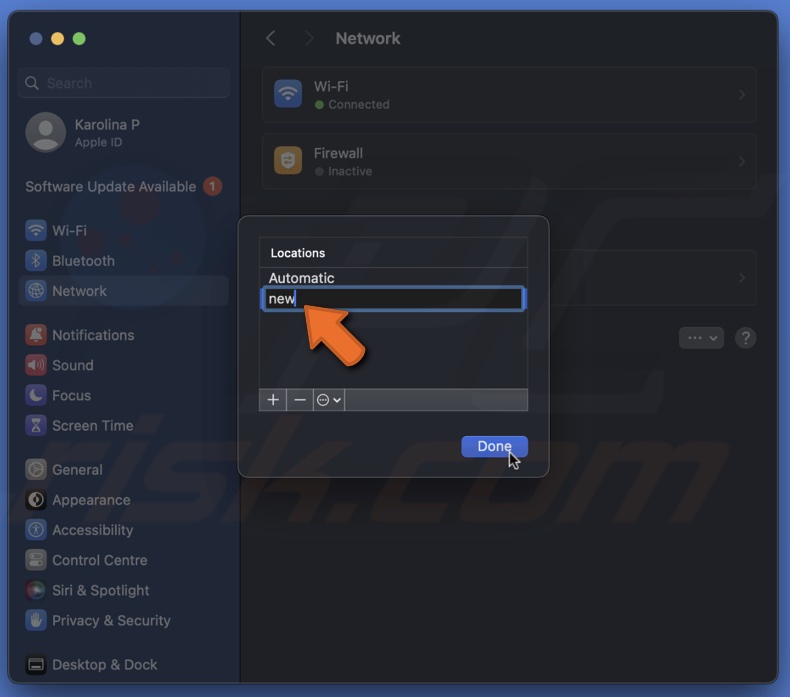
5. Then, click "Done".
Reset network preferences
Over time, network preferences and configurations on your MacBook may become corrupted or misconfigured due to various reasons, such as software updates, system changes, or unexpected glitches. Resetting network preferences clears these settings and returns network-related configurations to their default state.
To reset network preferences, follow the steps below:
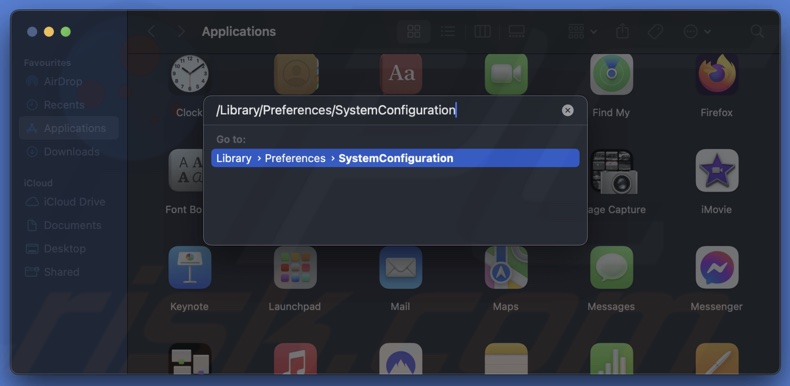
1. Open a Finder window.
2. From the top menu, select "Go" and choose "Go to Folder".
3. In the path bar, enter: /Library/Preferences/SystemConfiguration
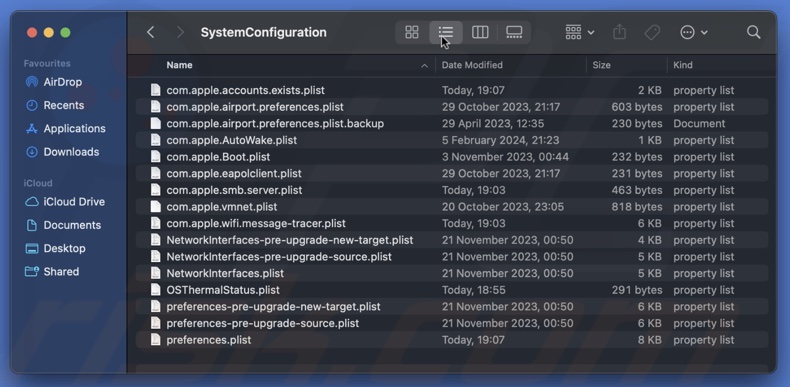
4. Delete these files:
• com.apple.airport.preference.plist
• com.apple.network.identification.plist
• NetworkInterfaces.plist
• preferences.plist
• Settings.plist
Stop mDNSResponder
If there are issues with mDNS or DNS (Domain Name System) affecting your MacBook's ability to resolve local or external domain names, stopping and restarting the mDNSResponder process could resolve these issues.
It's important to note that stopping mDNSResponder is generally a more advanced troubleshooting step and should be done cautiously.
To stop mDNSResponder, follow the steps below:
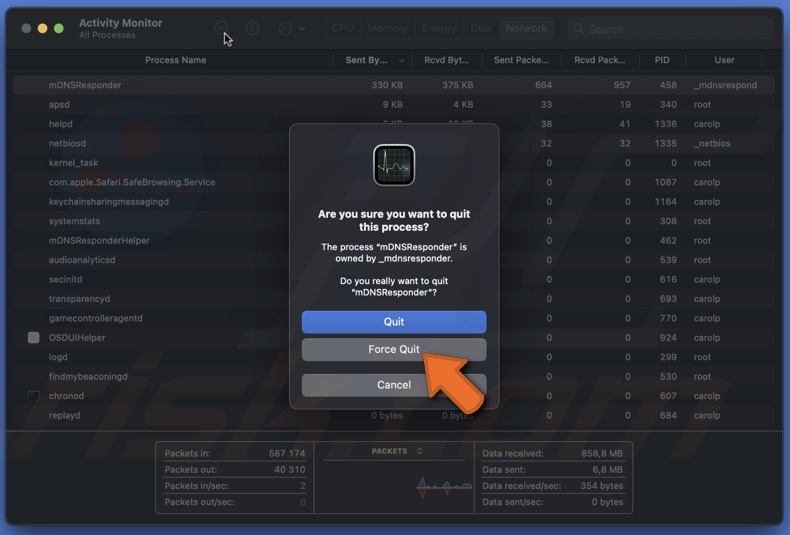
1. Press the Command and Space bar and enter "Activity Monitor".
2. Go to the "Network" tab.
3. Select "mDNSResponder". It's usually the very first process.

4. Click the X button and select "Force Quit".
Connectivity problems can arise from various sources, and the effectiveness of each solution may vary. If nothing helps and the problem persists, don't hesitate to seek assistance from your Internet Service Provider (ISP) or Apple Support.
Share:

Karolina Peistariene
Author of how-to guides for Mac users
Responsible for collecting, analyzing, and presenting problem-solving solution articles related to macOS issues. Years of macOS experience combined with solid research and analyzing skills help Karolina provide readers with working and helpful solutions as well as introduce various features Mac has to offer.
▼ Show Discussion