Unleashing your creativity: tips for using Freeform app on Mac

Get Free Scanner and check your computer for errors
Fix It NowTo fix found issues, you have to purchase the full version of Combo Cleaner. Free trial available. Combo Cleaner is owned and operated by Rcs Lt, the parent company of PCRisk.com read more.
Create, share, and collaborate with others on the Freeform app
If you're new to the Freeform app, seeing its potential and learning all the amazing features might take time. This guide will help you get started. Everything else is up to your imagination.
The Freeform app is a great tool for brainstorming, mind mapping, organizing thoughts, and much more. It can unleash your creativity and allow your ideas to flow freely.
In this comprehensive guide, you'll learn everything you need to know to visualize ideas, share your boards, and collaborate with others on personal or work-related projects.
Video on Unleashing your creativity: tips for using Freeform app on Mac
Table of Contents:
- Introduction
- Requirements to use Freeform
- Create a board
- Add files to a board and edit them
- Add shapes to a board
- Add text to a board
- Use Sticky Notes
- Lock items
- Add a sketch
- Access your board on other Apple devices
- Share and collaborate with other people on Freeform
- Video on Unleashing your creativity: tips for using Freeform app on Mac
Download Computer Malware Repair Tool
It is recommended to run a free scan with Combo Cleaner - a tool to detect viruses and malware on your device. You will need to purchase the full version to remove infections. Free trial available. Combo Cleaner is owned and operated by Rcs Lt, the parent company of PCRisk.com read more.
Requirements to use Freeform
To use the Freeform app, you need to satisfy these conditions:
> For iPhone, you need to have iOS 16.2 or later
> For iPad, you need to have iPadOS 16.2 or late
> For Mac, you need to have macOS Ventura 13.1 or later
Create a board
Creating a board is very simple. Let's create your first board together!
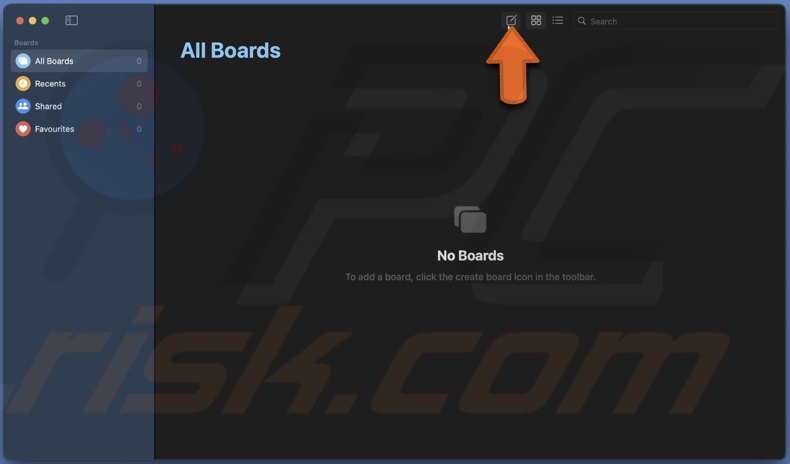
To create a Freeform board, follow the steps below:
1. Click on the Create a board icon from the window menu bar. You'll see a blank board with a grid.
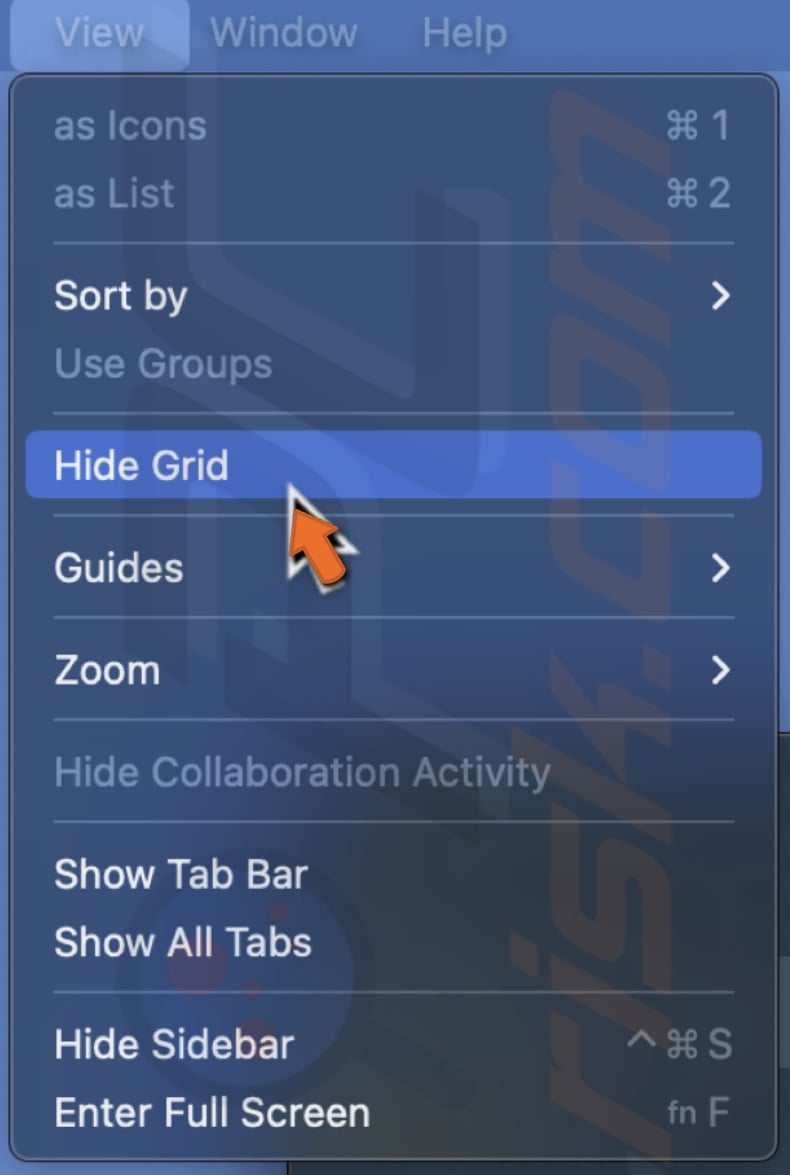
2. If you want to hide the grid from the Mac menu bar, click "View" and select "Hide Grid".
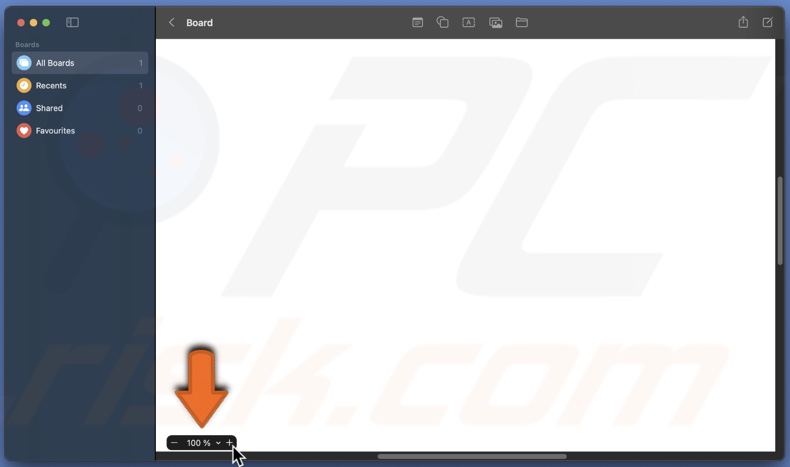
3. Now, double-click on the board name "Untitled" and rename it.
4. Modify the board size by clicking on the minus (-) button to scale it down or the plus (+) button to make it bigger.
Add files to a board and edit them
> To add files:
1. Click on the Folder icon.
![]()
2. Select a file and click on "Insert".
> To add photos or videos:
1. Click the Photos icon and select "Photos or Videos".
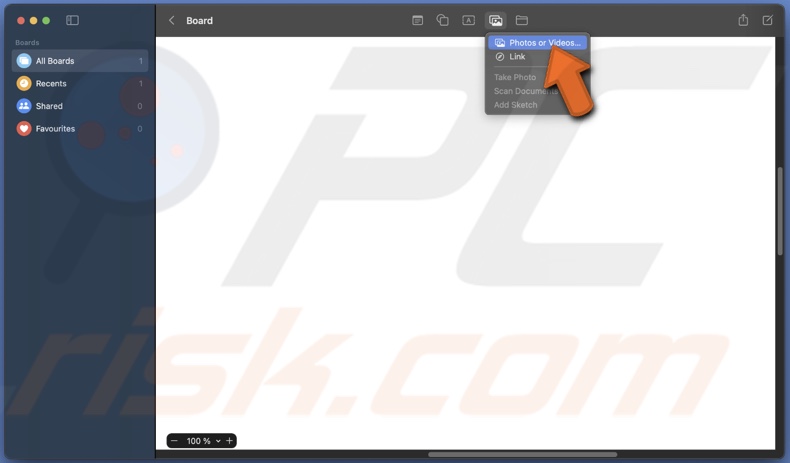
2. Select an image or a video and click "Add".
> To crop a photo:
1. Click on an image and select the Crop icon.
![]()
2. Use the slider to zoom the picture and drag it to the part you want to crop.
3. Finally, click on "Done".
> To replace the photo:
1. Click on the photo and select the Image icon.
2. From the menu, click on "Replace".
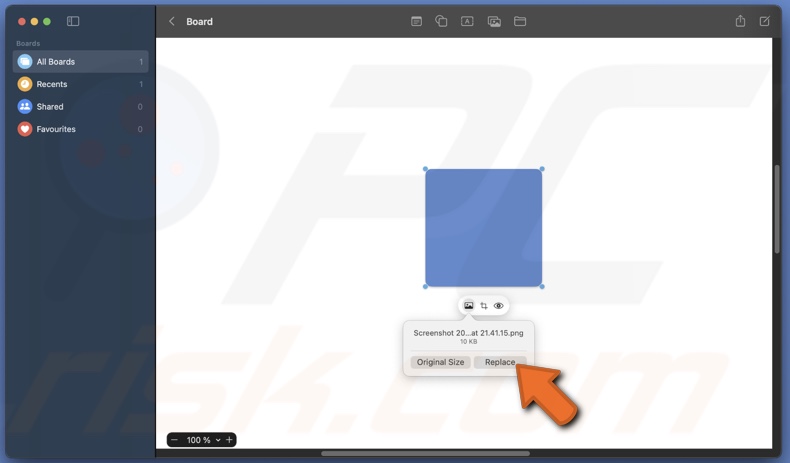
3. Click on an image to replace it.
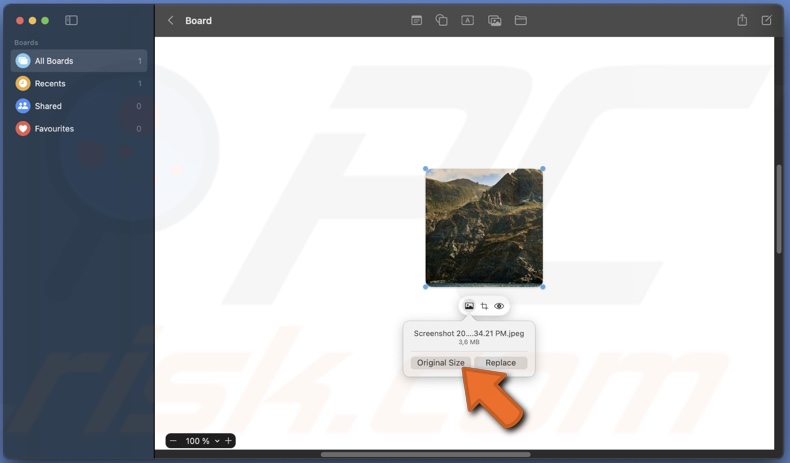
> To see the original photo size:
1. Click on the photo and select the image icon.
2. From the menu, click on "Original Size".
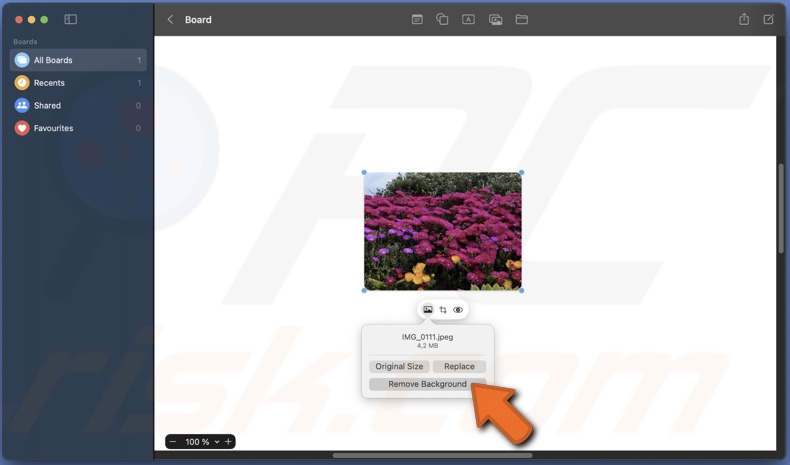
> To remove an image background (this option is not always available):
1. Click on the photo and select the Image icon.
2. From the menu, click on "Remove Background".
> To delete an image from the board, right-click on it and select "Cut".
> To add a link:
1. Click on the Photos icon and select "Link".
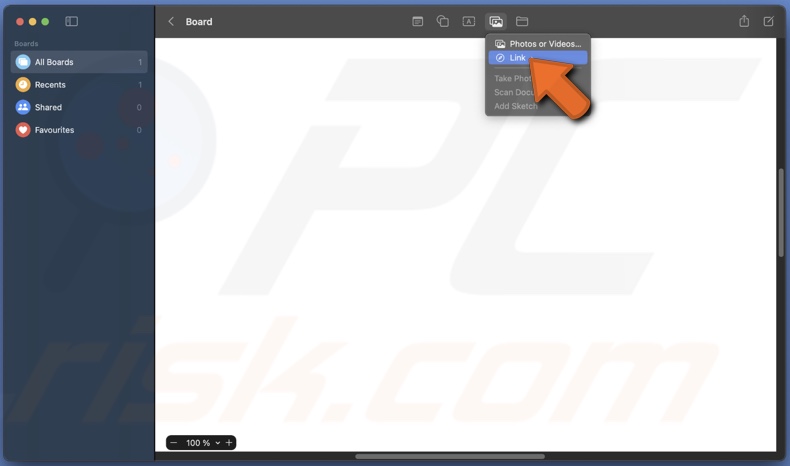
2. Enter the link you want to add and click on "Insert".
Add shapes to a board
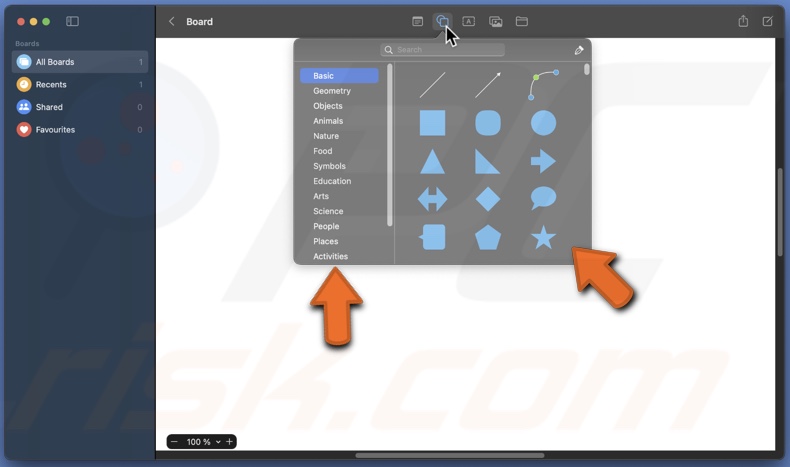
> Add a shape:
1. From the menu, click on the Shape icon.
![]()
2. On the left side, select a category.
3. Choose a shape and click on it to add to a board.
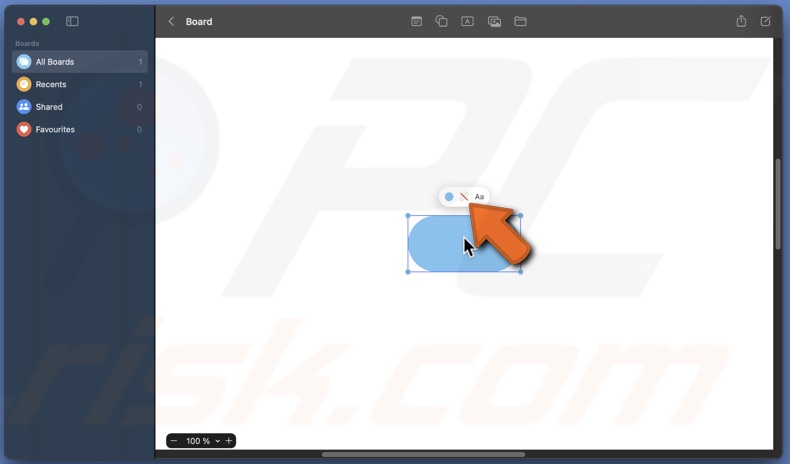
> Change shape color:
1. Click on the shape.
2. From the shape menu, click on the Color icon and select a different color.

3. Click "No Fill" to only keep the shape outline.
> Change shape outline thickness:
1. Click on the shape.
2. Select the Line icon.
3. From the menu, choose the line thickness.
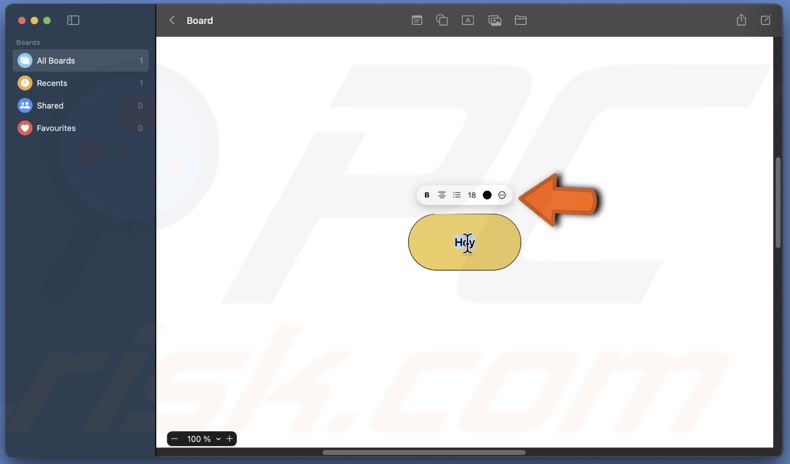
> Add text to a shape:
1. Double-click on your shape.
2. Enter the text. From the shape menu, choose text size, font, position, etc.
Add text to a board
To add text to a board, follow the steps below:
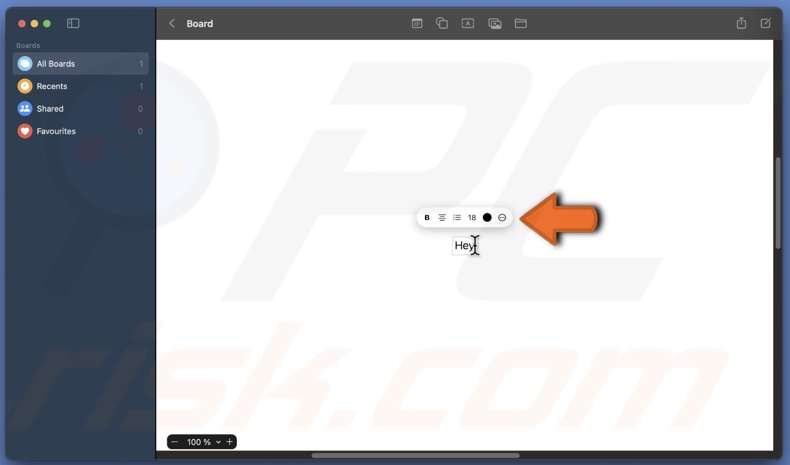
1. Click on the Text icon.
![]()
2. Enter your text in the text box.
3. Click on the Color icon from the Edit menu to change the text color.
4. Click on the Text icon to change font, position, etc.
5. Click on the font size to change it.
Use Sticky Notes
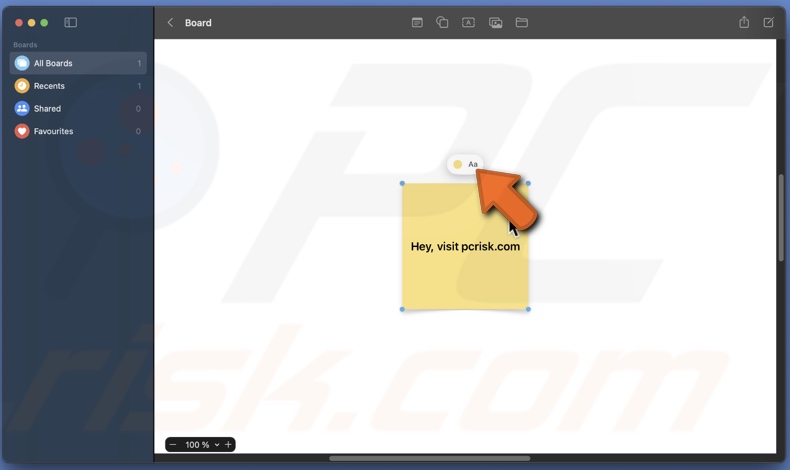
Click on the Note icon to add a sticky note to a board. Double-click on it and start typing your text. Click anywhere on the board to stop editing text.
![]()
To change the sticky note color, click on the note and select the Color icon. Click on a color to change it.
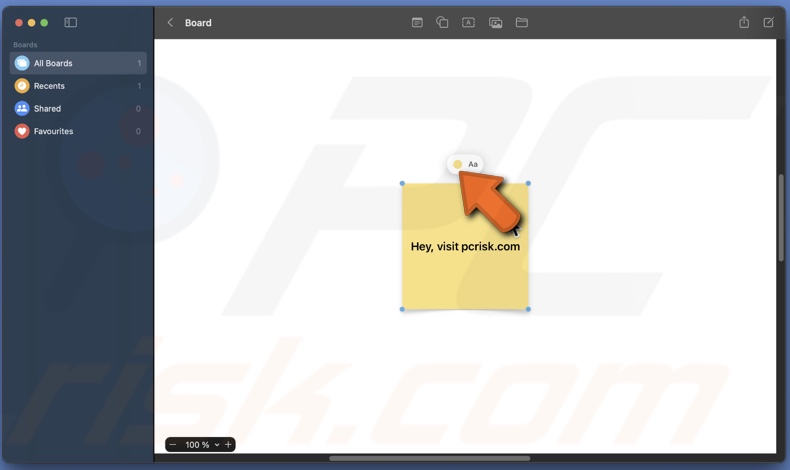
Click on the Text icon to change the text font, position, size, and more. Use the menu to edit text.
Lock items
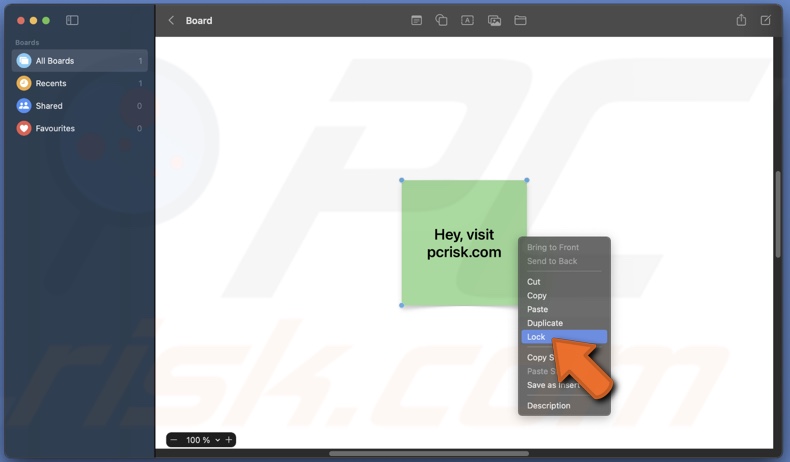
You can lock added items on a board so you don't accidentally move or change their size while editing other things.
To lock items on a board, follow the steps below:
1. Right-click on an item you want to lock.
2. From the pop-up menu, select "Lock".
Add a sketch
You can add sketches to your Freeform board from other Apple devices, like an iPhone or iPad. Ensure your Mac and the other device are connected to the same Wi-Fi and have Bluetooth turned on.
To import a sketch to your Freeform board from iPhone or iPad, follow the steps below:
1. Open your board.
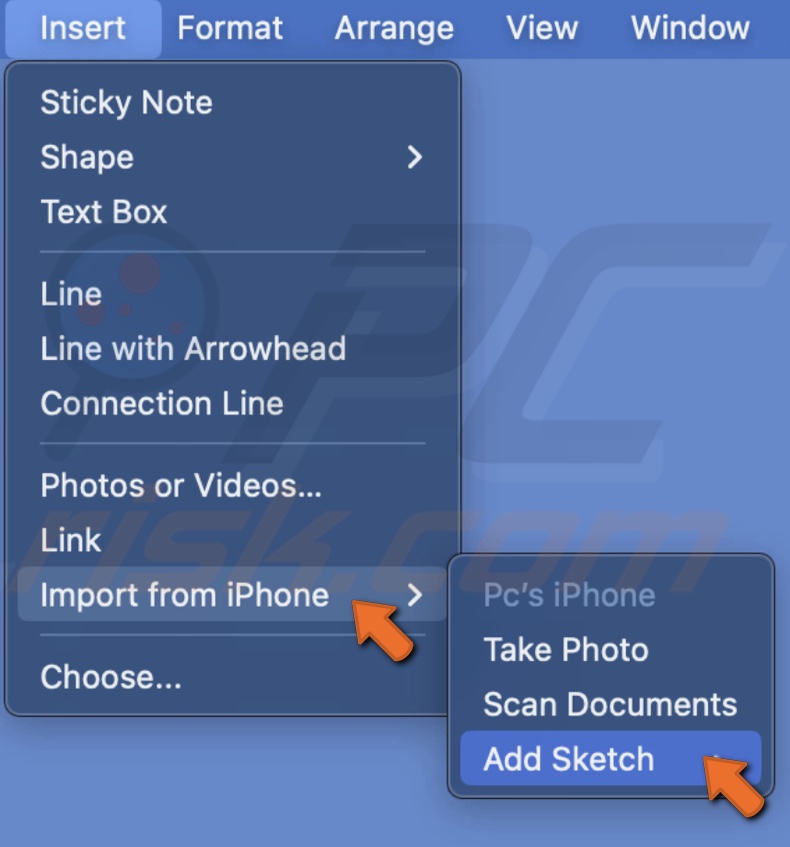
2. From the Mac menu bar, click on "Insert".
3. Hover over "Import from iPhone/iPad" and select "Add Sketch".
4. On your other device, draw a sketch.
5. When you're ready, tap on Done.
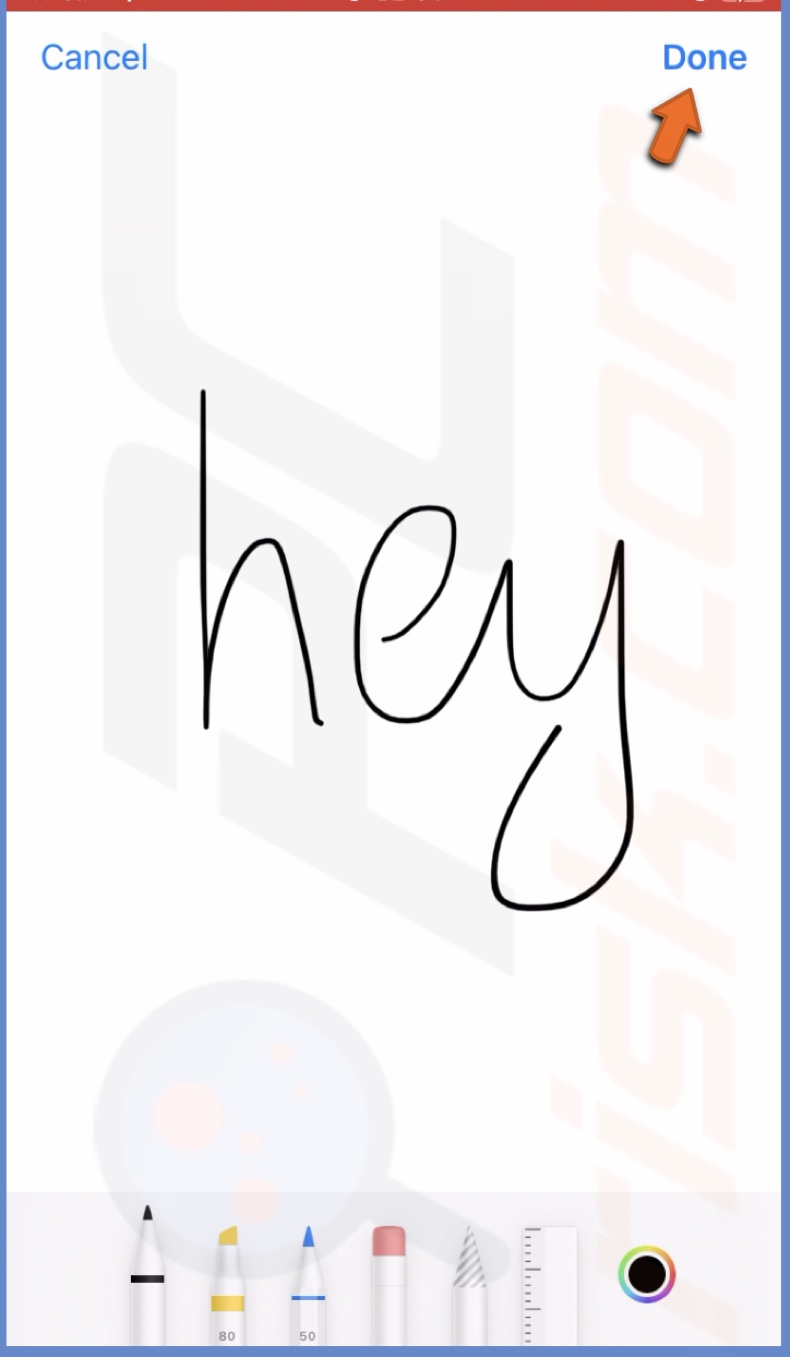
6. The sketch will be imported onto the board in Freeform.
You can also take a photo or scan a document on your iPhone, and it will be imported onto the board.
Access your board on other Apple devices
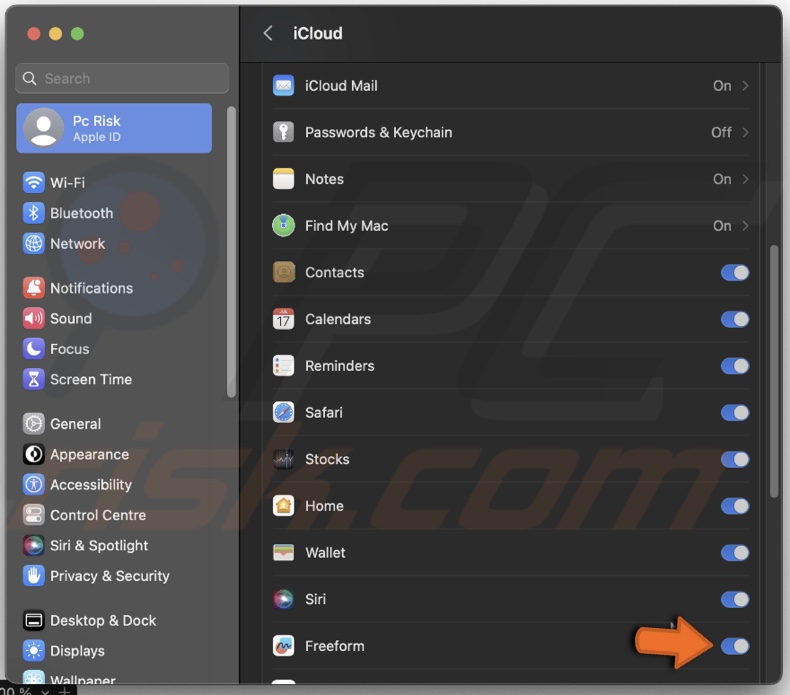
To edit the Freeform board on your other Apple devices, you need to have iCloud enabled so the app can sync with your iPhone or iPad.
To sync Freeform on iCloud, follow the steps below:
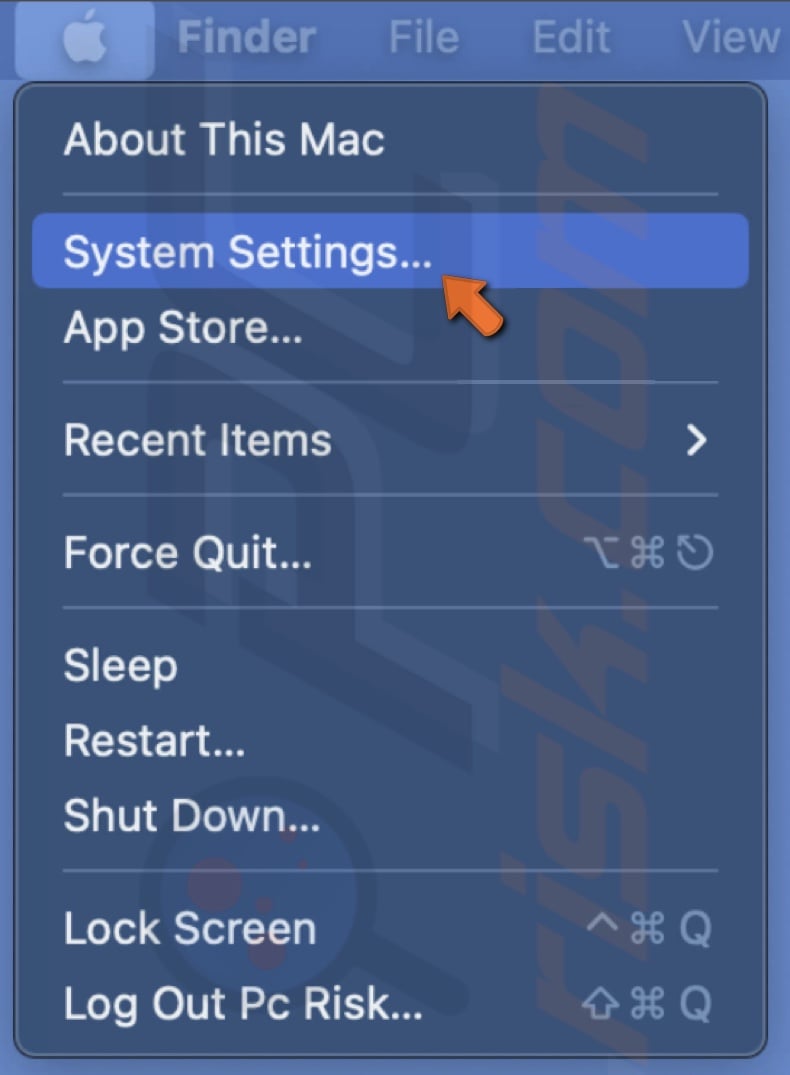
1. Click on the Apple icon to access the menu.
2. Click on "System Settings".
3. Click on your Apple ID and select "iCloud".
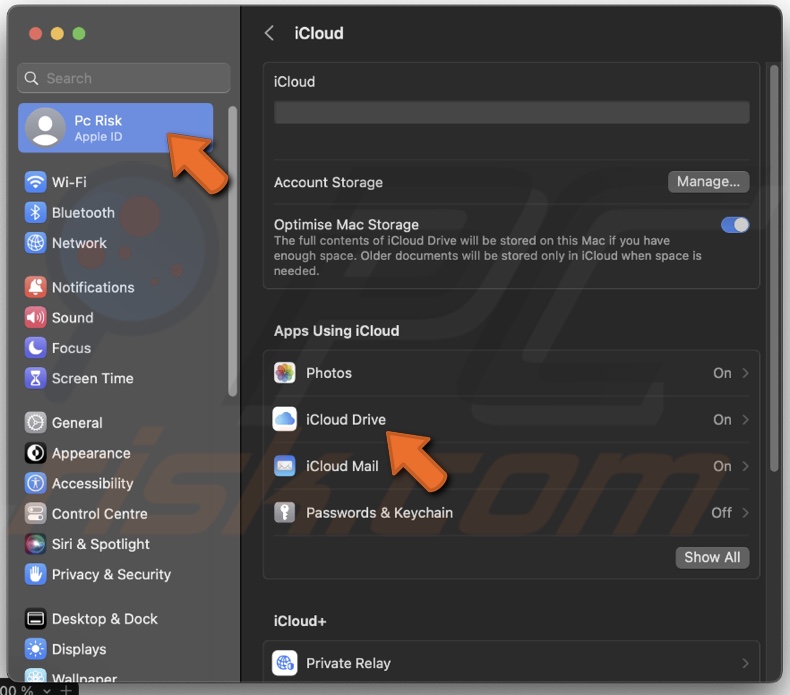
4. Under "Apps Using iCloud", click "Show All".

5. Scroll down until you see "Freeform" and toggle the slider to turn on sync.
You can share your board with other people and collaborate on a project with up to 99 users.
To share or invite people to a board, follow the steps below:
1. Click on the Share button.
2. From the list, select "AirDrop", "Mail", or "Messages" to share your board.
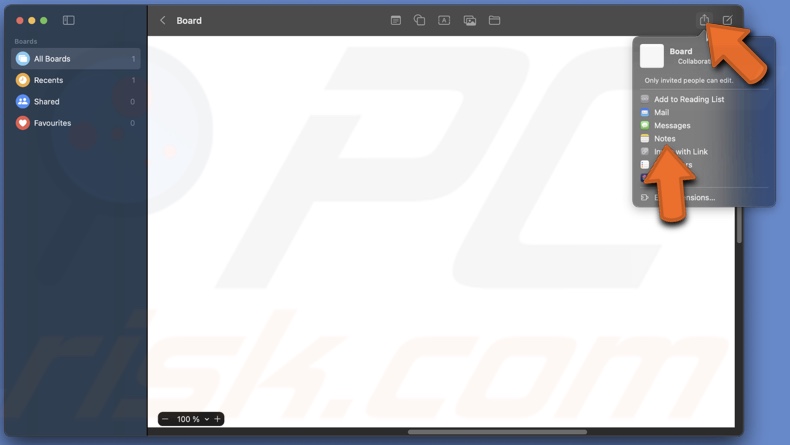
3. Click "Invite with Link" to invite people to your board.
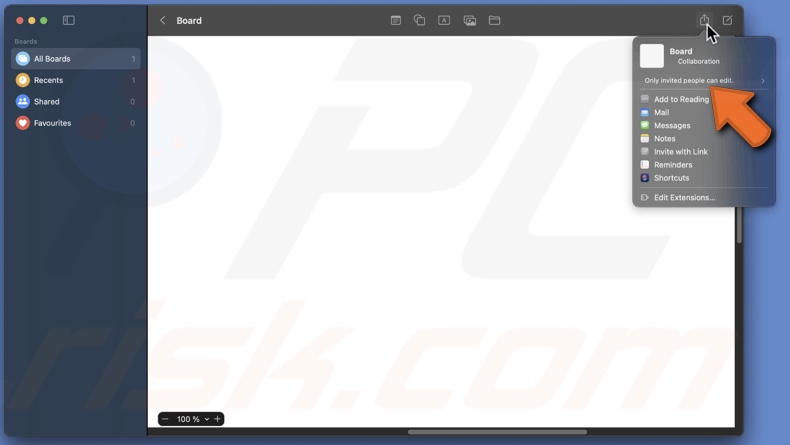
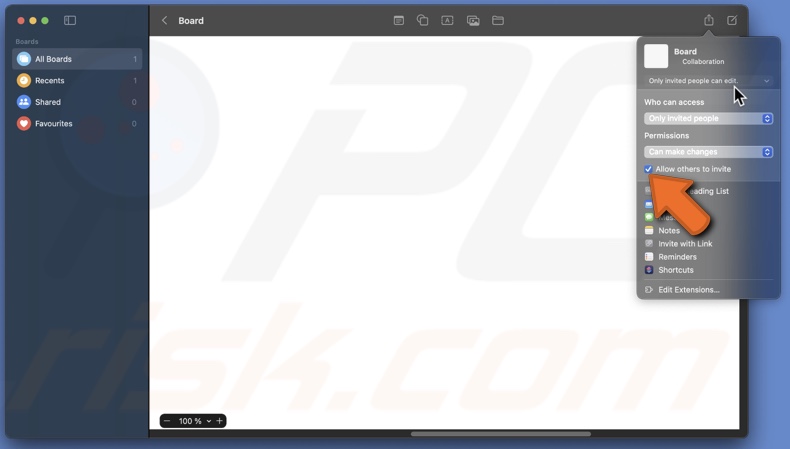
To edit permissions, follow the steps below:
1. Click on the Share icon.
2. Select "Only invited people can edit".
3. Under "Who can access", click on the drop-down menu and select who can access your board.
4. Under "Permissions", click the drop-down menu and select if invited users can only view the board or make changes.
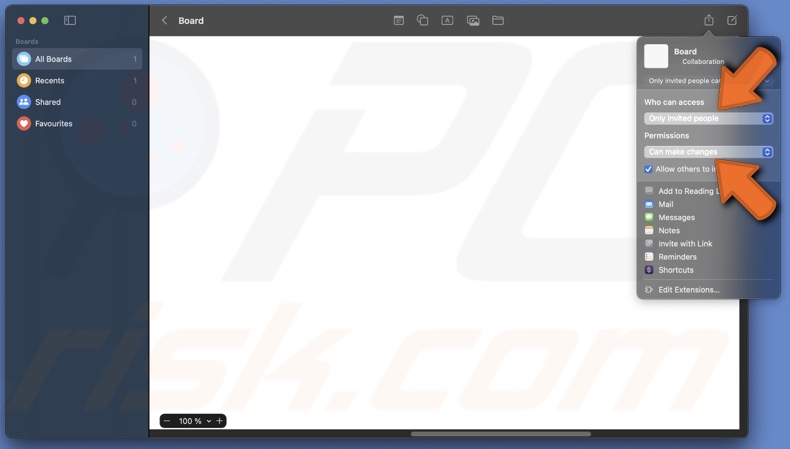
5. If you want to allow invited users to invite others, click on the box next to "Allow others to invite".
If you have any questions or want to add more info, don't hesitate to comment below.
Share:

Karolina Peistariene
Author of how-to guides for Mac users
Responsible for collecting, analyzing, and presenting problem-solving solution articles related to macOS issues. Years of macOS experience combined with solid research and analyzing skills help Karolina provide readers with working and helpful solutions as well as introduce various features Mac has to offer.
▼ Show Discussion