How Can You Recover Unsaved and Deleted Word Files on Mac?

(updated)
Get Free Scanner and check your computer for errors
Fix It NowTo fix found issues, you have to purchase the full version of Combo Cleaner. Free trial available. Combo Cleaner is owned and operated by Rcs Lt, the parent company of PCRisk.com read more.
How to Recover Unsaved or Deleted Microsoft Word Files on Mac
Microsoft Word is one of the most popular word processing programs in the market. It offers its users various features hence why it's so popular. As the name suggests, it belongs to tech giant Microsoft. The software is so convenient that many Apple users use it as well despite having a similar app already integrated into macOS.
So, if you're working on an important document and suddenly Word crashes or something happens to your Mac, and it shuts down, you'll be able to recover it due to the AutoRecovery feature. But it would be best if you didn't use AutoSave instead of actually saving your document. The feature works only if any interruption occurs.
With the help of AutoRecovery, you can also sometimes recover your file if you accidentally deleted it.
Read the methods below to find out how to recover your file step-by-step and manage AuroRecovery settings.
Video on How to Recover Unsaved or Deleted Microsoft Word Files on Mac
Table of Contents:
- Introduction
- Method 1. Recover Your Word Document From Trash
- Method 2. Recover Your Word Document From The AutoRecovery Folder
- Method 3. Recover Your Word Document From The Temporary Folder
- Method 4. Recover Your Word Document Using Time Machine
- See Older Versions of Your Word Document
- Recover Text From Your Damaged Word File
- Manage AutoRecover Settings
- Video on How to Recover Unsaved or Deleted Microsoft Word Files on Mac
Download Computer Malware Repair Tool
It is recommended to run a free scan with Combo Cleaner - a tool to detect viruses and malware on your device. You will need to purchase the full version to remove infections. Free trial available. Combo Cleaner is owned and operated by Rcs Lt, the parent company of PCRisk.com read more.
Recover Your Word Document From Trash
If your document disappeared, the first place to check for it is the Trash. Sometimes, you can't find your file is because you accidentally deleted it. If that's the case, you should see it in the Trash.
To recover the Word file from the Trash, follow the steps below:
1. Click on the Trash icon located in the dock's right corner.
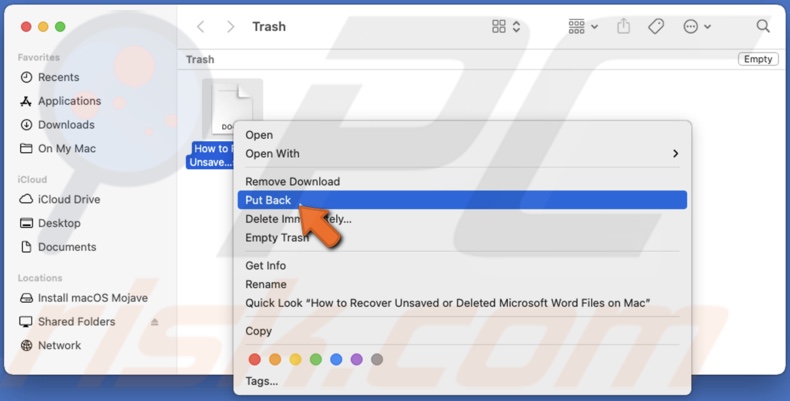
2. When the Trash window opens, you will see its content. Look for your lost document.
3. If you find it in the Trash, right-click on it and then click on "Put Back" to return it to its previous place.
If you don't see your Word document, proceed to the next step.
Recover Your Word Document From The AutoRecovery Folder
What's great about Microsoft Word is that it automatically saves your document every ten minutes. But it only does that if you've saved it somewhere. Make sure AutoRecovery is enabled.
To enable AutoRecovery, follow the steps below:
1. Open your Word document.
2. Click on "AutoSave", located in the Word's window top menu bar.
3. To enable AutoSave, choose where you want to upload it and click on "Upload".
If your Mac or Word unexpectedly shut down when you open the document again, you should be prompted with the document's recovery file.
To recover the Word file from the AutoRecovery folder, follow the steps below:
1. Launch Finder.
2. From the menu bar, click on "Go".
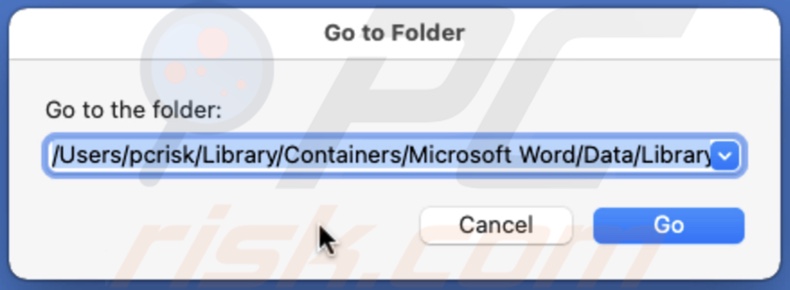
3. Then, select "Go to Folder".
4. In the path bar, enter: /Users/username/Library/Containers/Microsoft Word/Data/Library/Preferences/AutoRecovery
Change username to your Mac's username.
5. You'll see all your recovery files. Double-click on the file you need and open it.
If you can't find the AutoRecovery files, you can check their location.
To check recovery file location, follow the steps below:
1. Launch Word.
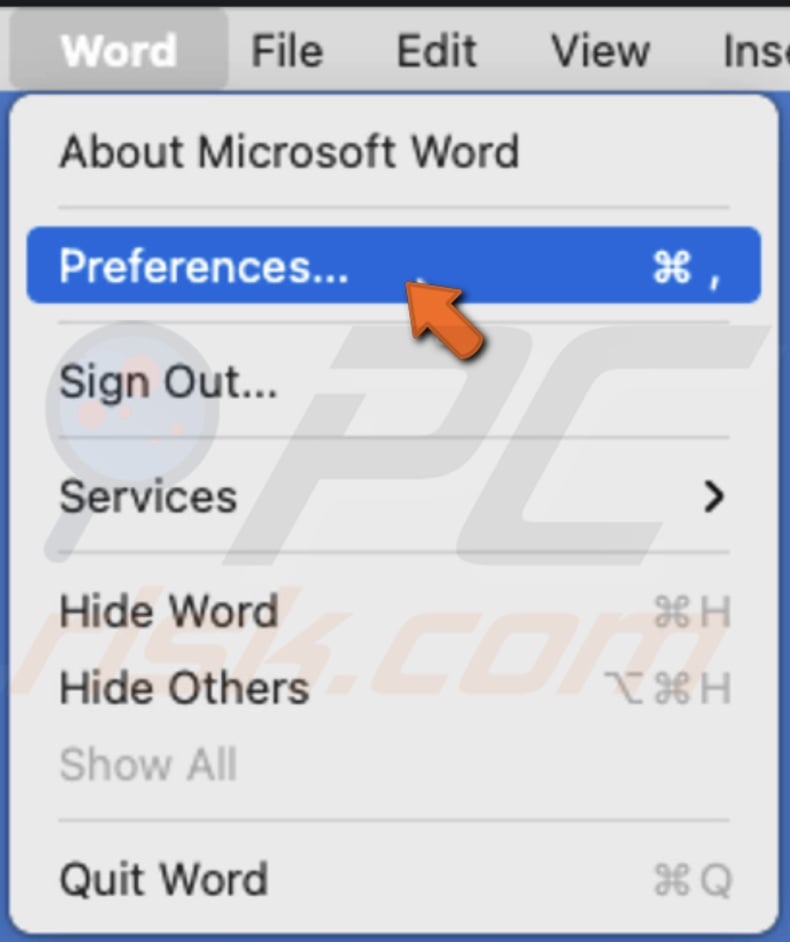
2. From the menu bar, click on "Word" and go to "Preferences".
3. Then, under "Personal Settings," click on "File Locations".

4. Next to "AutoRecover files", you'll see a path to their location.
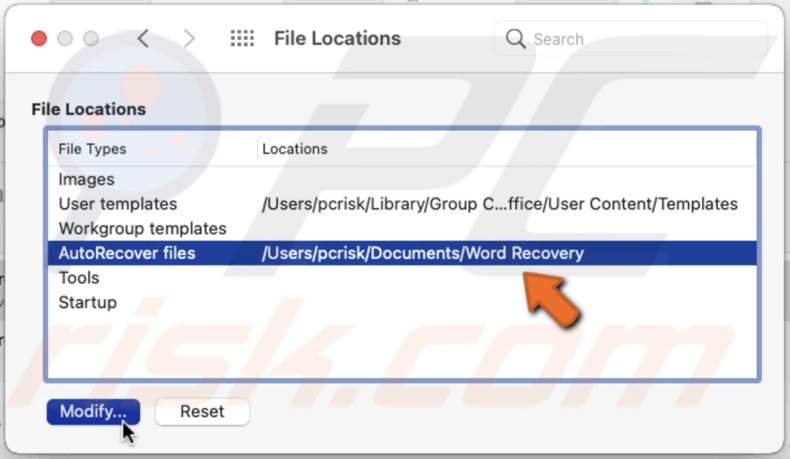
5. If you don't see the full path, select "AutoRecover files" and click on "Modify". You'll see the full path.
If the AutoRecovery folder doesn't contain your document, look for it in the Temporary Folder.
Recover Your Word Document From The Temporary Folder
There's a chance your lost Word document is in the Temporary Folder. The fastest way to open it is using Terminal.
To recover the Word file from the temporary folder, follow the steps below:
1. Open Terminal. You can do that by using Spotlight, Launchpad, or from the menu bar clicking on "Go" and going to "Utilities".
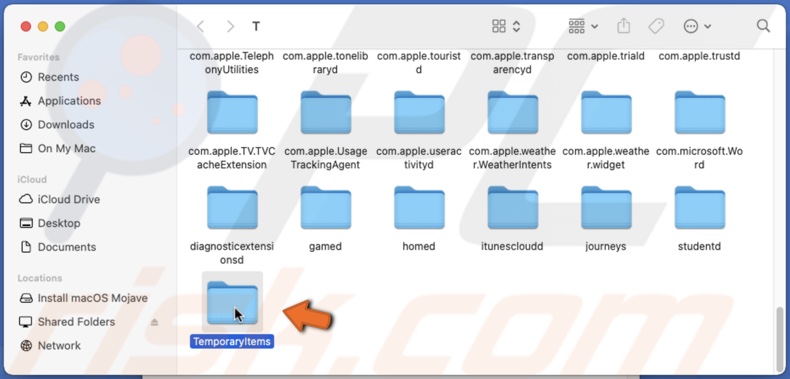
2. In the Terminal window, enter: open $TMPDIR

3. When a window appears, search for the "Temporaryitems" folder. Your document might be inside.
If not, proceed to the following method.
Recover Your Word Document Using Time Machine
If you've connected an external disk to back up your Mac using a Time Machine, you can go back "in time" and look for your lost document.
To recover the Word file using Time Machine, follow the steps below:
1. Launch the Time Machine.
2. Search through the timeline to find the Word document you forgot to save.
3. When you locate the file, select the Word document and click on "Restore".
See Older Versions of Your Word Document
Microsoft Word saves older file versions, so if needed, you can go back.
To view Word document older versions, follow the steps below:
1. Open your Word file.
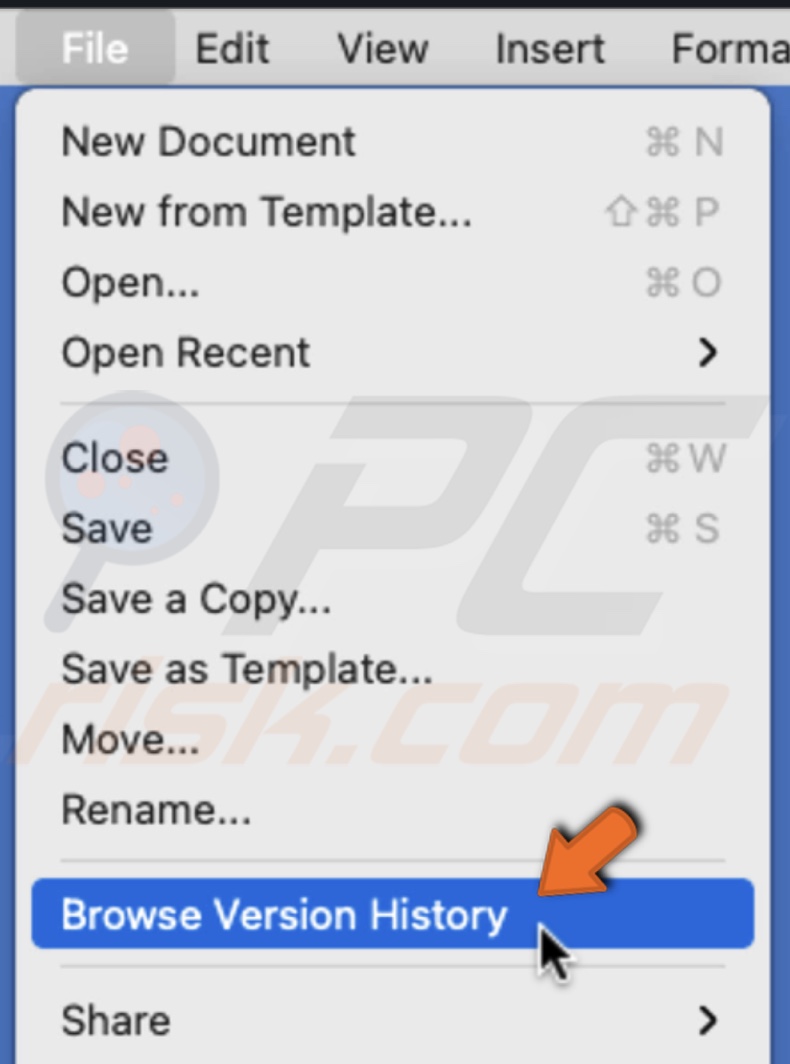
2. From the menu bar, go to "File" and click on "Browse Version History".
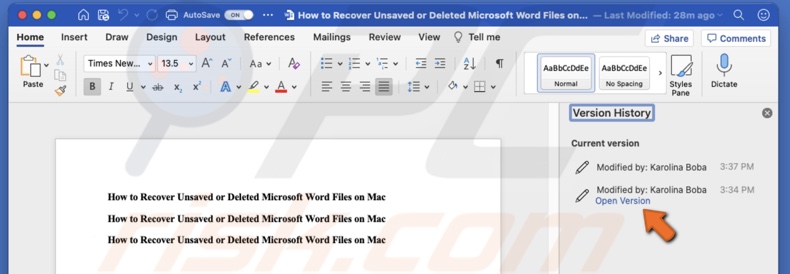
3. A sidebar on the right side of the Word window will appear. There you'll see all backed-up versions of your document. Click on "Open Version" to view its content.
Recover Text From Your Damaged Word File
If your document doesn't open for some reason, you can recover its content.
To recover text from a damaged Word file, follow the steps below:
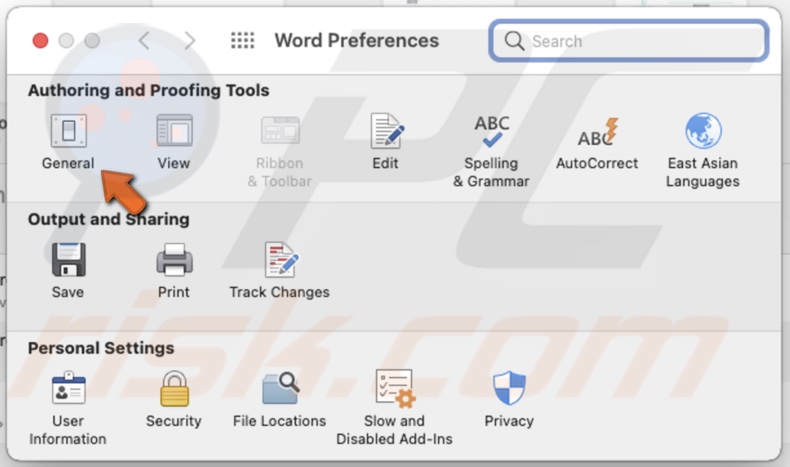
1. Launch Word.
2. From the menu bar, go to "Word" and click on "Preferences".
3. In the "Authoring and Proofing Tools" section, click on "General".
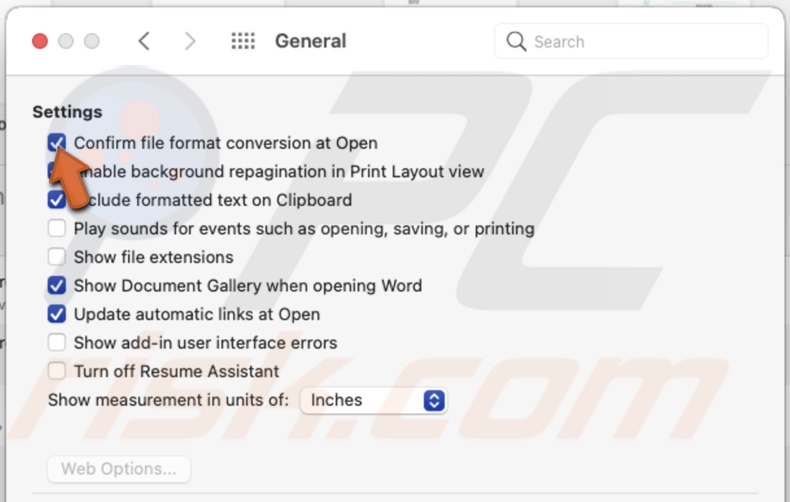
4. Check the box next to "Confirm file format conversion at Open" and close the window.
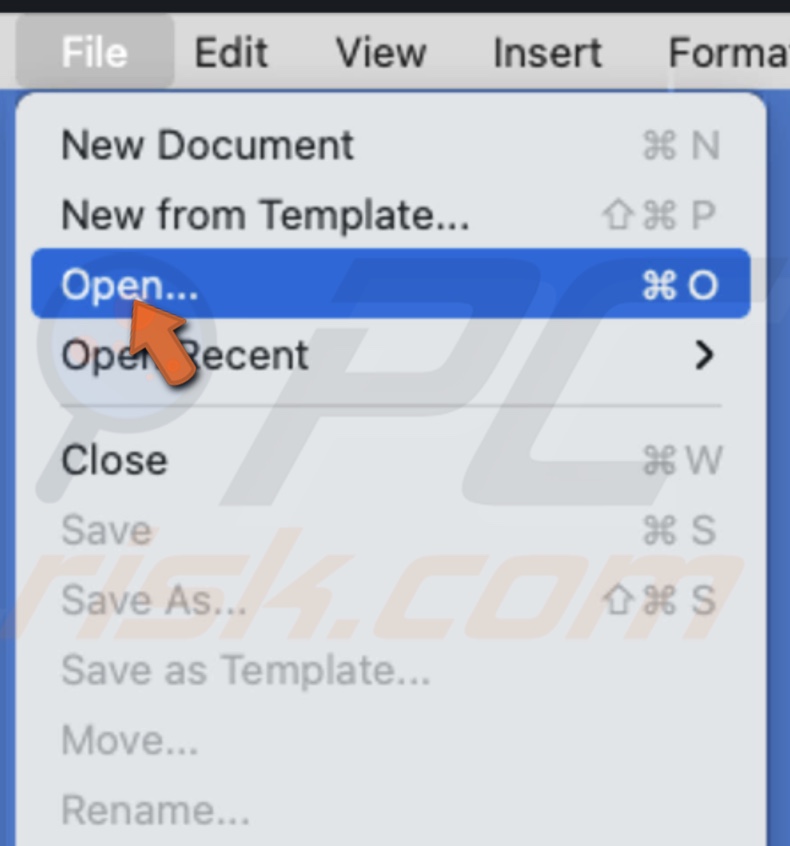
5. Then, go to "File" and click on "Open".
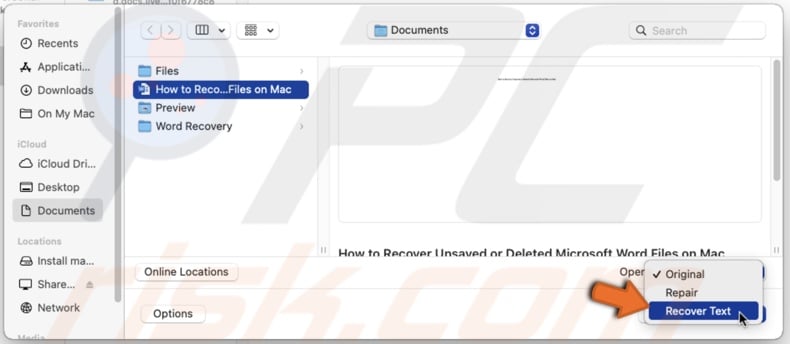
6. Click on "On My Mac" and locate the corrupted file.
7. Select it and expand the drop-down menu next to "Open".
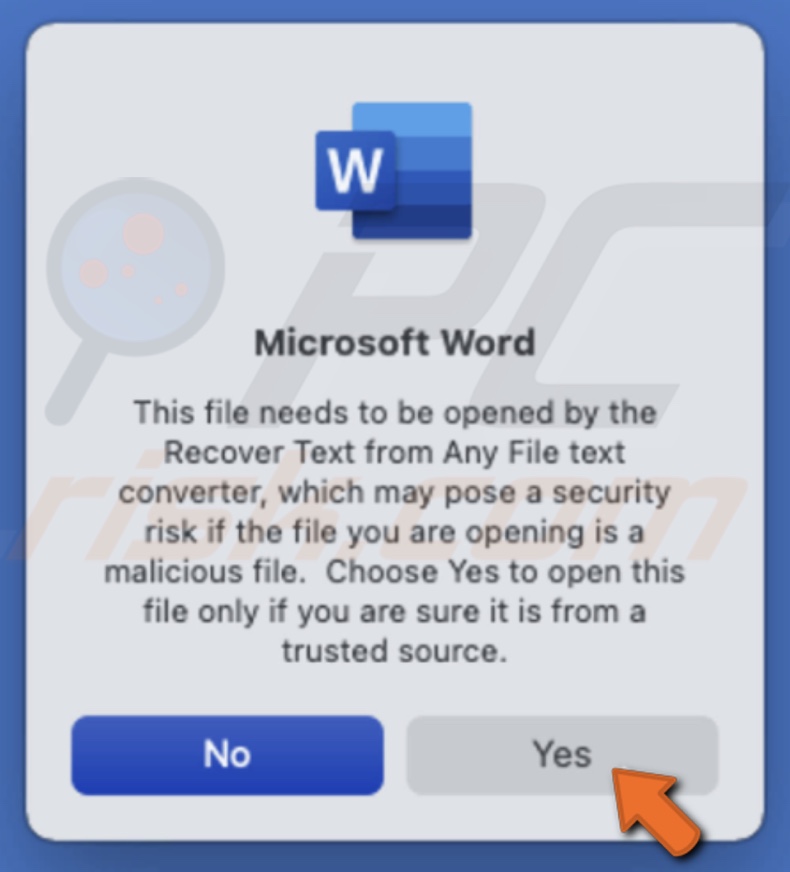
8. Click on "Recover Text" and then on "Open".
9. Click on "Yes" to open the document.
Manage AutoRecovery Settings
You can choose where you want the AutoRecovery files to be saved and how frequently you want them saved.
To choose AutoRecovery location, follow the steps below:
1. Launch Word.
2. From the menu bar, click on "Word" and go to "Preferences".
3. Go to "File Locations" located in the "Personal Settings" section.
4. Select "AutoRecover files" and click on "Modify".
5. Choose a location where you want your AutoRecovery files saved and click on "Open".

To choose AutoSave frequency, follow the steps below:
1. Launch Word.
2. From the menu bar, click on "Word" and go to "Preferences".
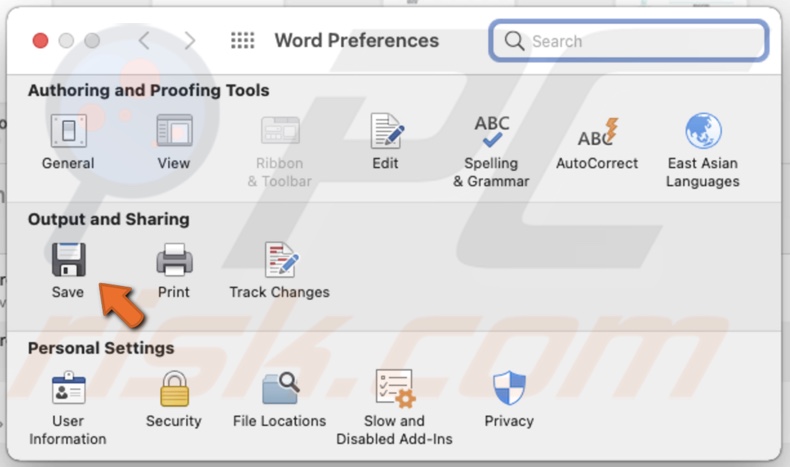
3. Click on "Save" located under "Output and Sharing".
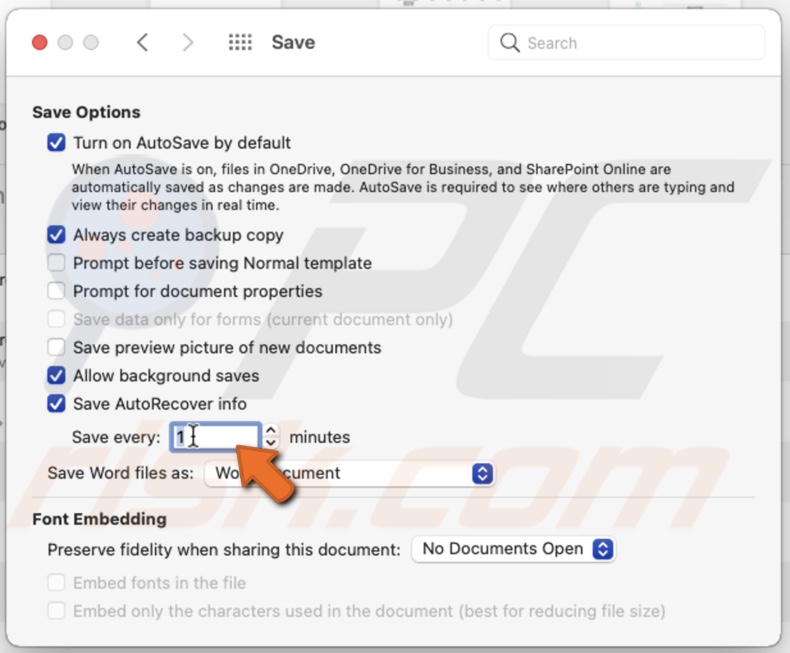
4. Under "Save AutoRecover" info, next to "Save every", choose how frequently you want your file to be AutoSaved.
We hope these methods helped you recover your lost Word document.
You can also check the video above.
Share:

Karolina Peistariene
Author of how-to guides for Mac users
Responsible for collecting, analyzing, and presenting problem-solving solution articles related to macOS issues. Years of macOS experience combined with solid research and analyzing skills help Karolina provide readers with working and helpful solutions as well as introduce various features Mac has to offer.
▼ Show Discussion