Add or Remove Email Account in Mail App on Mac

(updated)
Get Free Scanner and check your computer for errors
Fix It NowTo fix found issues, you have to purchase the full version of Combo Cleaner. Free trial available. Combo Cleaner is owned and operated by Rcs Lt, the parent company of PCRisk.com read more.
How to Add or Remove Email Account in Mail App on macOS
Email is one of the main ways we communicate with each other. We use it to send pictures and files to our friends and family, exchange documents with our colleagues, and use it for online inquiries. Email is also a crucial element for businesses and their marketing strategies. It helps to attract more clients and generate more revenue as well as provide customer support.
What is great about Apple's Mail app is that you can add more than one email account and manage them all in one place. You can add different email account set with various providers. That means you no longer need to visit different email service platforms each time you want to check all your emails.
If you are new to Mail, let's find out how to set up your Mail account, how to add multiple emails, and how to temporarily or entirely remove an email account.
Video on How to Add or Remove Email Account in Mail App on macOS?
Table of Contents:
- Introduction
- Add Email Account to Mail App
- Method 1. How to Add Email Account to Mail App for the First Time
- Method 2. How to Add Multiple Email Accounts to Mail App
- Method 3. How to Add Email Account to Mail App from System Preferences
- Remove Email Account from Mail App
- Method 1. How to Temporary Disable Email Account on Mail App
- Method 2. How to Remove Email Account from Mail App
- Video on How to Add or Remove Email Account in Mail App on macOS?
Download Computer Malware Repair Tool
It is recommended to run a free scan with Combo Cleaner - a tool to detect viruses and malware on your device. You will need to purchase the full version to remove infections. Free trial available. Combo Cleaner is owned and operated by Rcs Lt, the parent company of PCRisk.com read more.
Add Email Account to Mail App
How to Add Email Account to Mail App for the First Time
If you are a first-time Mac user and do not know how to set up an email account on the Mail app, do not worry. A detailed explanation below will help you set it up in no time.
To add an email account to the Mail app, follow the steps below:
1. Launch Mail app from Launchpad, Finder, or Spotlight.
2. In the Mail app, you will see a pop-up message asking you to "Choose a Mail account provider", and you will be given suggestions. Choose your provider from the suggestions or, select the "Other Mail Account" option if you do not see yours.
3. Click on "Continue".

4. A window of your provider's sign-in page will pop-up. Enter your email account credentials and sign in to your account.
5. When your account is verified, it will be added to the Mail app and you will have the option to choose which apps you want to link to this email account.

You can now view and send emails from the Mail app.
How to Add Multiple Email Accounts to Mail App
If you have more than one email account, you can add it to the Mail app and use several email accounts. You can add other email accounts even if it is from a different provider than the first one.
To add multiple email accounts to the Mail app, follow the steps below:
1. Launch Mail app from Launchpad, Finder, or Spotlight.
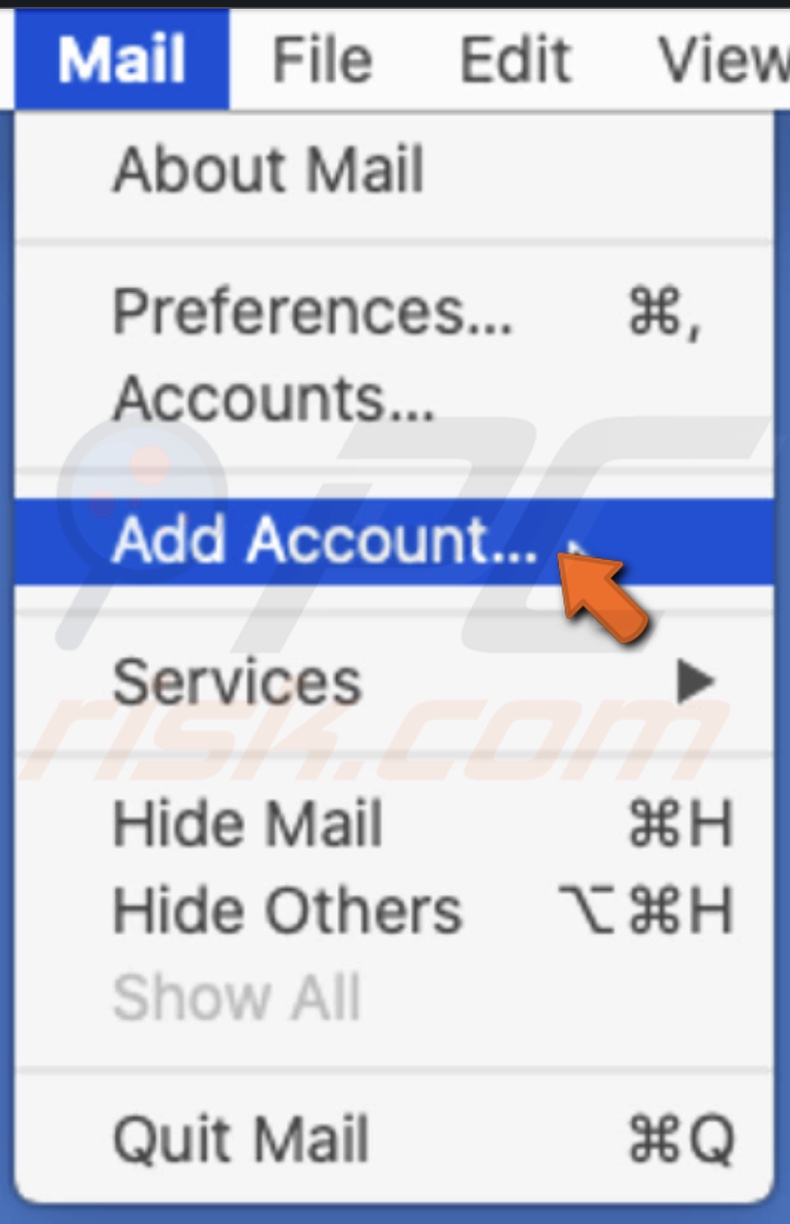
2. When the Mail app opens, in the upper menu bar, click on "Mail".
3. Then, click on "Add Account".
4. You will see a pop-up message asking you to "Choose a Mail account provider", and you will be given suggestions. Choose your provider from the suggestions or, select the "Other Mail Account" option if you do not see yours.
5. Click on "Continue".
6. A window of your provider's sign-in page will pop-up. Enter your email account credentials and sign in to your account.
7. When your account is verified, it will be added to the Mail app and you will have the option to choose which apps you want to link to this email account.
Check if the Mail tick-box is selected for the account.
How to Add Email Account to Mail App from System Preferences
You can use this method when you want to use the same email account with other apps on your Mac.
To add an email account to the Mail app through settings, follow the steps below:
1. In the upper menu, click on the Apple logo.
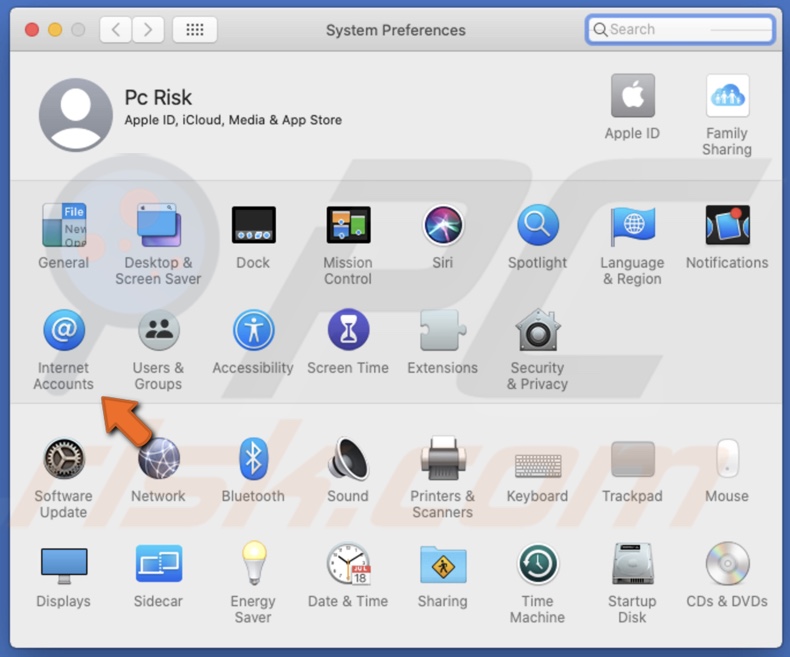
2. In the pop-up menu, click on "System Preferences", and in the "System Preferences" window, locate and click on "Internet Accounts".
Or when the Mail app opens, in the upper menu bar, click on "Mail" and click on "Accounts" in the pop-up menu.
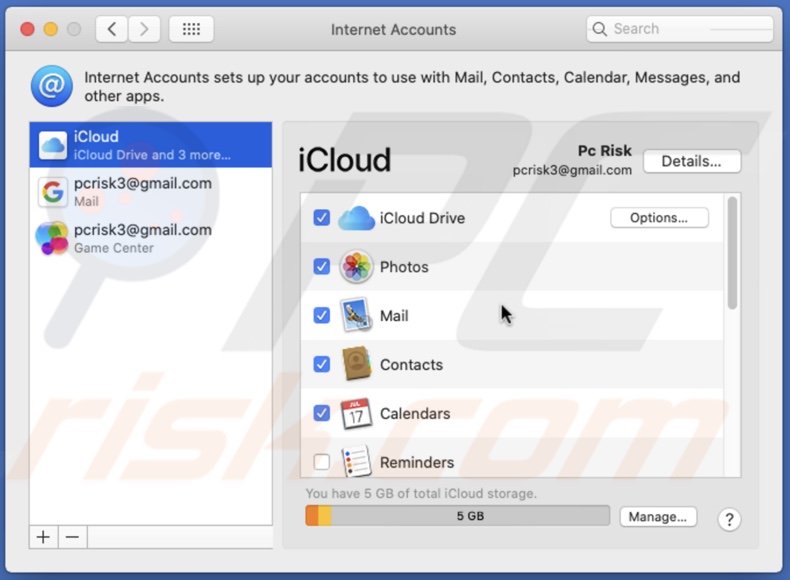
3. When you will see the "Internet Accounts" settings window at the bottom of the left sidebar, click on the (+) button.
4. On the right side, you will be given email provider suggestions. Choose your provider from the suggestions or select the "Add Other Account" option if you do not see yours.
![]()
5. Click on "Continue".
6. A window of your provider's sign-in page will pop-up. Enter your email account credentials and sign in to your account.
7. When your account is verified and added to the list, you will have the option to choose which apps you want to link to this email account.
If you do not want to link your email to other apps, disable them and click on "Done".
Remove Email Account from Mail App
How to Temporary Disable Email Account on Mail App
While your email account is temporarily disabled, you will not be able to see your emails in the Mail app, but they will remain on your Mac, so you can get them back when needed.
To temporarily remove an email account from the Mail app, follow the steps below:
1. Launch Mail app from Launchpad, Finder, or Spotlight.
2. In the upper menu, click on the Apple logo and go to "System Preferences". In the "System Preferences" window, locate and click on "Internet Accounts".
Or when the Mail app opens, in the upper menu bar, click on "Mail" and click on "Accounts" in the pop-up menu.
3. In the left sidebar, select the email account that you want to remove temporarily.
4. On the right side, uncheck the box next to "Mail". Disabled account emails will not be shown in the Mail app.
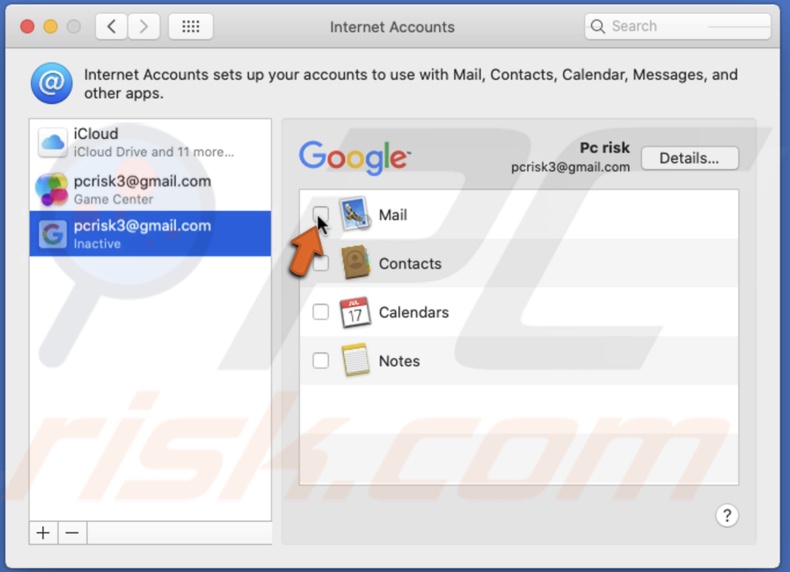
If you want to enable your account again in the Mail app, check the box next to "Mail" again.
How to Remove Email Account from Mail App
If you want to remove your email account from the Mail app completely, then use this method. Keep in mind that after you remove the email account from Mail, the emails are deleted, and you will not be able to recover them. Although you will still see them when logging in to your email on the internet as they will remain on the account's mail server.
To remove an email account from the Mail app, follow the steps below:
1. Launch Mail app from Launchpad, Finder, or Spotlight.
2. In the upper menu, click on the Apple logo and go to "System Preferences". In the "System Preferences" window, locate and click on "Internet Accounts".
Or when the Mail app opens, in the upper menu bar, click on "Mail" and click on "Accounts" in the pop-up menu.
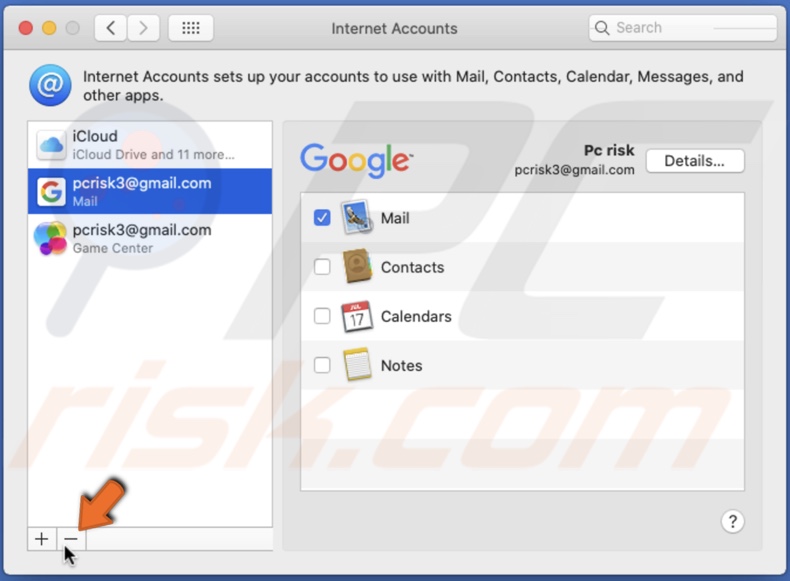
3. In the left sidebar, select the email account that you want to remove.
4. On the right side, you will see a list of applications you are using with that email account. Uncheck all apps.
5. At the bottom of the left sidebar, click on the (-) button.
6. When asked if "Are you sure you want to delete the account", click on "OK".
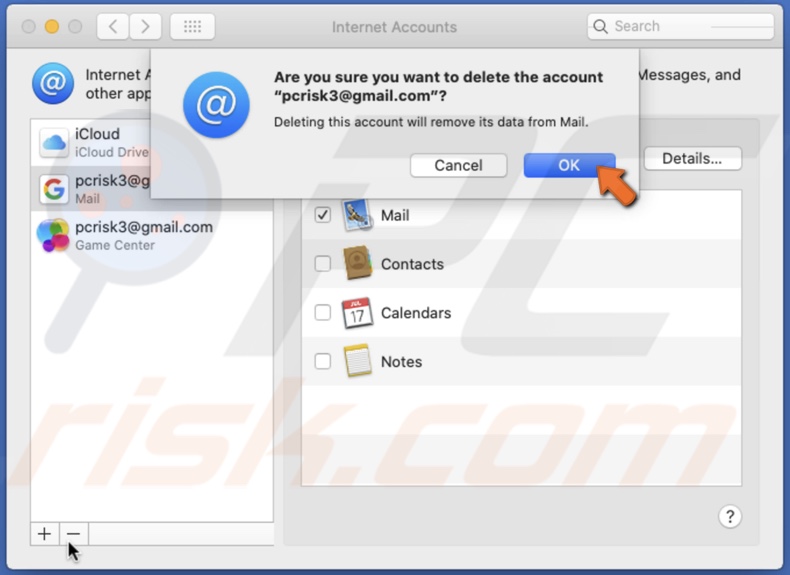
Now, the email account has been removed from your Mac.
We hope you found this article useful!
For a detailed step-by-step explanation of each method, check out the video above.
Share:

Karolina Peistariene
Author of how-to guides for Mac users
Responsible for collecting, analyzing, and presenting problem-solving solution articles related to macOS issues. Years of macOS experience combined with solid research and analyzing skills help Karolina provide readers with working and helpful solutions as well as introduce various features Mac has to offer.
▼ Show Discussion