Can't See or Re-download Purchased Songs From iTunes

(updated)
Get Free Scanner and check your computer for errors
Fix It NowTo fix found issues, you have to purchase the full version of Combo Cleaner. Free trial available. Combo Cleaner is owned and operated by Rcs Lt, the parent company of PCRisk.com read more.
How to Restore Your Purchase and Re-download Songs in iTunes
Once you purchase a song from the iTunes Music Store, you are able to download it to any authorized computer. This feature is great if you suddenly need a specific song for, let's say, a work presentation or your favorite artist released a new album. No wonder millions of people use it.

Although iTunes was replaced with Apple Music, you can still use the app with older Mac operating systems as well as on Windows computers. Unfortunately, sometimes iTunes app can encounter an error, and it might not let you re-download your purchased media files.
There can be a few reasons why this issue can occur. For example, you could have mistakenly marked your purchase hidden, or there might be a problem with iTunes purchases. Either way, the issues are fixable, so you do not have to worry about not being able to access your purchases. See below for detailed troubleshooting steps to solve this problem.
Video on How to Restore Your Purchase and Re-download Songs in iTunes?
Table of Contents:
- Introduction
- Method 1. Set to Show "All Music"
- Method 2. Unhide Hidden Purchases
- Method 3. Sign Out and Sign Back Into your Apple ID
- Method 4. Associate Your Device with The Right Apple ID
- Method 5. Check For Available Downloads
- Method 6. Have You Changed Your Country in Settings?
- Method 7. Re-download Availability
- Video on How to Restore Your Purchase and Re-download Songs in iTunes?
Download Computer Malware Repair Tool
It is recommended to run a free scan with Combo Cleaner - a tool to detect viruses and malware on your device. You will need to purchase the full version to remove infections. Free trial available. Combo Cleaner is owned and operated by Rcs Lt, the parent company of PCRisk.com read more.
Set to Show "All Music"
Due to not everyone having unlimited data Apple added a feature that only shows your downloaded songs. If this feature is enabled on your iTunes account, any purchase that is not downloaded is not shown, so you do not stream it accidentally. To view all your purchases, you need to disable this feature.
View all purchases on iPhone and iPod touch:
1. Open the iTunes app.
2. If you only see the downloaded purchases, a gray bar will be displayed at the top of the screen that reads "Showing only music on this [device]".
3. Tap on "Library" at the bottom-left corner of your screen to see purchase.
View all purchases on the iPad:
1. Open the iTunes app.
2. Tap on "Library" at the bottom-left corner of your screen.
3. From the top left corner, open the Library drop-down menu.
4. If you only see the downloaded purchases, a gray bar will be displayed at the top of the screen that reads "Showing only music on this iPad".
5. Tap on "Back" in the top-left corner to see your full library.
View all purchases on the Mac:
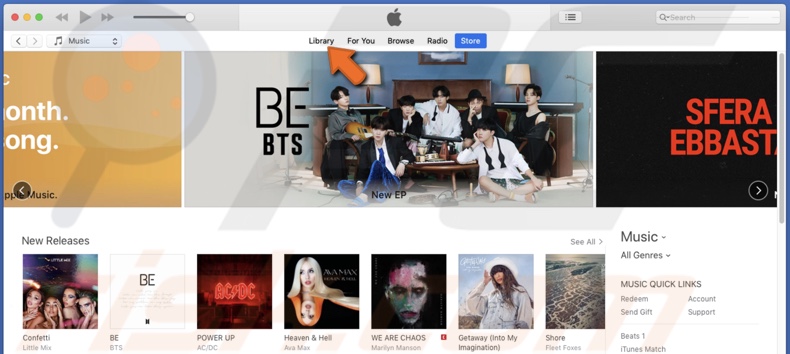
1. Open the iTunes app from Launchpad, Finder, or Spotlight.

2. Click on "Library" at the top menu bar of the iTunes window.
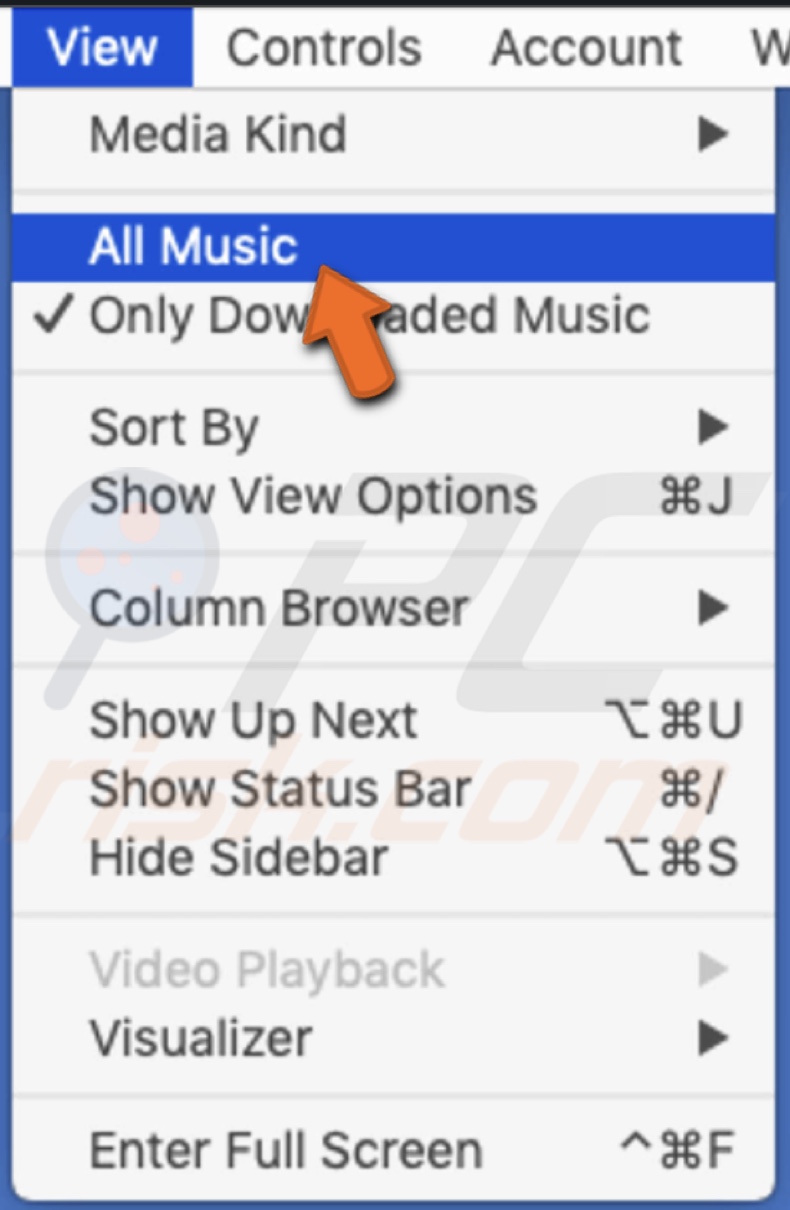
3. In the upper menu bar, click on "View".
4. Then click on "All Music".
Suppose you accidentally or on purpose removed your purchased file from your library. In that case, the files will be automatically hidden in all your other devices connected to the same account, and you will not be able to re-download it. Unhide music files to view your purchase.
Unhide Hidden Purchases on iPhone, iPad, and iPod:
1. Open the iTunes Store app.
2. Scroll down until you see "Apple ID". Tap on it.
3. Select "View Apple ID".
4. If asked, enter your Apple ID password.
5. Under "iTunes in the Cloud", tap on "Hidden Purchases."
6. Find your purchased song and tap on the cloud icon to unhide it.
Unhide Hidden Purchases on Mac
1. Open the iTunes app from Launchpad, Finder, or Spotlight.
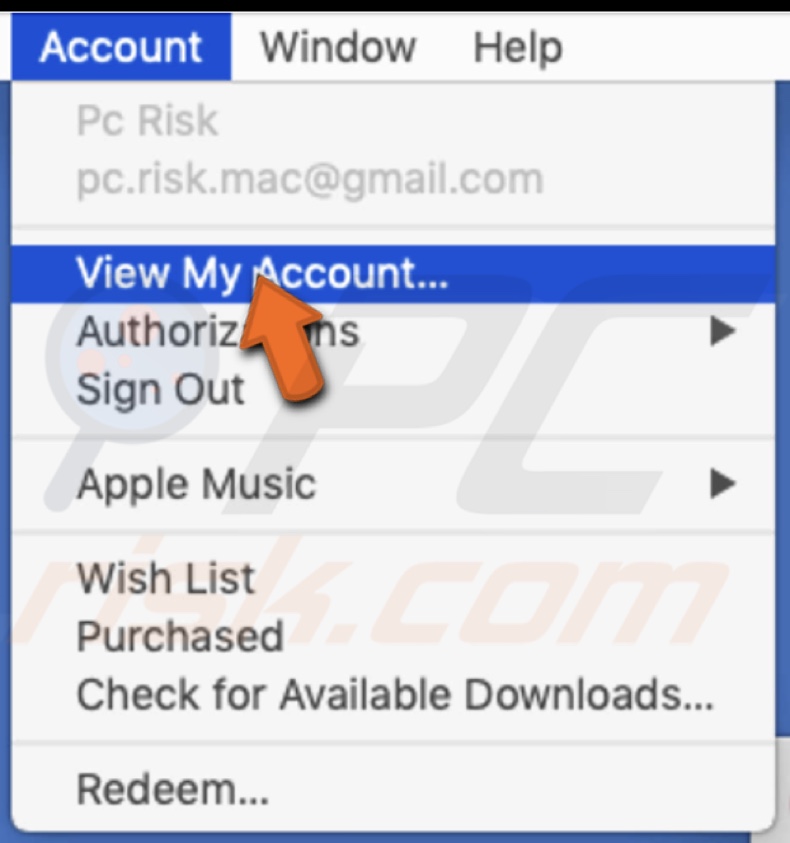
2. In the upper menu bar, click on "Account".
3. Then click on "View My Account".
4. If asked, enter your Apple ID password.
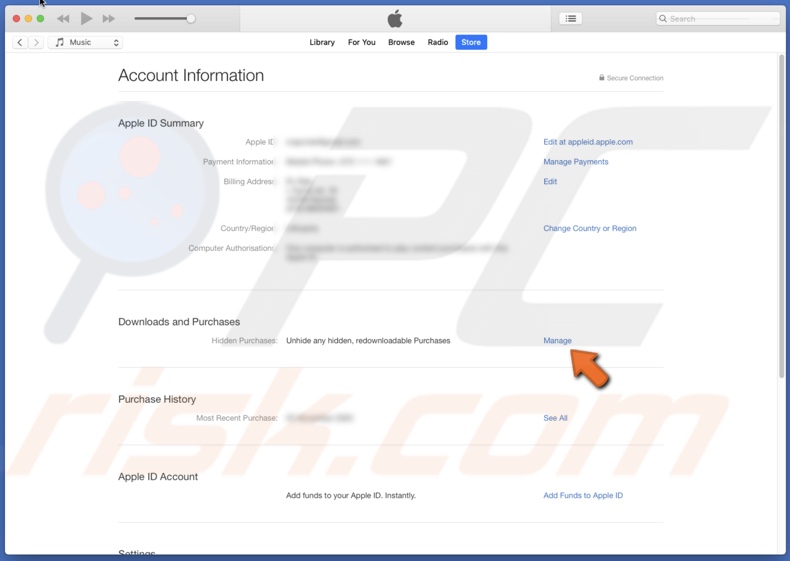
5. Find "Hidden Purchases" under "Downloads and Purchases".
6. Then click on "Manage".
7. Find the song you were looking for and click on the "Unhide" button.

8. Click on "Library" at the top menu bar of the iTunes window to go to Library.
9. Find the song and click on the cloud icon next to it to download the song.
If you want to hide the song again:
1. Open the iTunes app from Launchpad, Finder, or Spotlight.
2. In the upper menu bar, click on "Account".
3. Then click on "Purchased".

4. If asked, enter your Apple ID password.
5. Click on the "All" tab.
6. Find the song you want to hide.
7. Click on the X icon on the right side of the song.
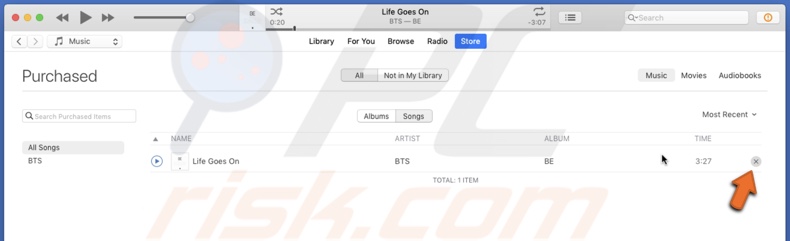
8. Then click on "Hide".
Sign Out and Sign Back Into your Apple ID
Sometimes signing out of your current session and signing back into your Apple ID is all it takes for iTunes to let you re-download your music.
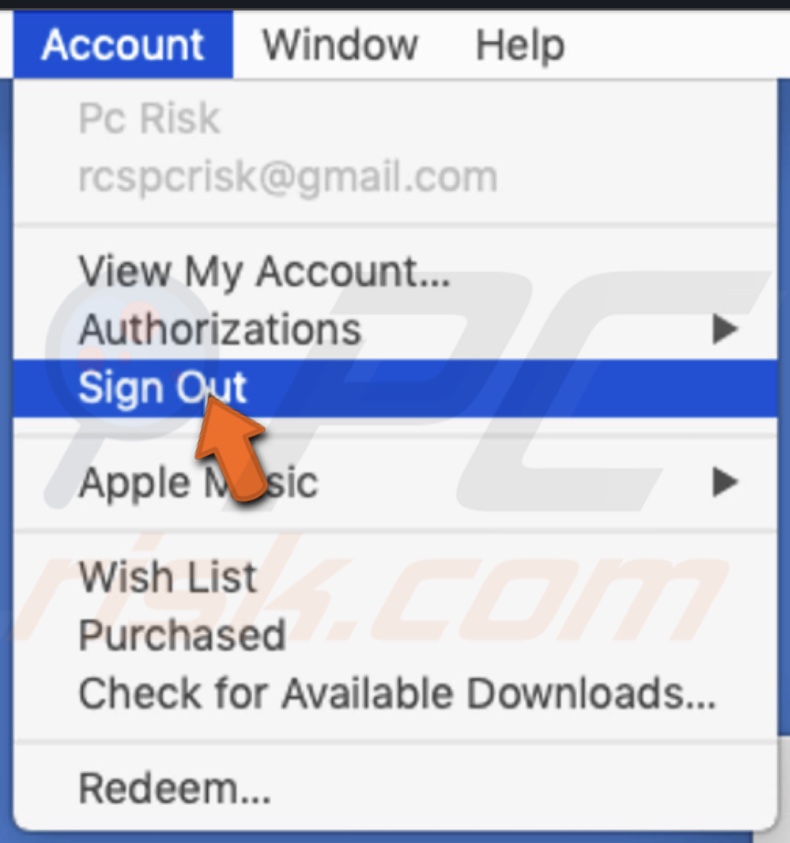
1. Open the iTunes Store app.
2. In the upper menu bar, click on "Account".
3. Then click on "Sign Out".
4. In the upper menu bar, click on "Account" again.
5. Click on "Sign In".
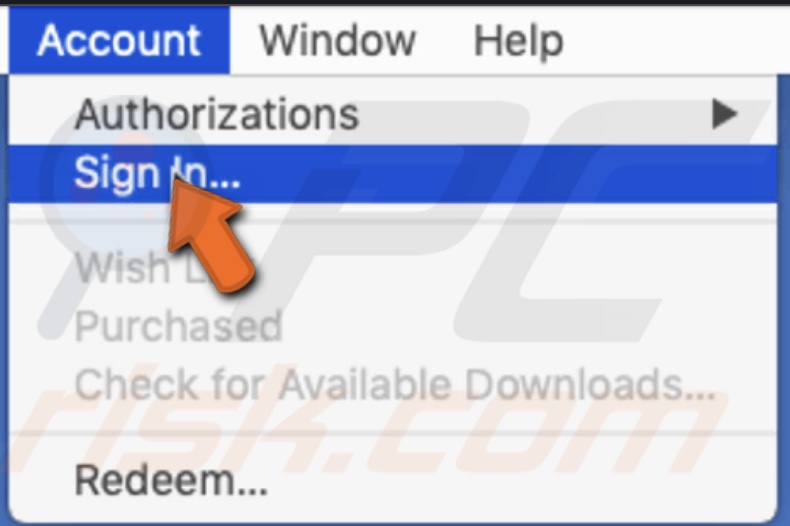
6. Enter your Apple ID information.
7. Try to re-download the song again.
Associate Your Device with The Right Apple ID
Your macOS and iOS devices get automatically associated with Apple ID when you turn on iCloud Music Library, Family Sharing, Automatic downloads, subscribe to iTunes Match or download music or previous purchases. It might get associated with another Apple ID (if you have more than one), and that is why you might not see and re-download your music. To remove your associated device, follow the steps below:
1. Open the iTunes Store app.
2. In the upper menu bar, click on "Account".
3. Then click on "View My Account".
4. If asked, enter your Apple ID password.
5. Under "Downloads and Purchases" find and click on "Manage Devices".
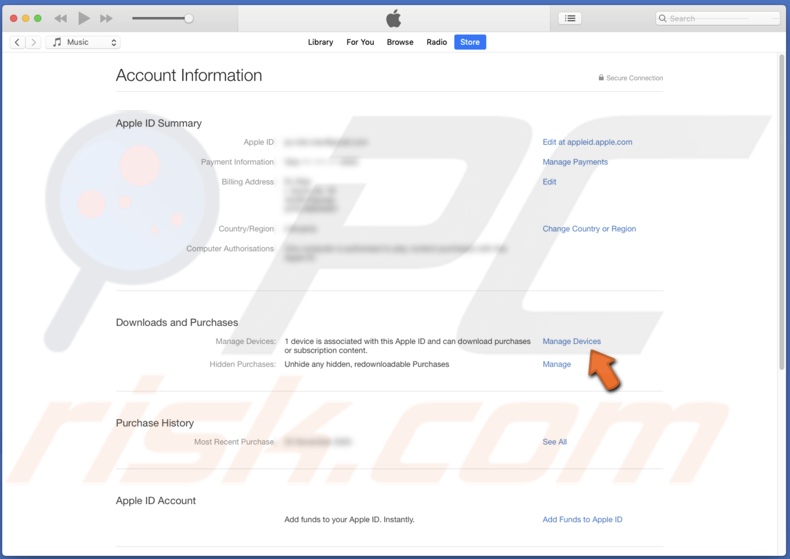
6. Remove the associated device.
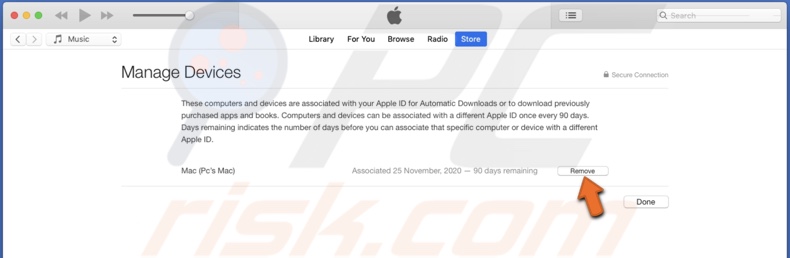
While trying to associate your device with the right Apple ID, you might get a message stating, "This device is associated with another Apple ID. You cannot associate this device with another Apple ID for [number] days". In this case, you will have to wait for a number of days before you can associate your device with another Apple ID.
Check For Available Downloads
There is a possibility that when you started to download the song, it got stuck in the downloading process. In this case, you should check iTunes for available downloads.
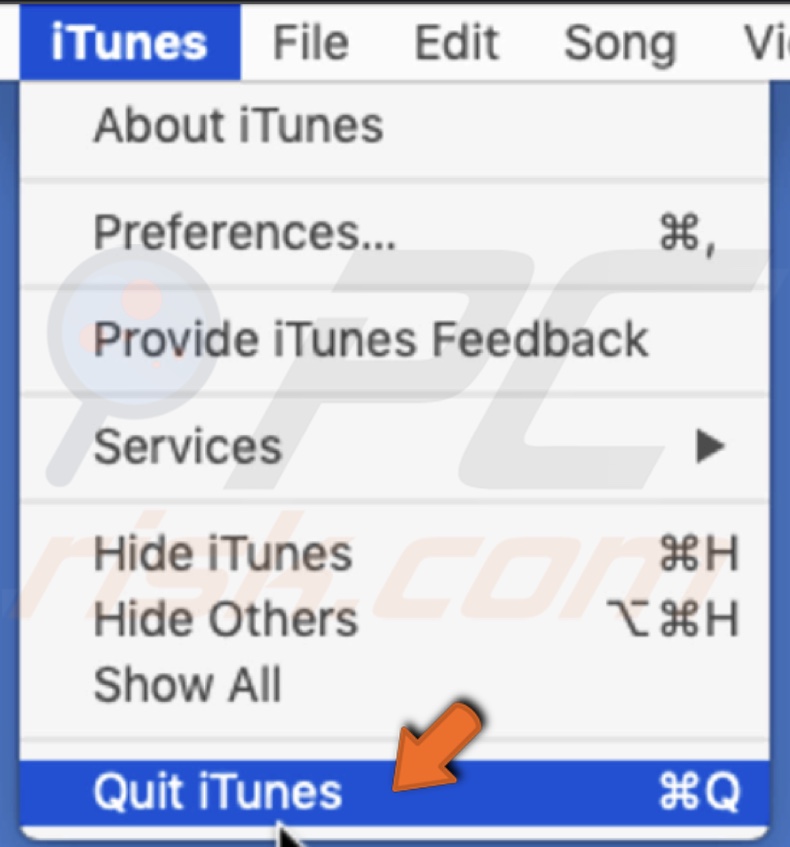
1. Restart iTunes. Go to the upper menu bar and click on "iTunes". Then click on "Quit iTunes".
2. Open the iTunes app from Launchpad, Finder, or Spotlight.
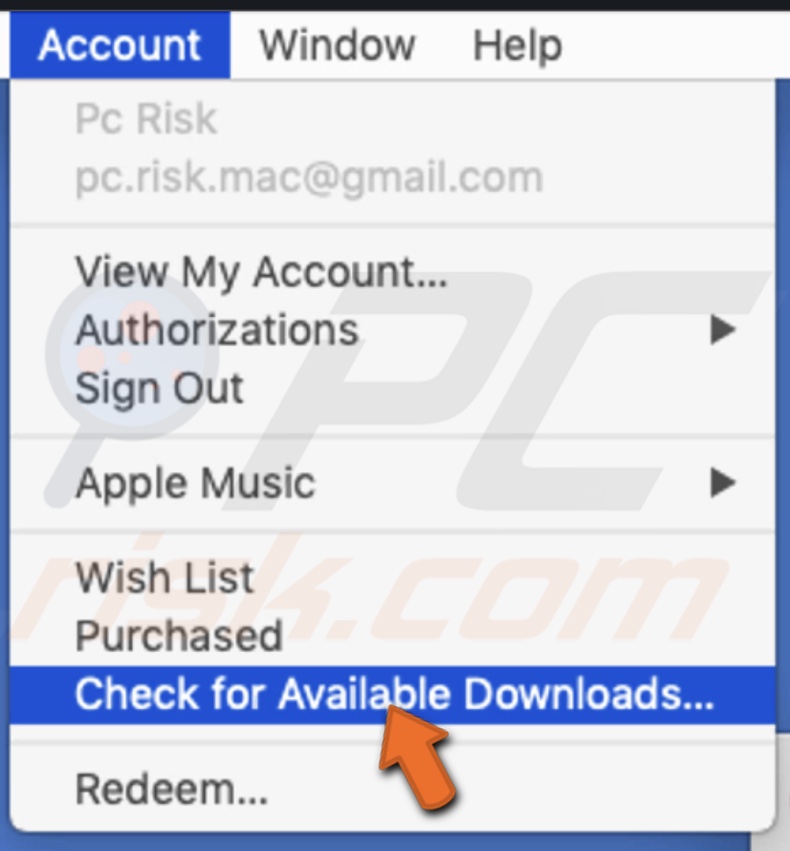
3. In the upper menu bar, click on "Account".
4. Then click on "Check for Available Downloads".
5. If asked, enter your Apple ID password.
If your music got stuck in the download process, this option would likely restart the download.
Have You Changed Your Country in Settings?
You may not be able to re-download the files you purchased if you have changed the country for your Apple ID as certain files might not be available in certain countries.
Re-download Availability
If you try to re-download your previous purchased music and say that it is not available, it might mean that the files do not exist on iTunes anymore.
Let us know in the comments which method helped you solve the problem!
Share:

Karolina Peistariene
Author of how-to guides for Mac users
Responsible for collecting, analyzing, and presenting problem-solving solution articles related to macOS issues. Years of macOS experience combined with solid research and analyzing skills help Karolina provide readers with working and helpful solutions as well as introduce various features Mac has to offer.
▼ Show Discussion